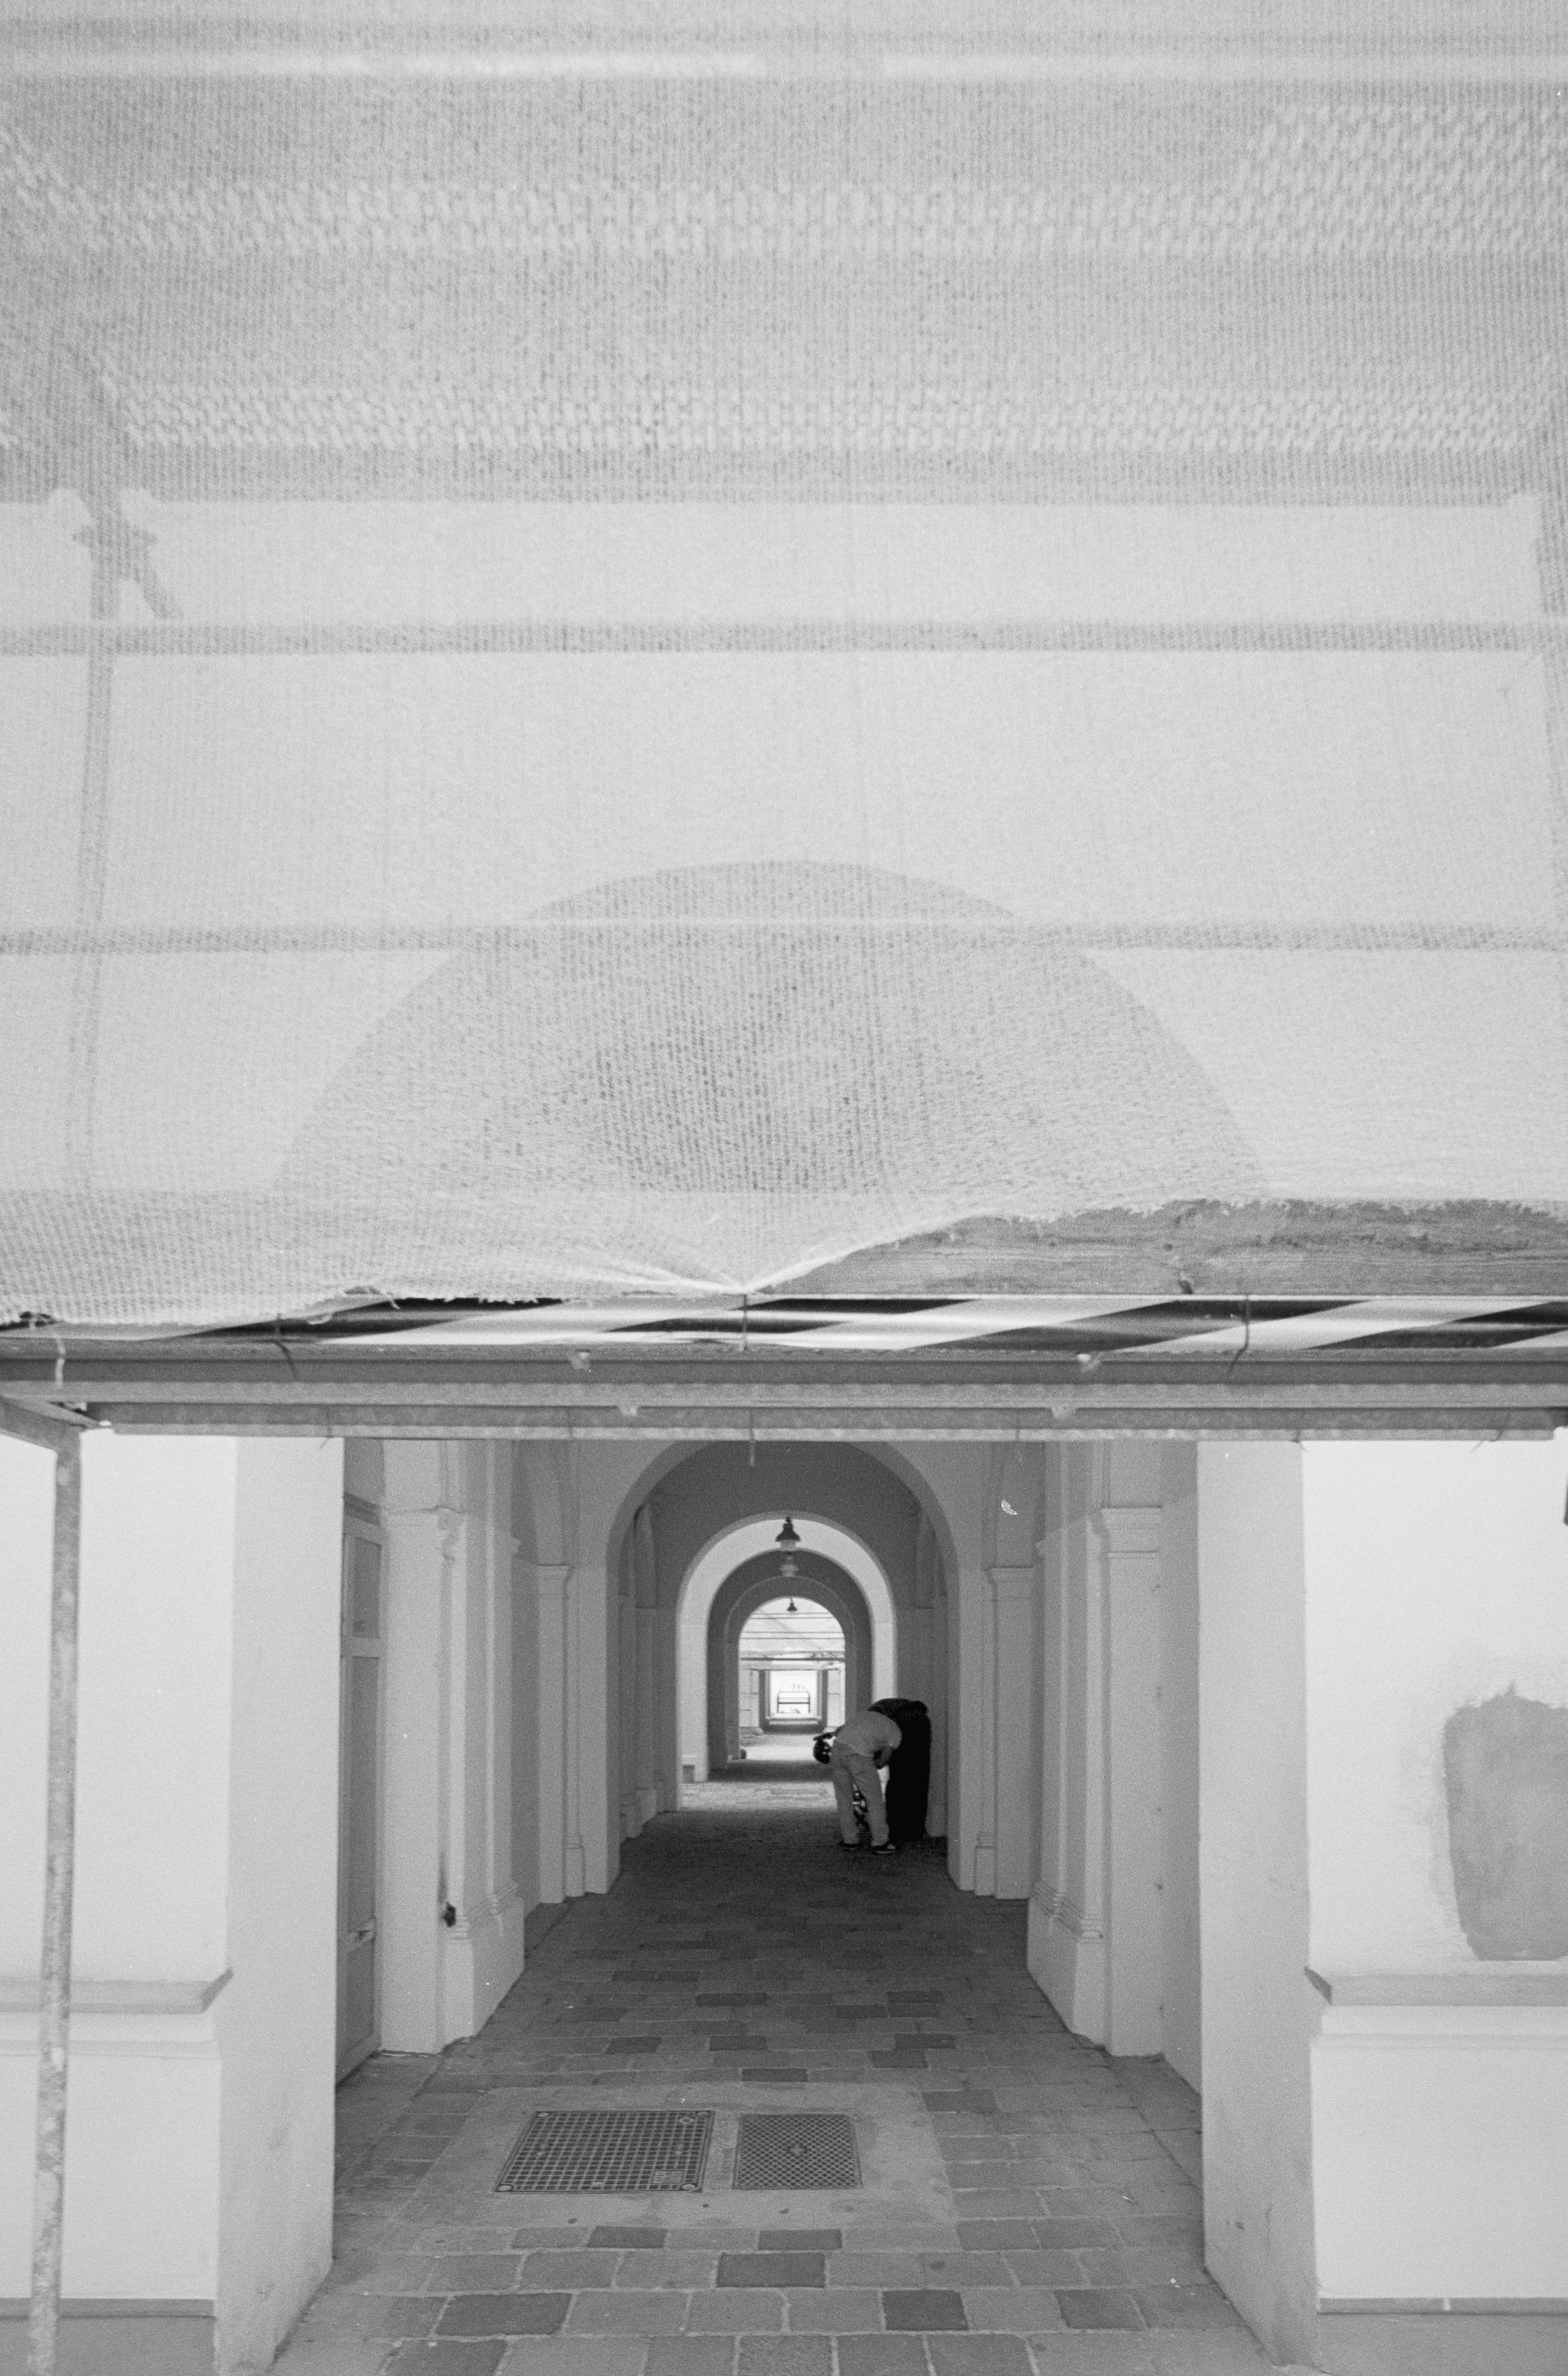
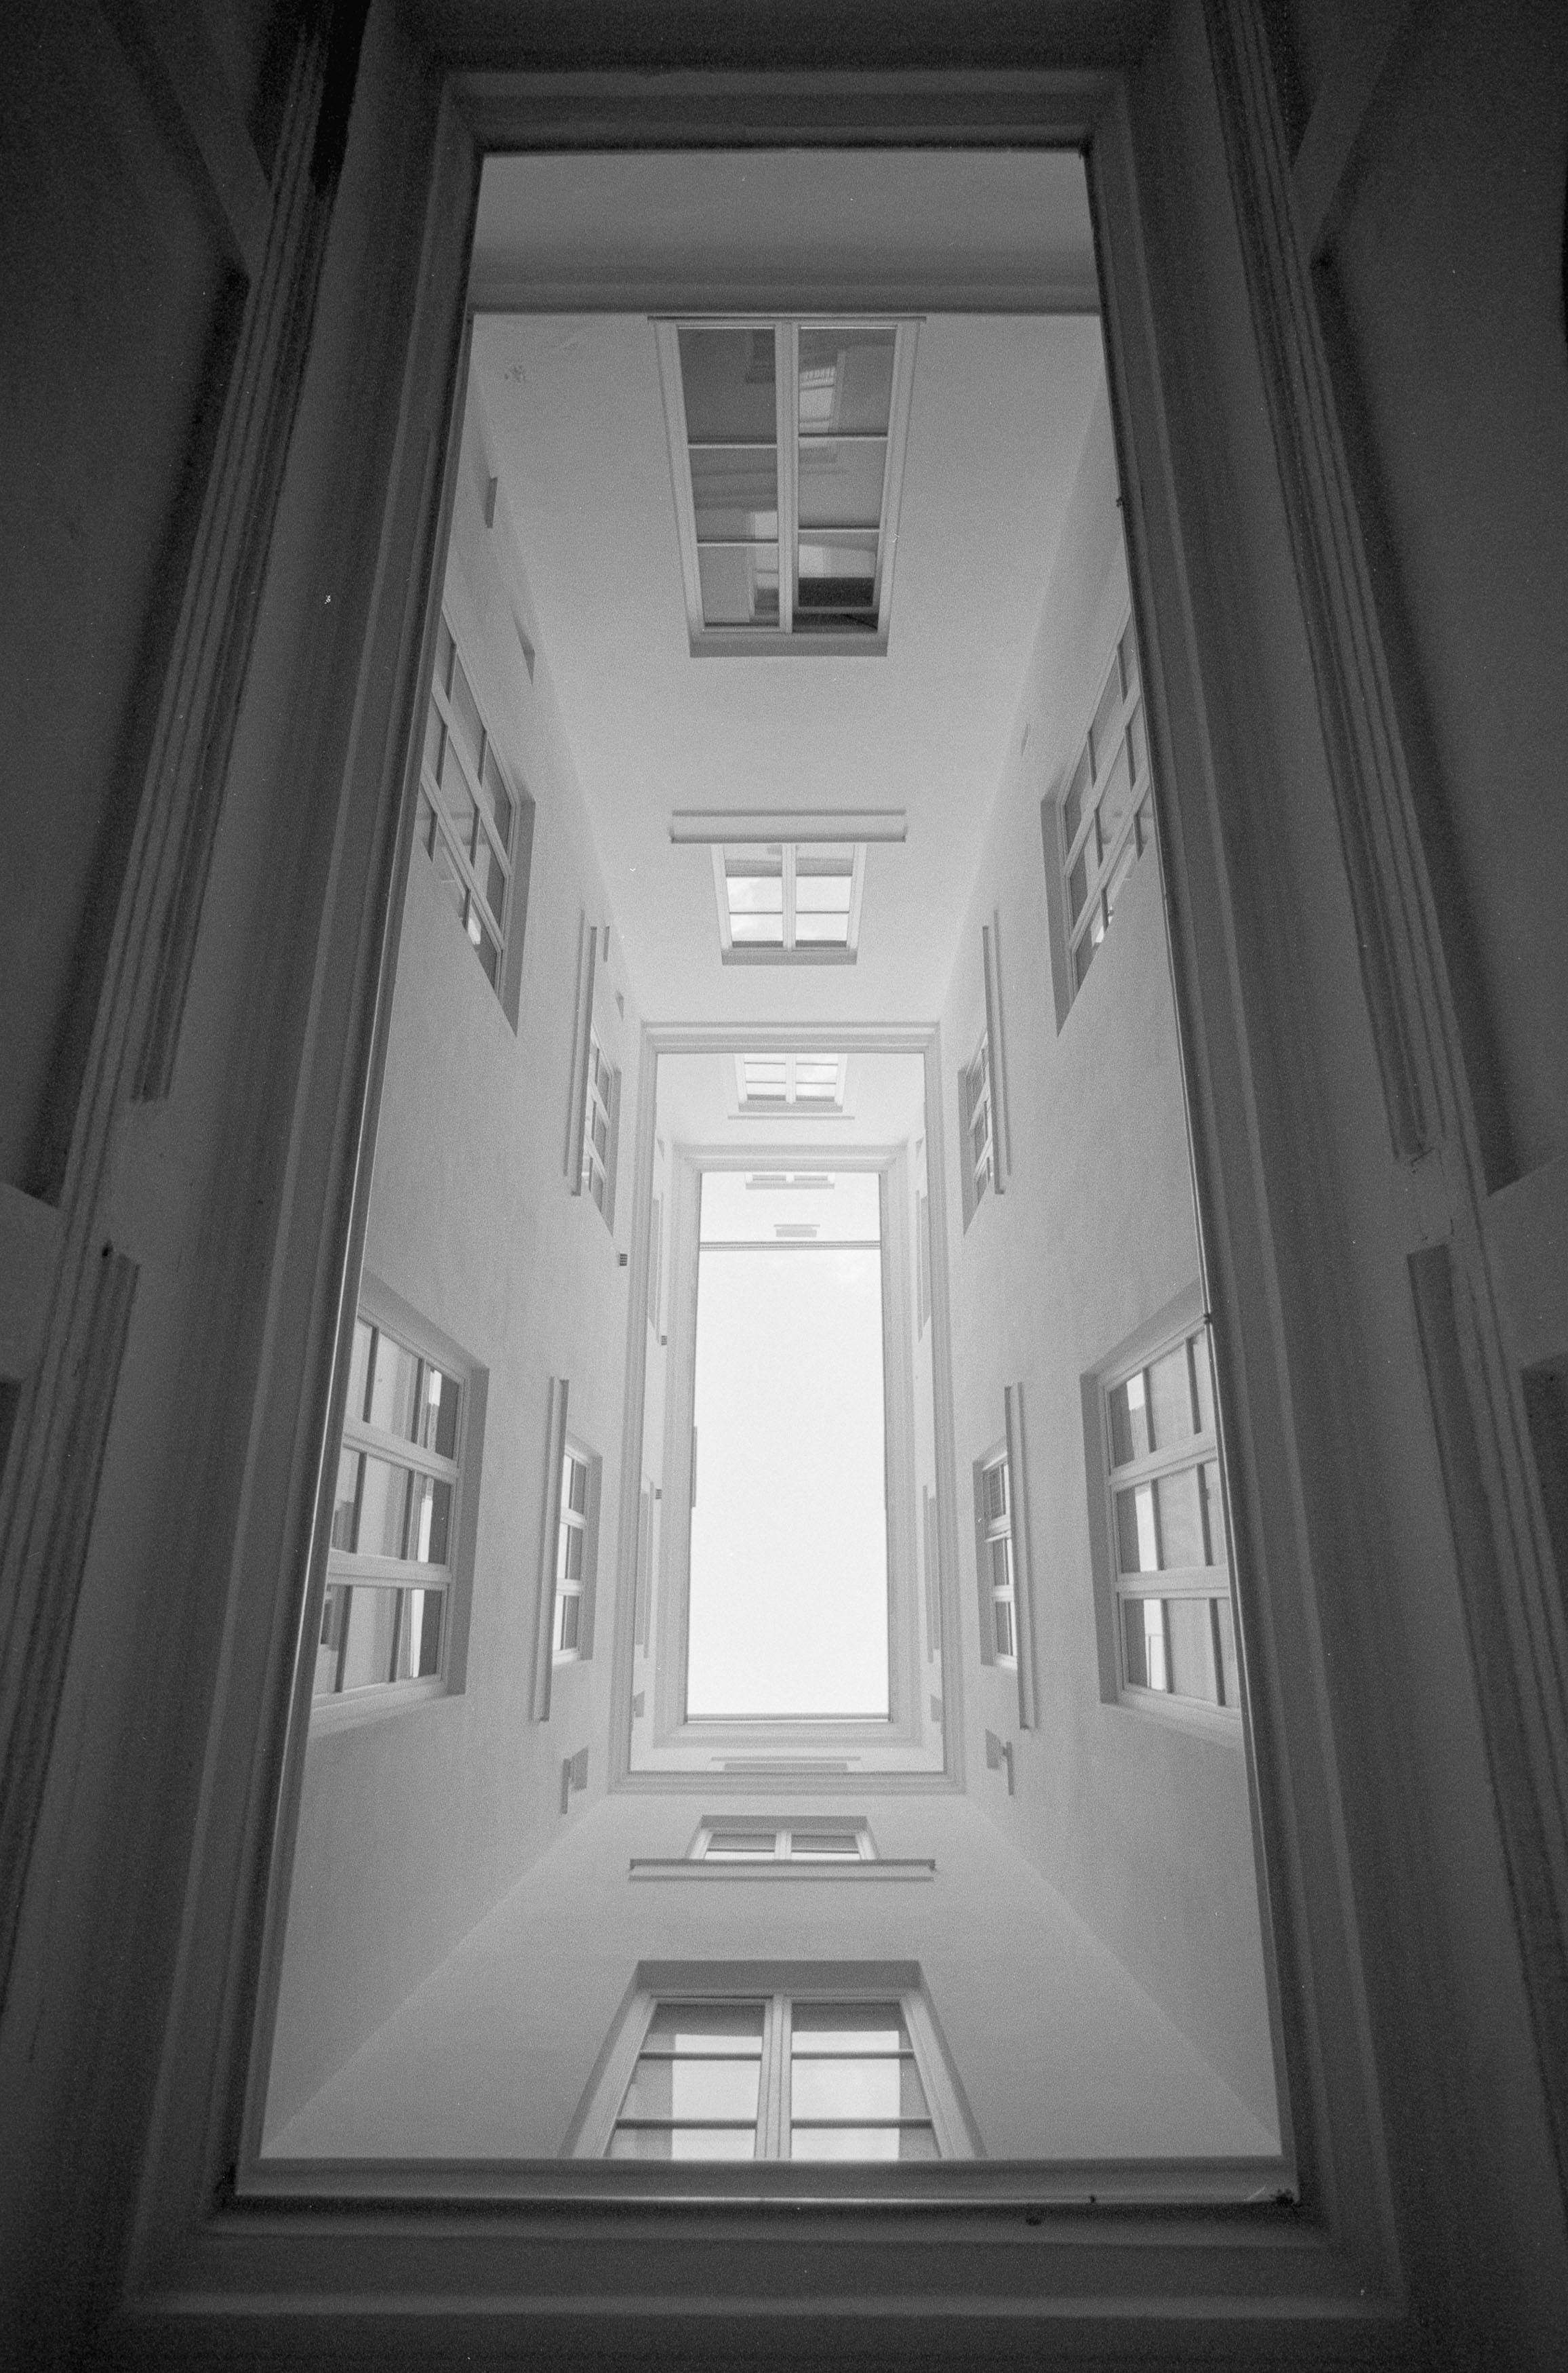
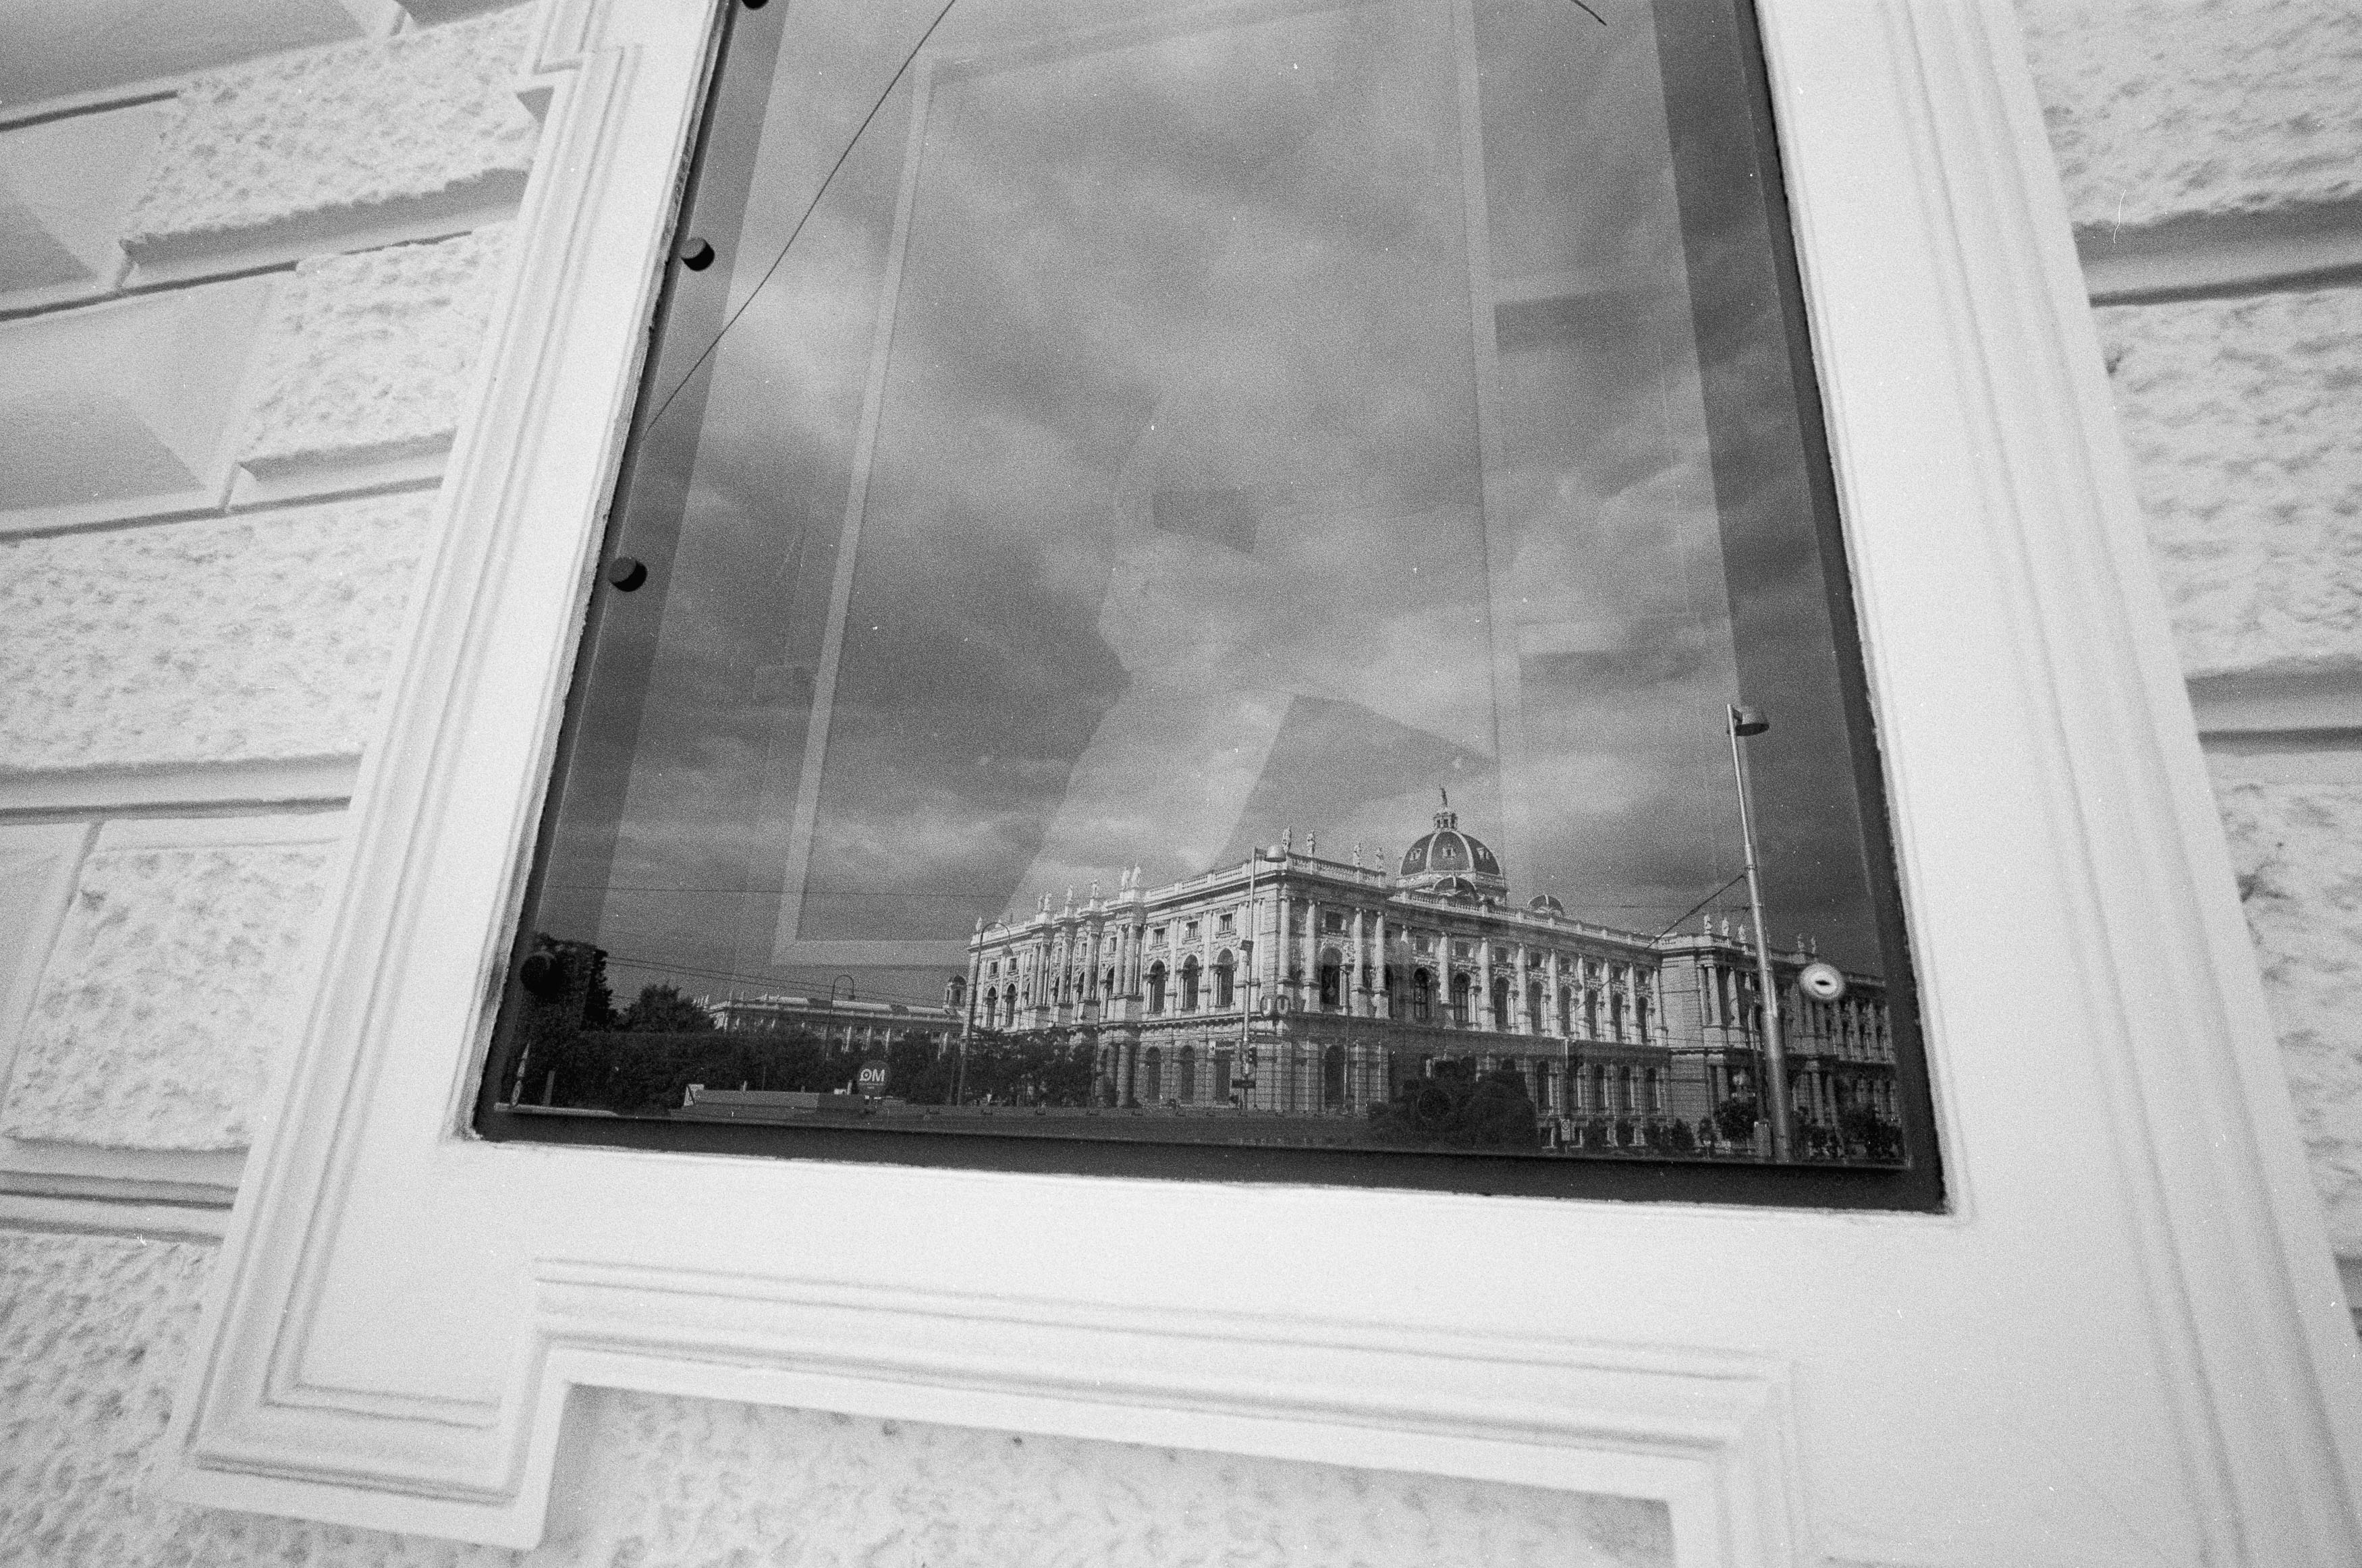
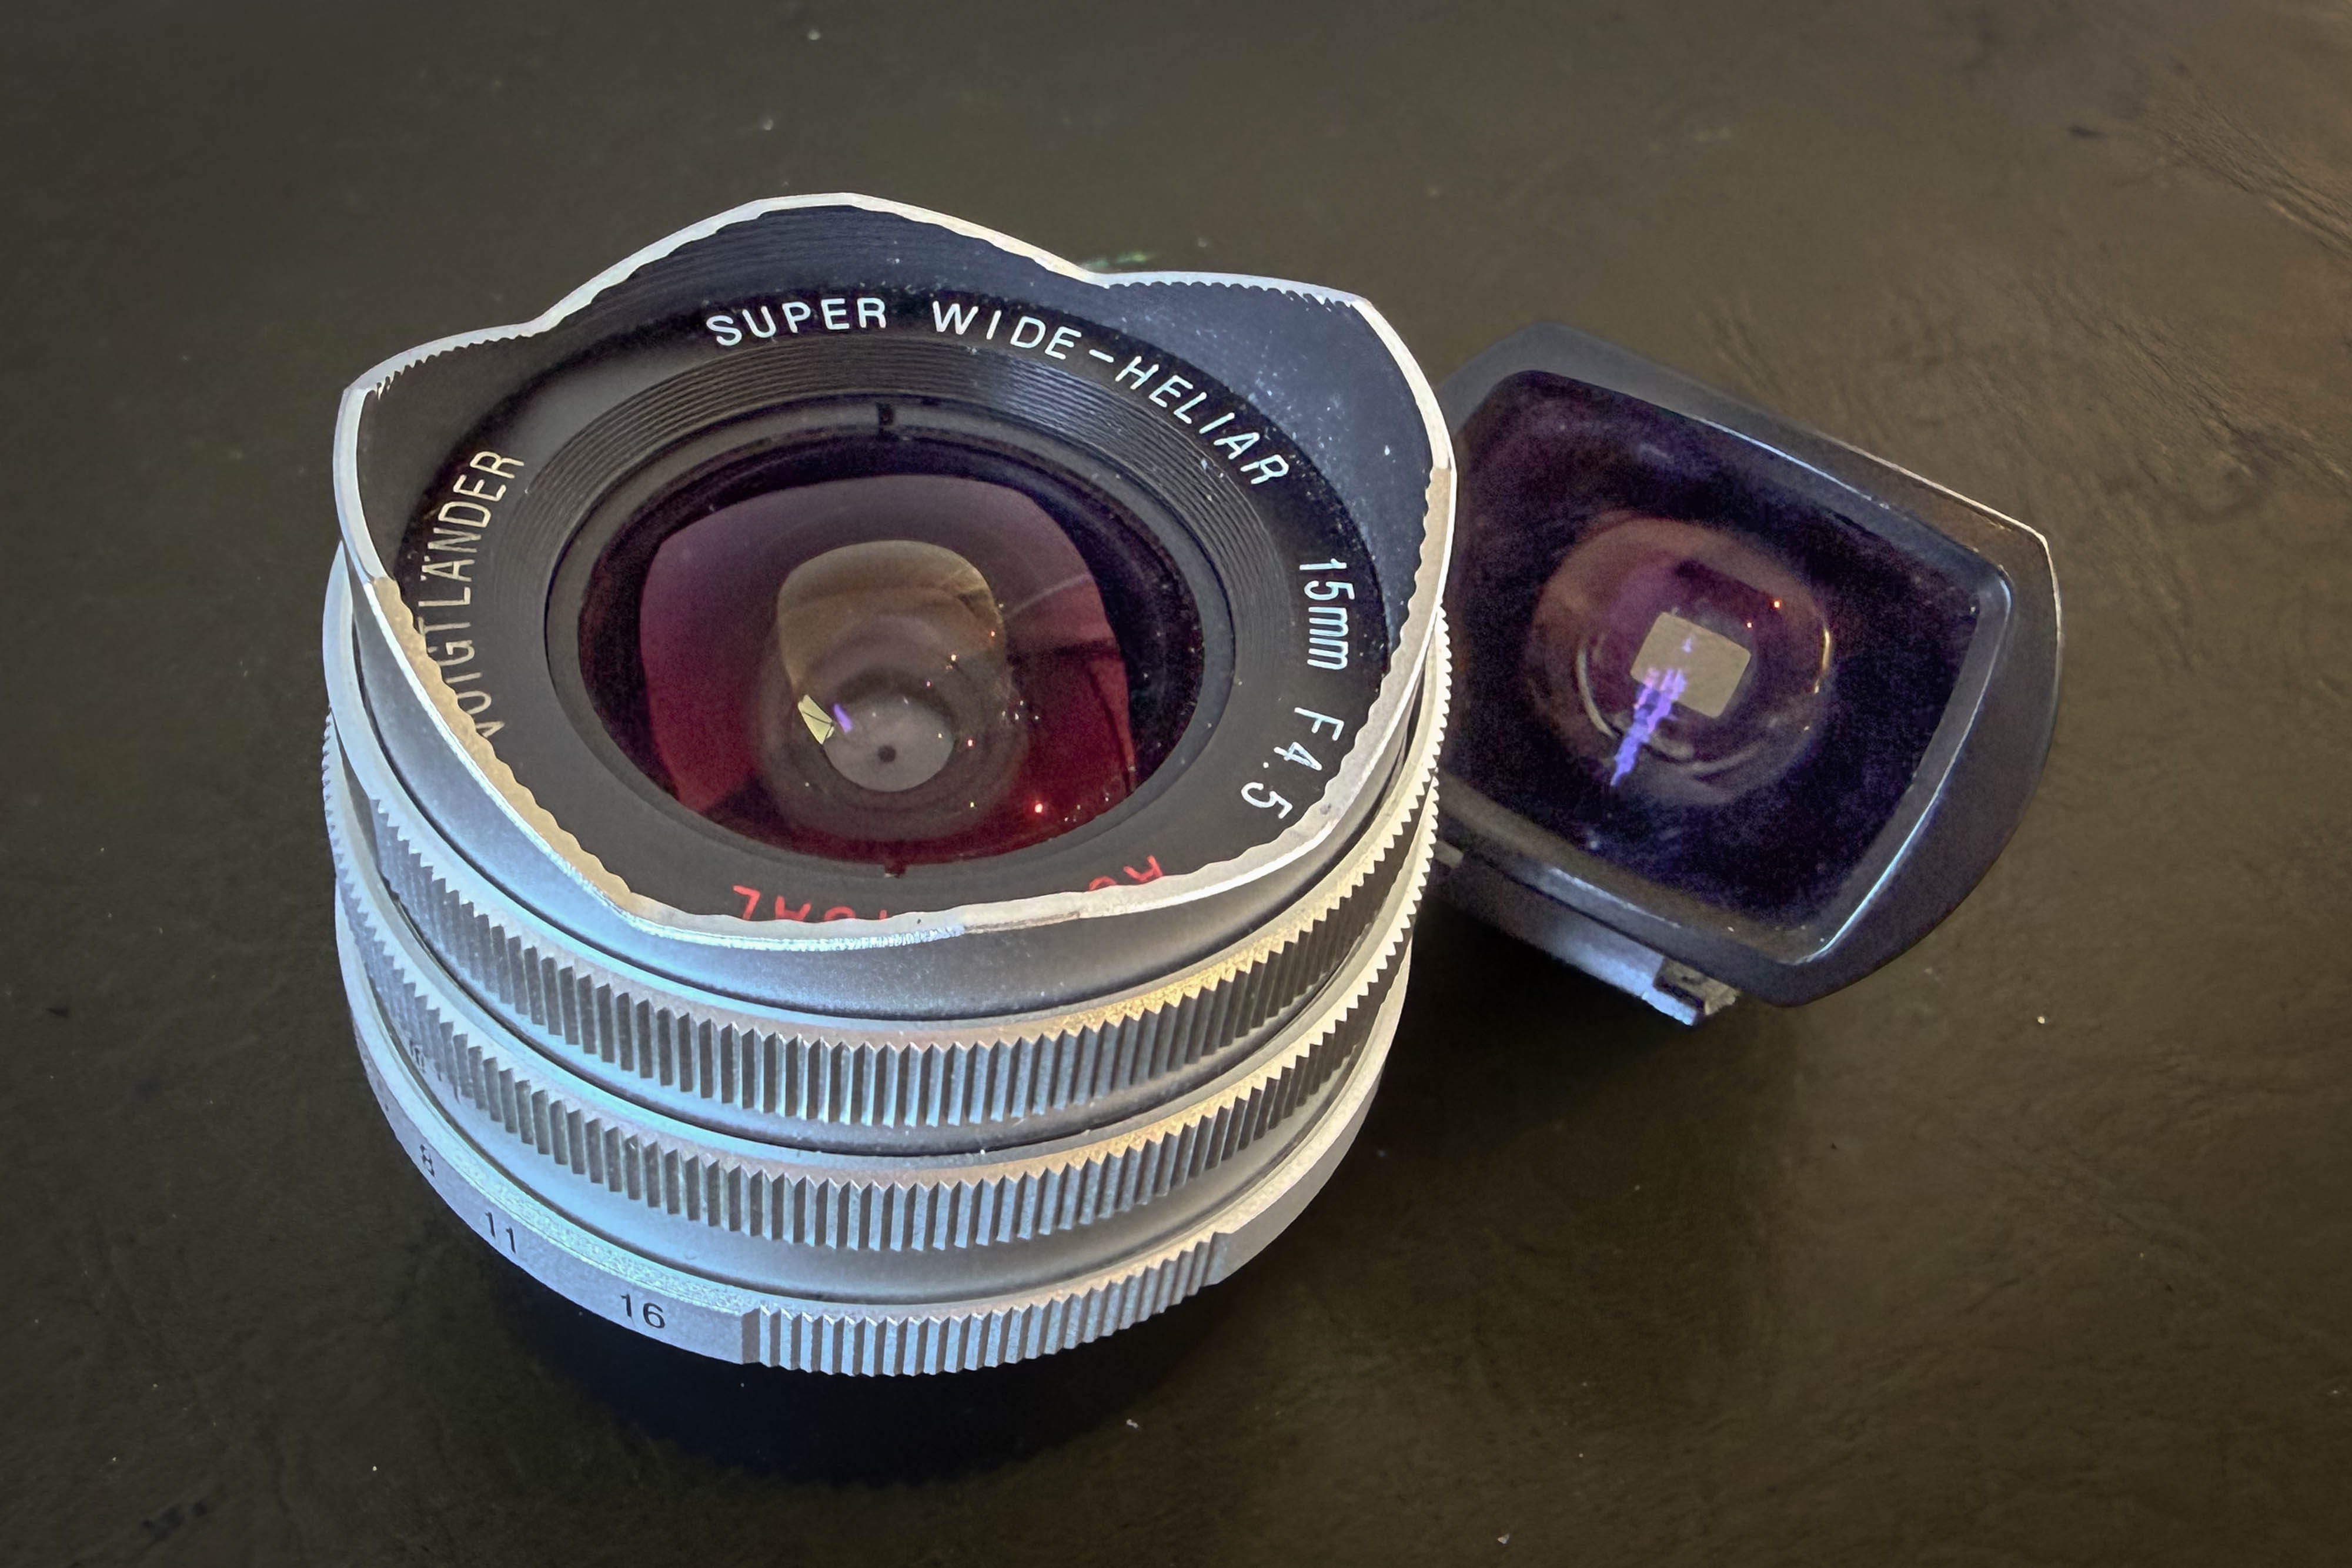
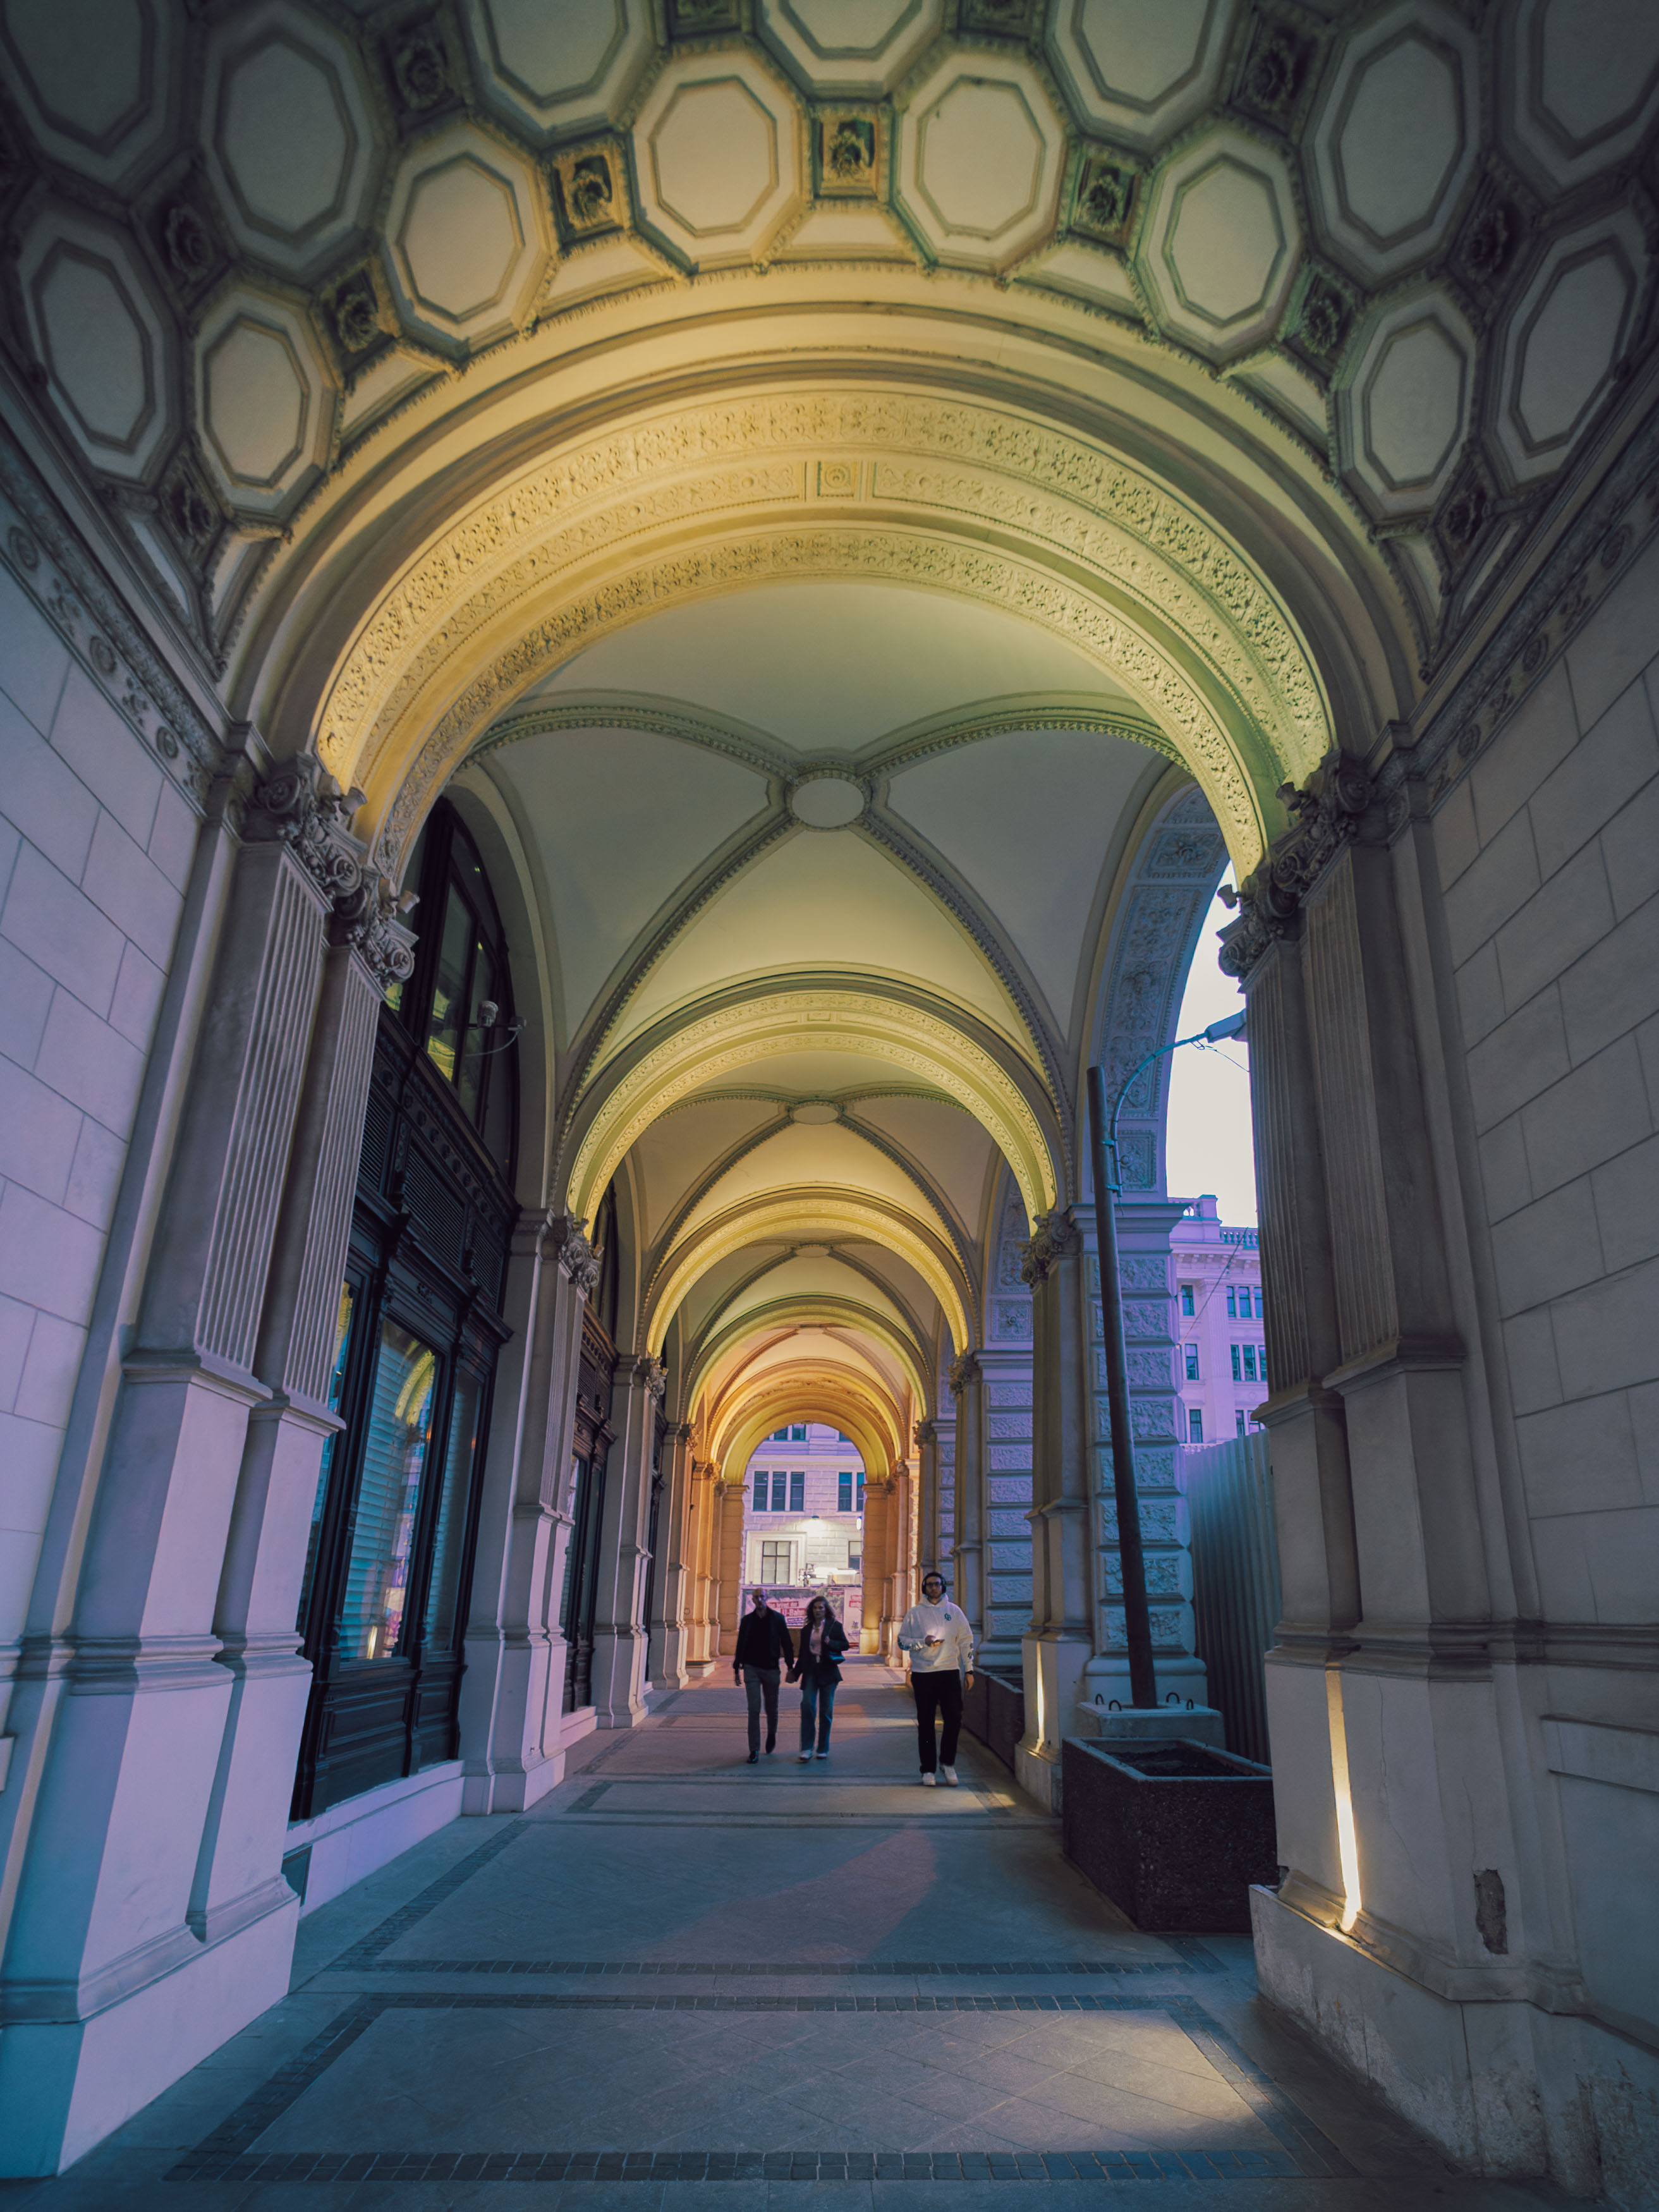
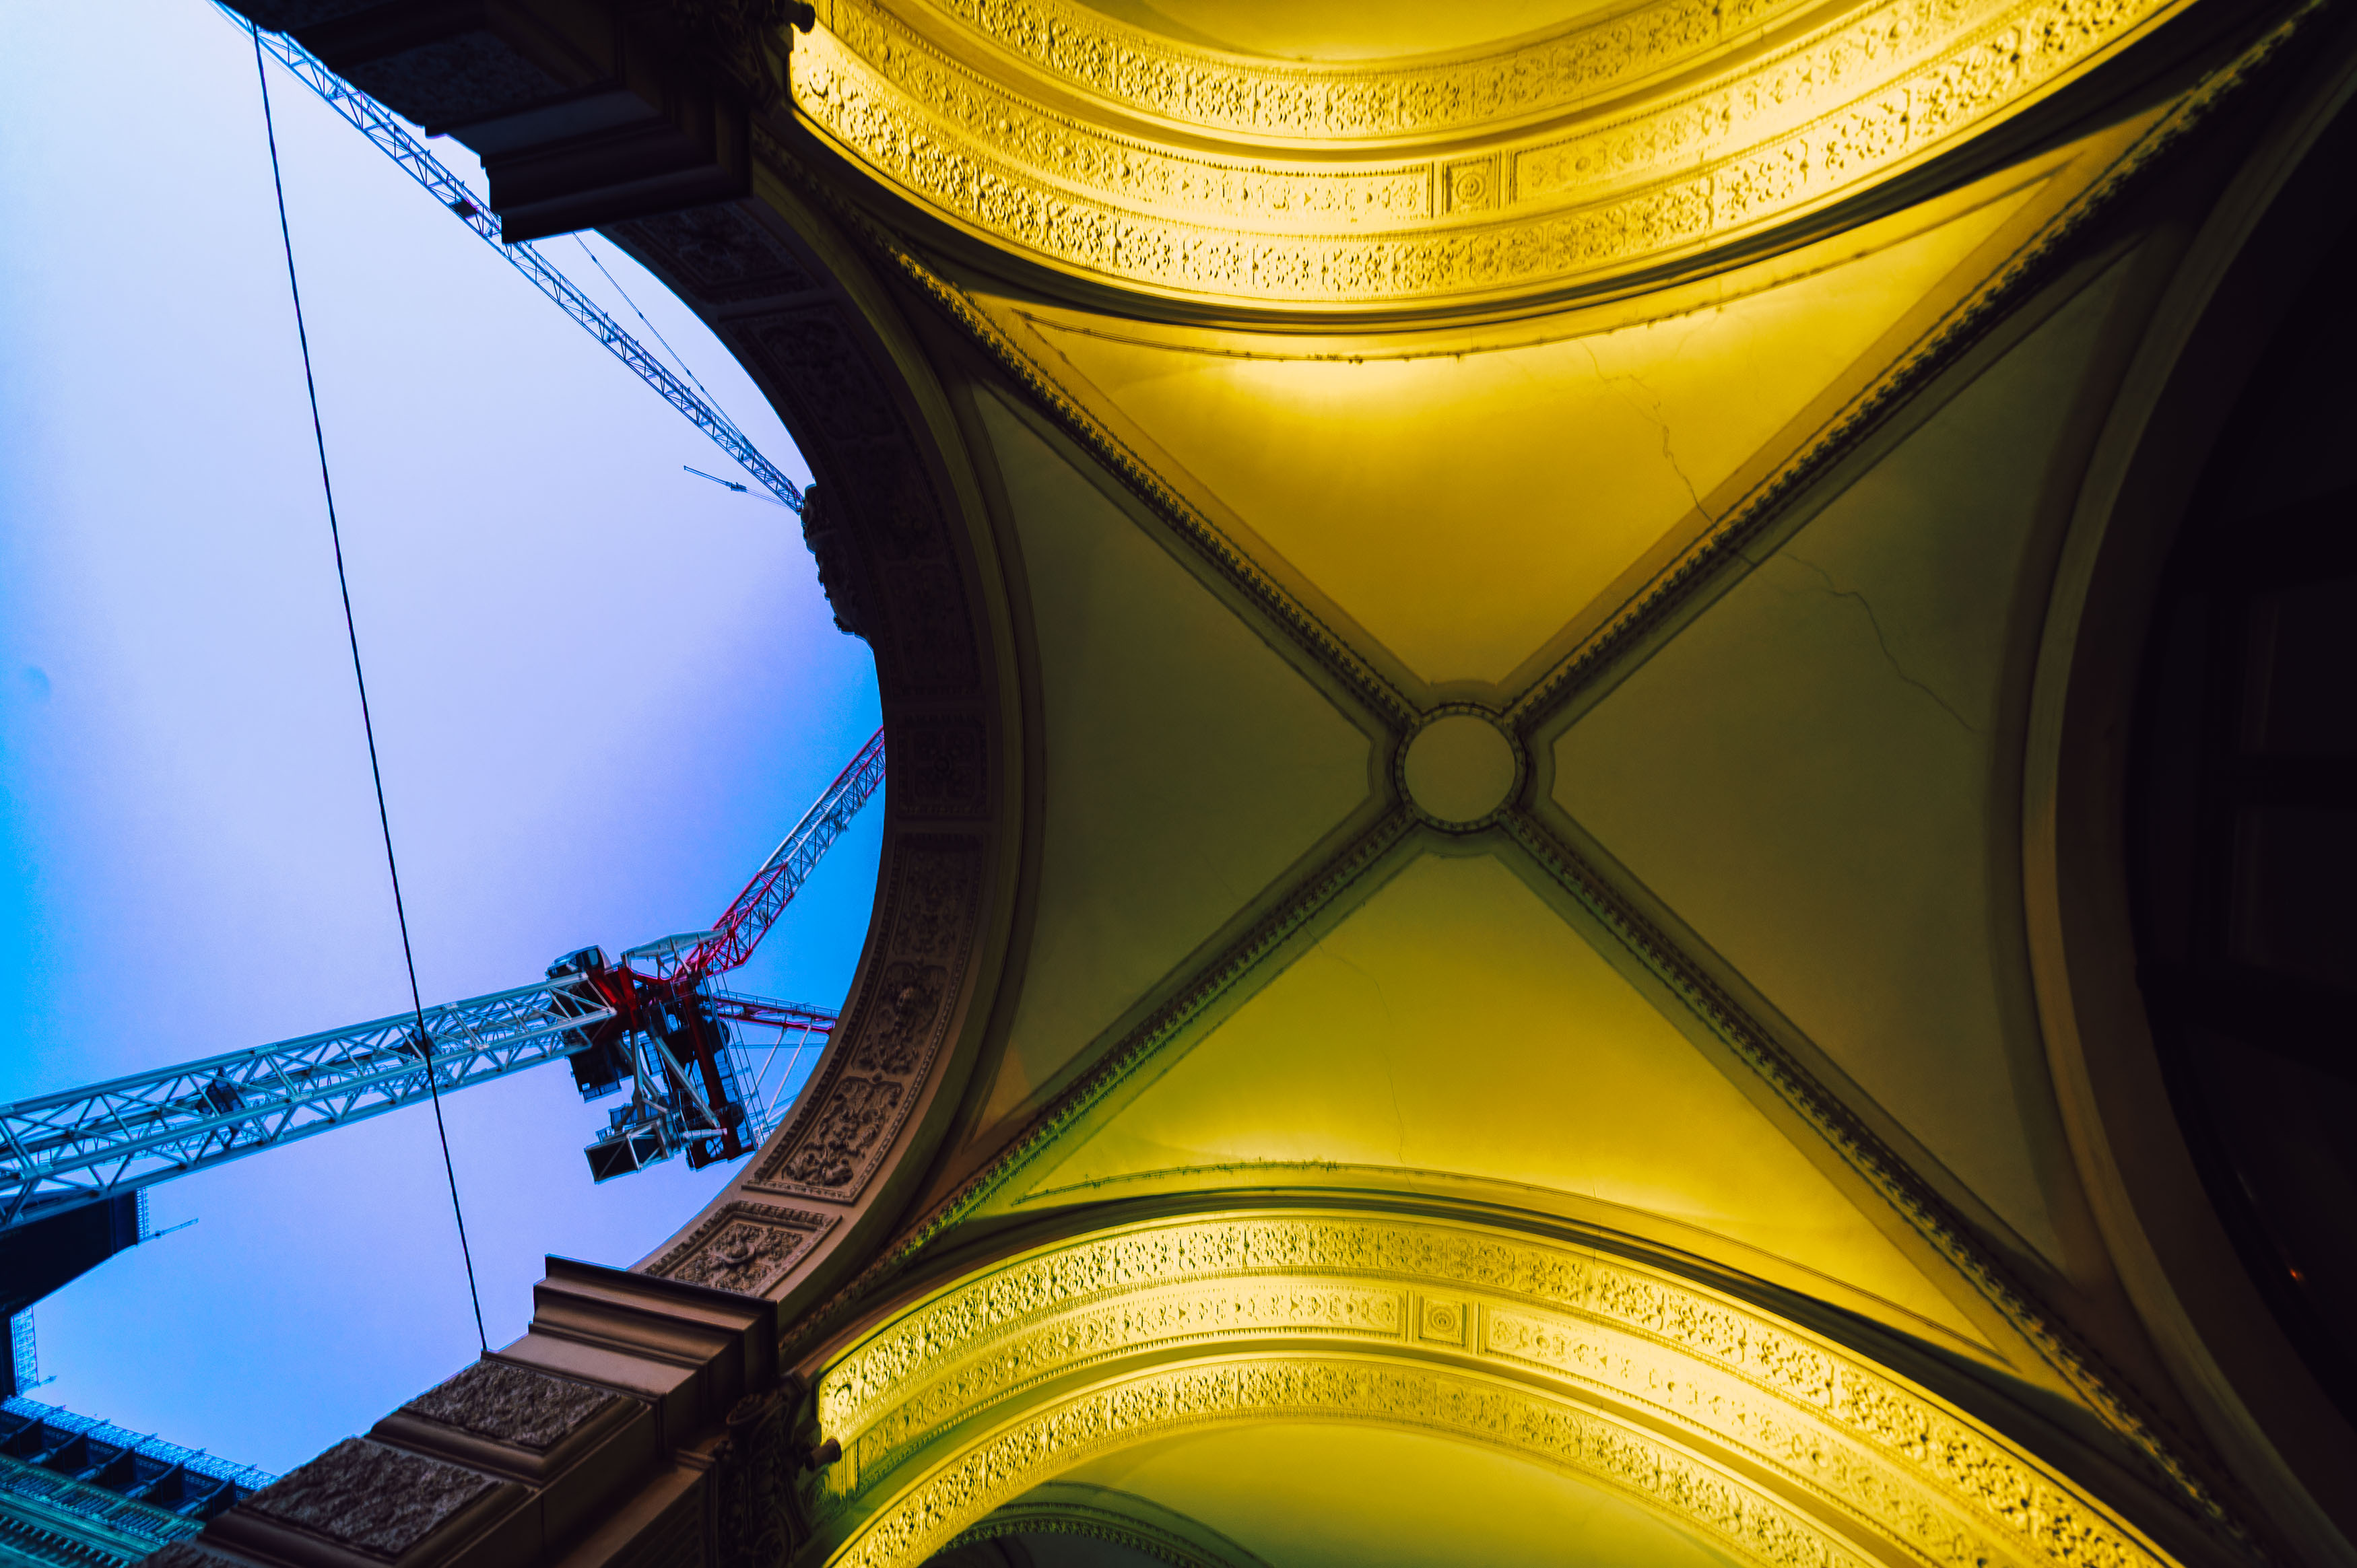
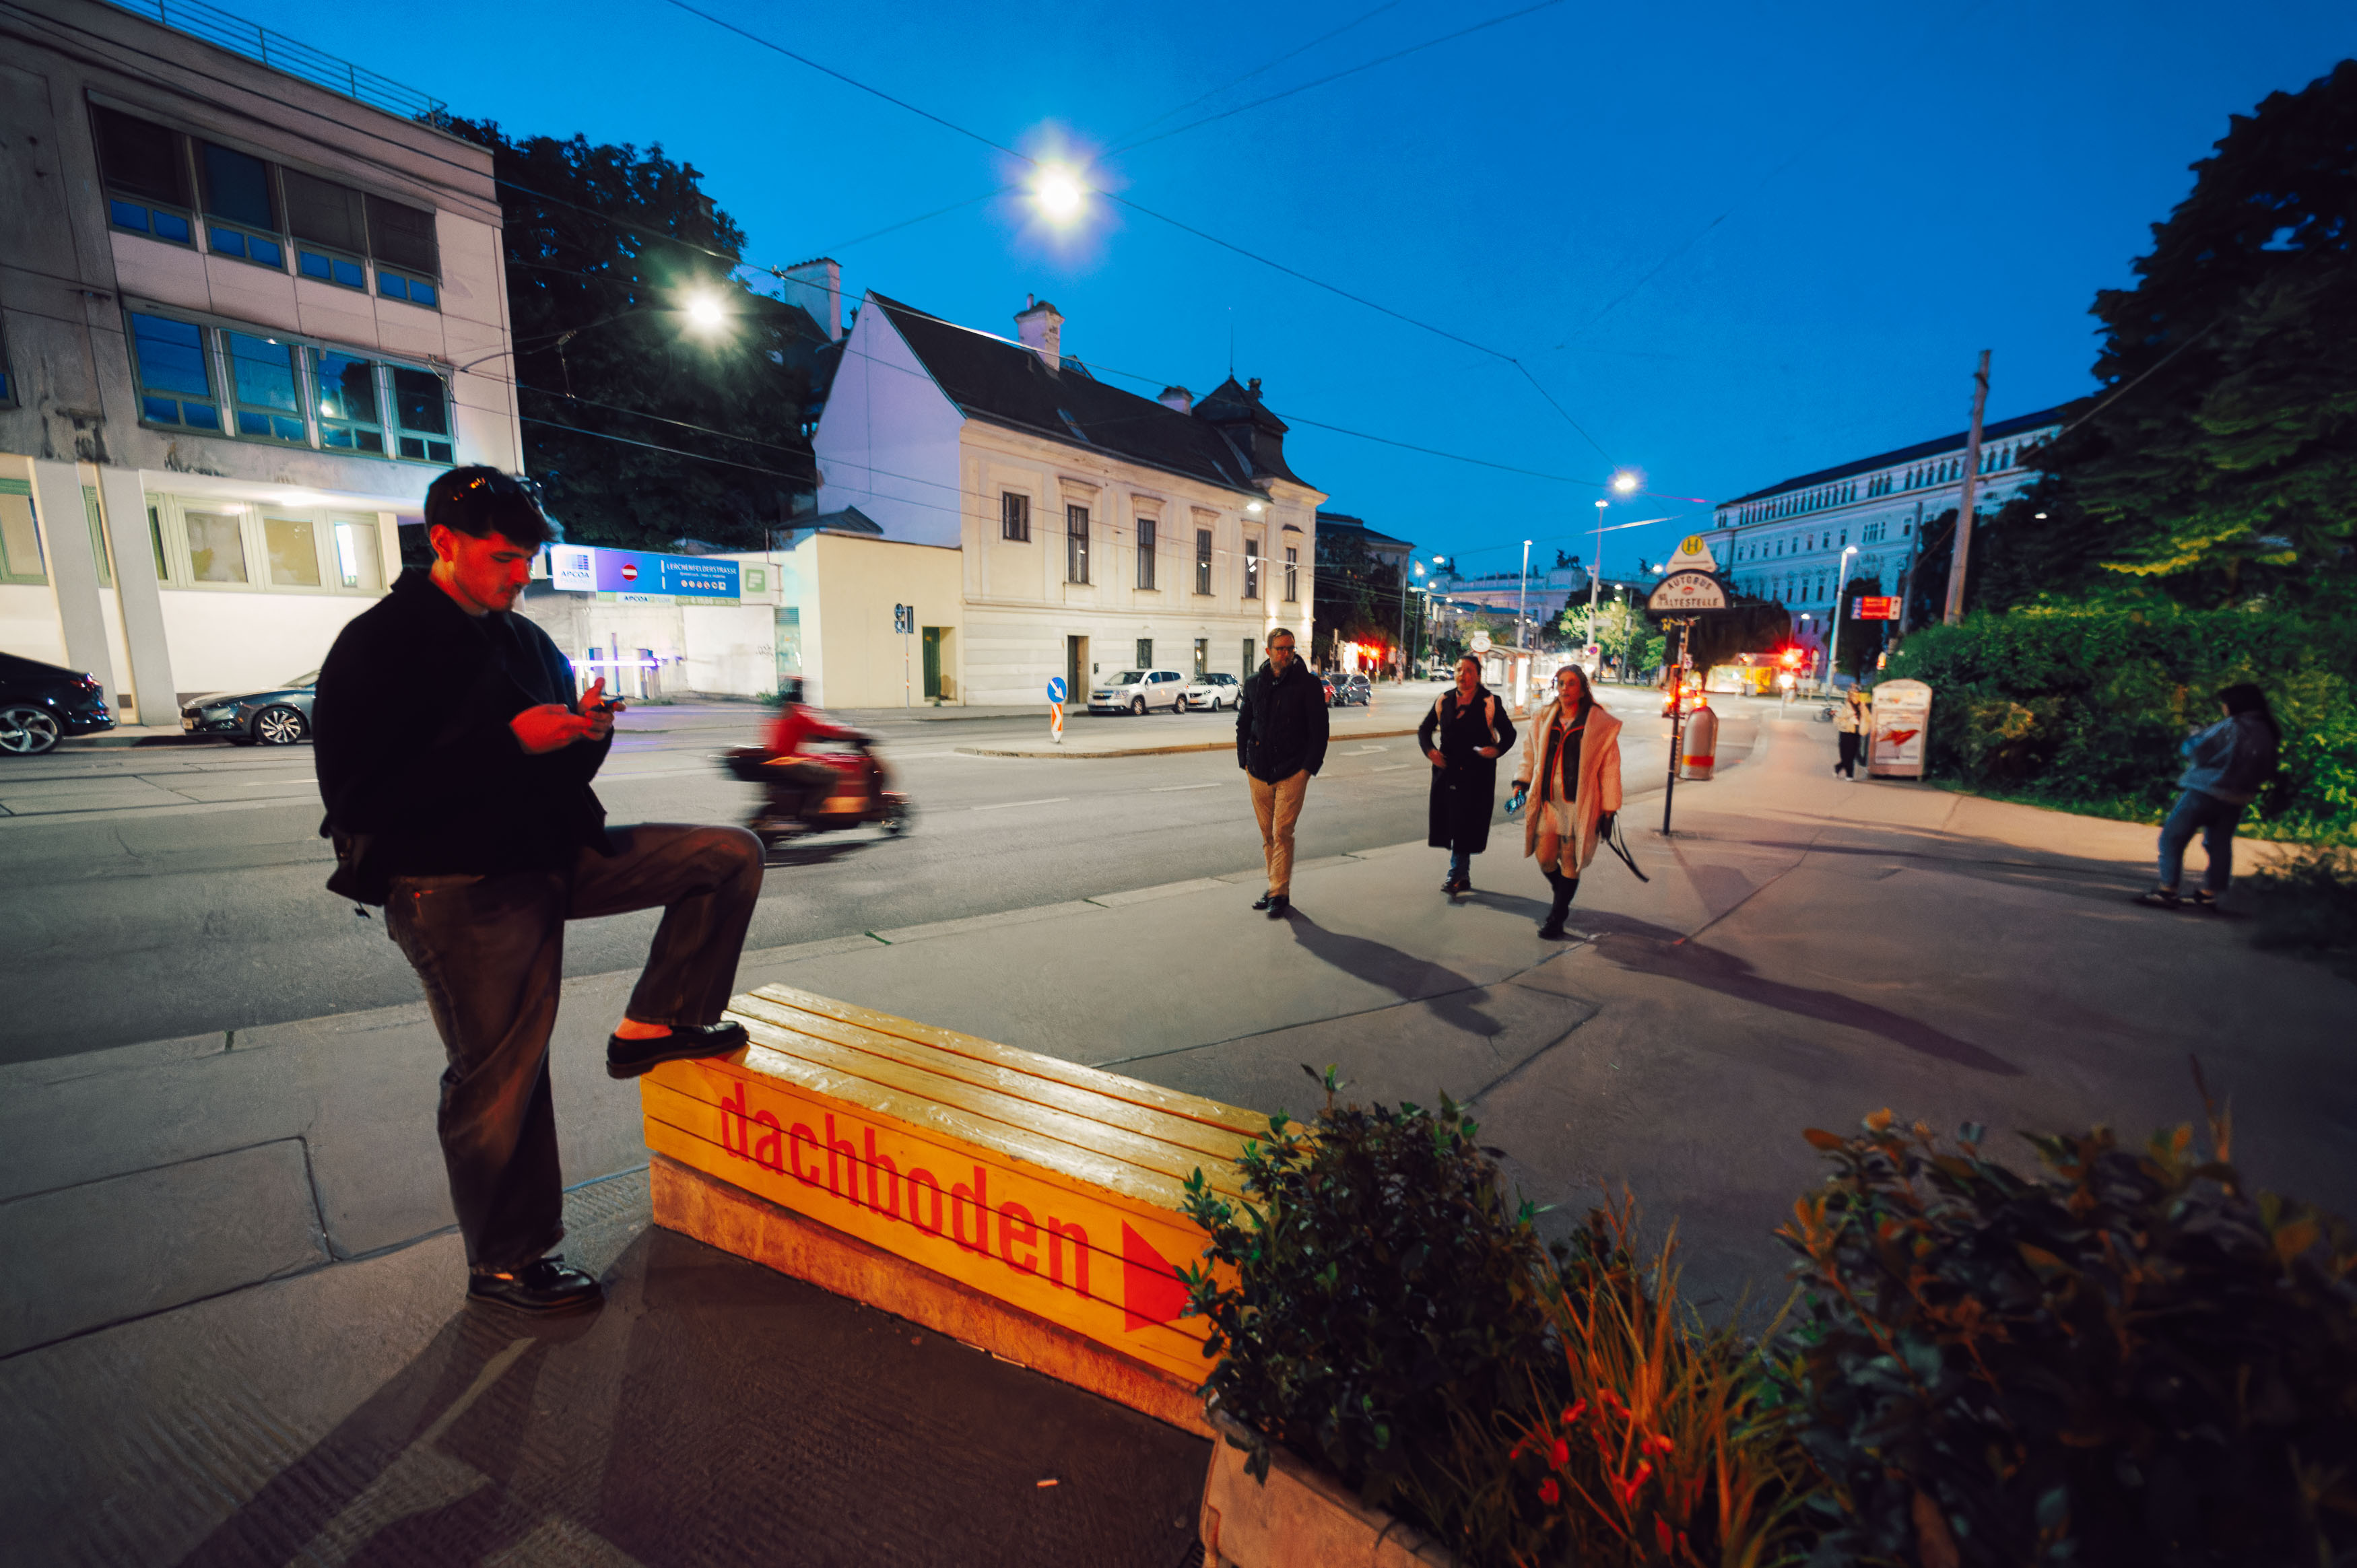
Everyone talks DOWN the Nikon AF Nikkor 28mm f/2.8 BUT…

The Nikon AF Nikkor 28mm f/2.8 isn’t exactly a lens that inspires excitement. Twenty-eight millimetres might be a useful focal length, but it hardly sets the photographic world on fire. It’s wide enough to take in the world without making everything look like a Kubrick film, and there’s a good reason these lenses are so common: they’re practical and versatile.

Unfortunately, this particular version has something of a reputation problem. Introduced in 1994, the AF 28mm f/2.8 is generally regarded as a compromise compared with Nikon’s celebrated manual-focus AI-S version, which has an eight-element optical design and remained in production for more than thirty years. The AF has just six elements and is often considered optically inferior, although it’s still regarded as an improvement over the Series E lens that preceded it. The general consensus is that Nikon did better with its 24mm lenses, leaving this 28mm near the bottom of the wide-angle pile.

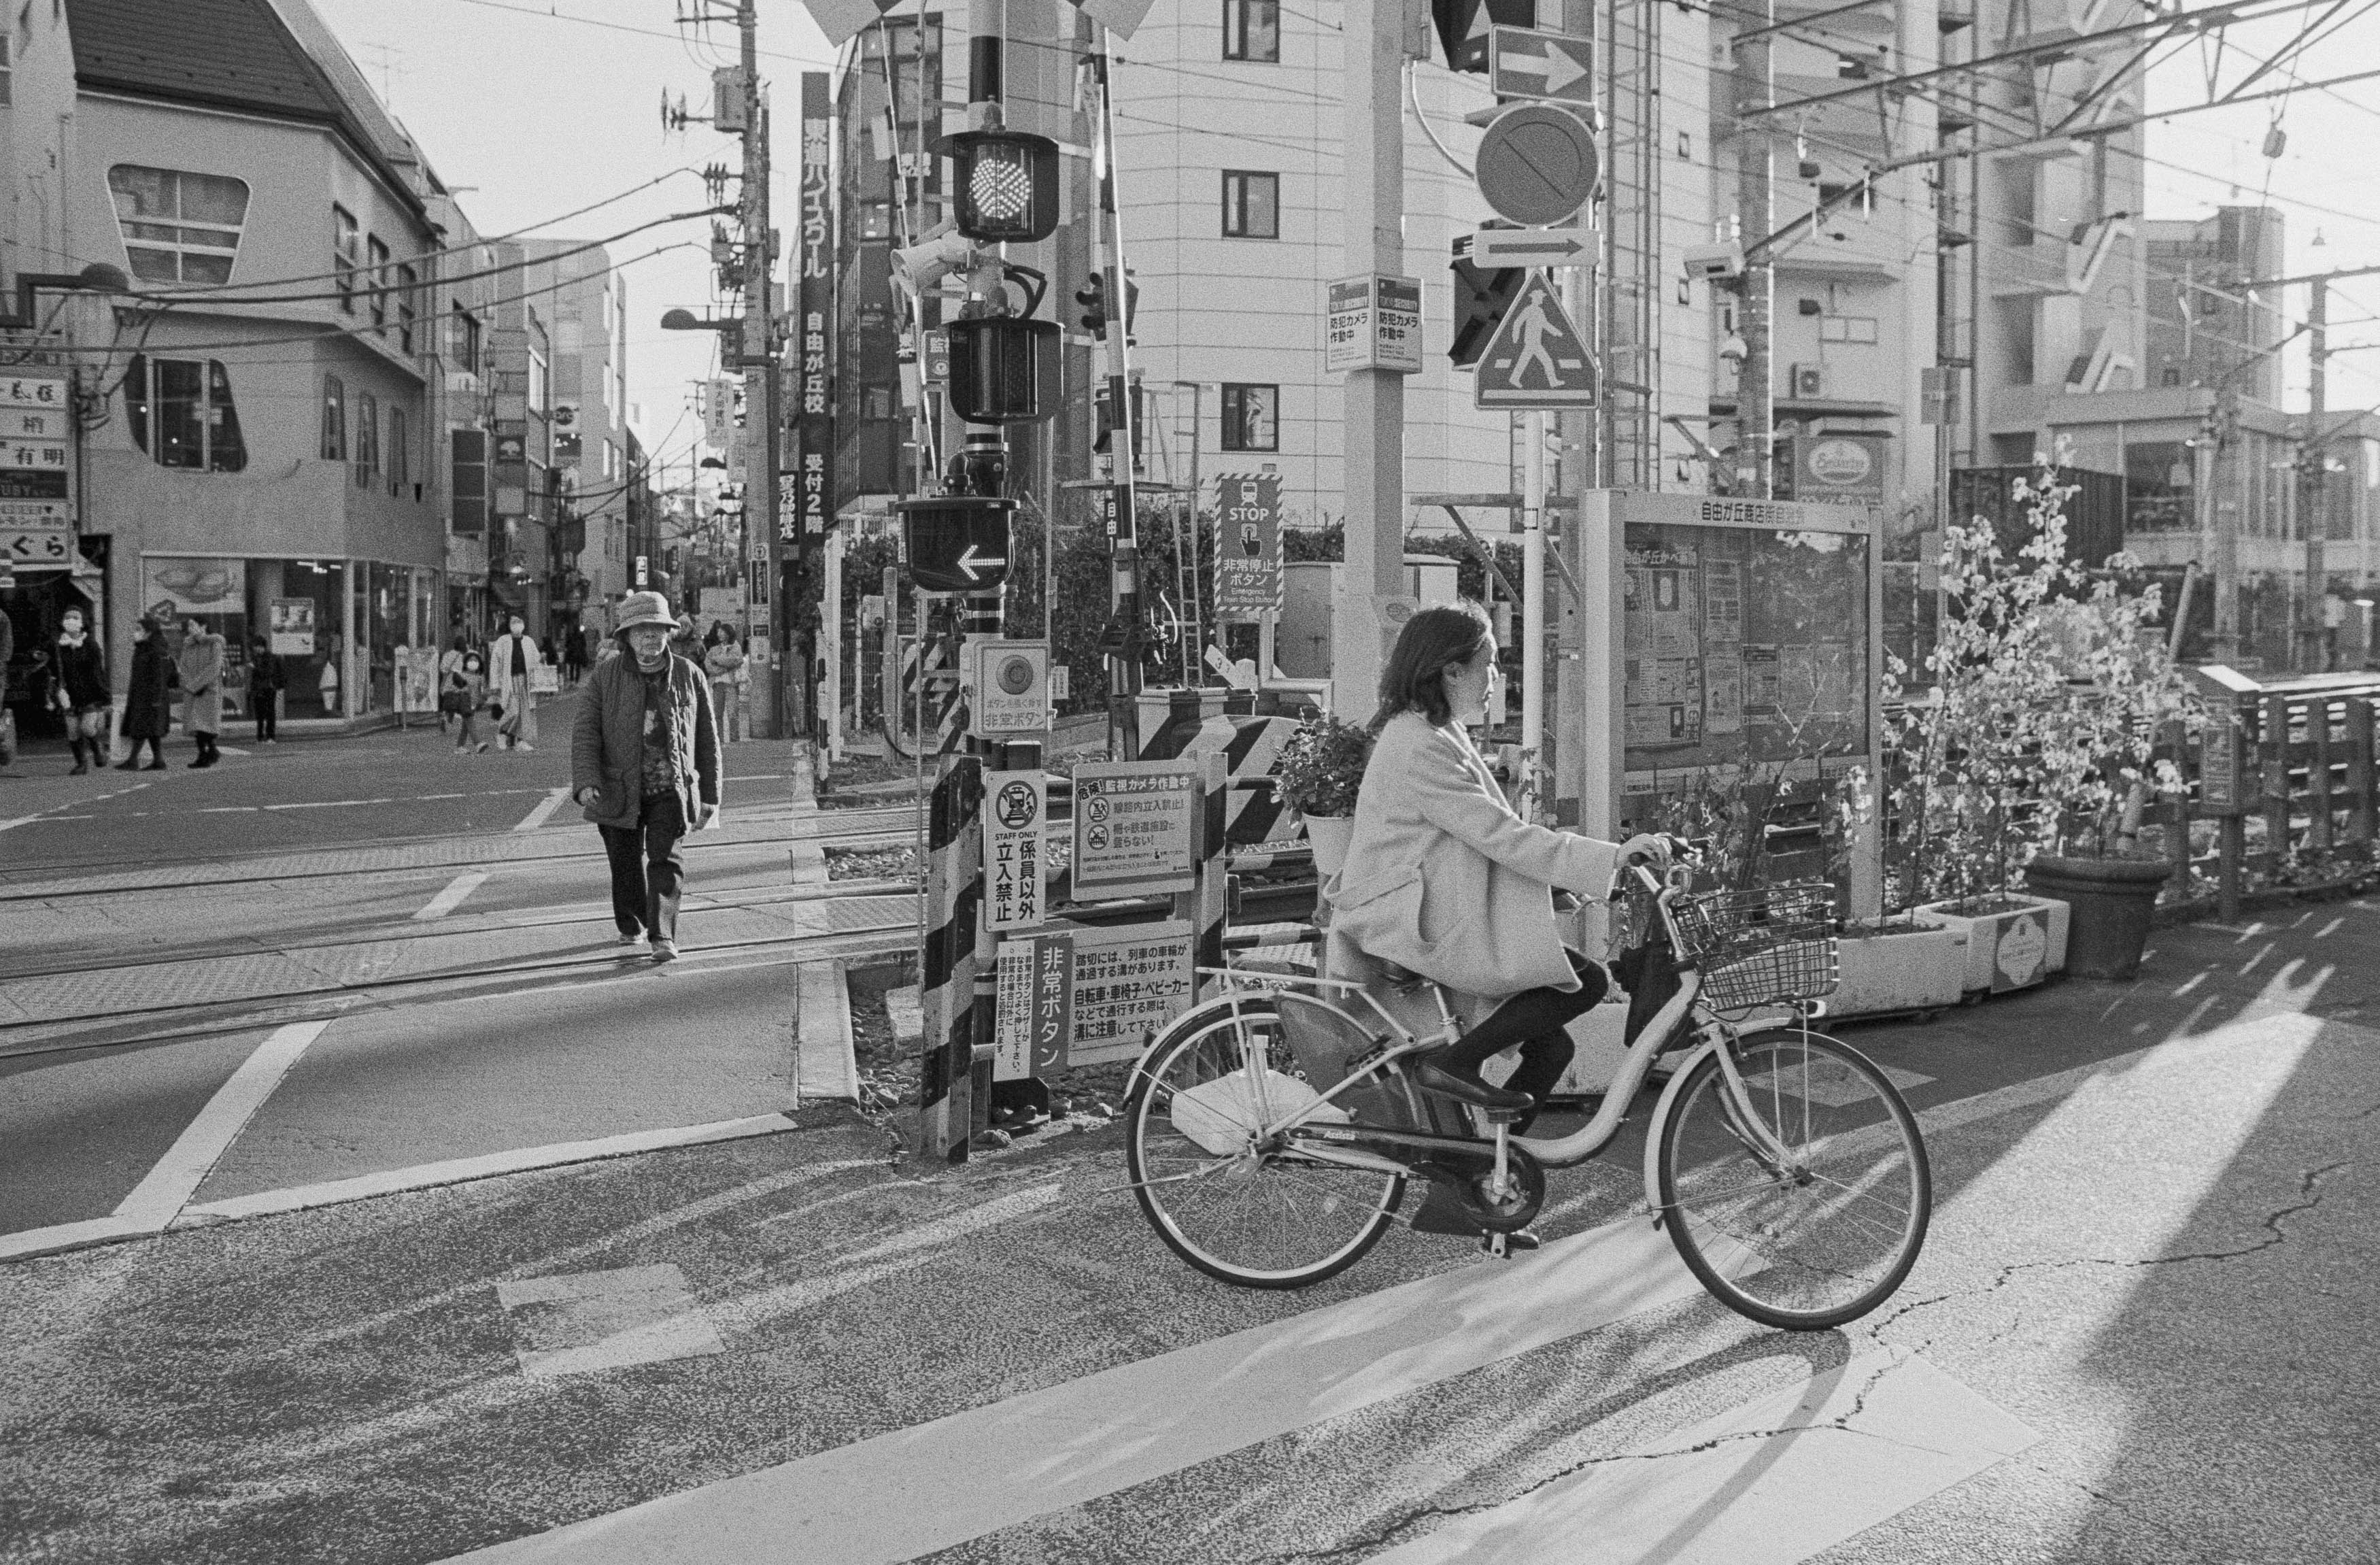
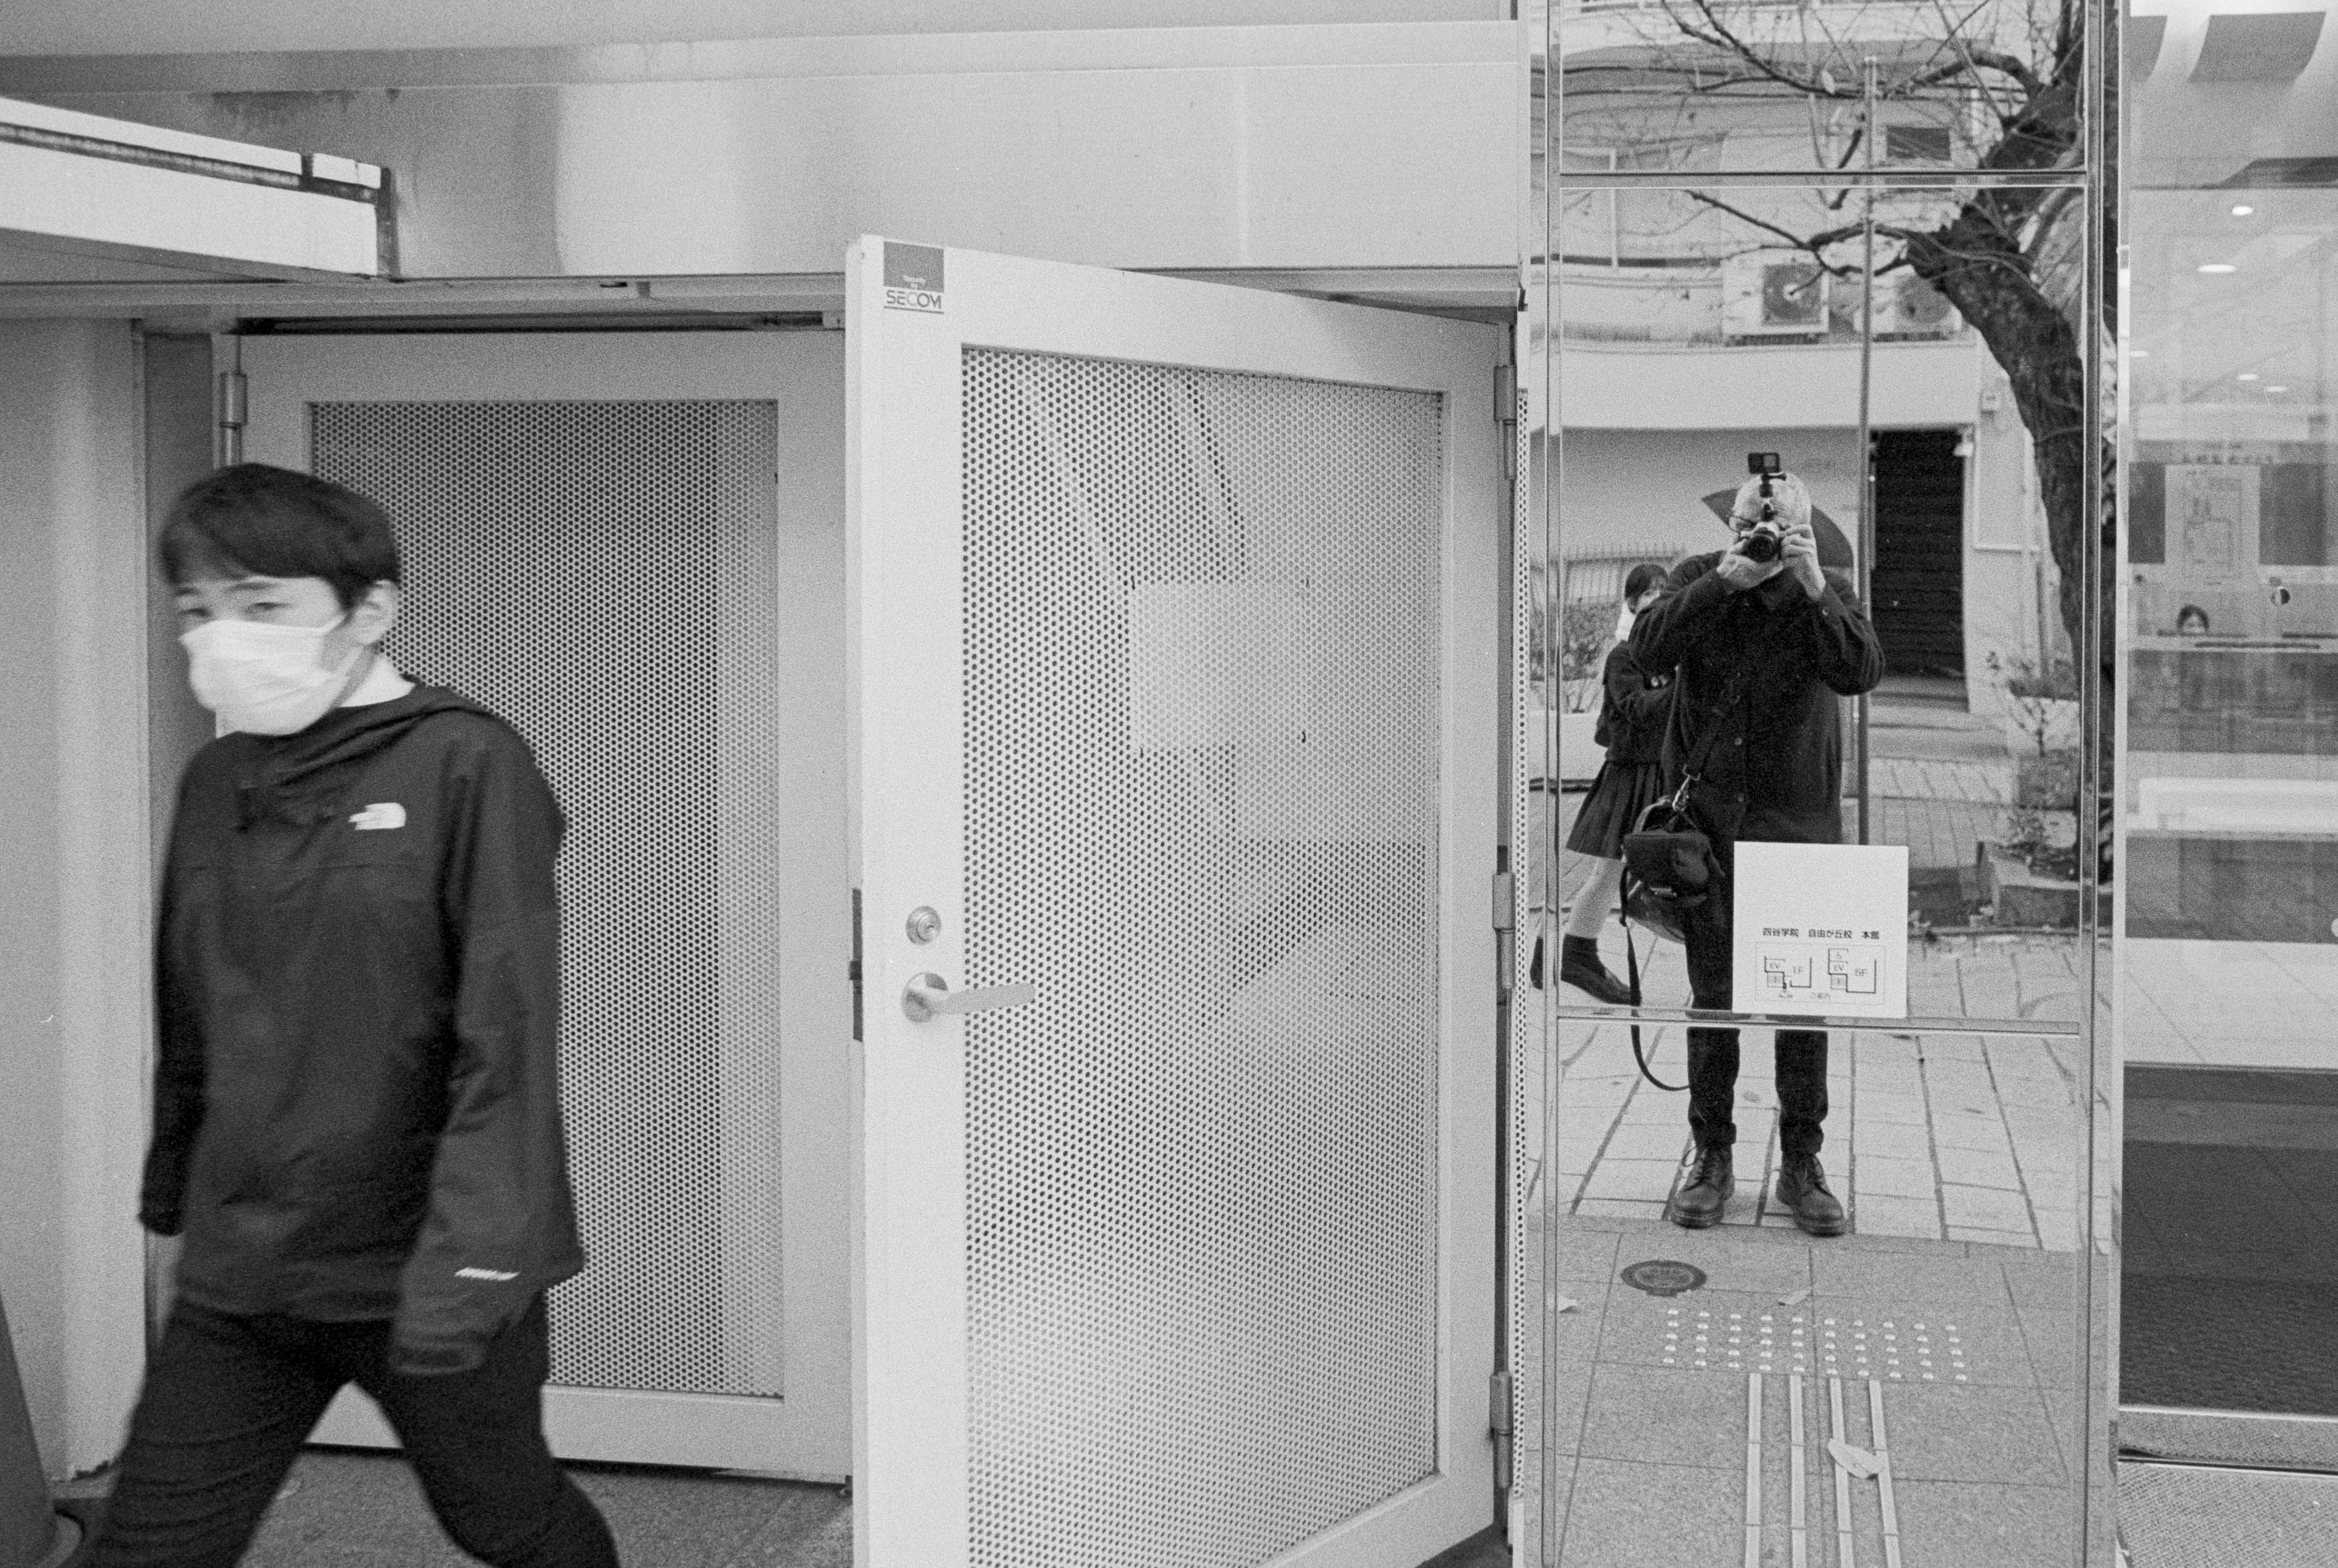
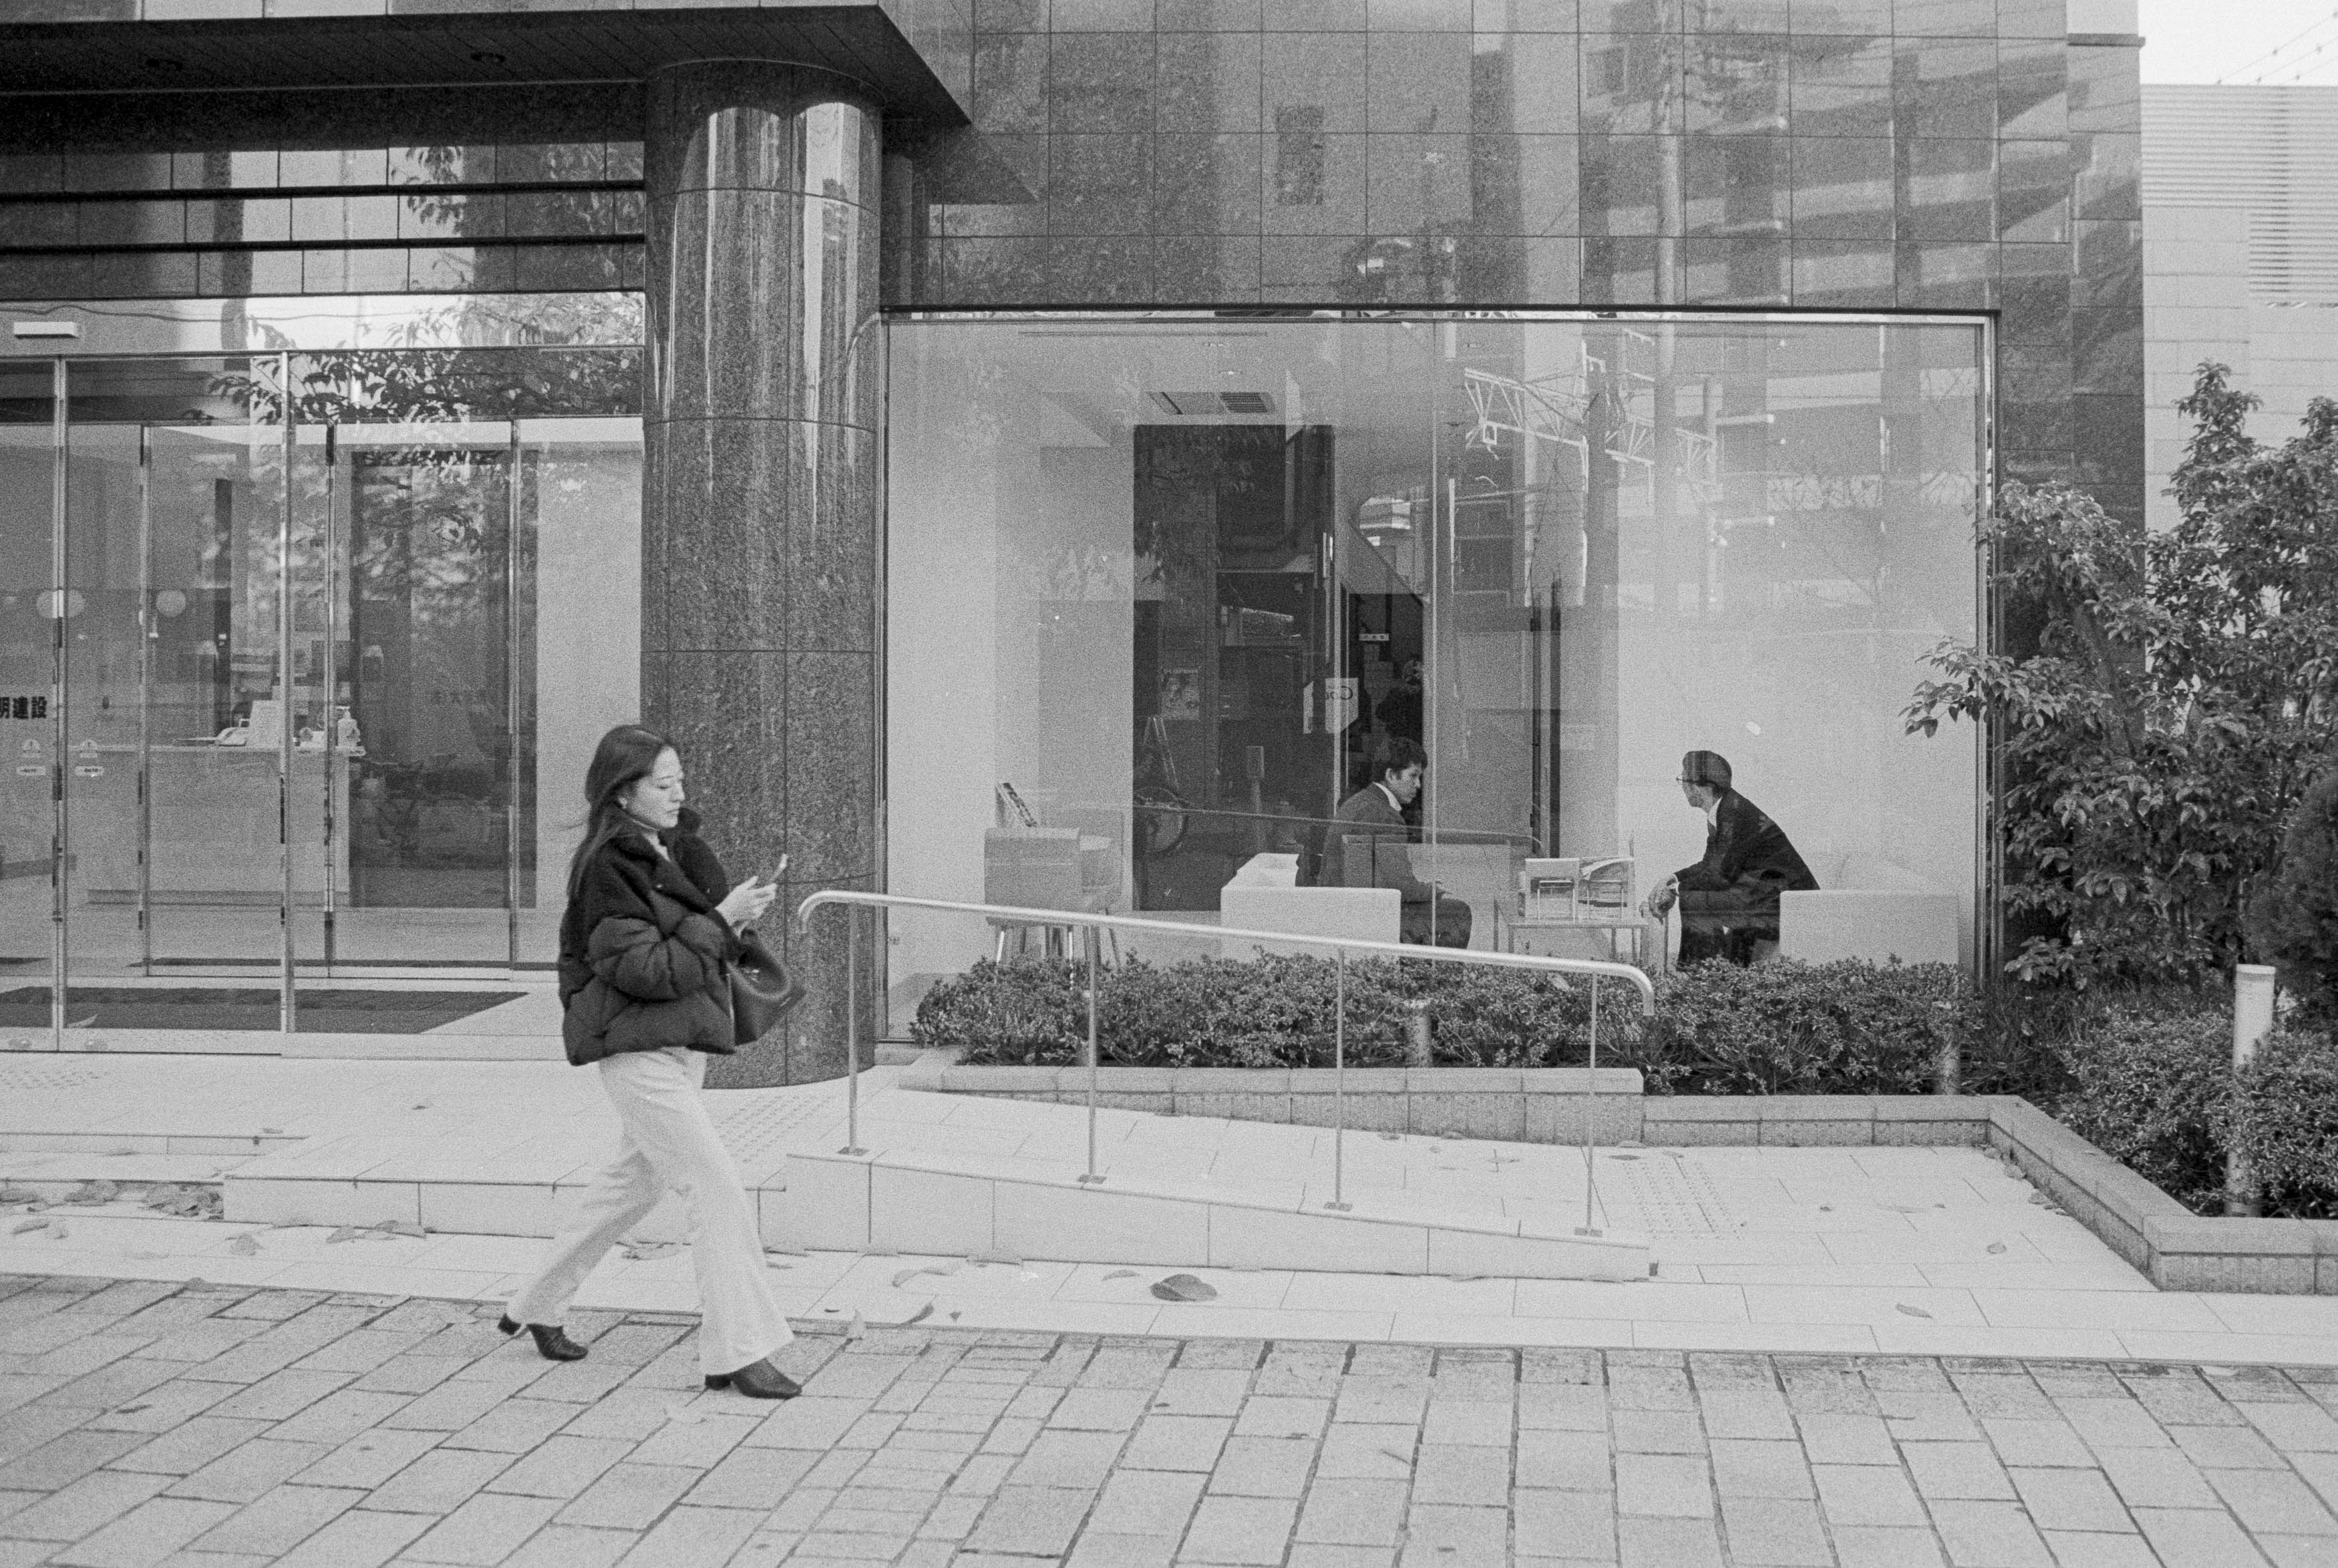
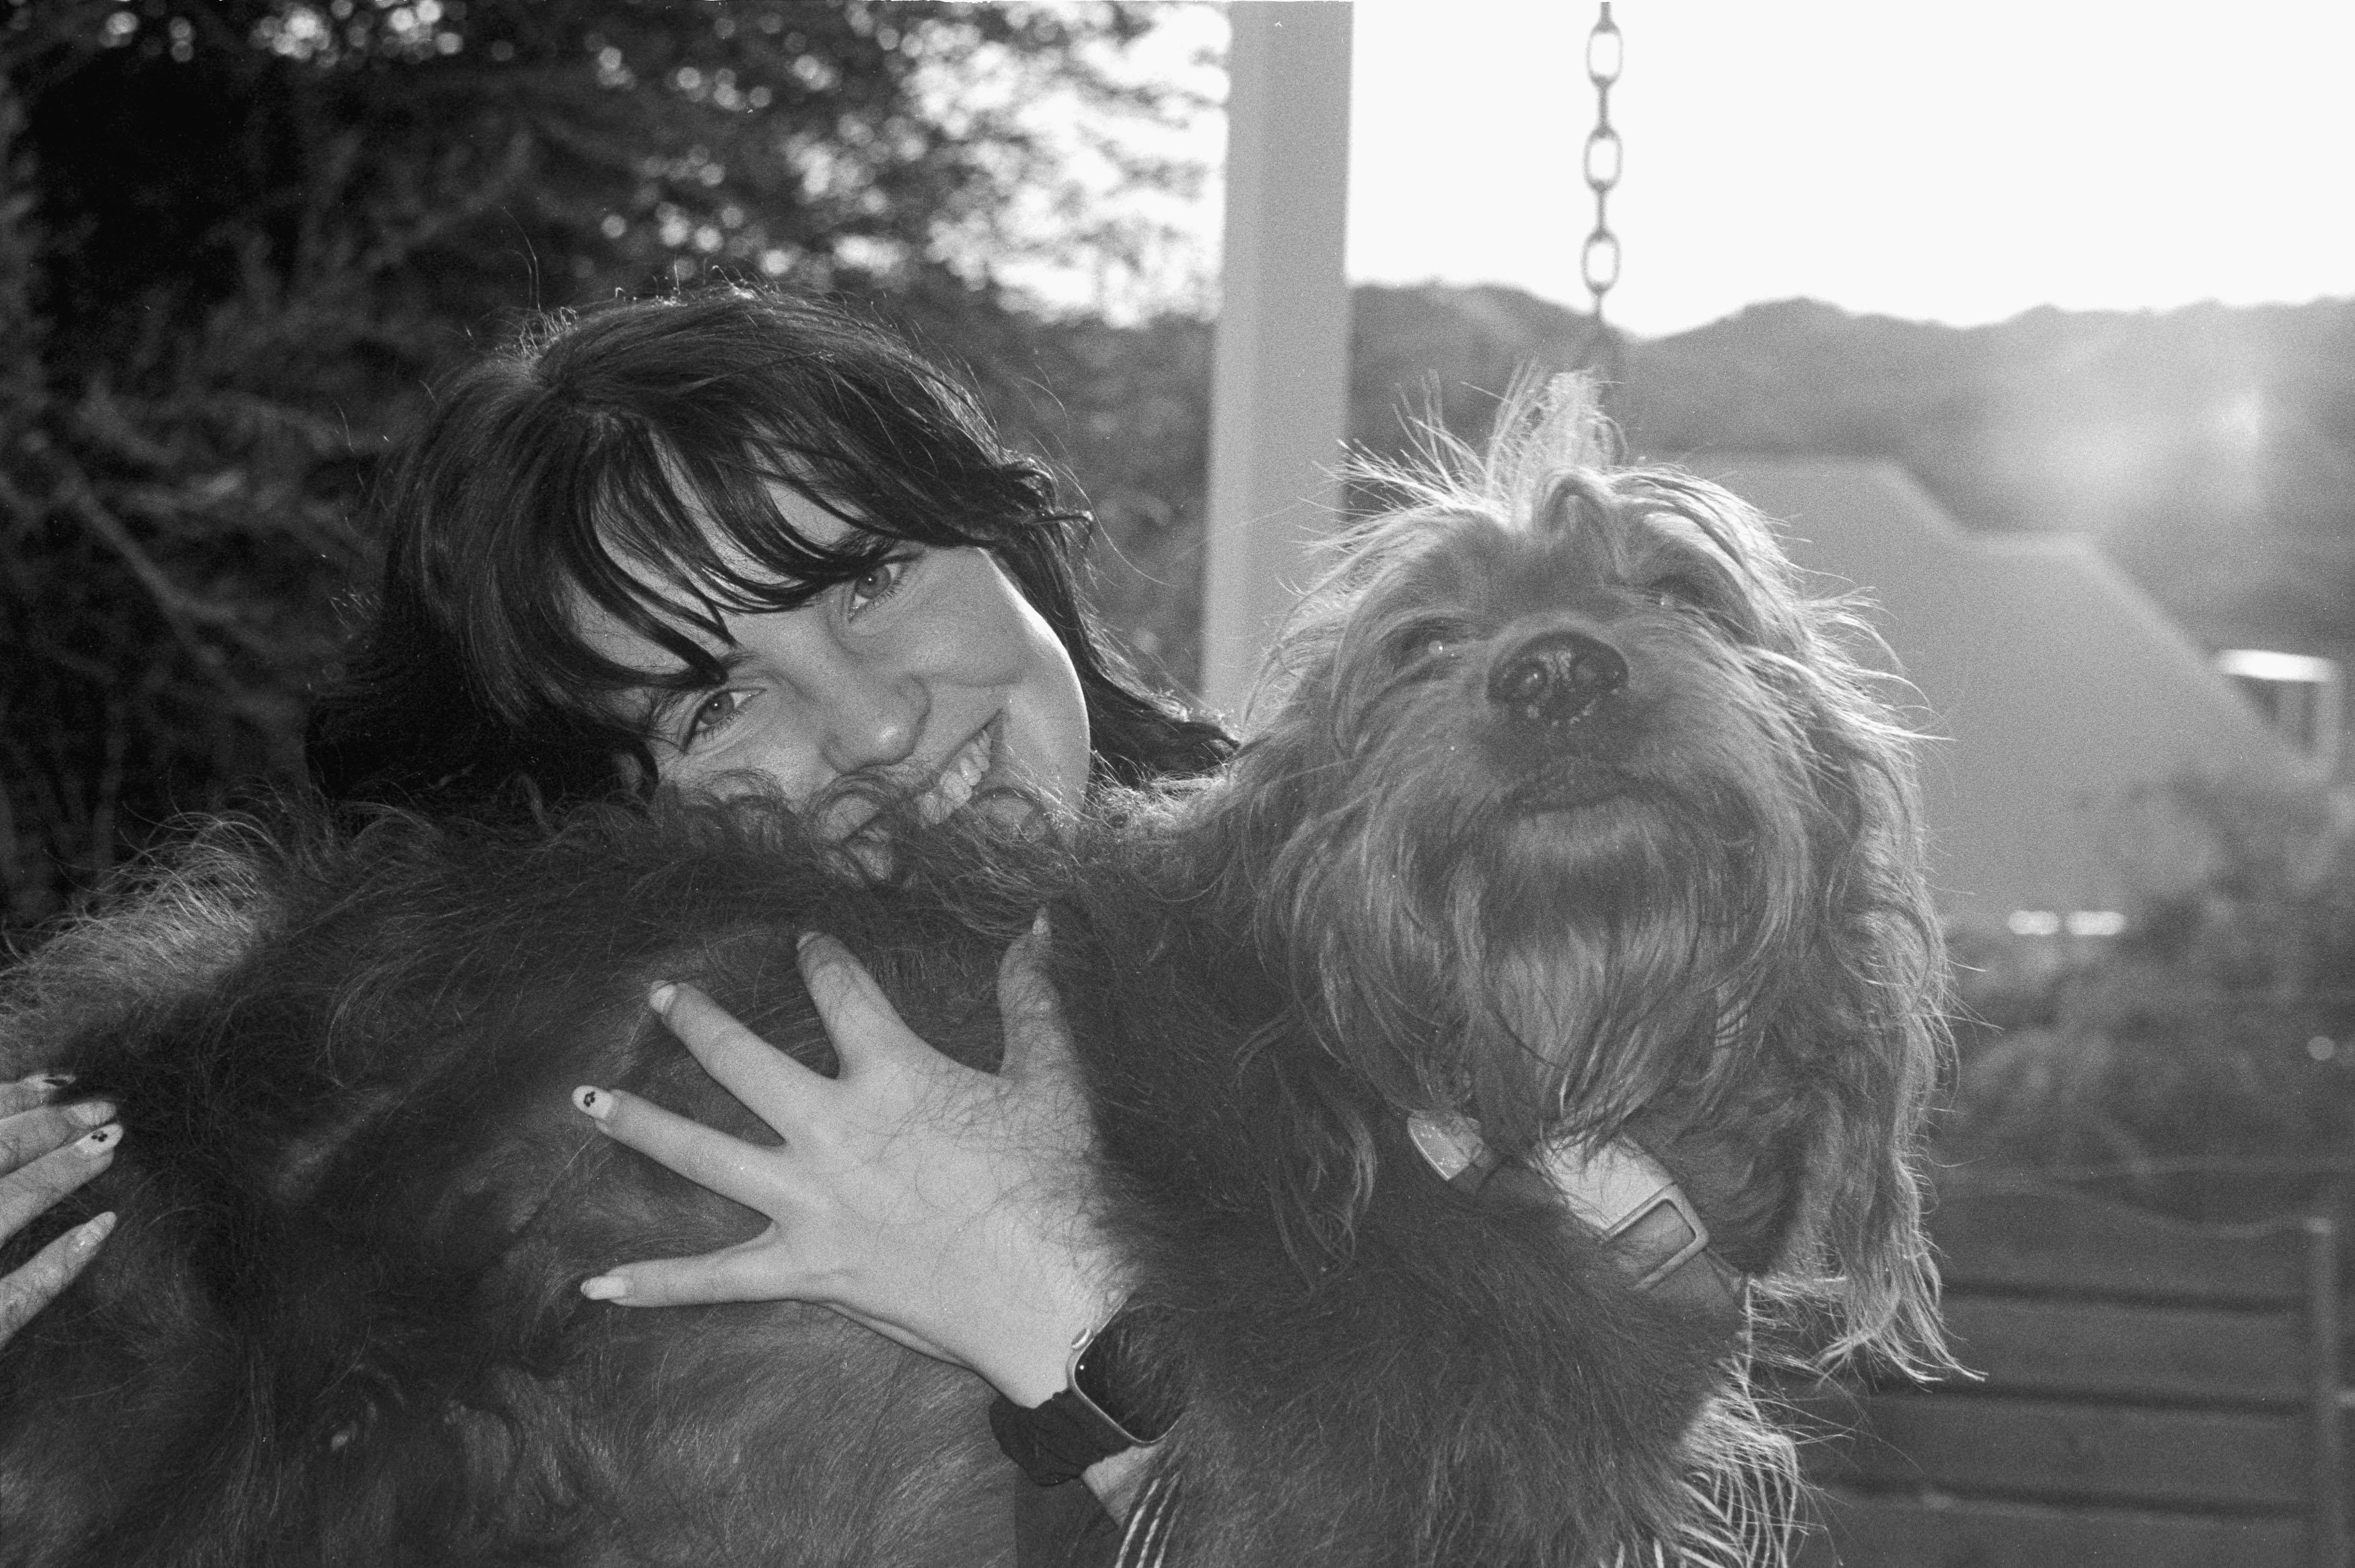
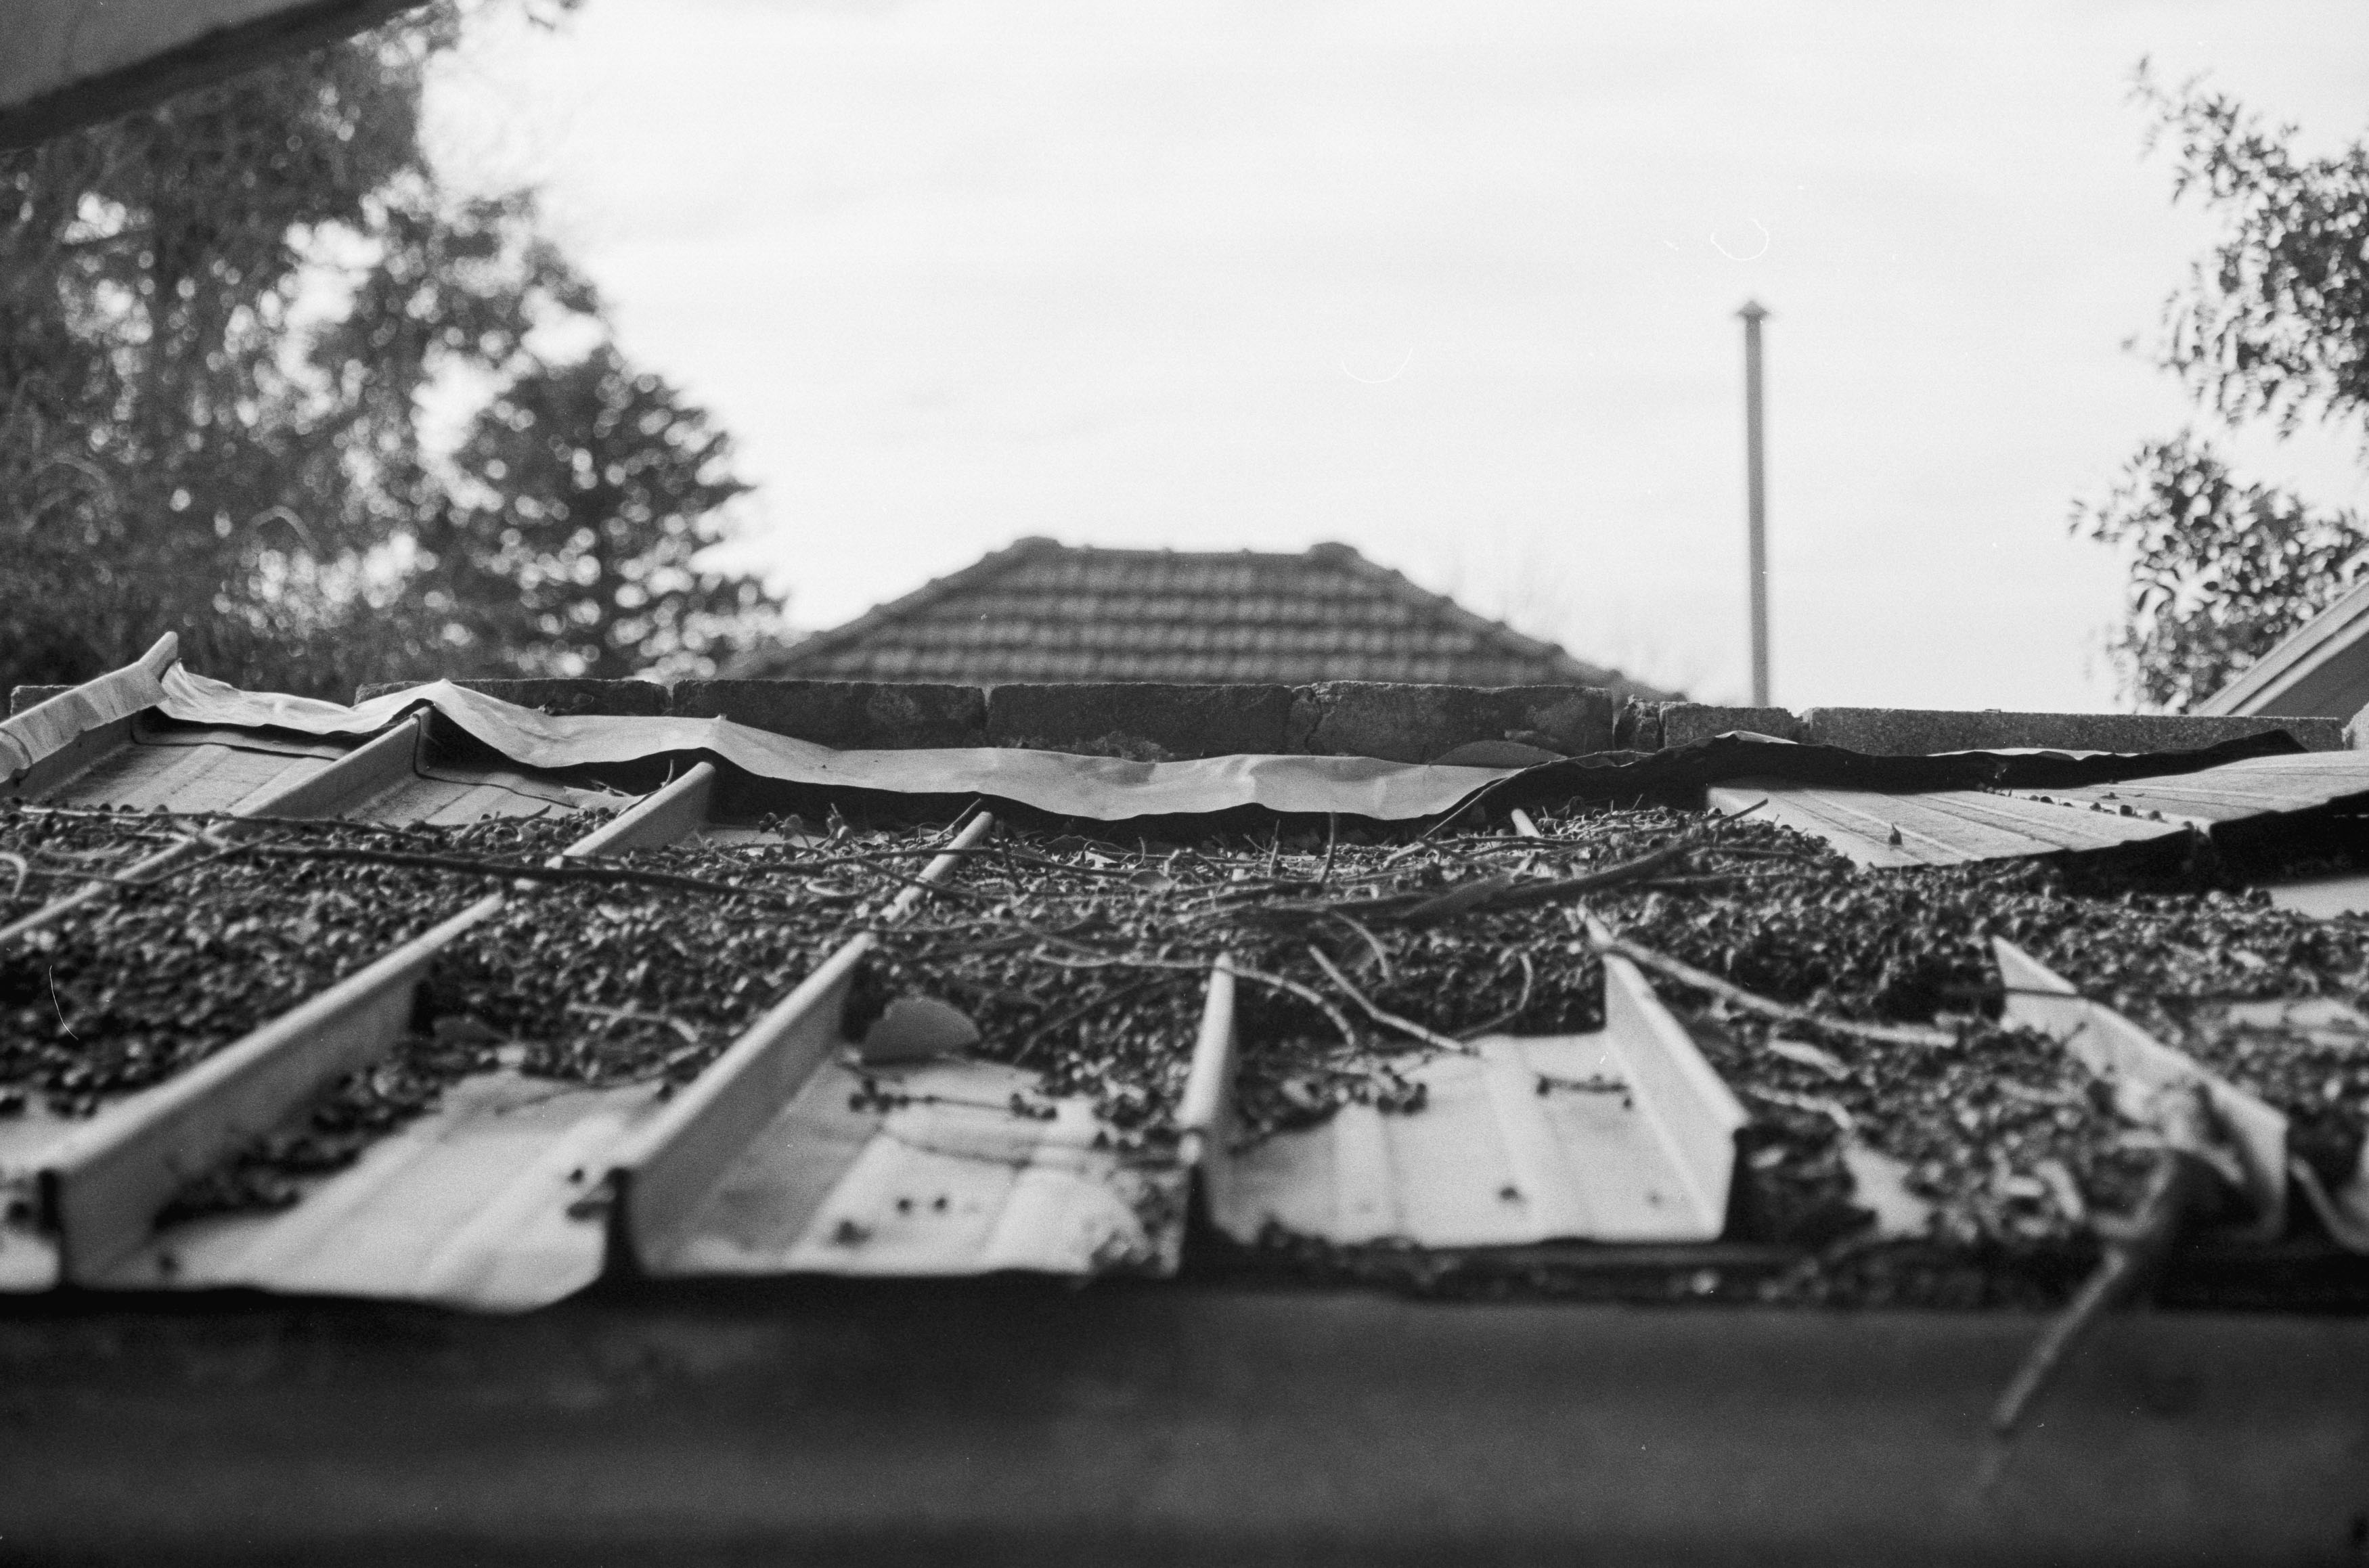
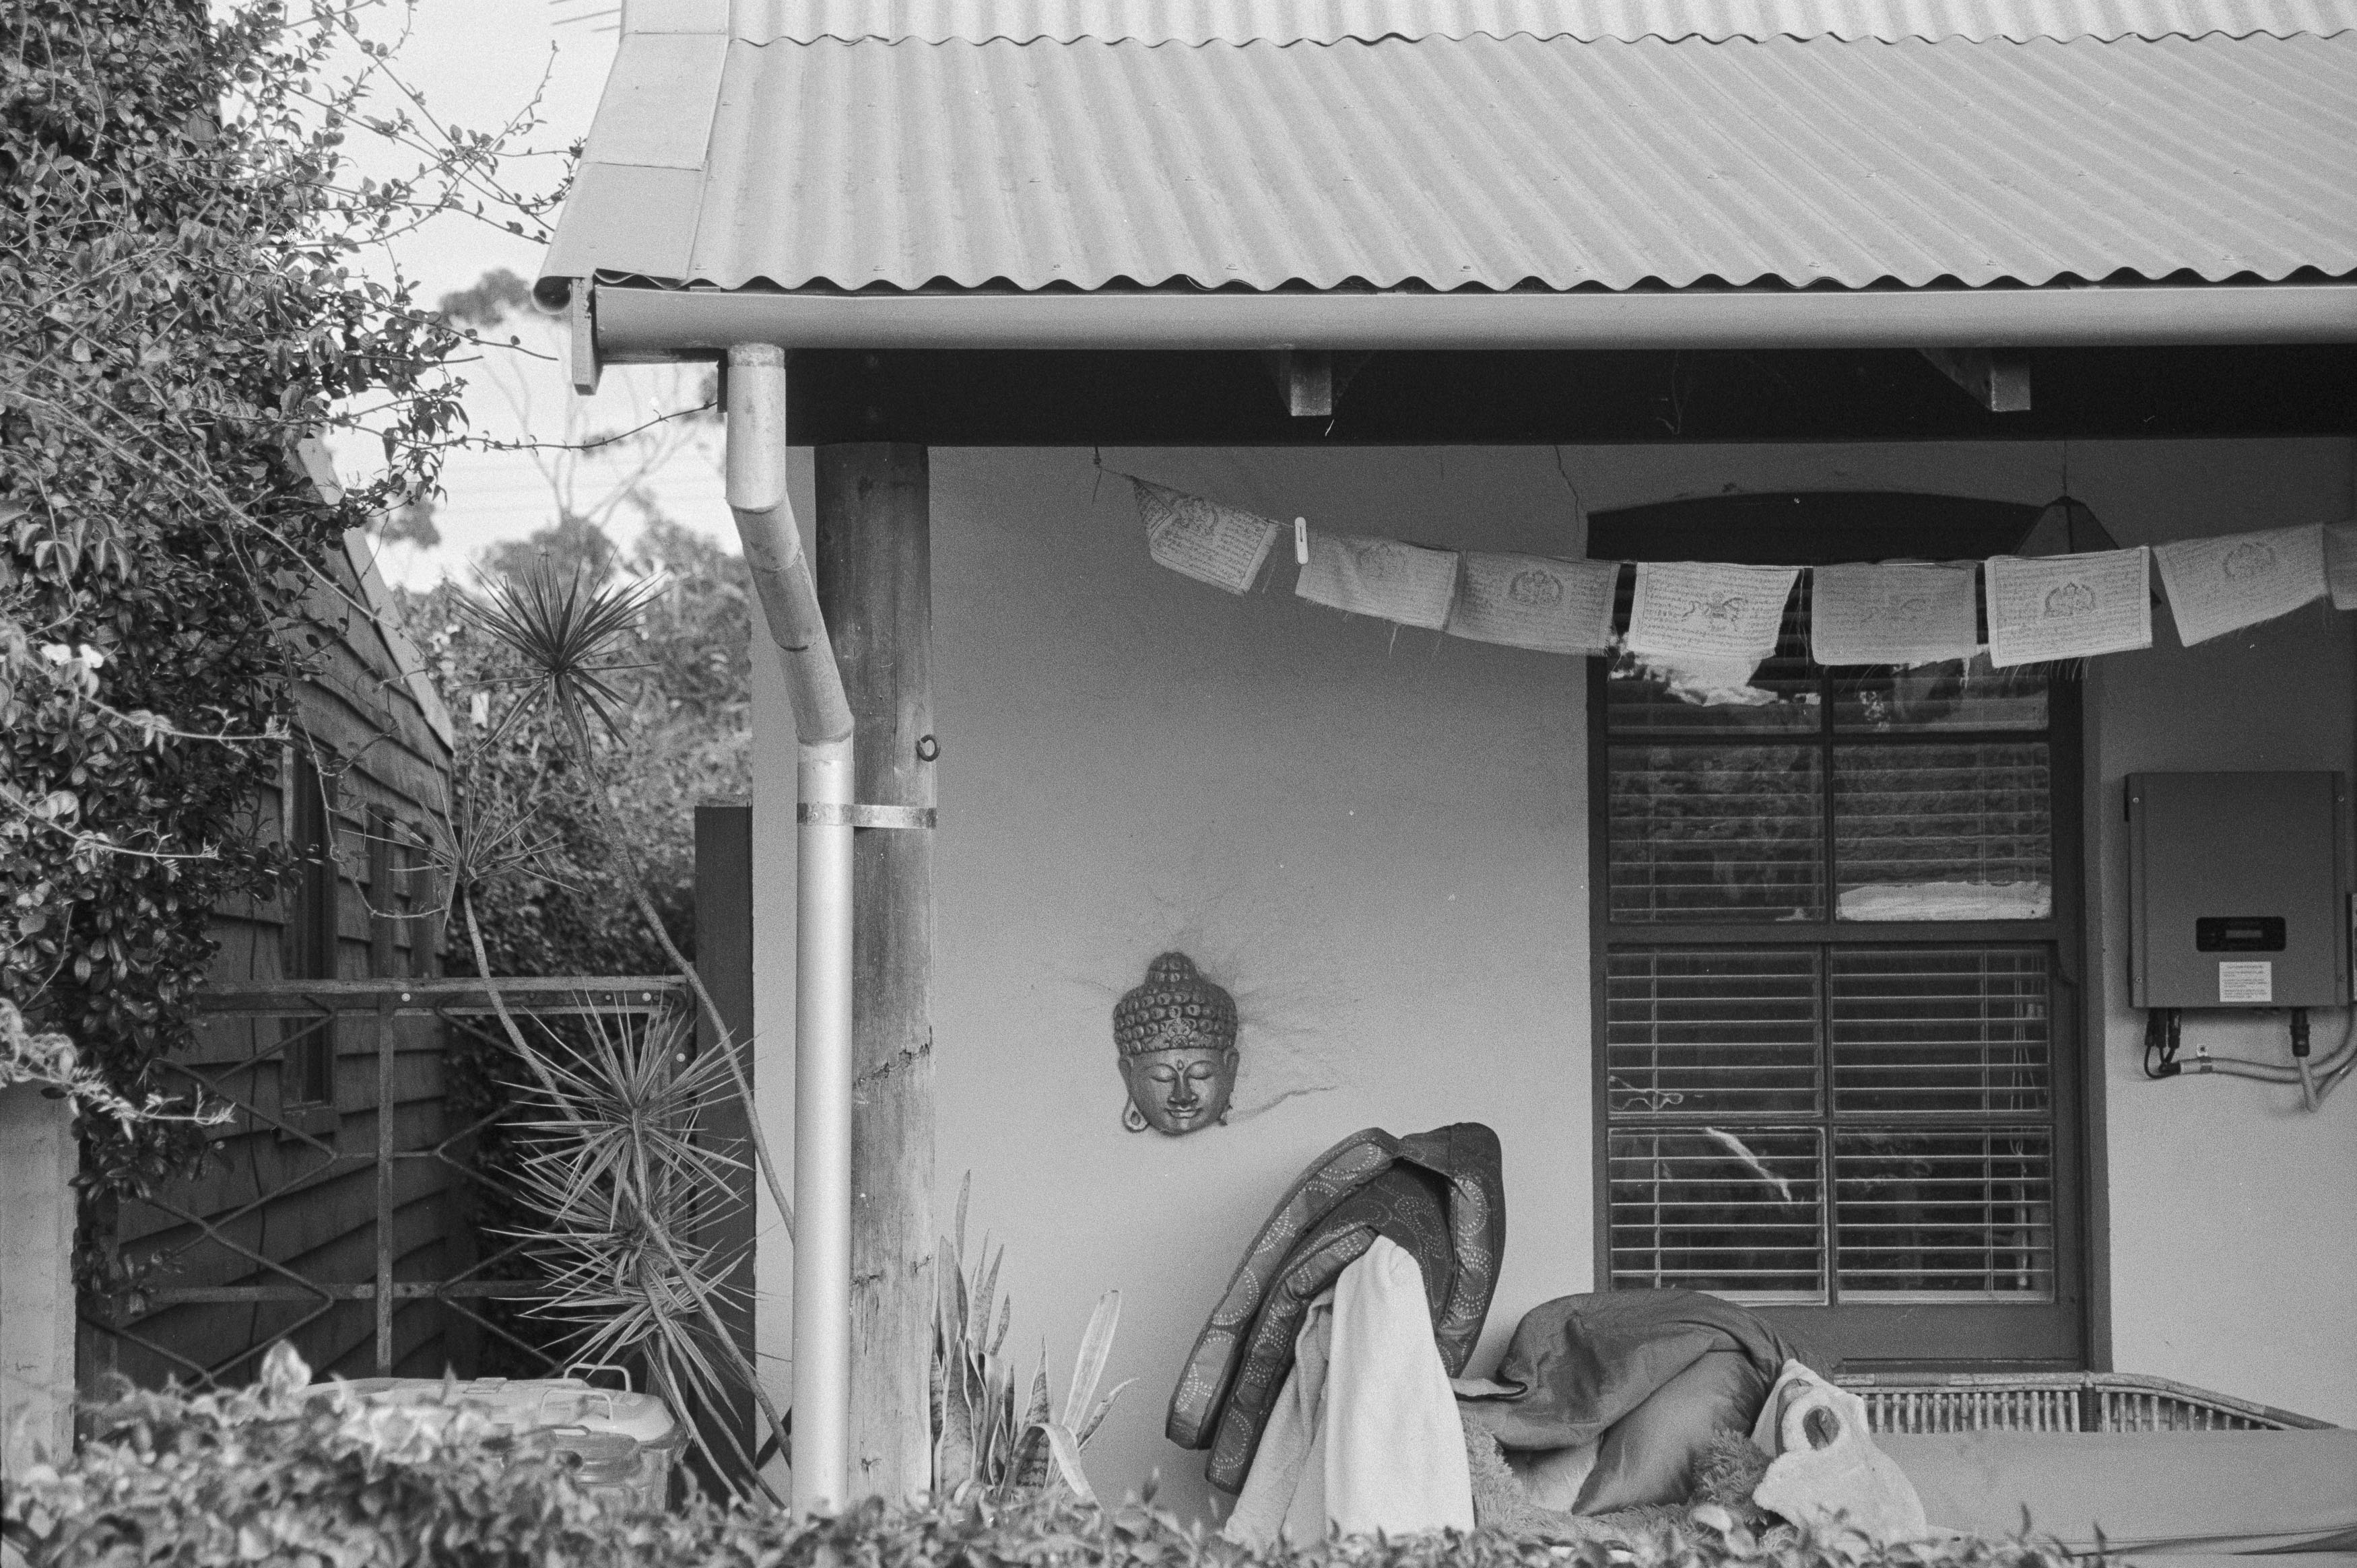
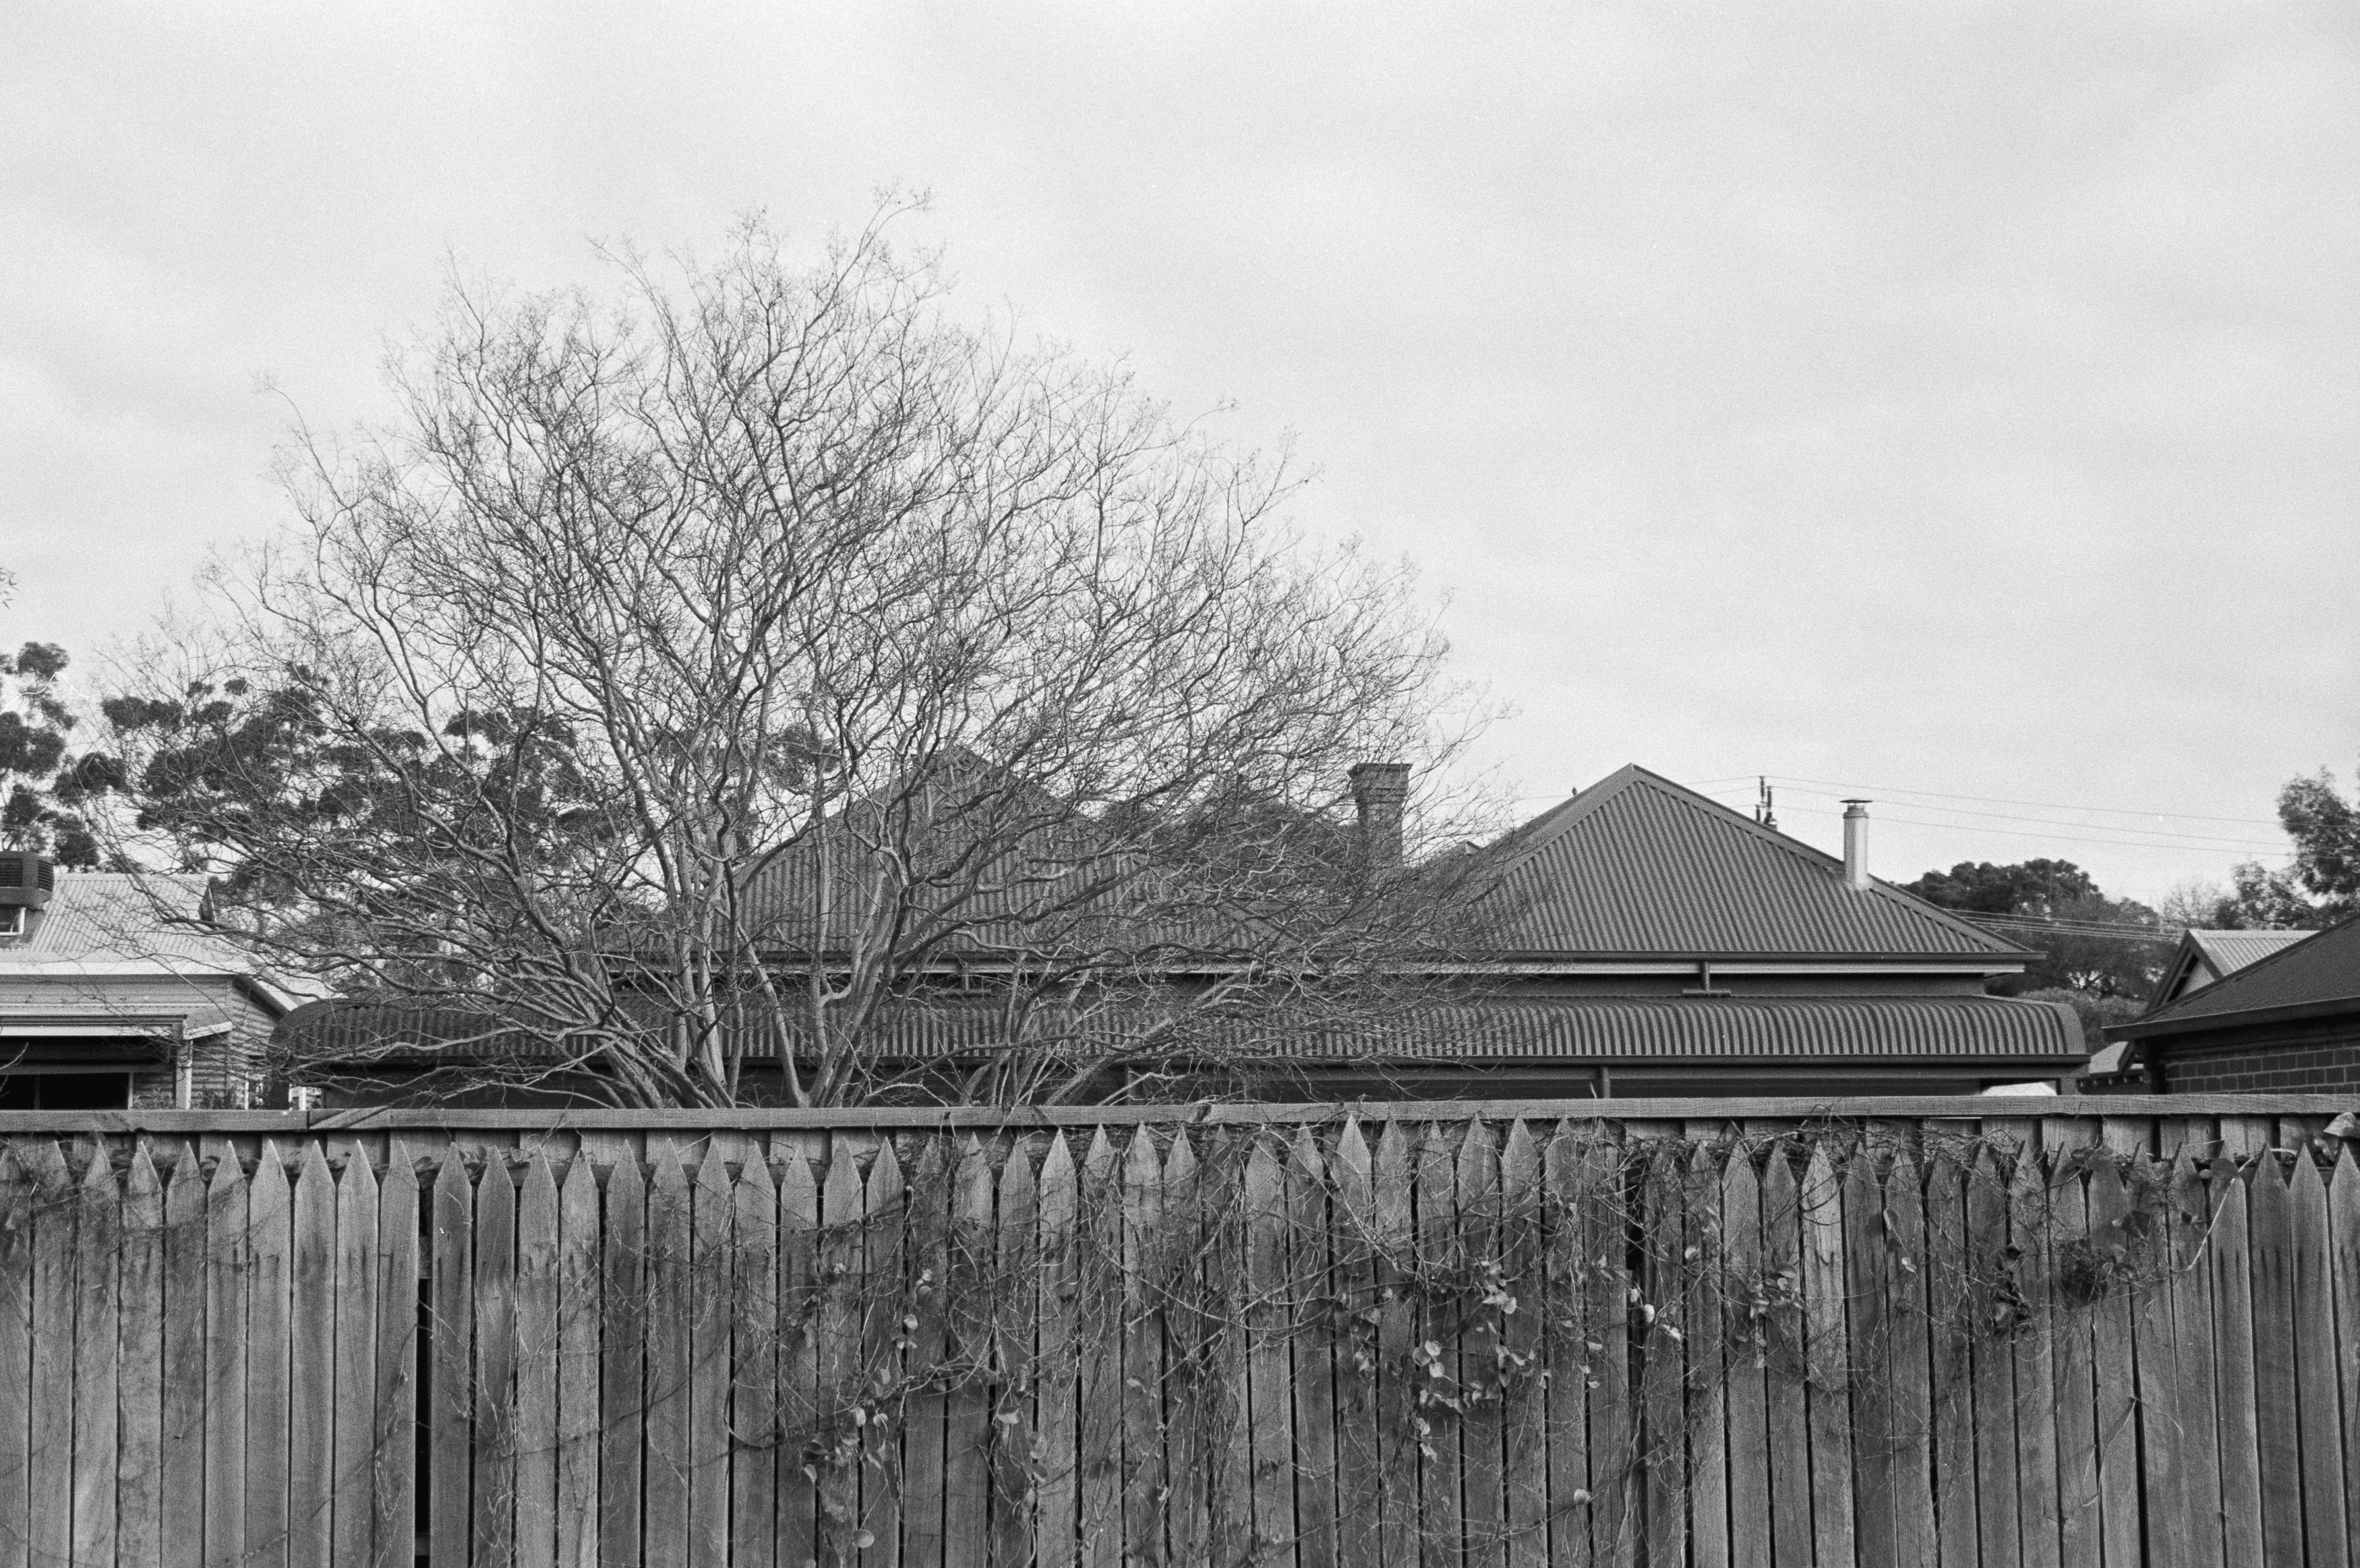
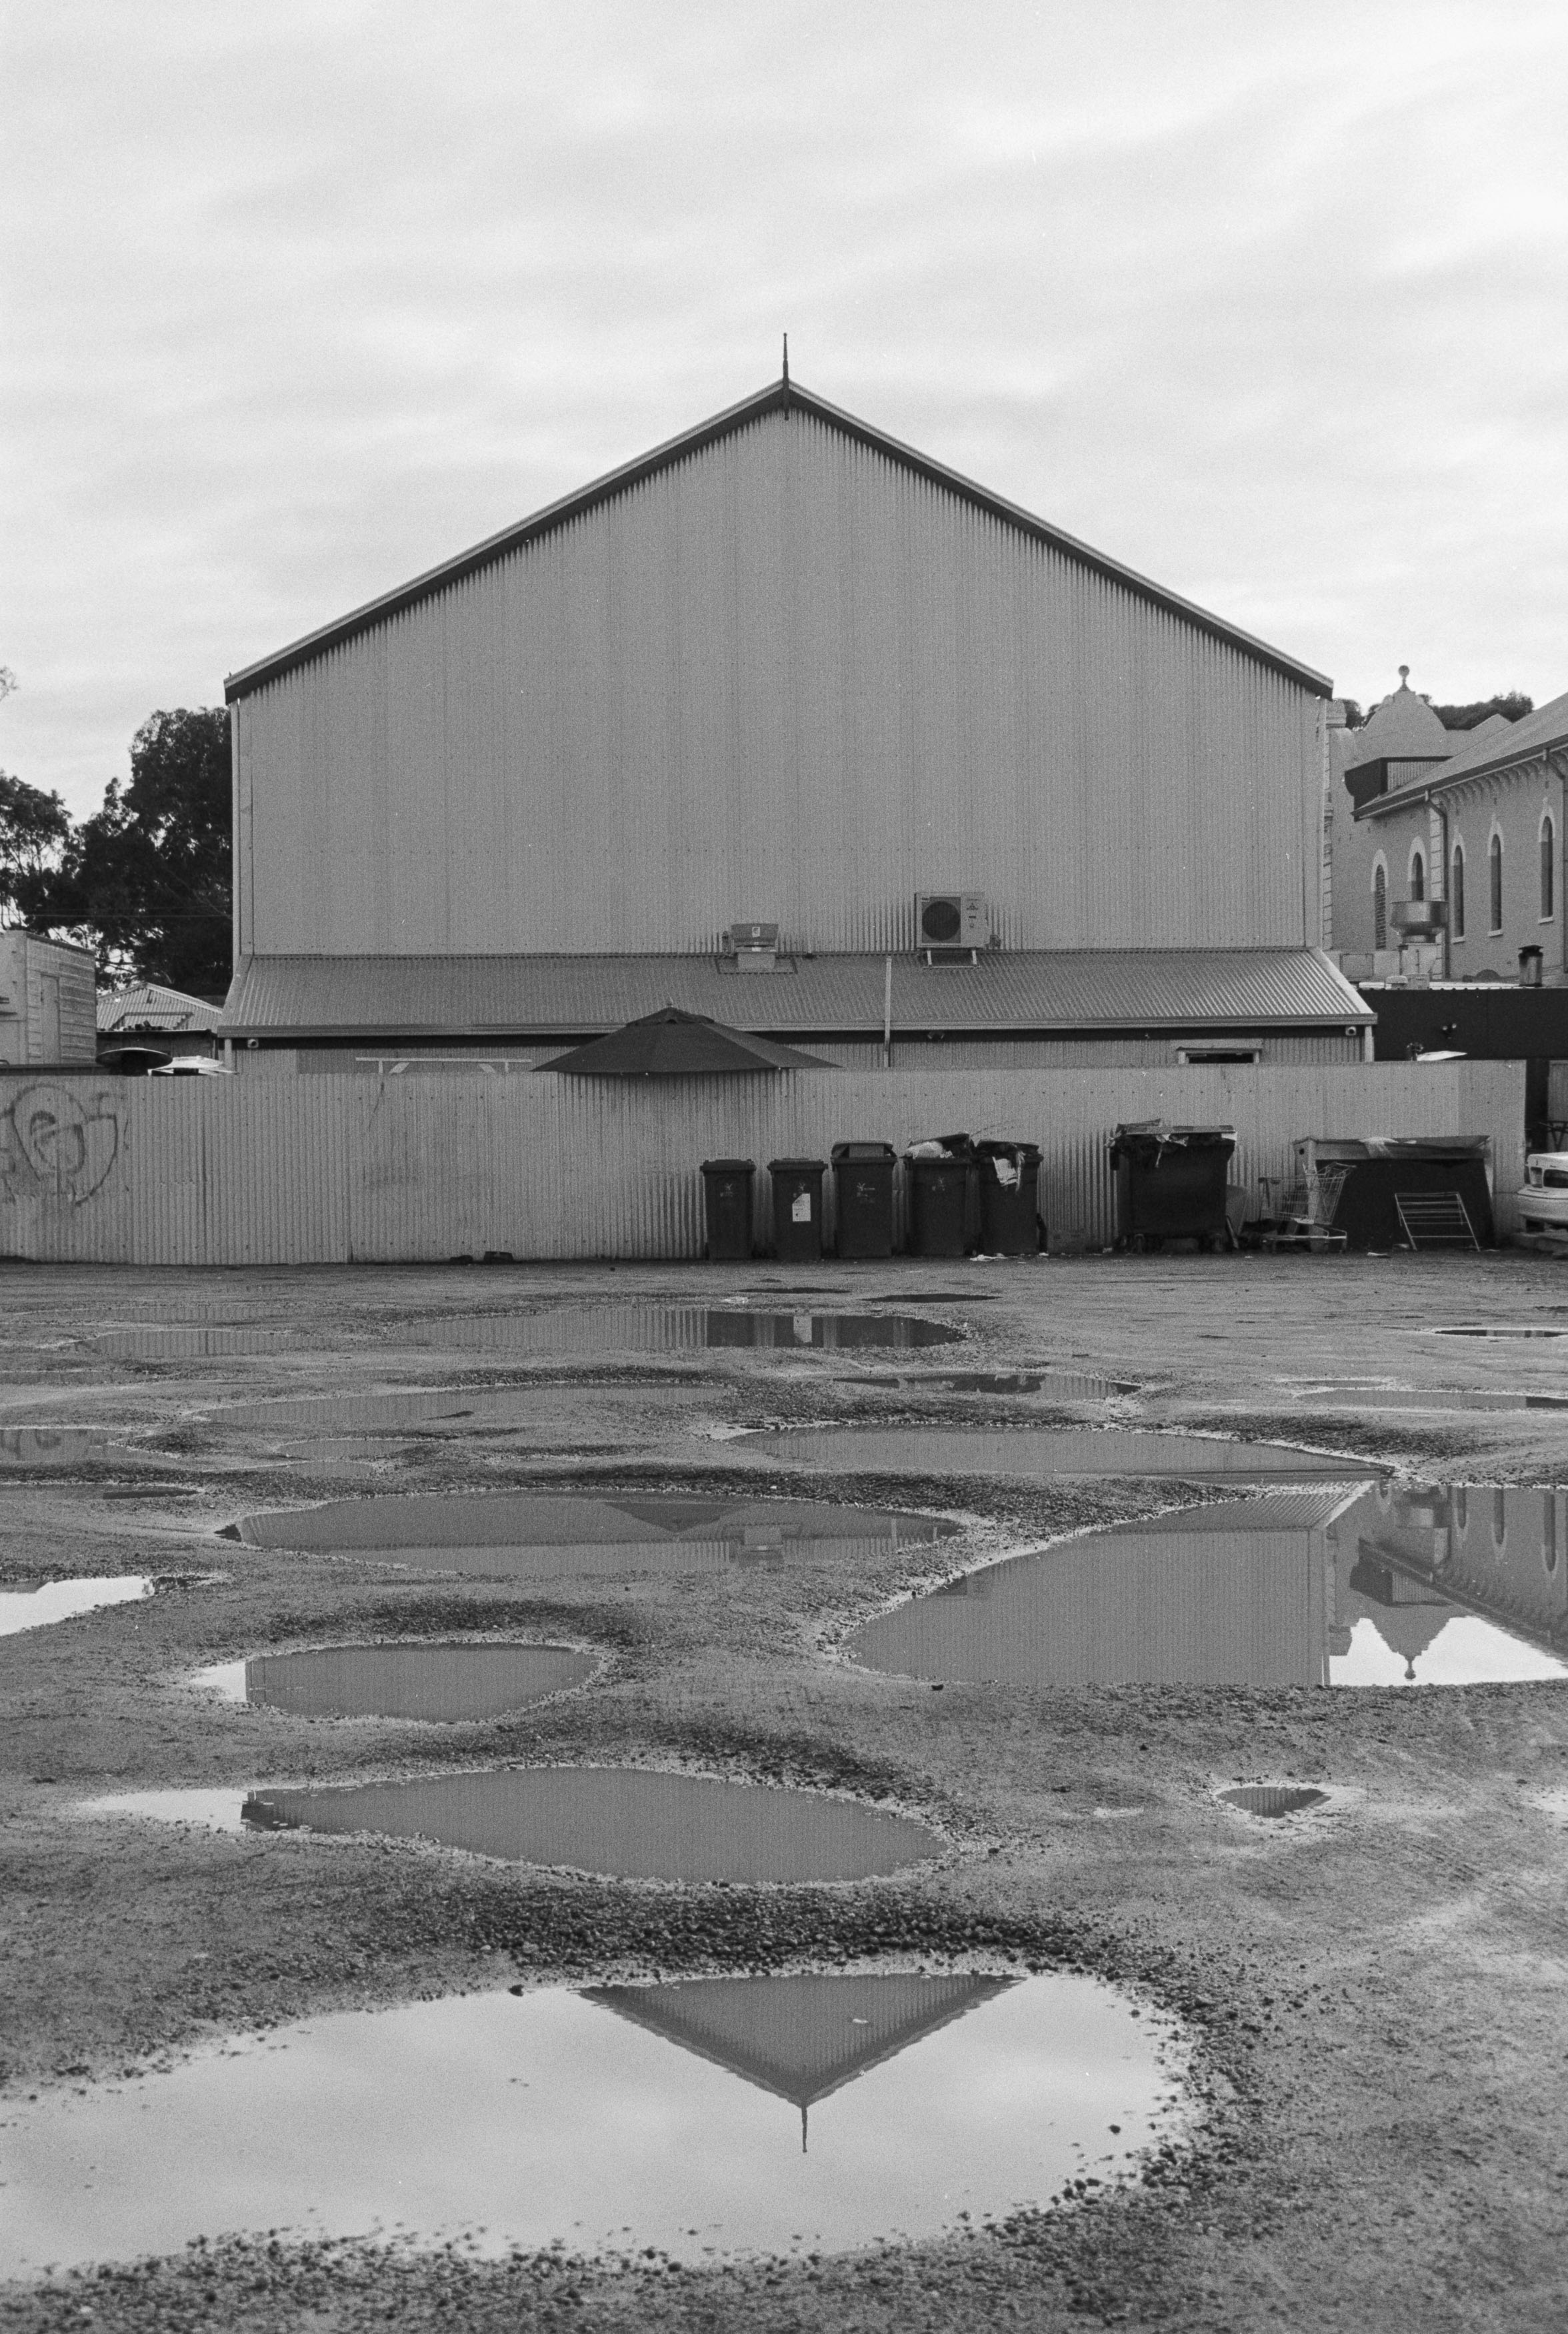
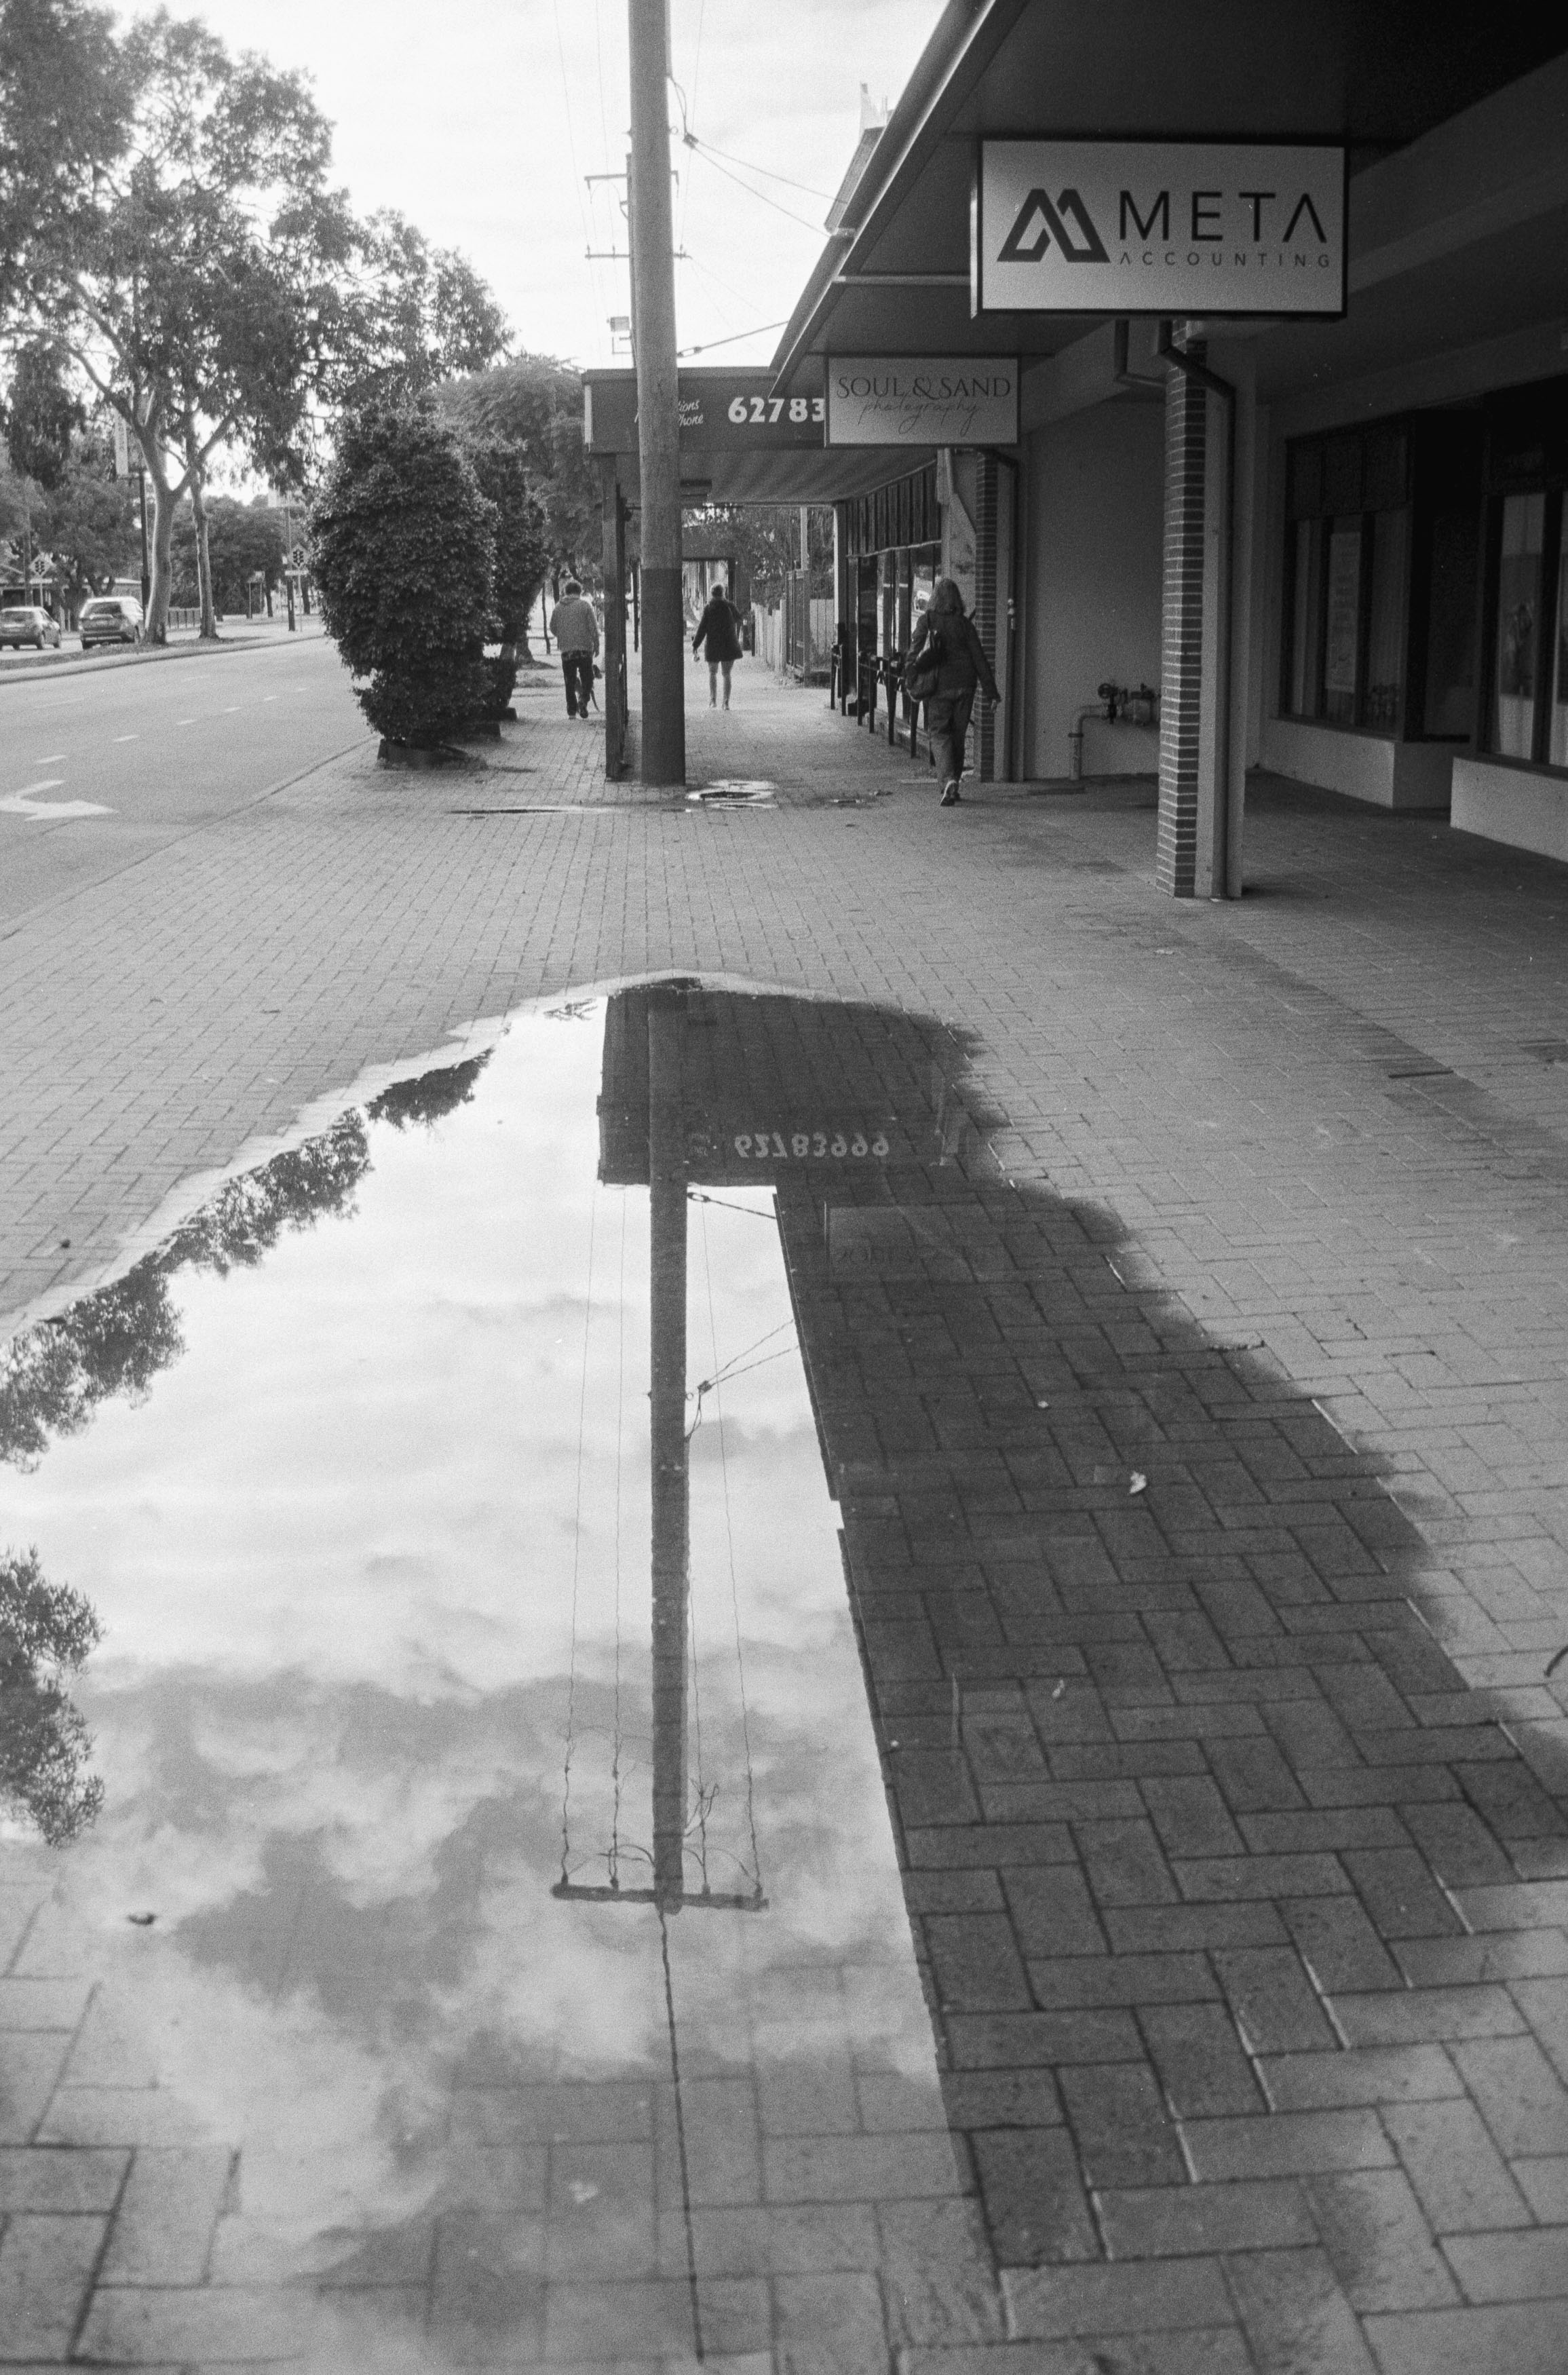
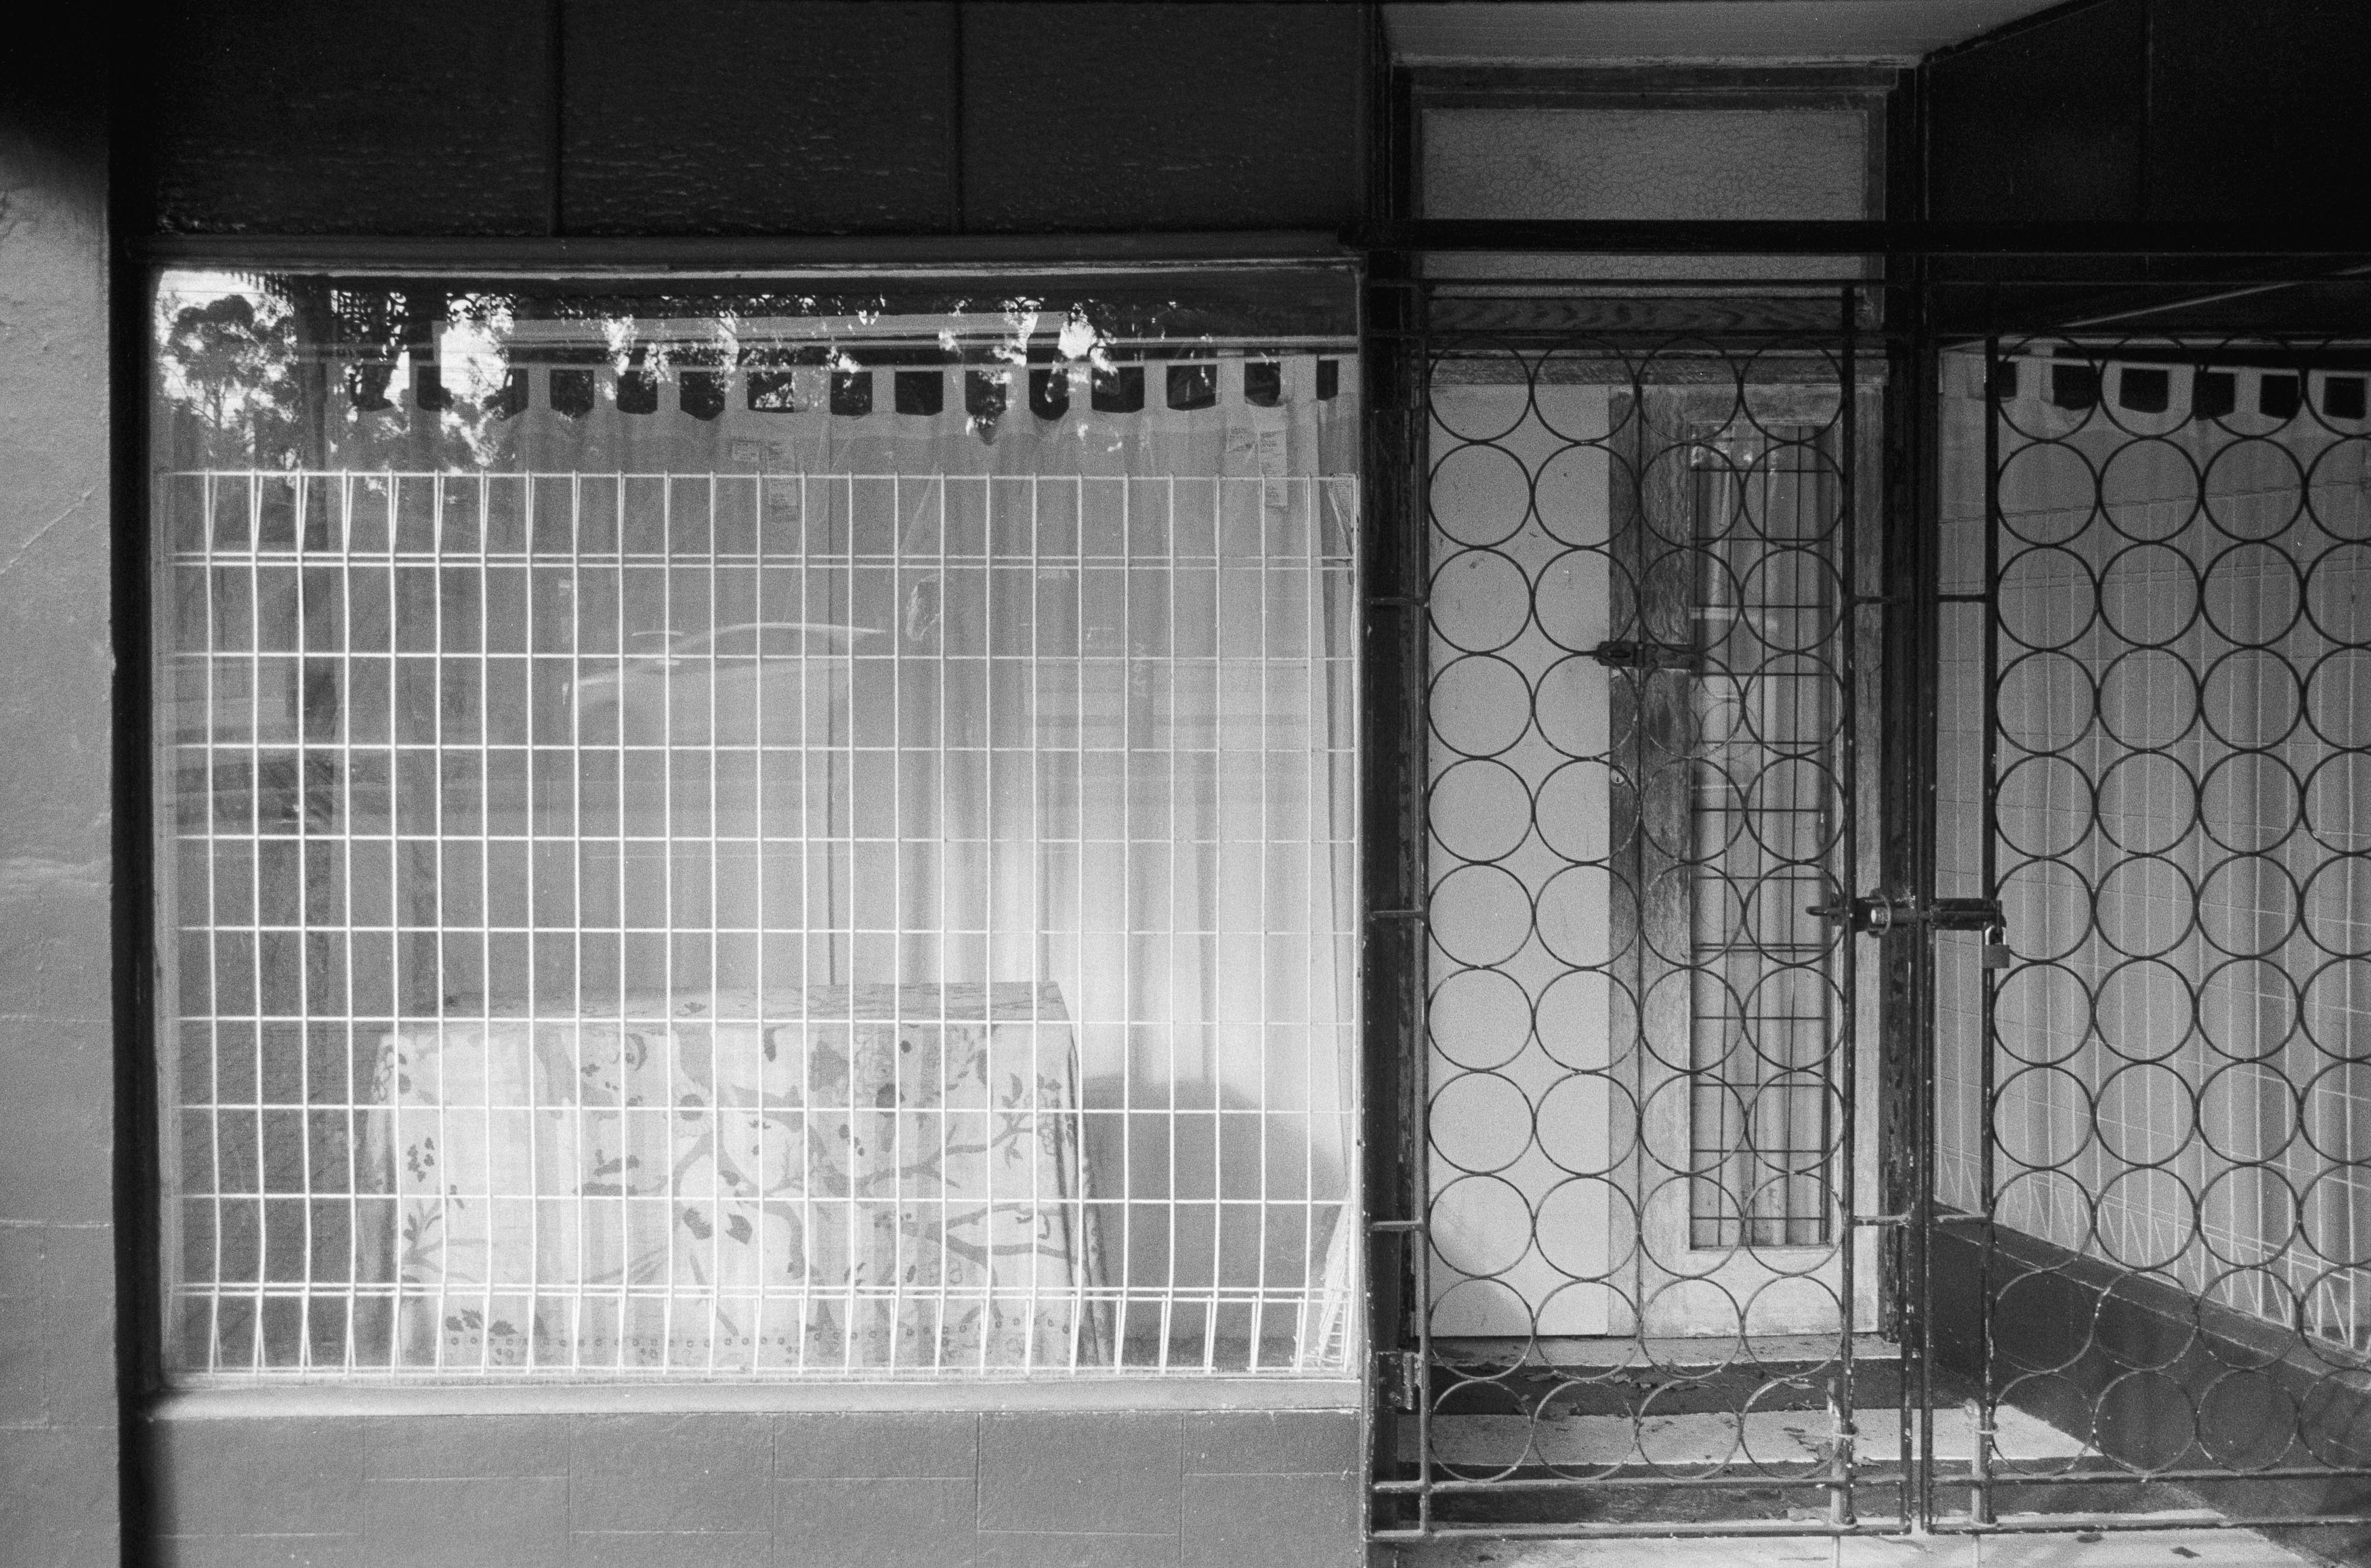
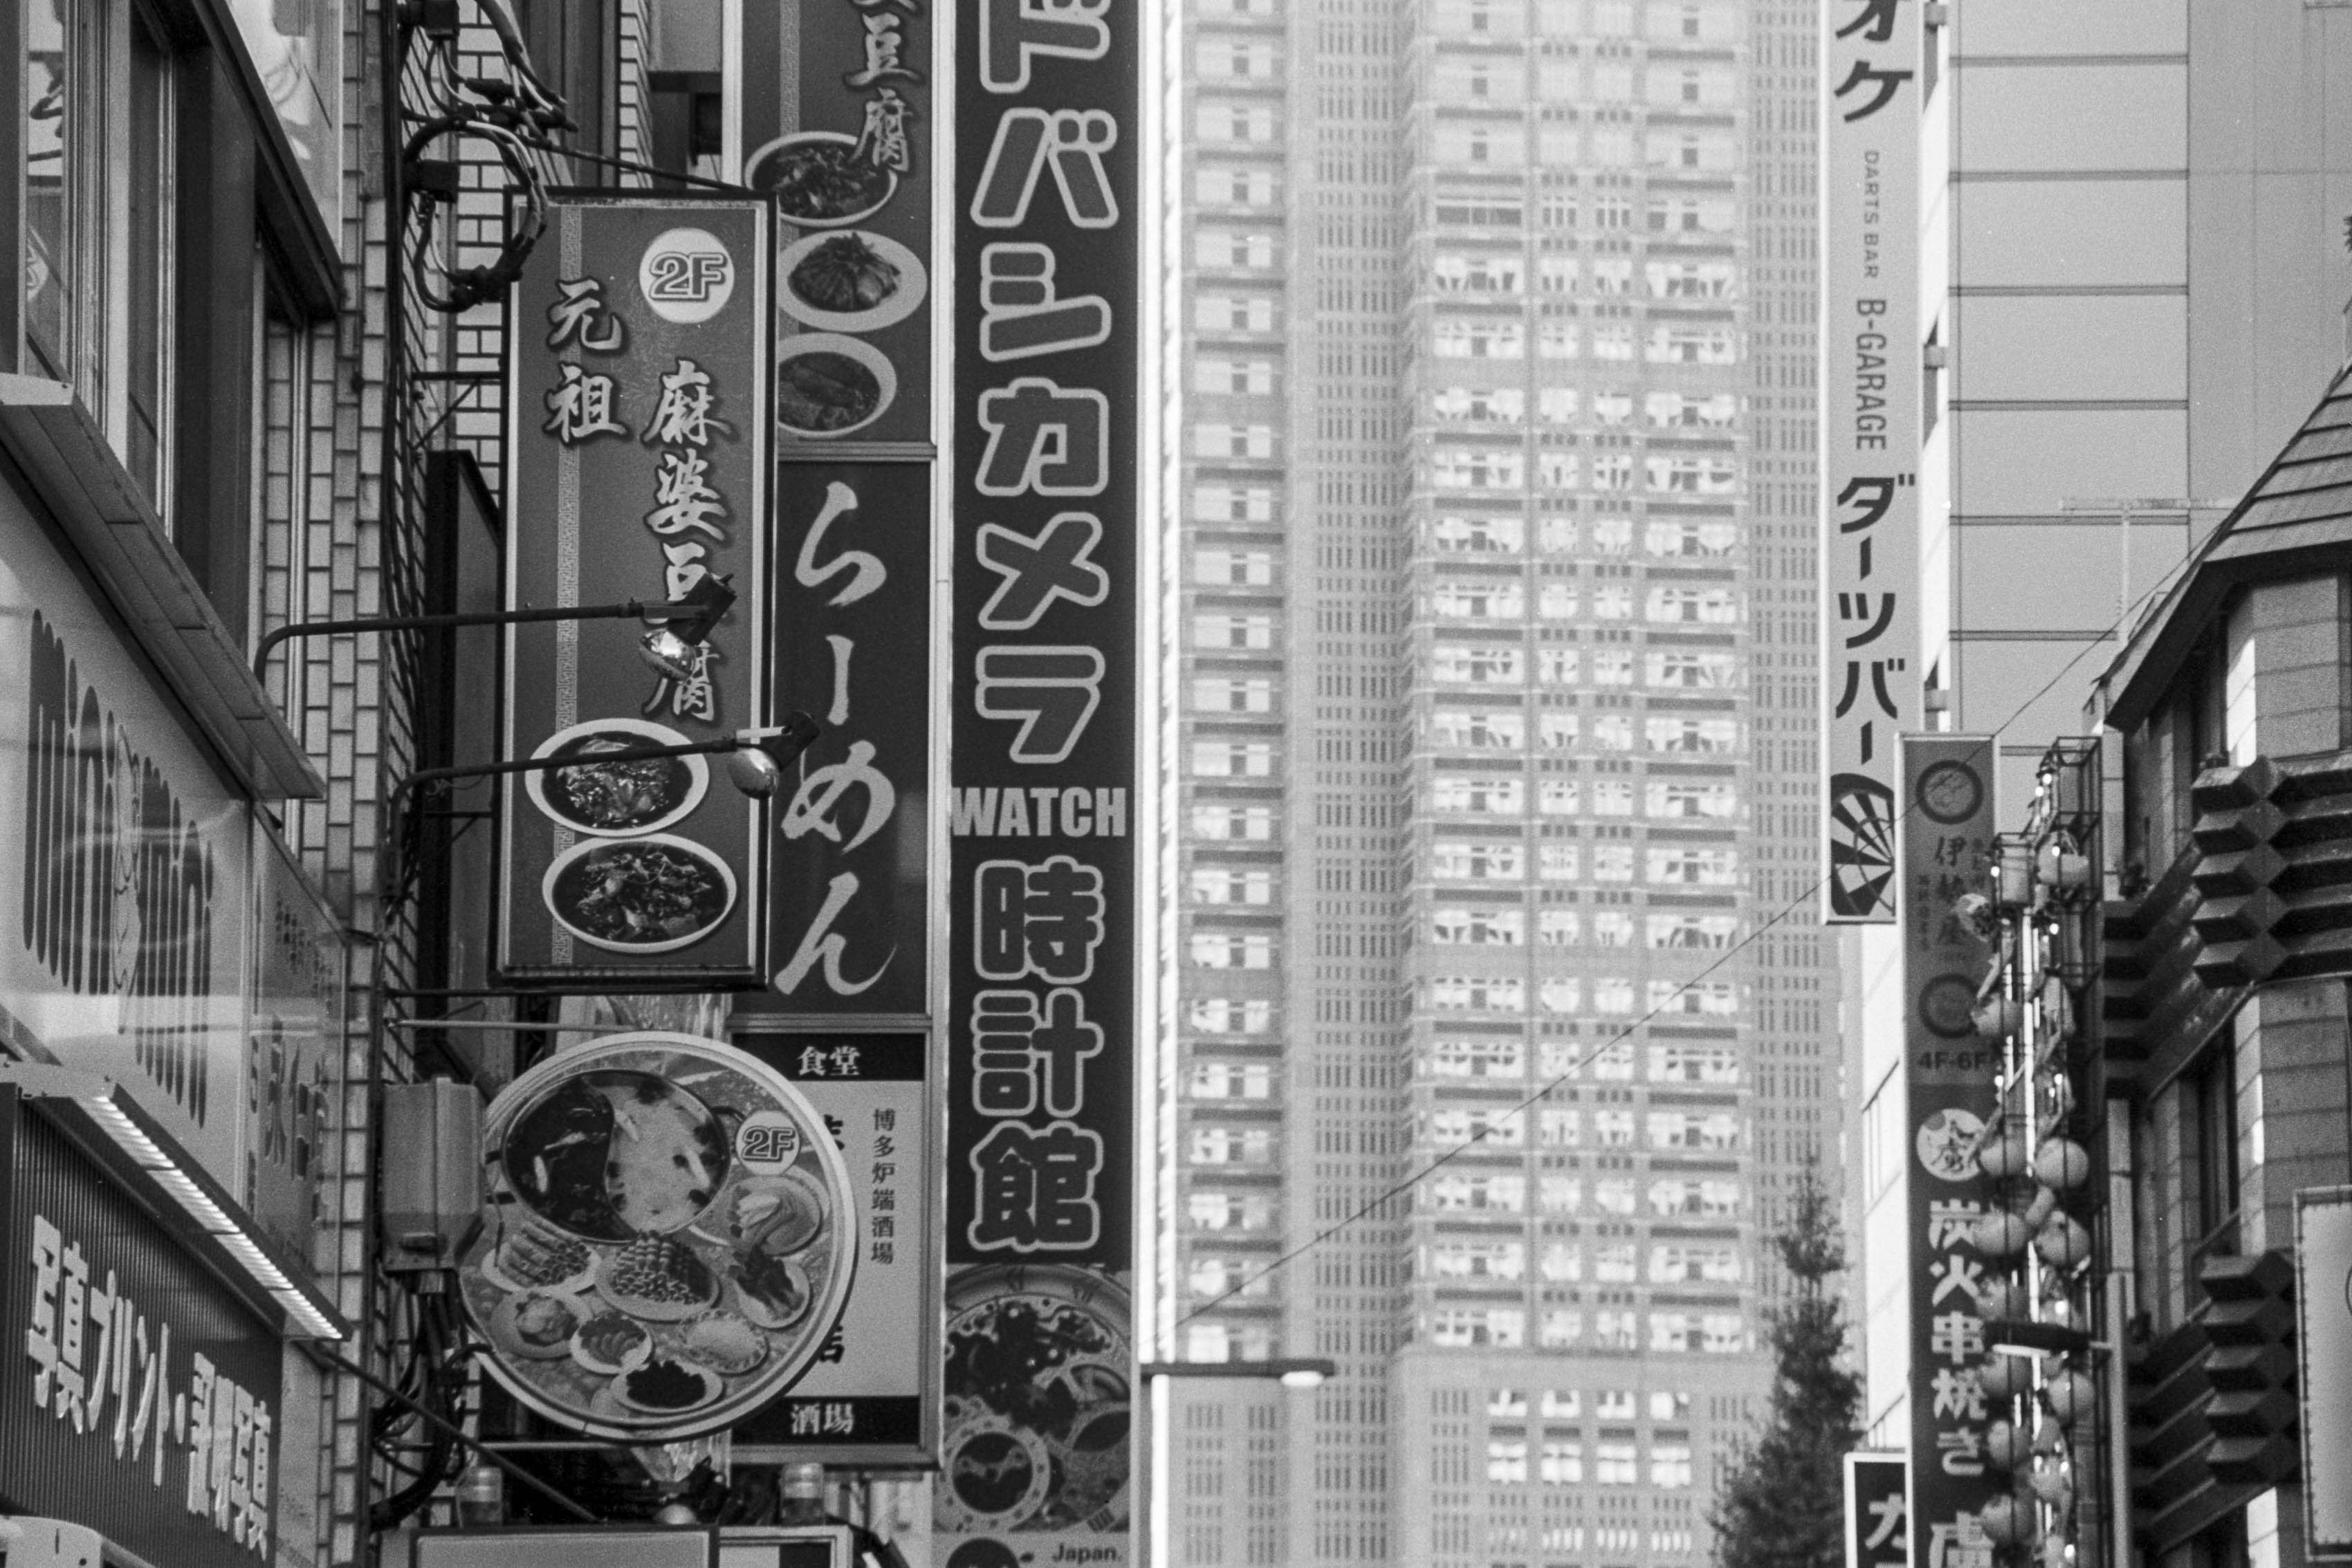
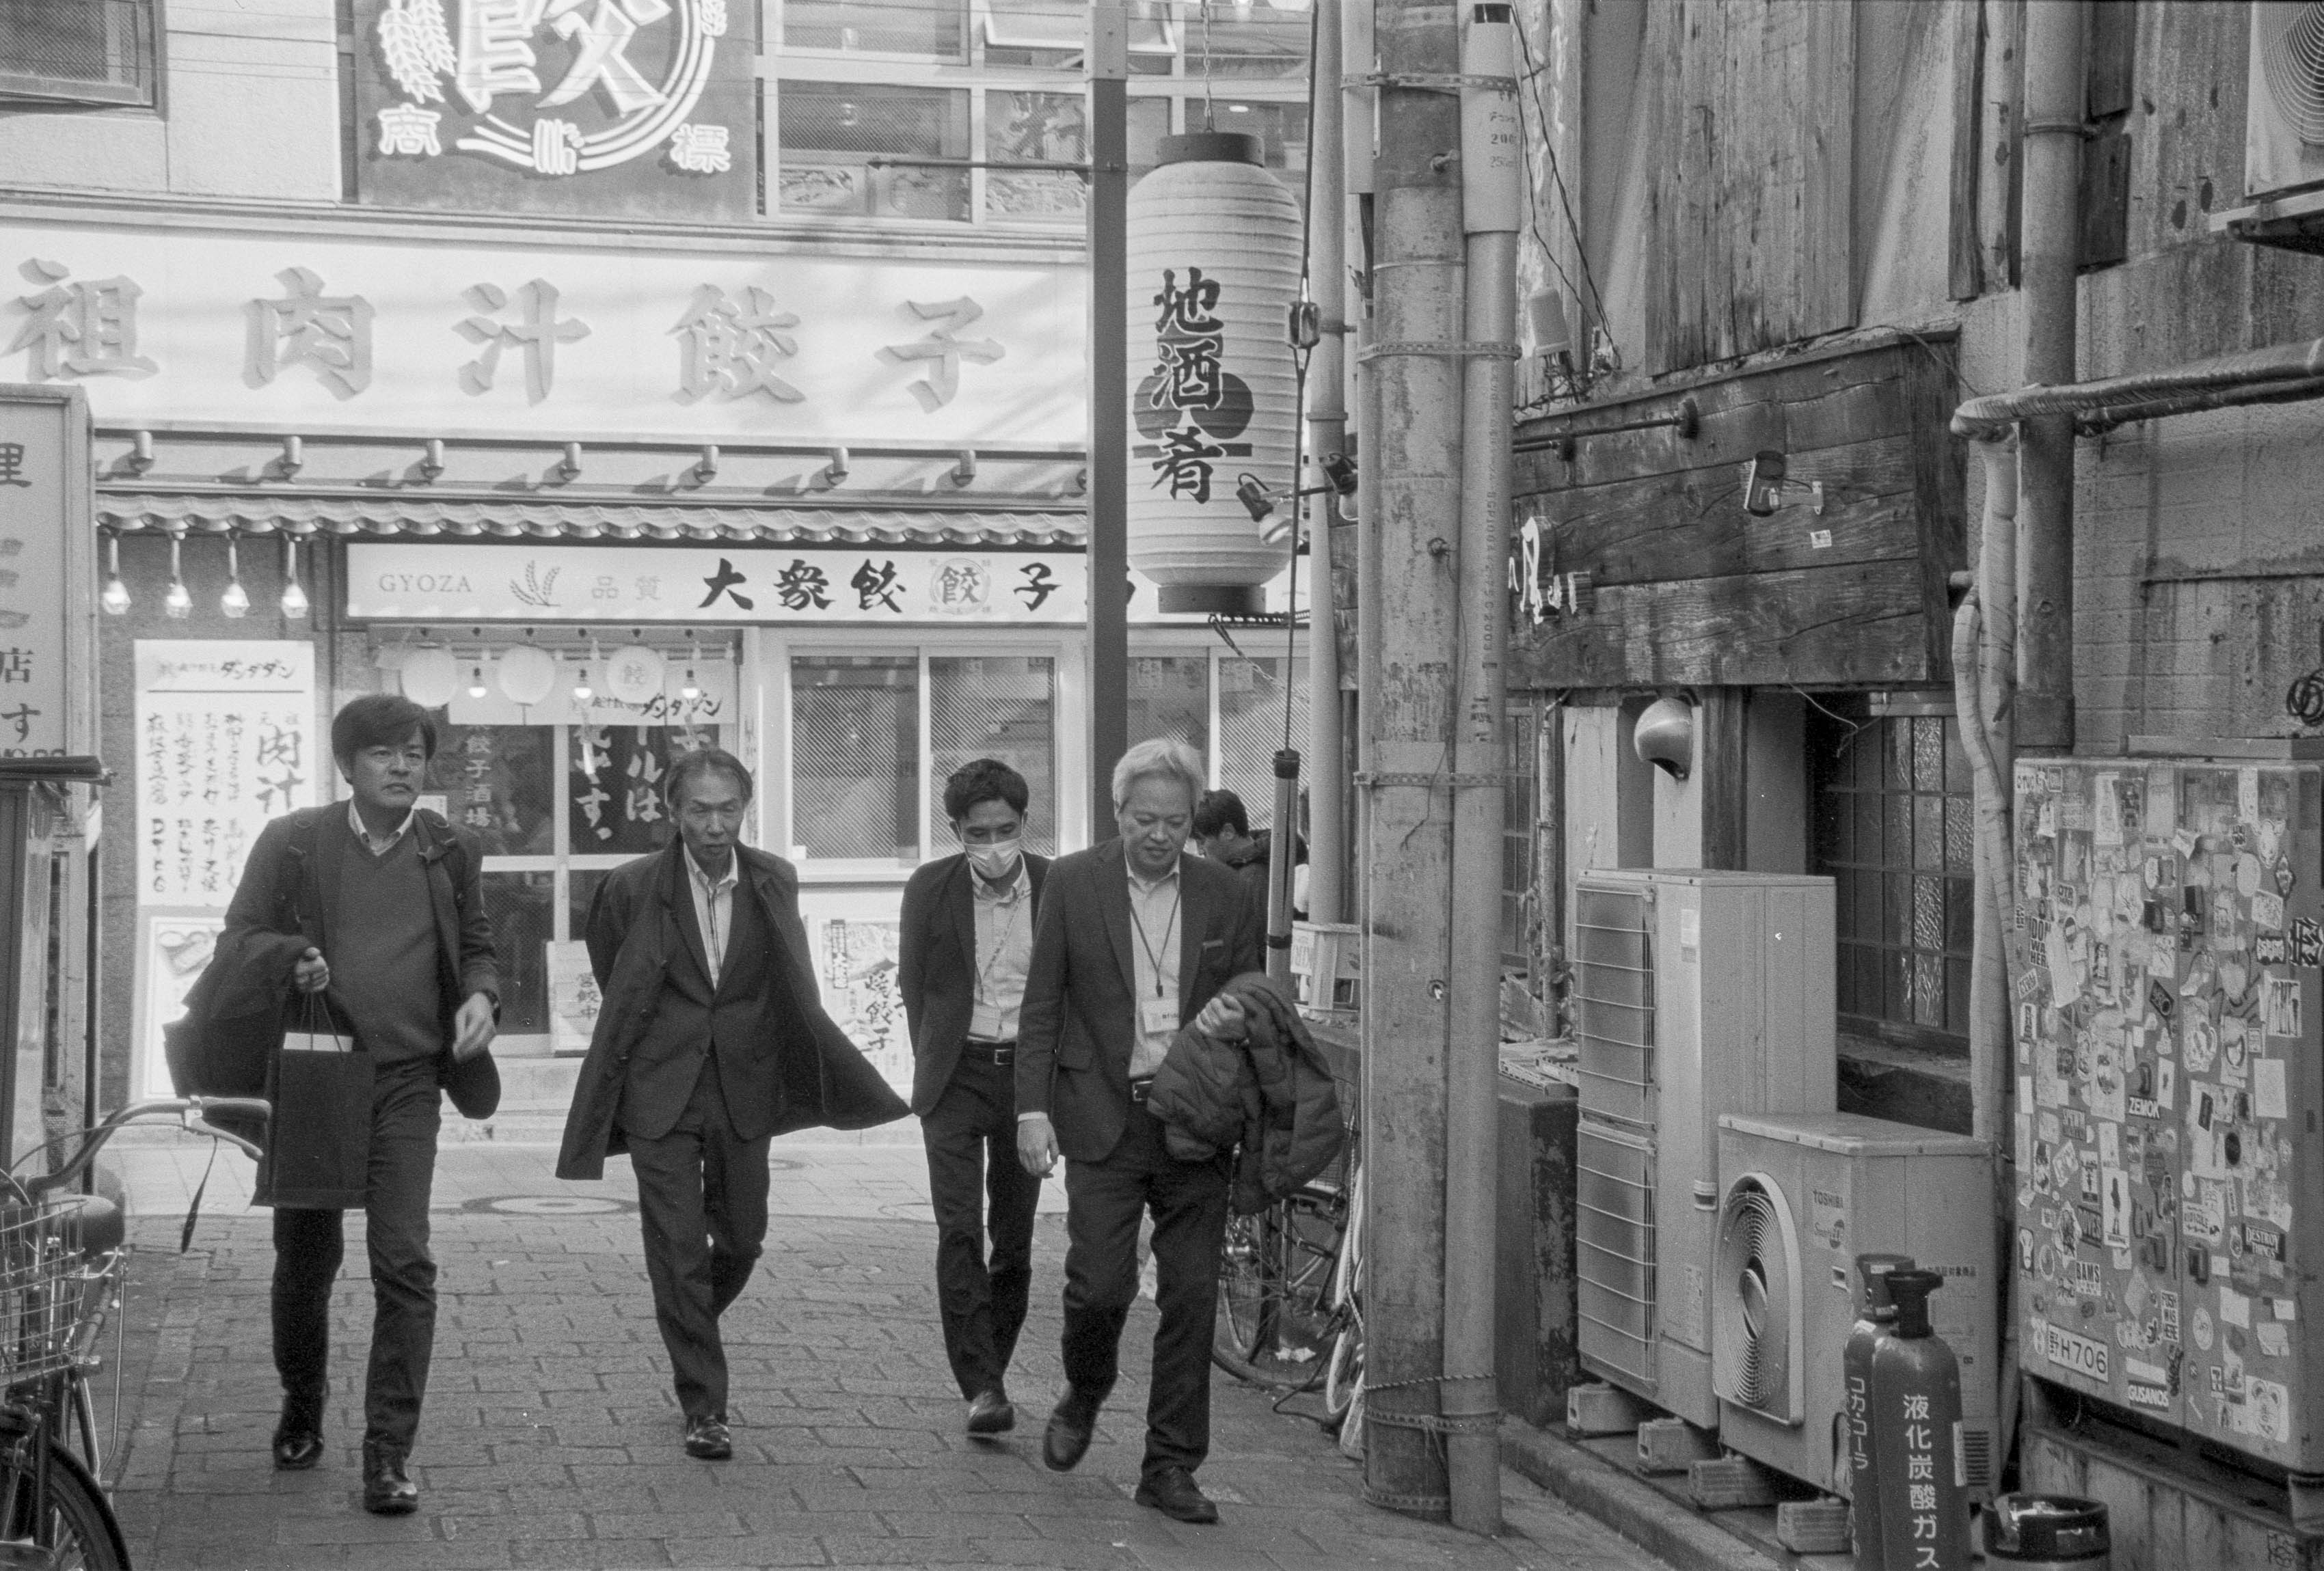
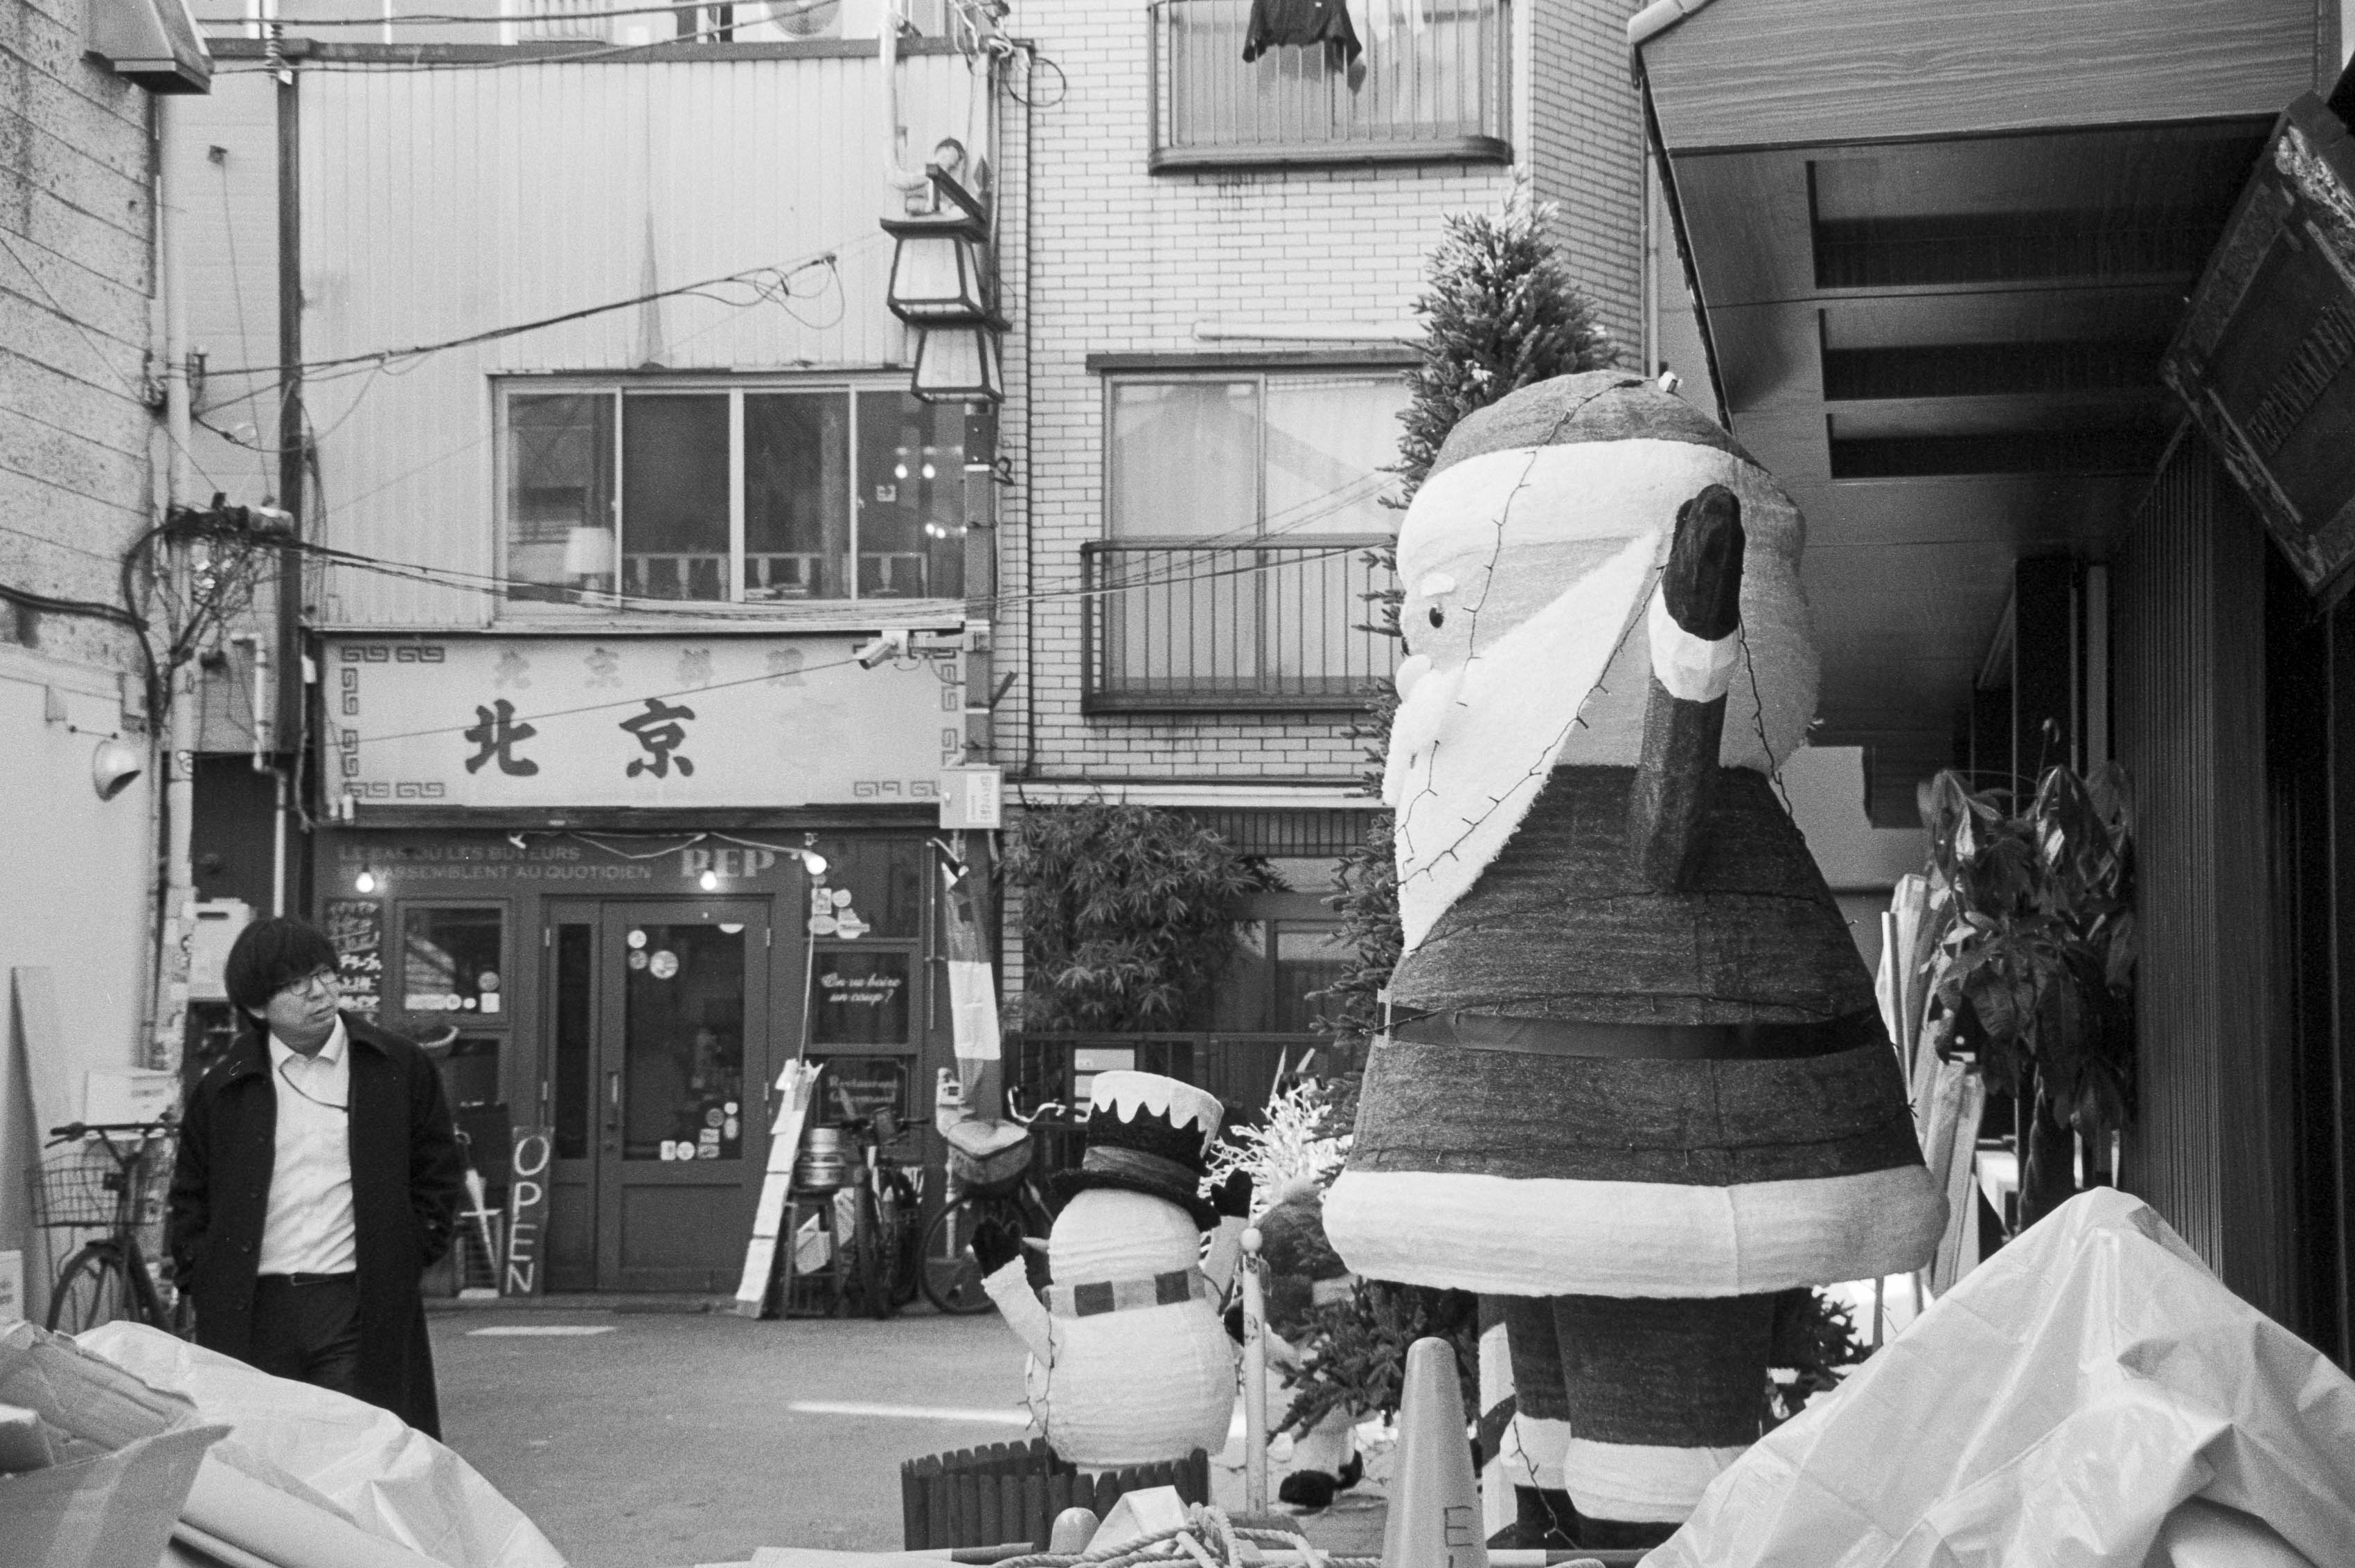
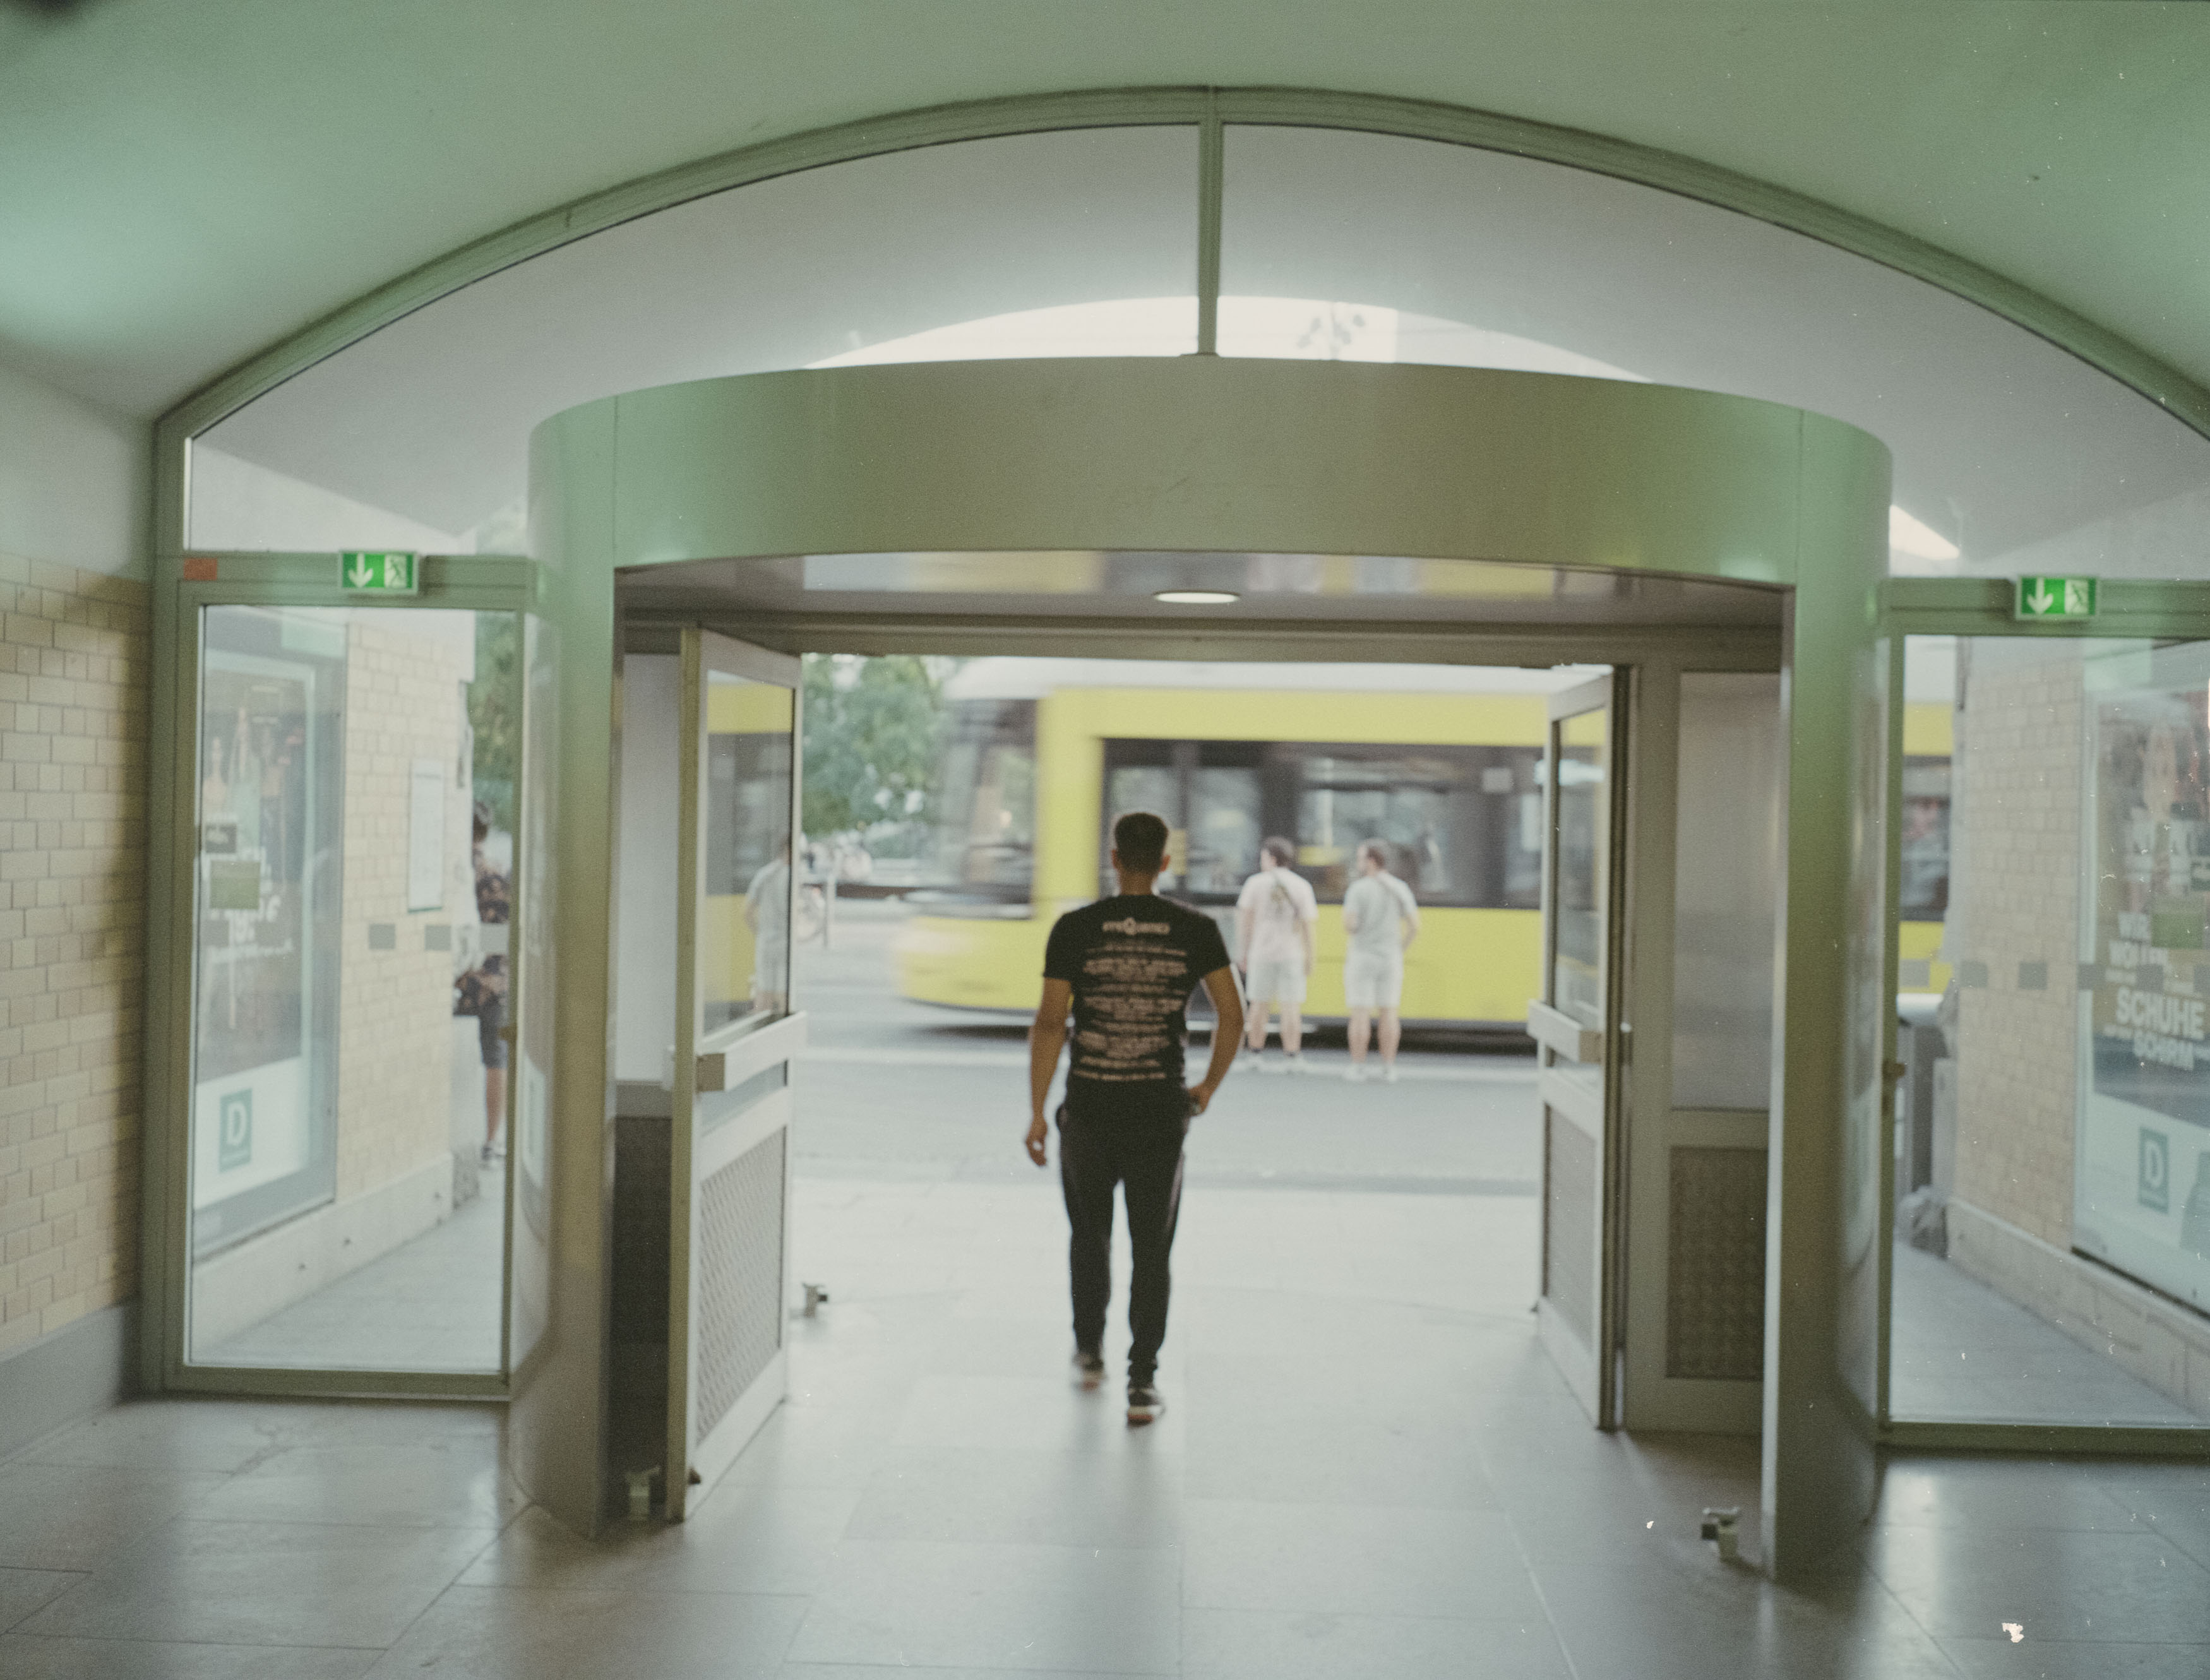
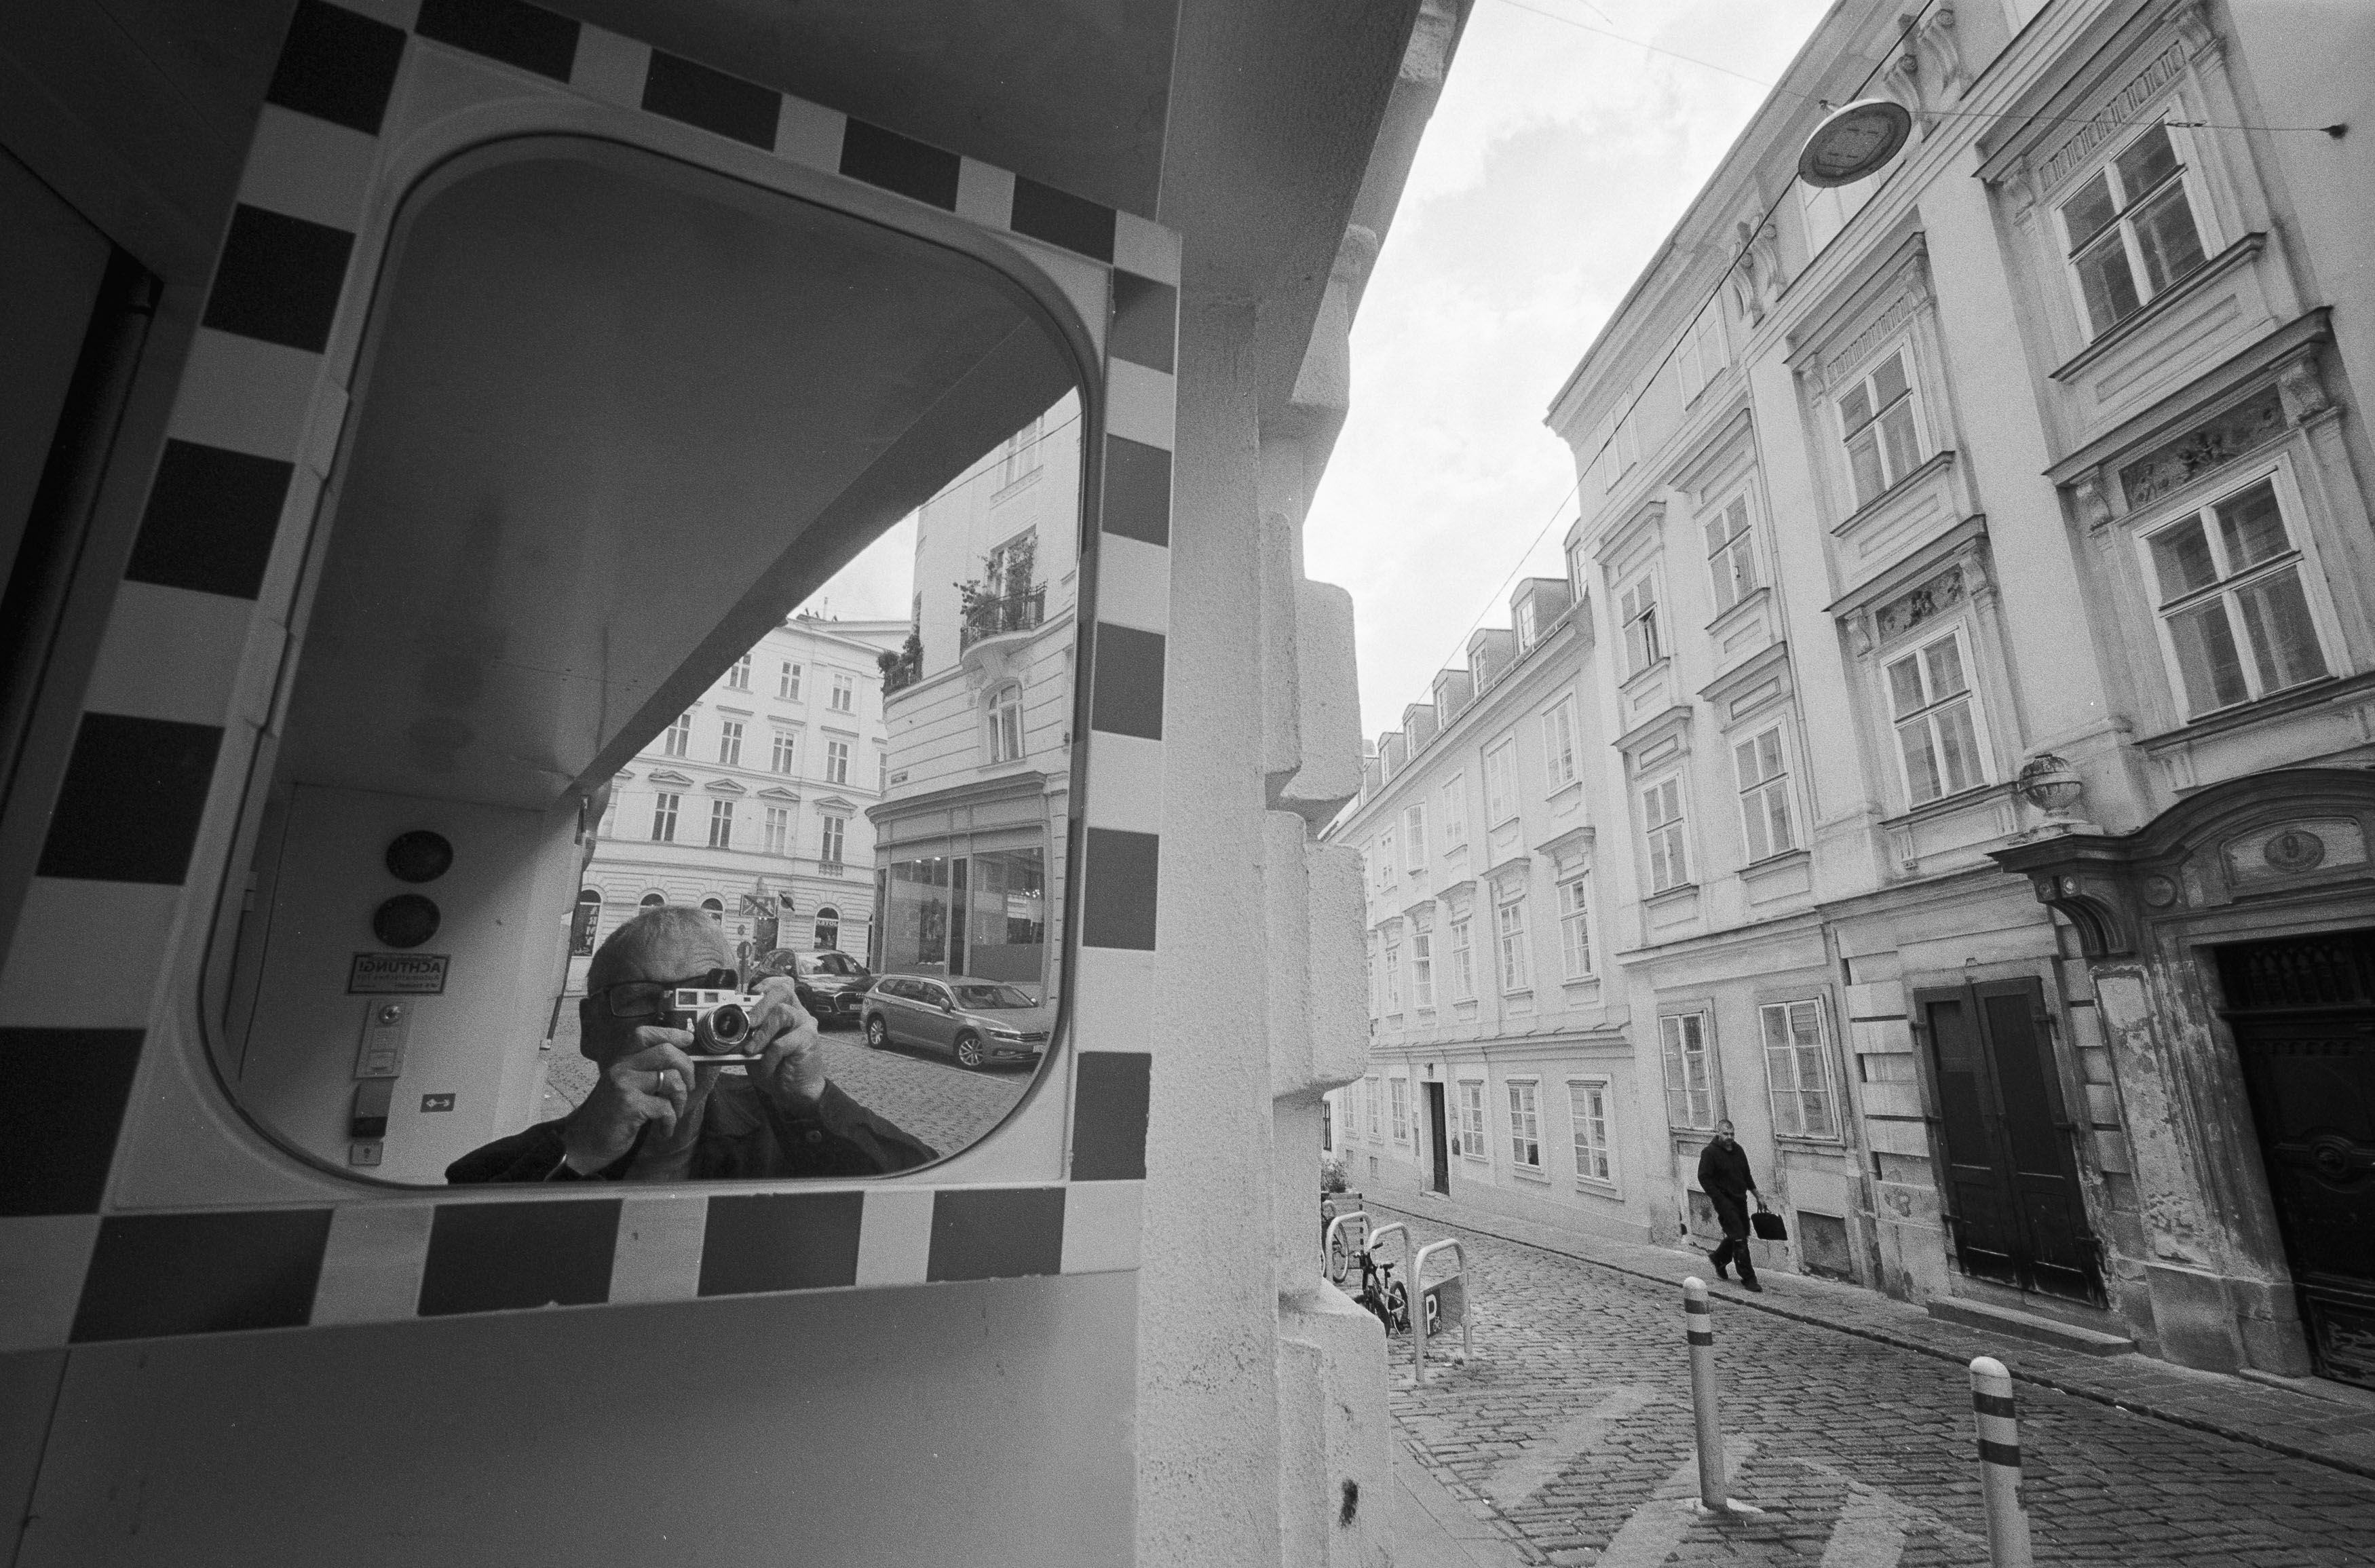
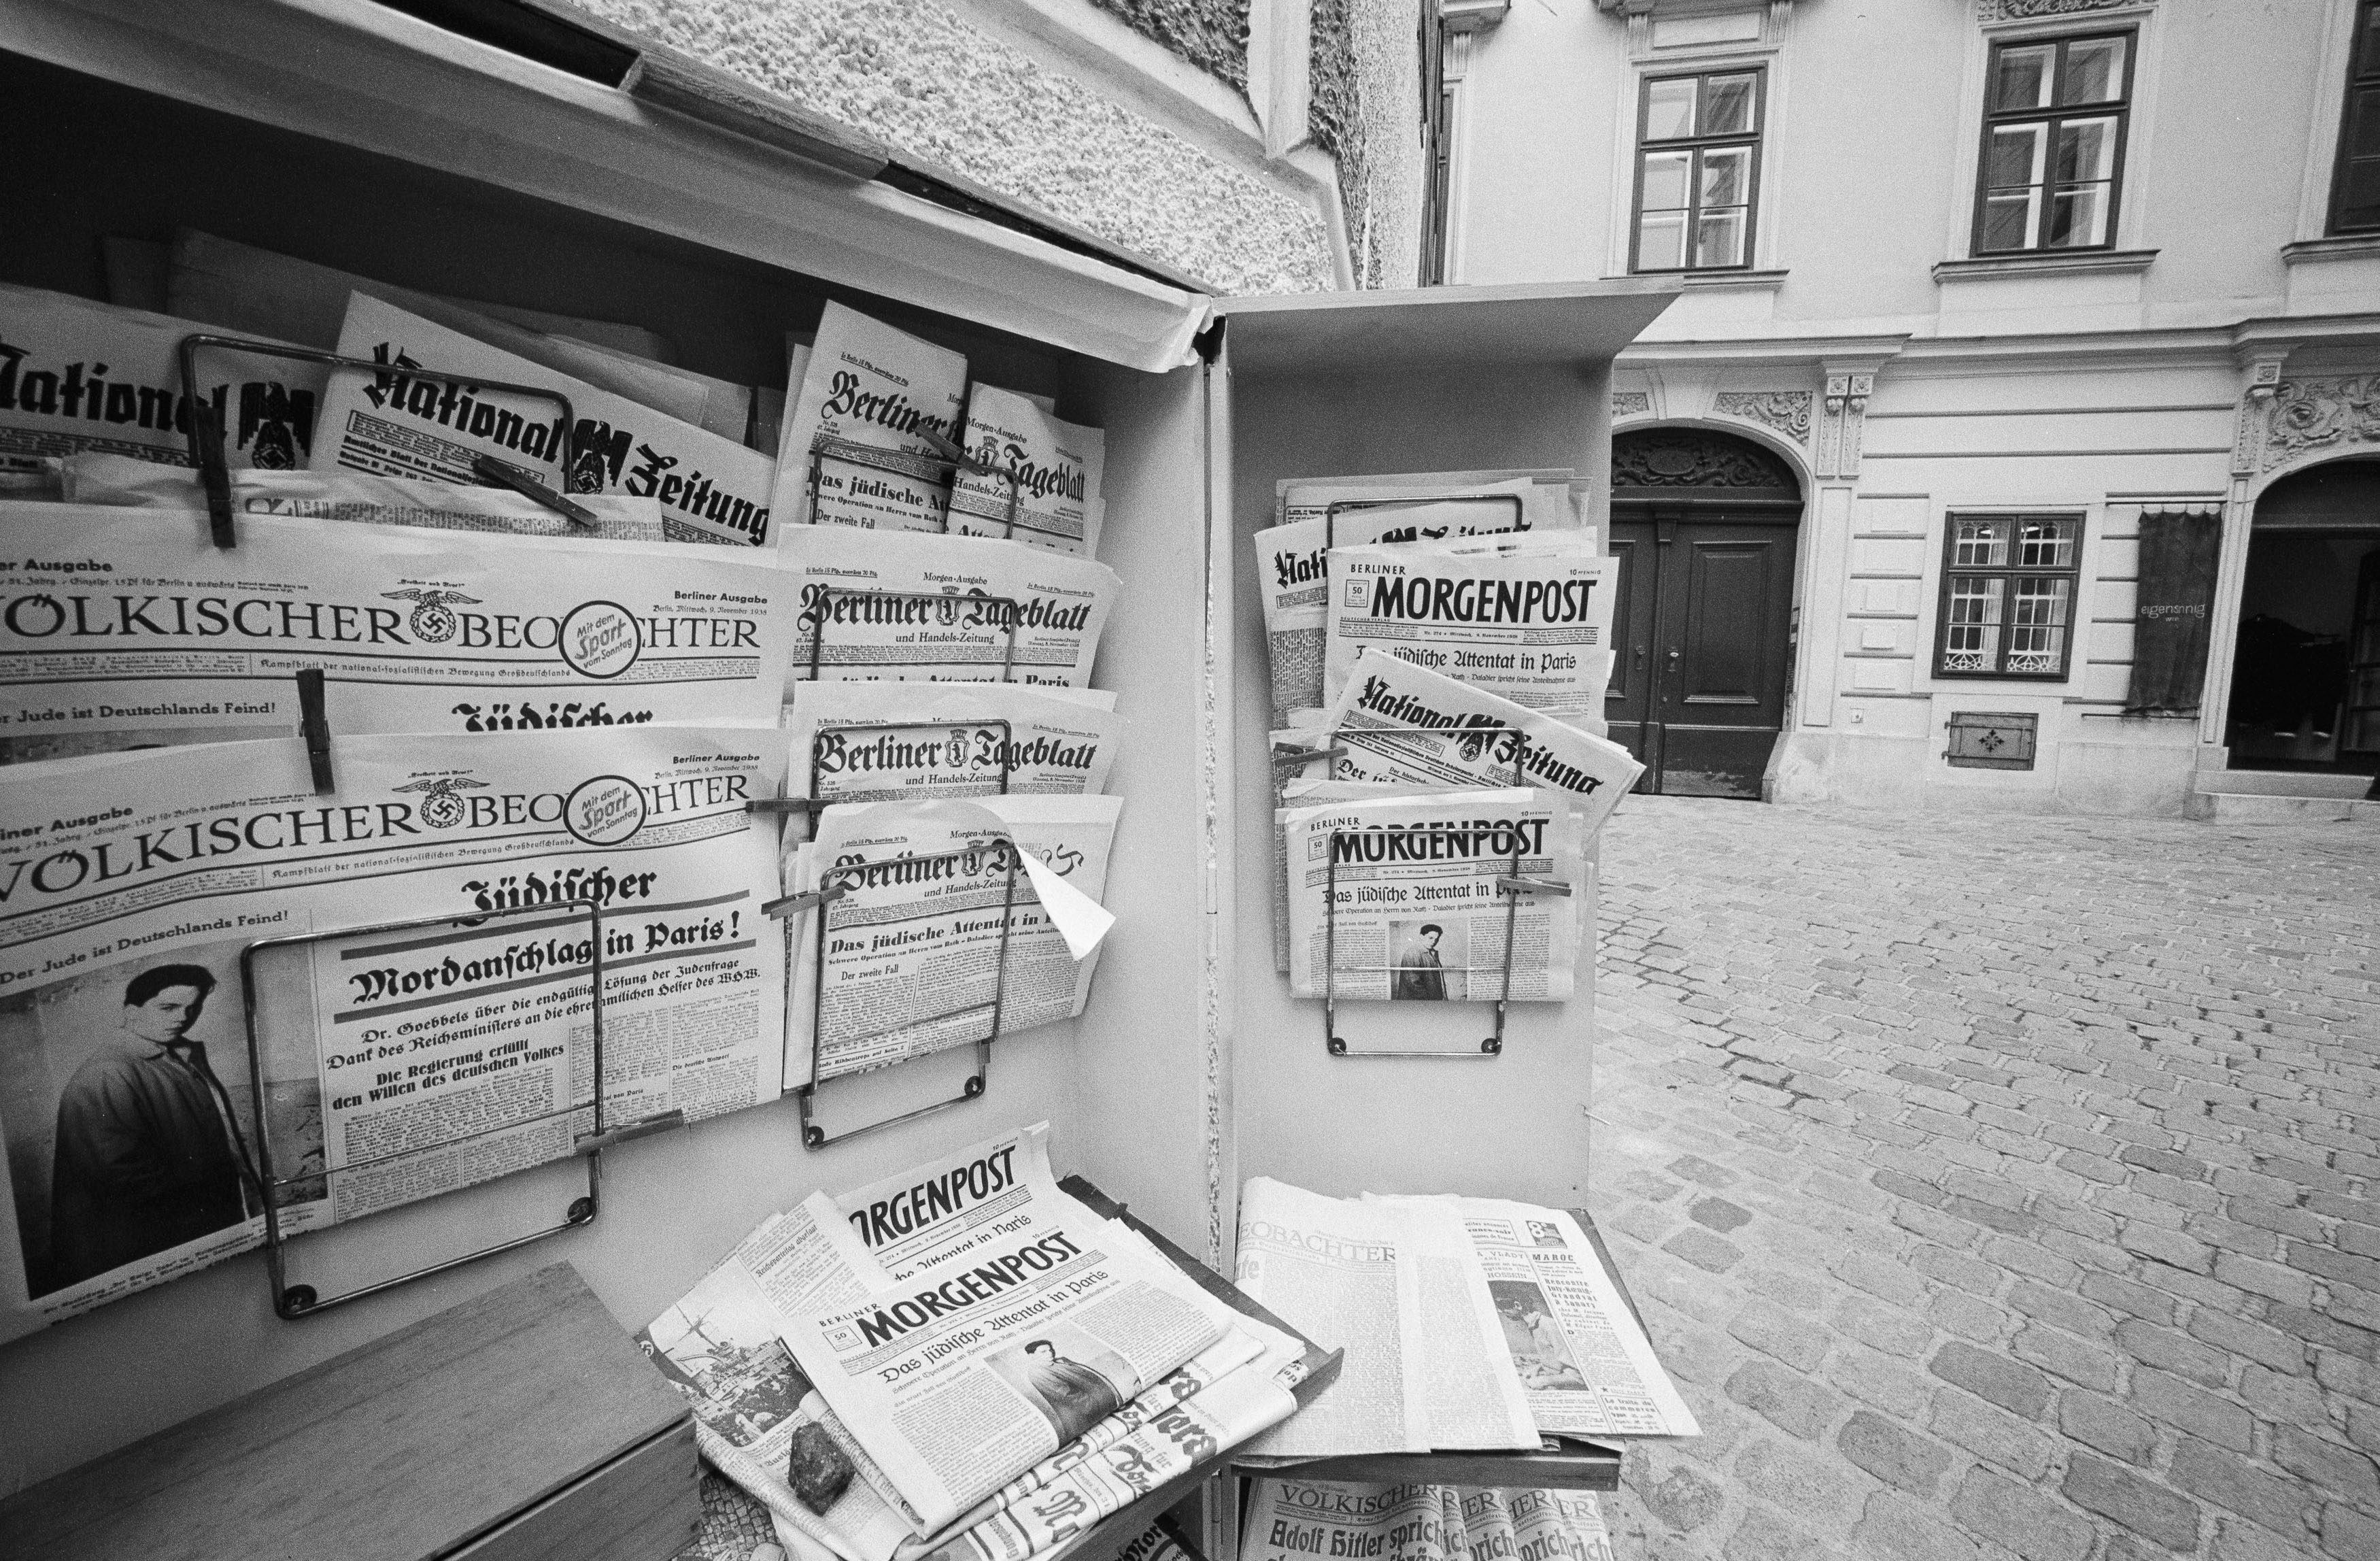
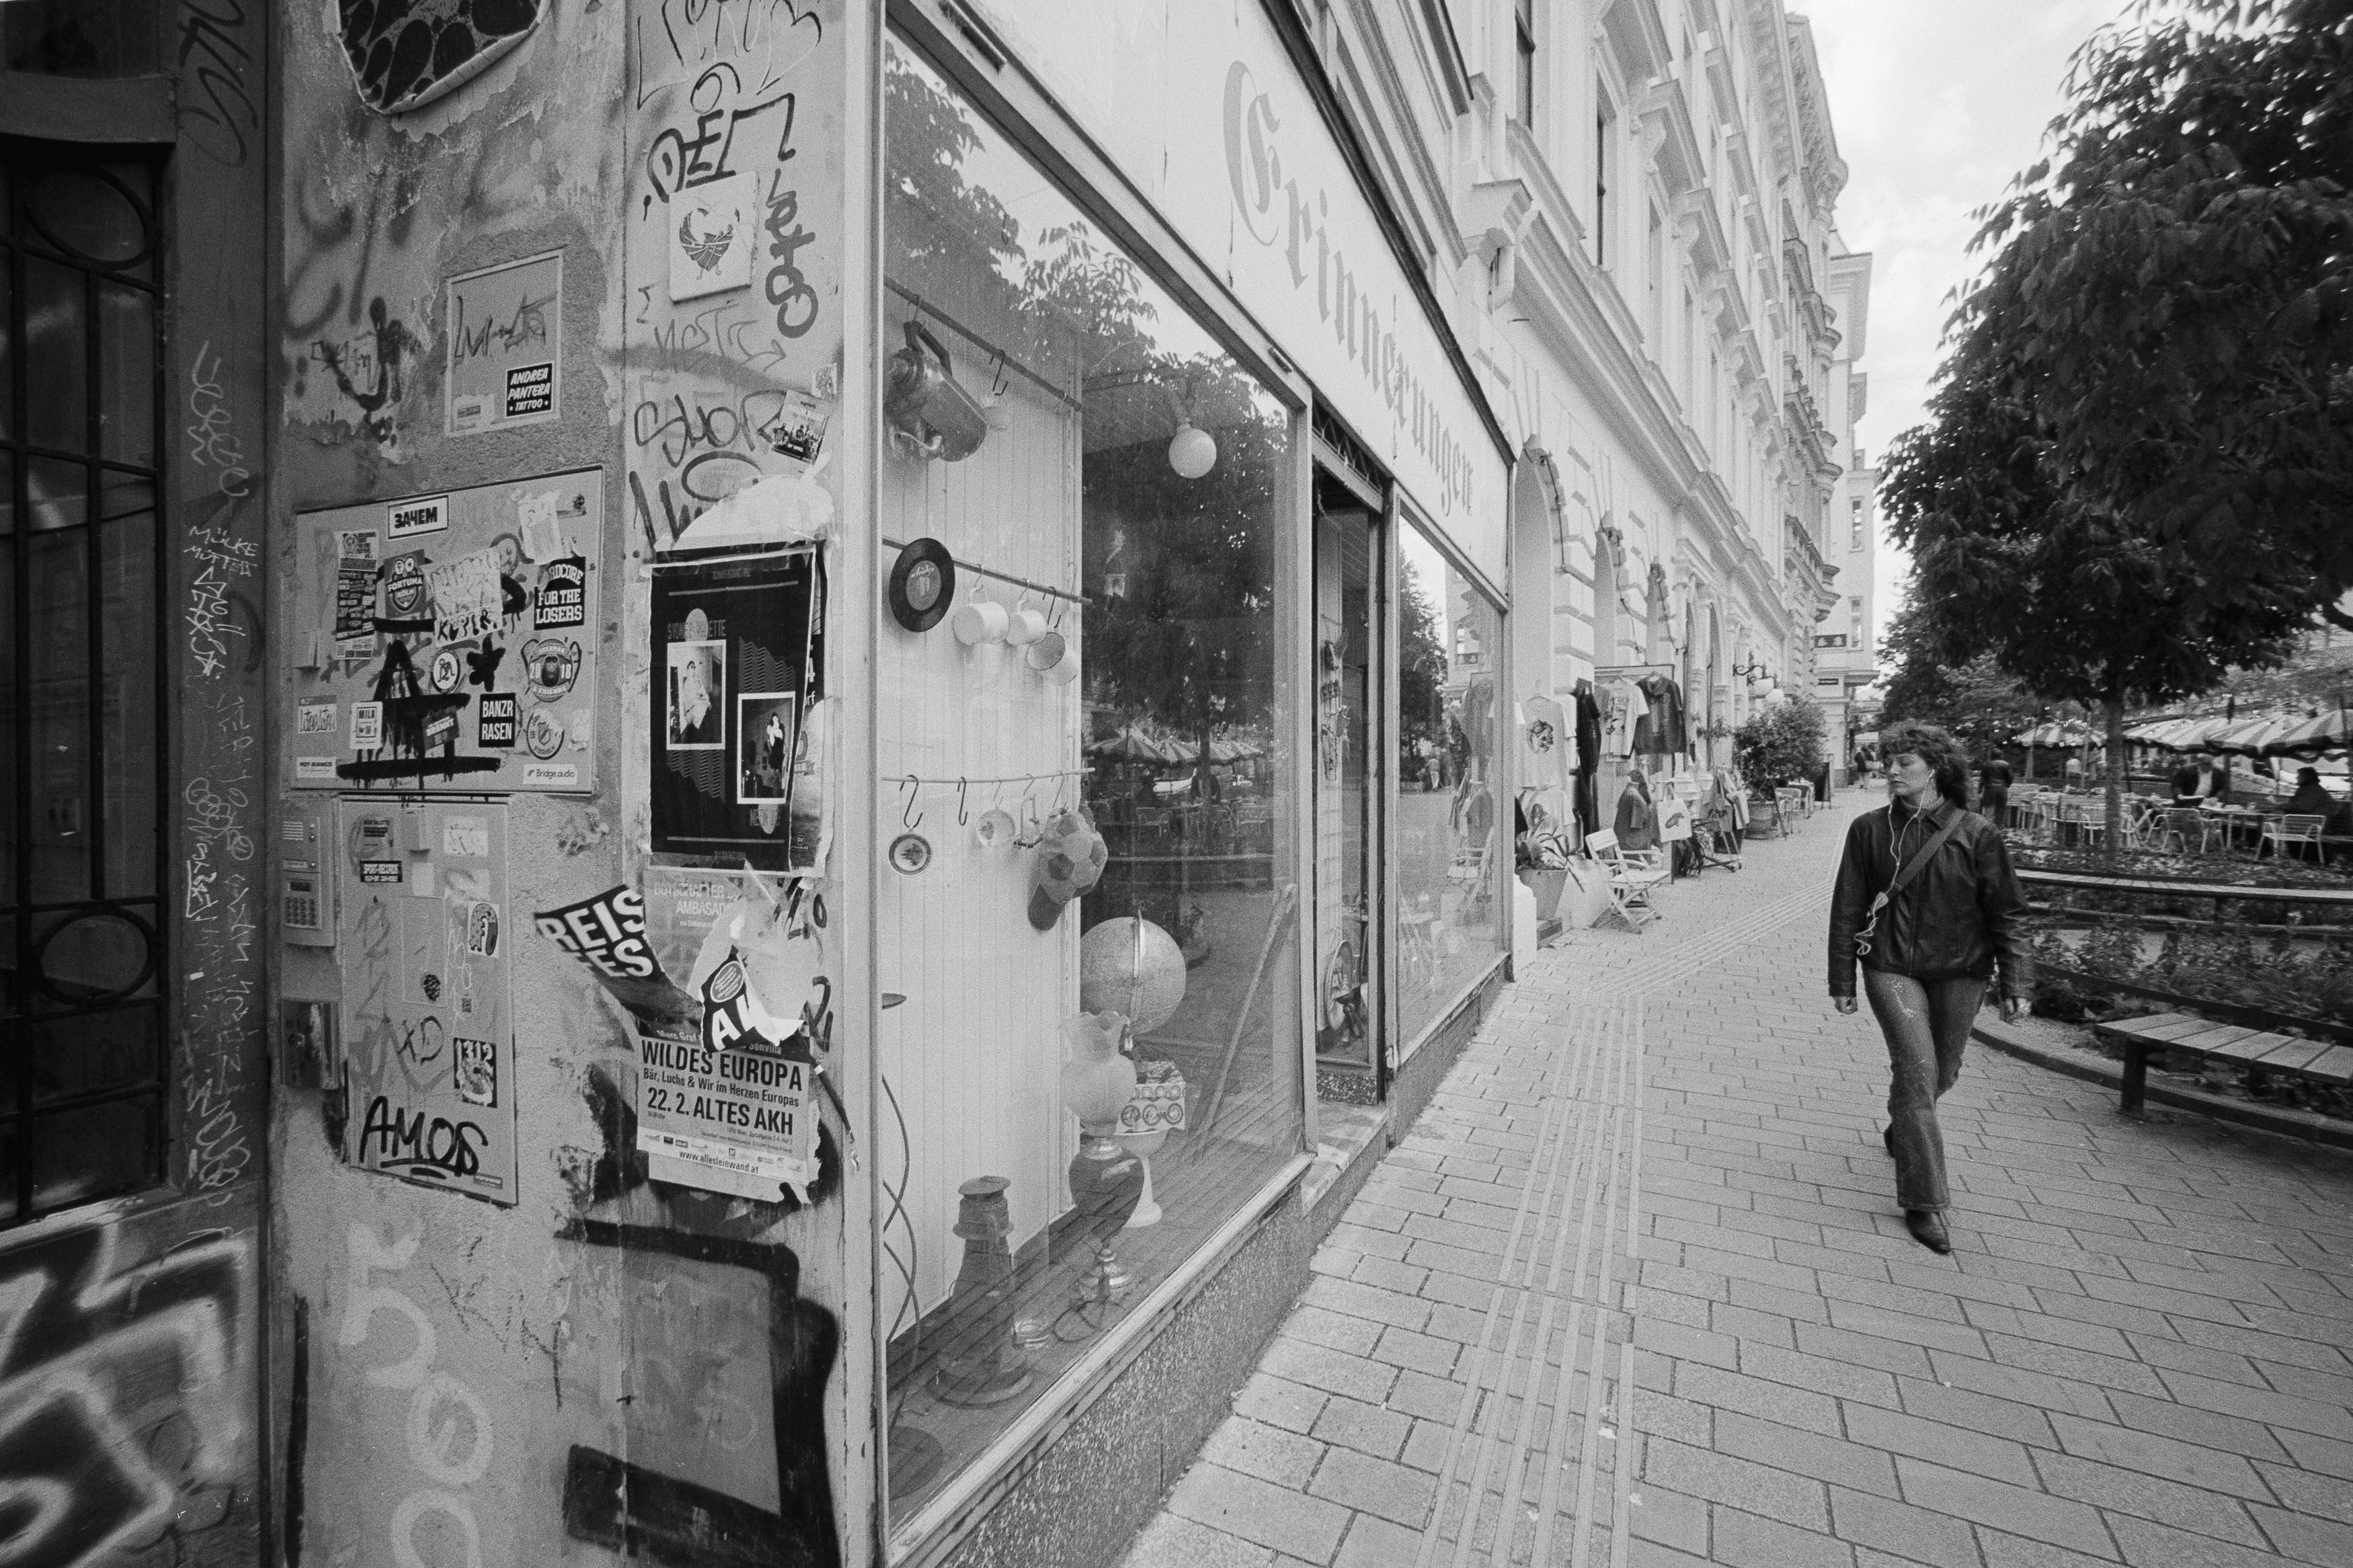
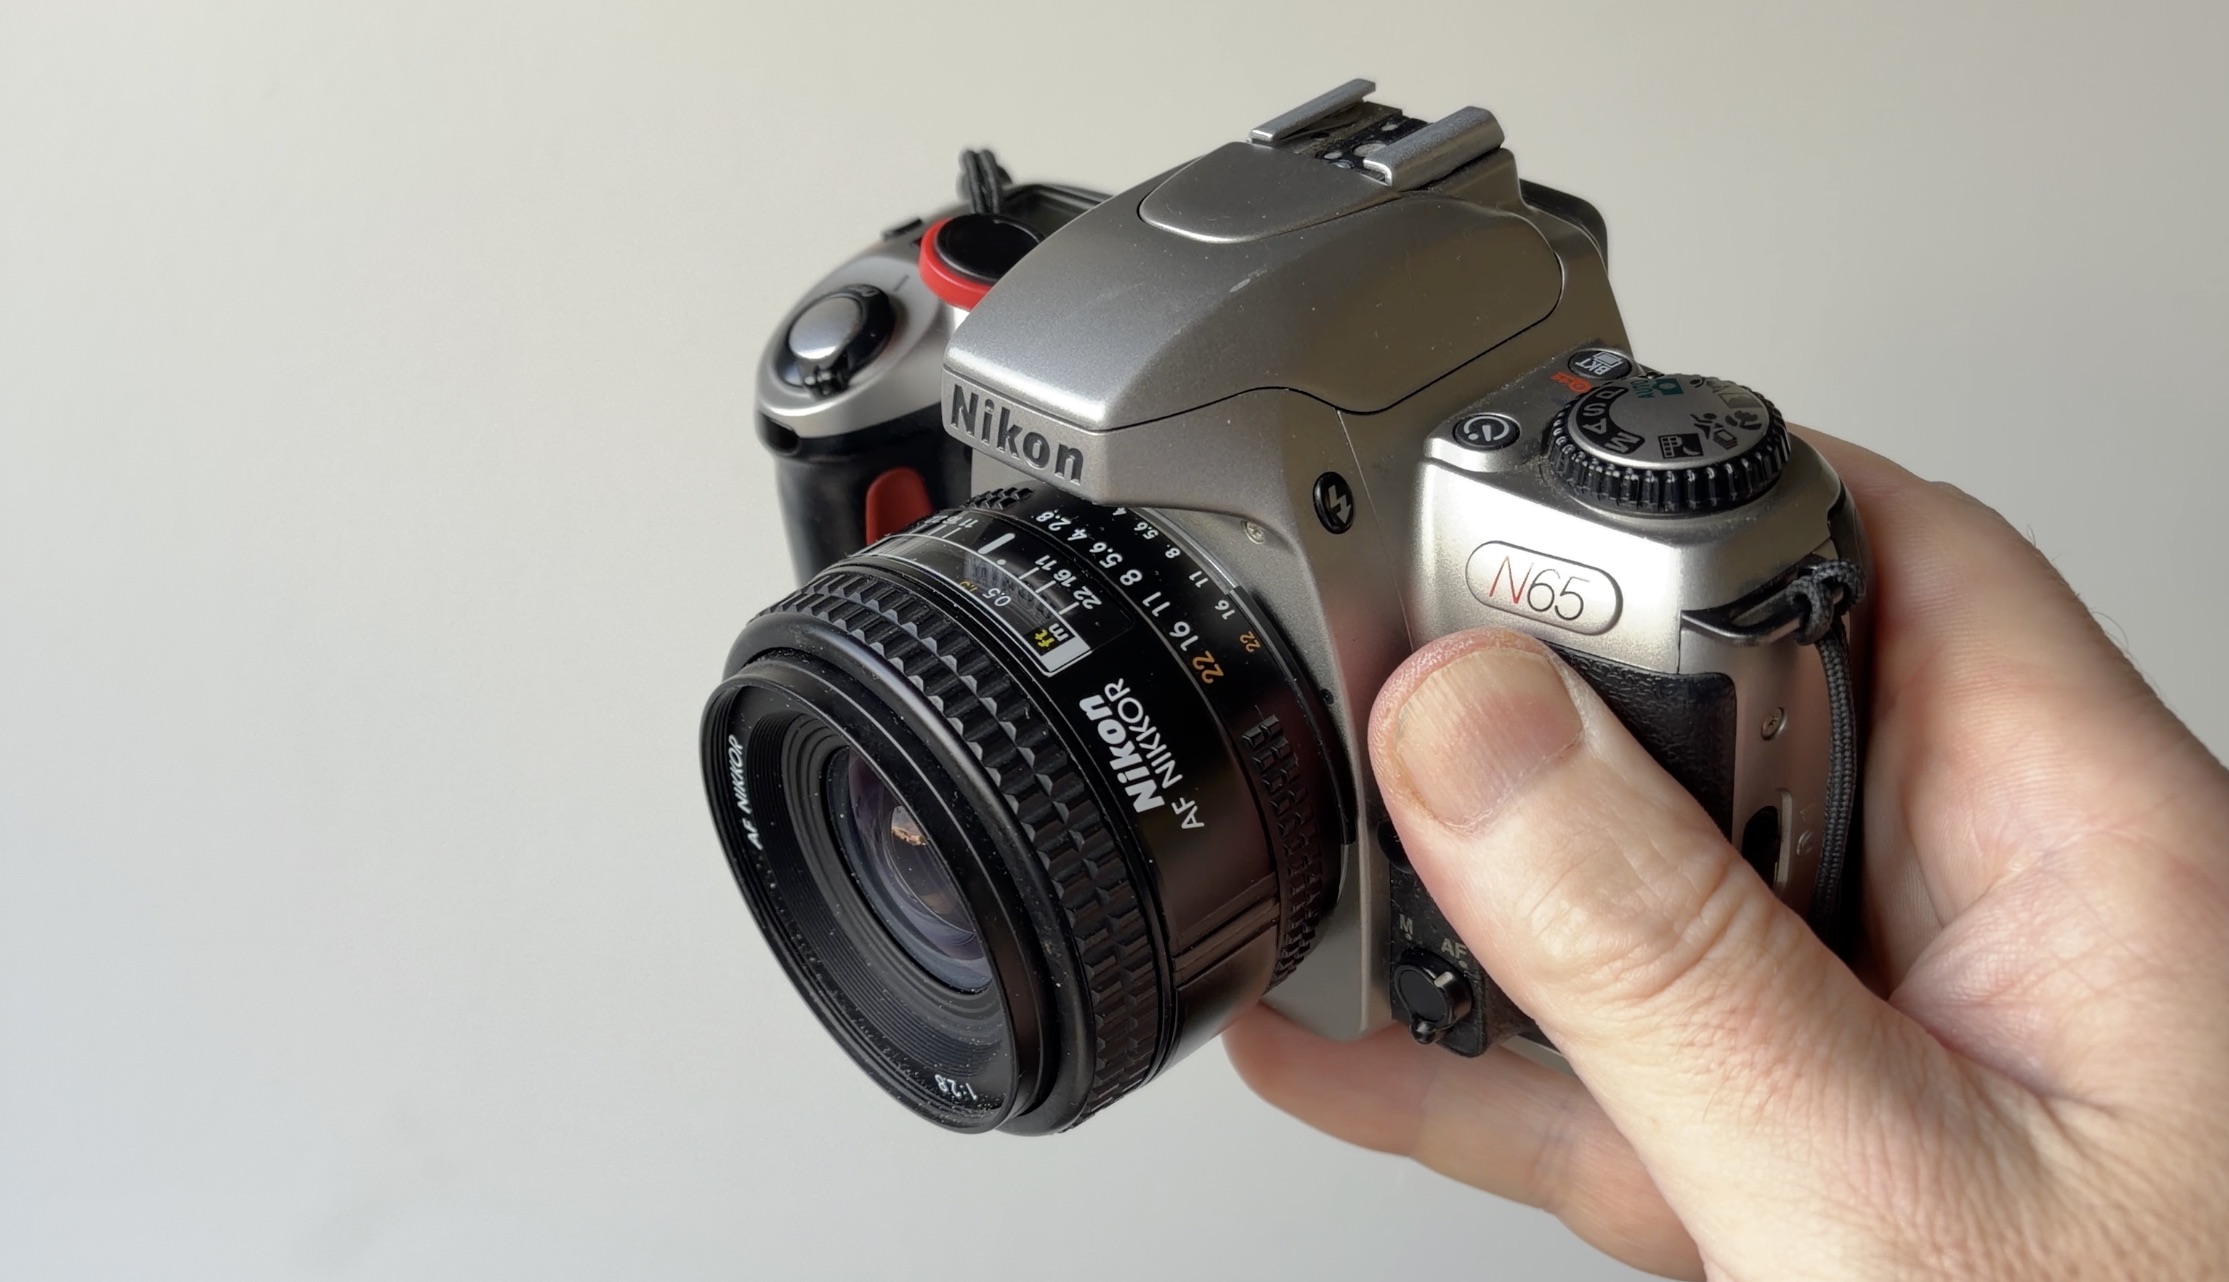
Naturally, I wanted to see whether it was really as bad as its reputation suggested. I bought the lens in Tokyo last year for my Nikon N65 and took it for a walk around Setagaya, travelling along the Oimachi line towards Jiyugaoka. To test its resolving power, I chose Ilford HP5 pushed to ISO 800. Hardly the ideal film for a resolution test, perhaps, but I’ve never been particularly good at following instructions.

A Lens That Doesn’t Want to Make a Scene

Physically, the AF 28mm f/2.8 is about as unremarkable as a lens can be. It’s small, discreet and reasonably solid, with a metal mount and an aperture ring that makes it compatible with a broad range of Nikon cameras. The manual-focus ring is narrow but usable, with a rubberised surface and reasonably smooth movement. It doesn’t feel luxurious, but neither does it seem likely to fall apart.

As an AF lens, it relies on the camera’s screw-drive autofocus motor, so it won’t autofocus on bodies that lack one, including many cheaper DSLRs and Nikon Z-series cameras. Put it on a compatible body such as the N65, however, and it focuses quickly enough to get on with the job. There’s nothing especially exciting about its construction or handling, but that’s part of its appeal: it quietly gets on with things.
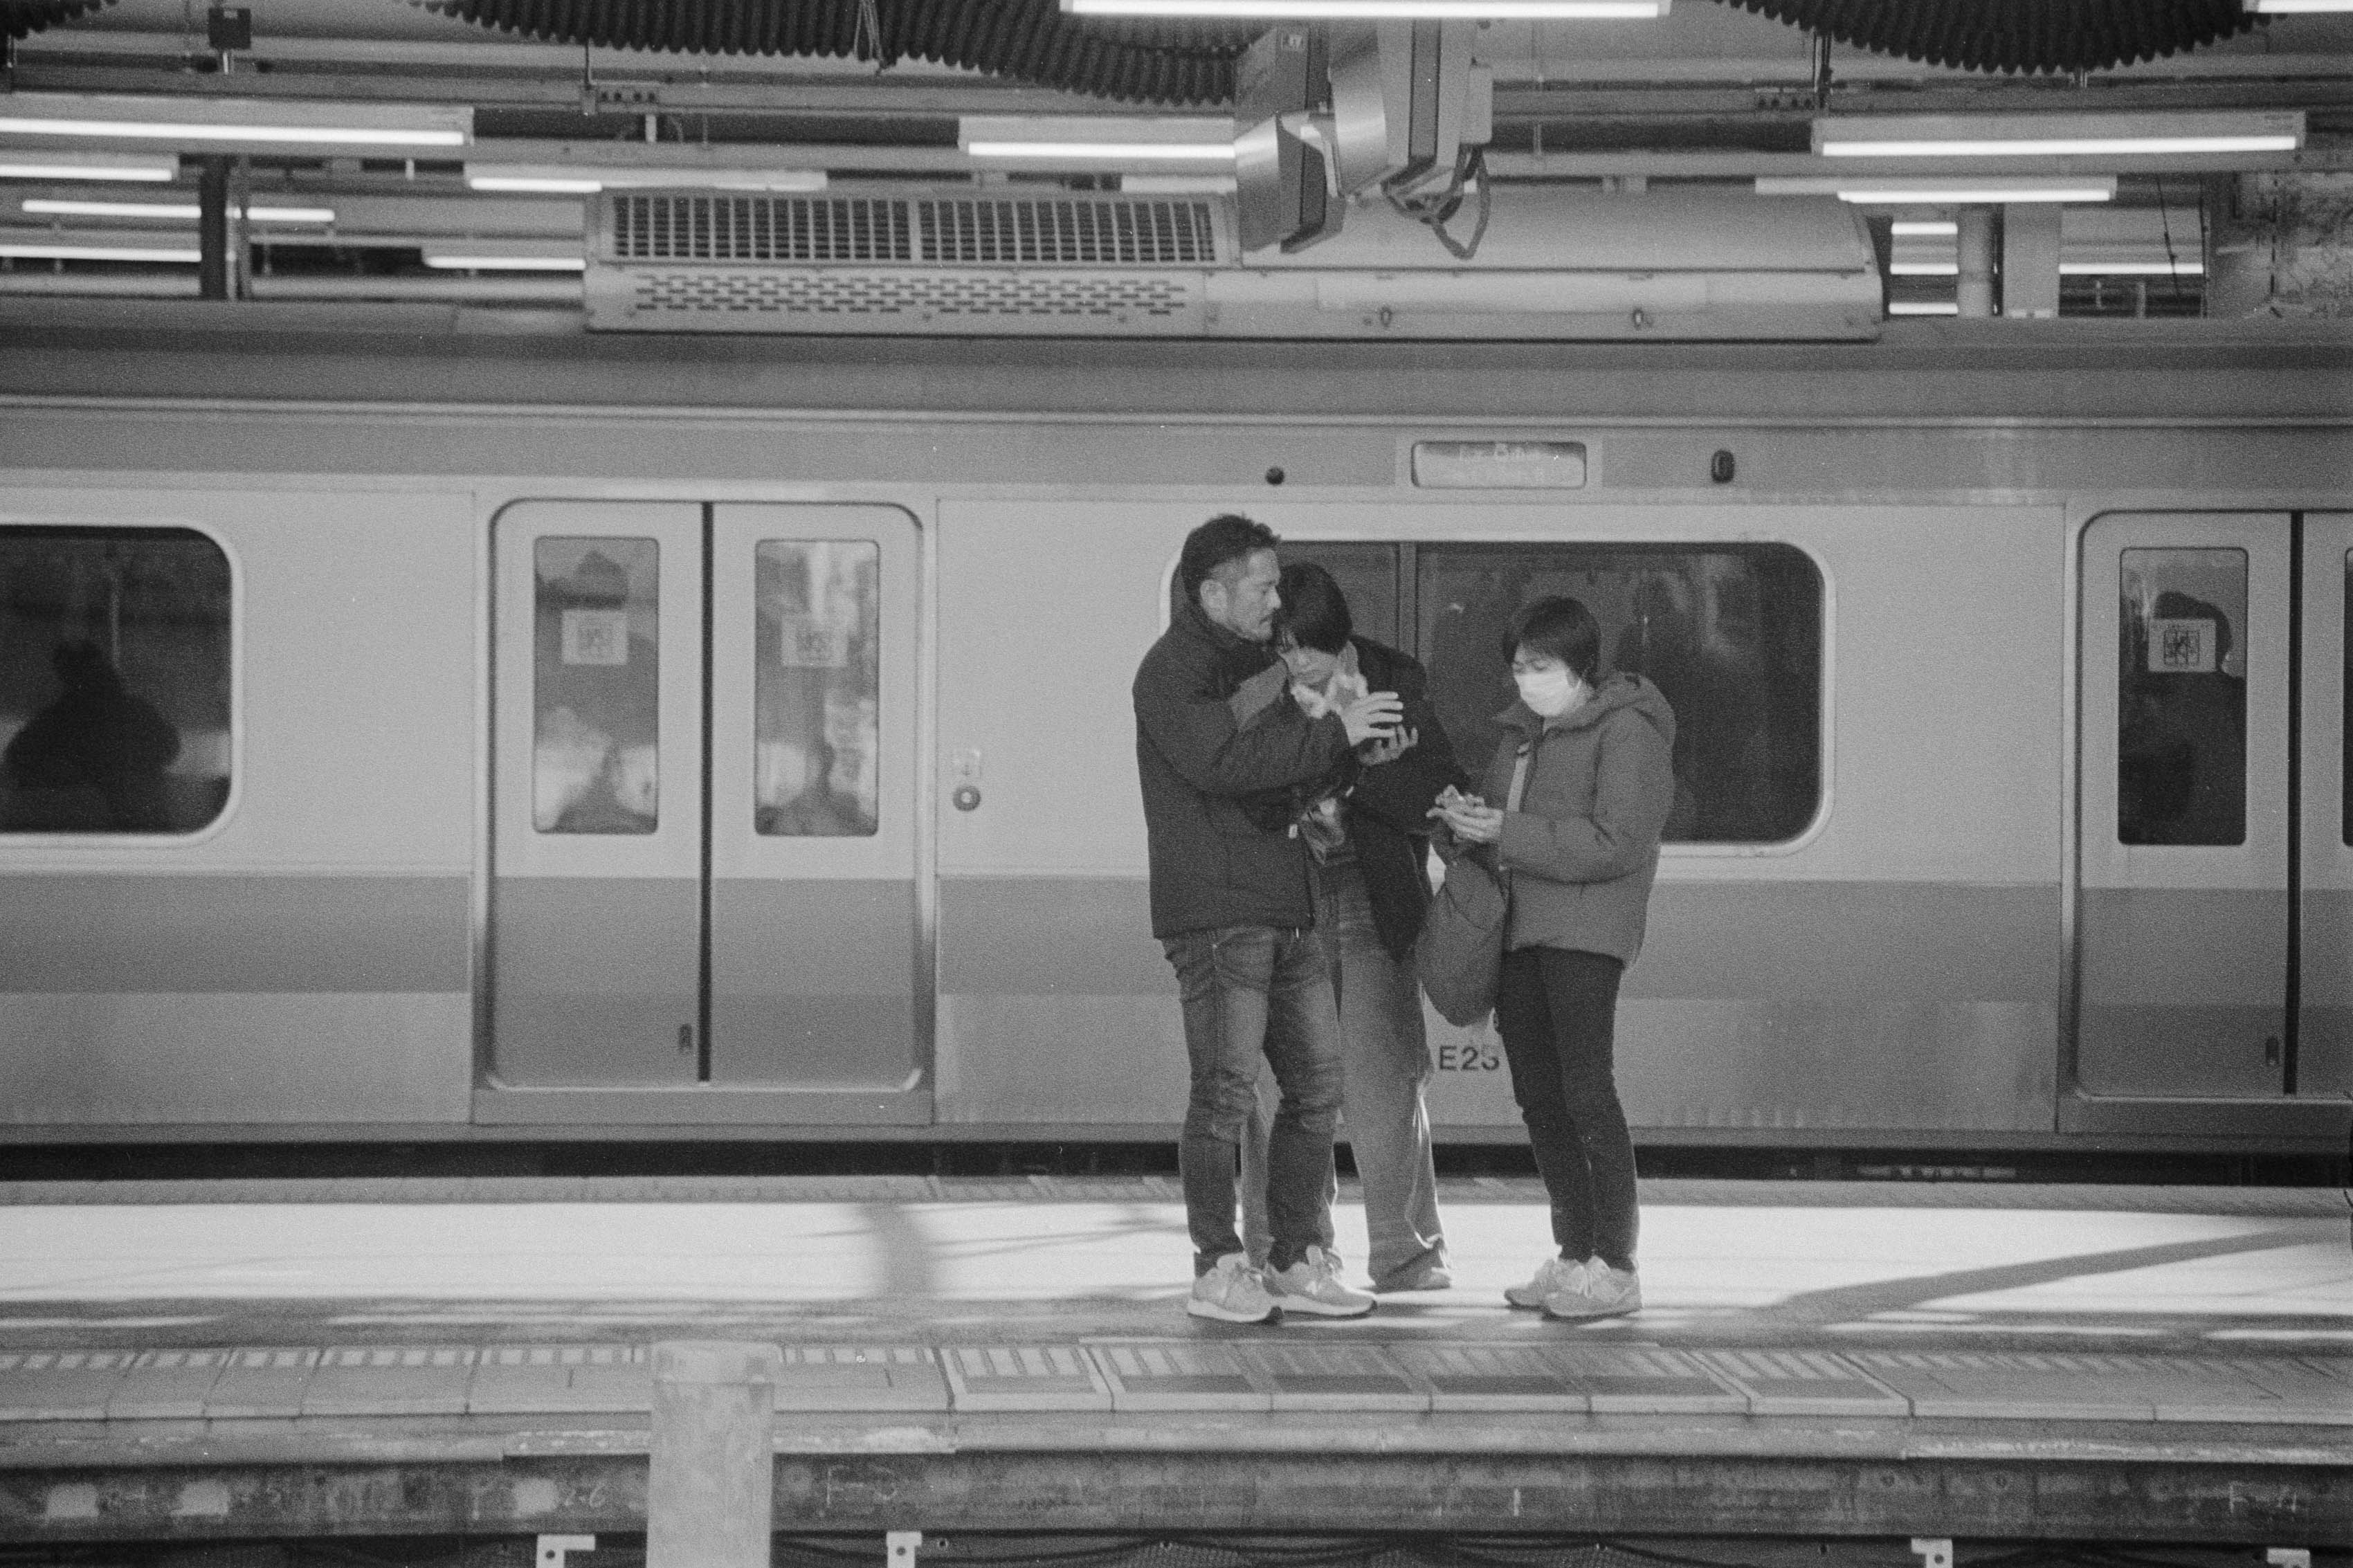
The bigger challenge was learning to work with the 28mm focal length. I often wished I could get closer to my subjects, particularly when photographing people across a railway platform or trying to give an individual more presence in a busy scene. Some images needed cropping, while others would have benefited from a different approach to composition. Famous street photographers such as Garry Winogrand and Daido Moriyama have made remarkable photographs with 28mm lenses, but that doesn’t mean I’m automatically going to achieve the same results.

In practice, this feels like a meat-and-potatoes lens: a sensible choice for photojournalists, enthusiasts and anyone wanting something wider than a standard lens. It’s useful, but it requires thought about distance, framing and how much of the surrounding environment belongs in the picture.

The Optical Problems Are Real

When it comes to optical performance, the AF 28mm f/2.8 doesn’t exactly cover itself in glory. Distortion is one of its more obvious shortcomings, particularly in scenes containing straight lines. Software correction helps, but the distortion isn’t uniform, and architectural photography would probably require additional Photoshop work to deal with the remaining moustache-shaped warping.
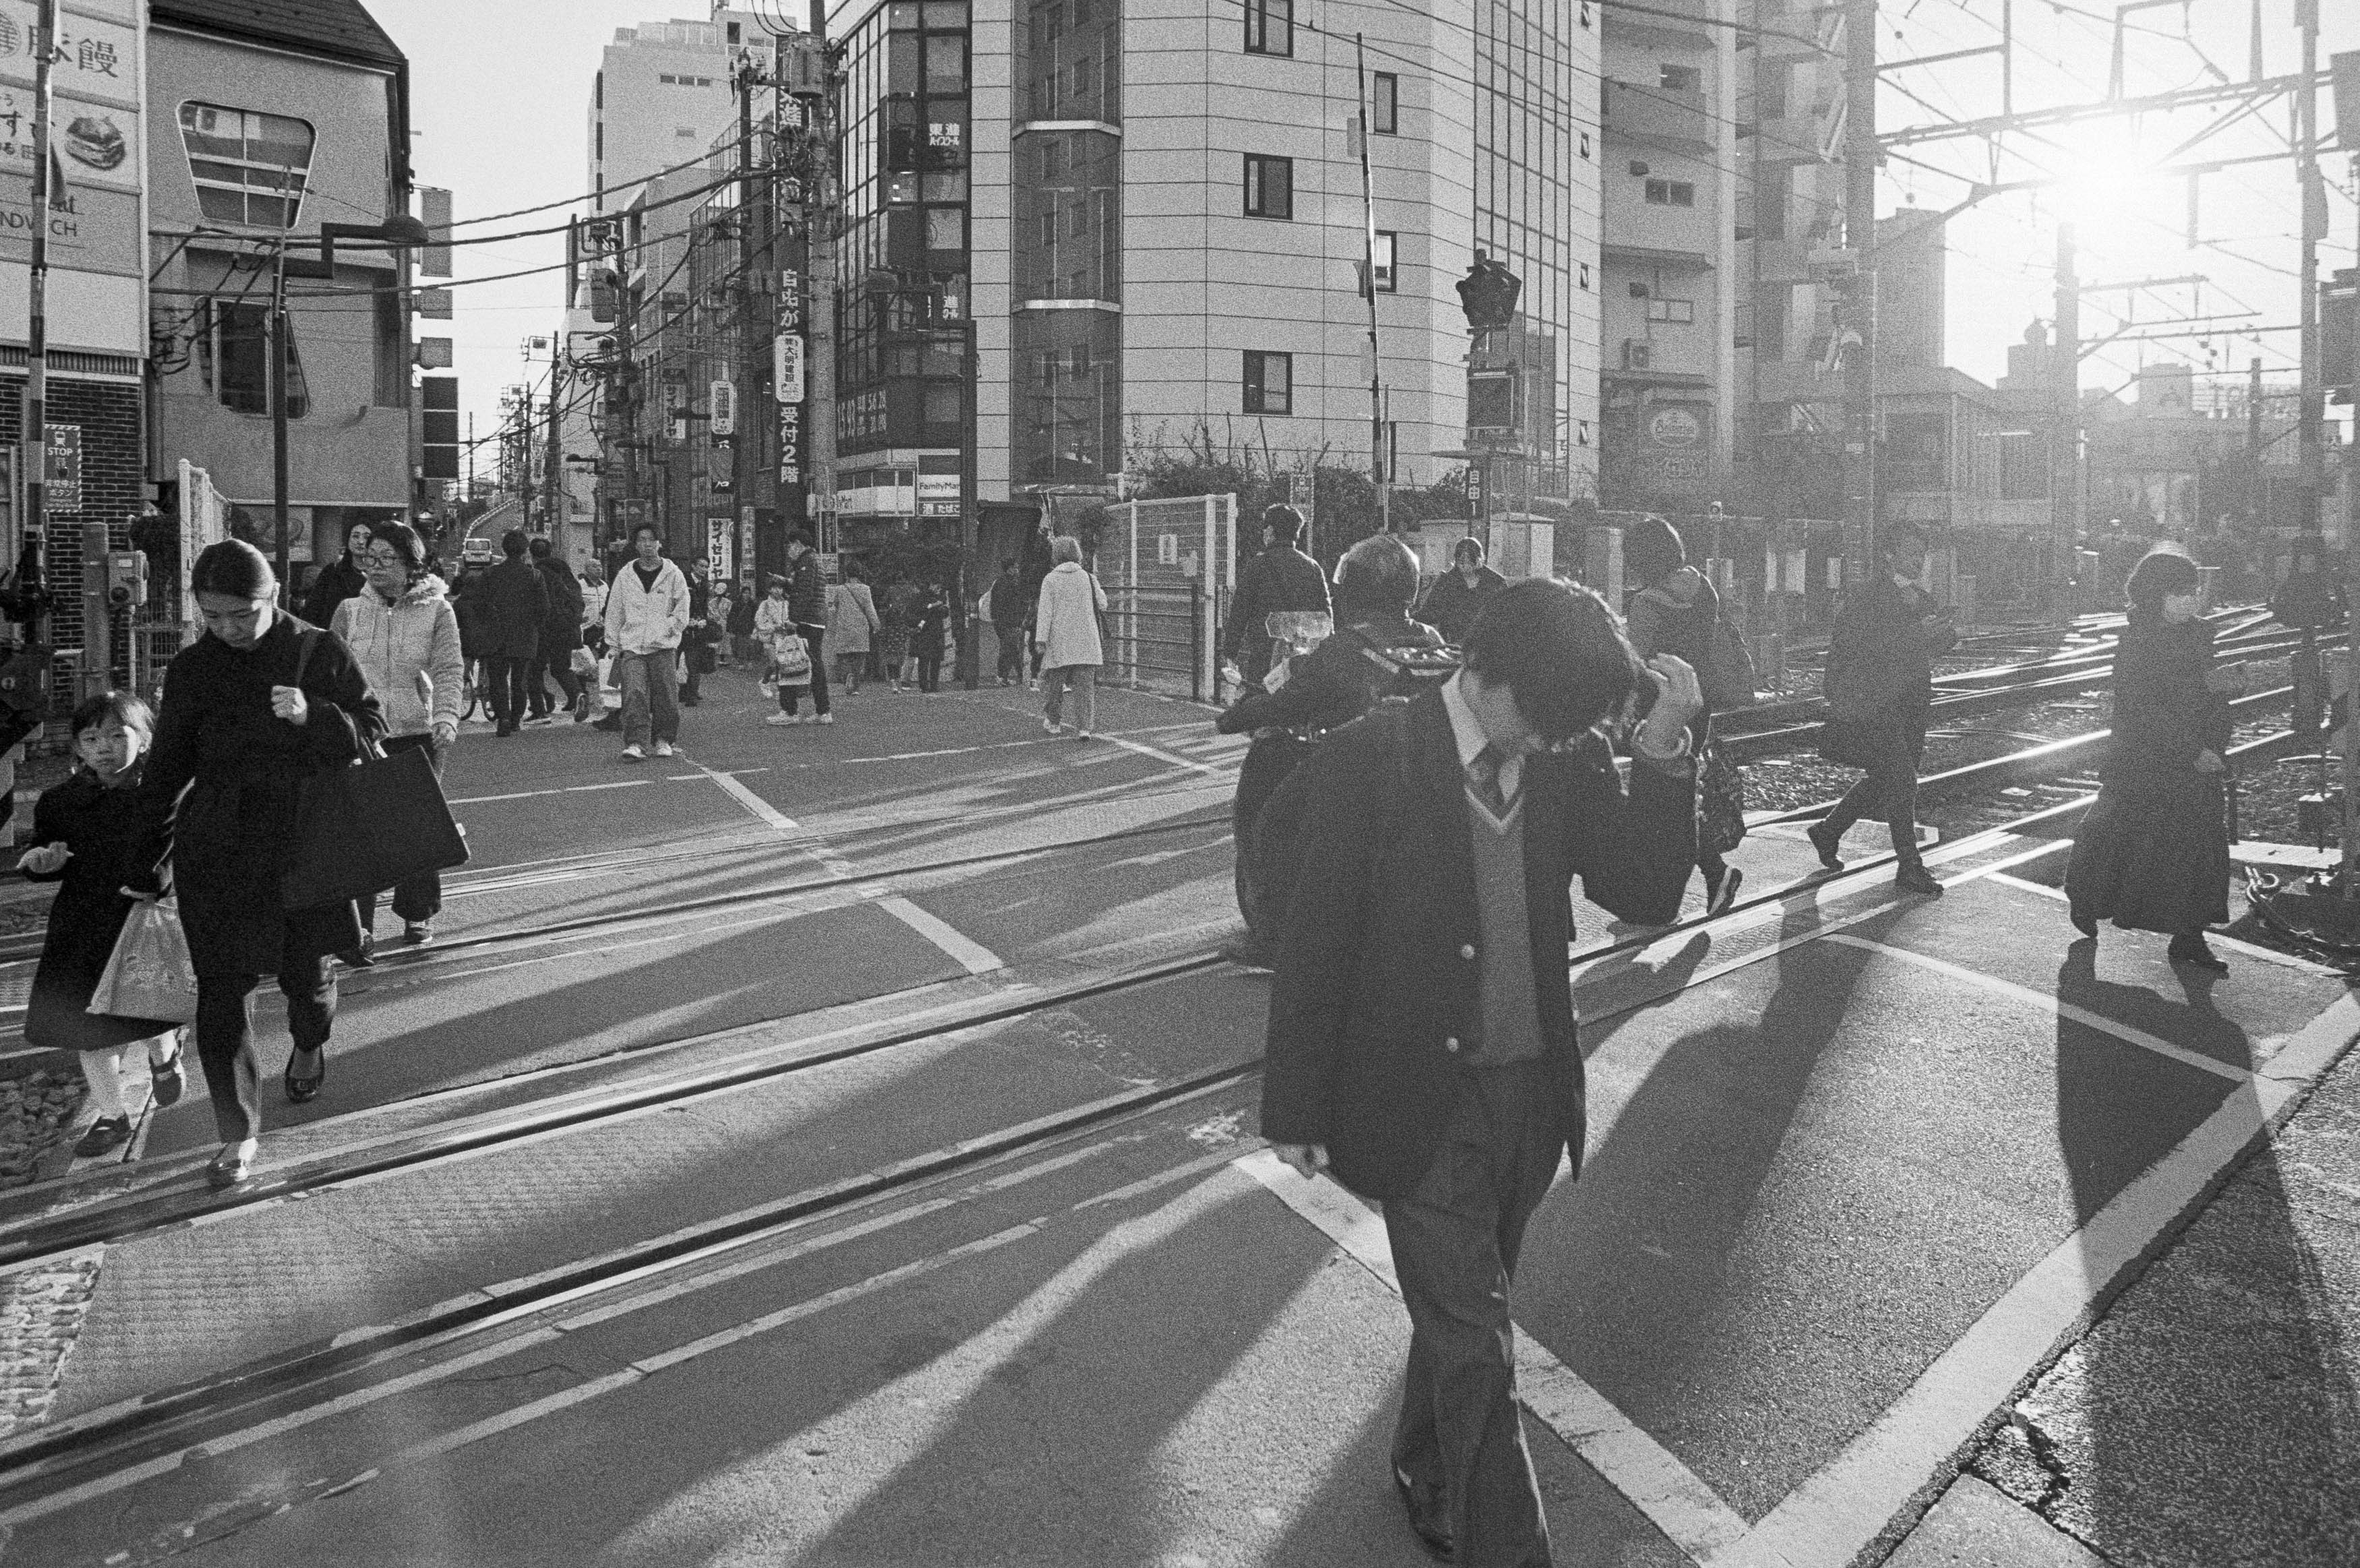
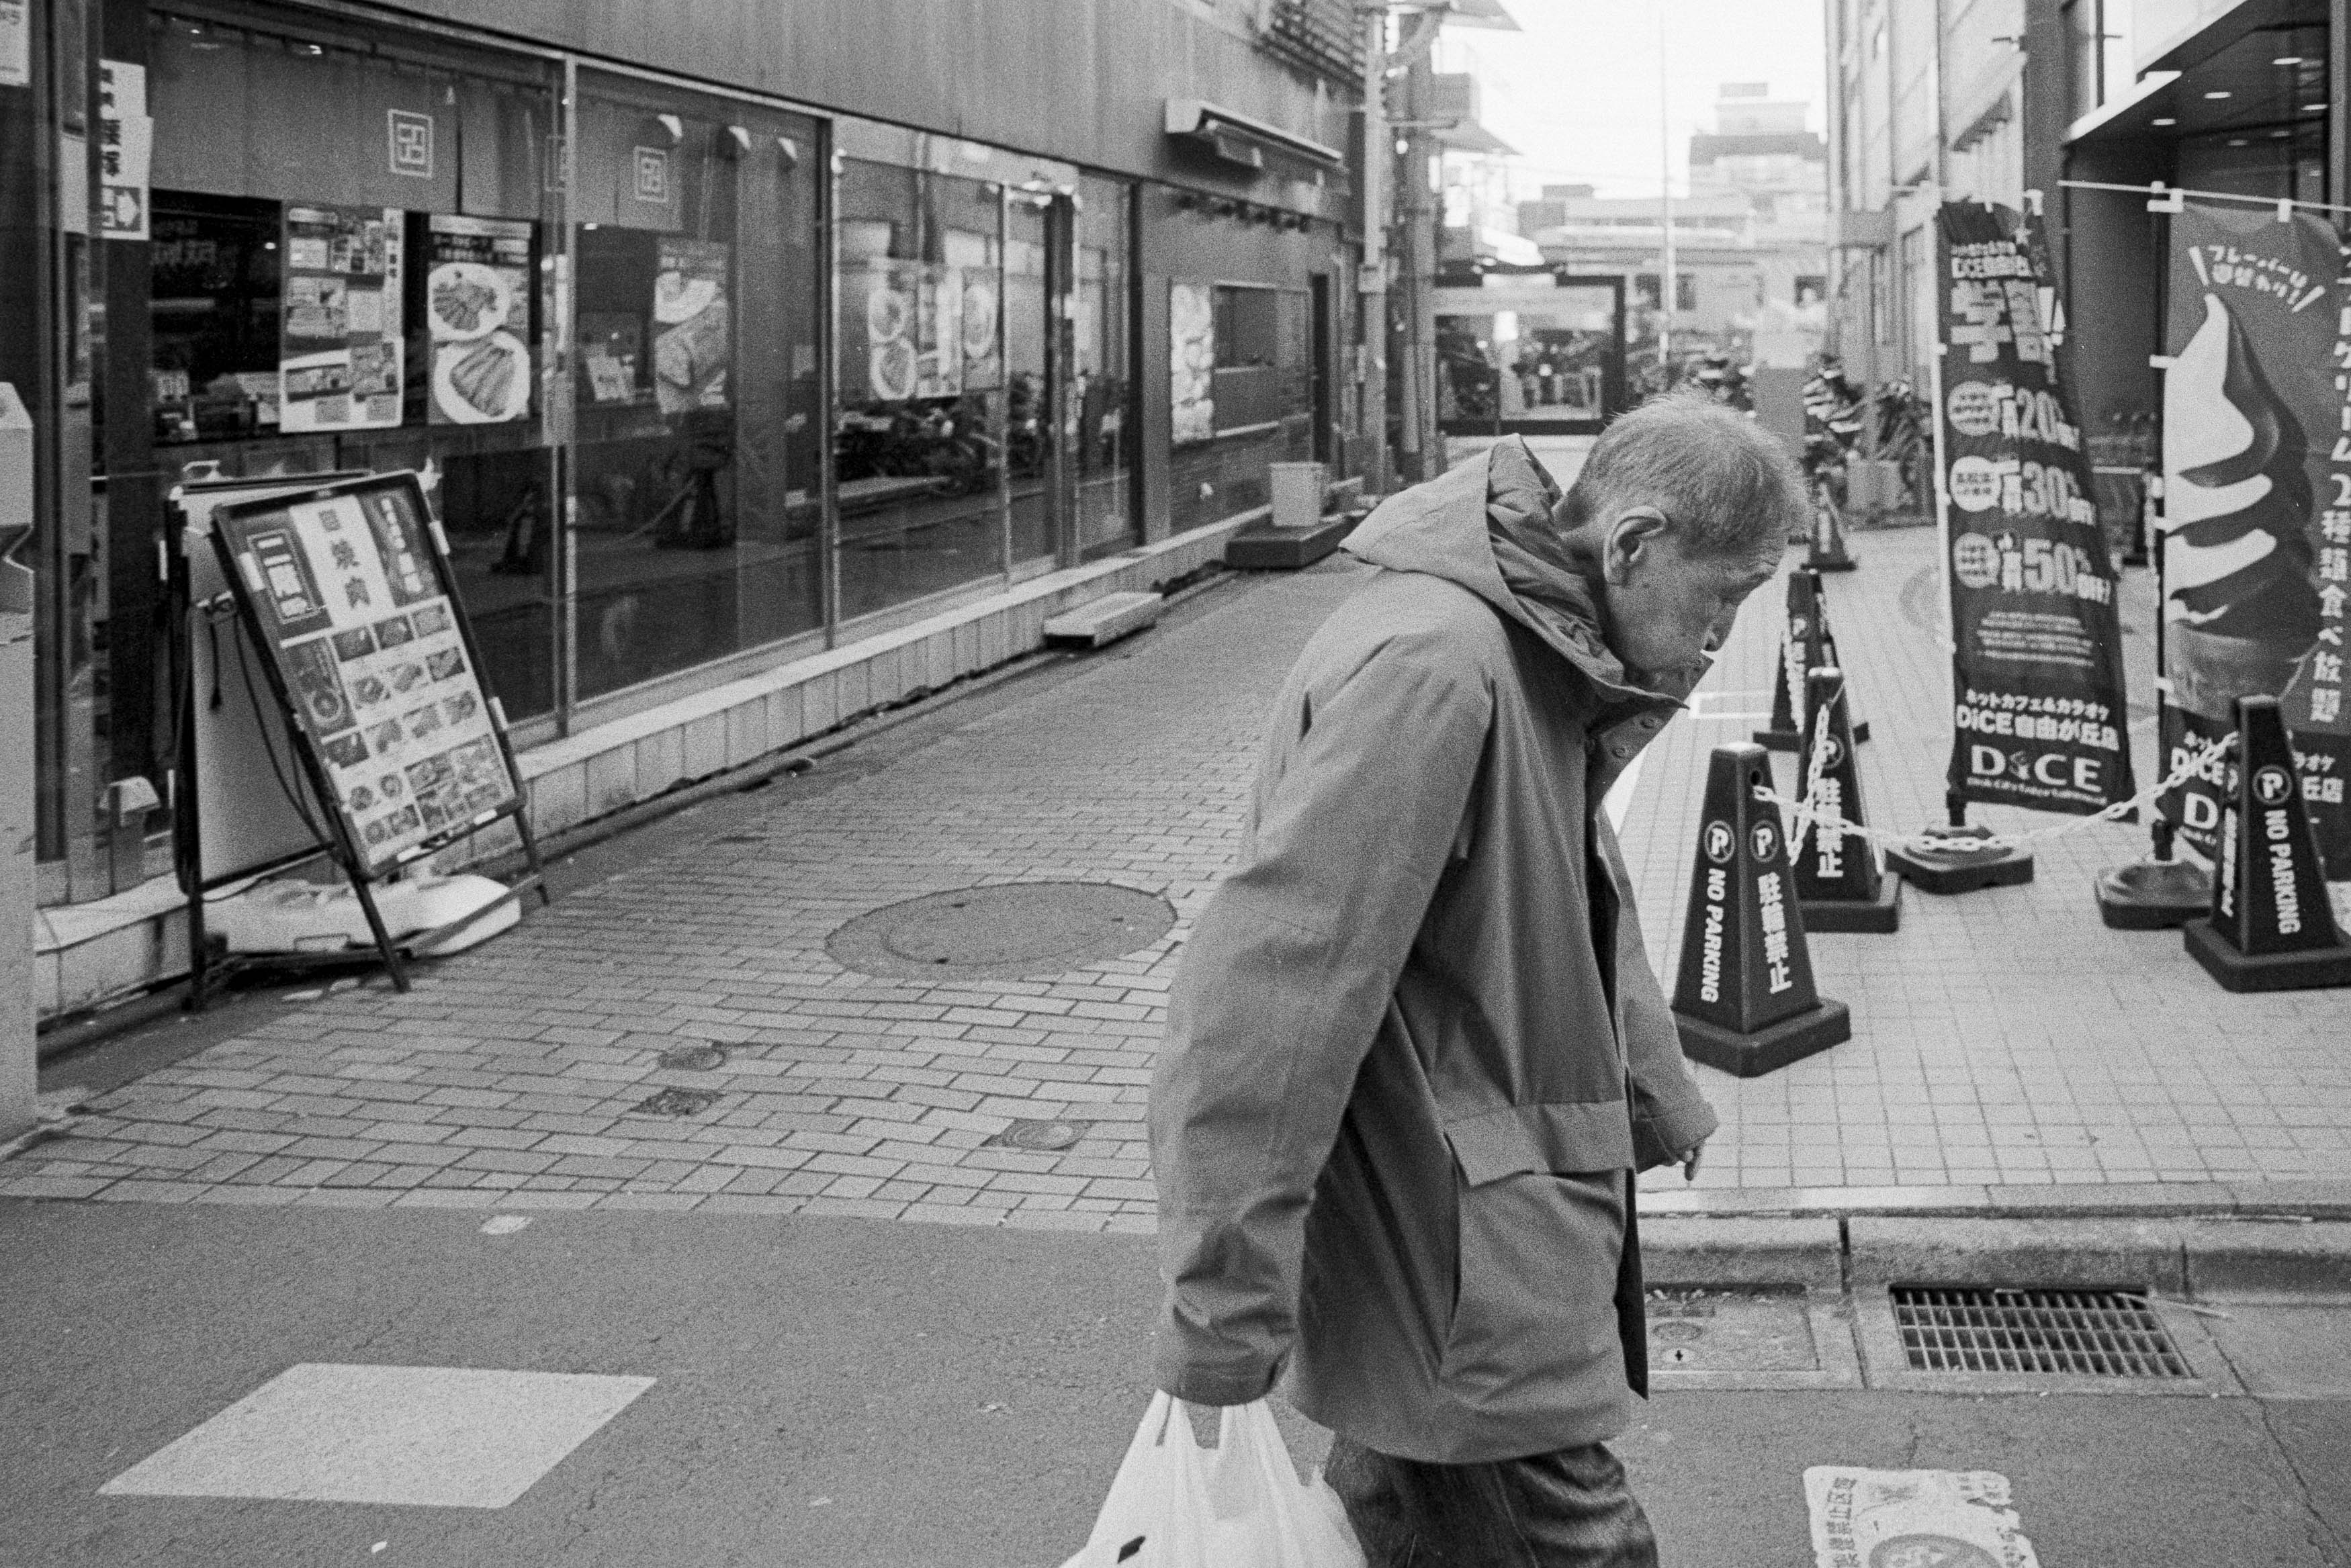
Sharpness is another weakness. At f/2.8, the centre is reasonably sharp, but the corners look as though someone has smeared them with Vaseline. Stopping down improves matters, although the lens really begins to look convincing around f/11, when sharpness becomes more consistent across the frame. That’s hardly ideal if you want modern, clinically sharp results, but it isn’t necessarily the end of the story.

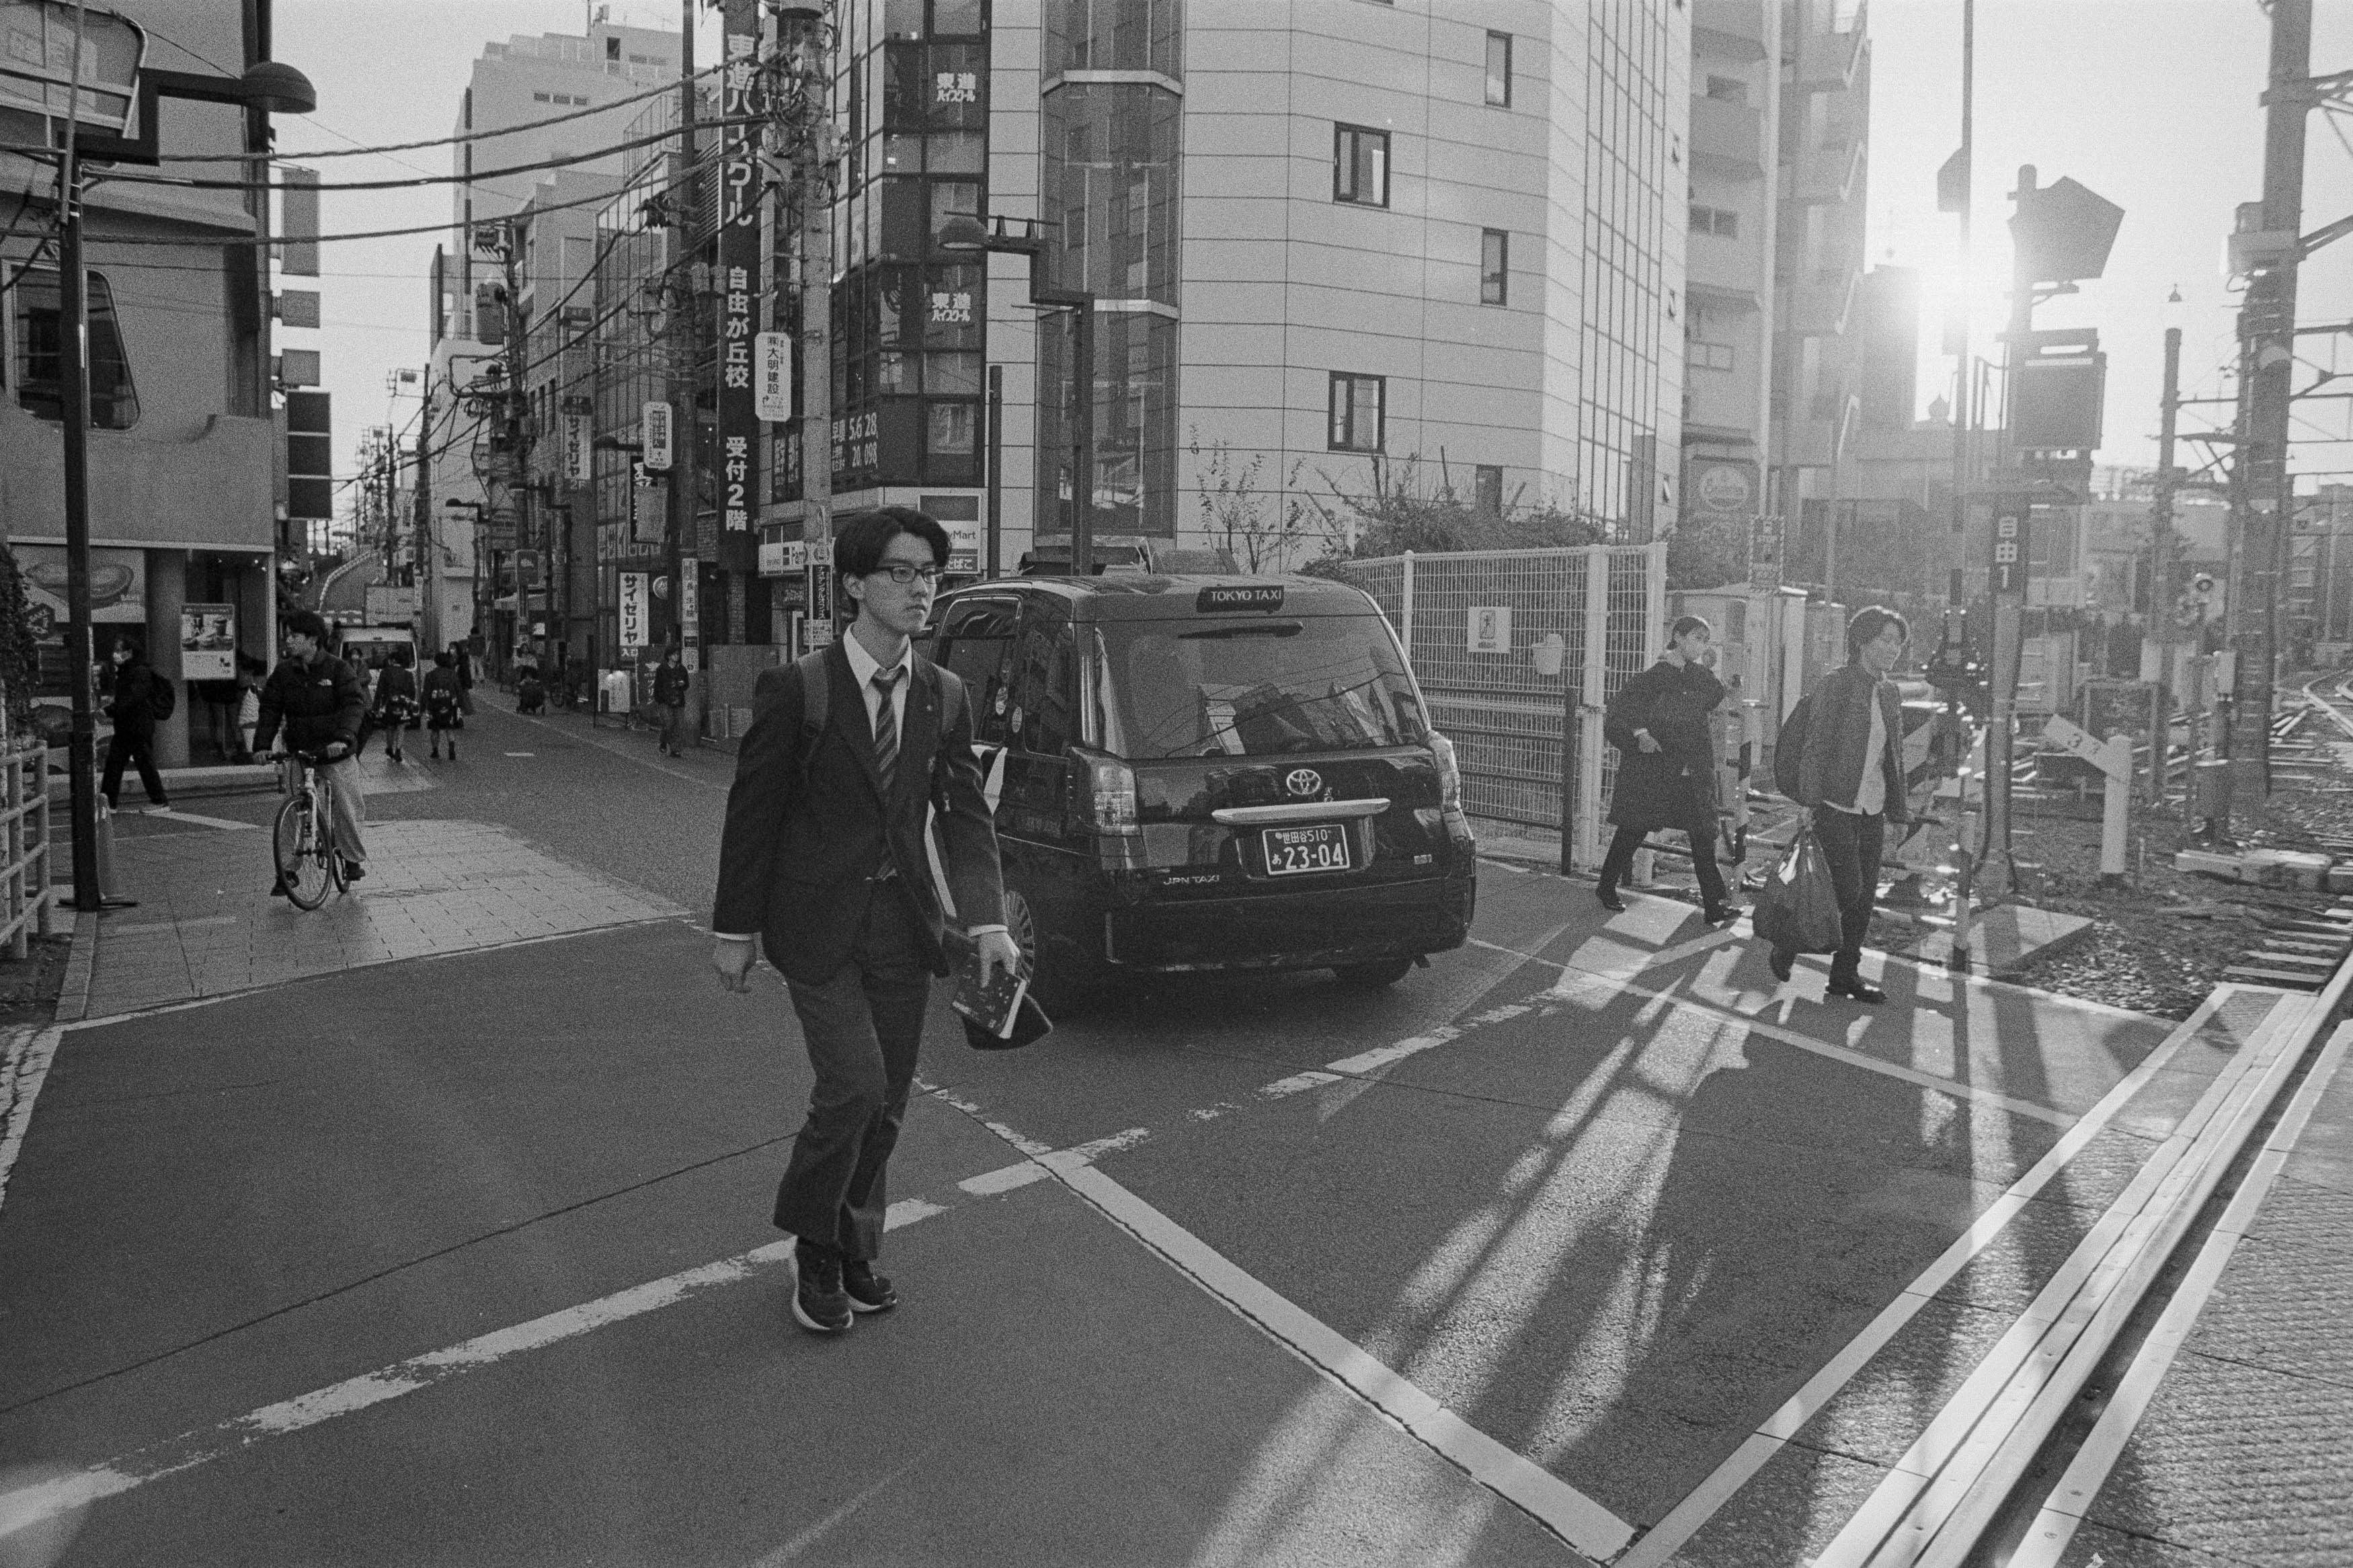
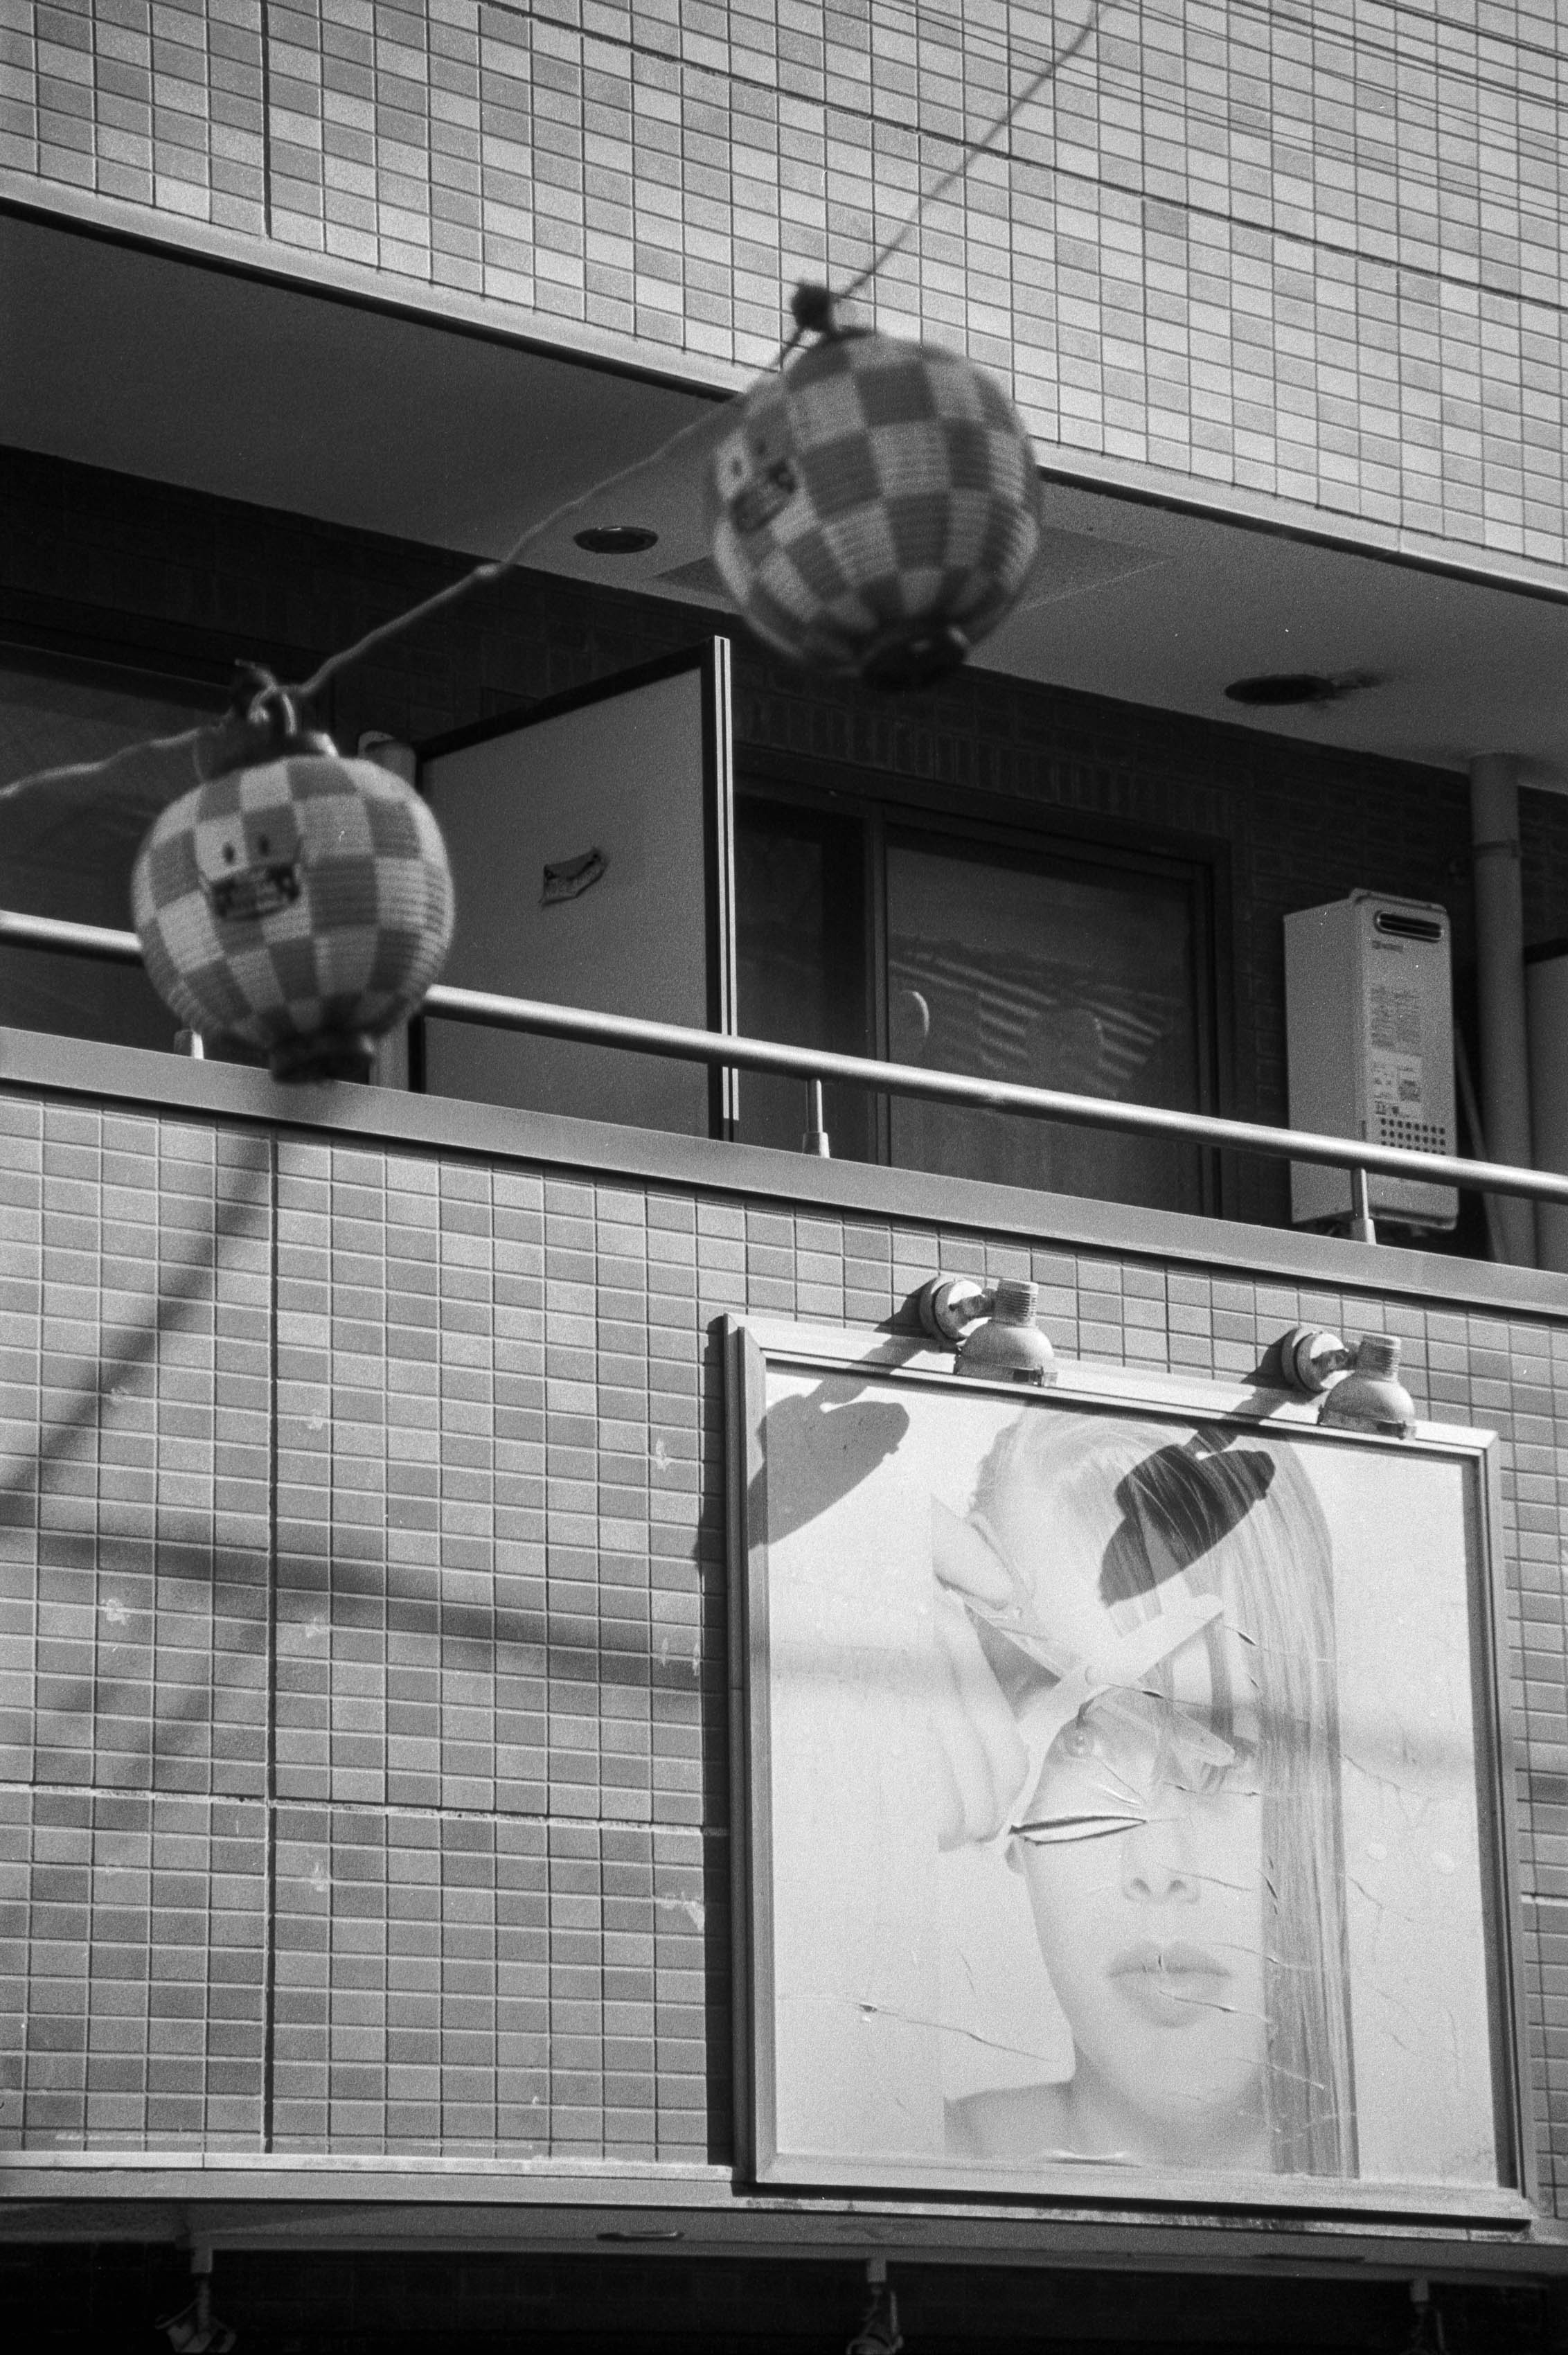
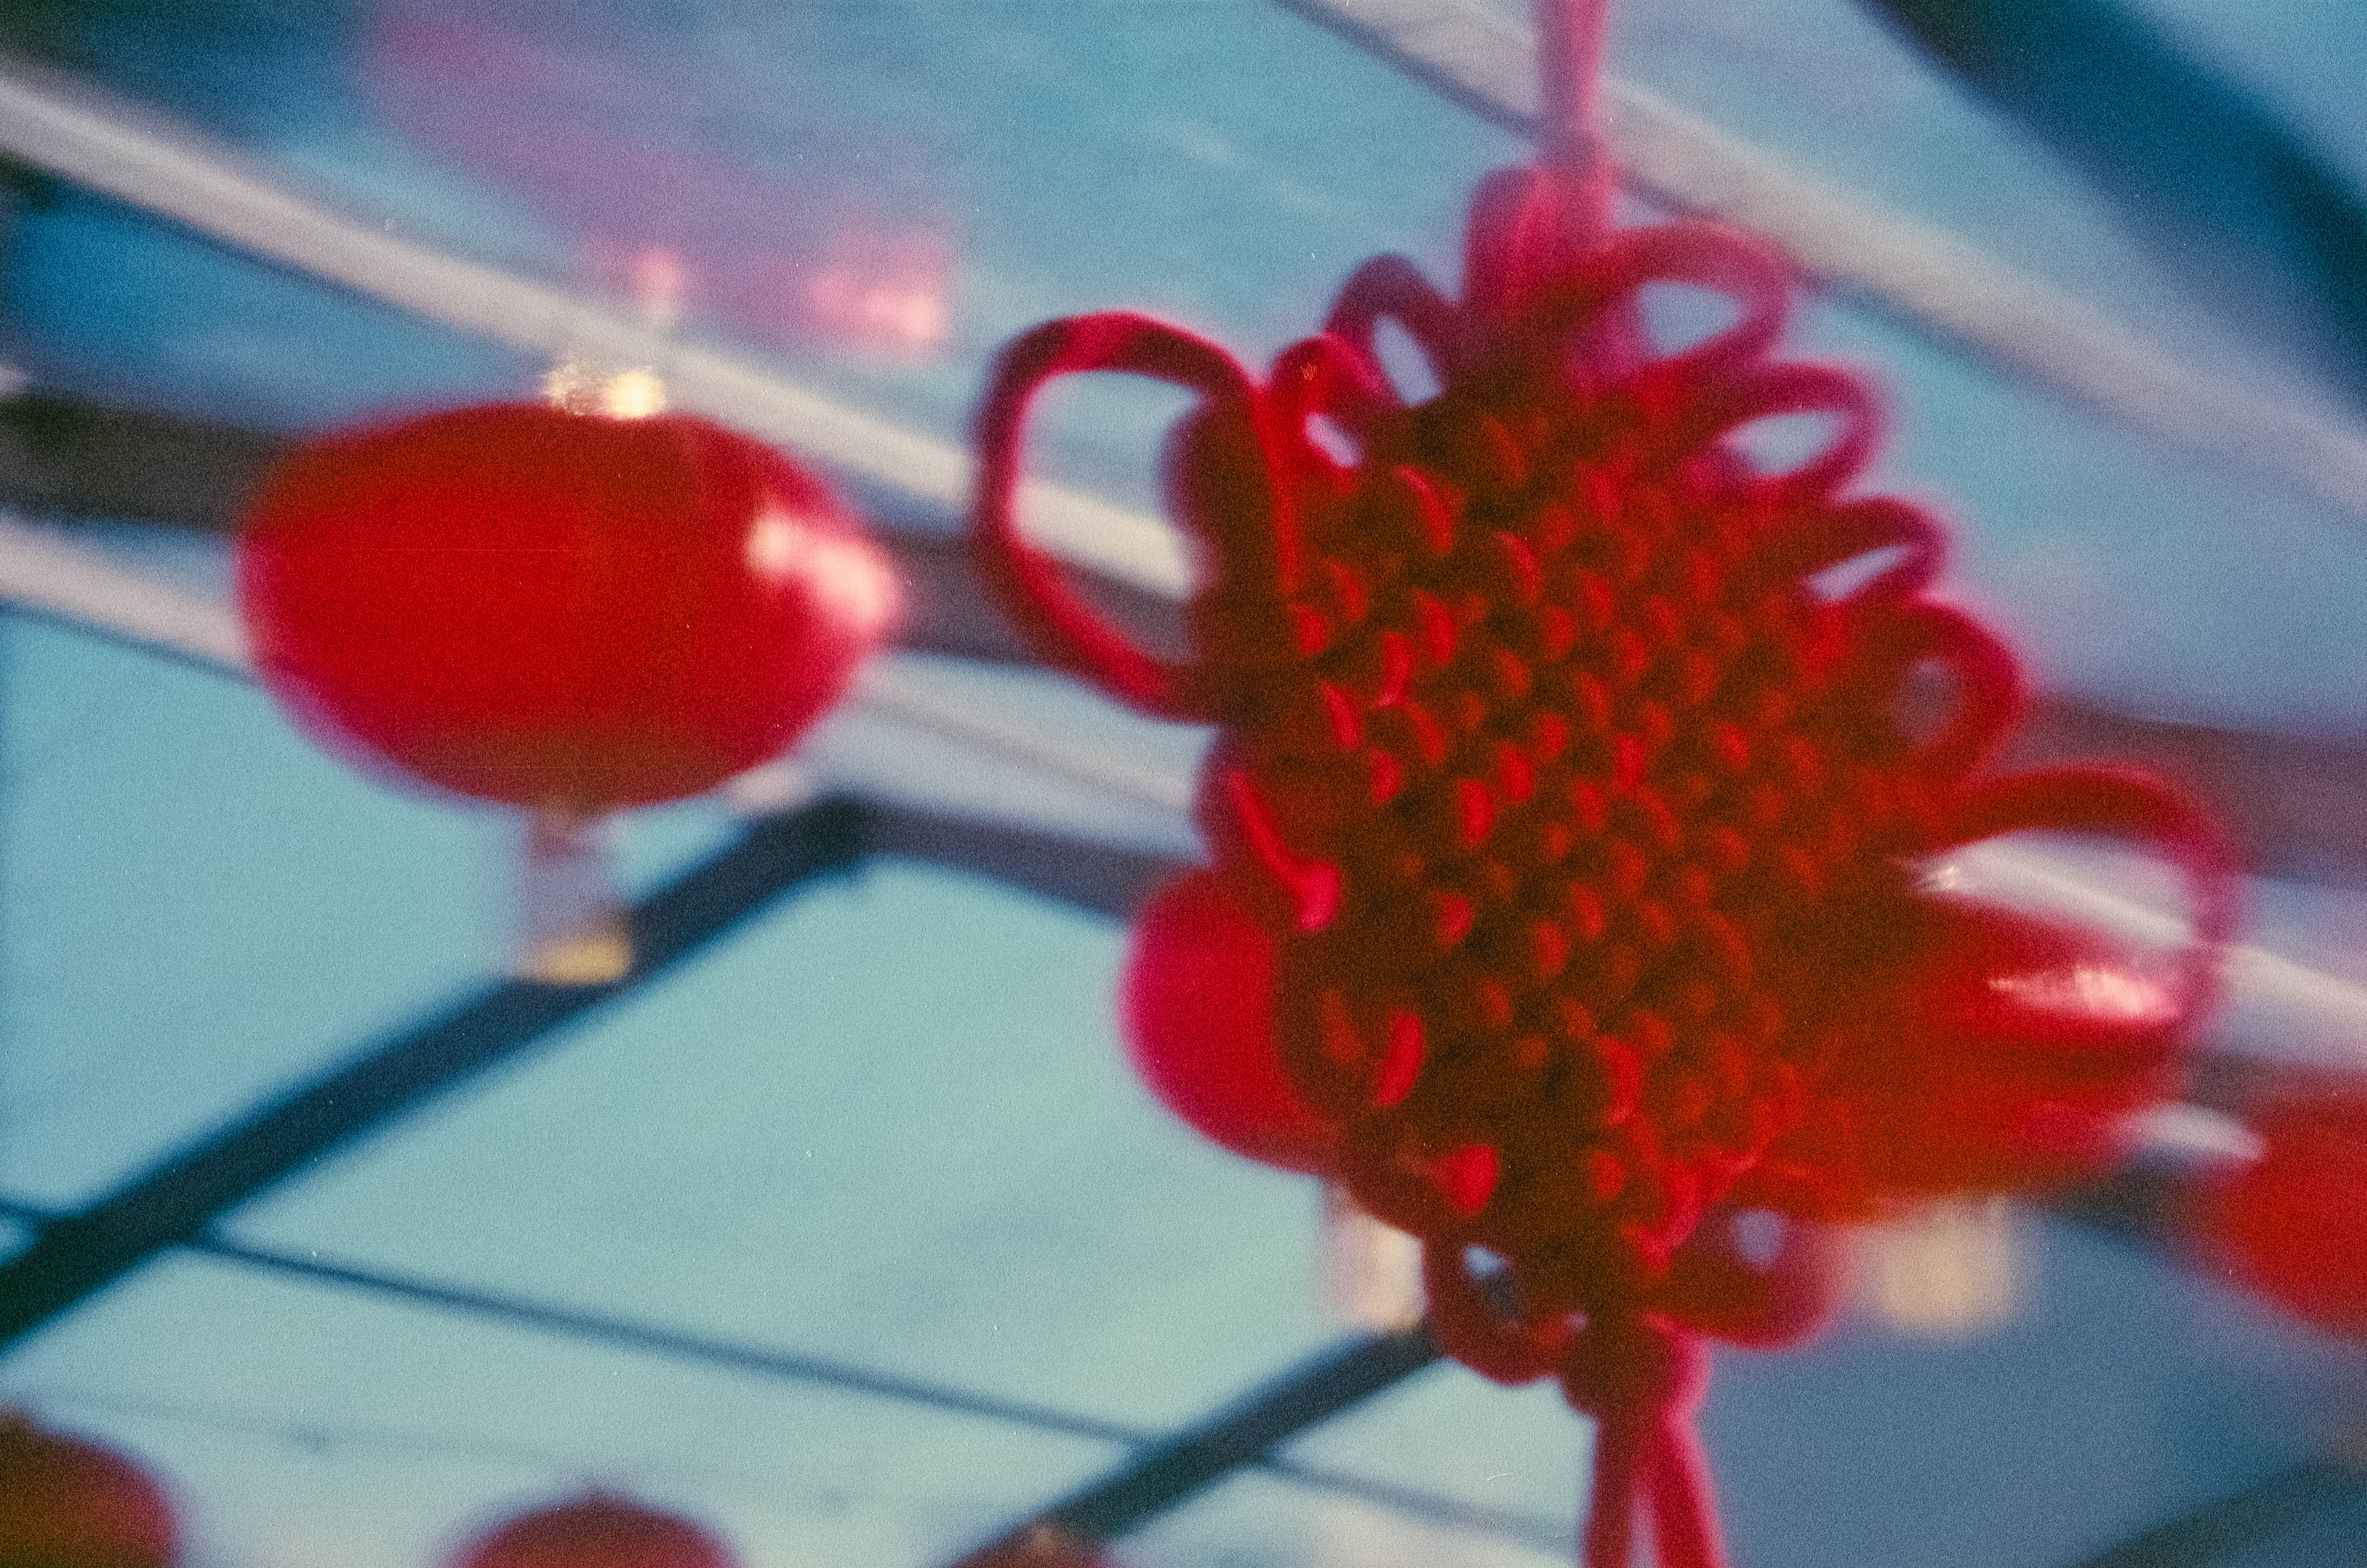
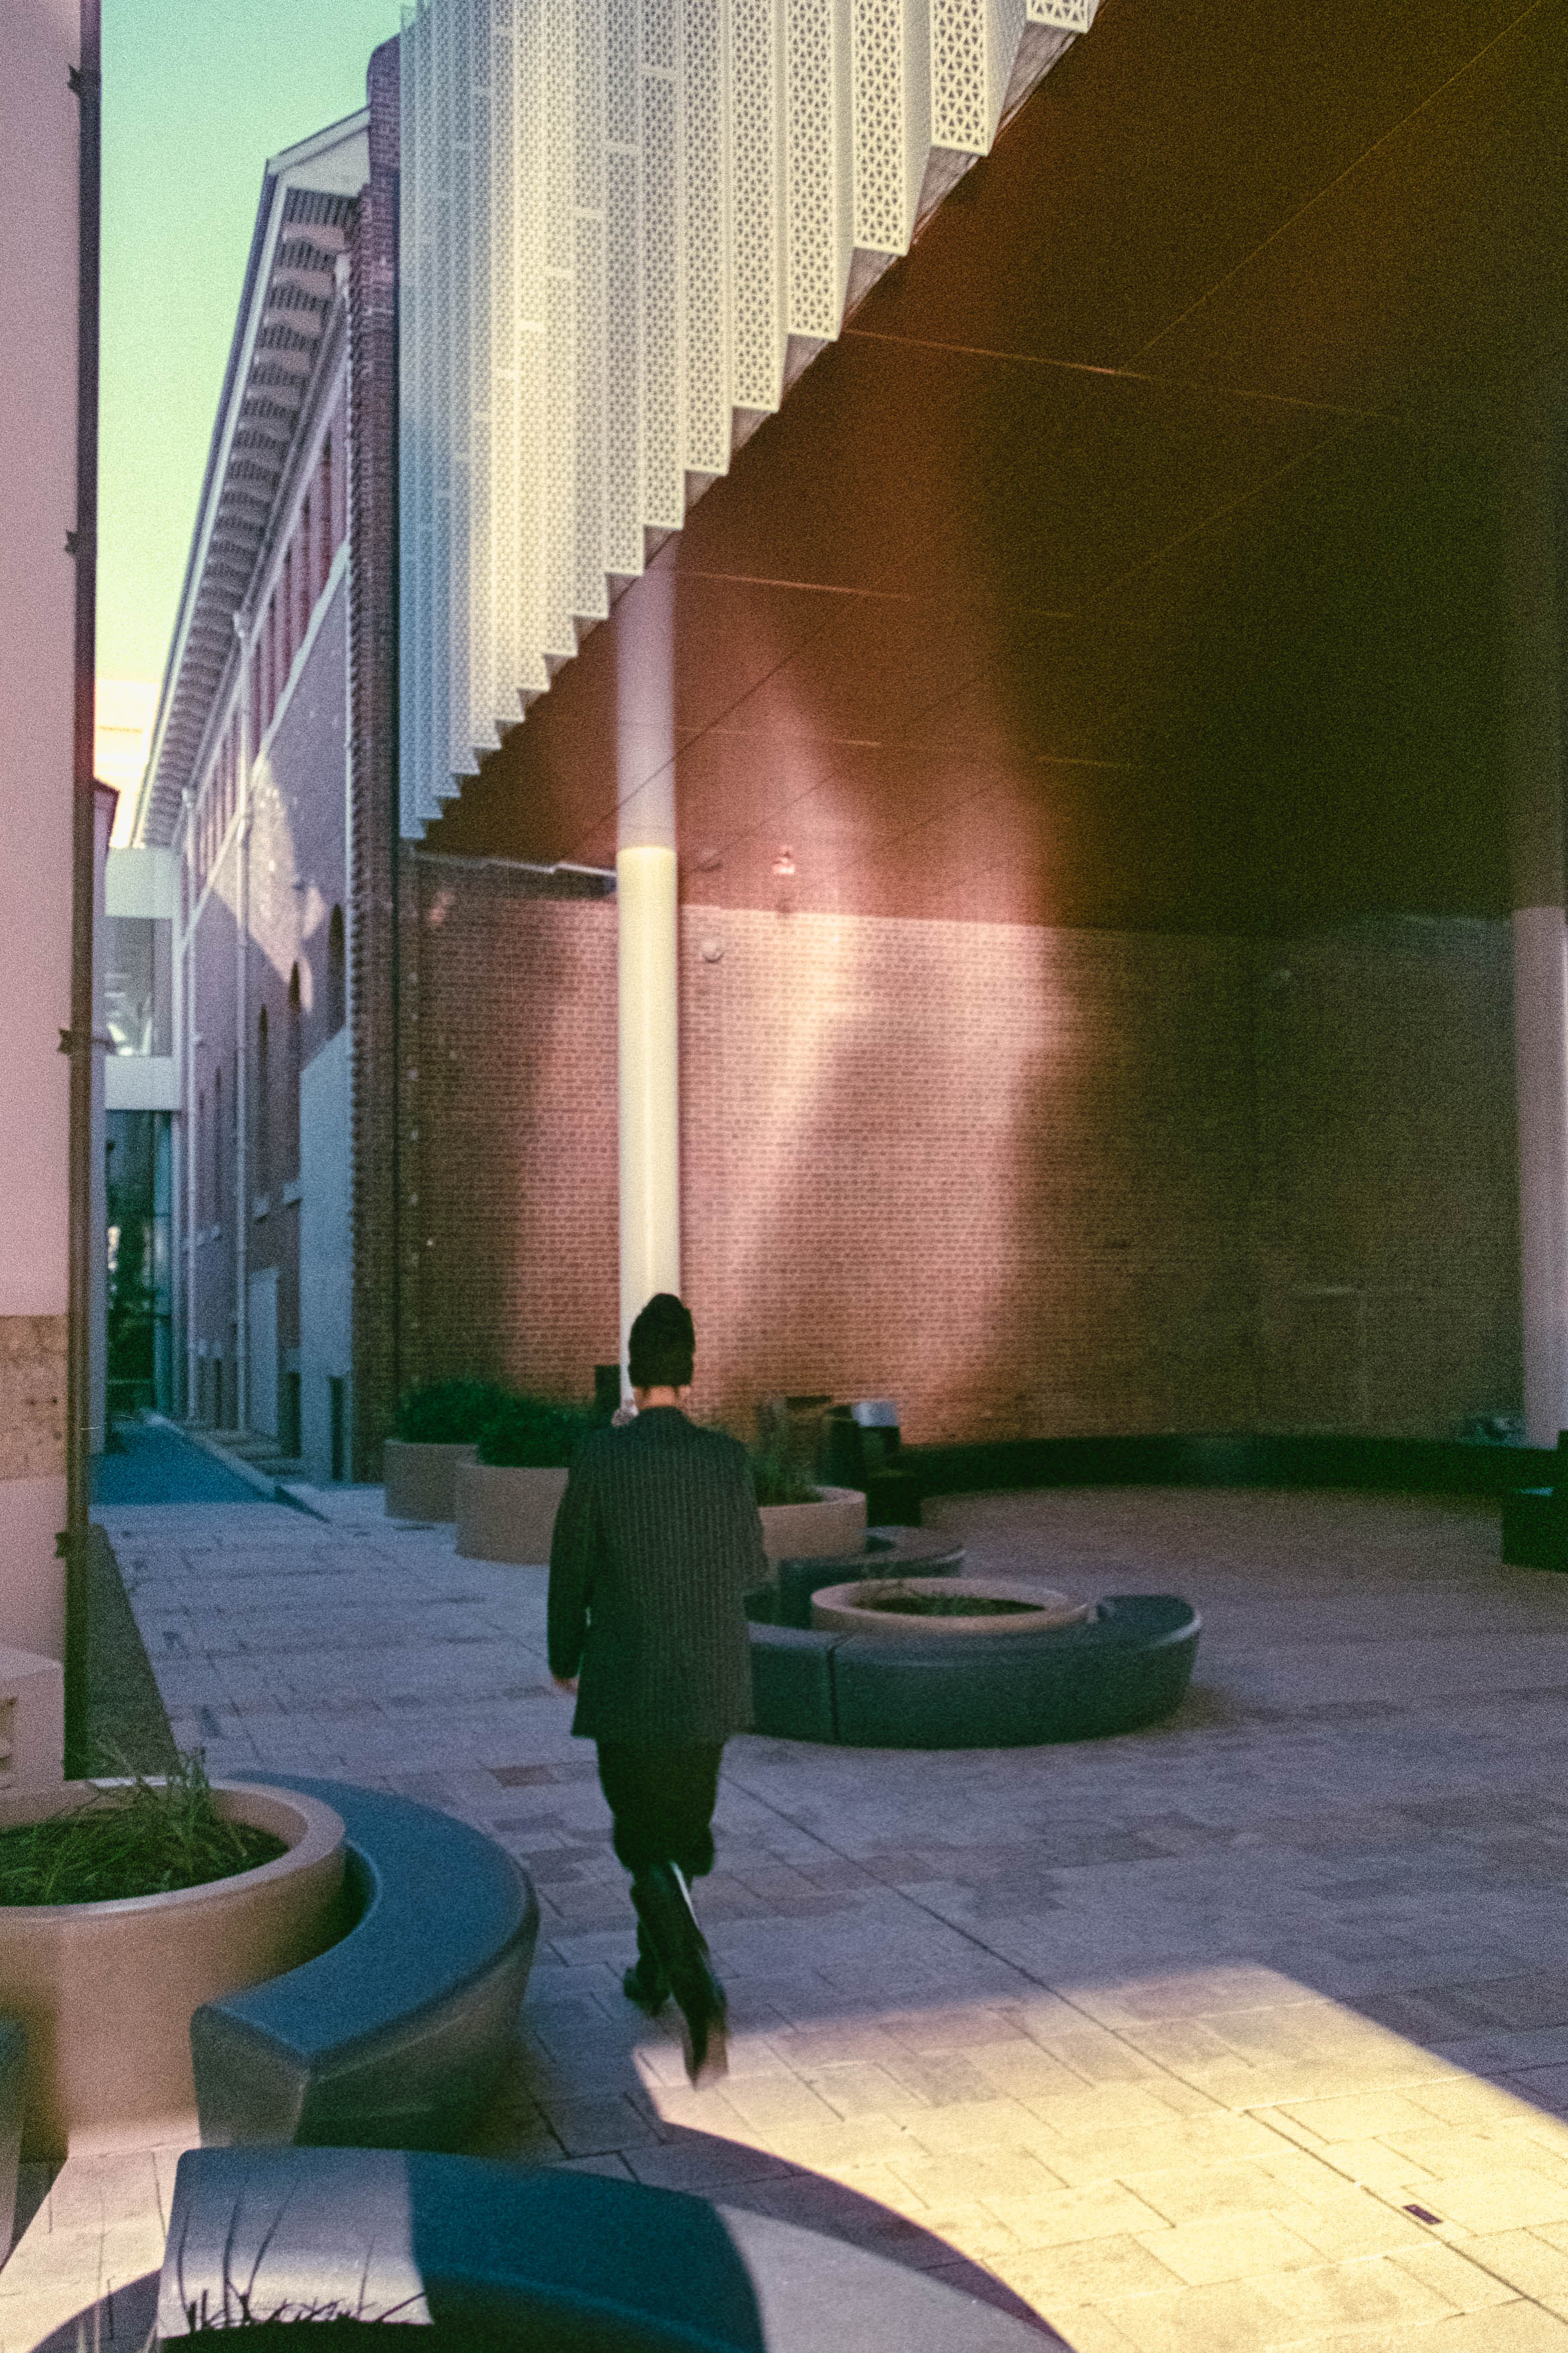
Flare is more complicated. The small, recessed front element helps in ordinary shooting, but pointing the lens directly towards the sun can produce obvious flare, particularly at wider apertures. Whether that’s a problem depends on what you’re trying to achieve. I enjoyed the effects when photographing in the weak winter sunlight around Jiyugaoka. Rather than ruining the photographs, the flare sometimes added atmosphere and made busy scenes more interesting.

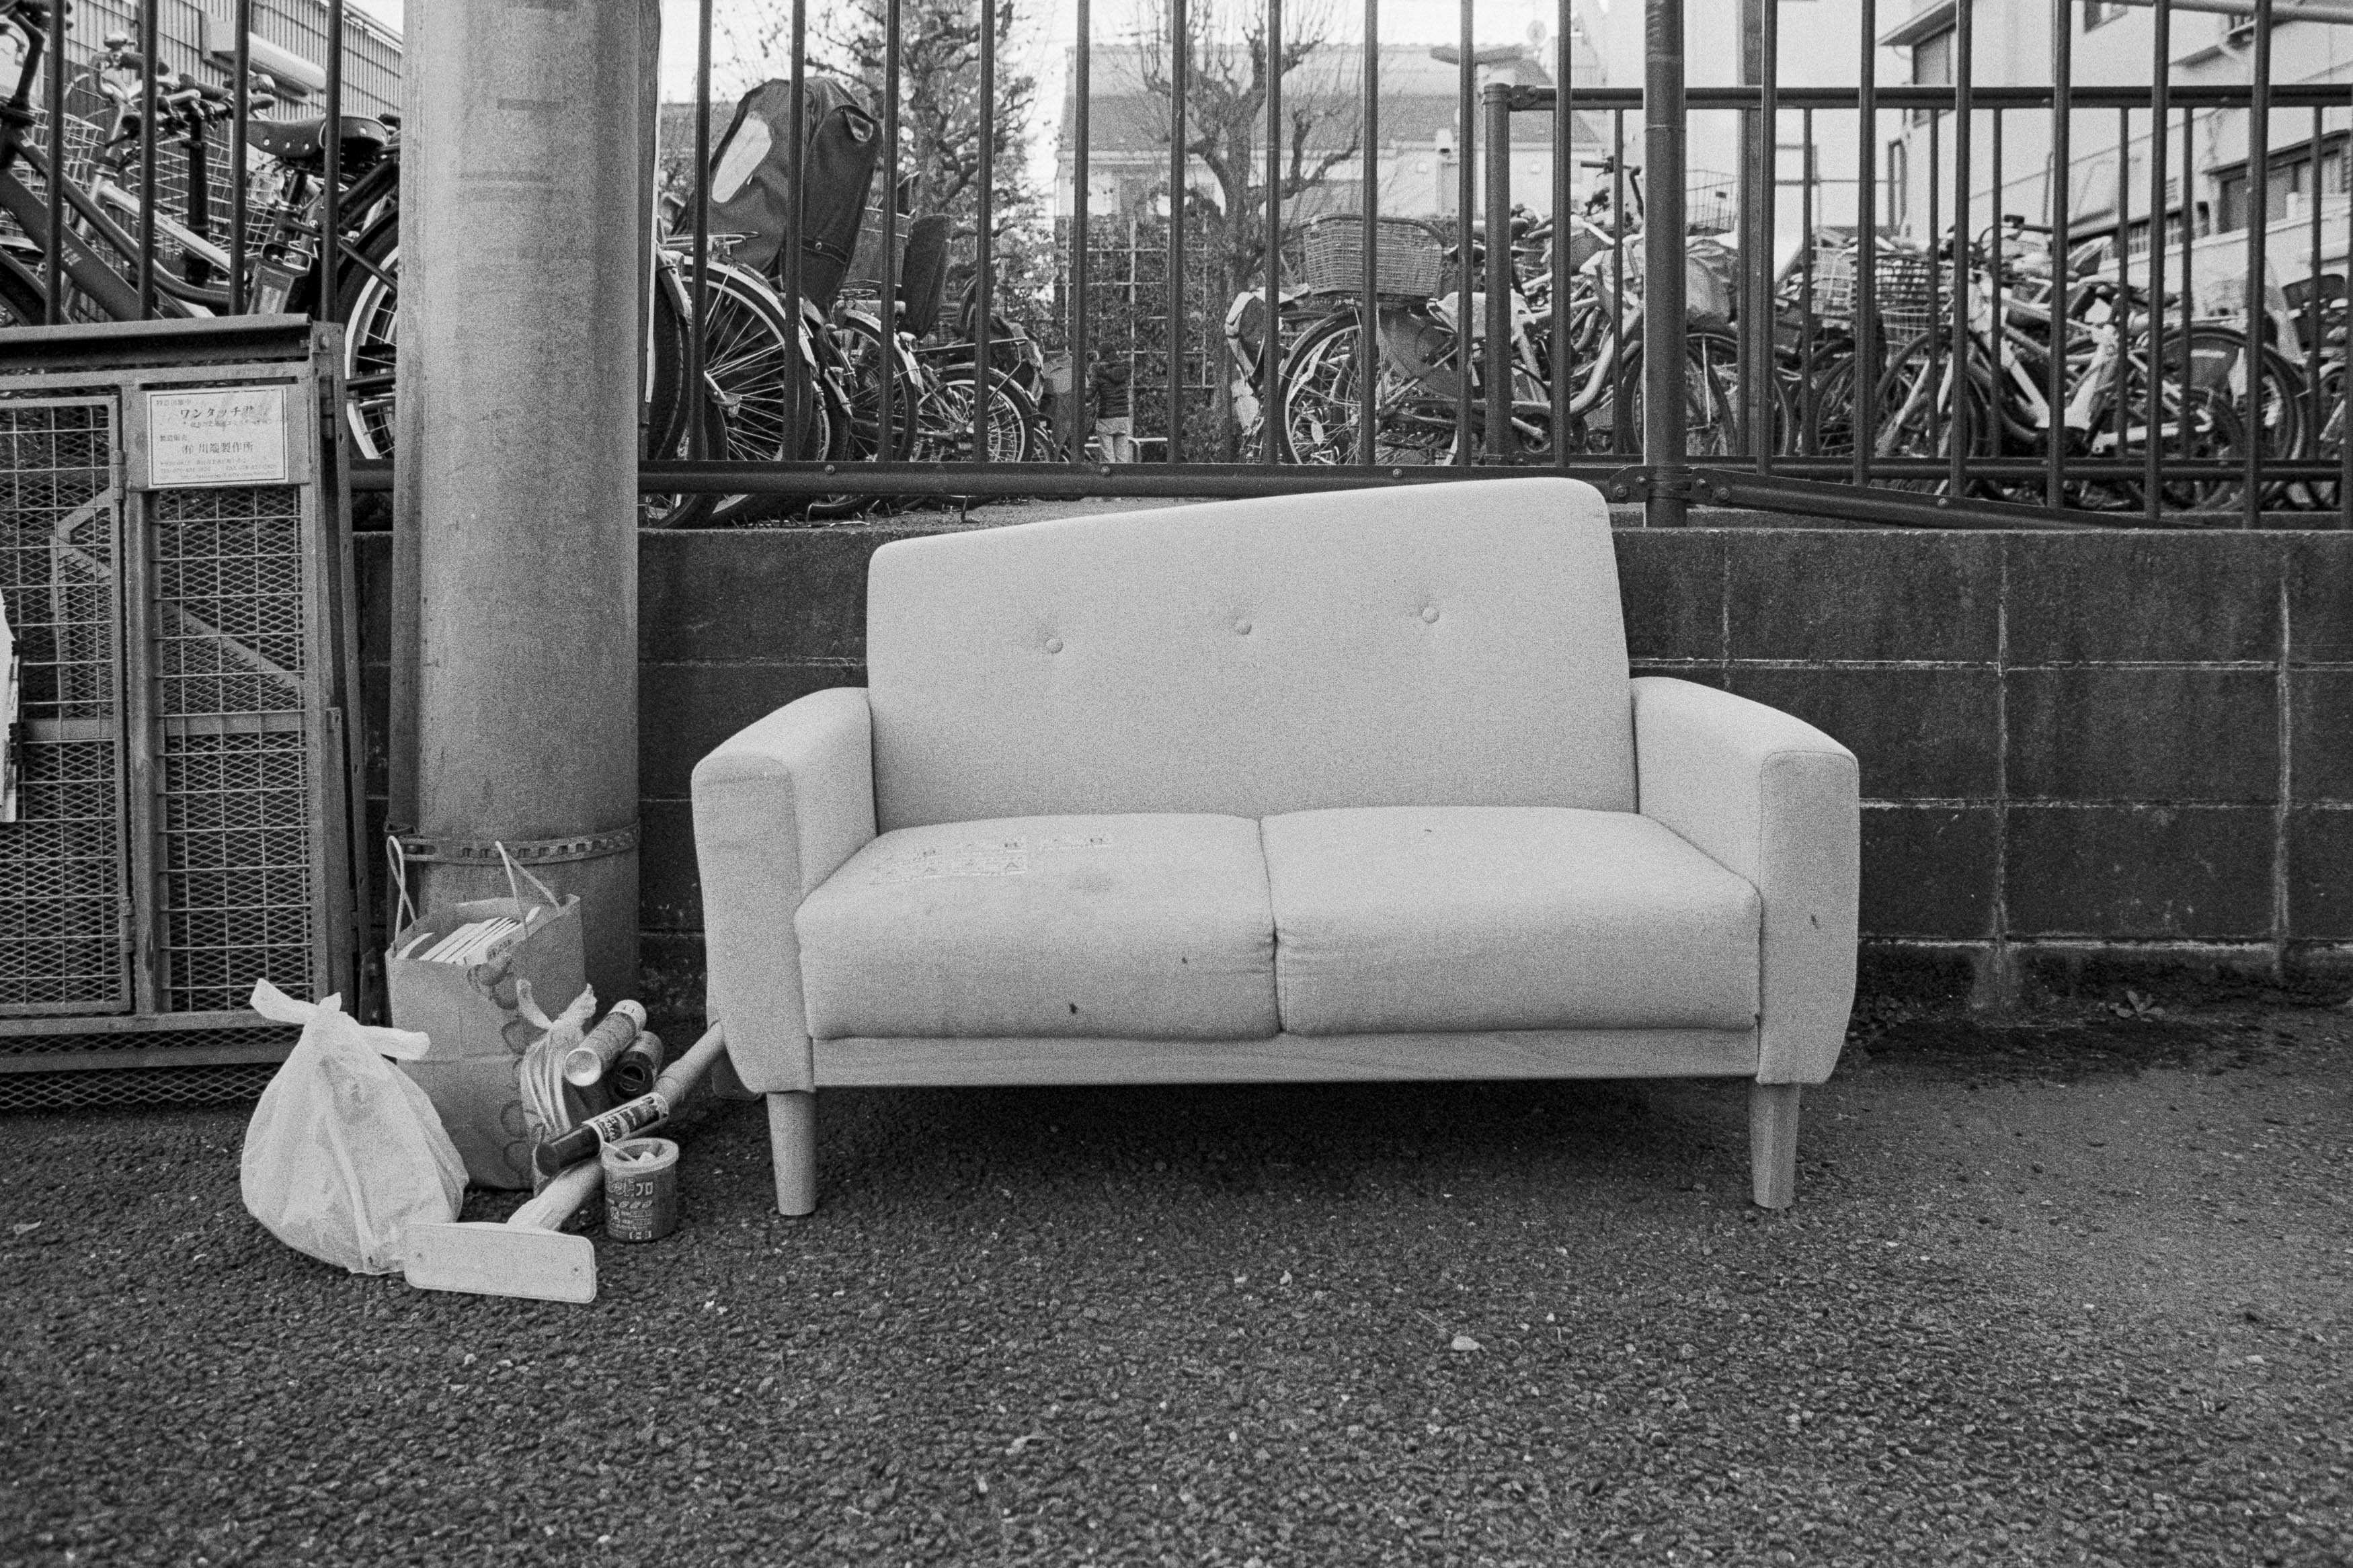
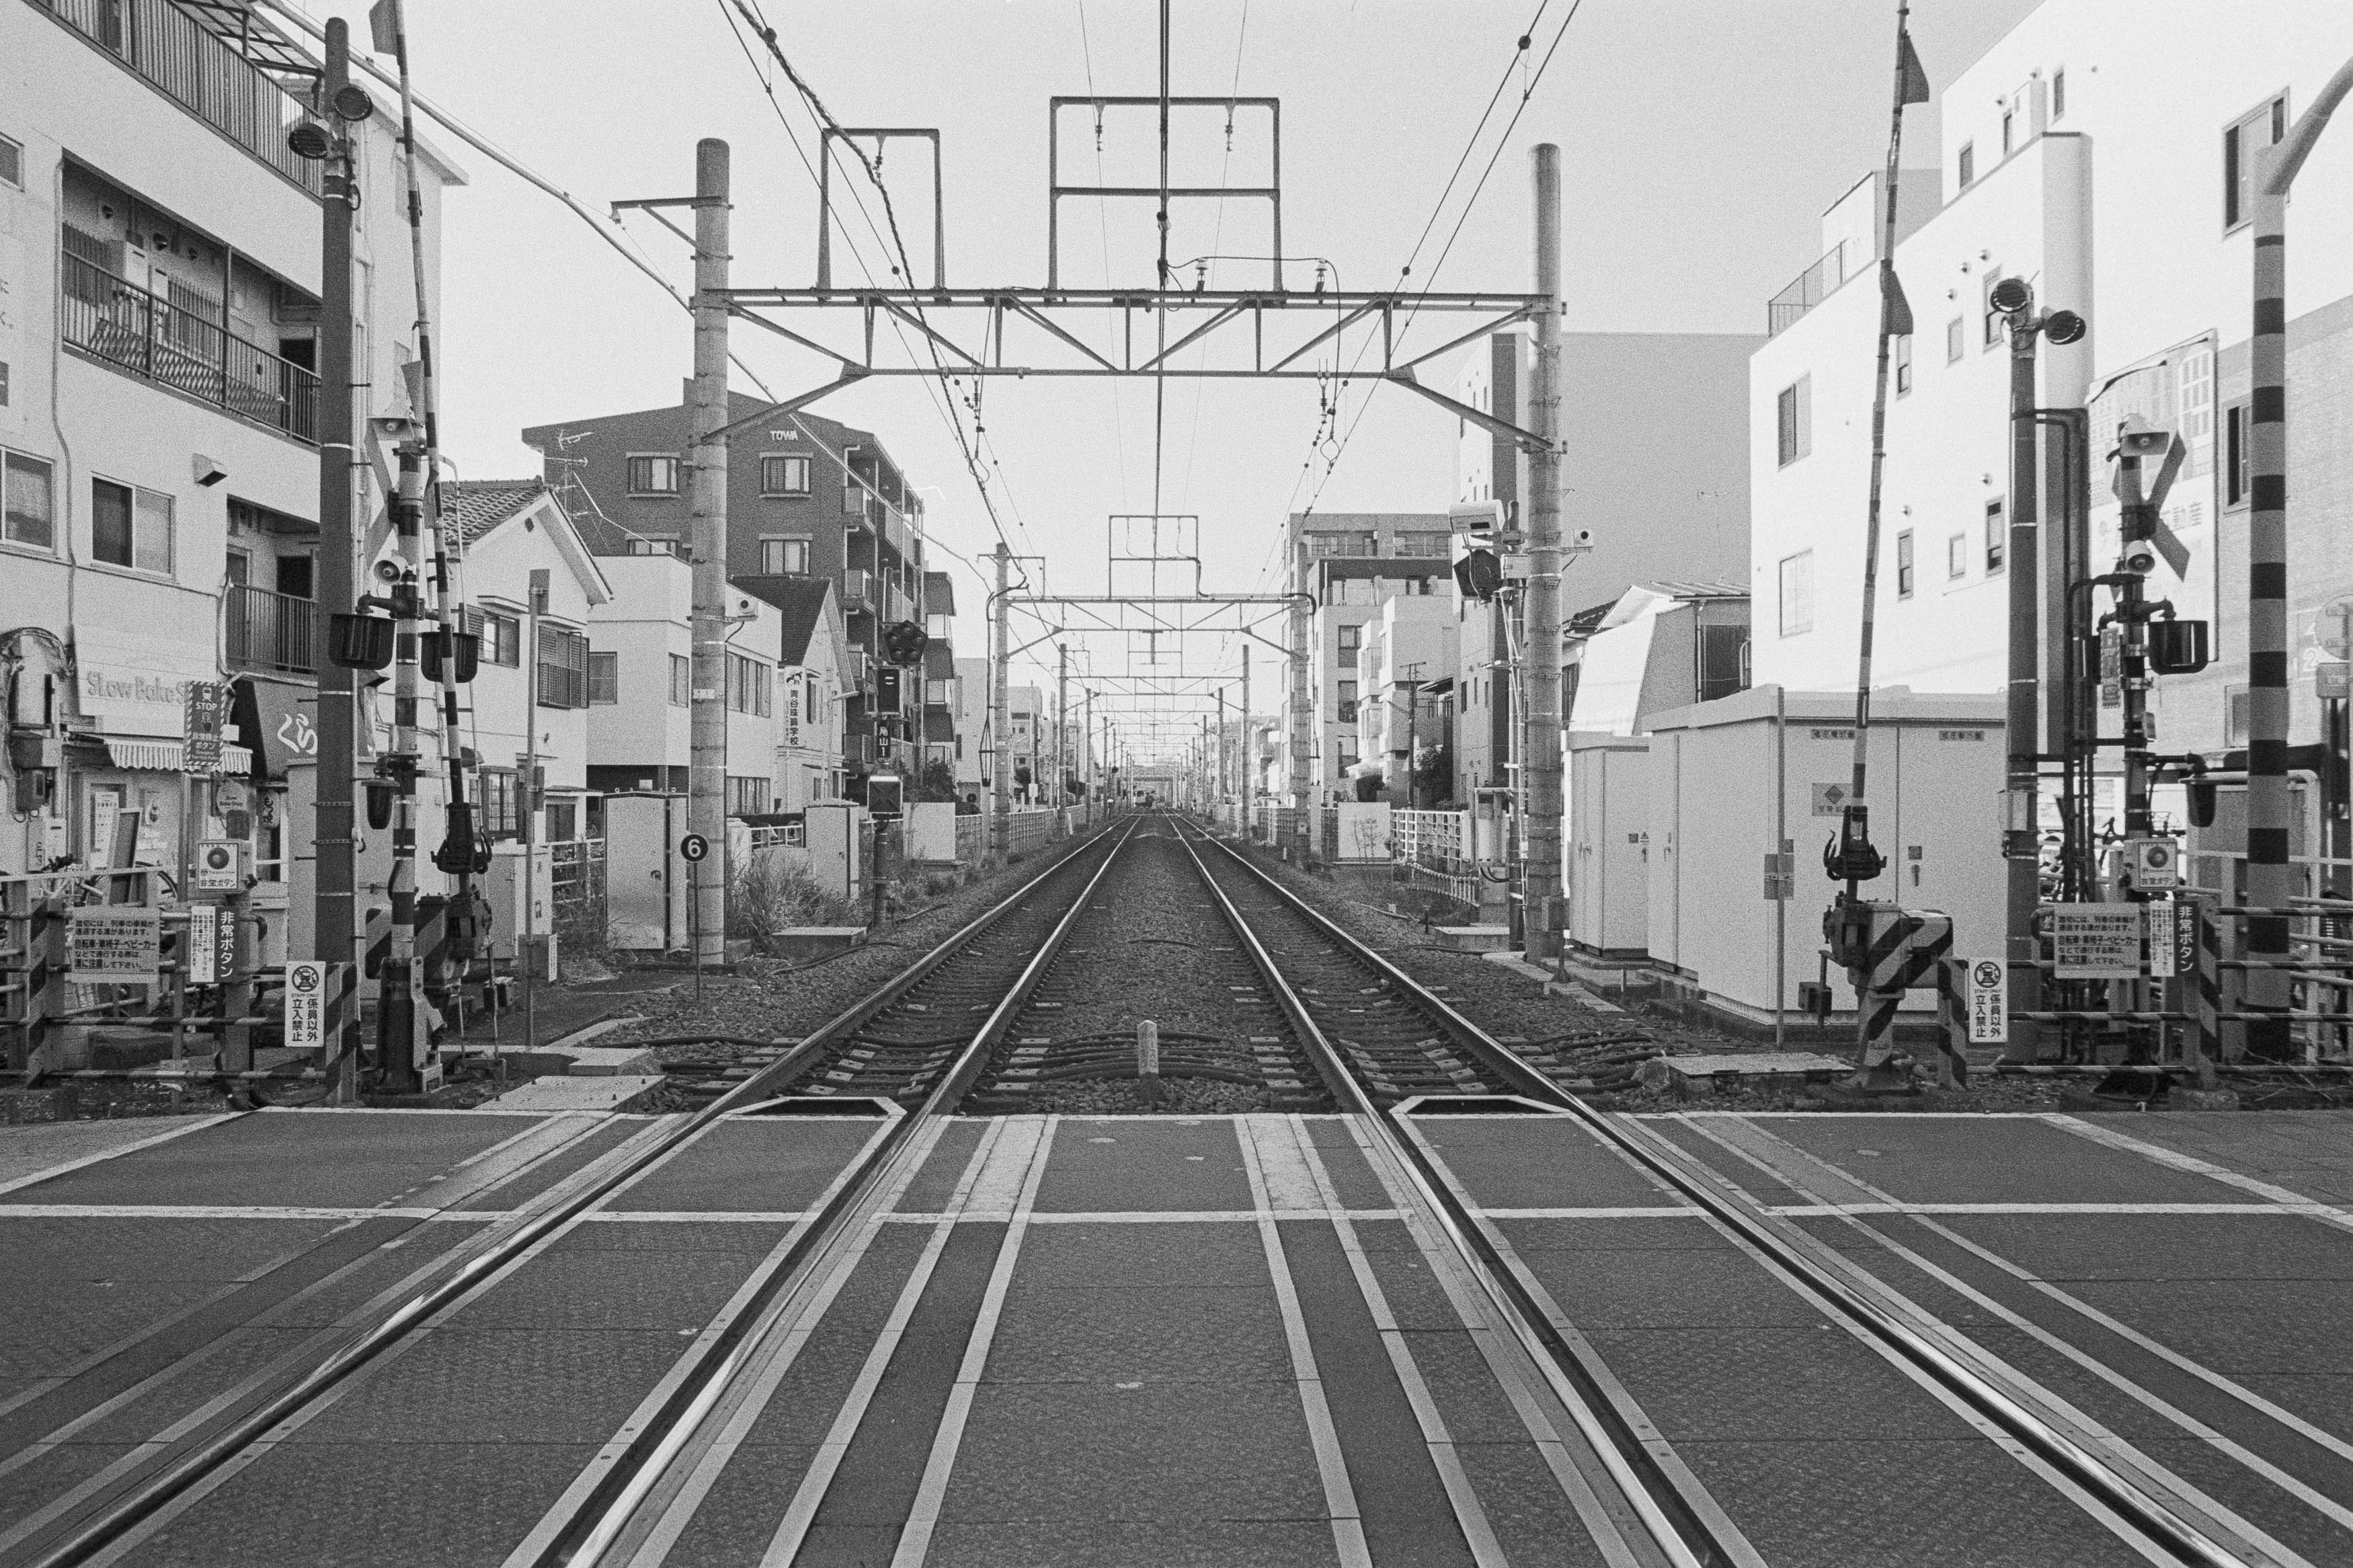
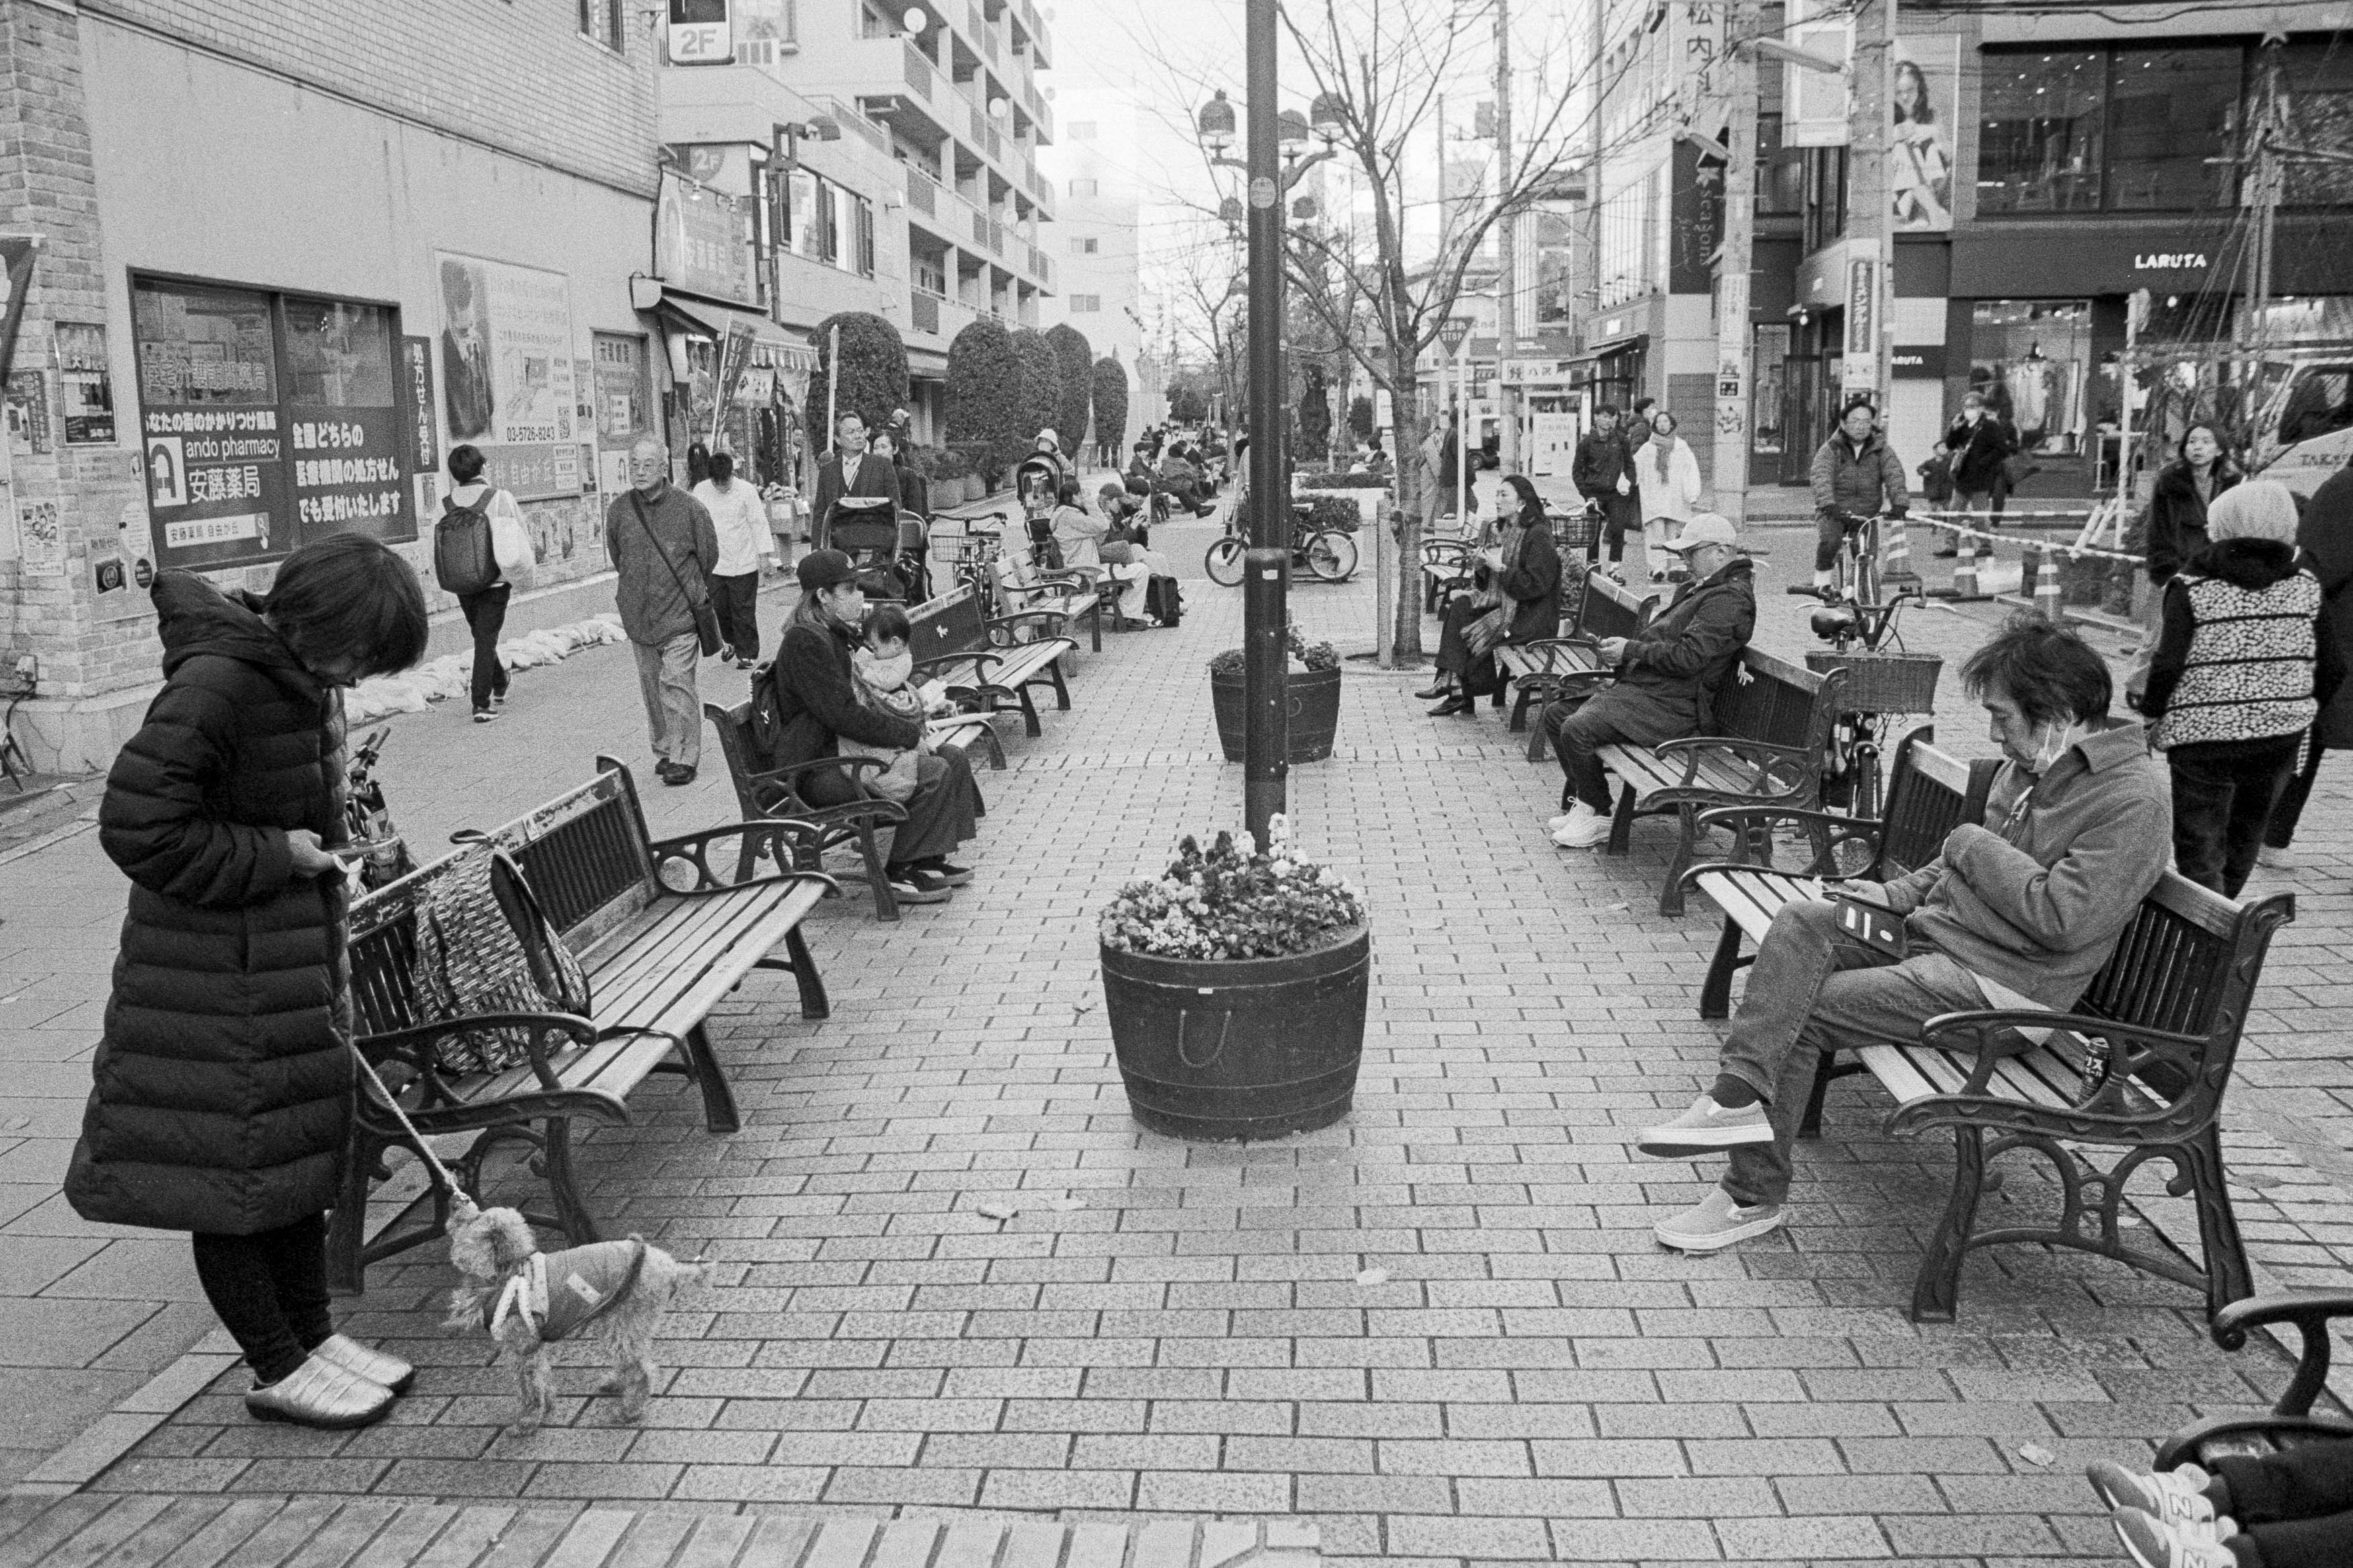
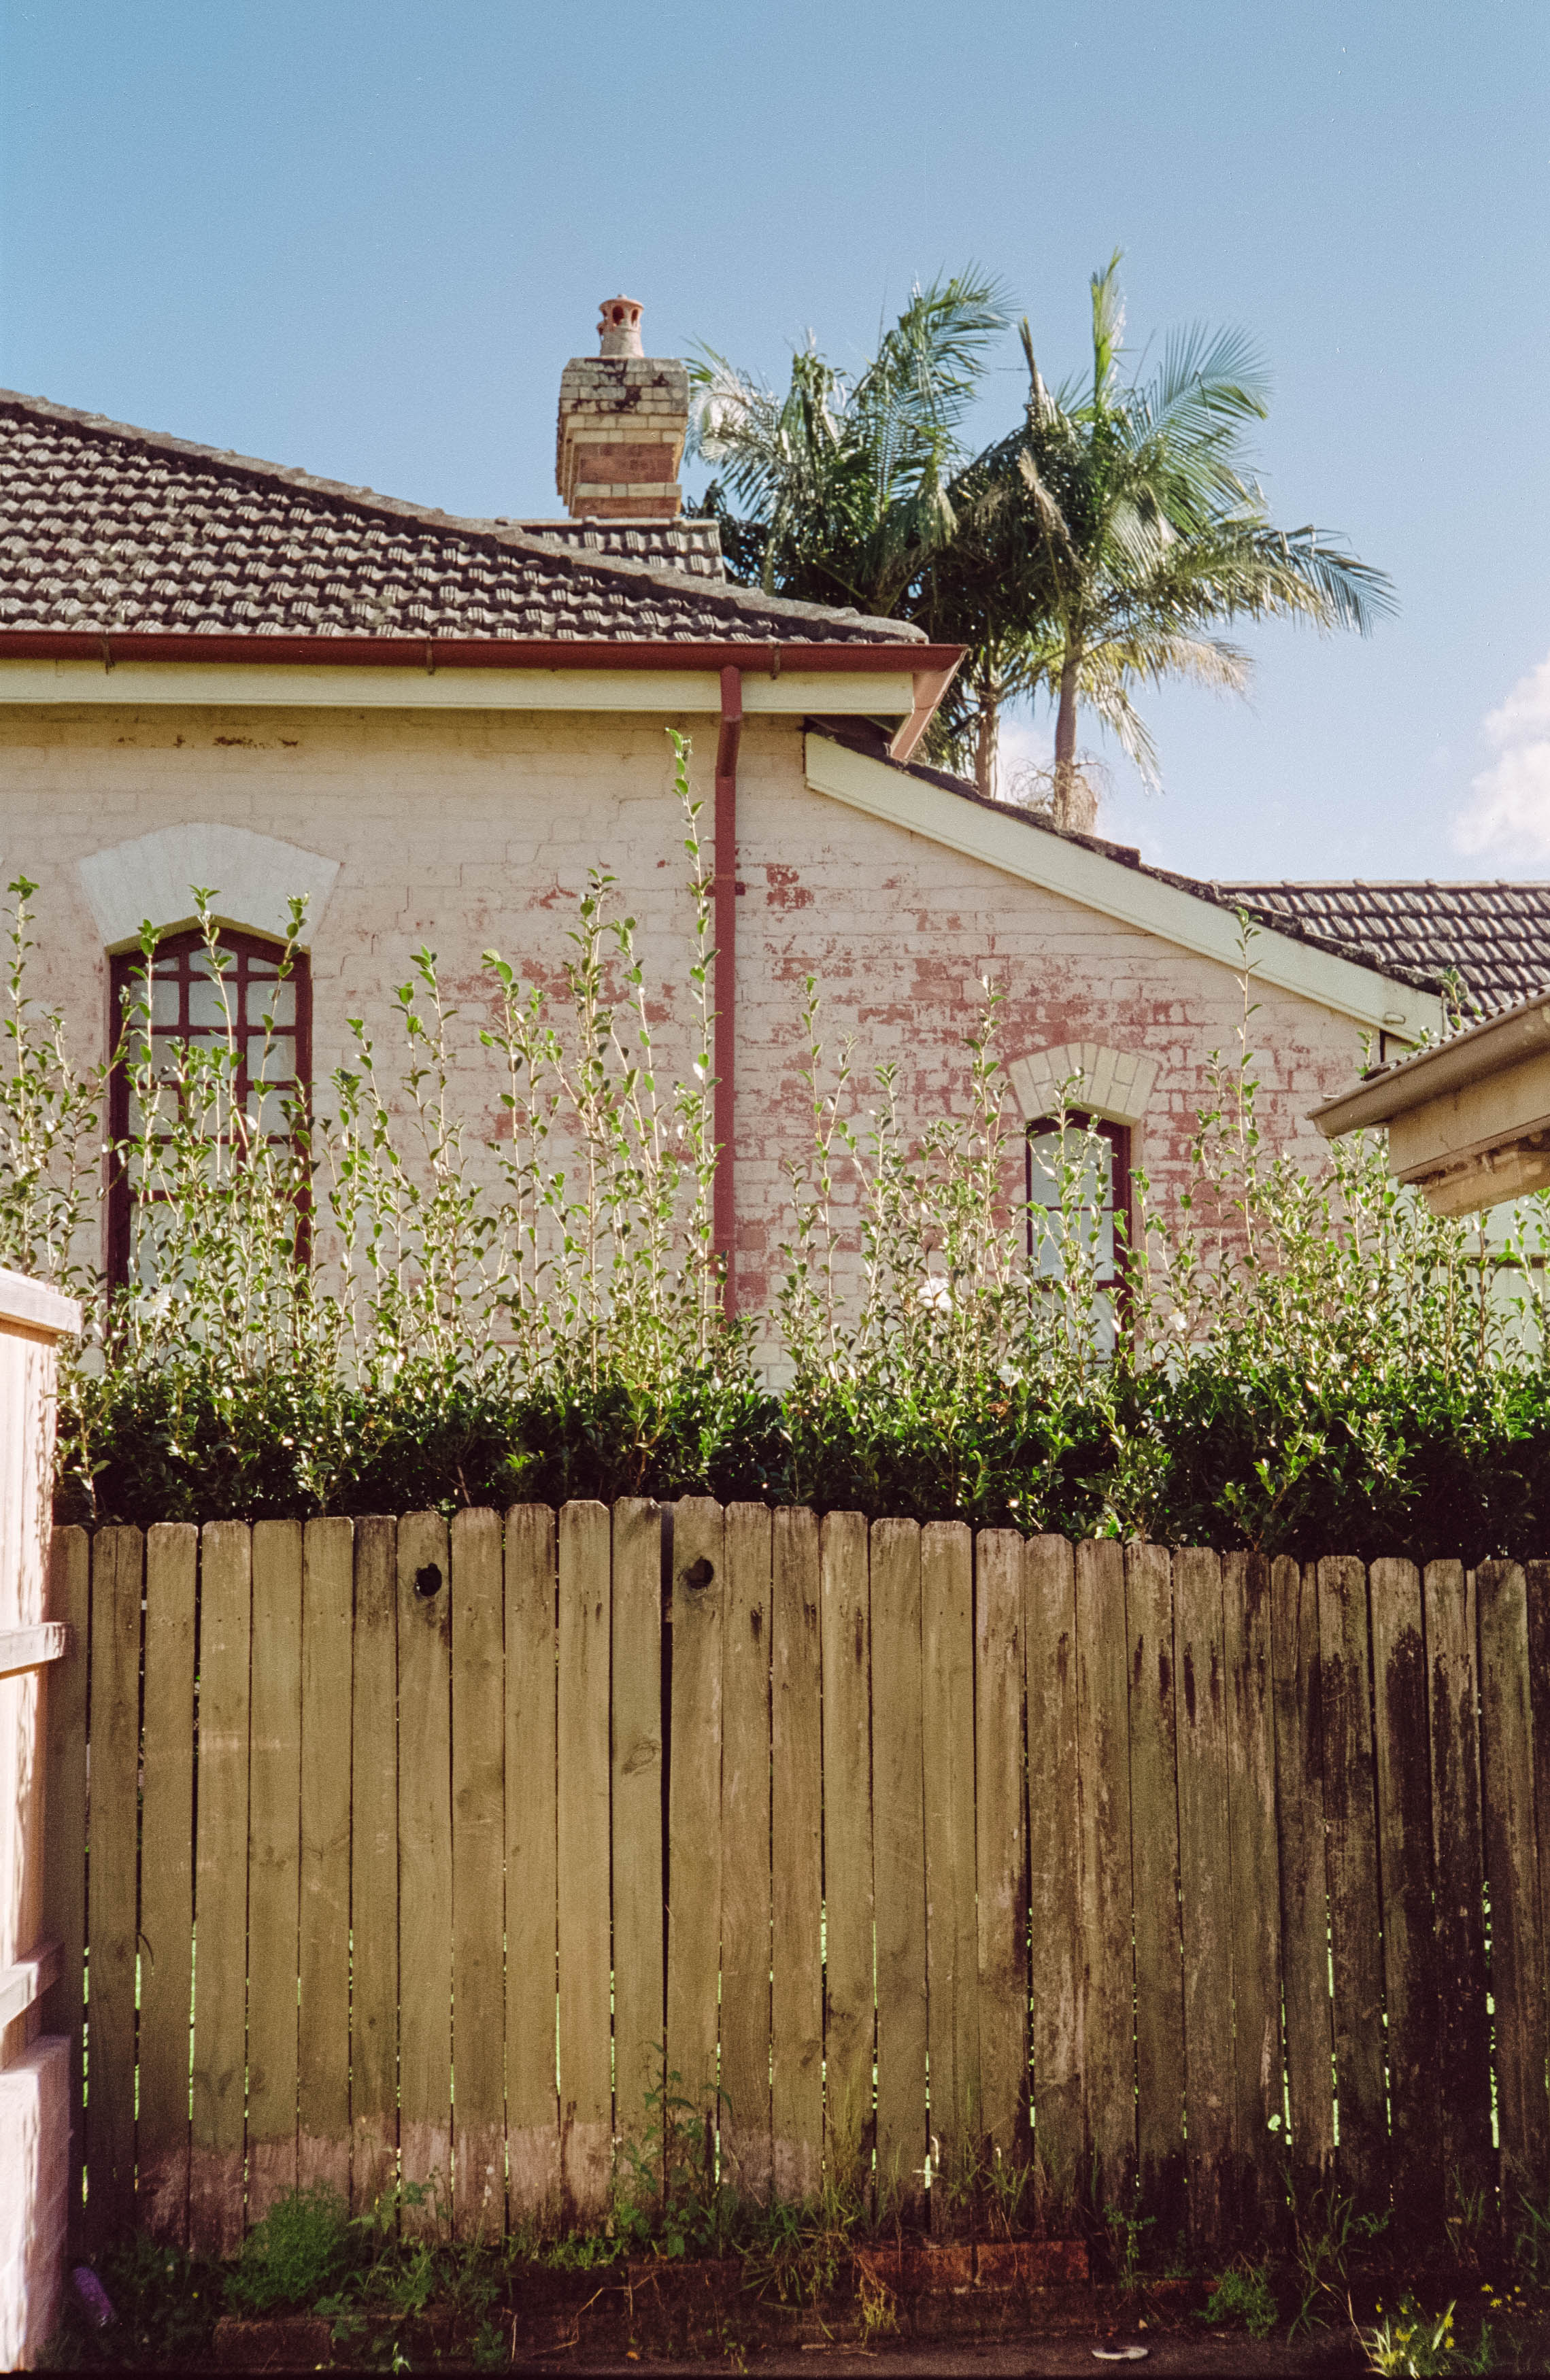
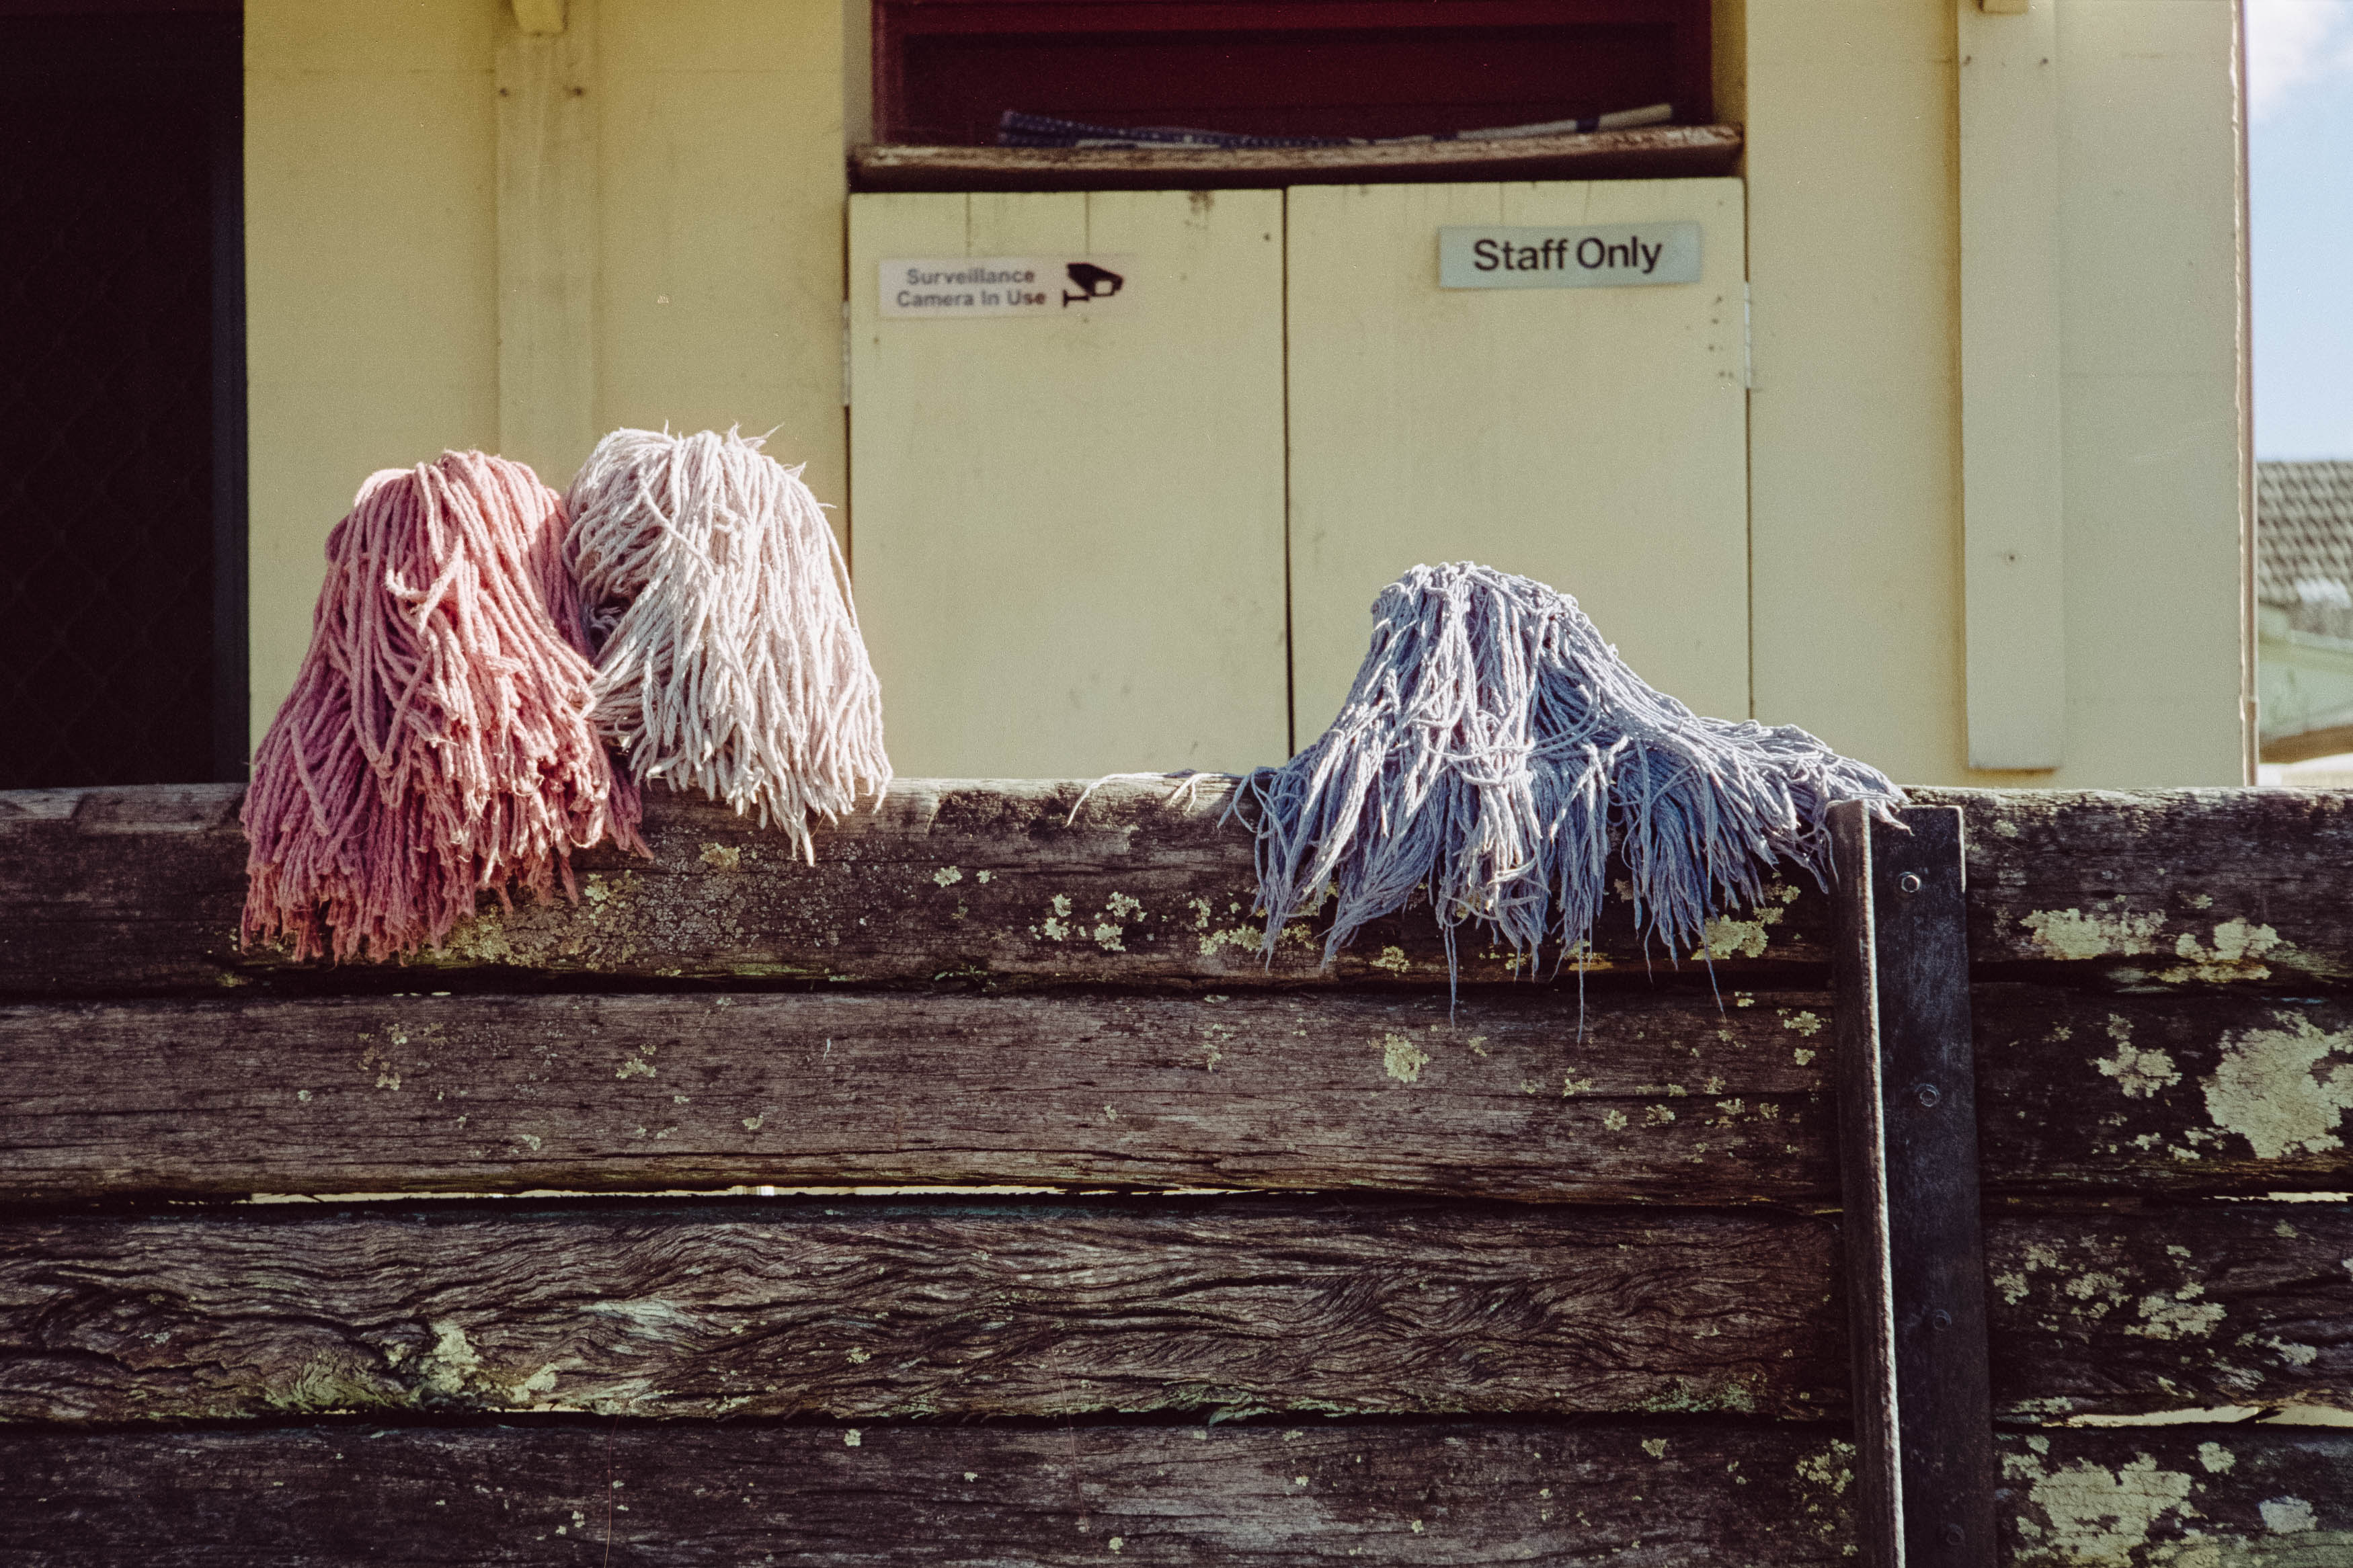
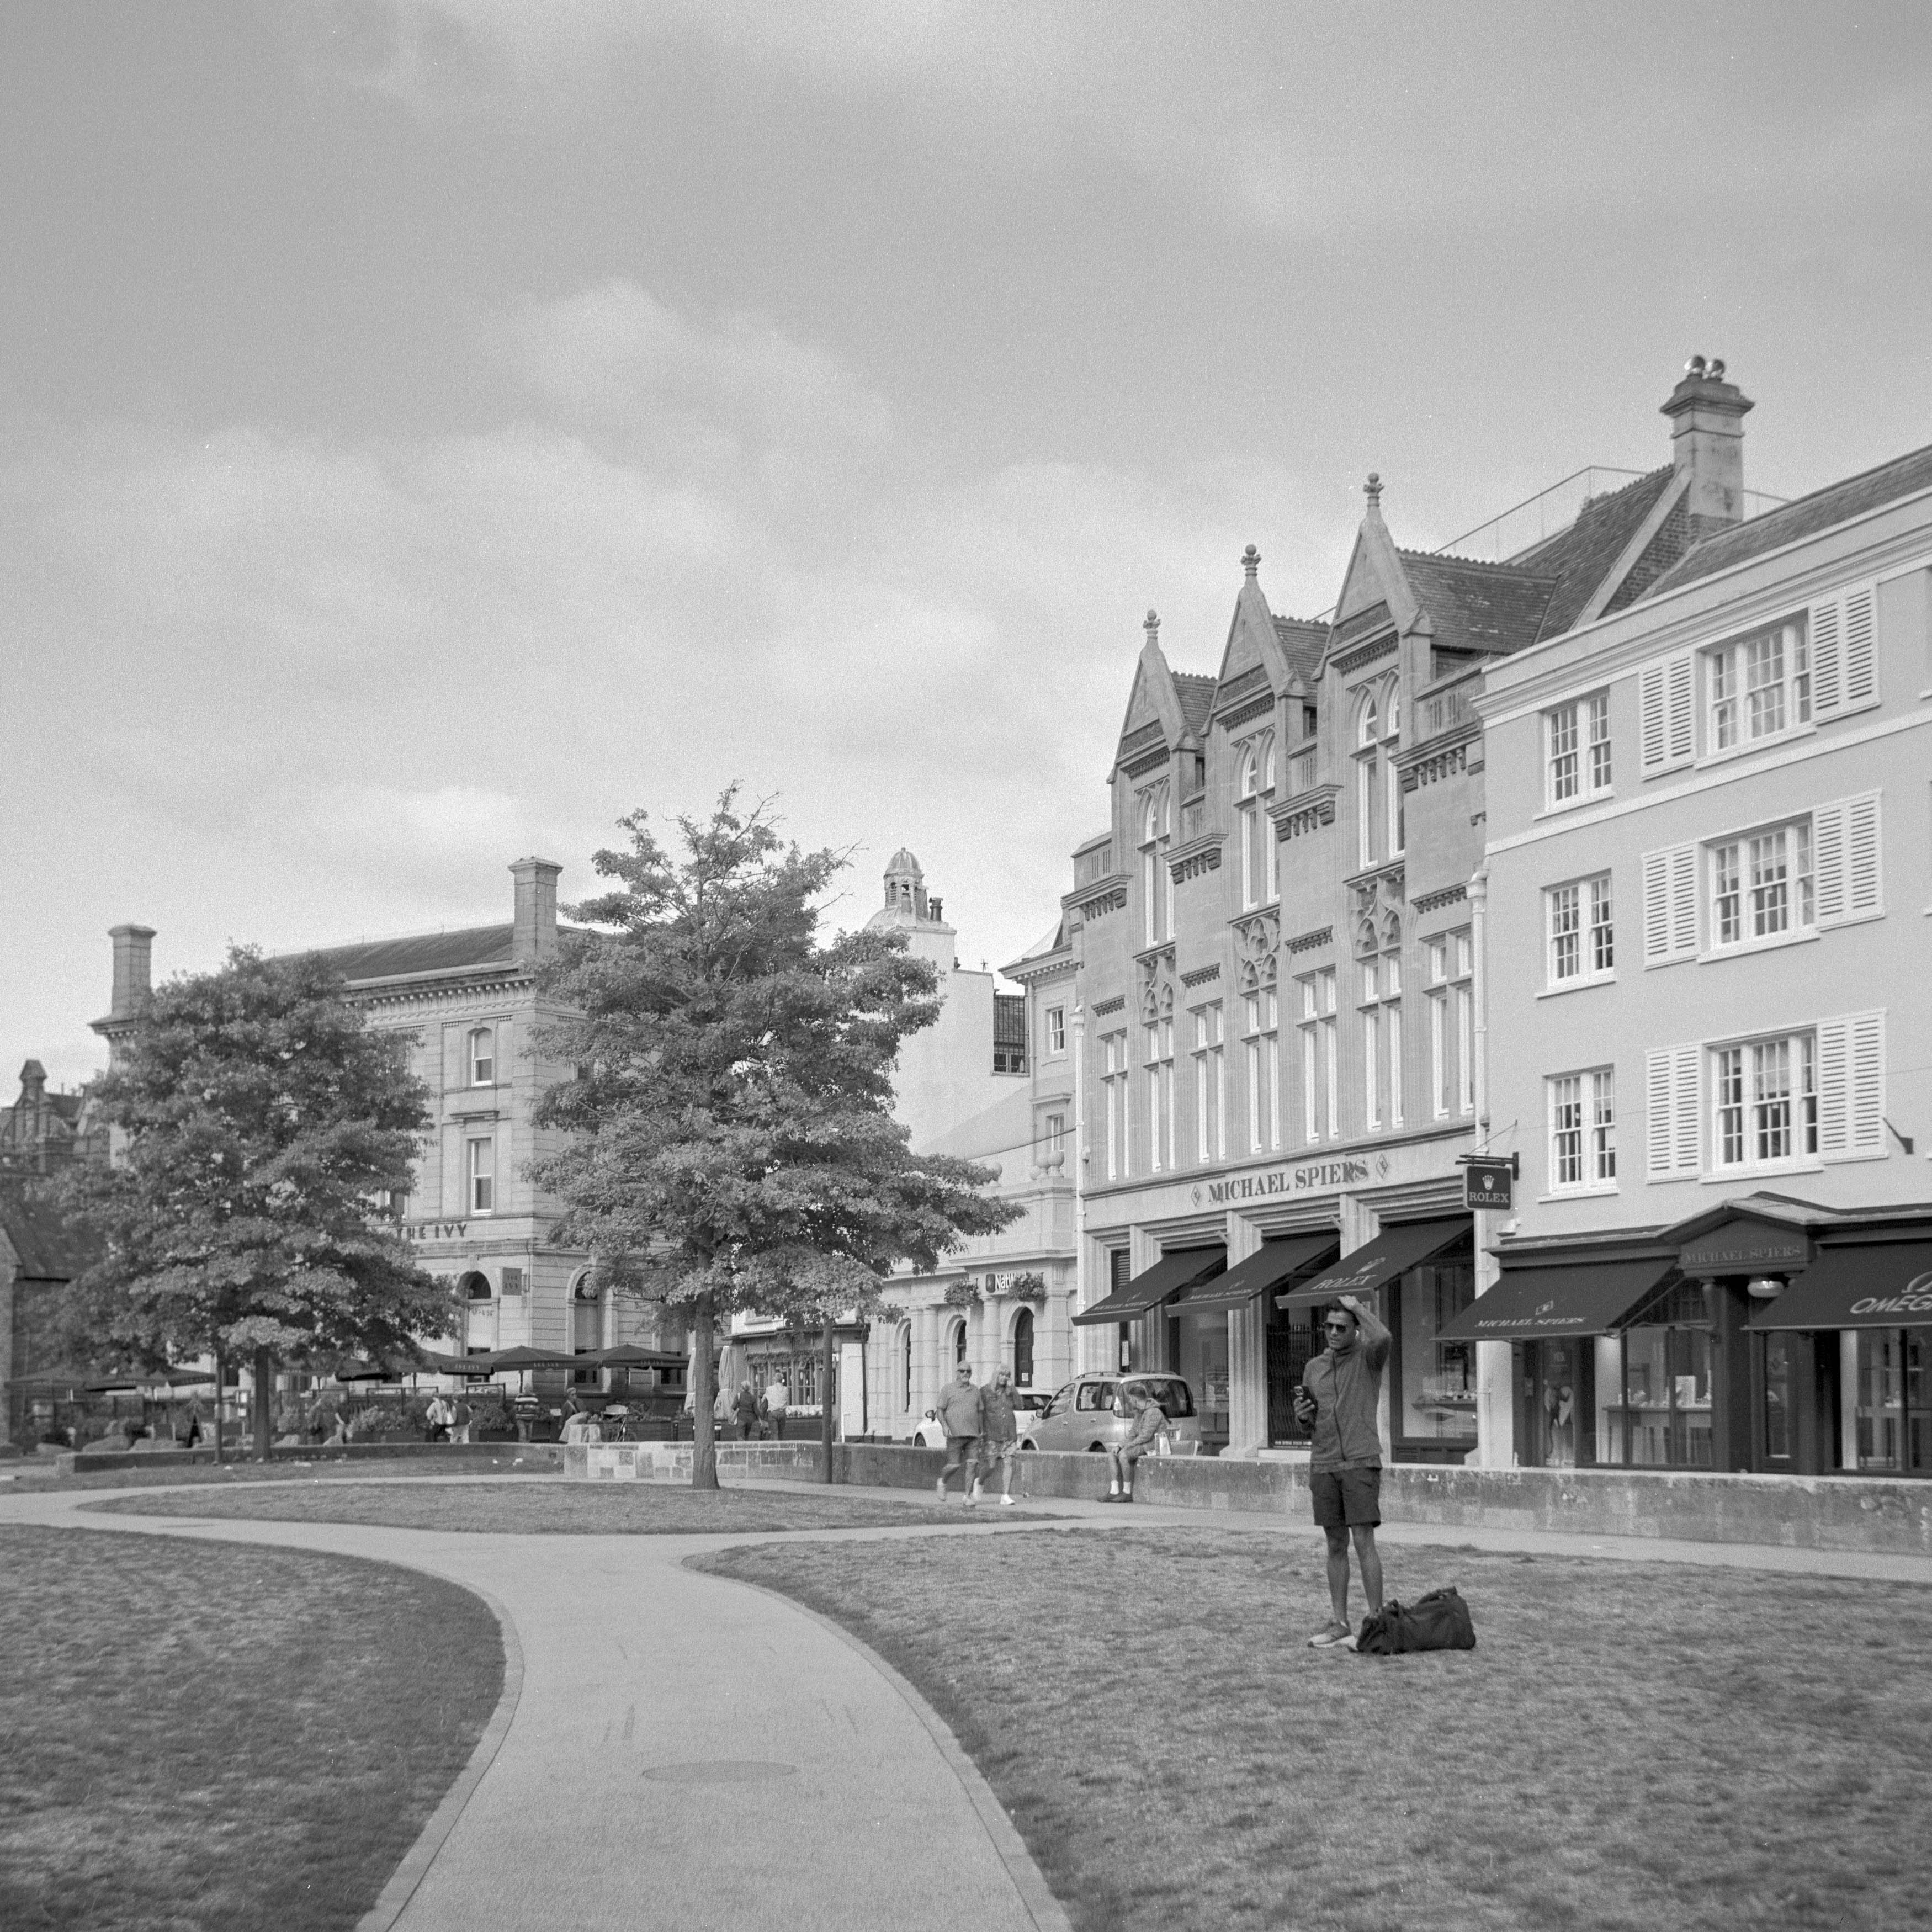
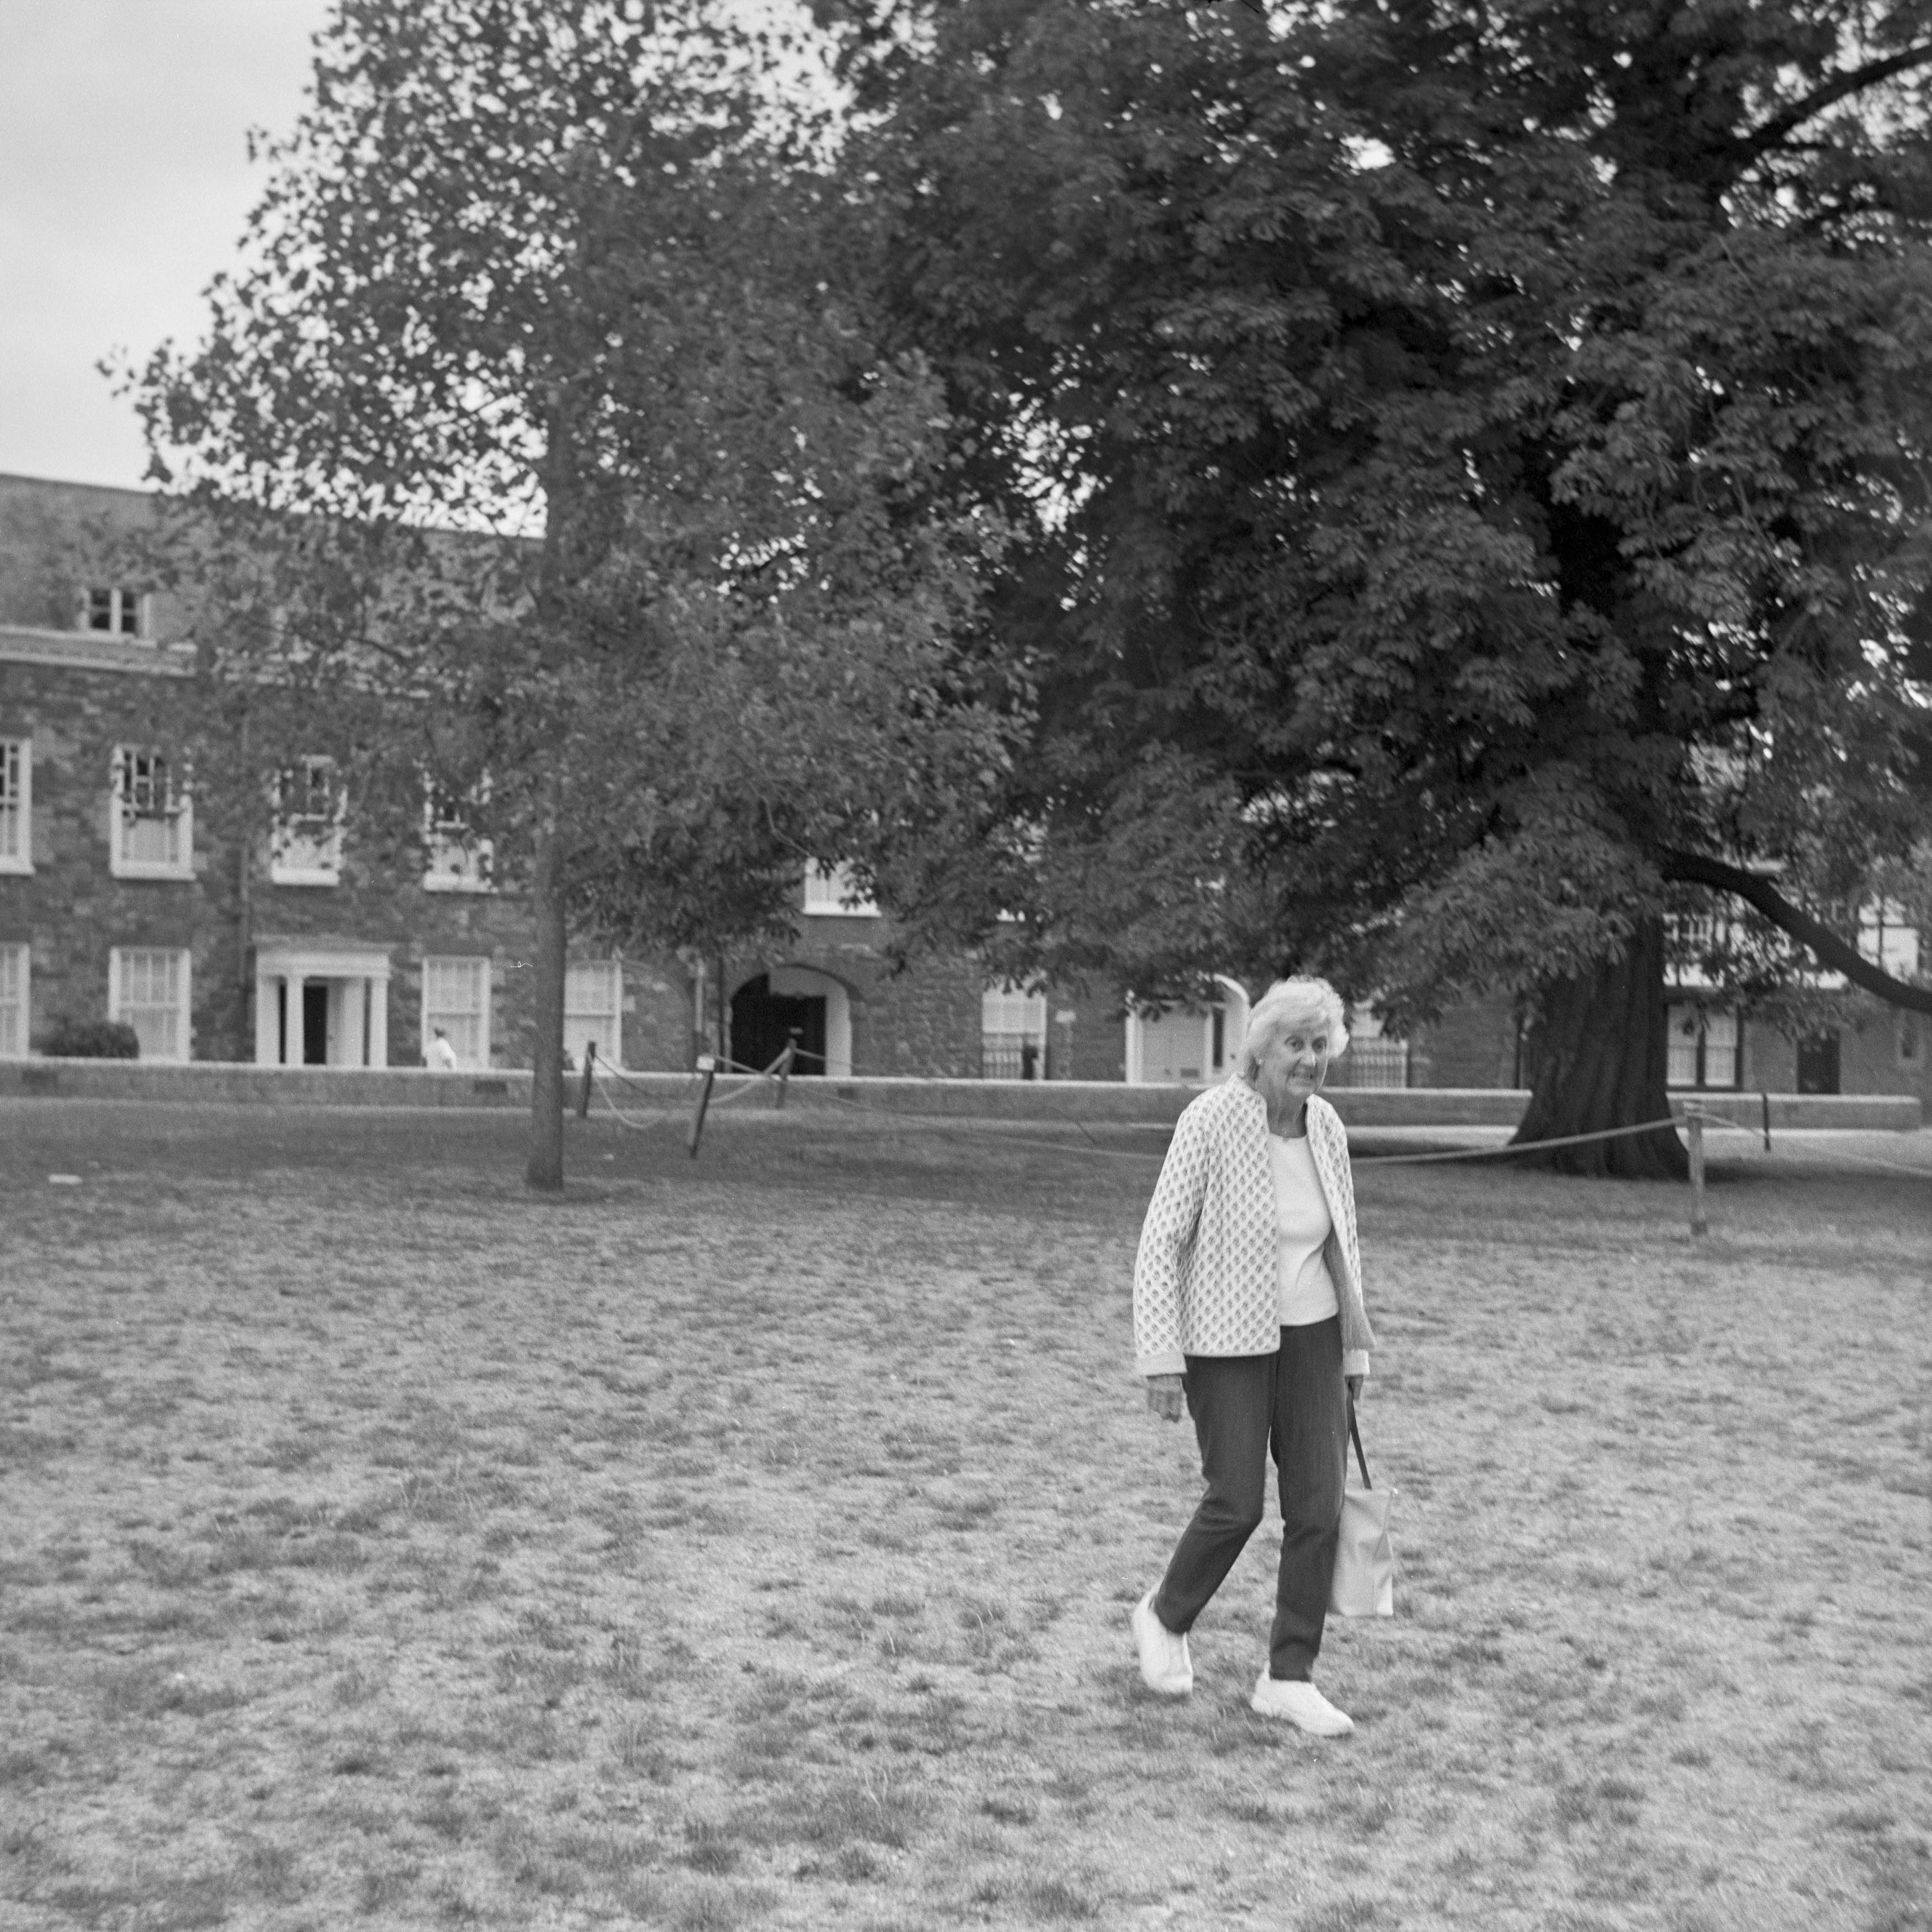
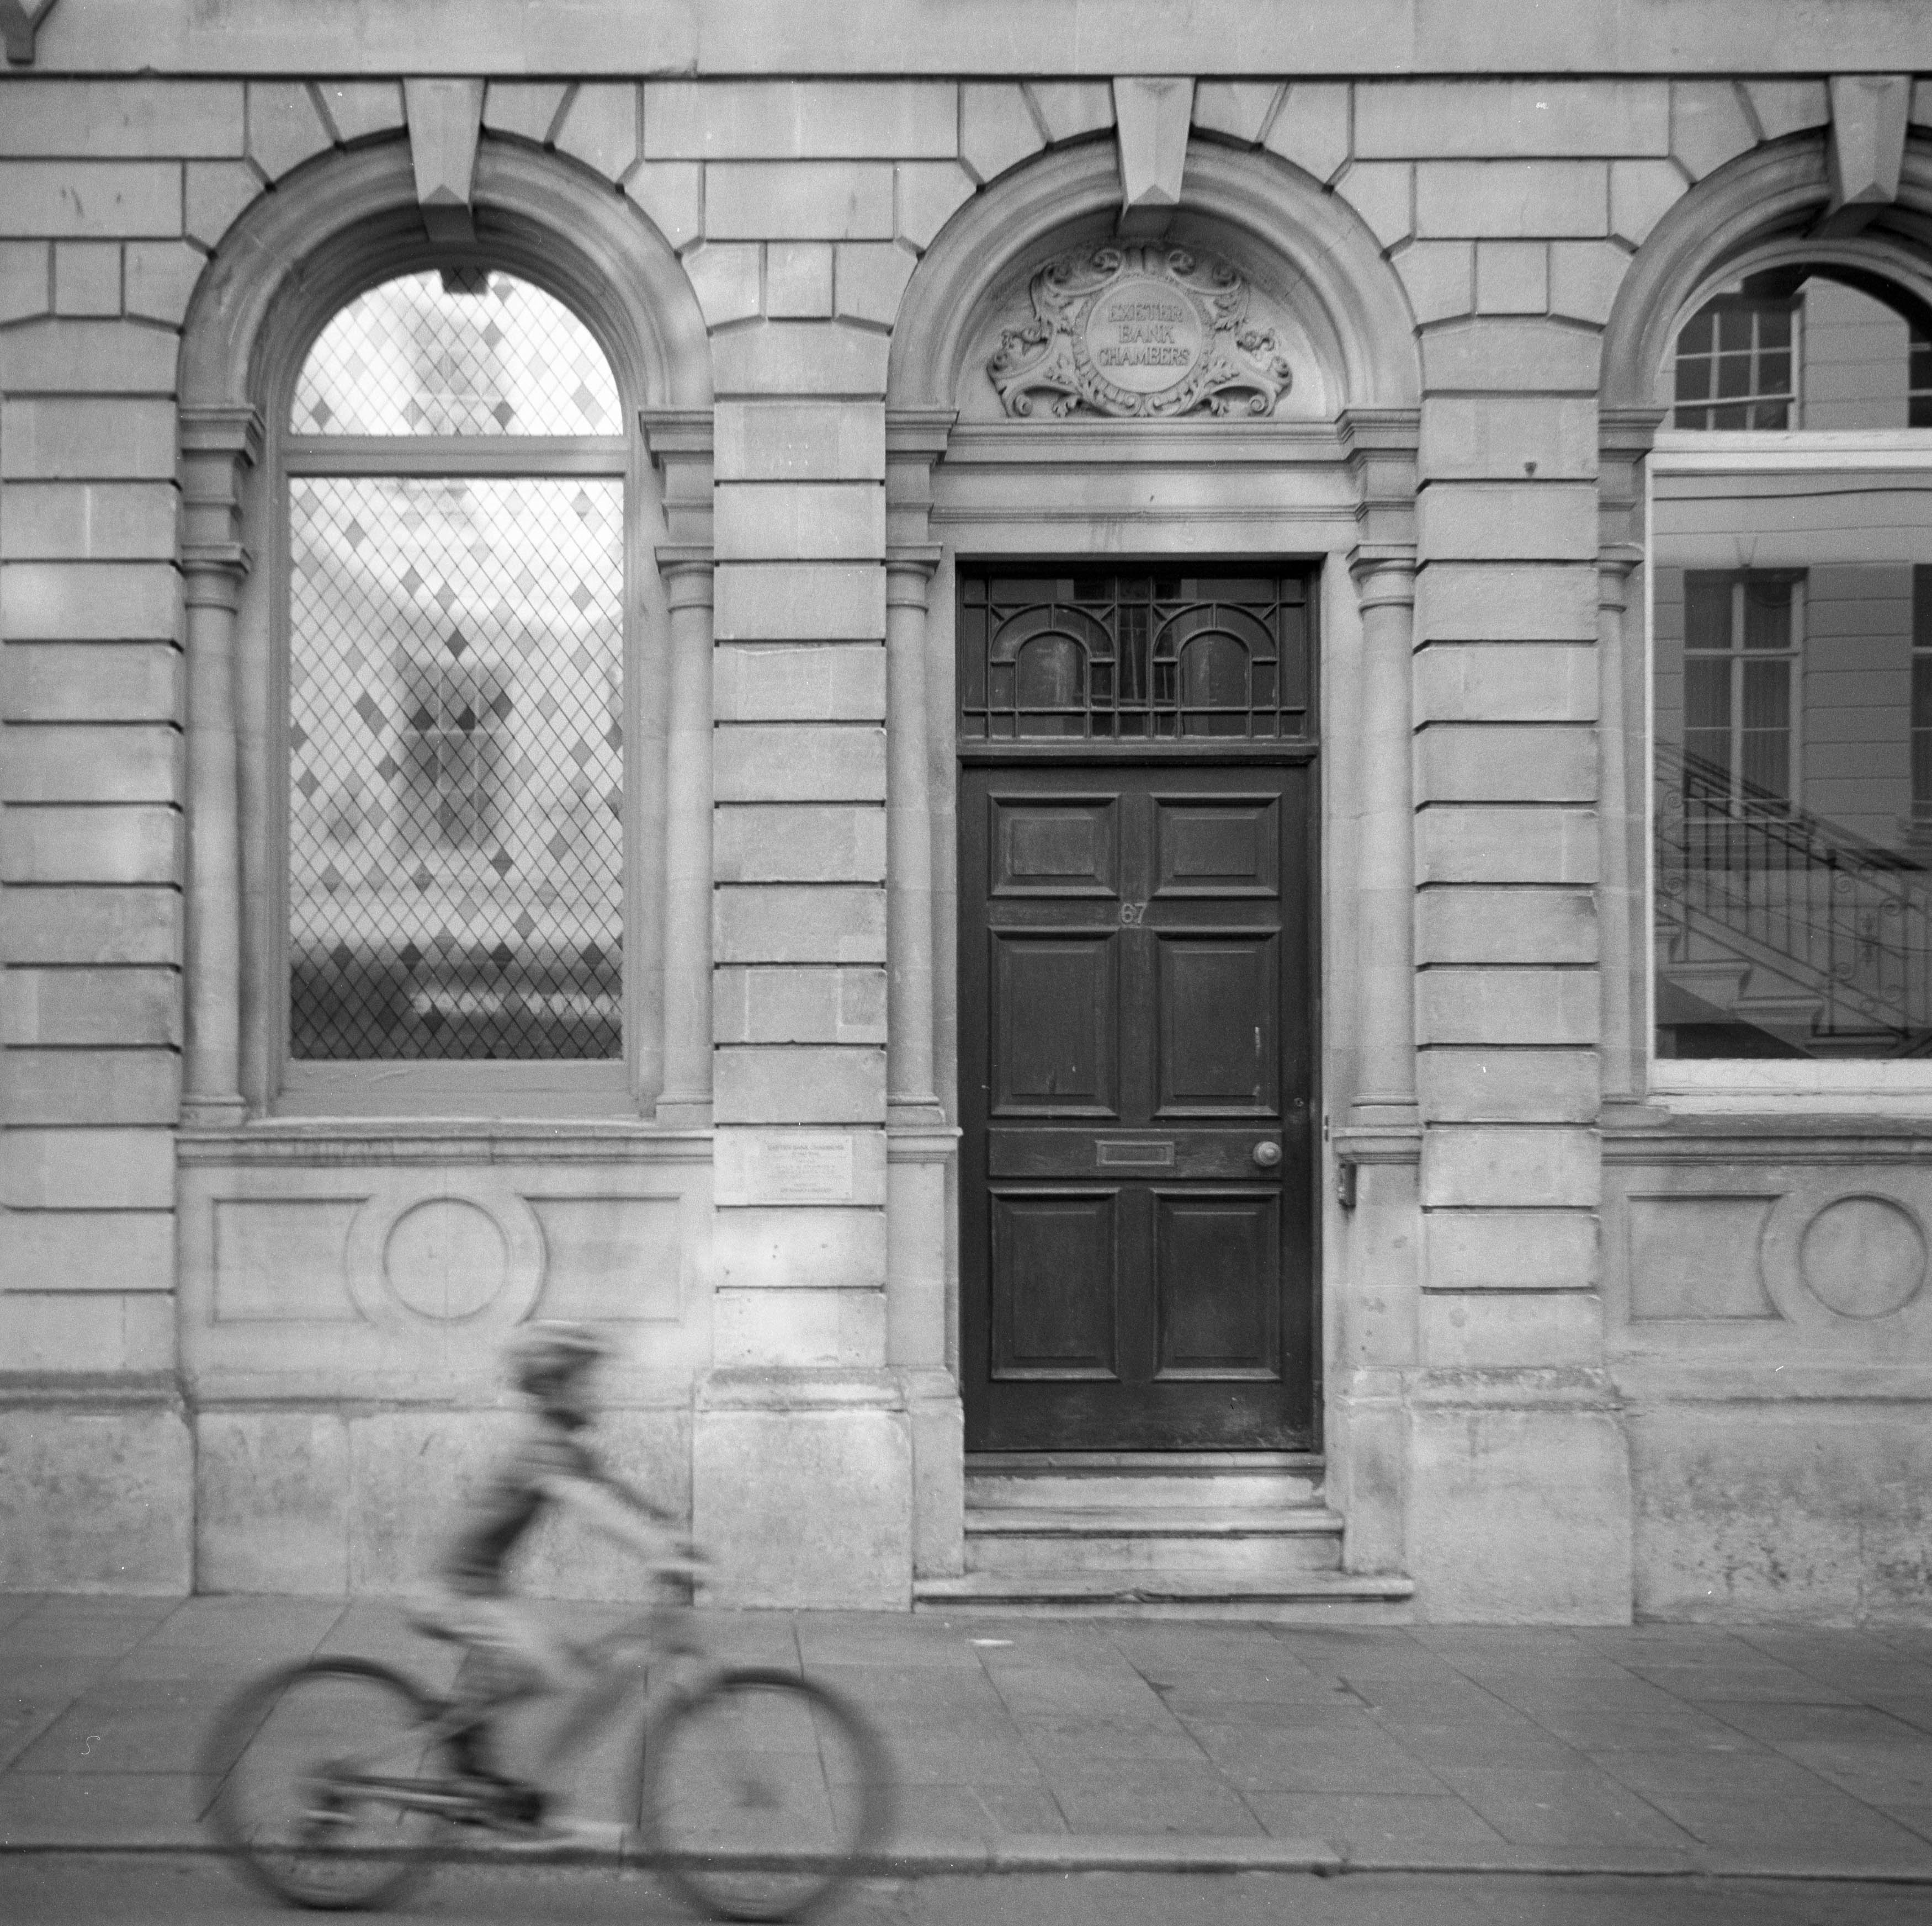
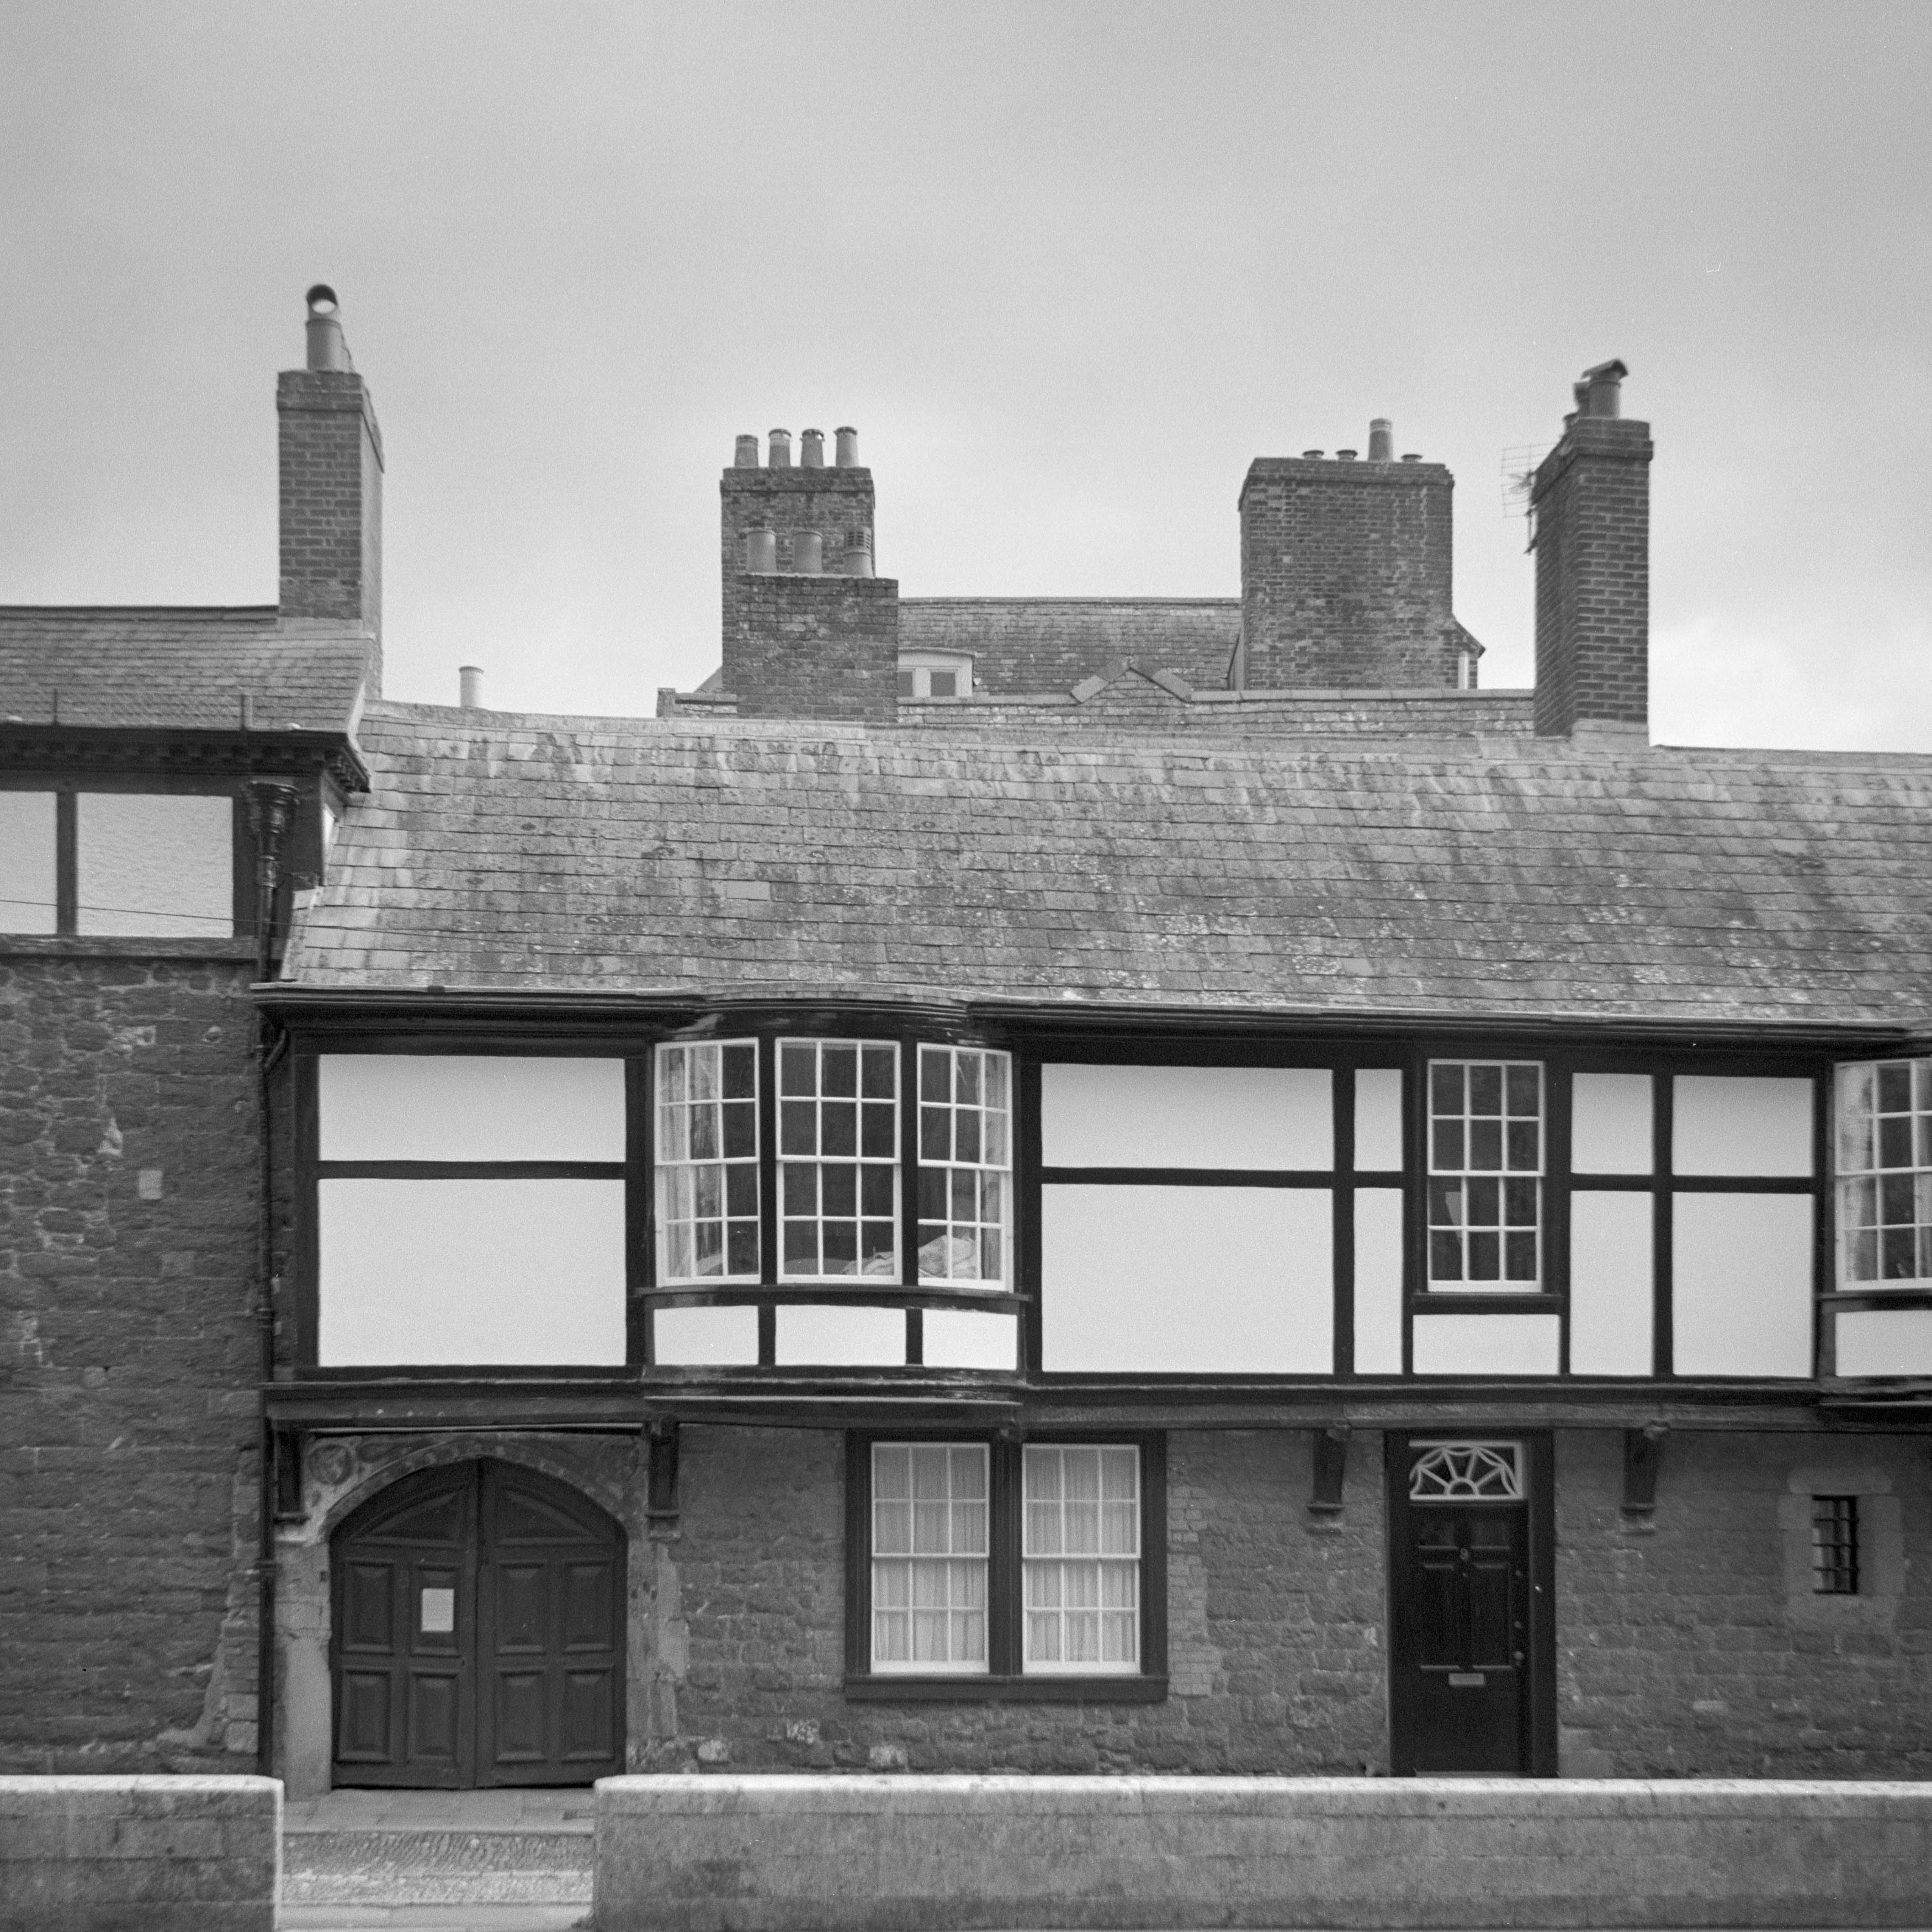
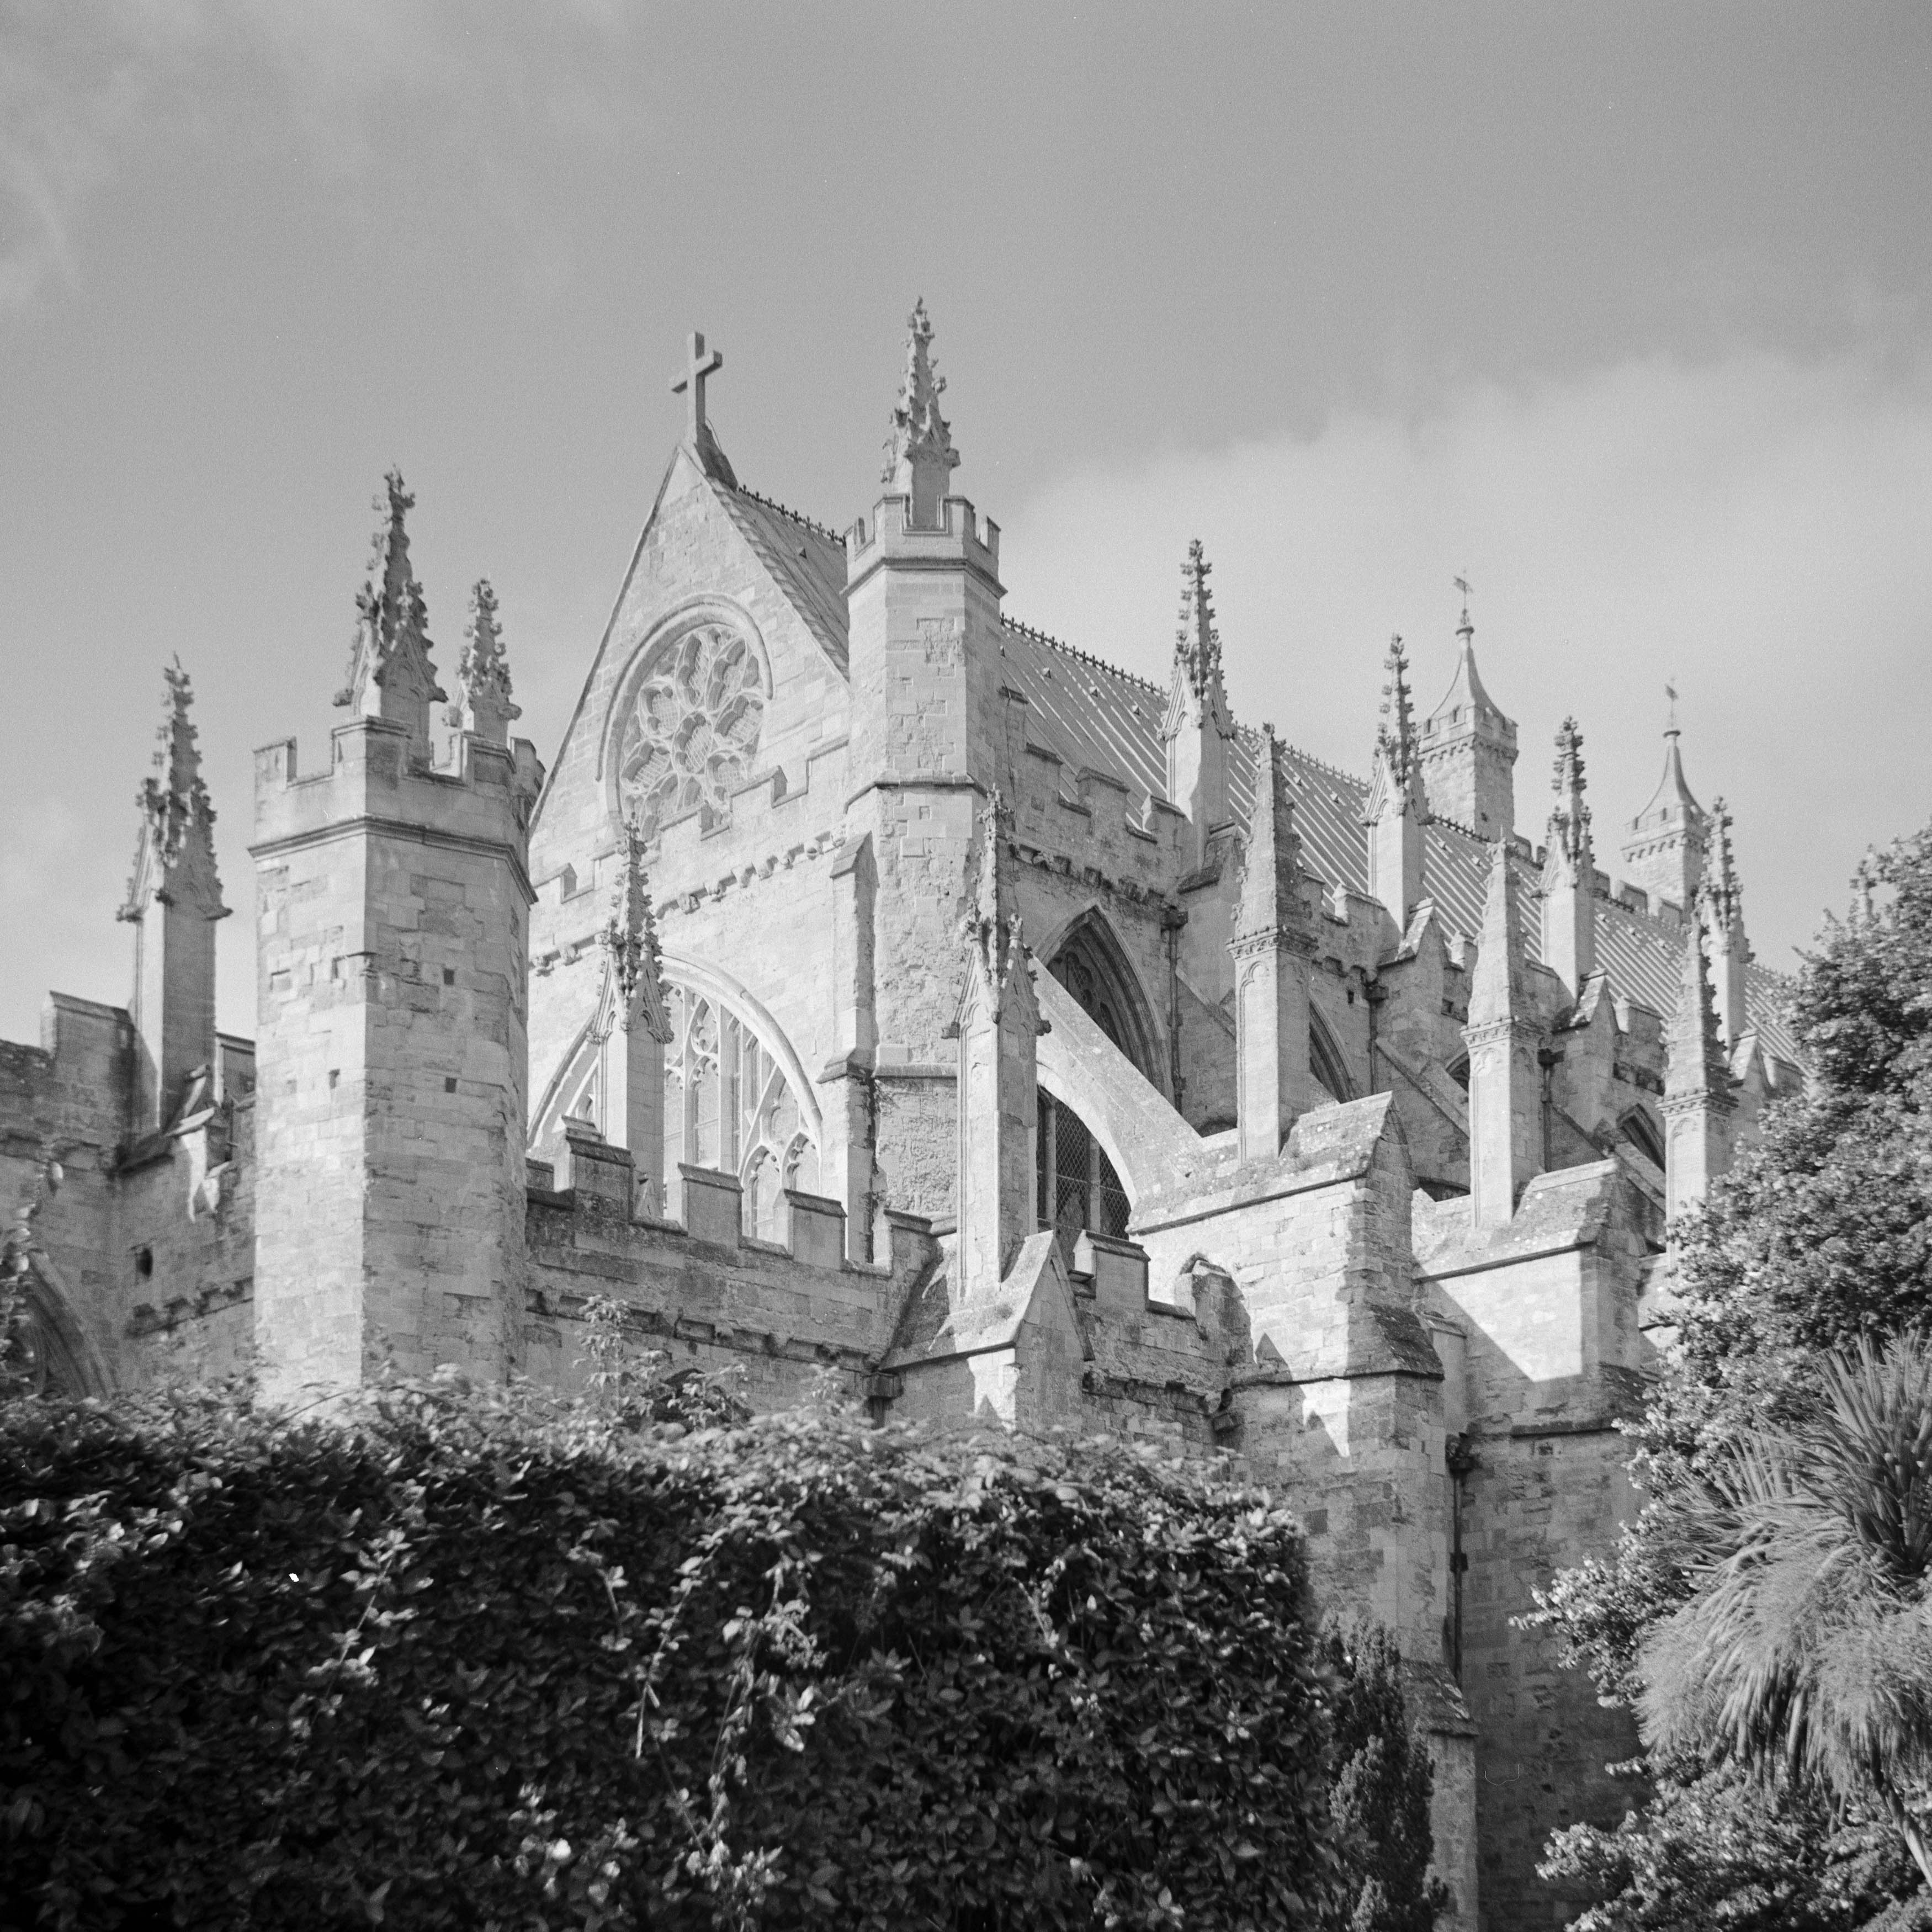
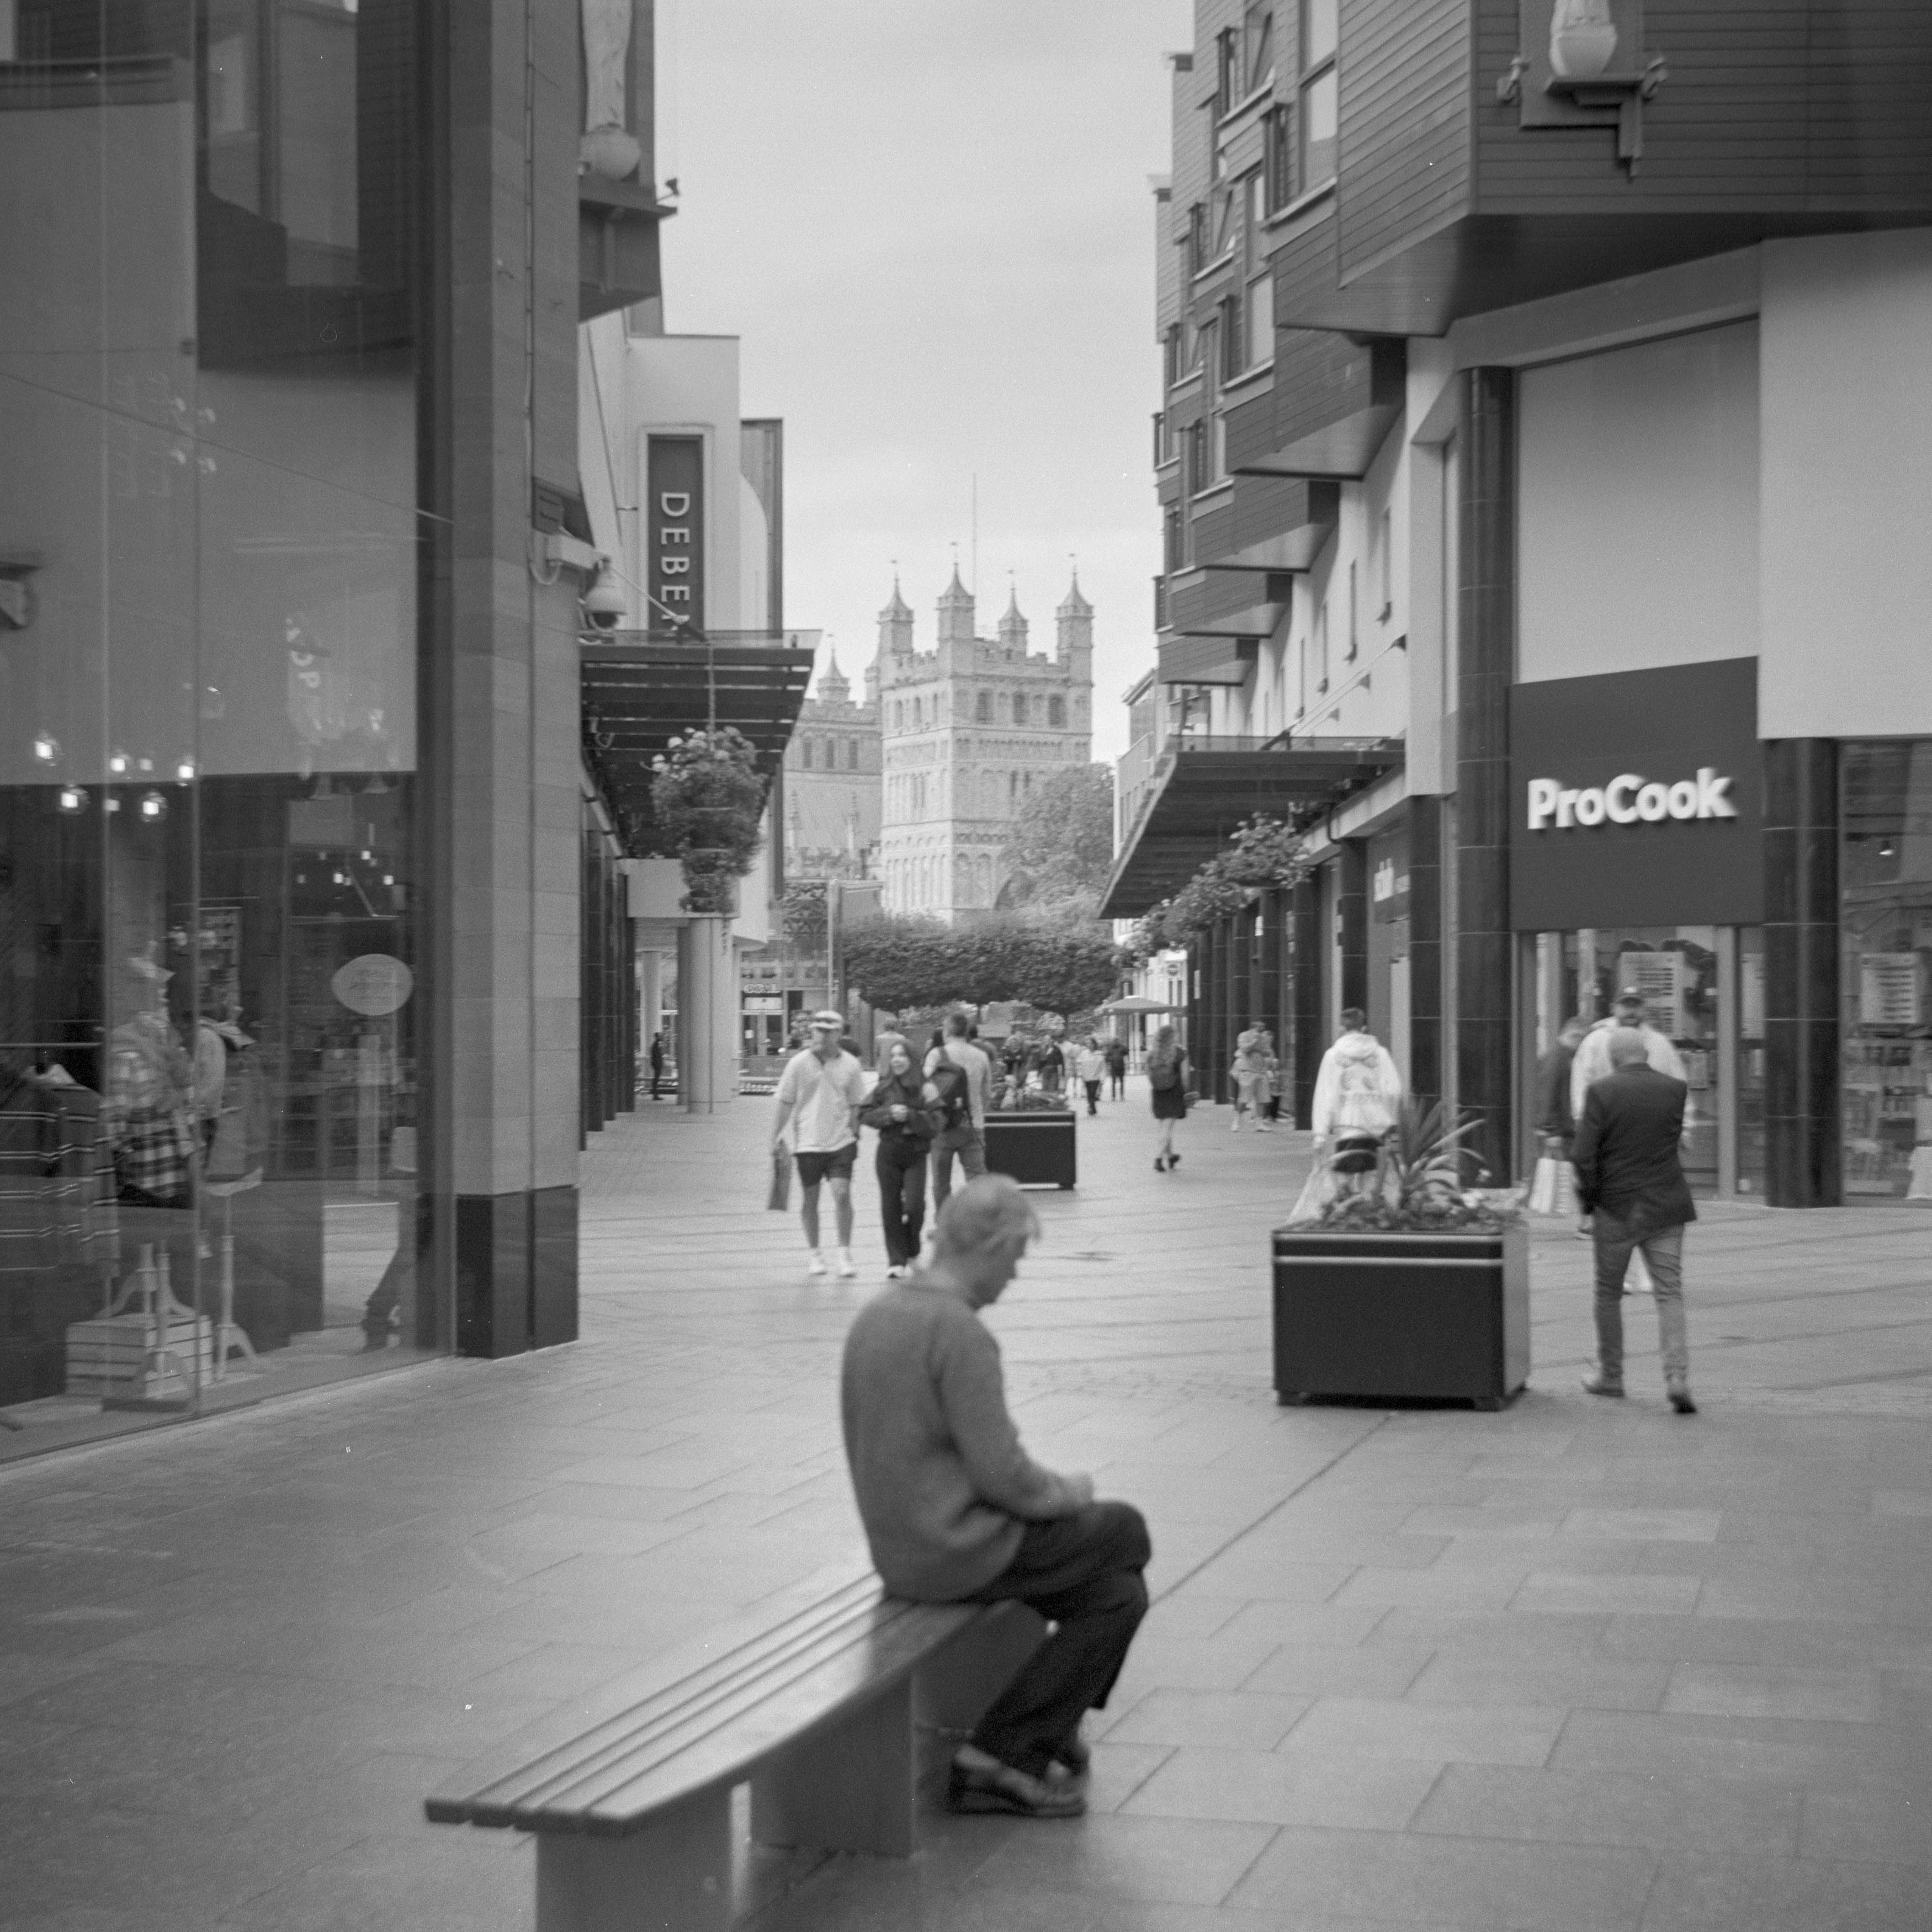
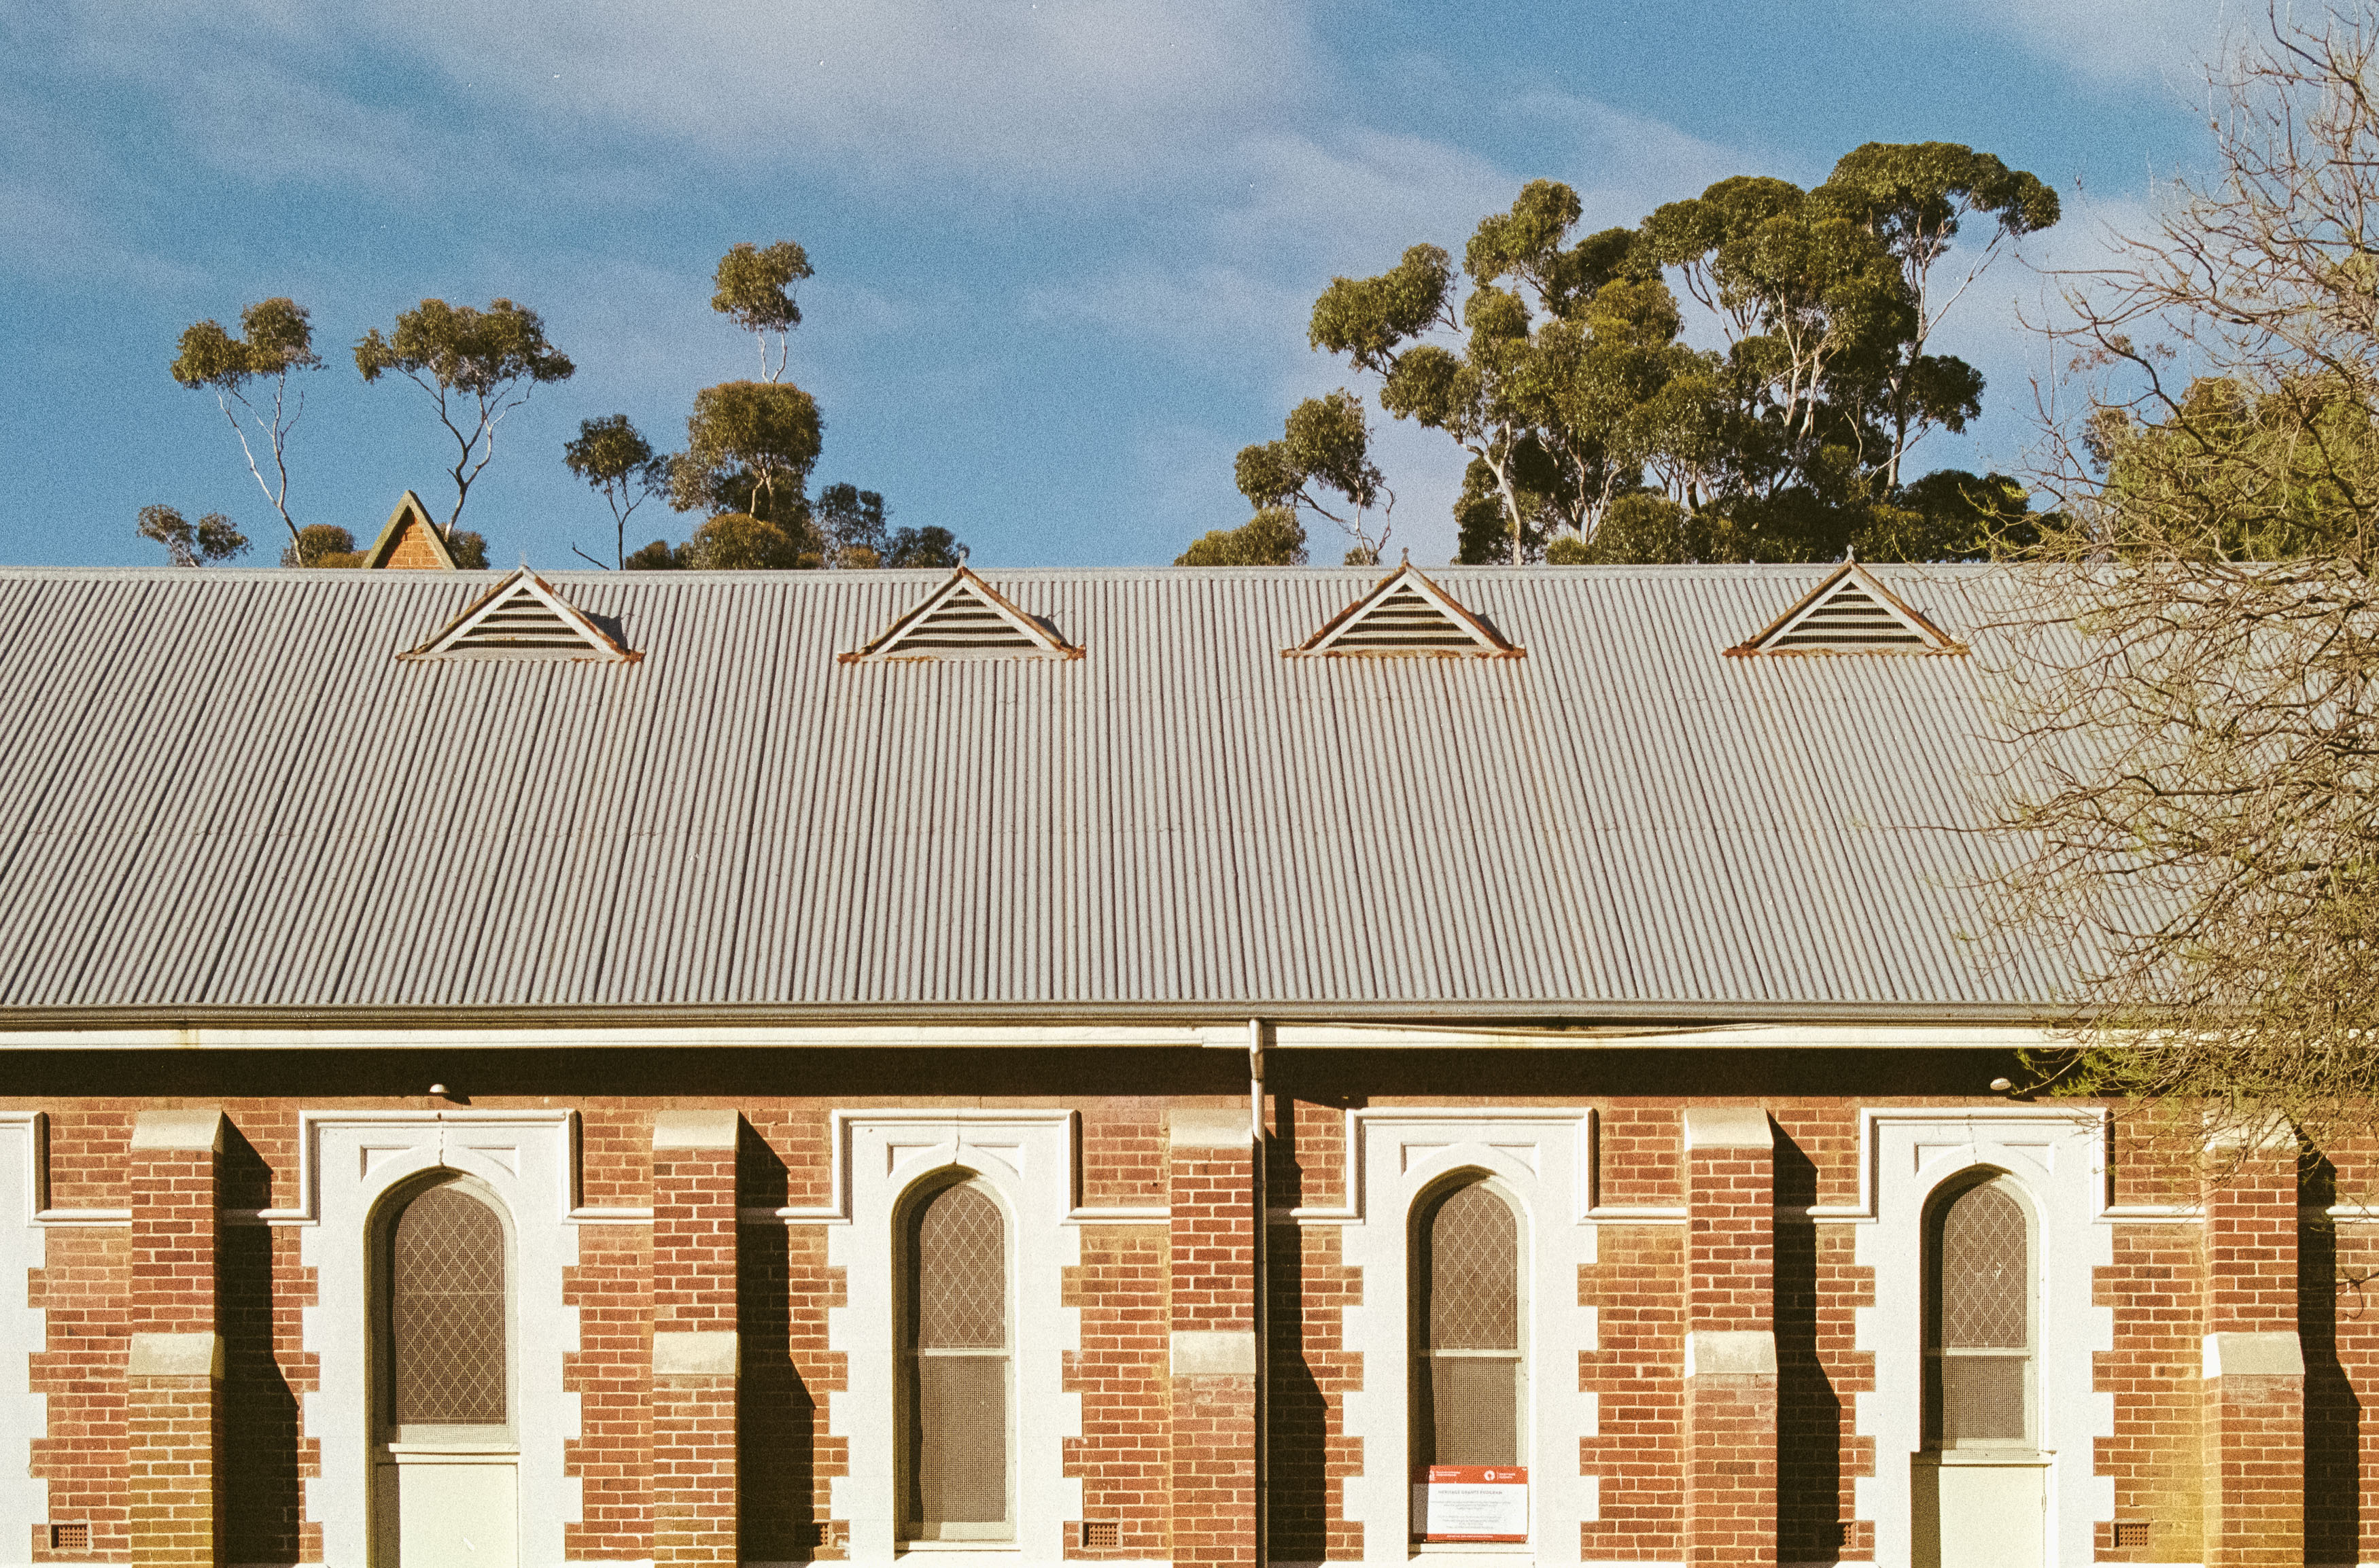
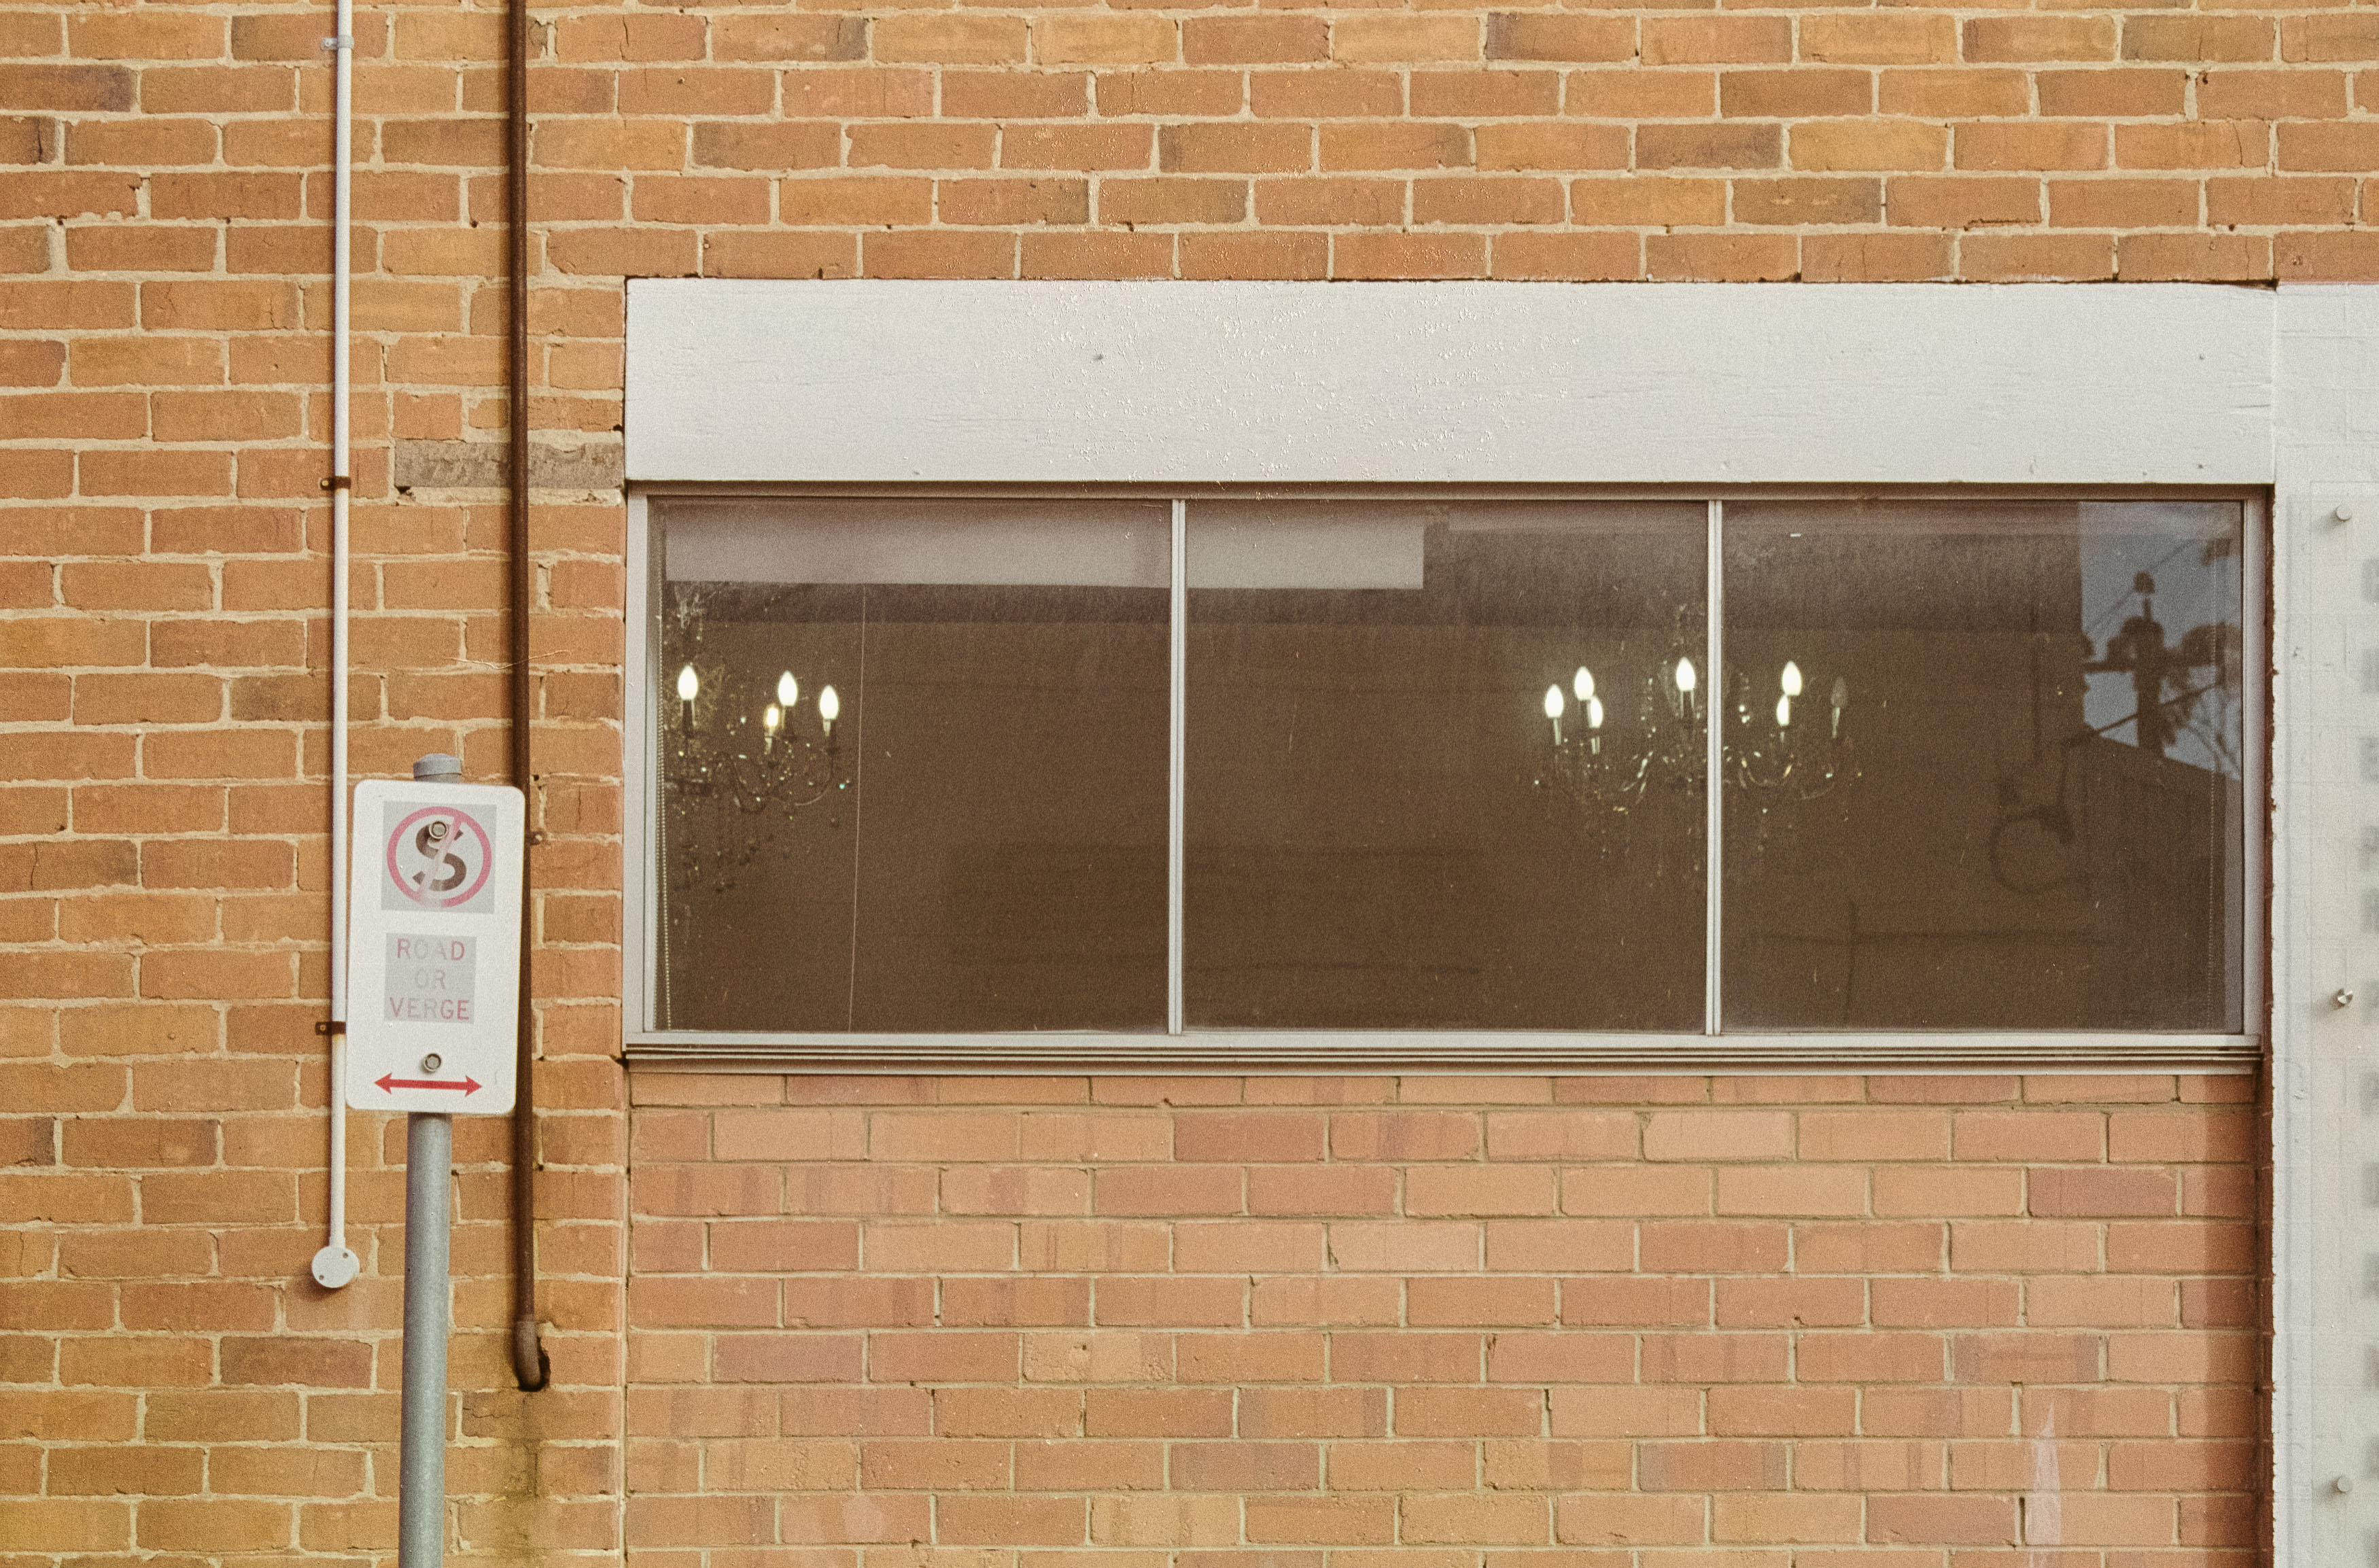
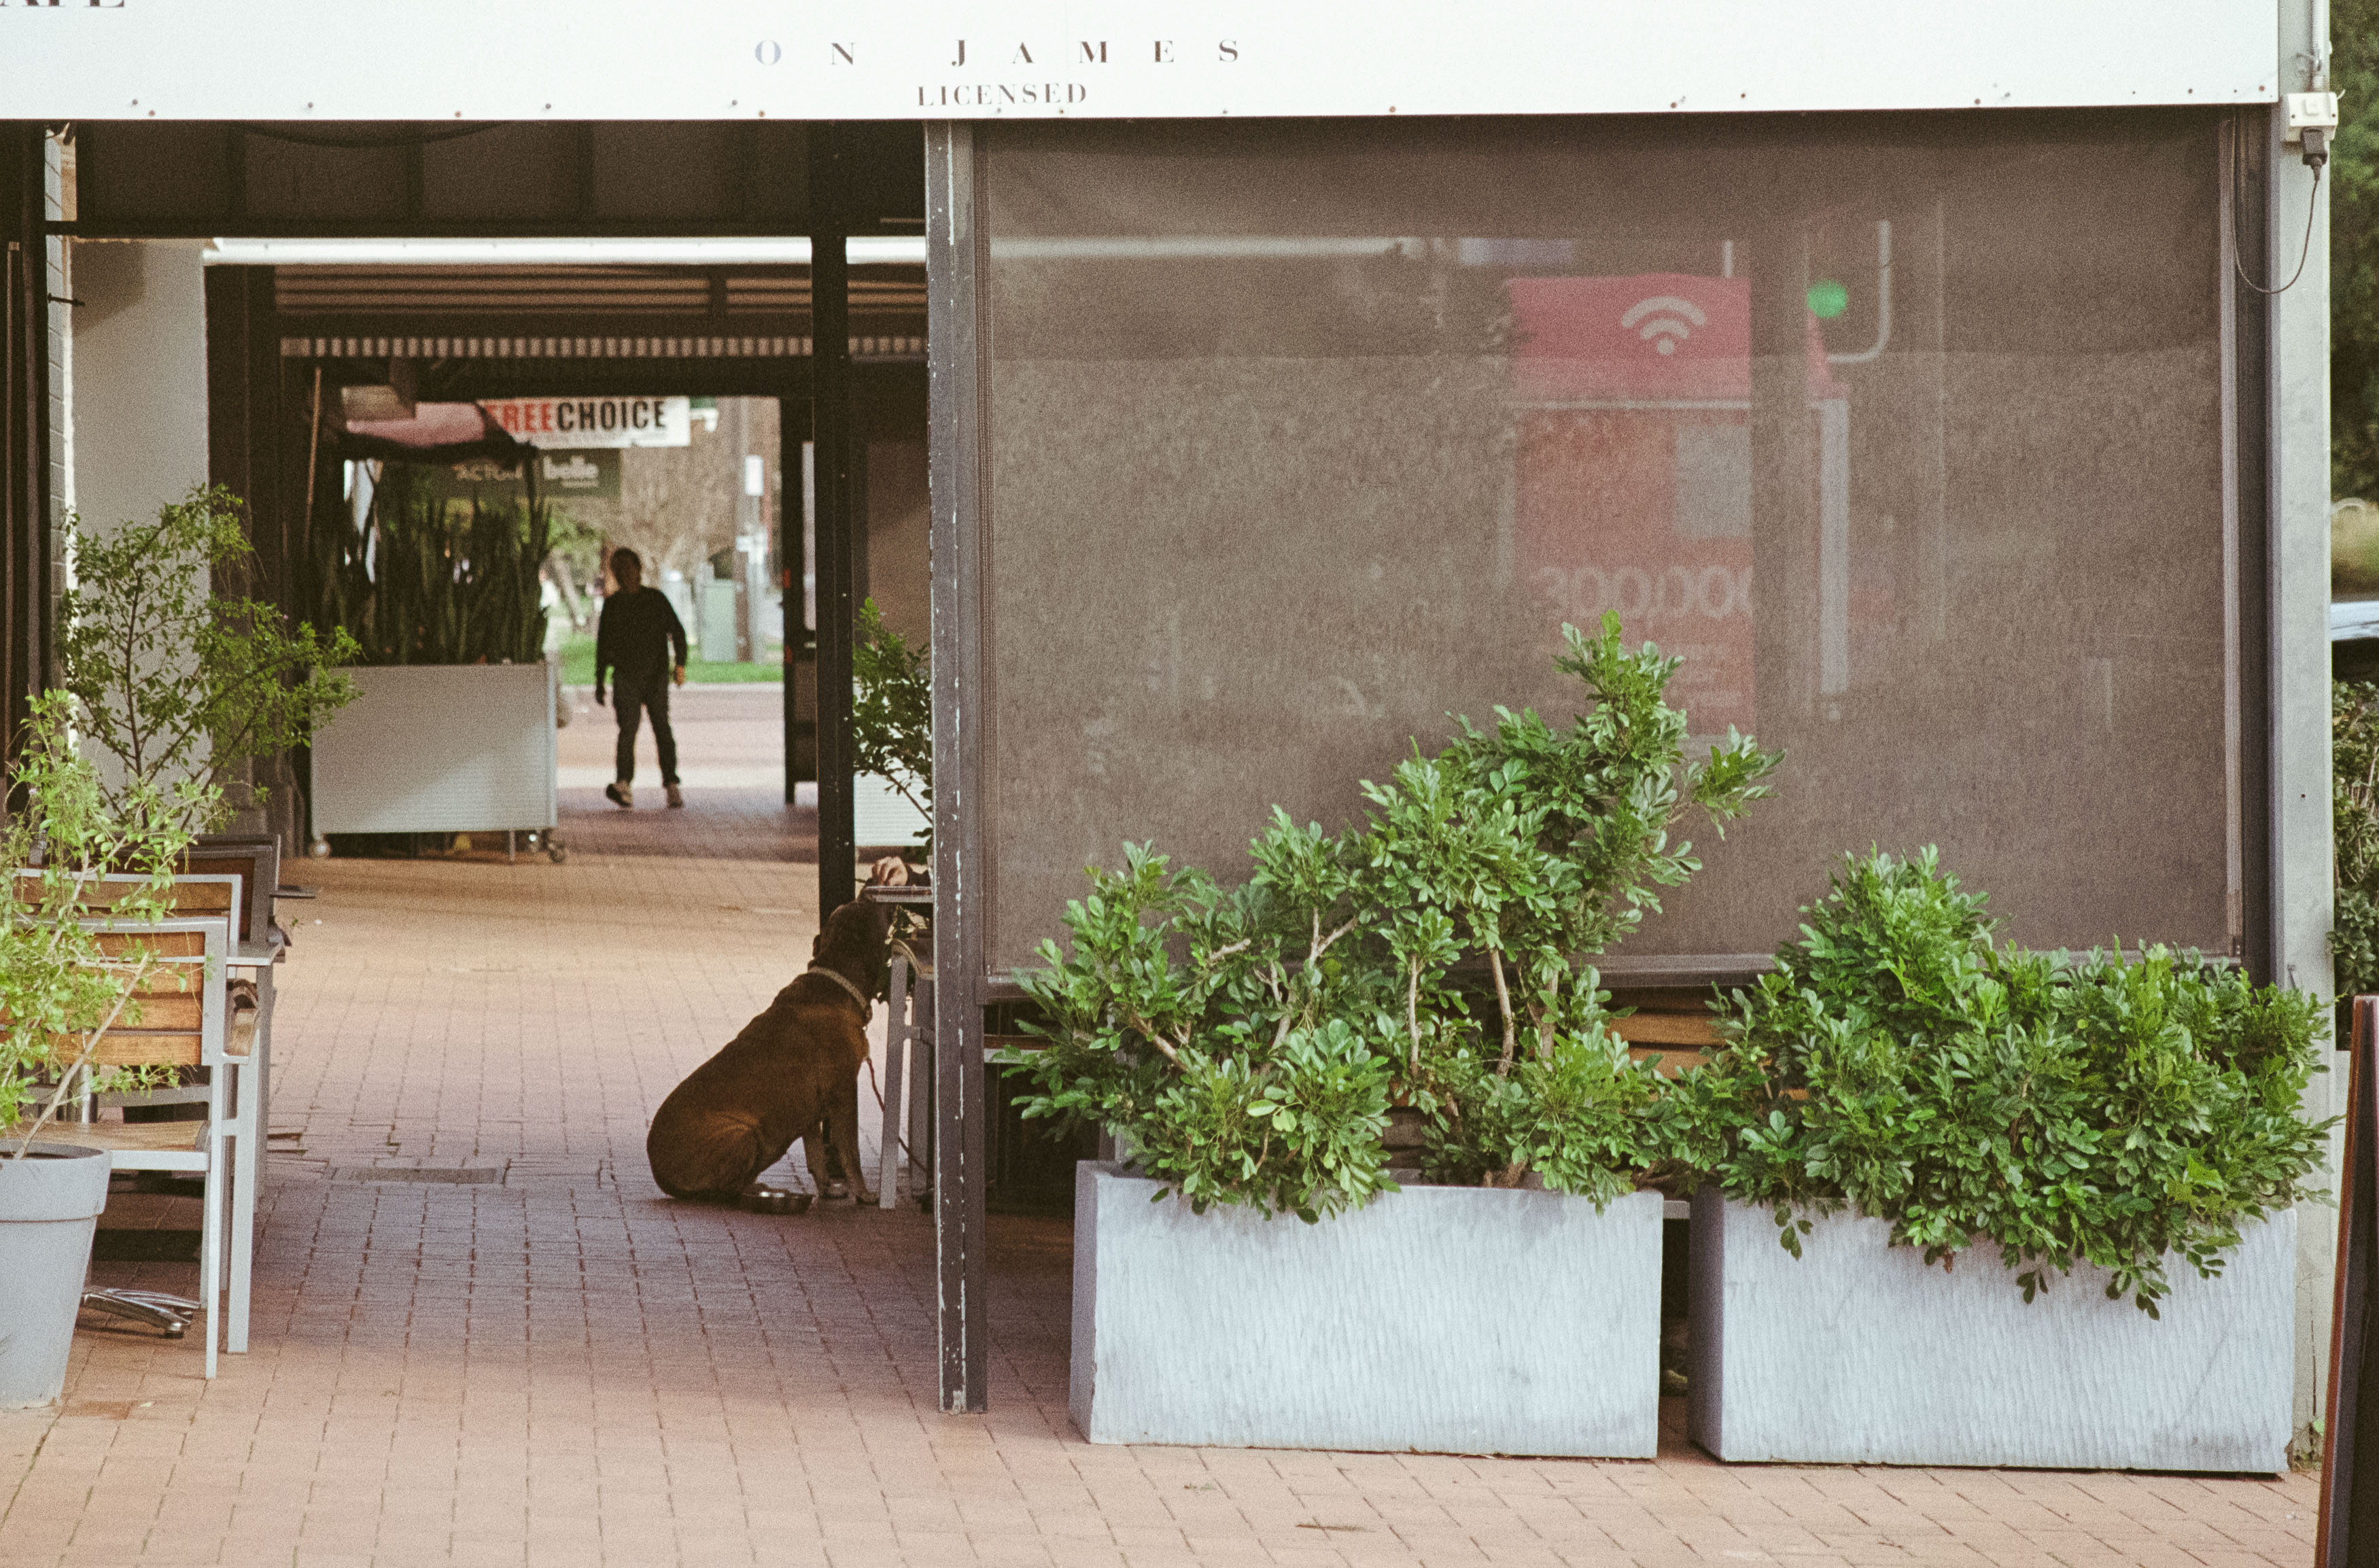
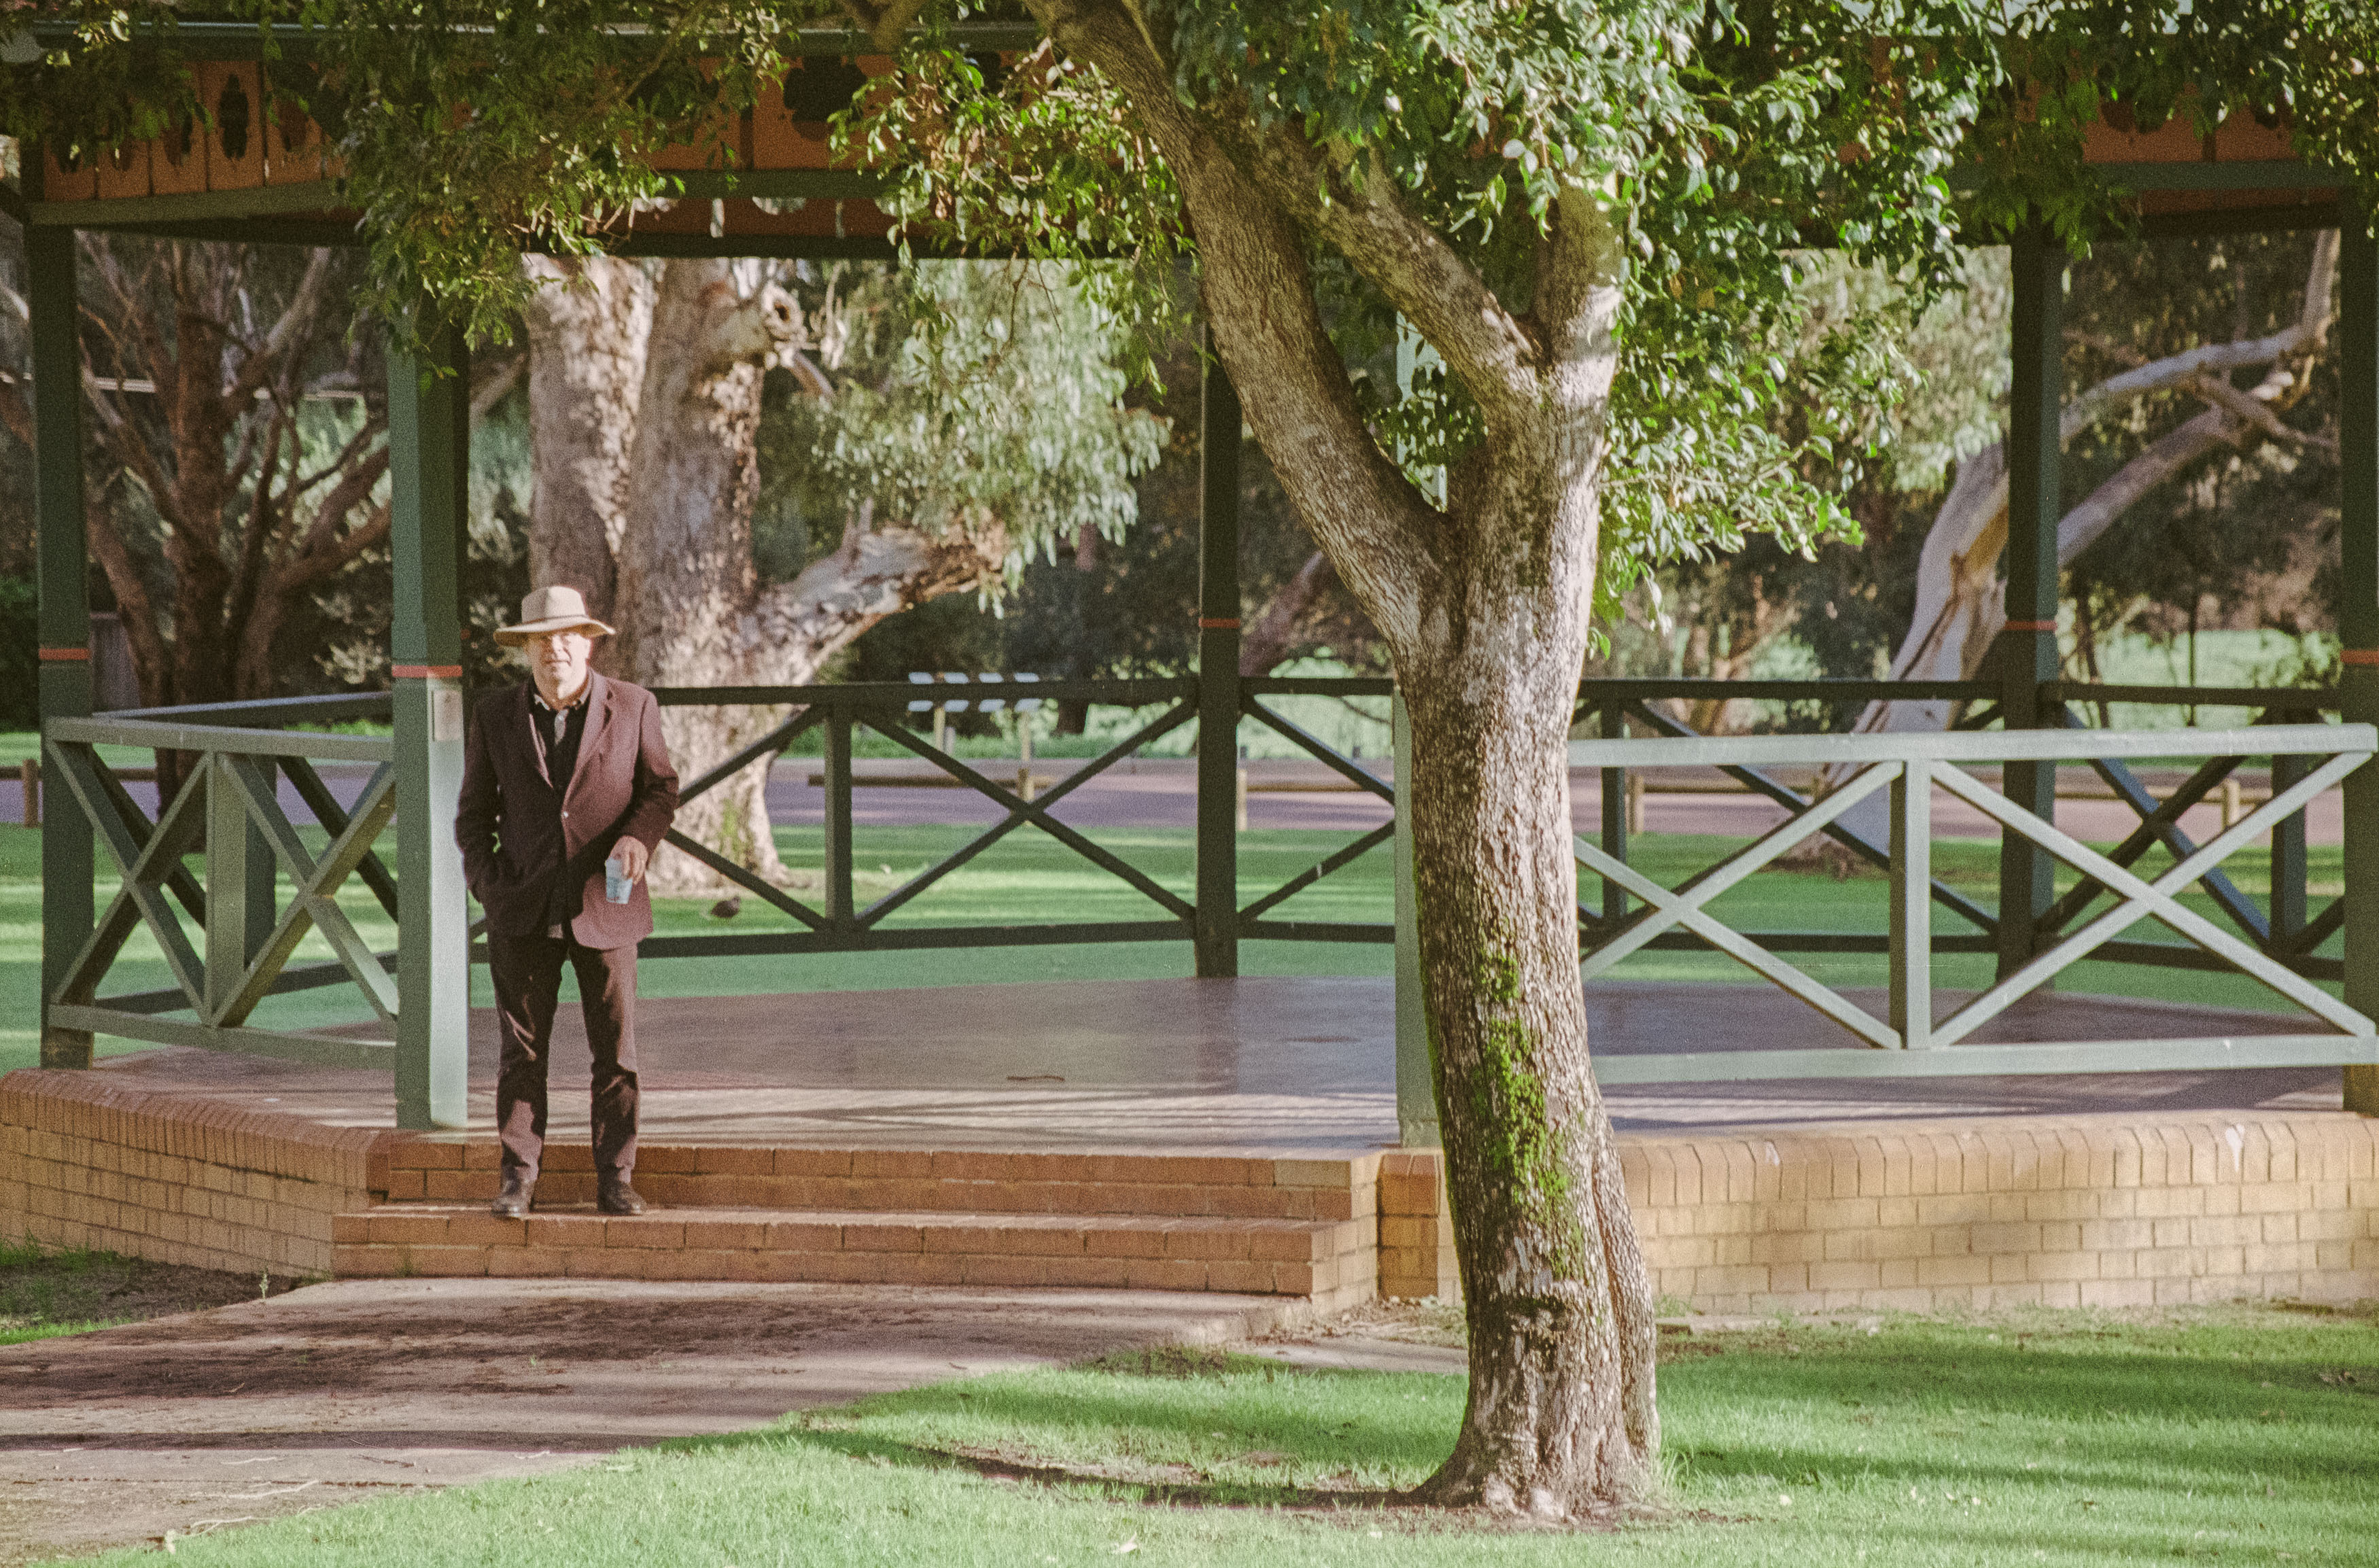
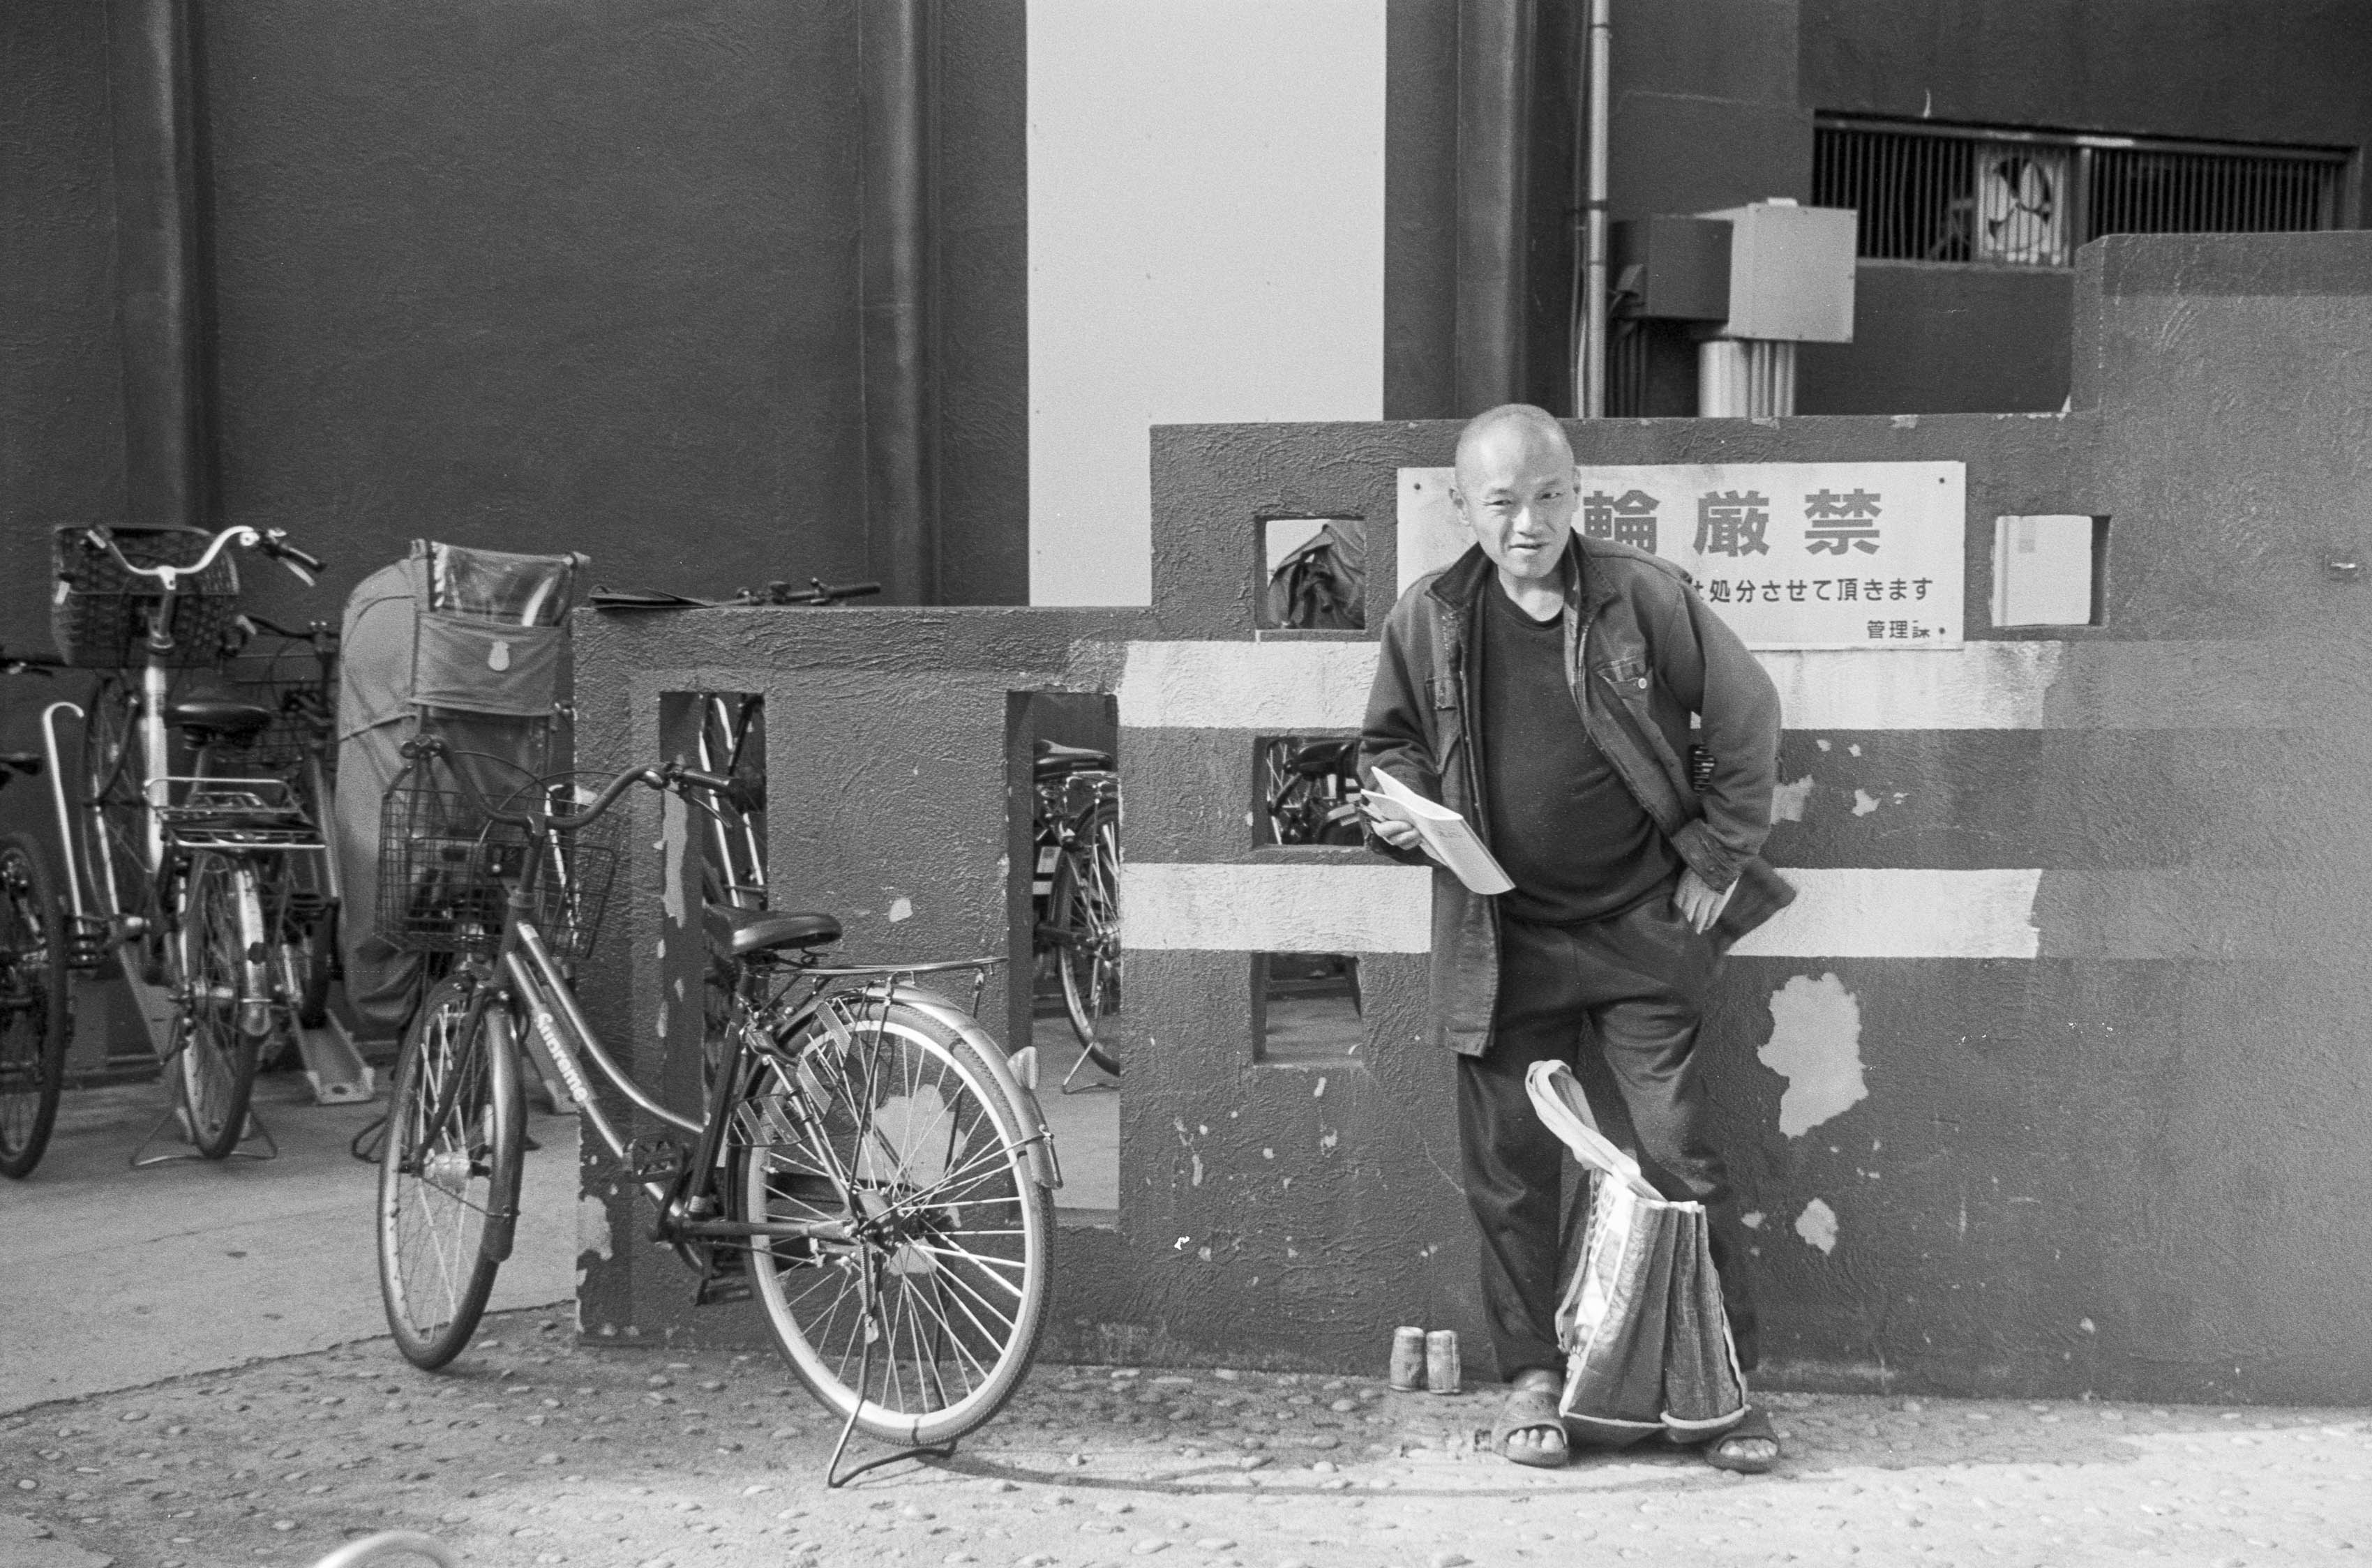
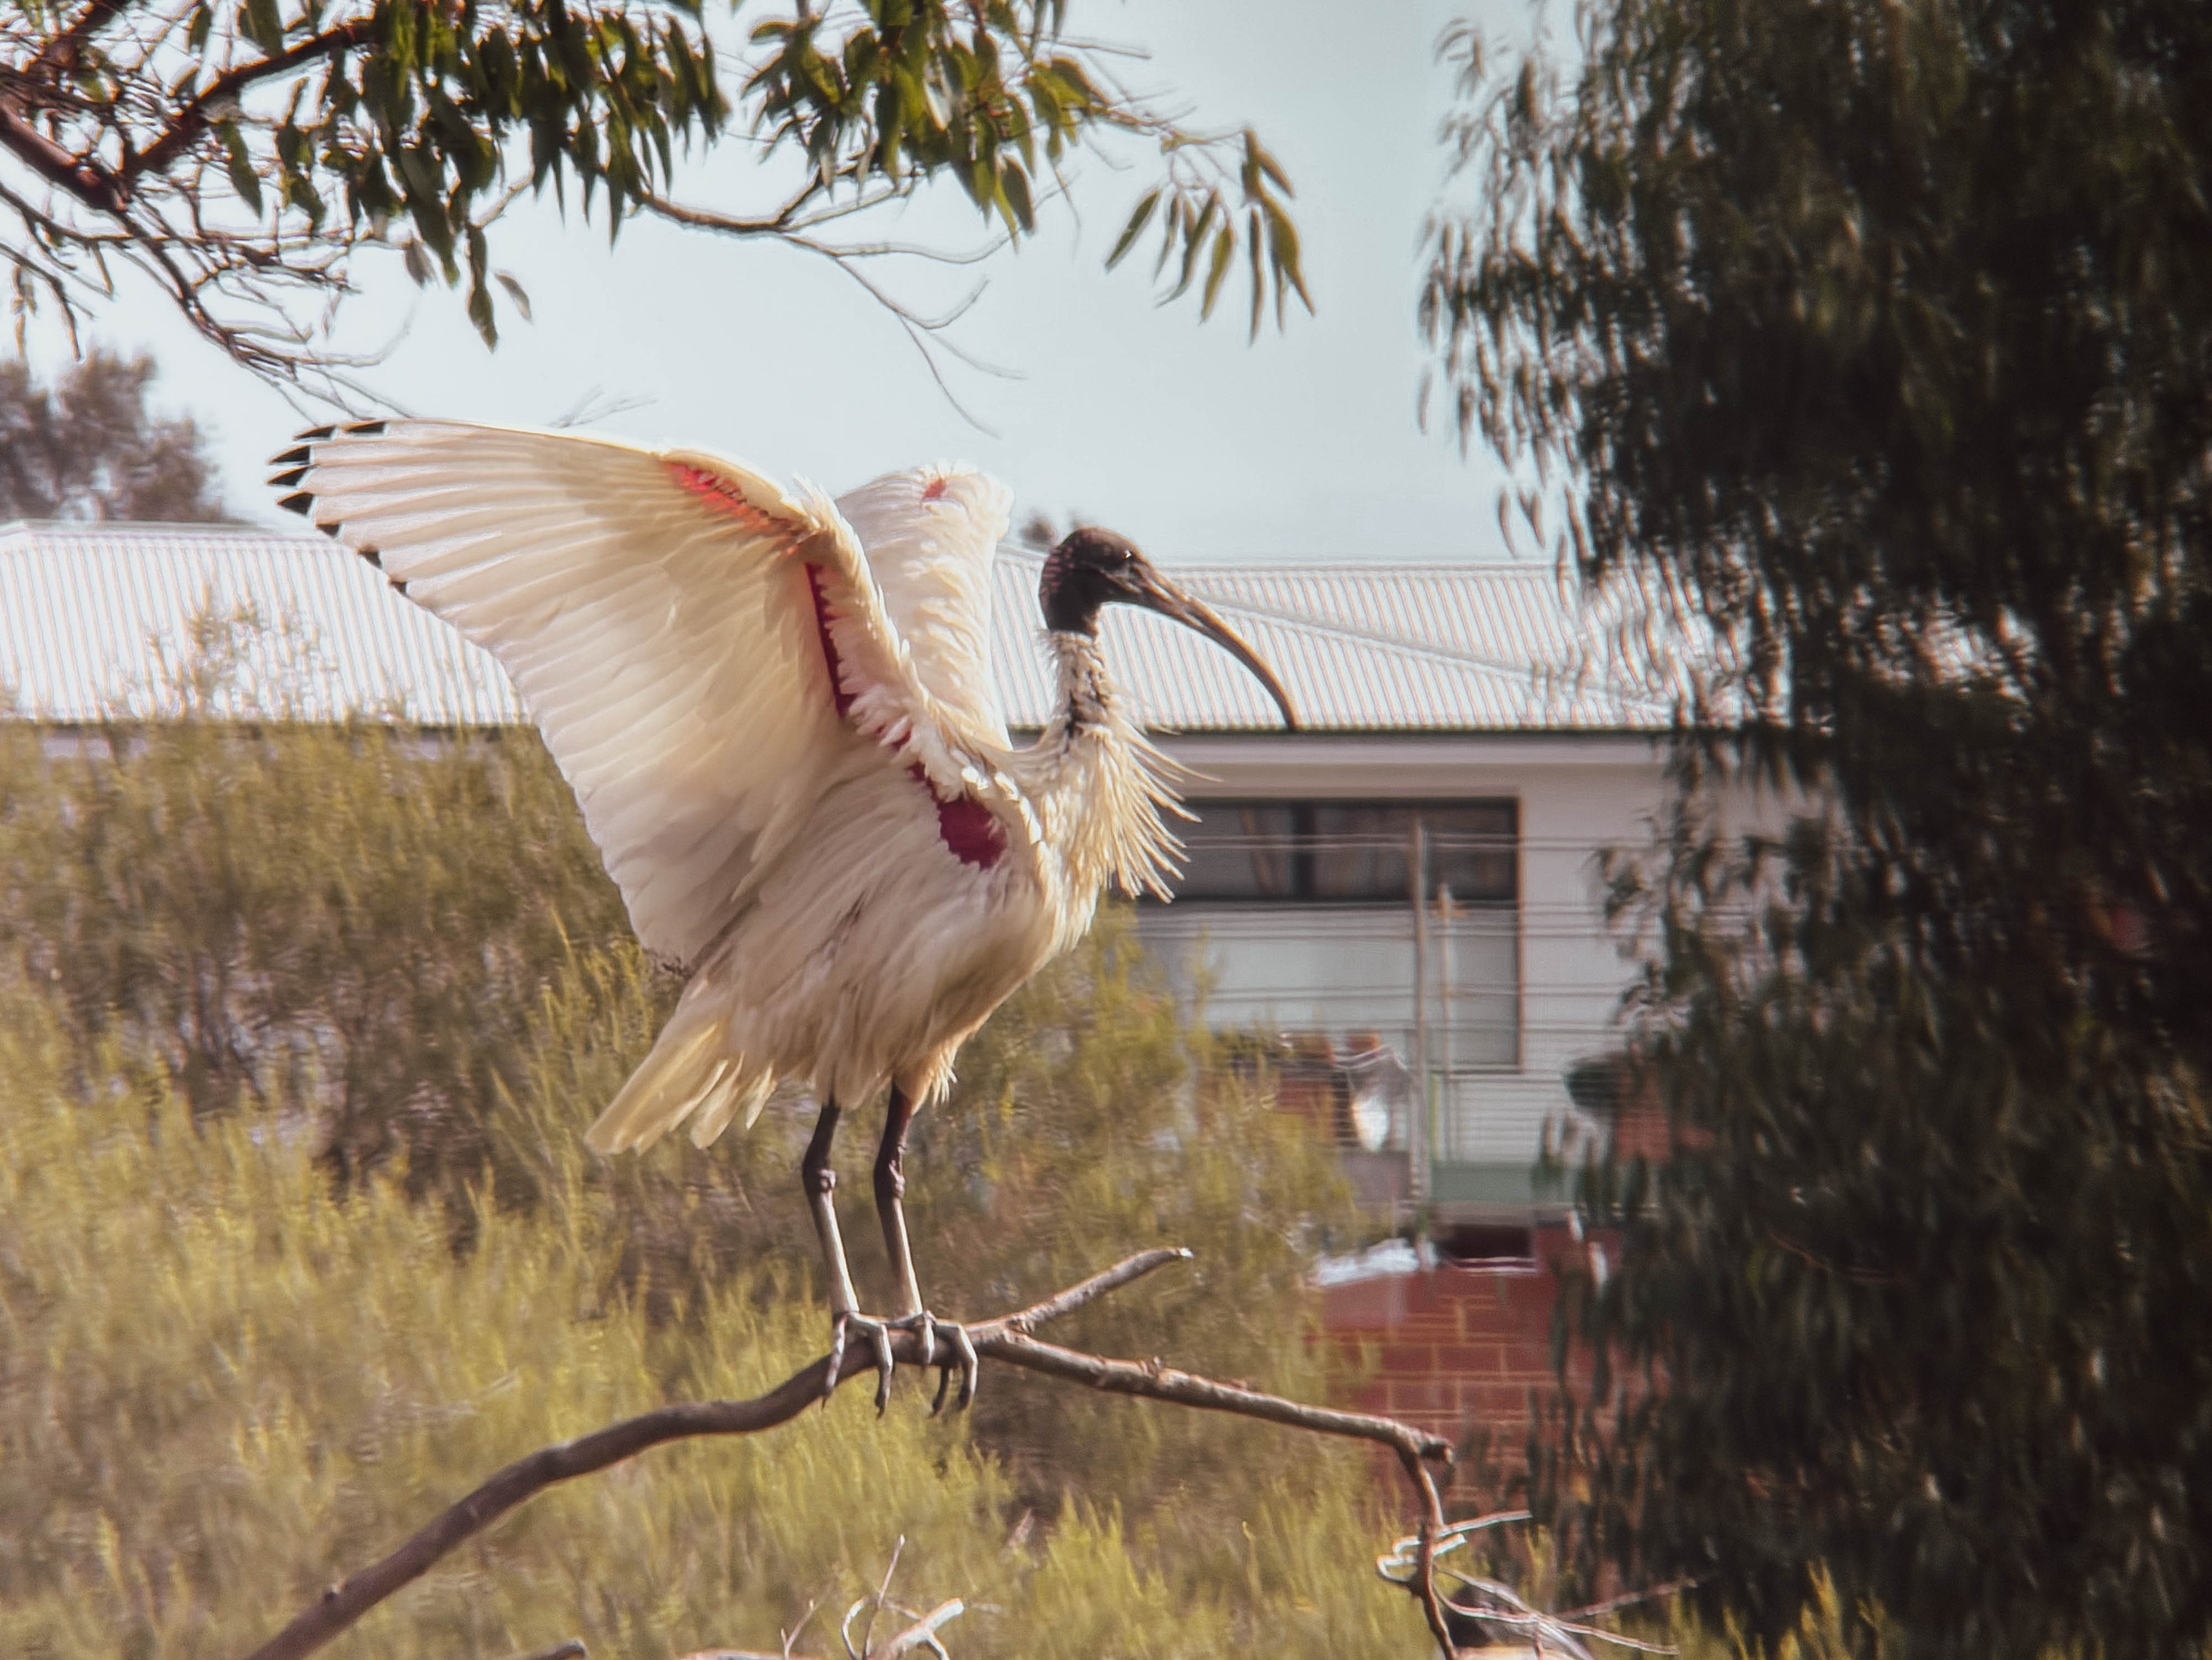
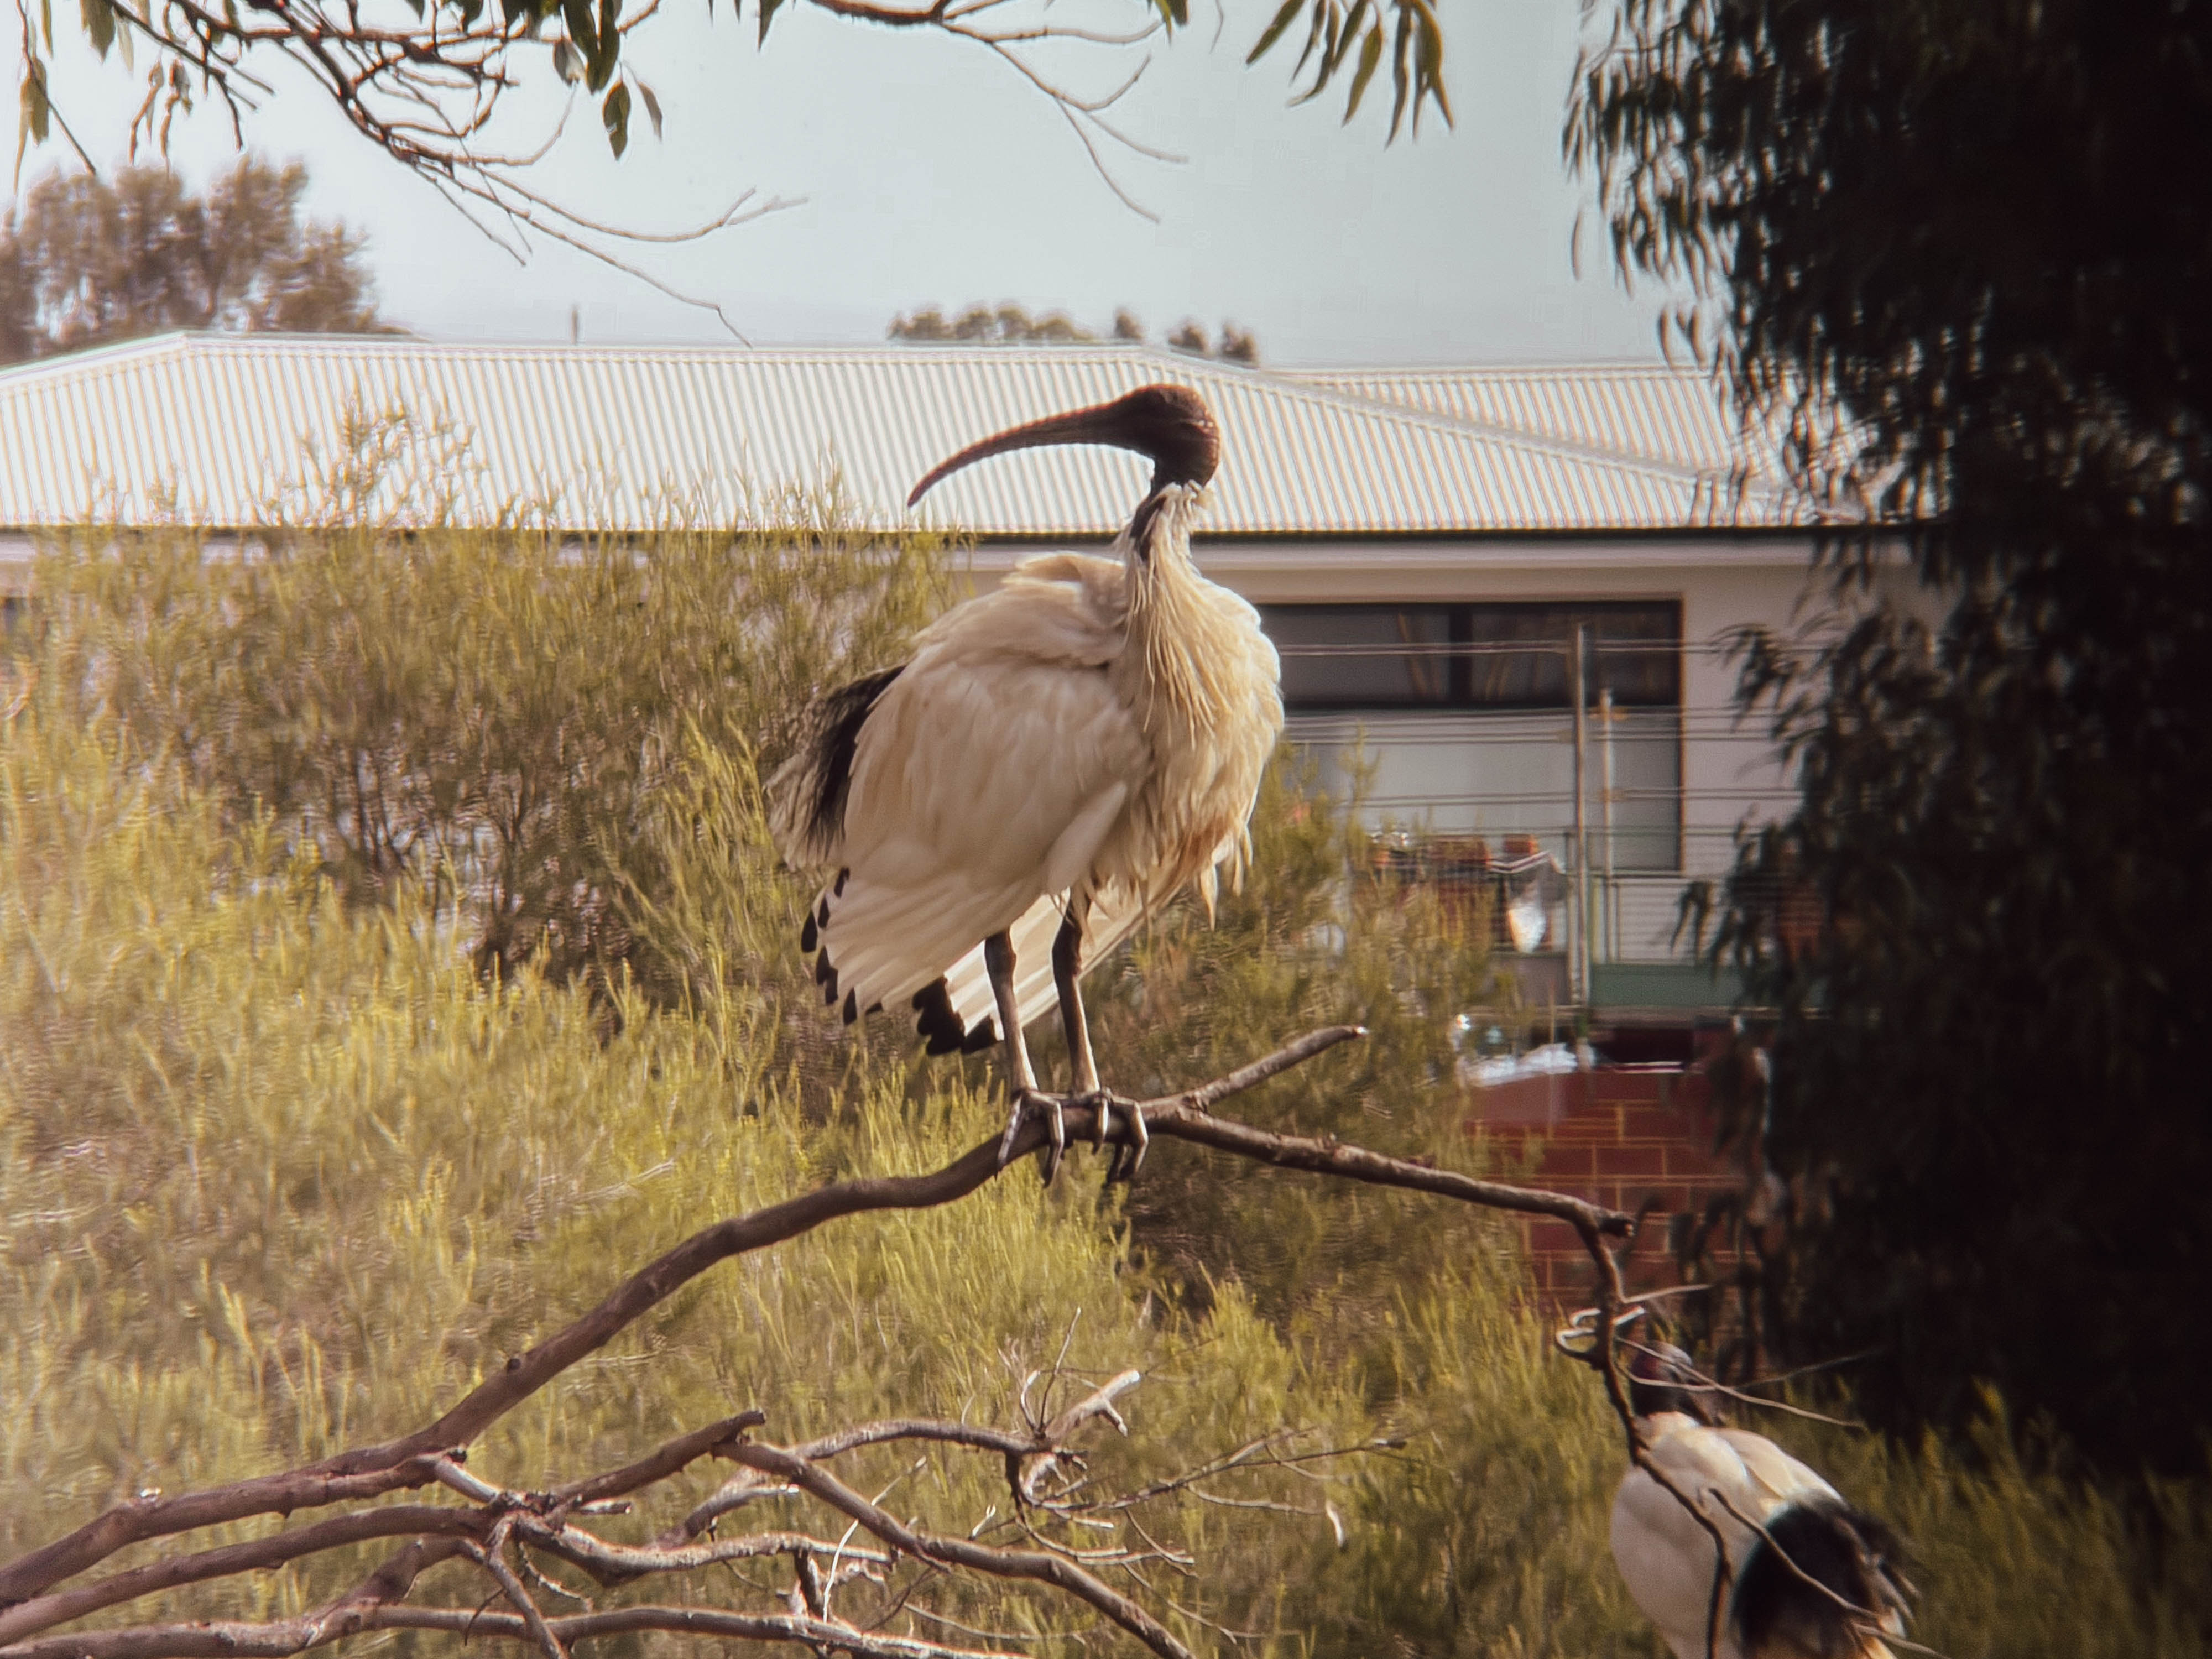
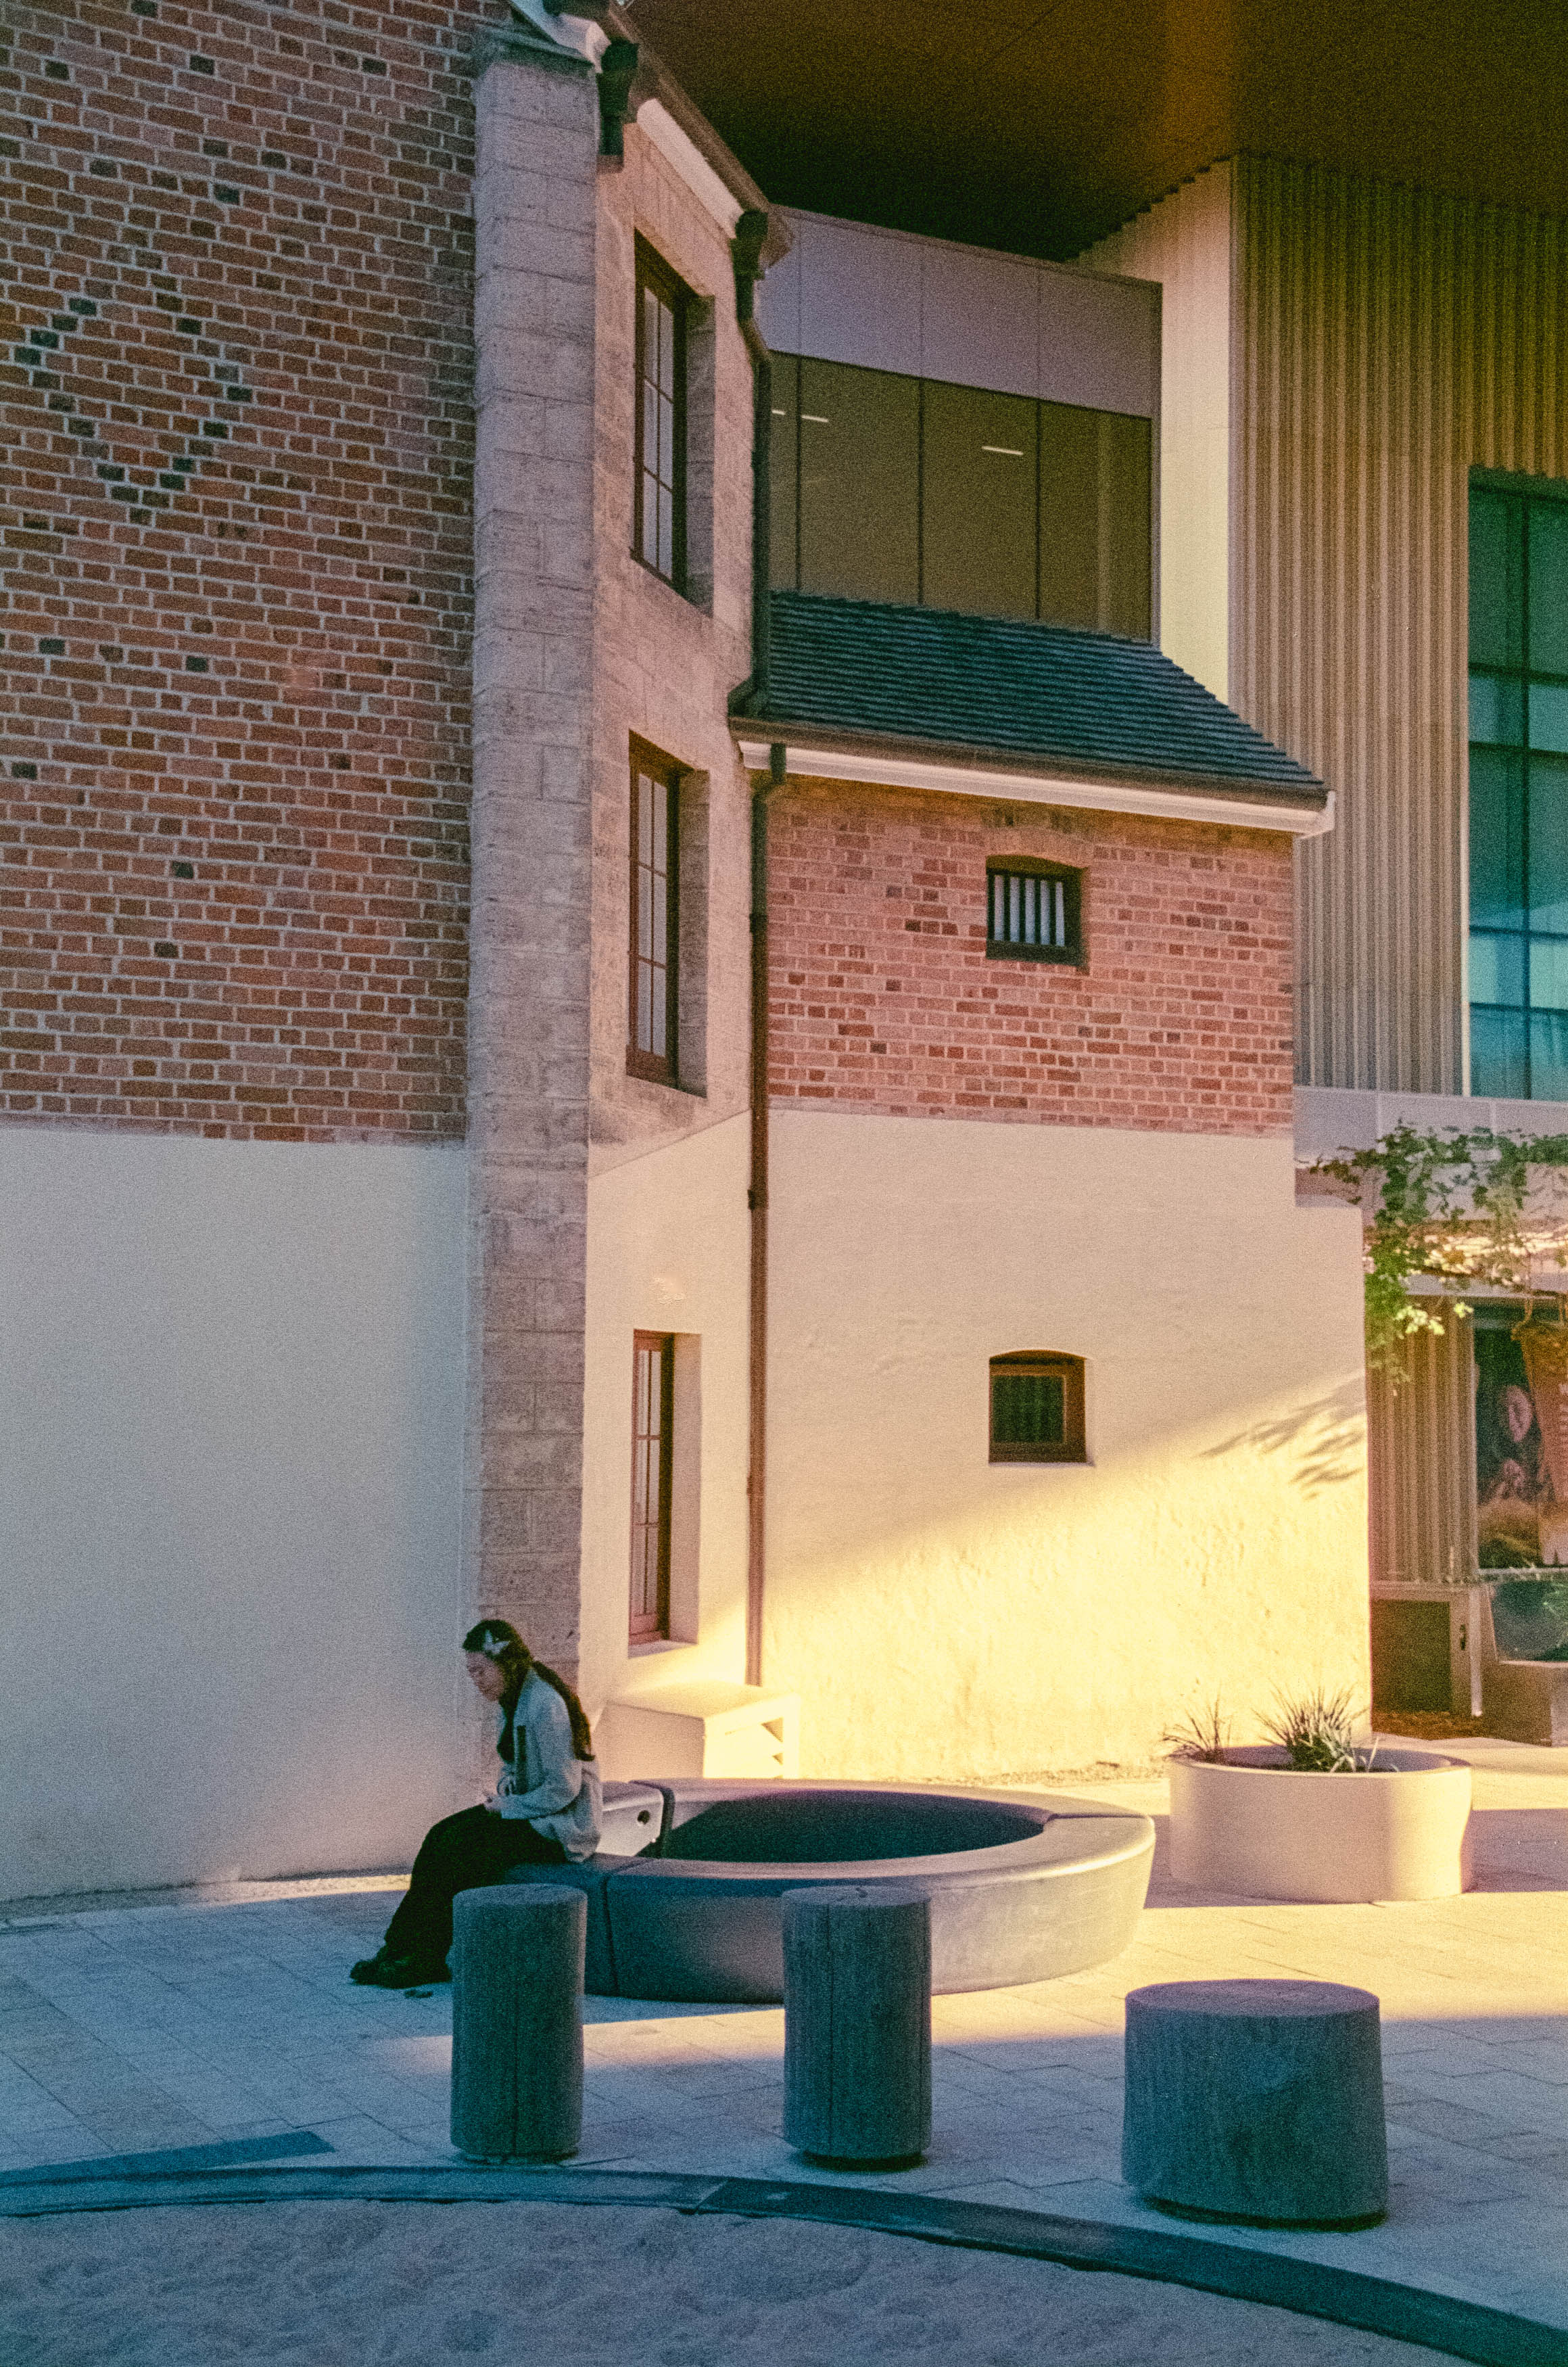
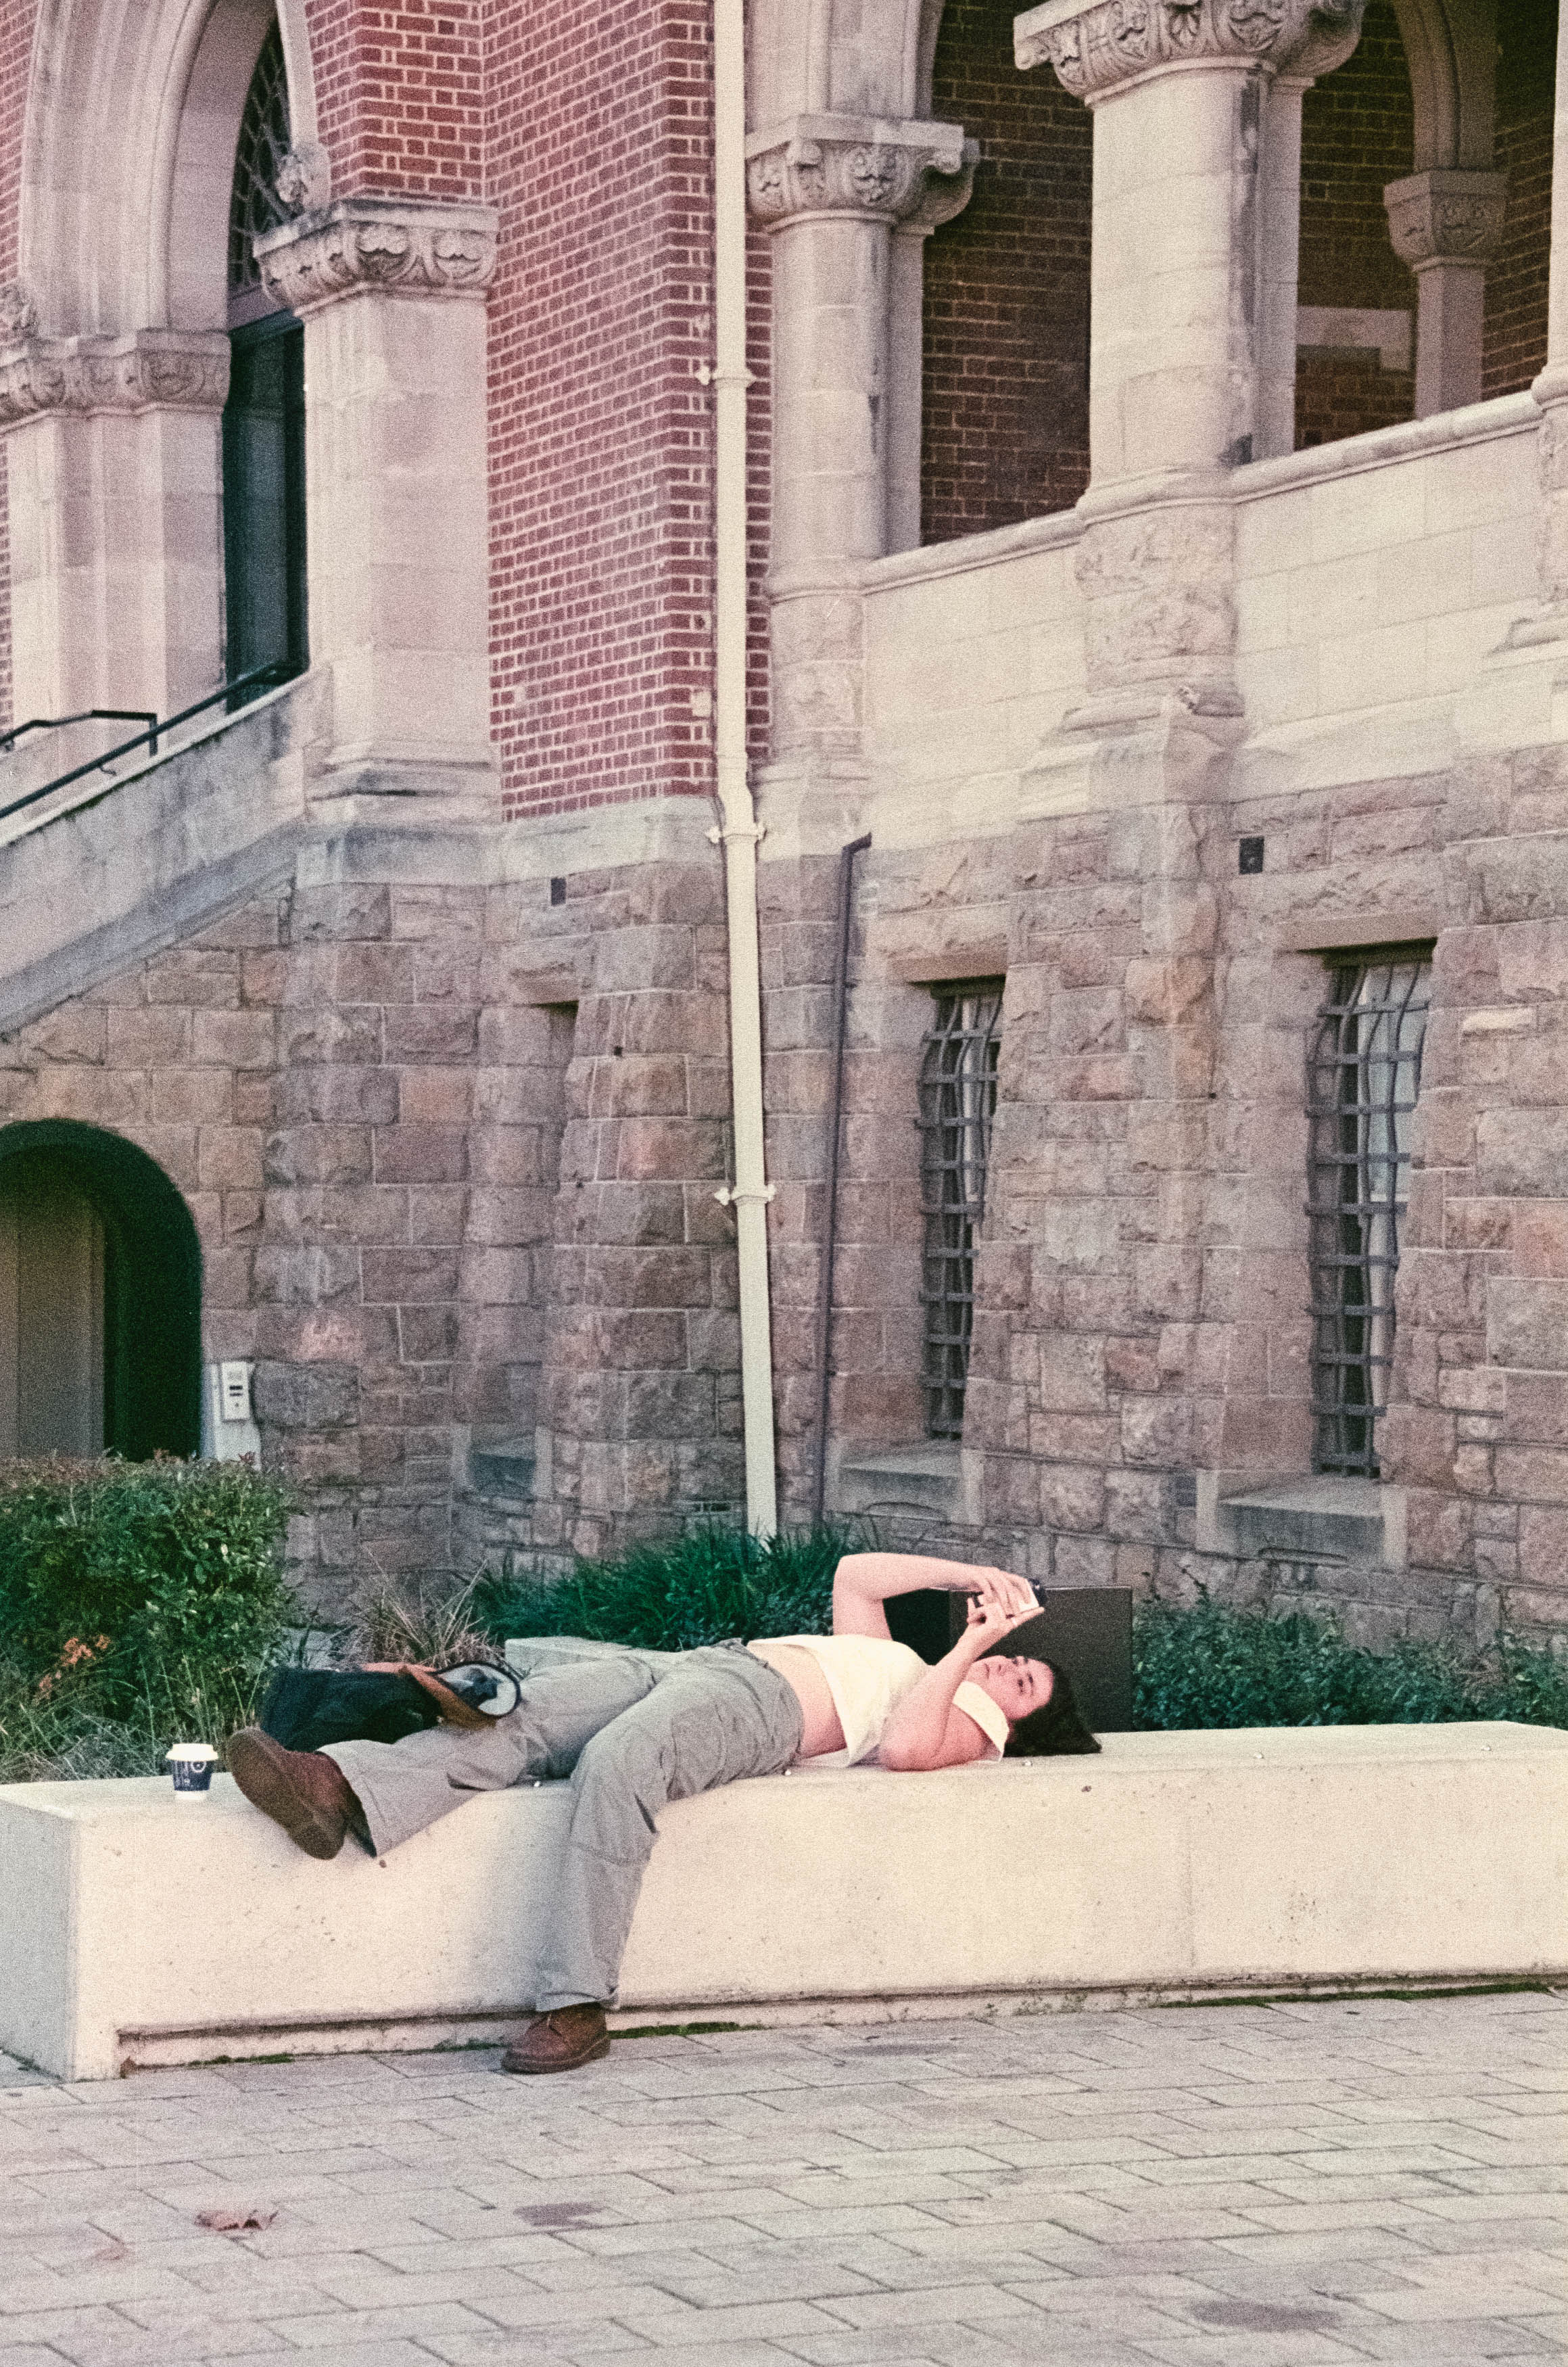
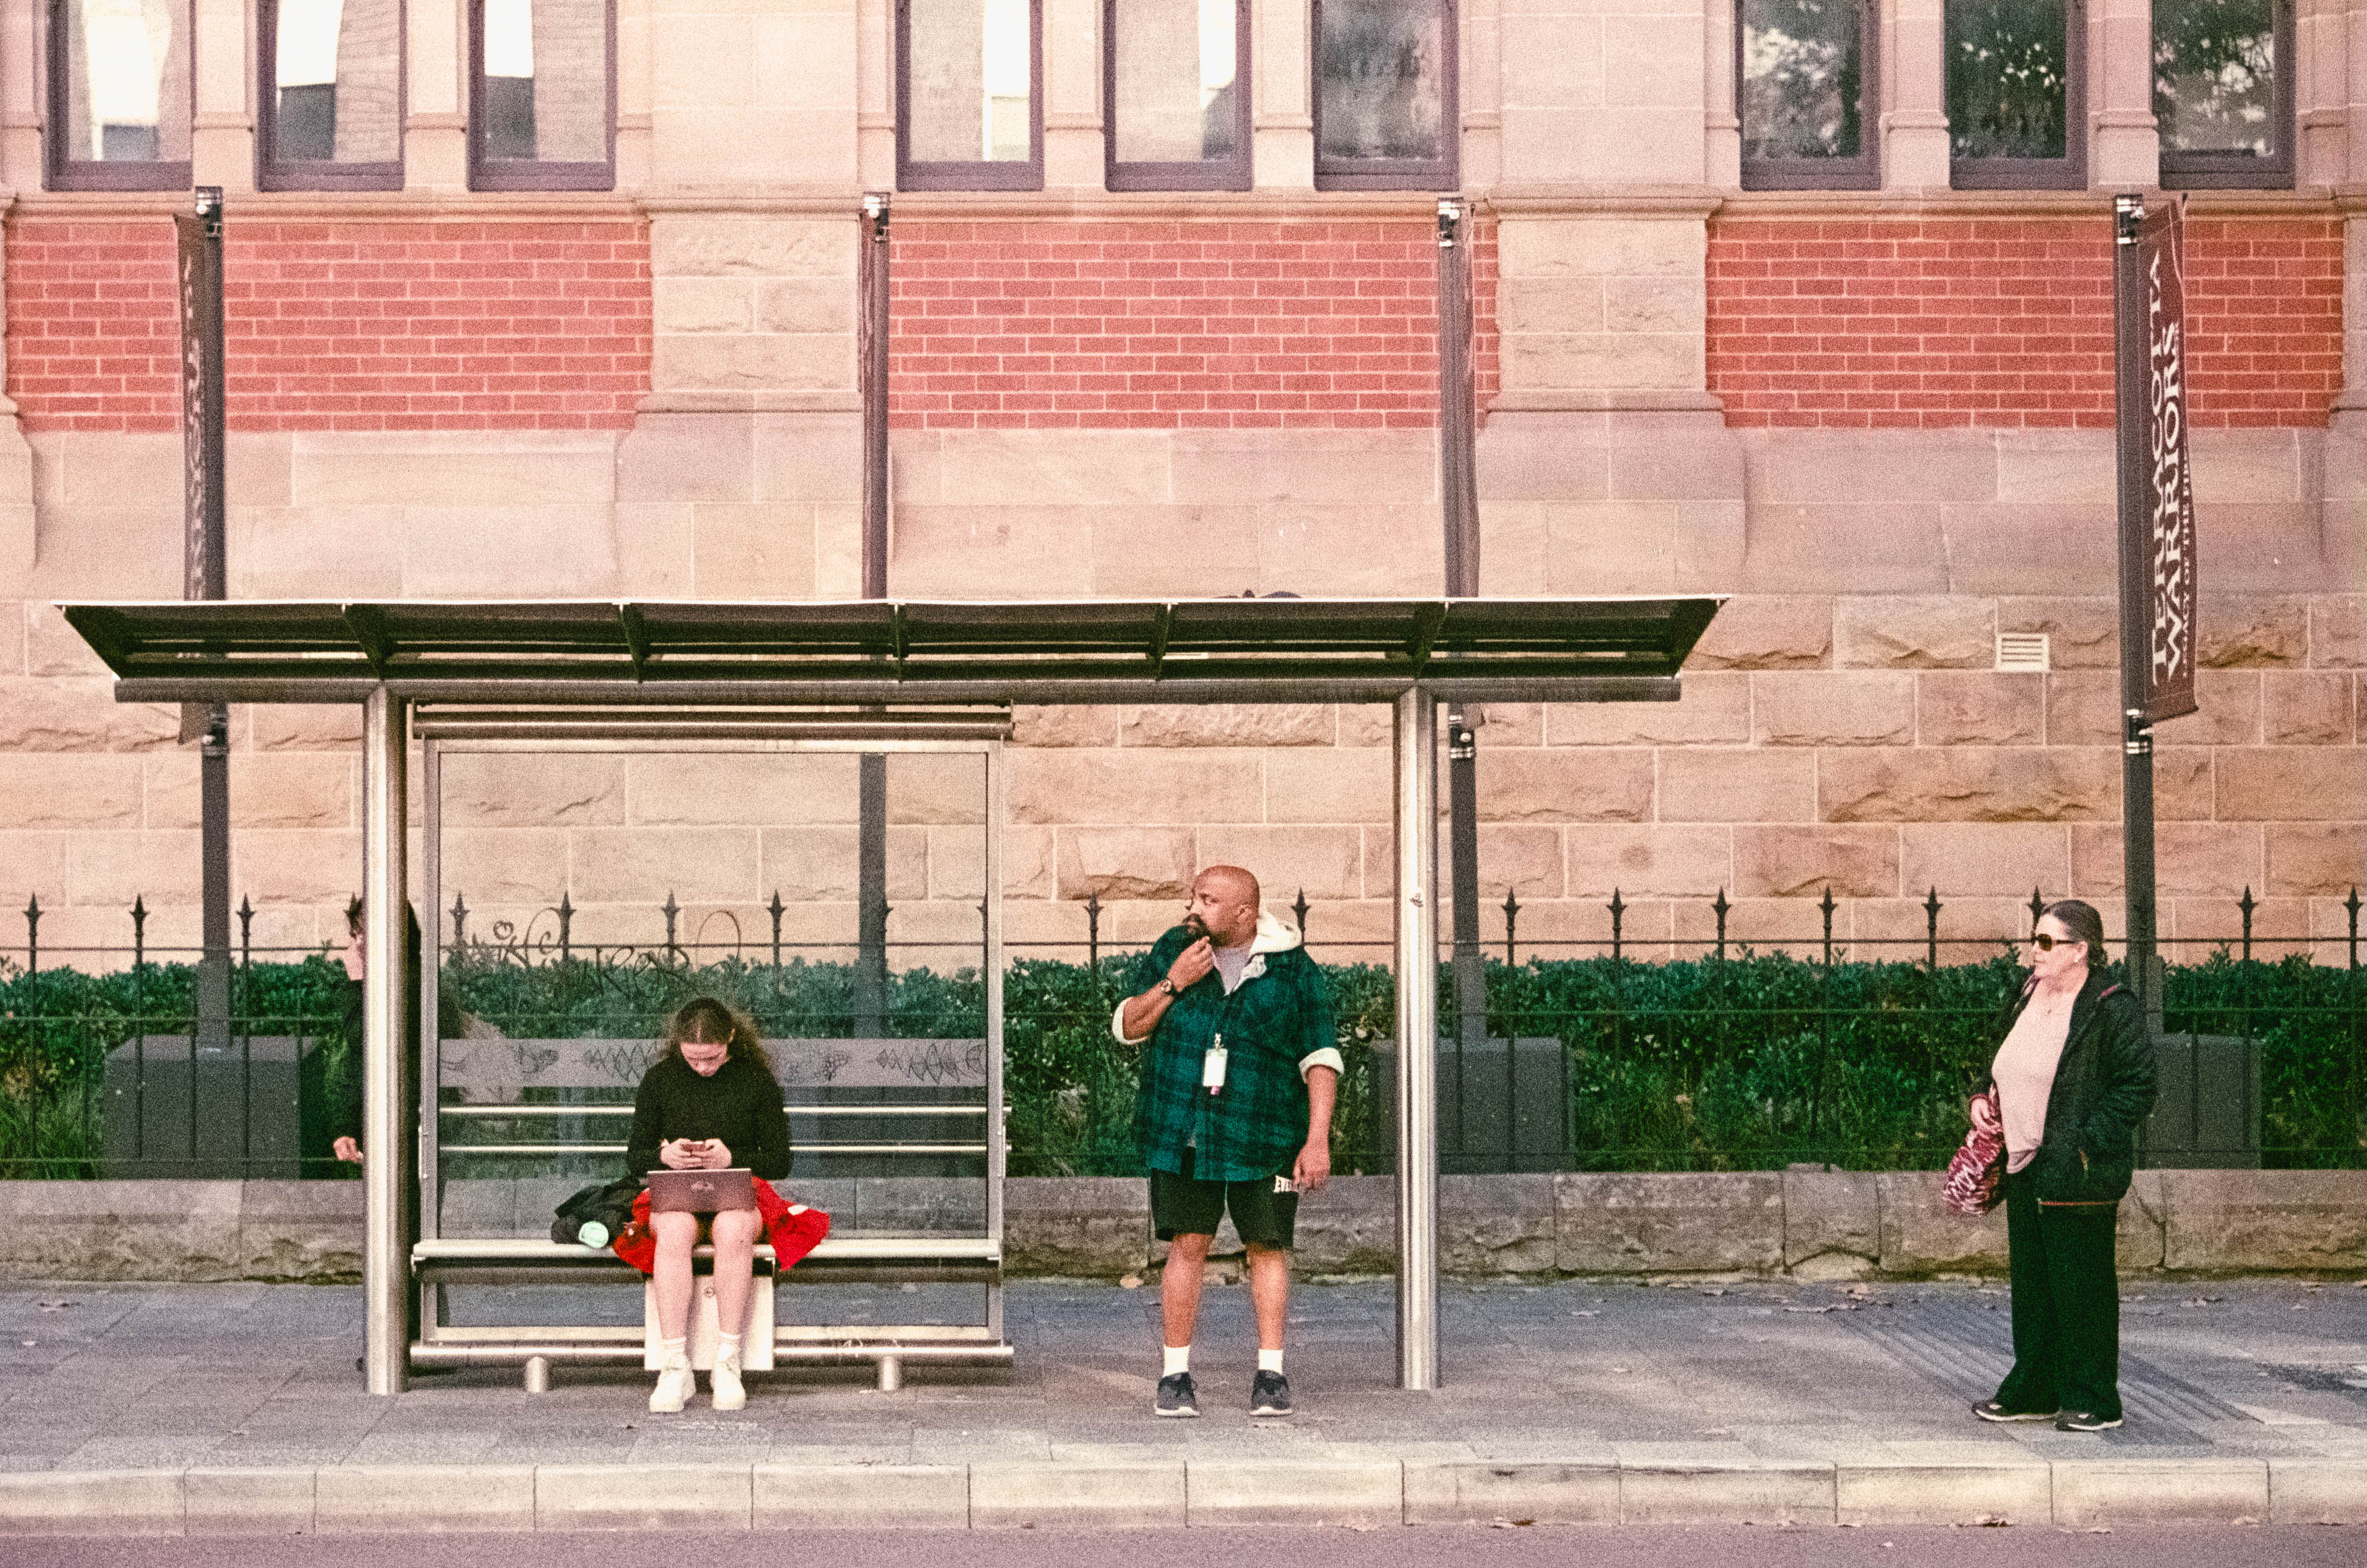
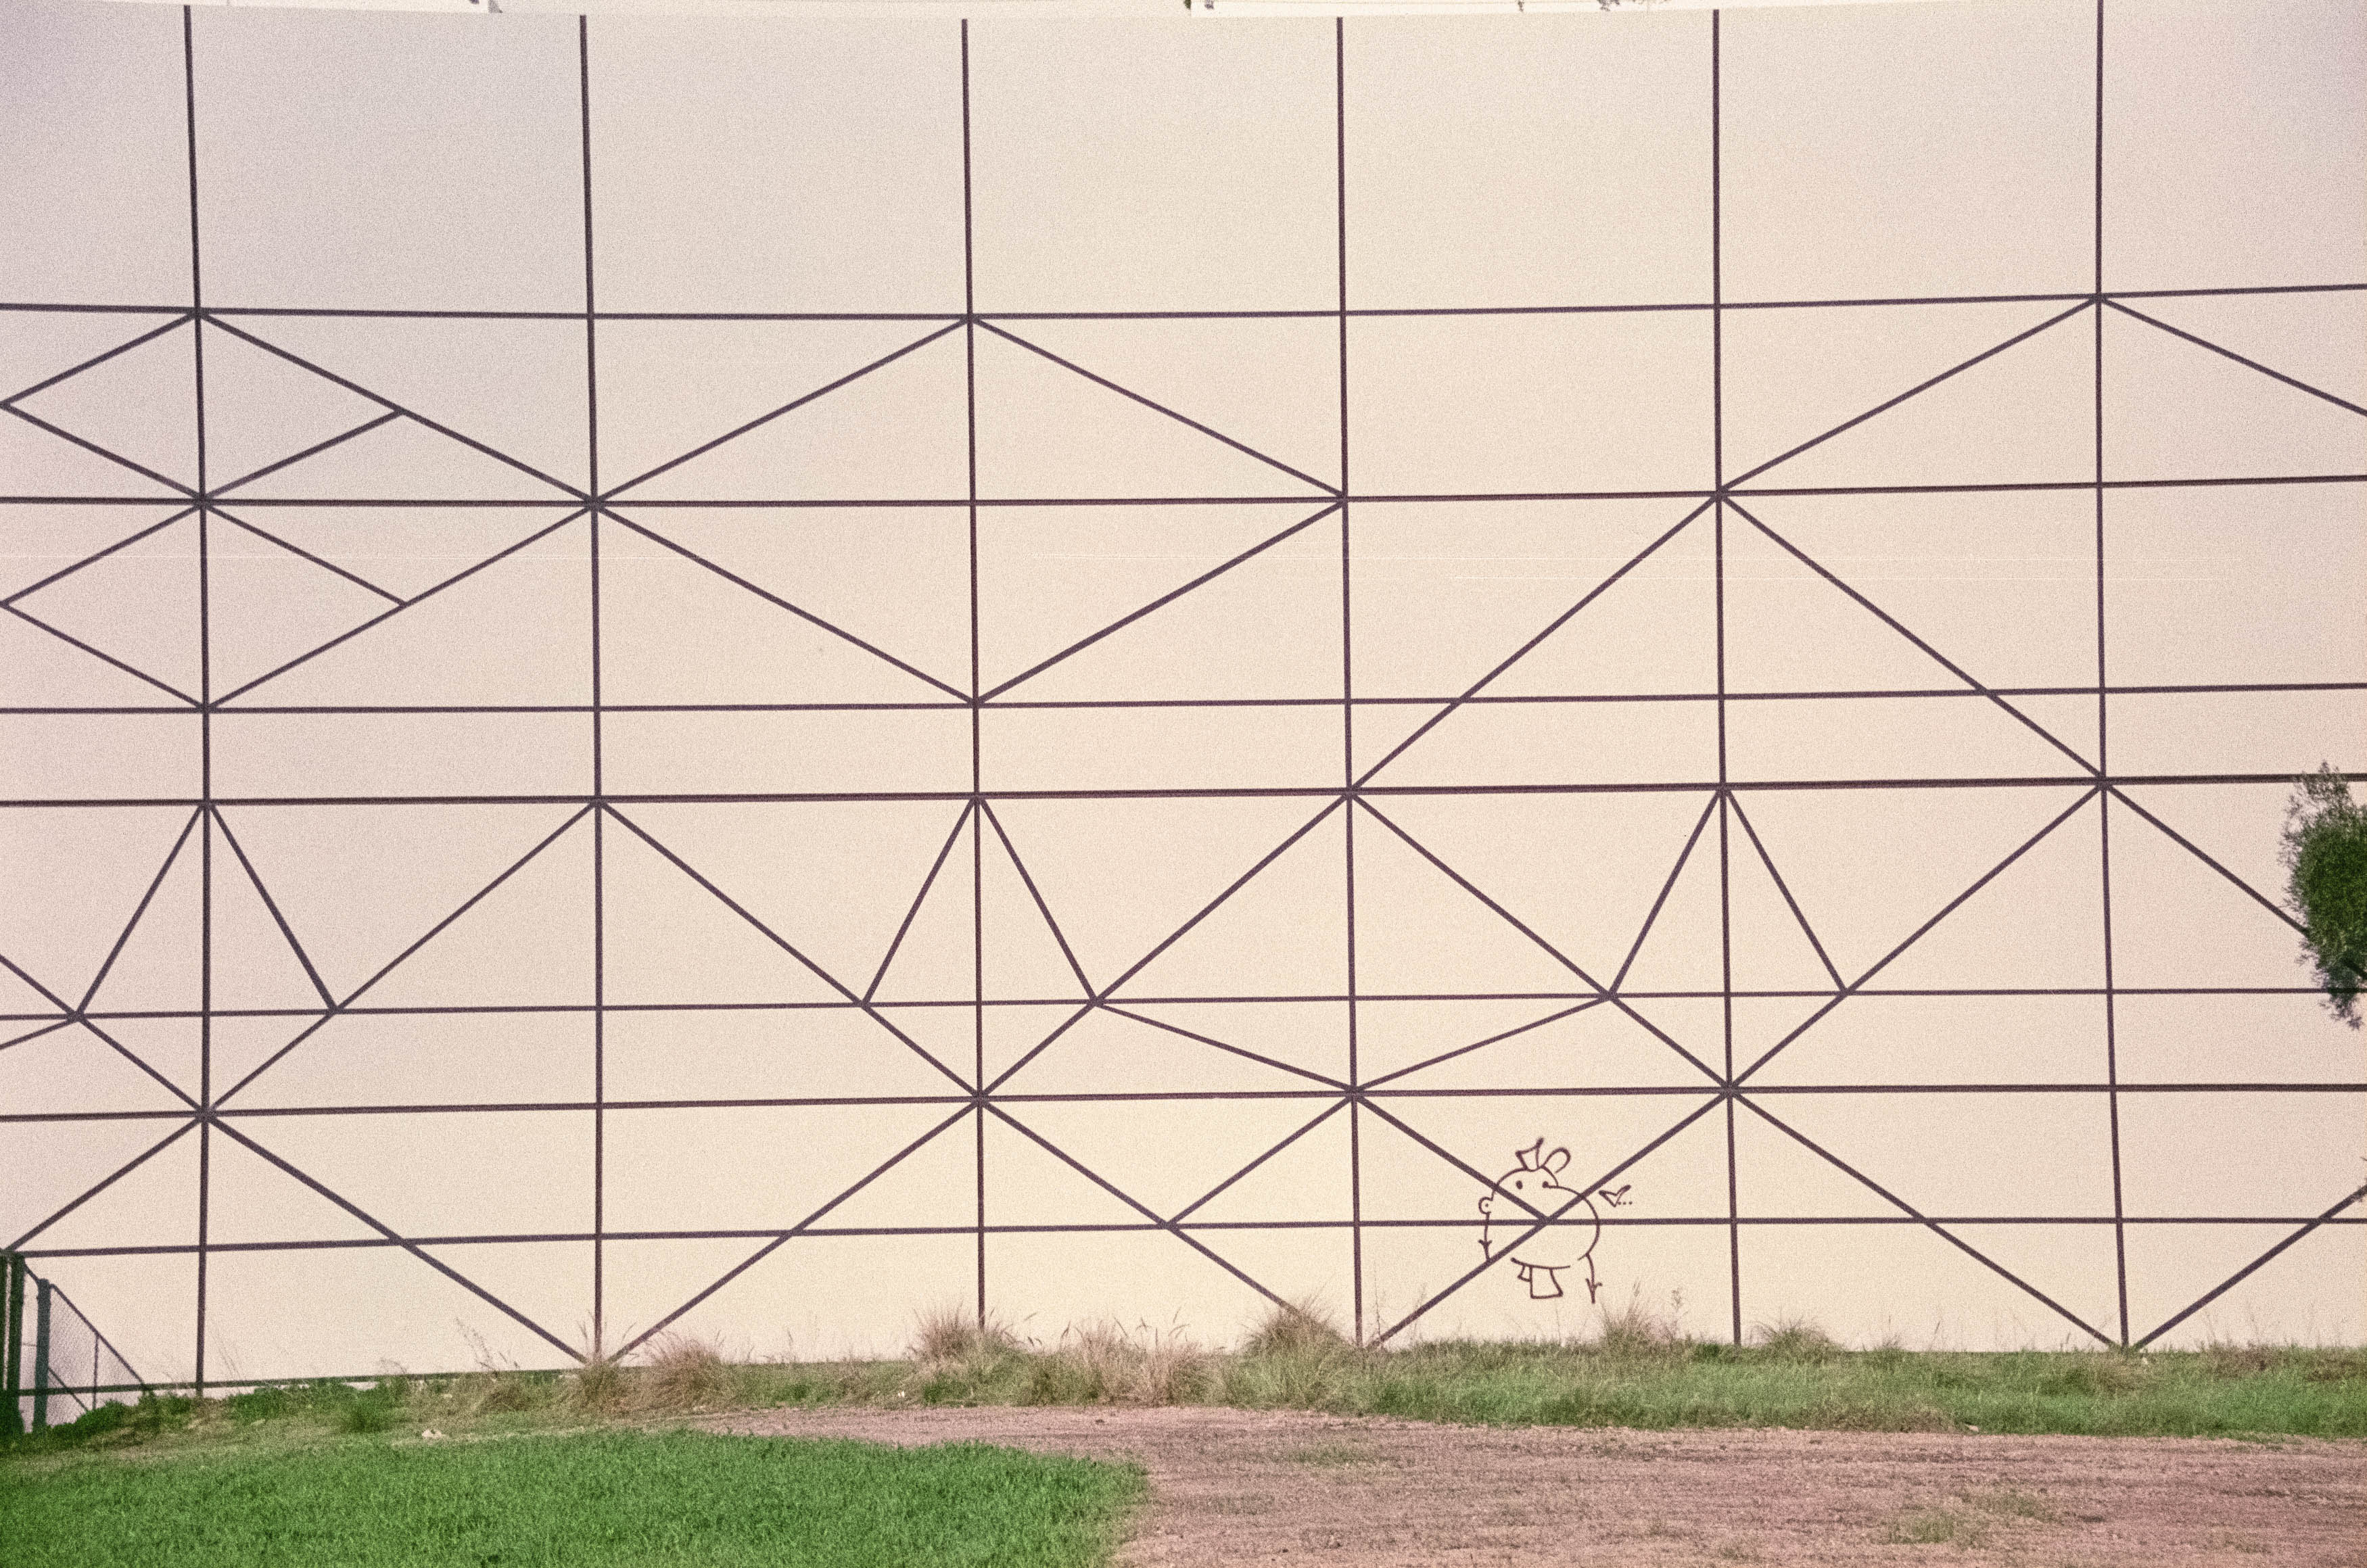
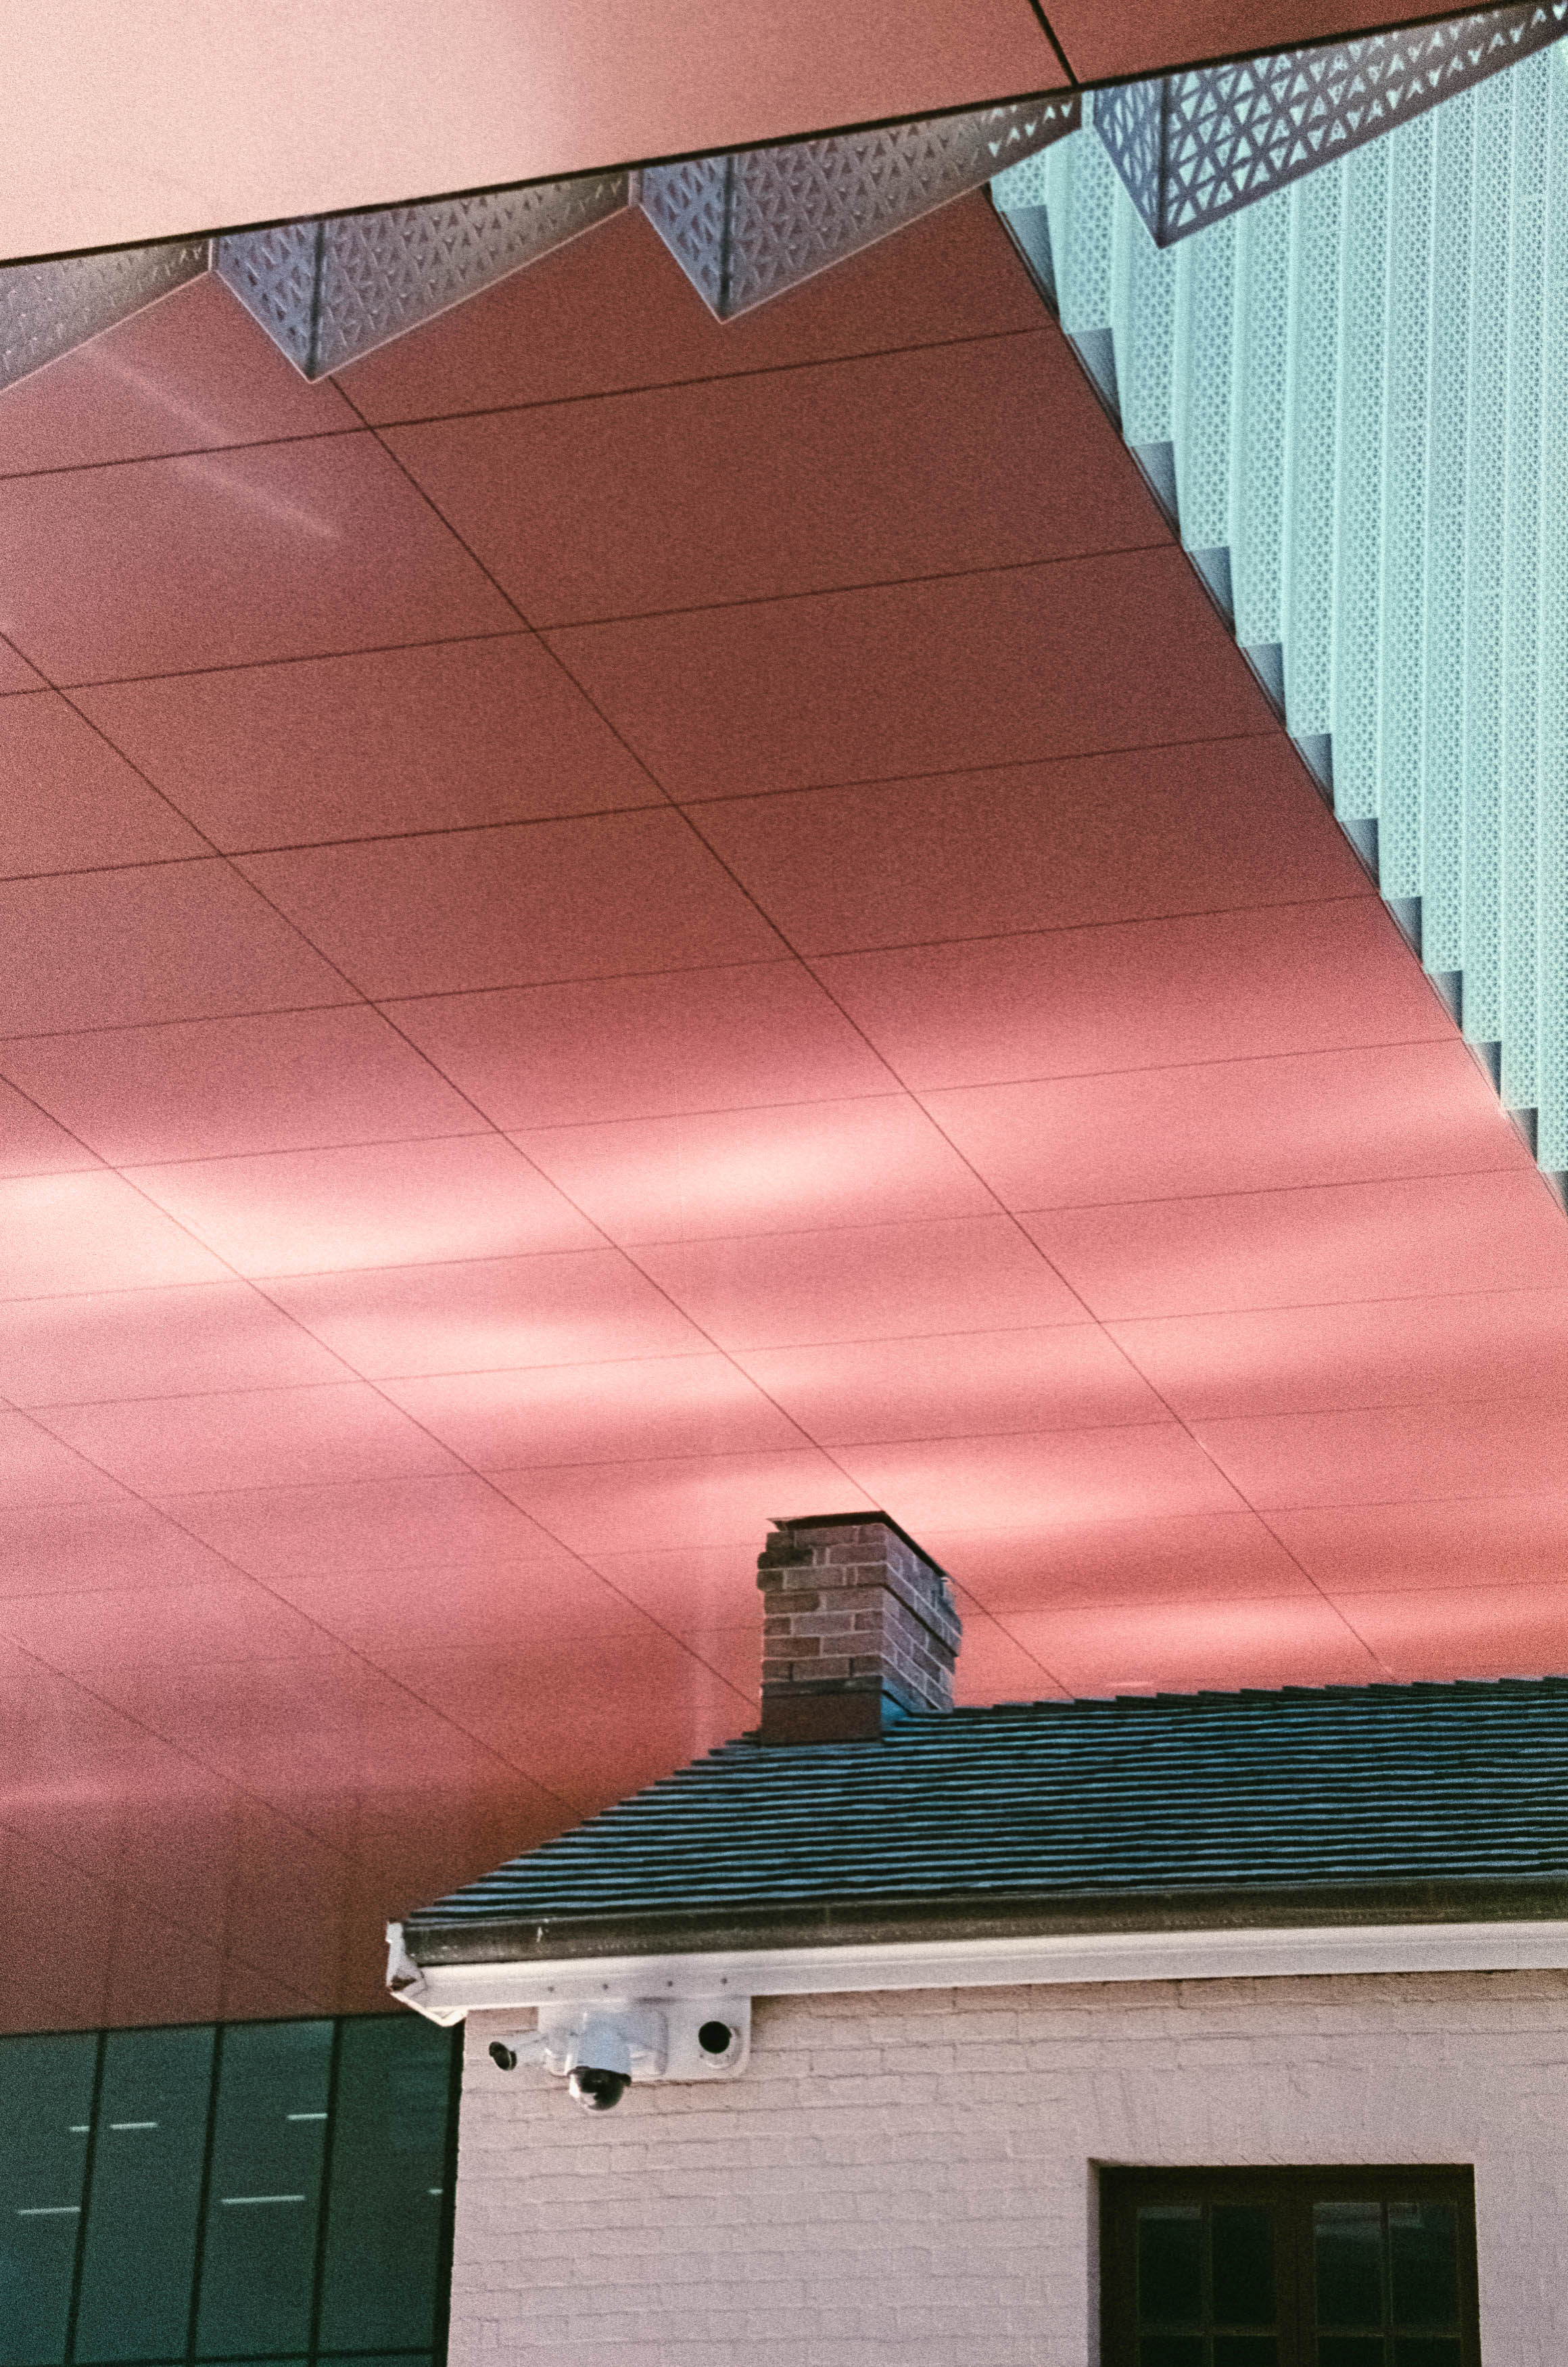
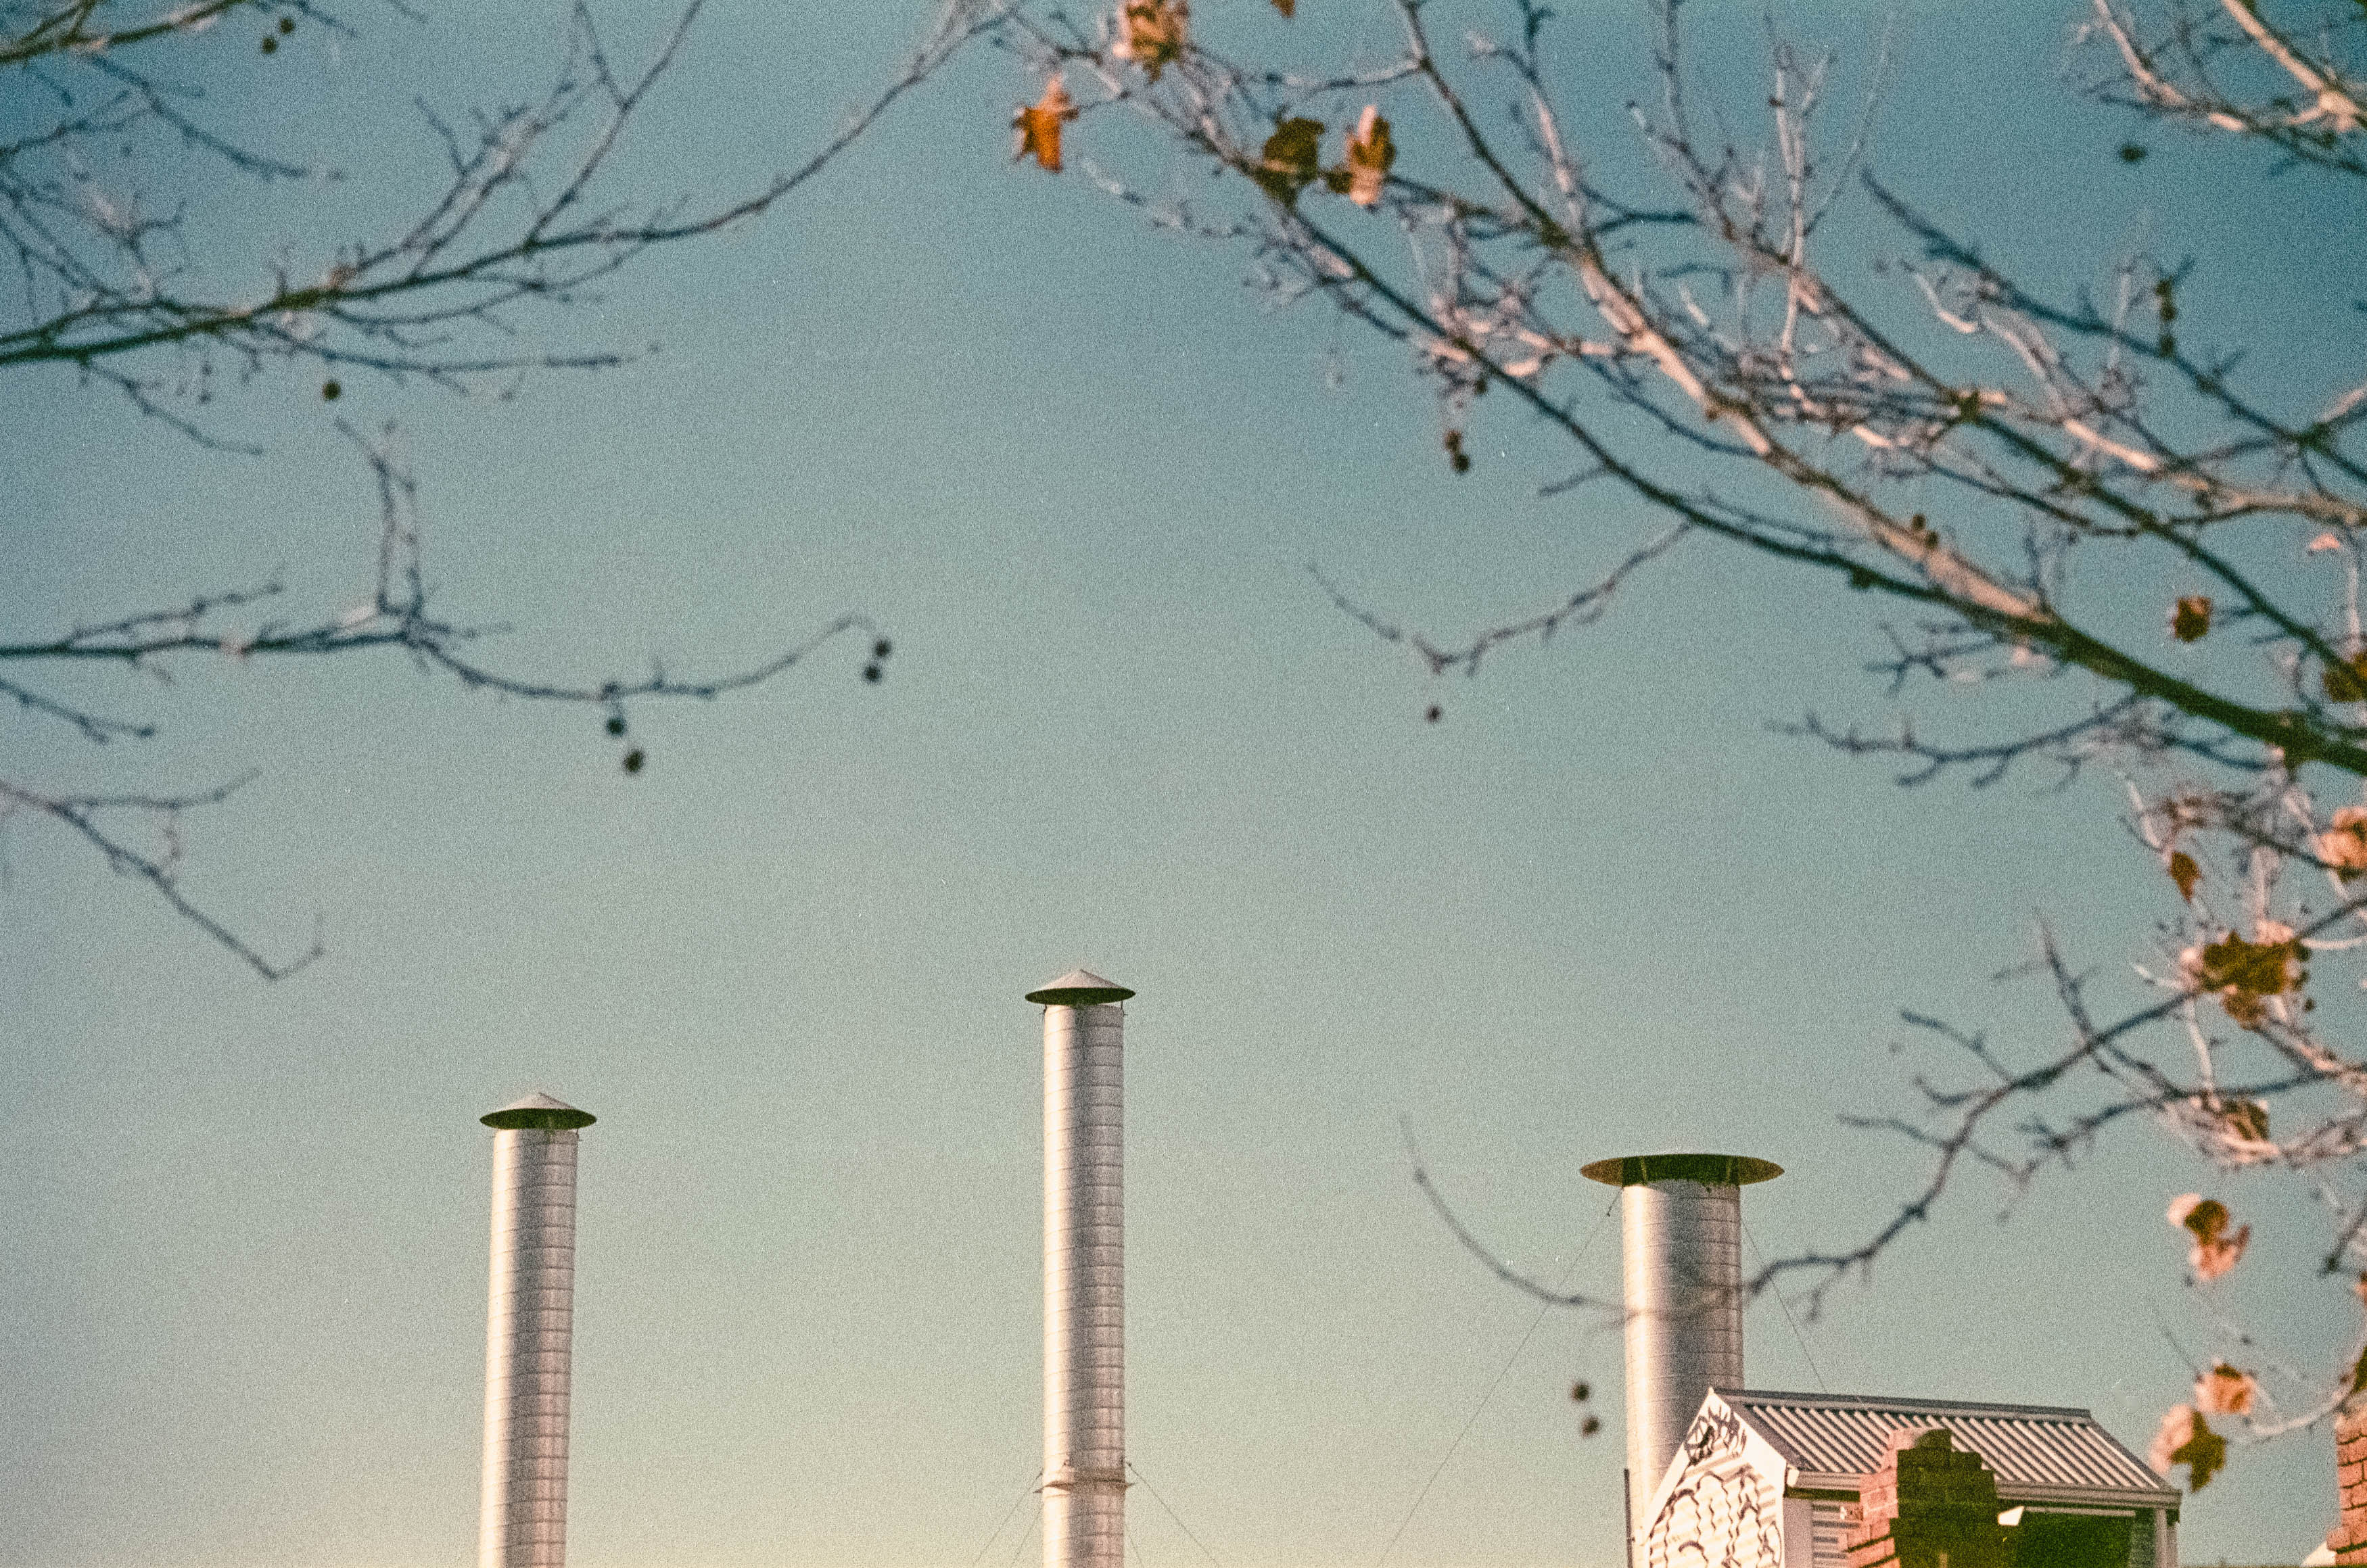
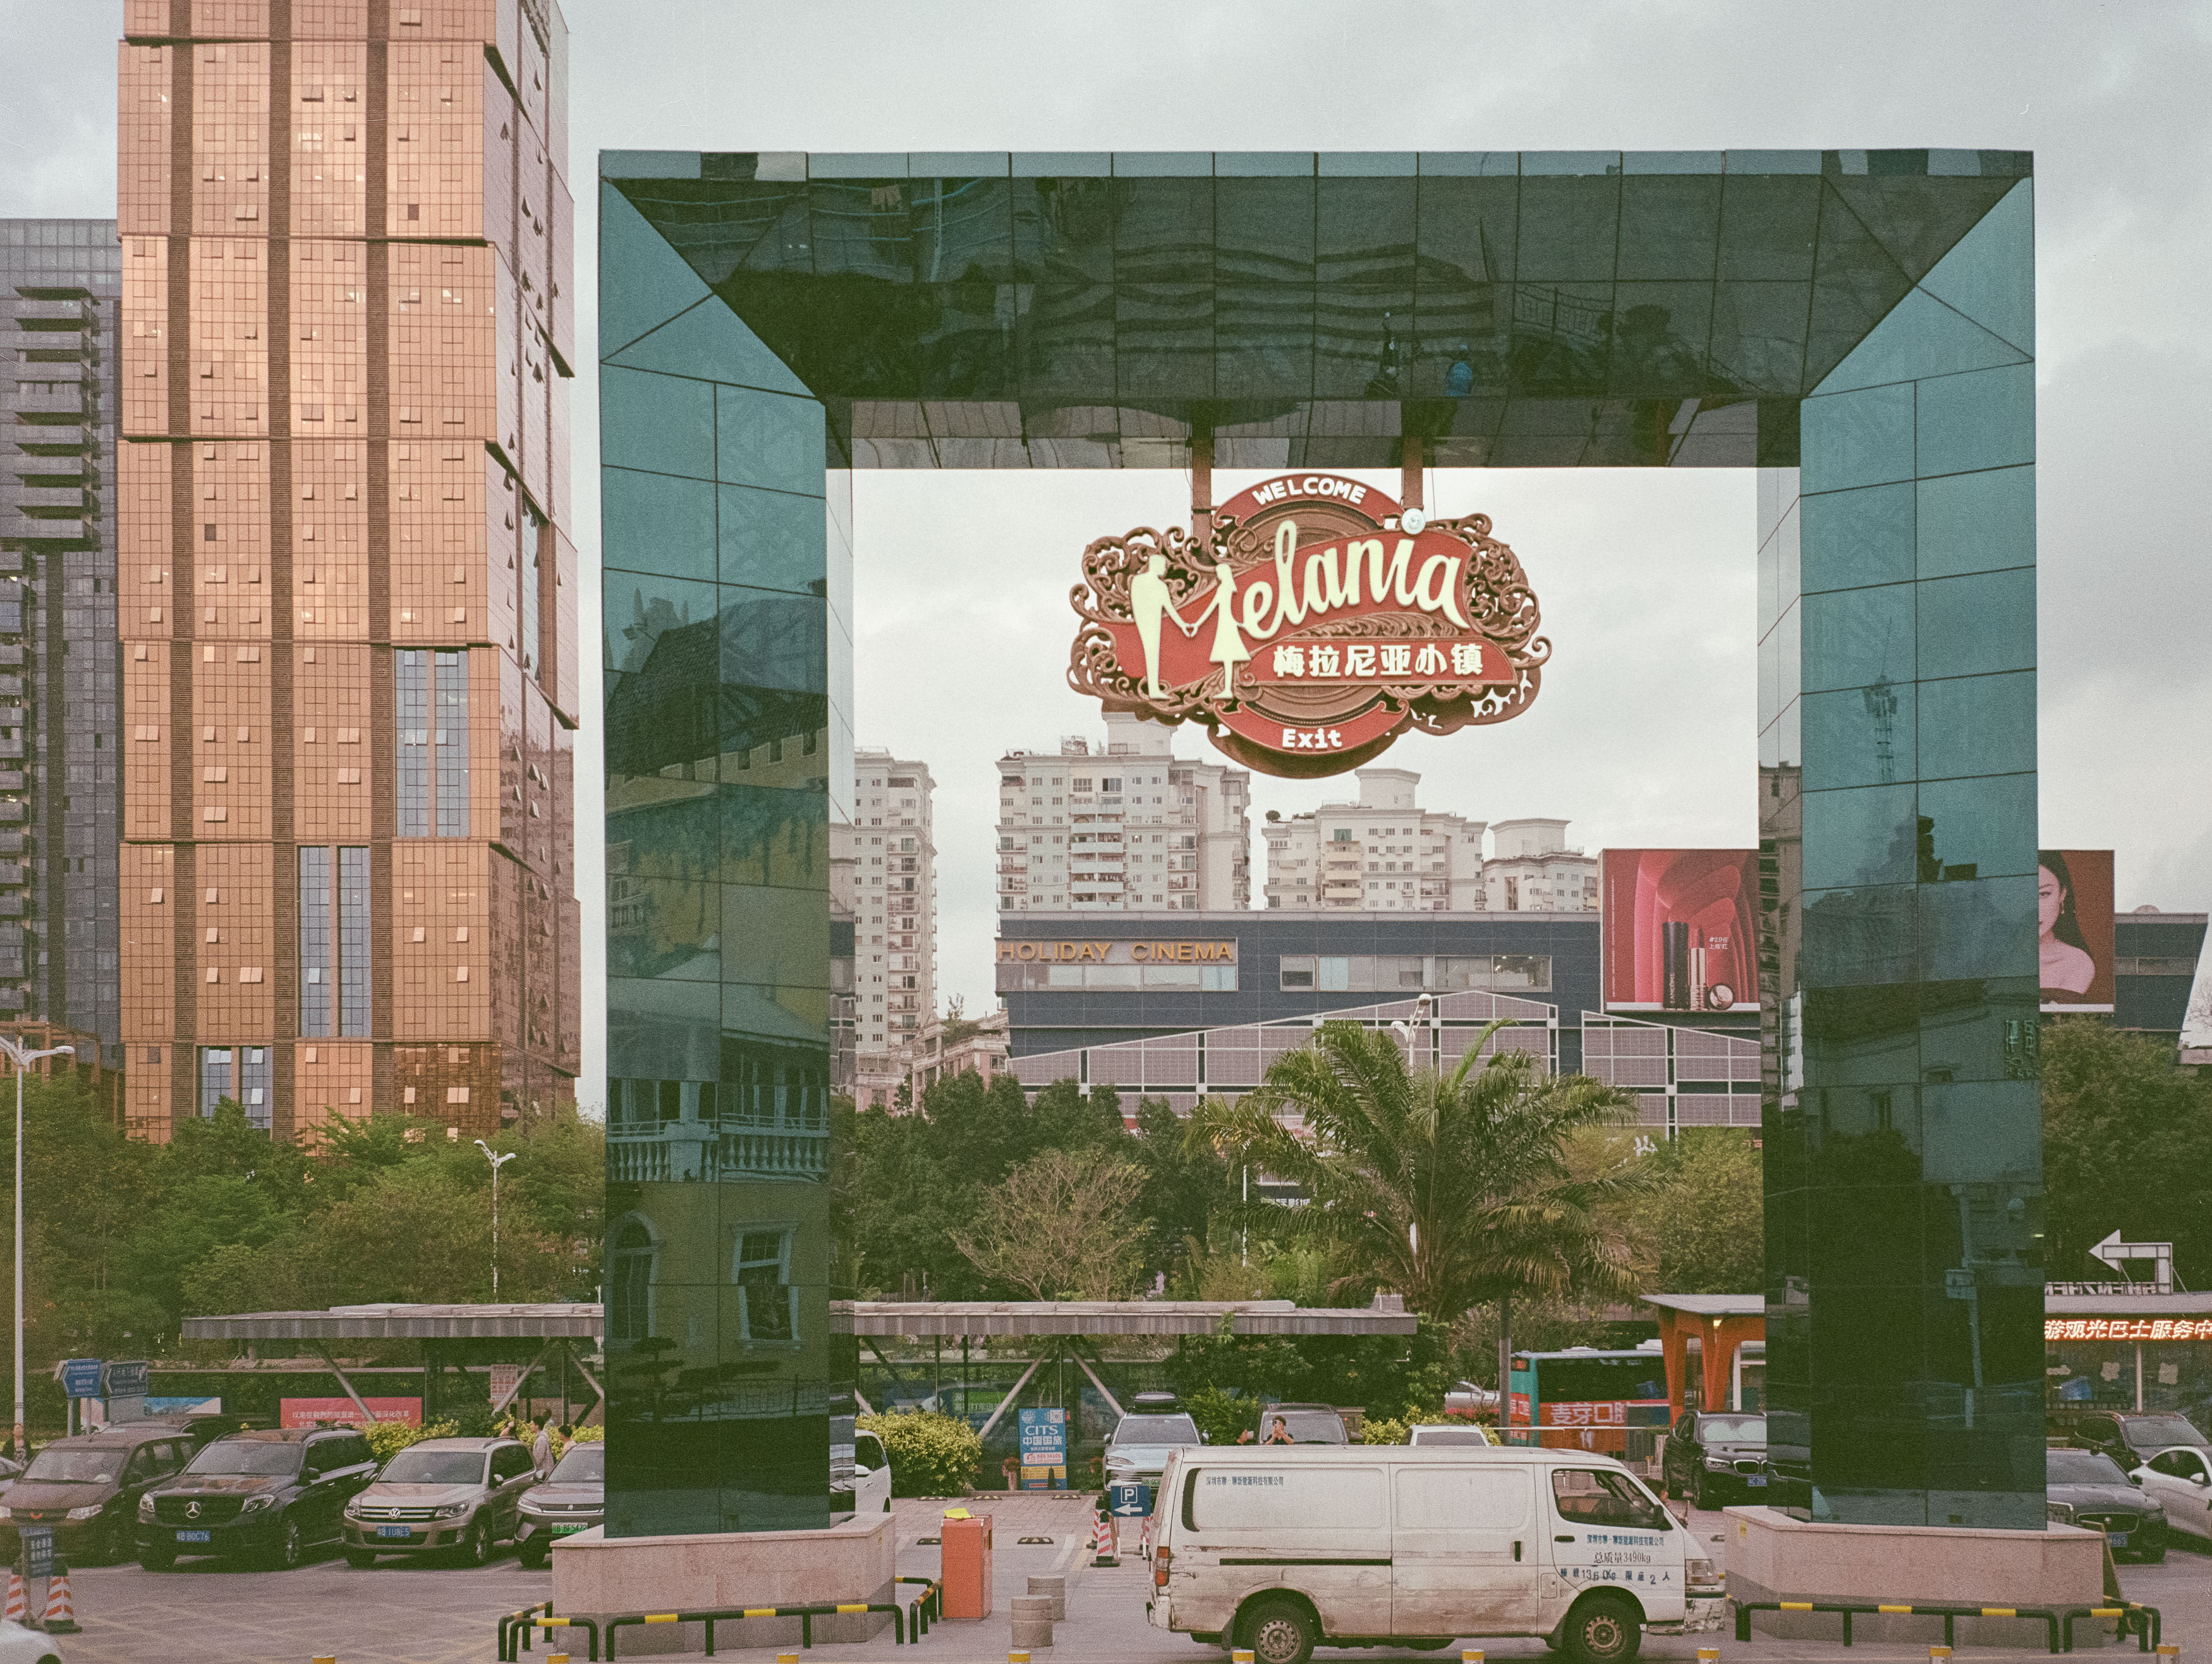
After two rolls of HP5 pushed to ISO 800, I had enough photographs to judge the lens on its own terms. The results weren’t technically impressive in every respect, but they were far from useless. The busier street scenes generally worked best, with people becoming part of the environment rather than isolated subjects. I particularly liked balanced compositions where anonymous figures contributed to the scene and the lighting did more of the work than sharpness ever could. Even a railway crossing proved difficult to resist, although railway crossings are practically cheating when it comes to street photography.

More Than the Sum of Its Parts

So, is the Nikon AF Nikkor 28mm f/2.8 a terrible lens? Optically, there are certainly reasons to criticise it. It’s soft at wider apertures, distortion can be troublesome, and shooting directly into the light reveals its limitations. If technical perfection is the goal, there are better options, including Nikon’s more highly regarded manual-focus 28mm.

Yet I came away feeling more positive about this lens than its reputation might suggest. Once it was on the camera, I stopped worrying about its shortcomings and simply enjoyed taking photographs. I didn’t particularly mind the results either, which is not always something I can say about my own work.
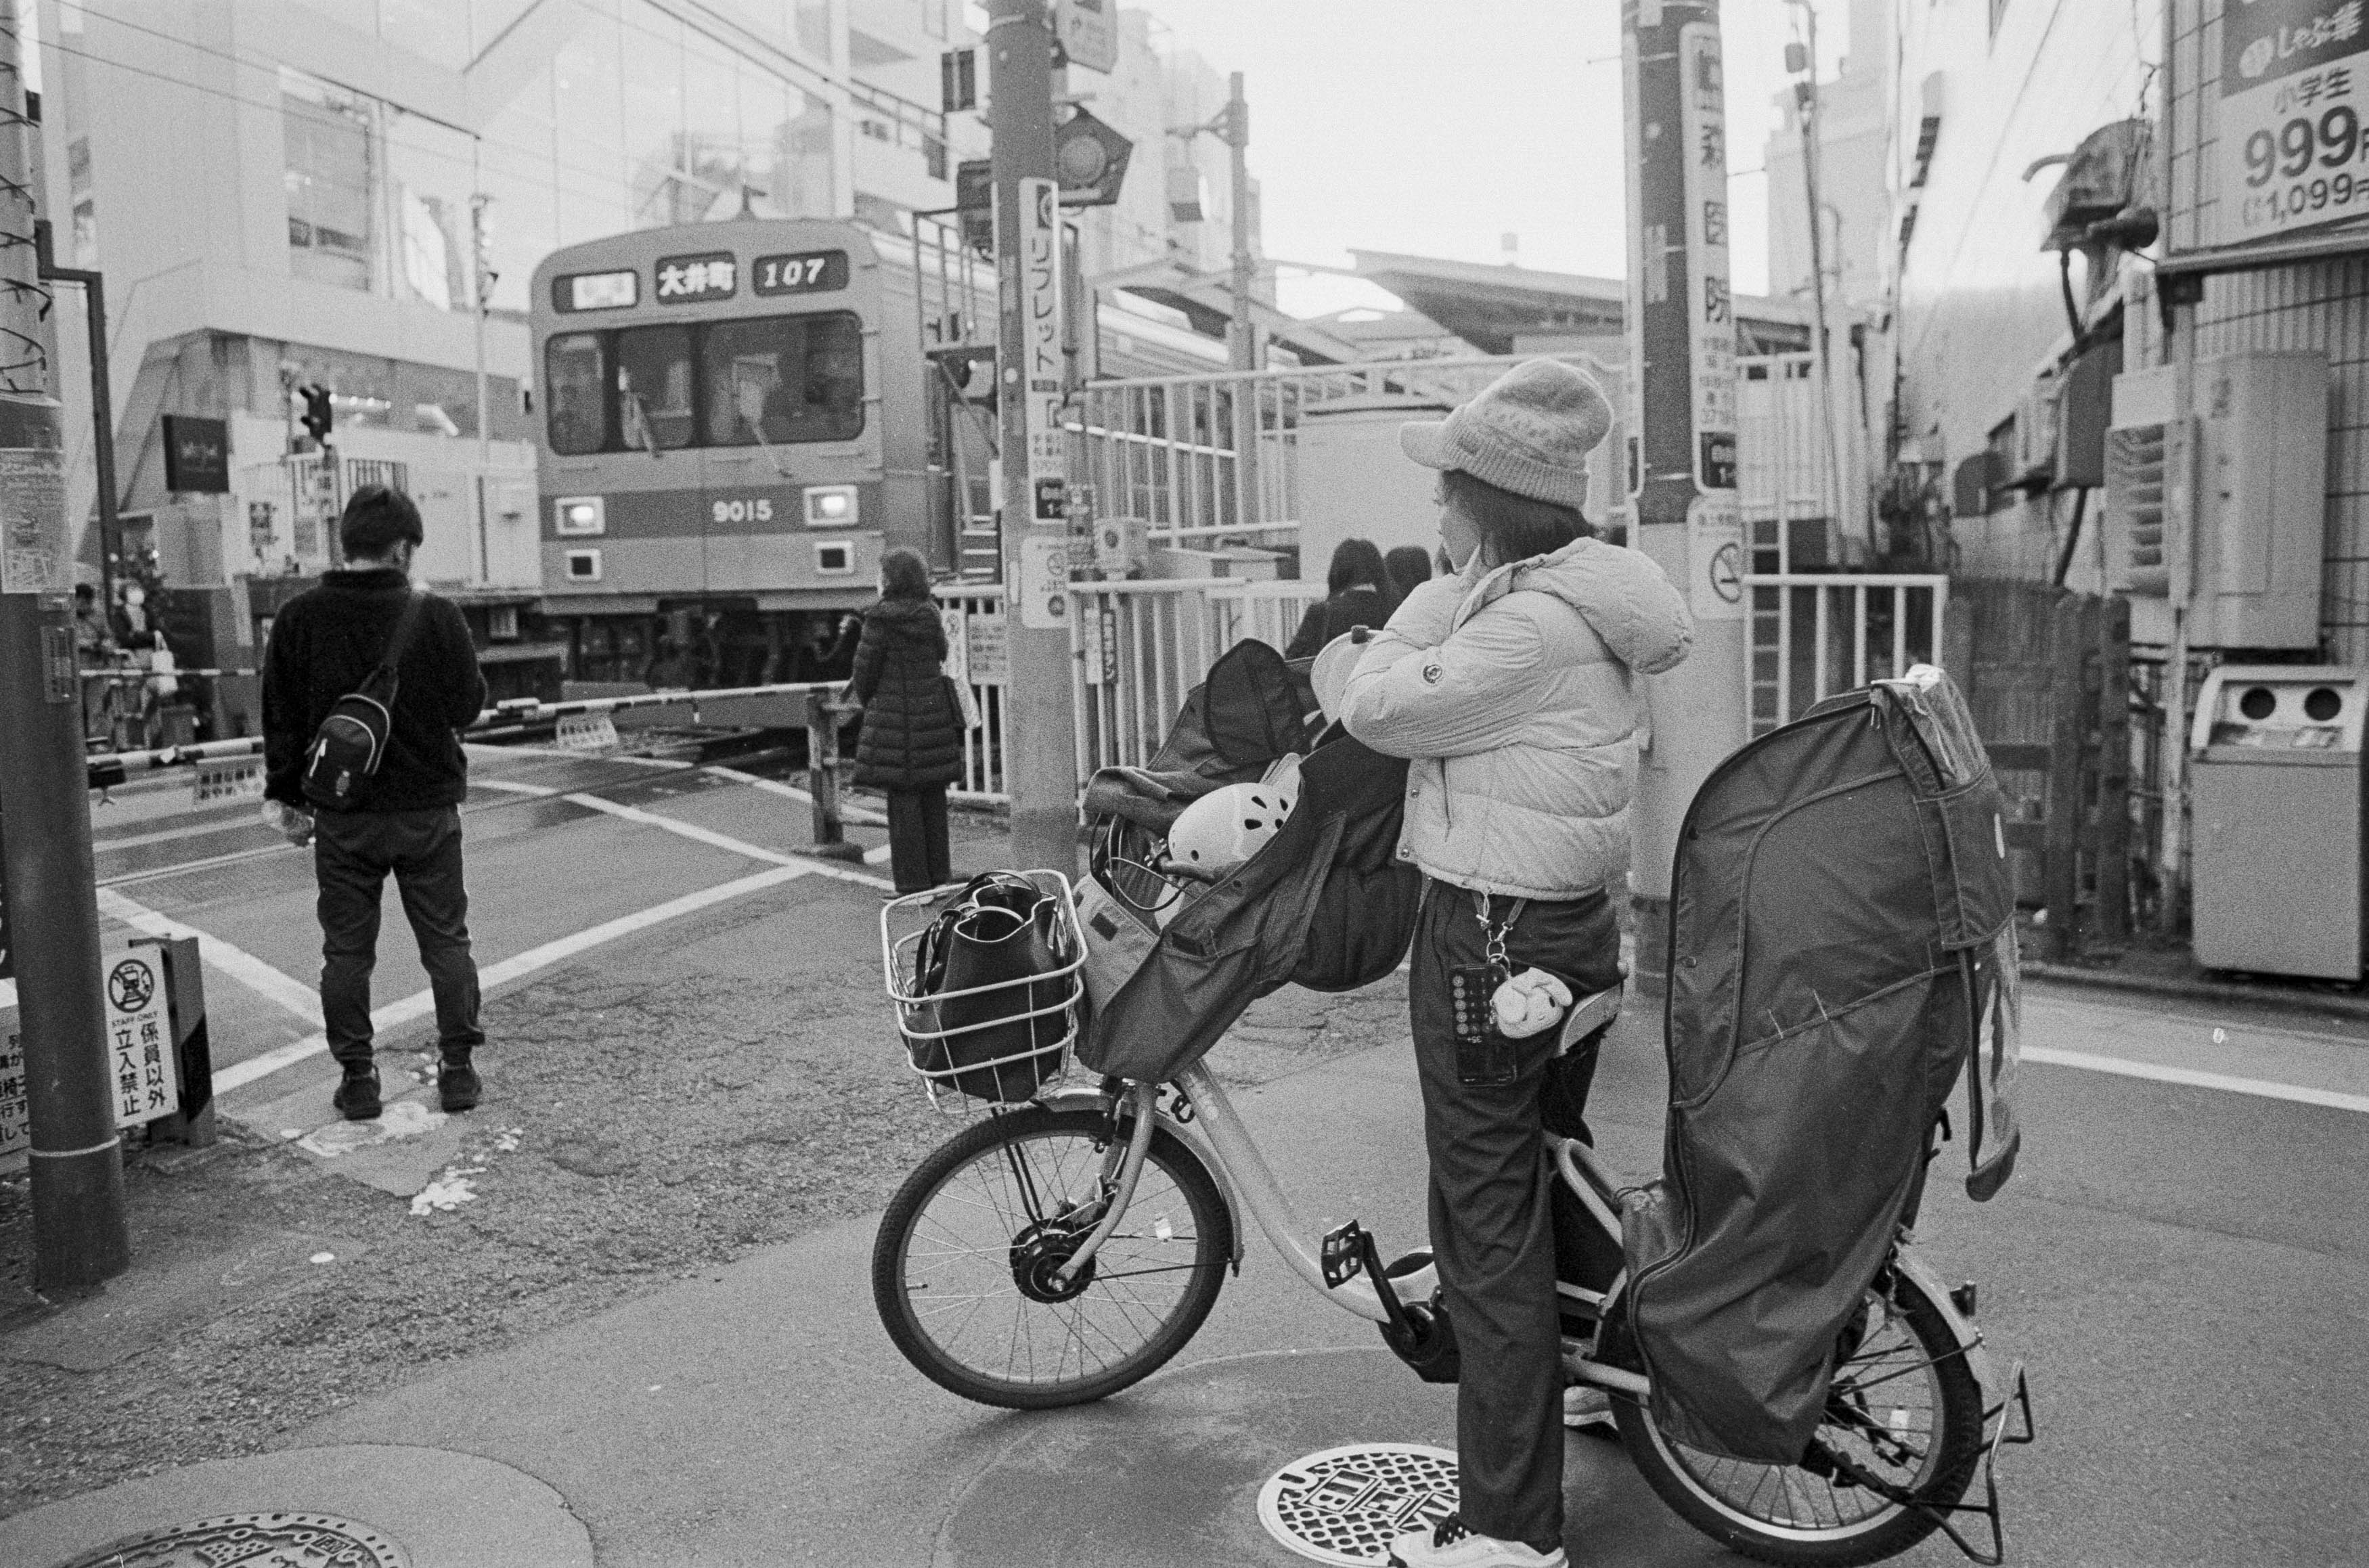
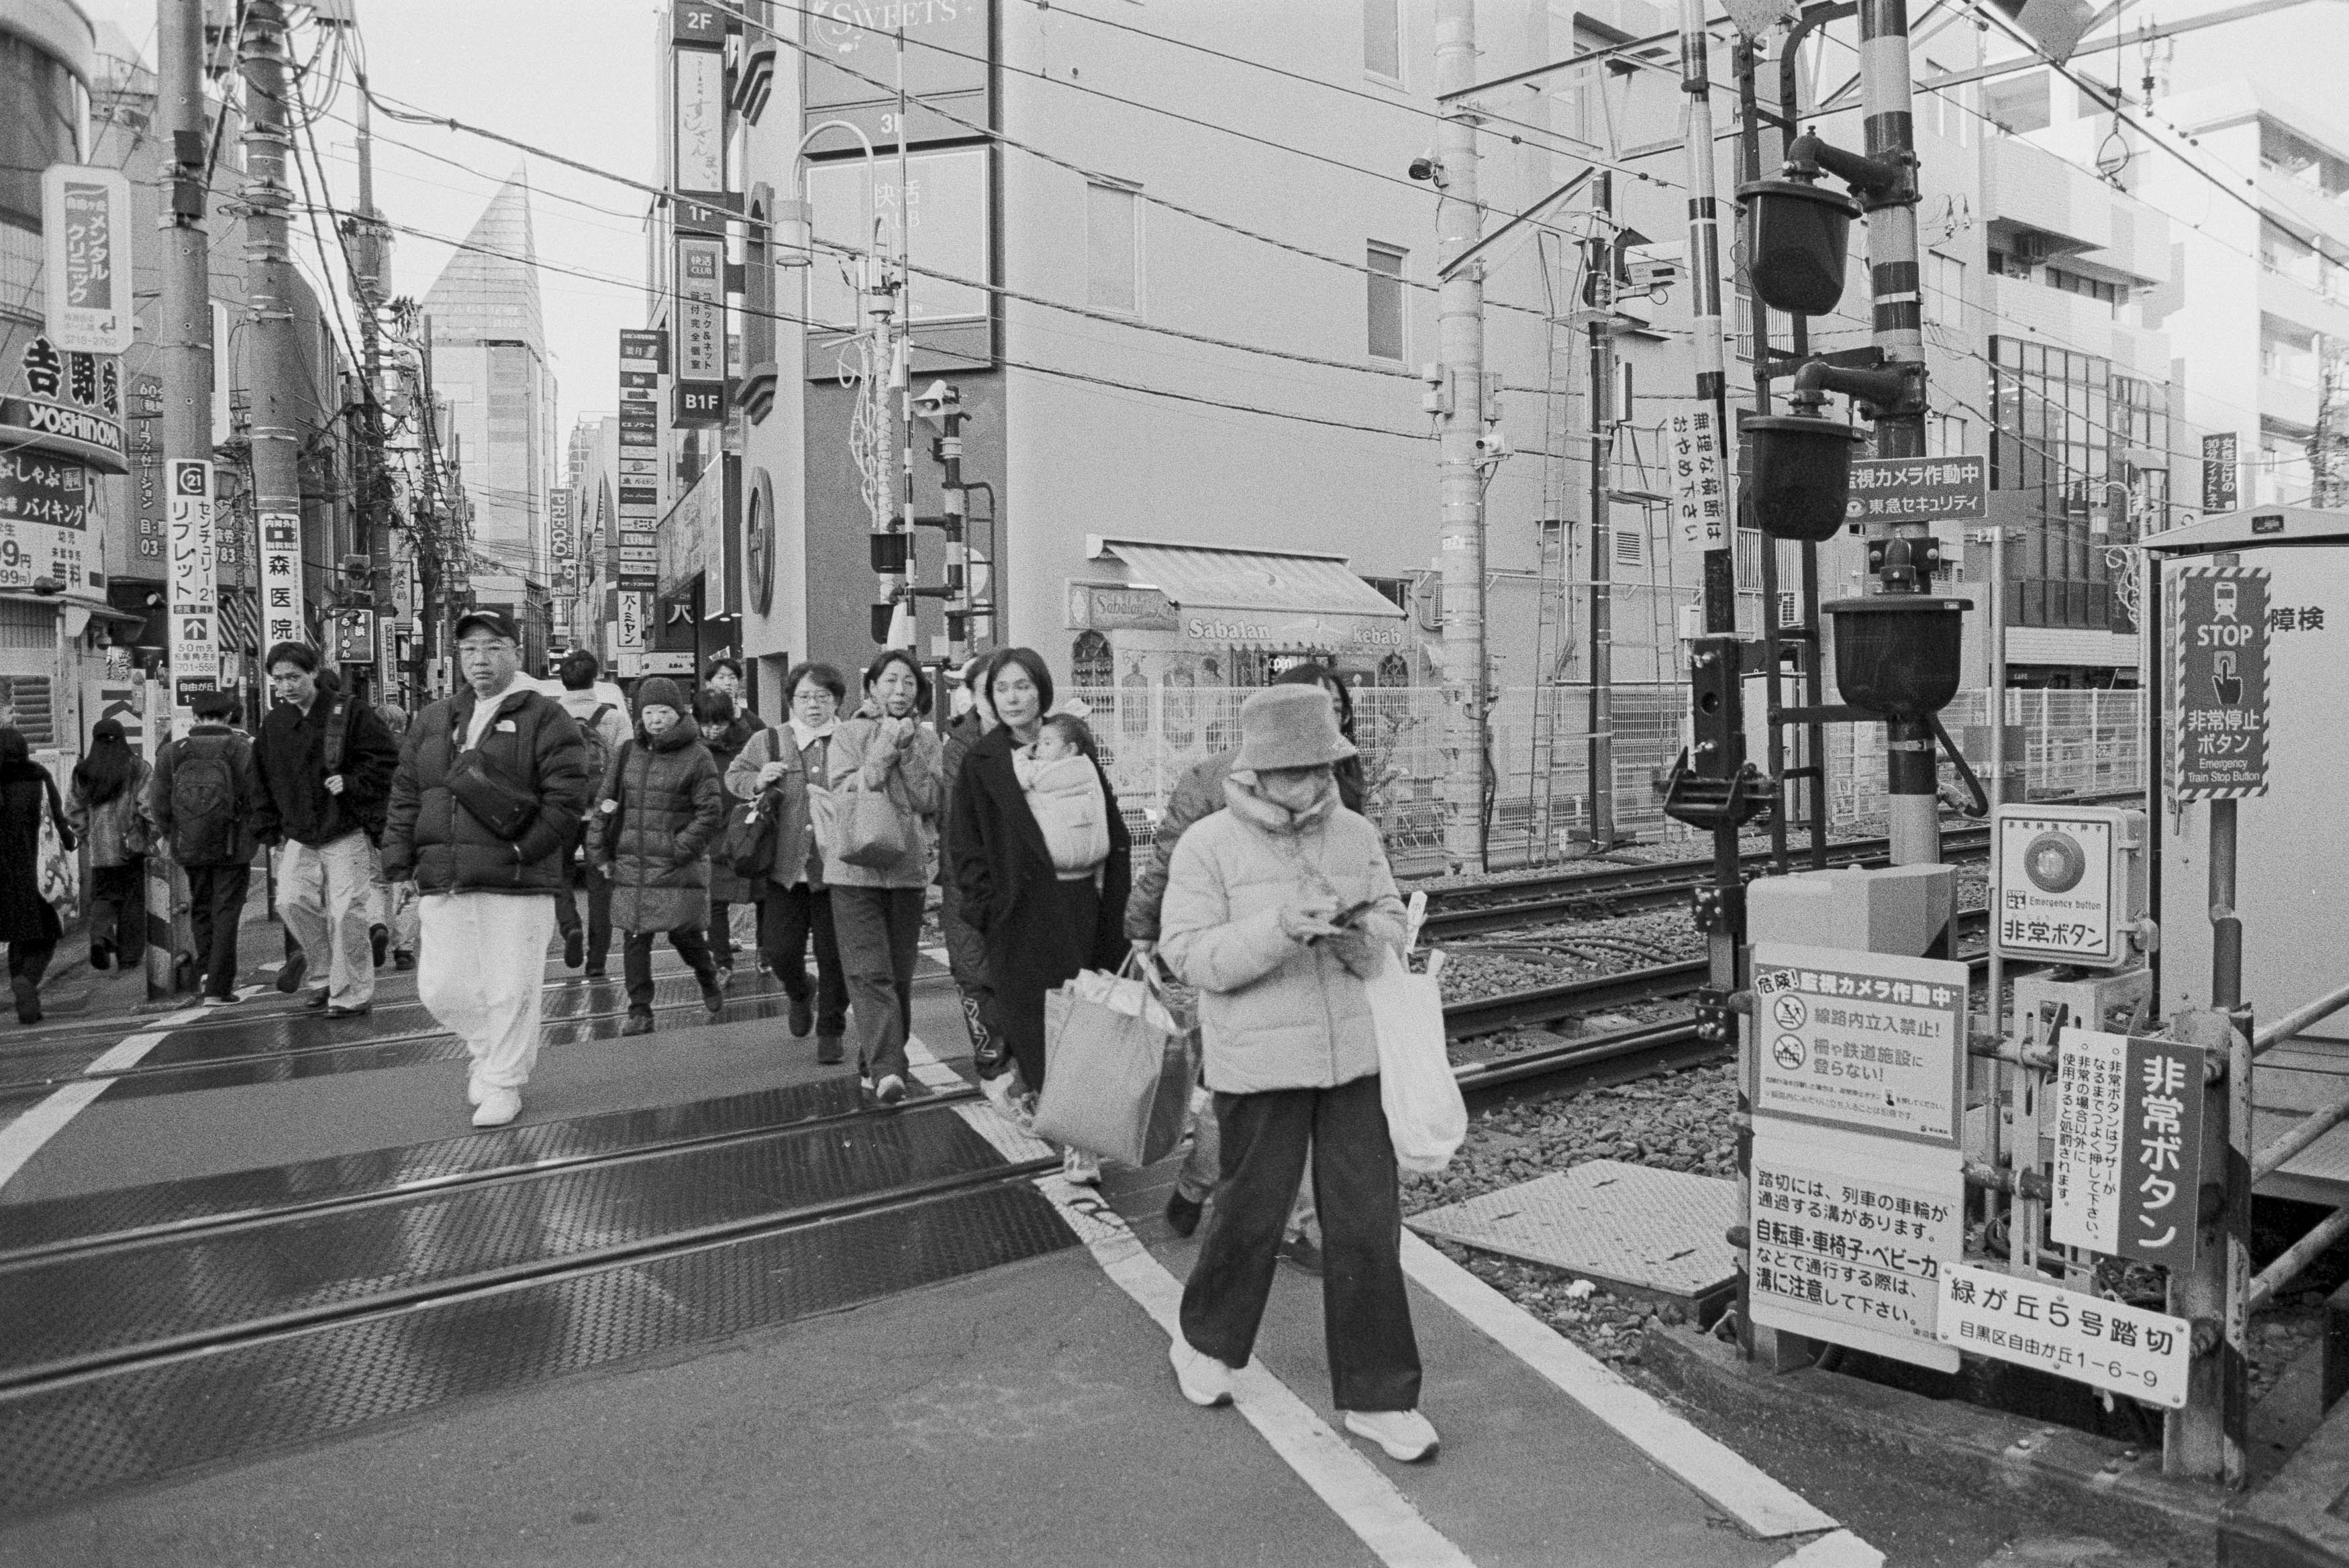
The photos here are evidence that a lens can be imperfect and still produce images worth looking at. Its limitations became part of the experience rather than a reason to abandon it, and the occasional flare or softness could even contribute to a photograph’s character.

We spend a great deal of time comparing specifications, counting optical elements and deciding which lenses deserve our approval. Those things matter, but they don’t always tell us whether we’ll enjoy using a lens or whether it will help us make photographs we like. The AF 28mm f/2.8 may not be Nikon’s finest wide-angle design, but it proved to be an agreeable companion on the streets of Tokyo.

I wouldn’t recommend it as a miracle bargain or pretend its flaws don’t exist. I would, however, suggest that it deserves more consideration than its reputation allows. Sometimes an unassuming, imperfect lens is enough to get you out taking photographs, and that’s a more useful quality than a perfect set of laboratory results. I’ll probably take this one out again, along with the other questionable cameras and lenses that seem to find their way into my collection.
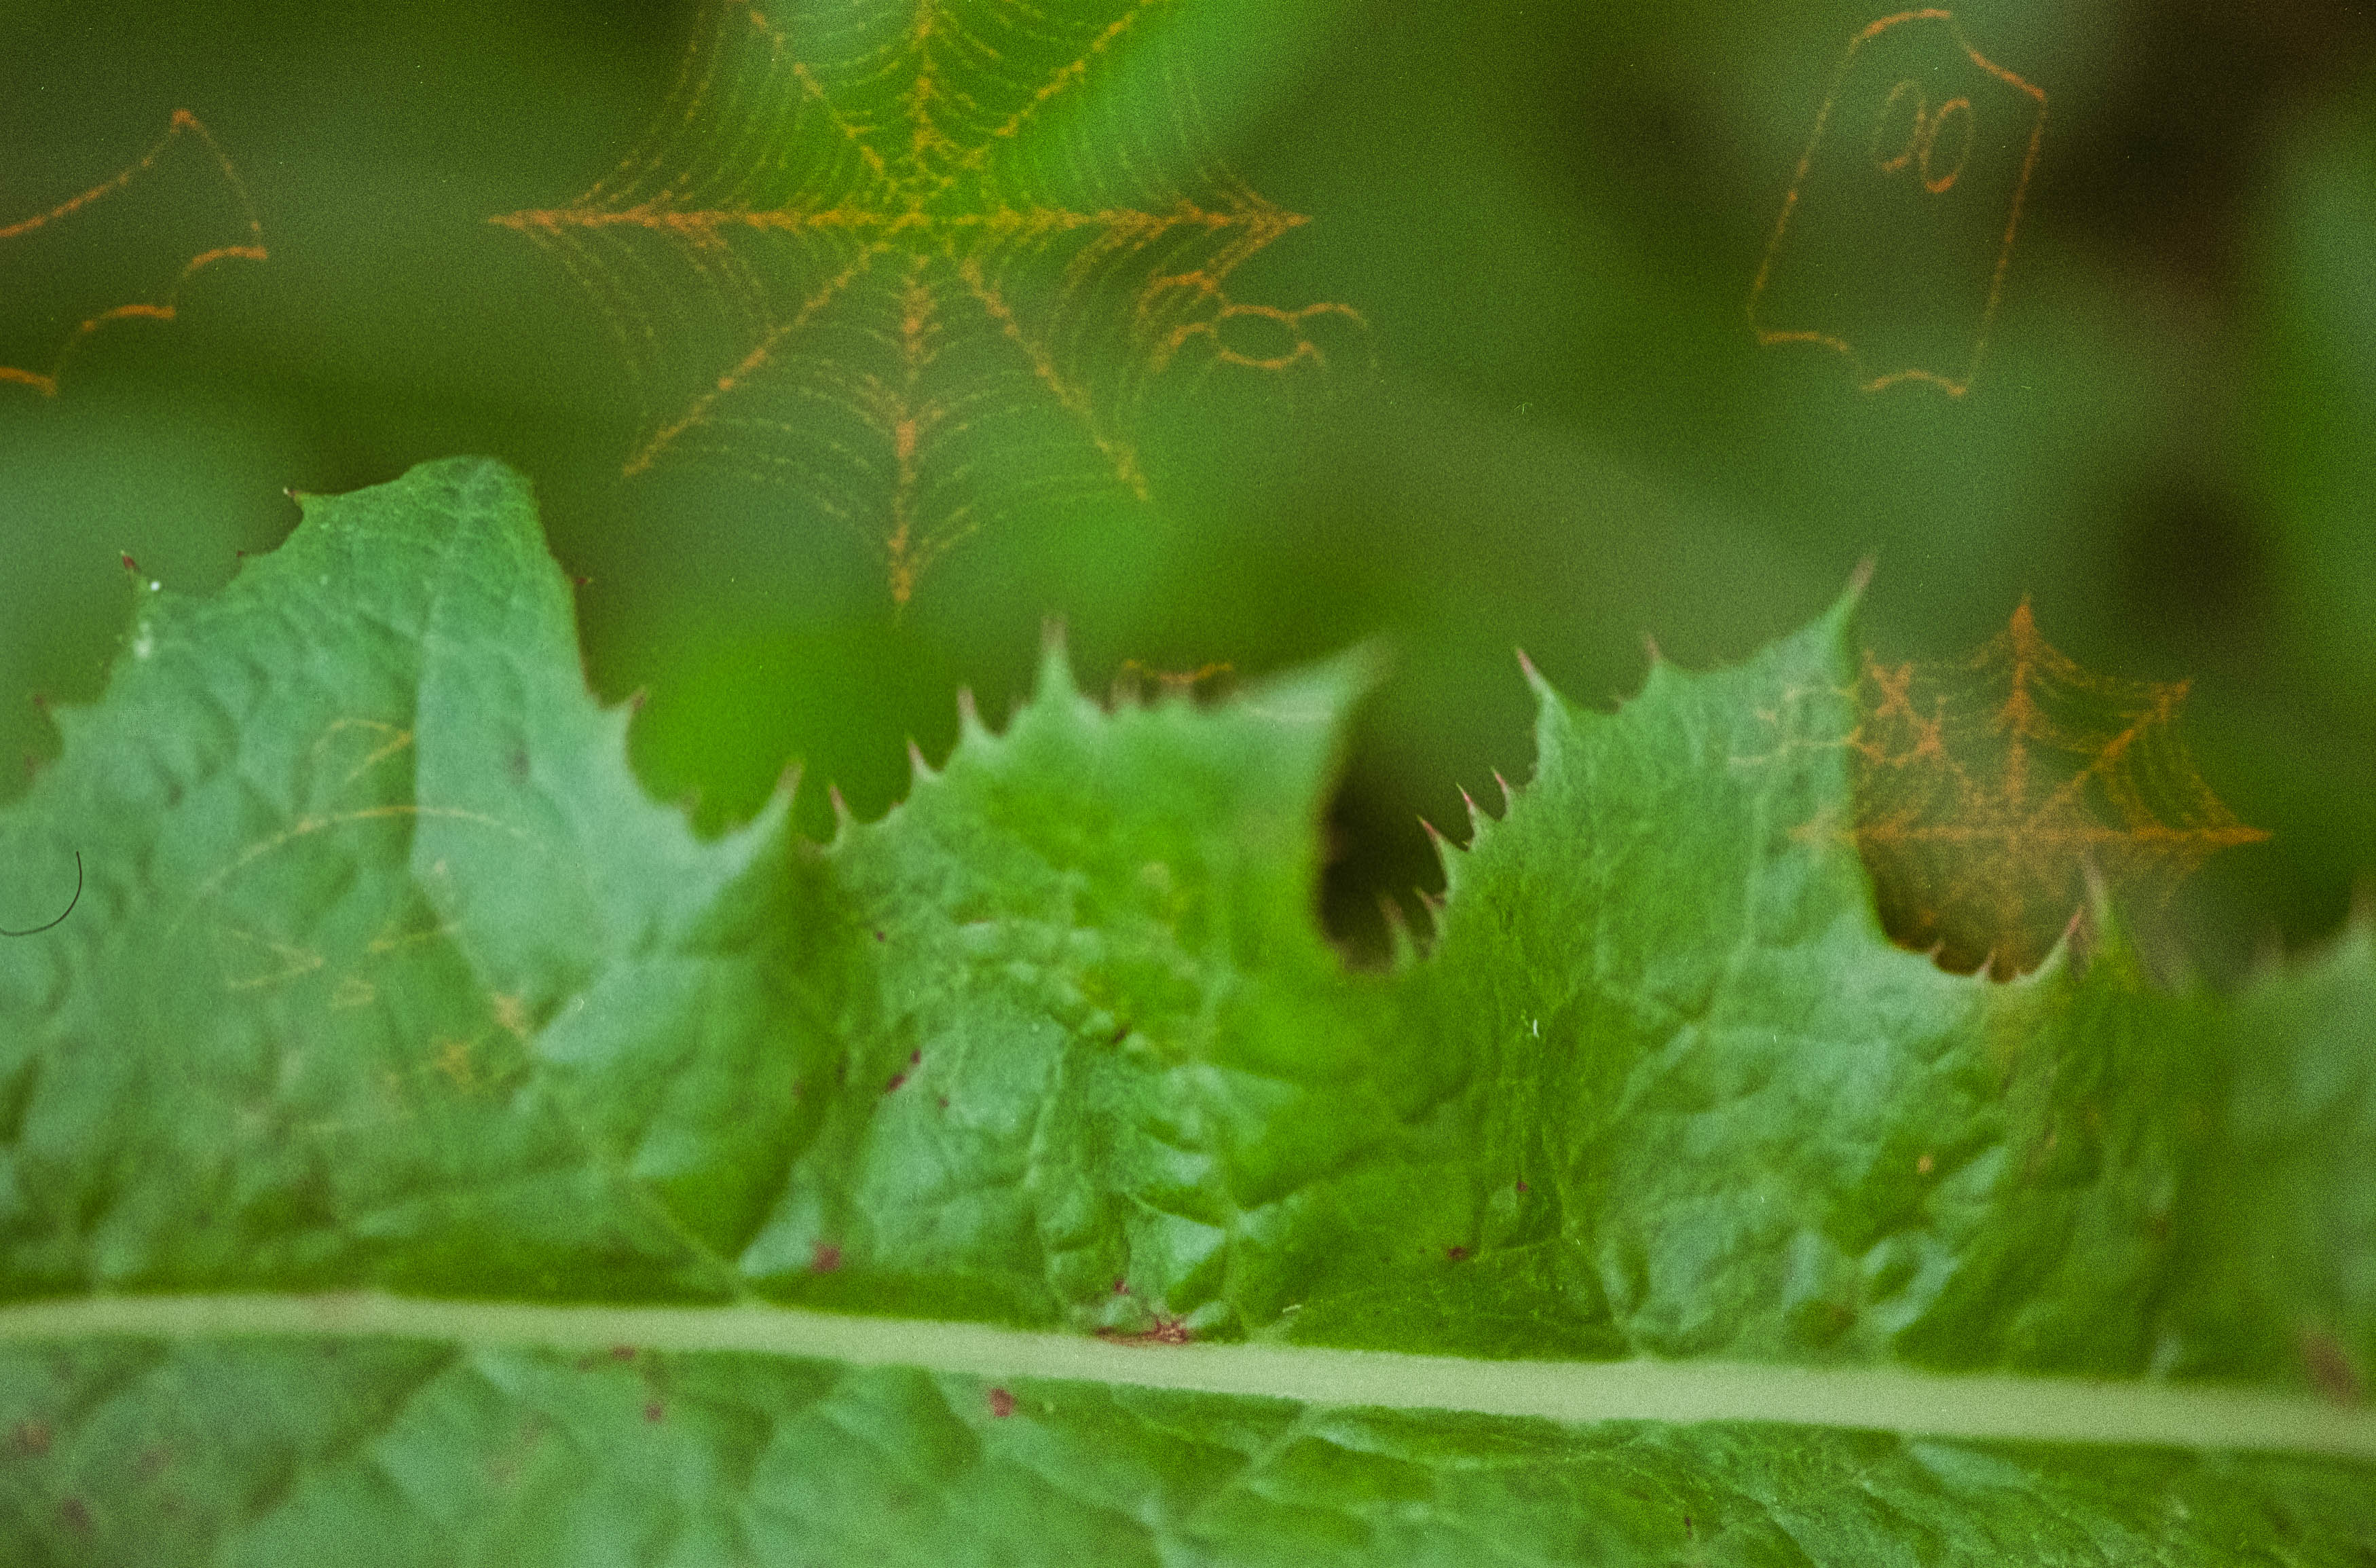

Gettin’ Spooky with Kono Boo! Film

It’s that time of the year again, when children knock on strangers’ doors demanding confectionery, and parents are totally ok with that. Perhaps the Buffy the Vampire Slayer explanation is the best one: real vampires don’t turn up because they find the whole affair rather tacky. And what could be more tacky than a film specifically designed for the Halloween season? Enter Kono Boo!, an experimental 35mm colour film that promises to bring a little seasonal spirit to my photography. Whether that spirit is supernatural or simply the result of a marketing department having a particularly good afternoon remains to be seen.

The idea behind Kono Boo! is fairly straightforward. The film is pre-exposed with Halloween-themed graphics, which should appear alongside whatever you photograph, adding a suitably eerie touch to your images. Underneath the novelty, however, we’re dealing with good old Kodak Gold, packaged up in a seasonal disguise and sold at a premium to a population eager to inject a little Halloween hilarity into their otherwise mundane lives. It’s a bright idea, certainly, although perhaps one conceived after a few too many beers at lunch. There’s a sucker born every day, and this time that sucker is me. In fairness, the film was a gift from my daughter, so thanks, Lizzy. Let’s see what we can do with it.

Photographing Halloween in the Australian Spring

There’s one problem with celebrating this Autumnal festival. I’m in Australia, where October means spring. While our northern hemispherical friends are out photographing burnished autumnal foliage, we’re watching hardy wildflowers desperately squeeze through the cracked earth, only to be scorched by the increasingly unforgiving antipodean sun. It’s not exactly the classic Halloween aesthetic, but surely there’s something unsettling lurking in the natural world if I look hard enough. Trees are silent sentries watching the world renew and decay, while flowers are ephemeral seductresses of pollination, giving themselves up to insects before withering into nothingness. If that doesn’t sound vaguely sinister, I don’t know what does.

For this photographic expedition, I’m taking my Nikon N65, a perfectly functional late-model plastic SLR with approximately thirty-year-old electronics slowly rotting inside it. The lens, fortunately, is a little more contemporary: the Nikon AF-S VR Micro-NIKKOR 105mm f/2.8G IF ED. That’s quite a collection of acronyms, but it’s a capable macro lens that should allow me to get up close and personal with the miniature horrors hiding in nature. My local wetlands provide the setting, and I’m hoping that a few creepy plants, cobwebs and unsettling details might provide the perfect subjects for this unusual film stock.

Of course, Halloween itself is a curious tradition. Originally associated with the pagan festival marking the beginning of winter, it was subsequently appropriated by Christianity as the evening before All Saints’ Day. The Christians do love to crash a party. And for those who prefer their religious history with a little Protestant resentment, 31 October is also Reformation Day, commemorating Martin Luther’s famous 95 Theses. Killjoys. Personally, I’m probably more Methodist than Catholic when it comes to handing out treats, and the neighbourhood children shouldn’t expect too much generosity from my doorstep. Nevertheless, I can’t stop everyone else from having their fun, so let’s see whether this festive film can deliver something worth celebrating.

Kodak Gold, Halloween Graphics and Missed Opportunities

The first thing to remember about Kono Boo! is that, beneath its Halloween mask, we’re essentially shooting Kodak Gold. That’s not necessarily a bad thing. Kodak Gold is known for its warm, cheerful colours, which are wonderful for holiday snaps but perhaps a little antithetical to the cold, sinister atmosphere we’re trying to create here. Something grainier, with cooler tones, might have been a more appropriate choice. Orwo NC500 springs to mind, although my previous experience with Ilford Ilfocolor 400 has already provided enough colour-related nightmares to last a lifetime.

Unfortunately, the Halloween graphics don’t really make their presence felt under most conditions. It’s only in darker scenes or areas of high contrast that those pre-exposed designs begin to emerge, and even then, the results can be rather underwhelming. In many of my photographs, the subject itself does most of the heavy lifting, while the Halloween imagery remains frustratingly inconspicuous. The film isn’t entirely without merit, but it certainly requires a little more thought than simply loading a roll and hoping for the best.

One thing that becomes clear during the walk is that I haven’t really optimised my photography for the characteristics of the film. I’ve been approaching it much as I would any other roll of colour negative film, rather than considering how the pre-exposed designs might interact with the composition. Perhaps the real trick is to shoot outdoors at night, using flash with a point-and-shoot camera. The resulting black backgrounds would provide a much better canvas for those cartoonish Halloween graphics, allowing them to stand out instead of disappearing into the scenery. It’s an approach I’ll have to investigate another time.

There are some interesting moments, particularly when I experiment with double exposures. I’ve had plenty of experience with multiple exposures over the years, although most of mine have been accidental, especially when using older medium-format cameras that require the shutter to be cocked between frames. Here, though, the technique offers some intriguing possibilities, and I suspect there’s enough potential to justify a dedicated video in the future.

A Questionable Conclusion

So, have I managed to capture the creepiness of Halloween? Probably not. Has Kono Boo! delivered the scares? Not really. But the experiment has been fun, and I think there’s something to be learned from the experience. Pre-exposed film isn’t necessarily going to do all the work for you, and if you want to make the most of it, you need to consider your subjects, lighting and composition carefully. Otherwise, you’re likely to end up with ordinary photographs wearing a rather unconvincing Halloween costume.

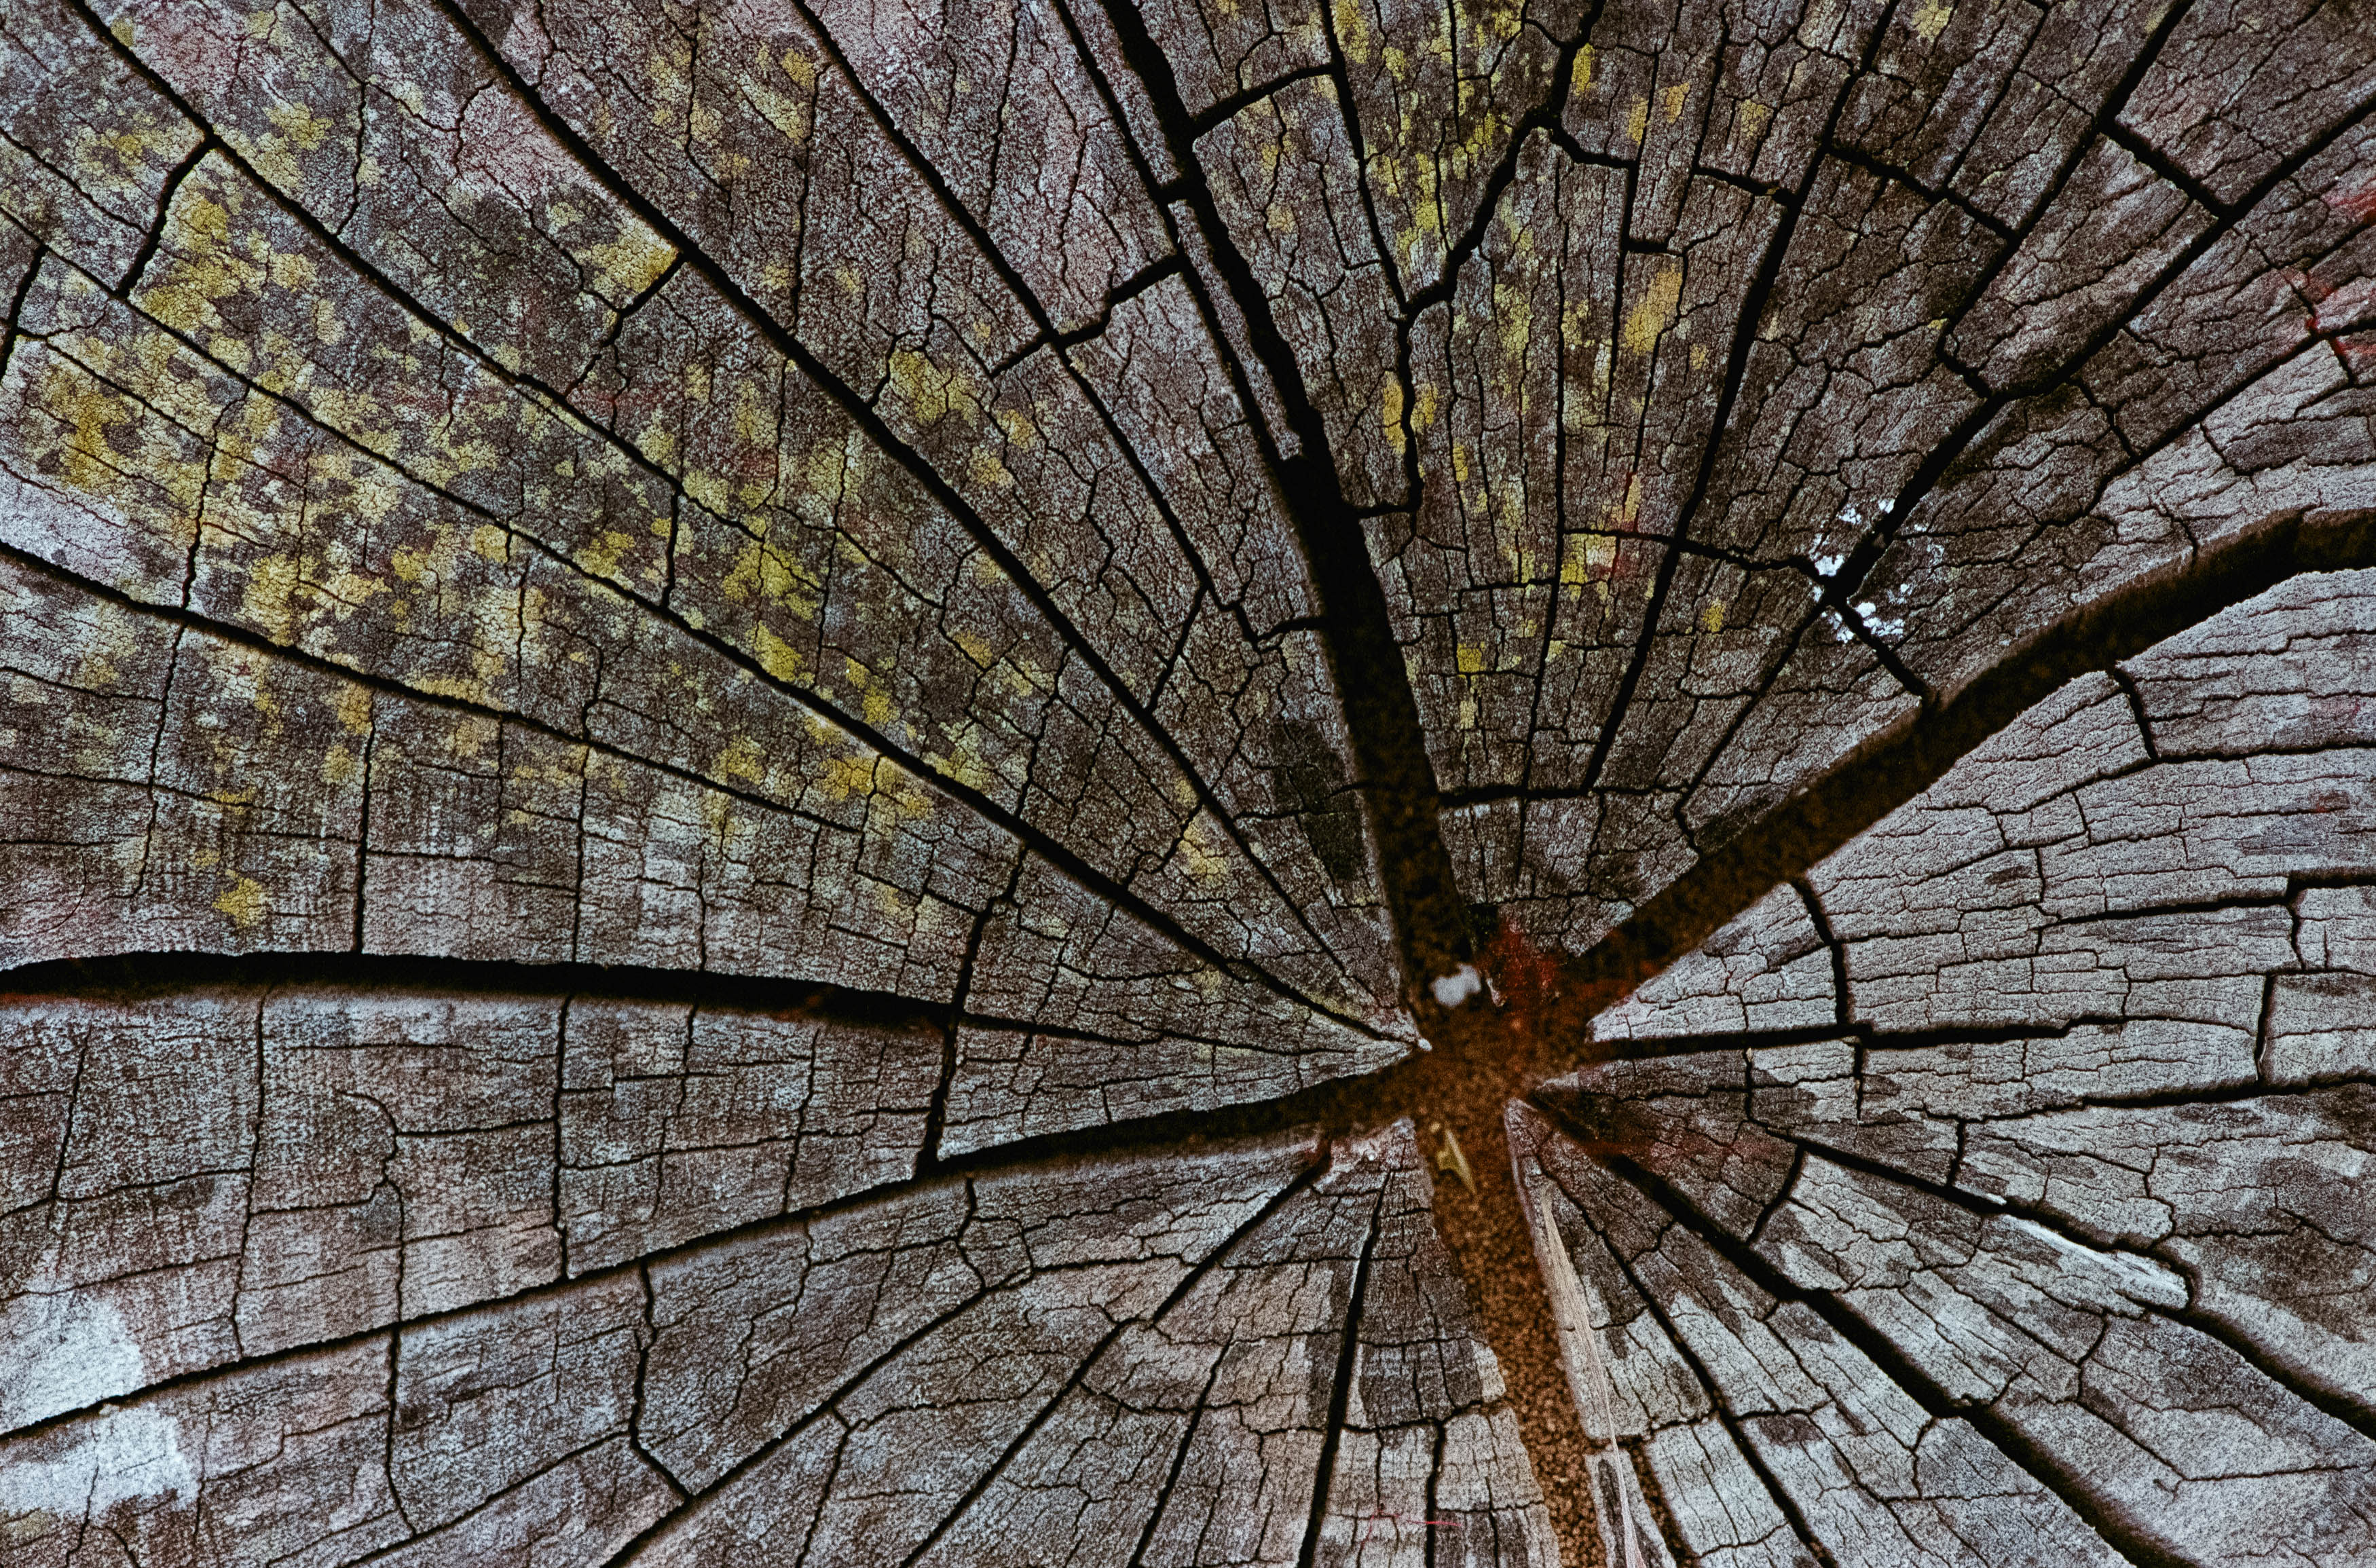
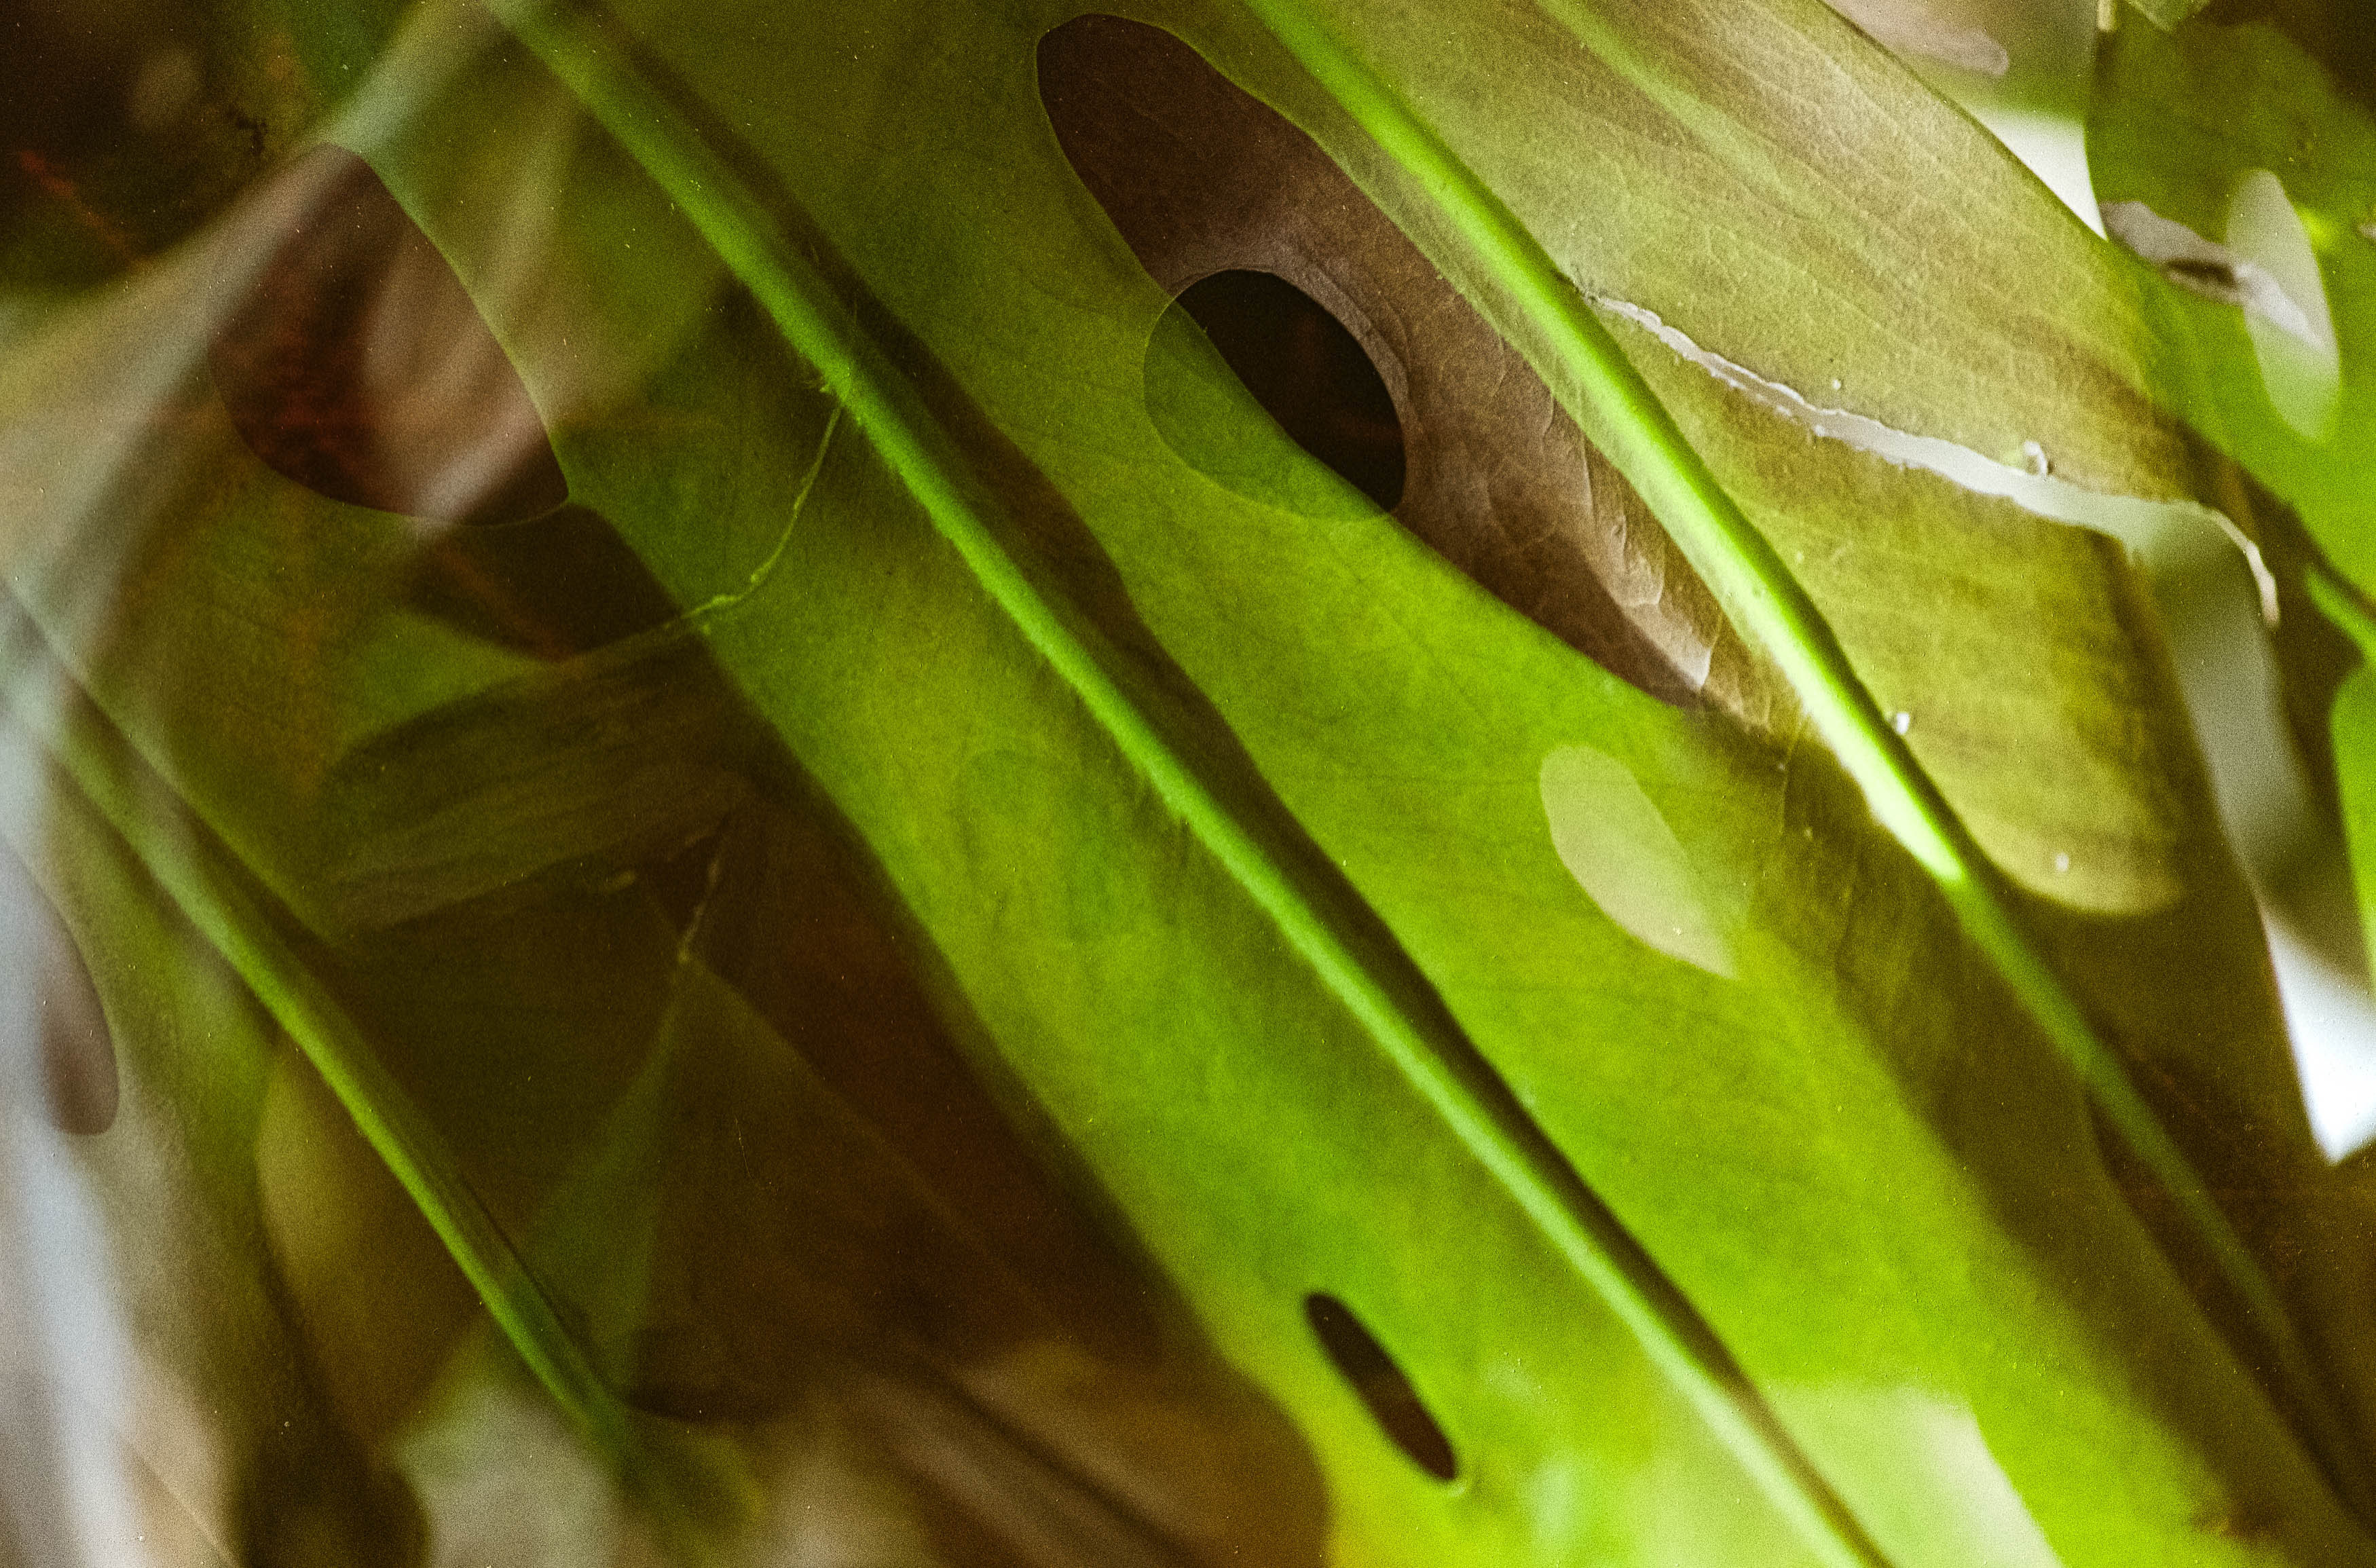
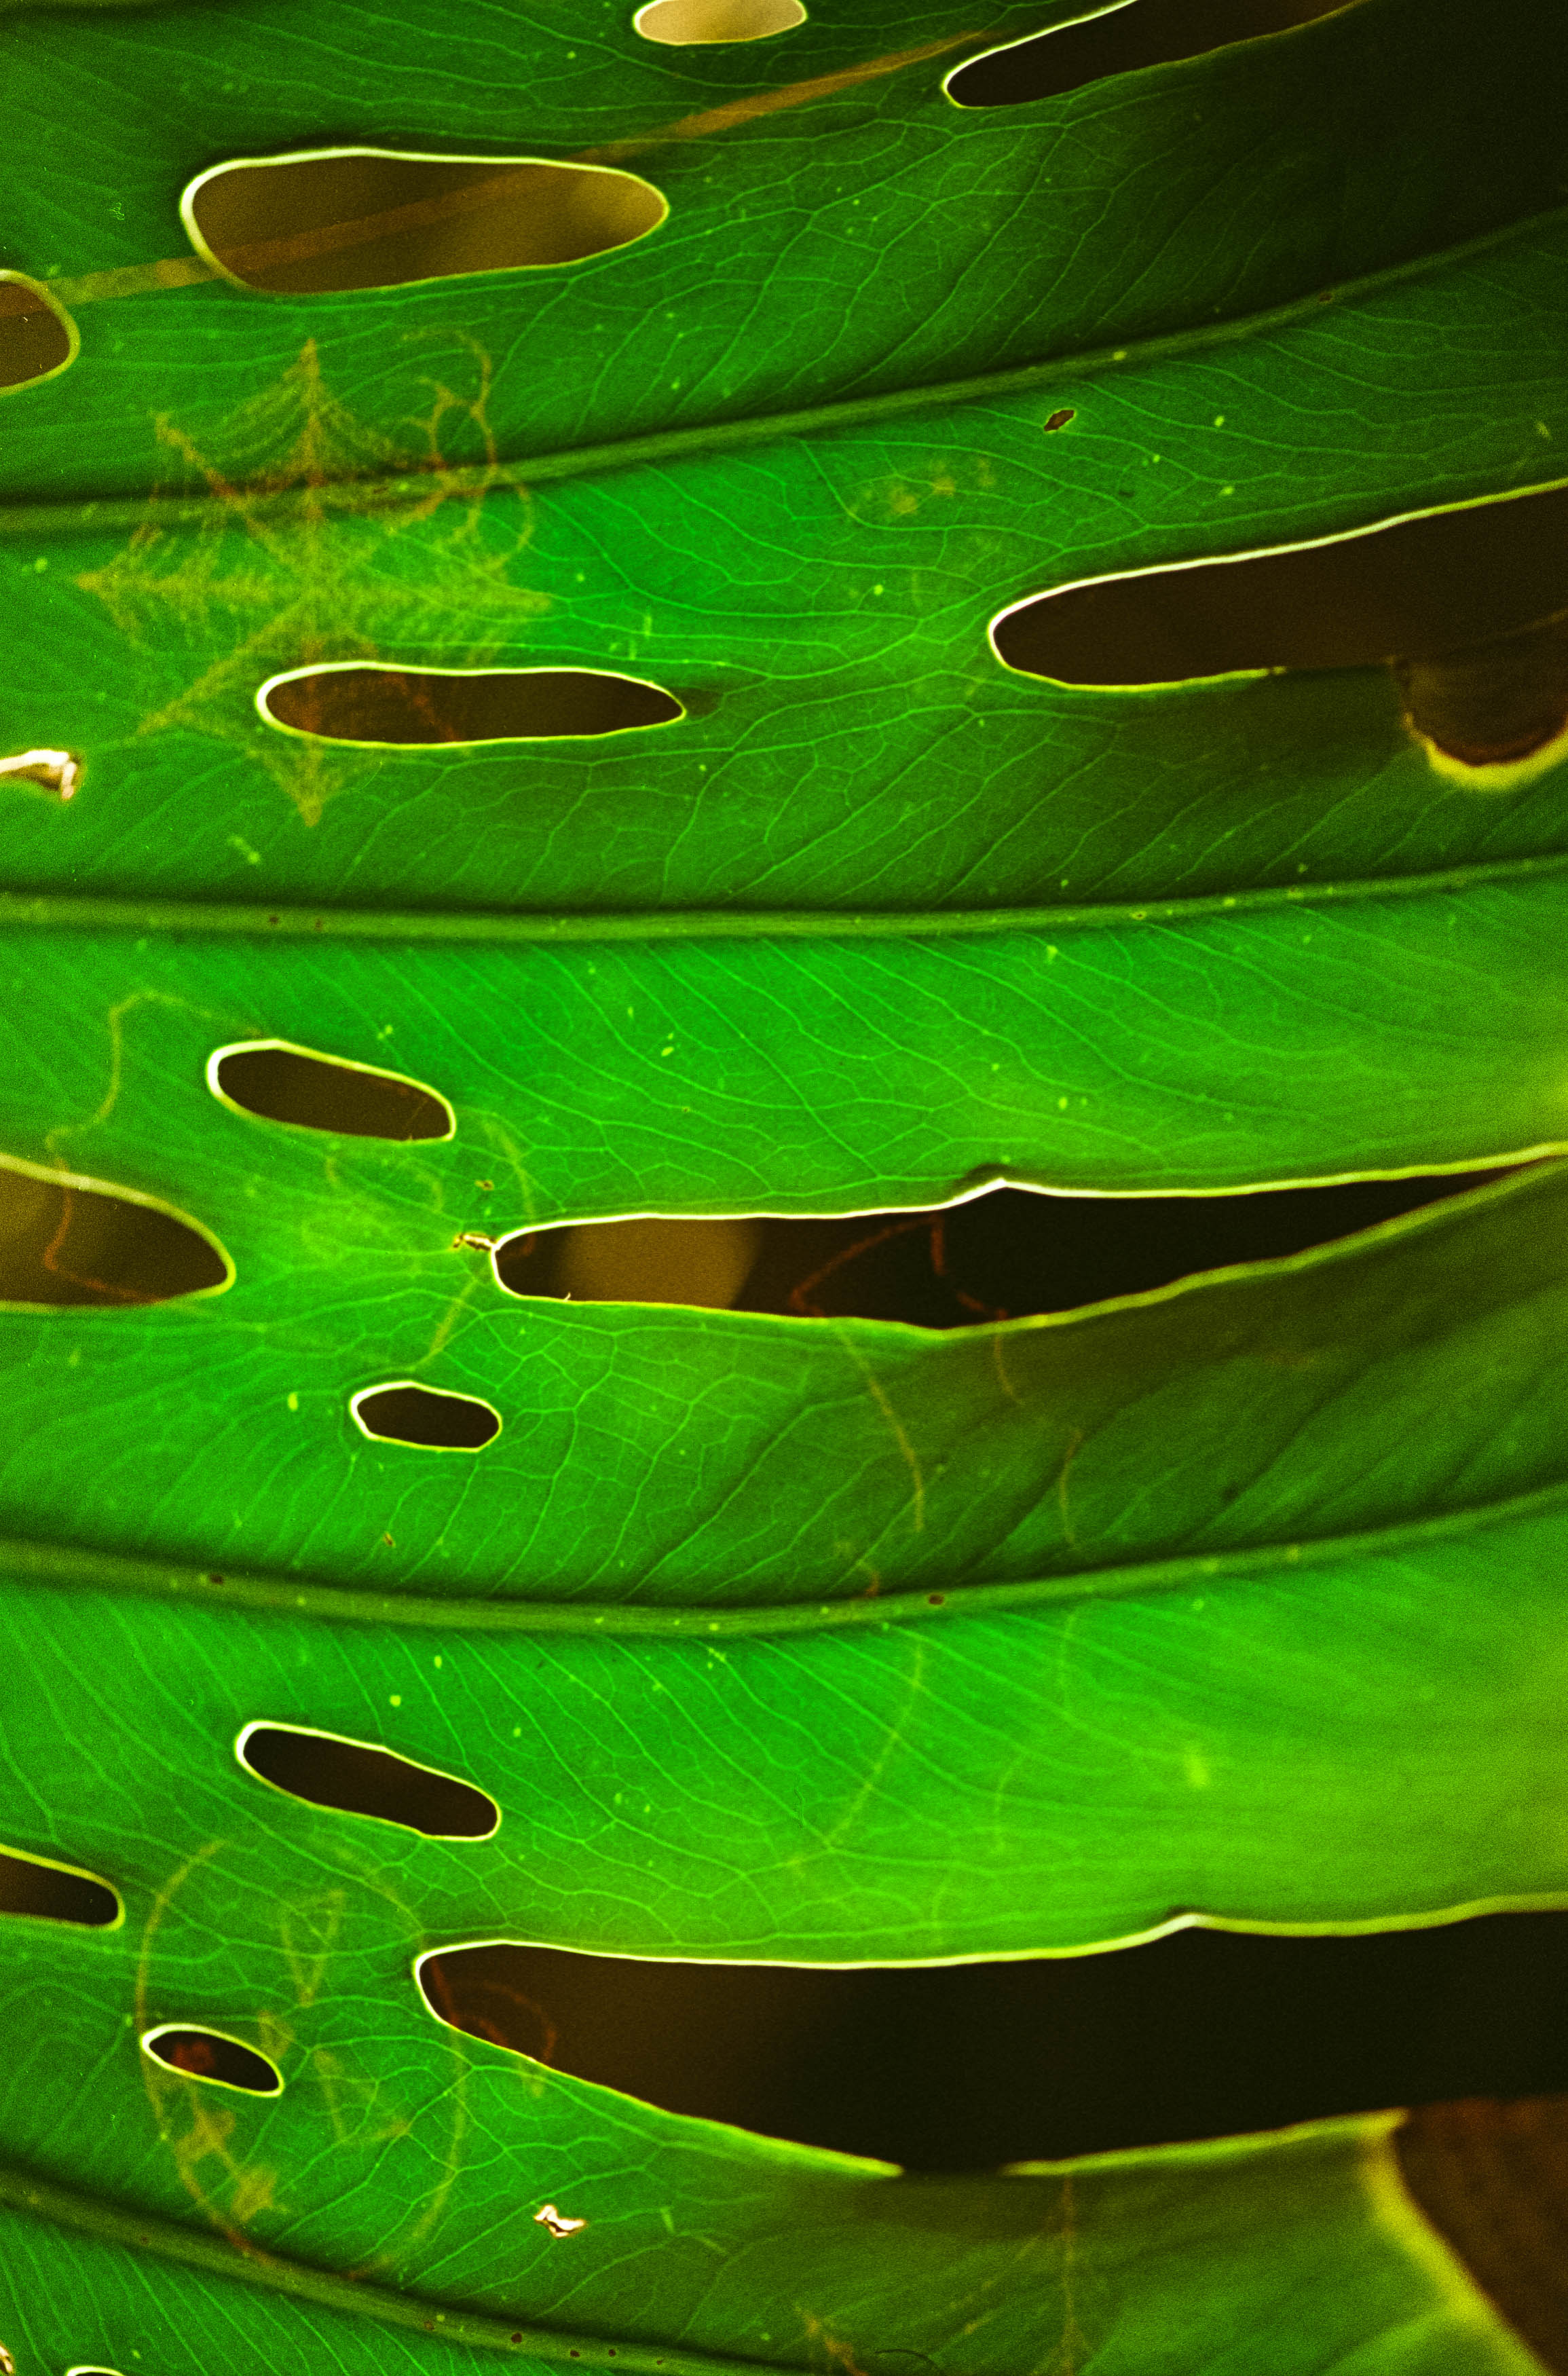
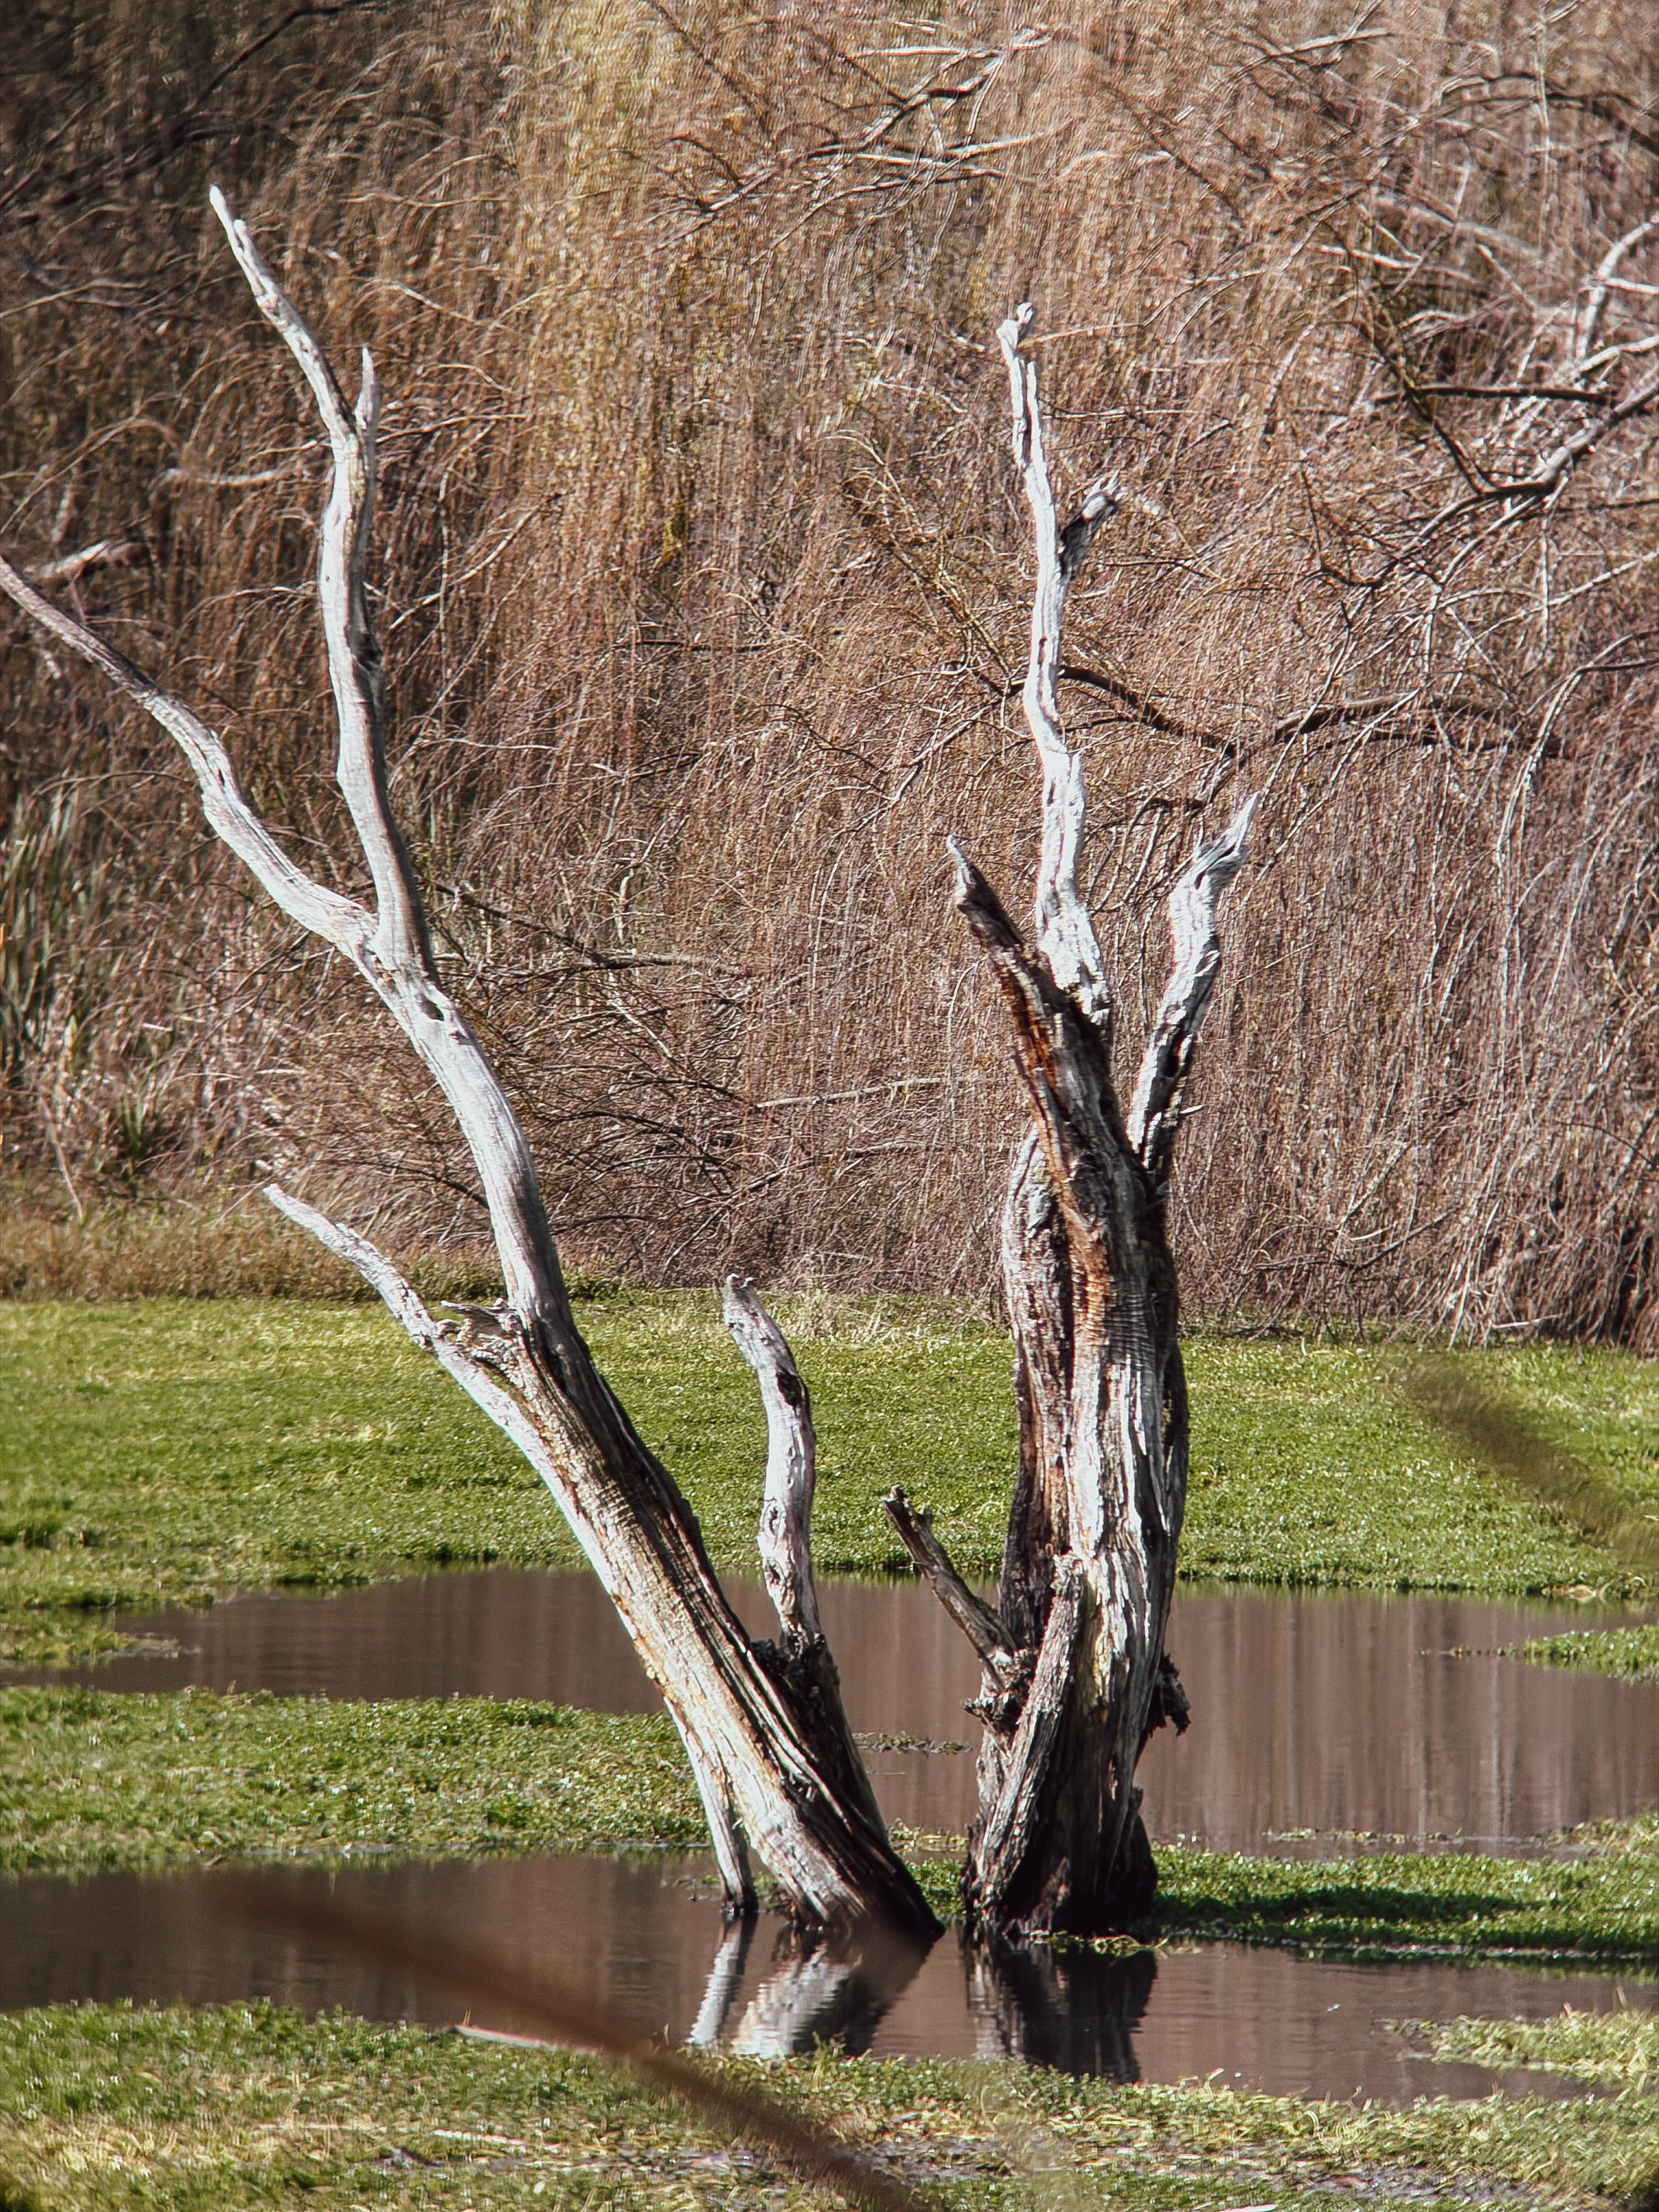
Ultimately, these photographs look more like nature photography than Halloween pictures but perhaps that’s the point. Not everything needs to be terrifying, and sometimes the most interesting images emerge when a photographic experiment doesn’t quite go according to plan. Kono Boo! hasn’t transformed my local wetlands into a landscape of supernatural dread, but it has encouraged me to think differently about pre-exposed film and the way I approach my subjects.

Let me know in the comments whether any of these photographs inspire existential dread. Boredom doesn’t count.

Can One Camera, One Lens, and One Film Make You a Better Photographer?

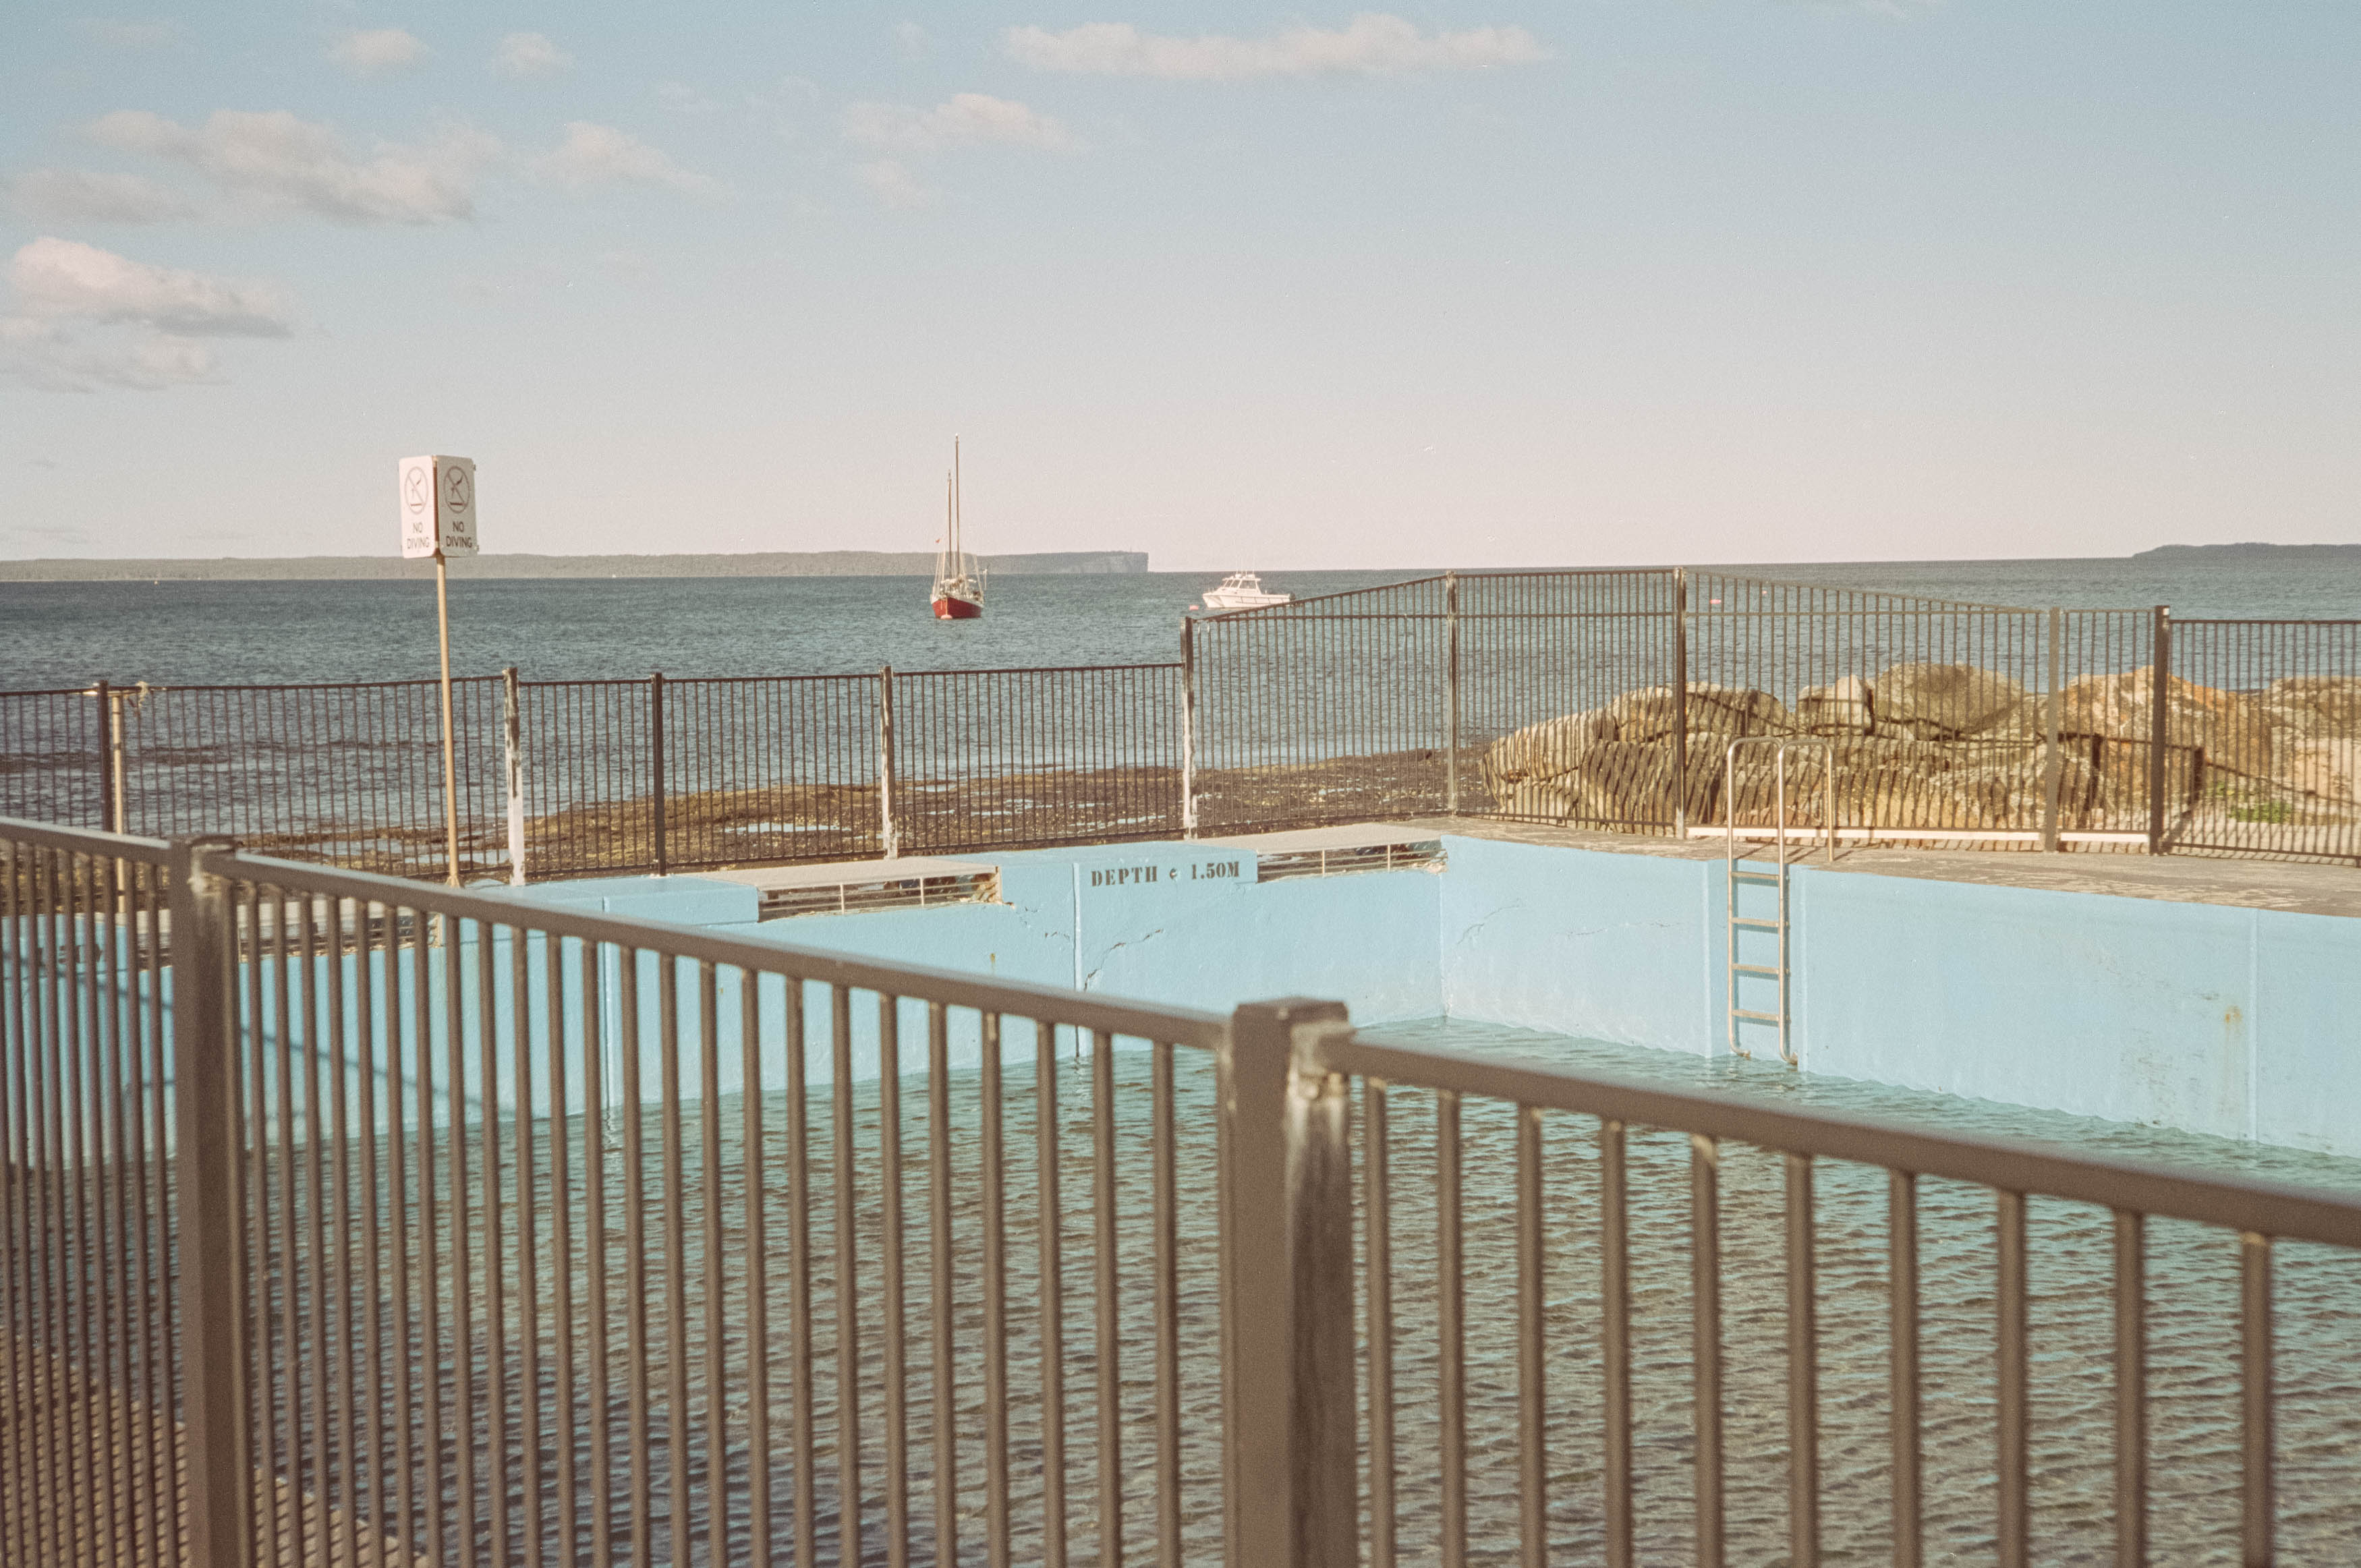
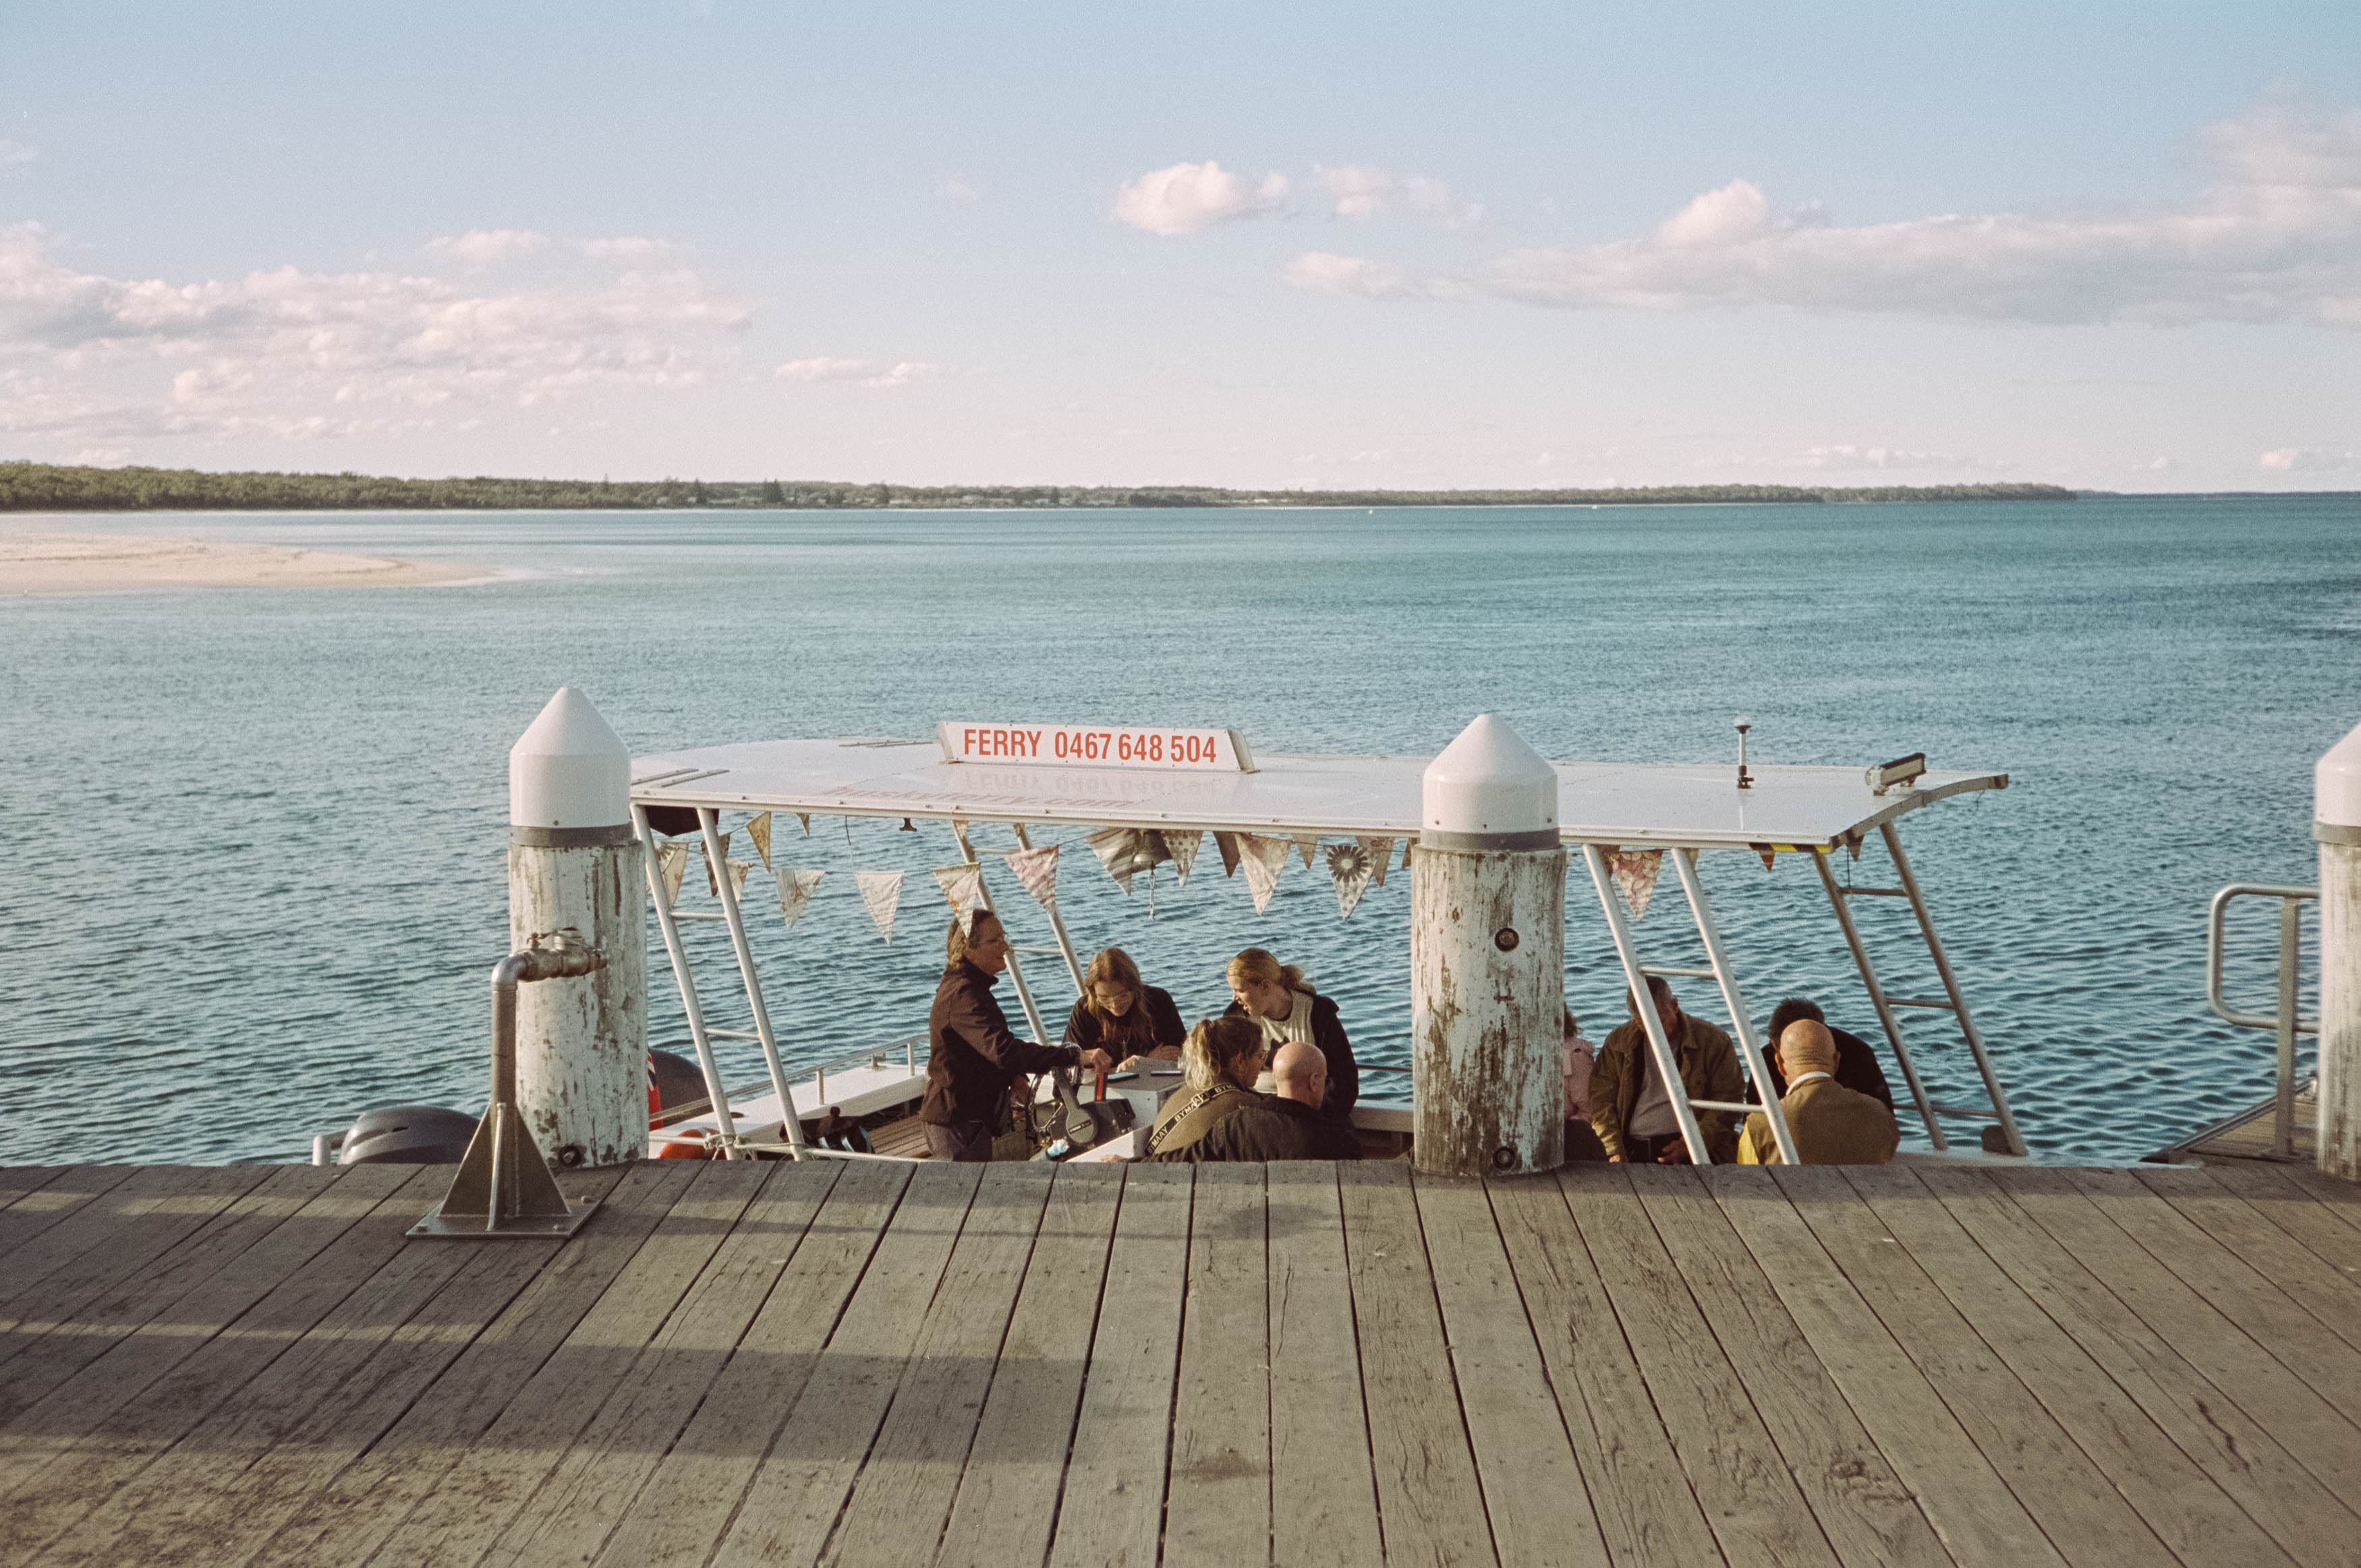
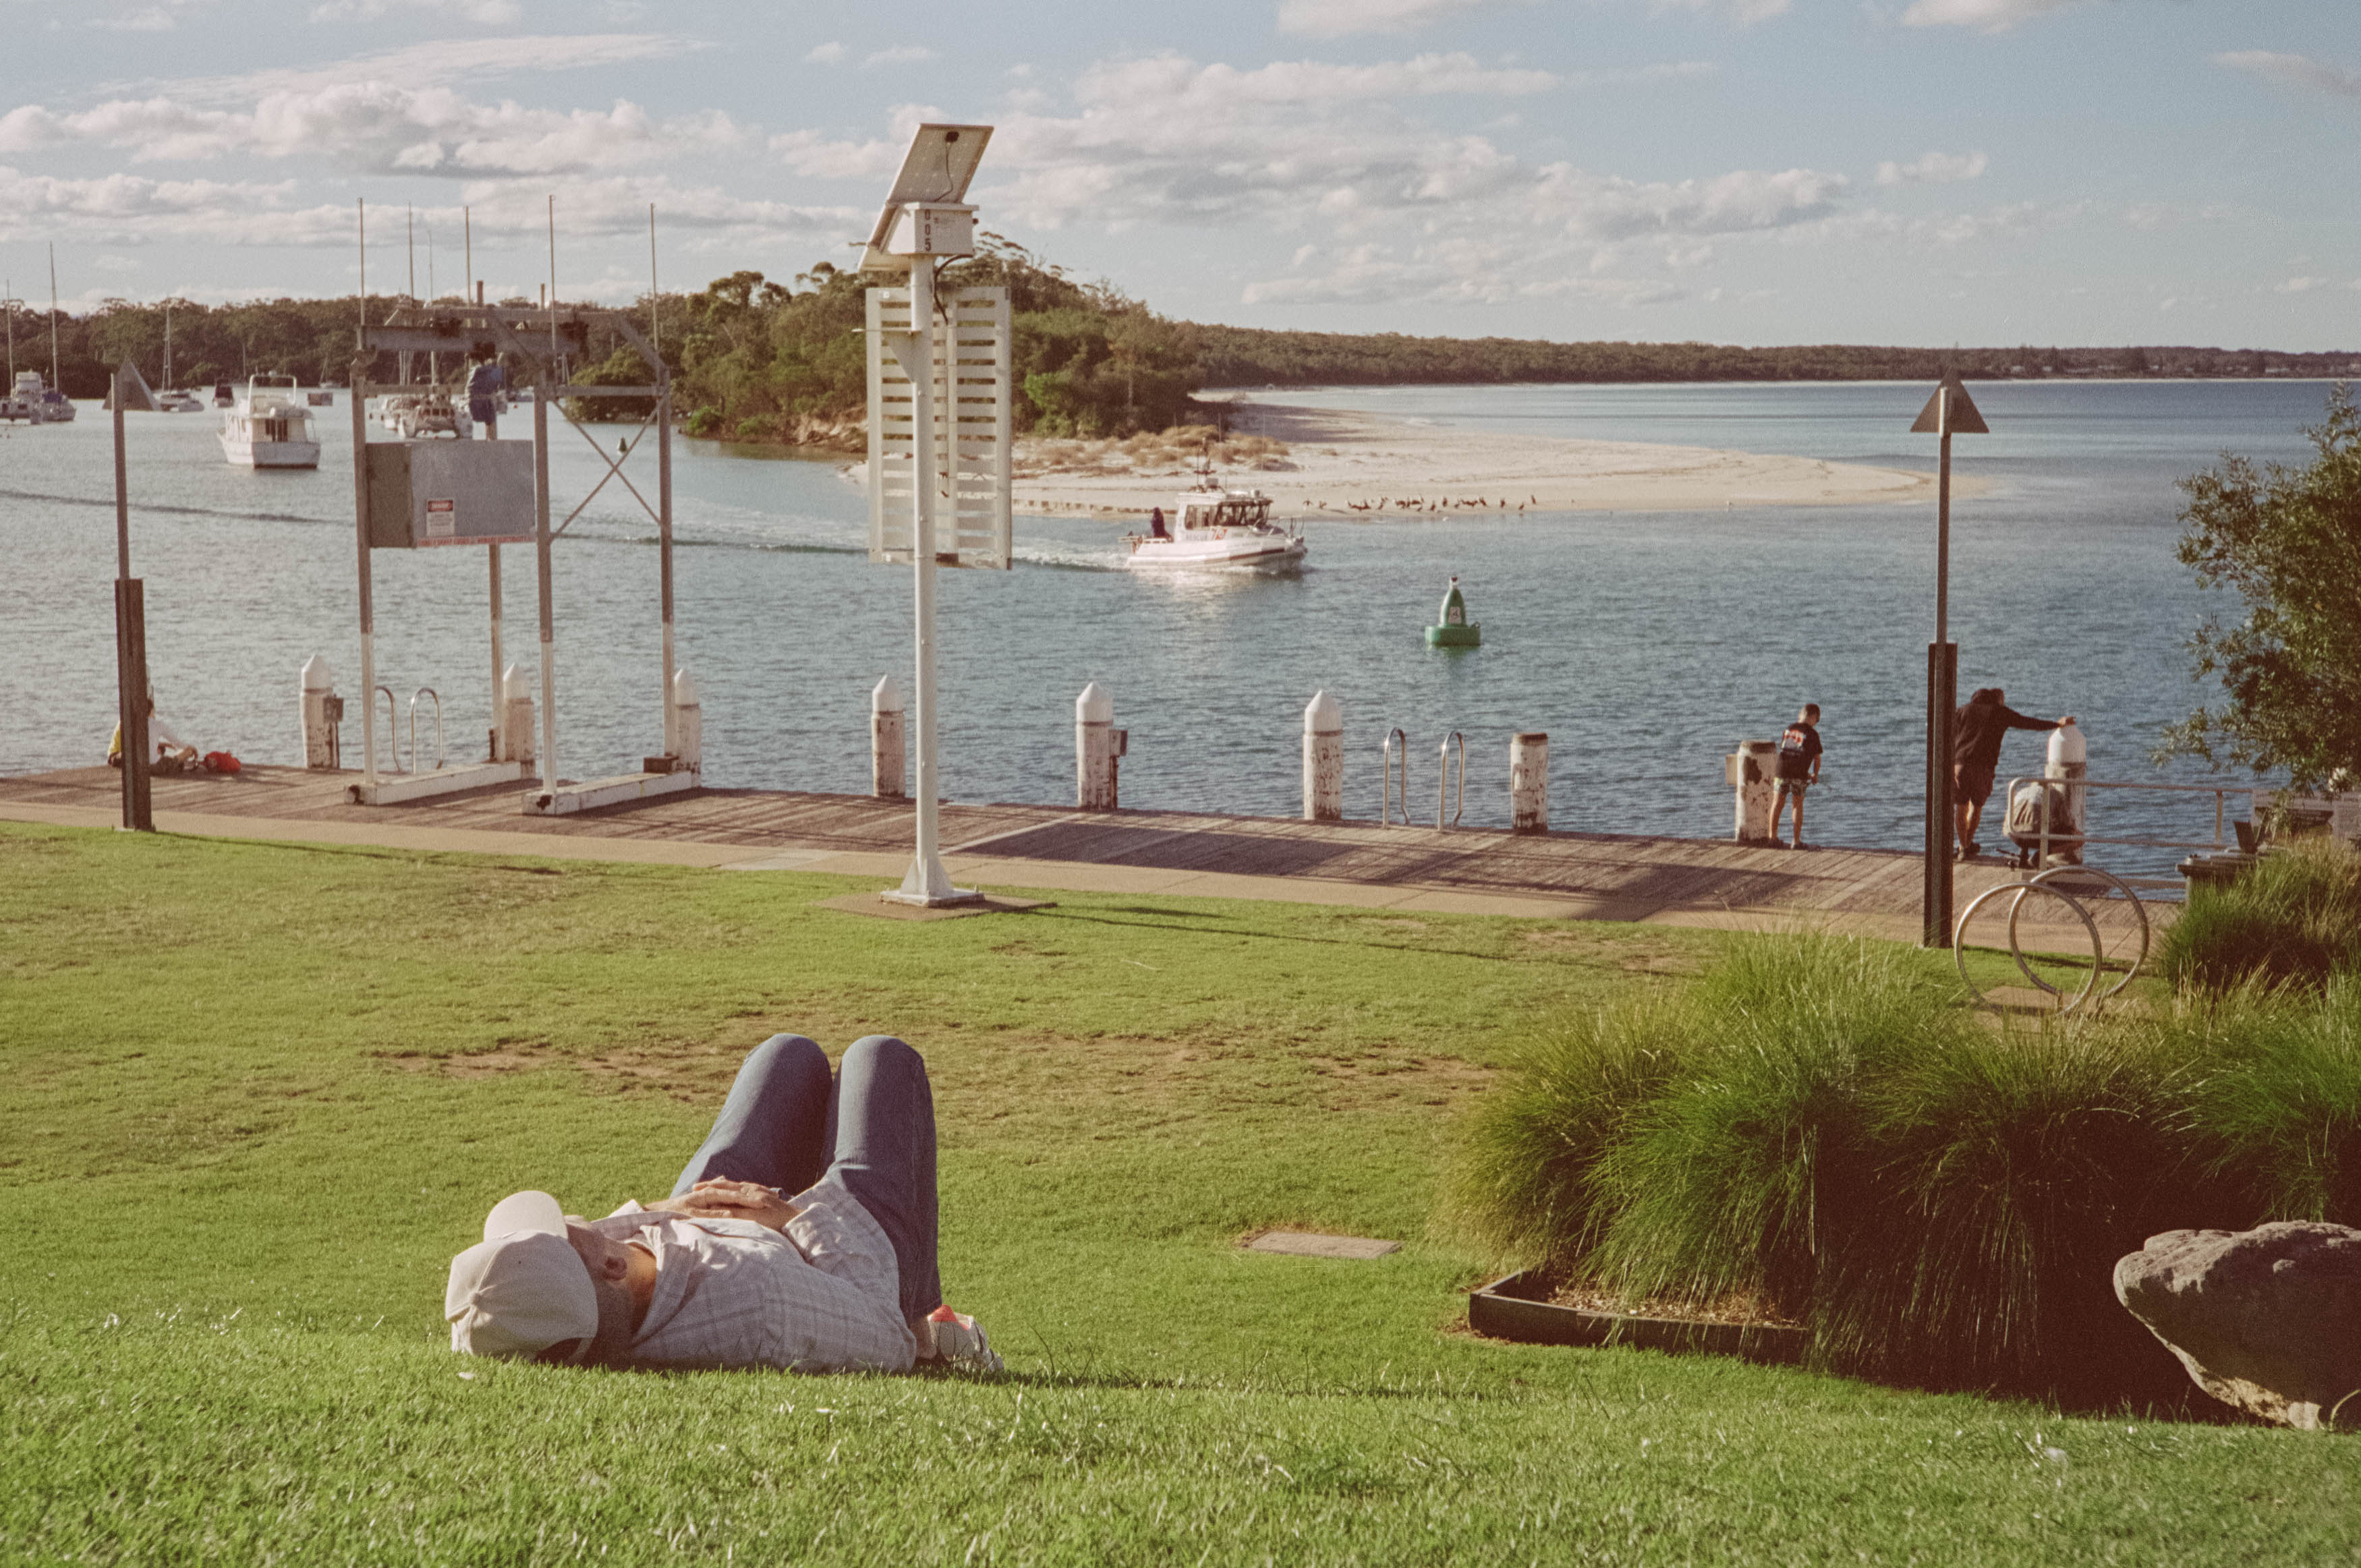
Will sticking to one camera, one lens and one type of film make me a better photographer? I recently travelled to New South Wales with a Leica M2, a gorgeous Nikon S.C. 50mm f/1.4 lens for Leica thread mount, and a film stock I’d never tried before: Reflx Lab 100D. It was a fairly luxurious way to limit my options, admittedly, and there were a few caveats to the experiment, but the principle was simple enough. I wanted to see whether getting to know one combination of equipment could help me find that elusive creative flow.

The film was an interesting choice in its own right. Reflx Lab 100D is essentially Kodak Vision3 50D motion picture film, with its remjet backing removed so it can be processed using standard C-41 colour negative chemistry. It’s daylight-balanced, rated at ISO 100 and intended to deliver the sort of cinematic look that has become increasingly popular in still photography. Whatever “cinematic” actually means, I was hoping for natural colours, fine grain and a little more character than I get from my usual budget film.

My previous experiences with cinema film had been mixed. I’d tried processing film with the remjet backing still attached, with varying degrees of success, and removing it myself had proved rather less straightforward than chucking a bit of bicarbonate of soda into the mix and watching the residue disappear. In my experience, that stuff clings to the film with remarkable stubbornness, leaving scratches and streaks that can spoil an otherwise decent photograph.

Reflx Lab 100D avoids that particular problem by arriving ready to use, and in Australia it costs a few dollars more than my usual Kodak Colorplus 200 but considerably less than Portra/Ektacolor. That seemed a reasonable price to pay for a little experimentation. With two rolls packed, I headed off to see whether New South Wales could provide the scenery and the film could provide the cinema.

From Sydney to the South Coast

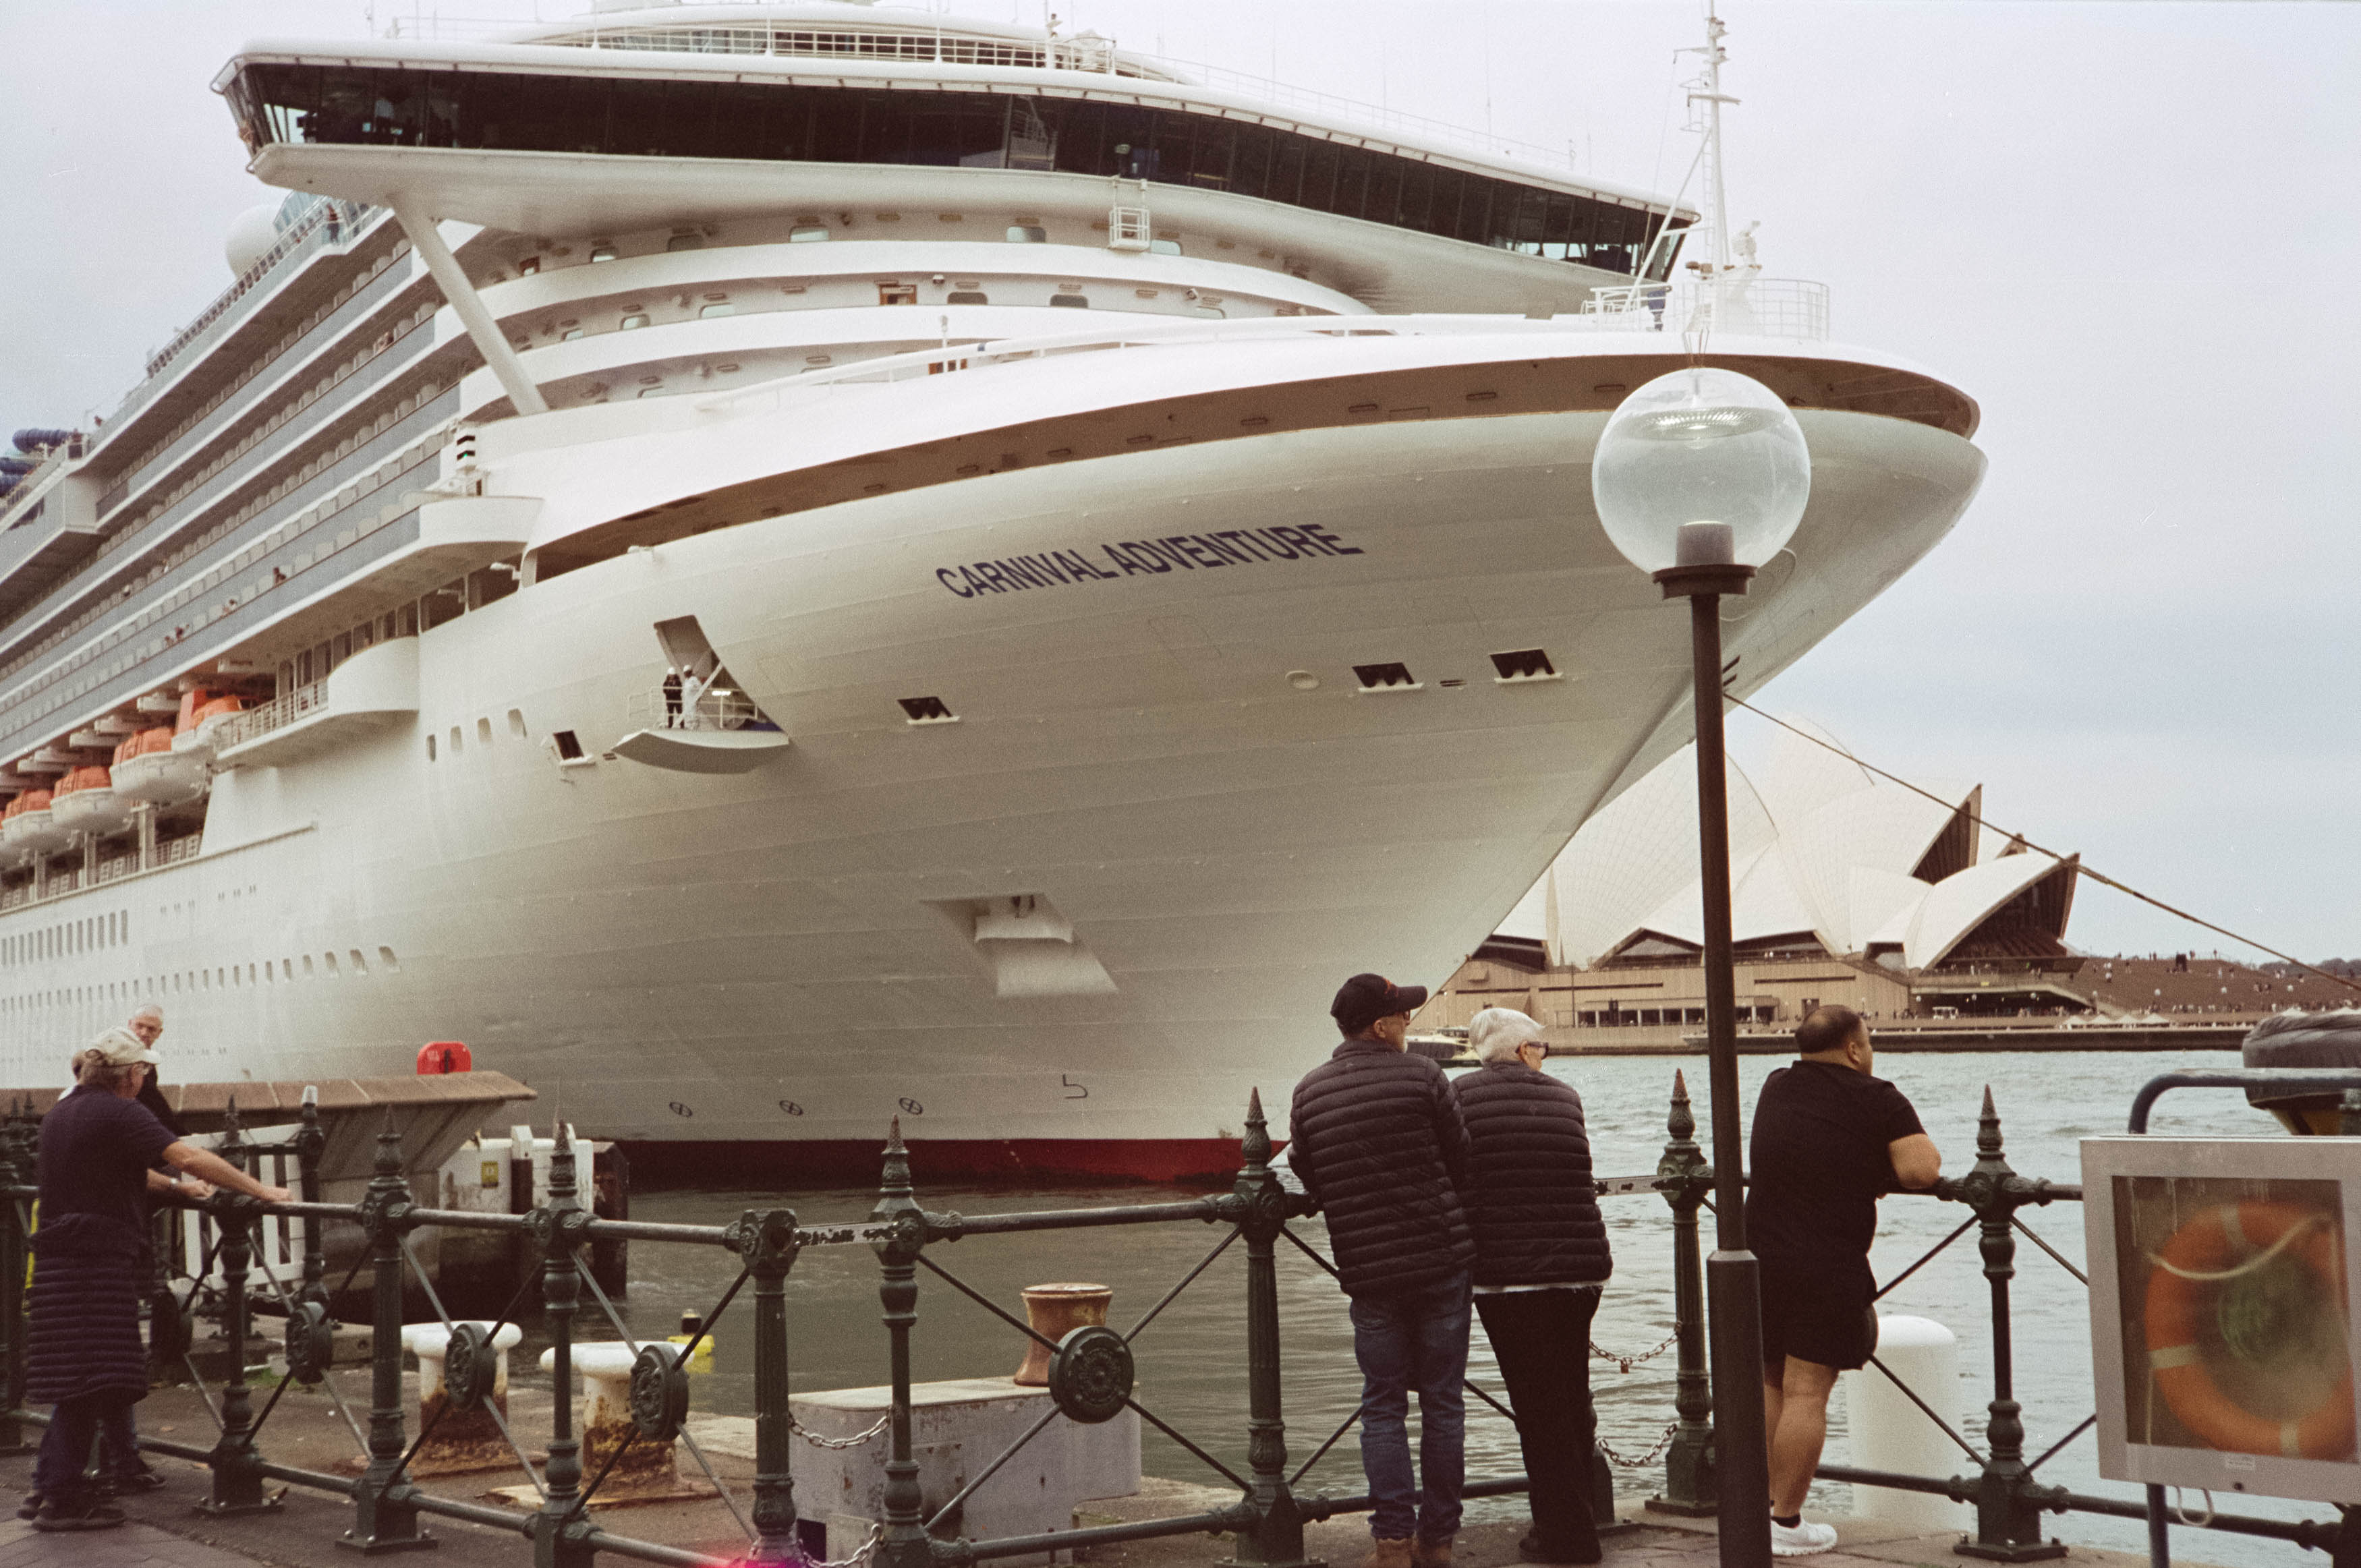
I started in Sydney, taking in Circular Quay, the Harbour Bridge and the Rocks before escaping the big city and heading south towards Jervis Bay. I was staying in Callala Bay, with plans to explore the surrounding coastline and towns, including Huskisson, Vincentia and Berry. There was plenty of picturesque scenery to work with, although my early attempts to photograph the local mangroves suggested that having an interesting subject and making an interesting photograph are two entirely different things.

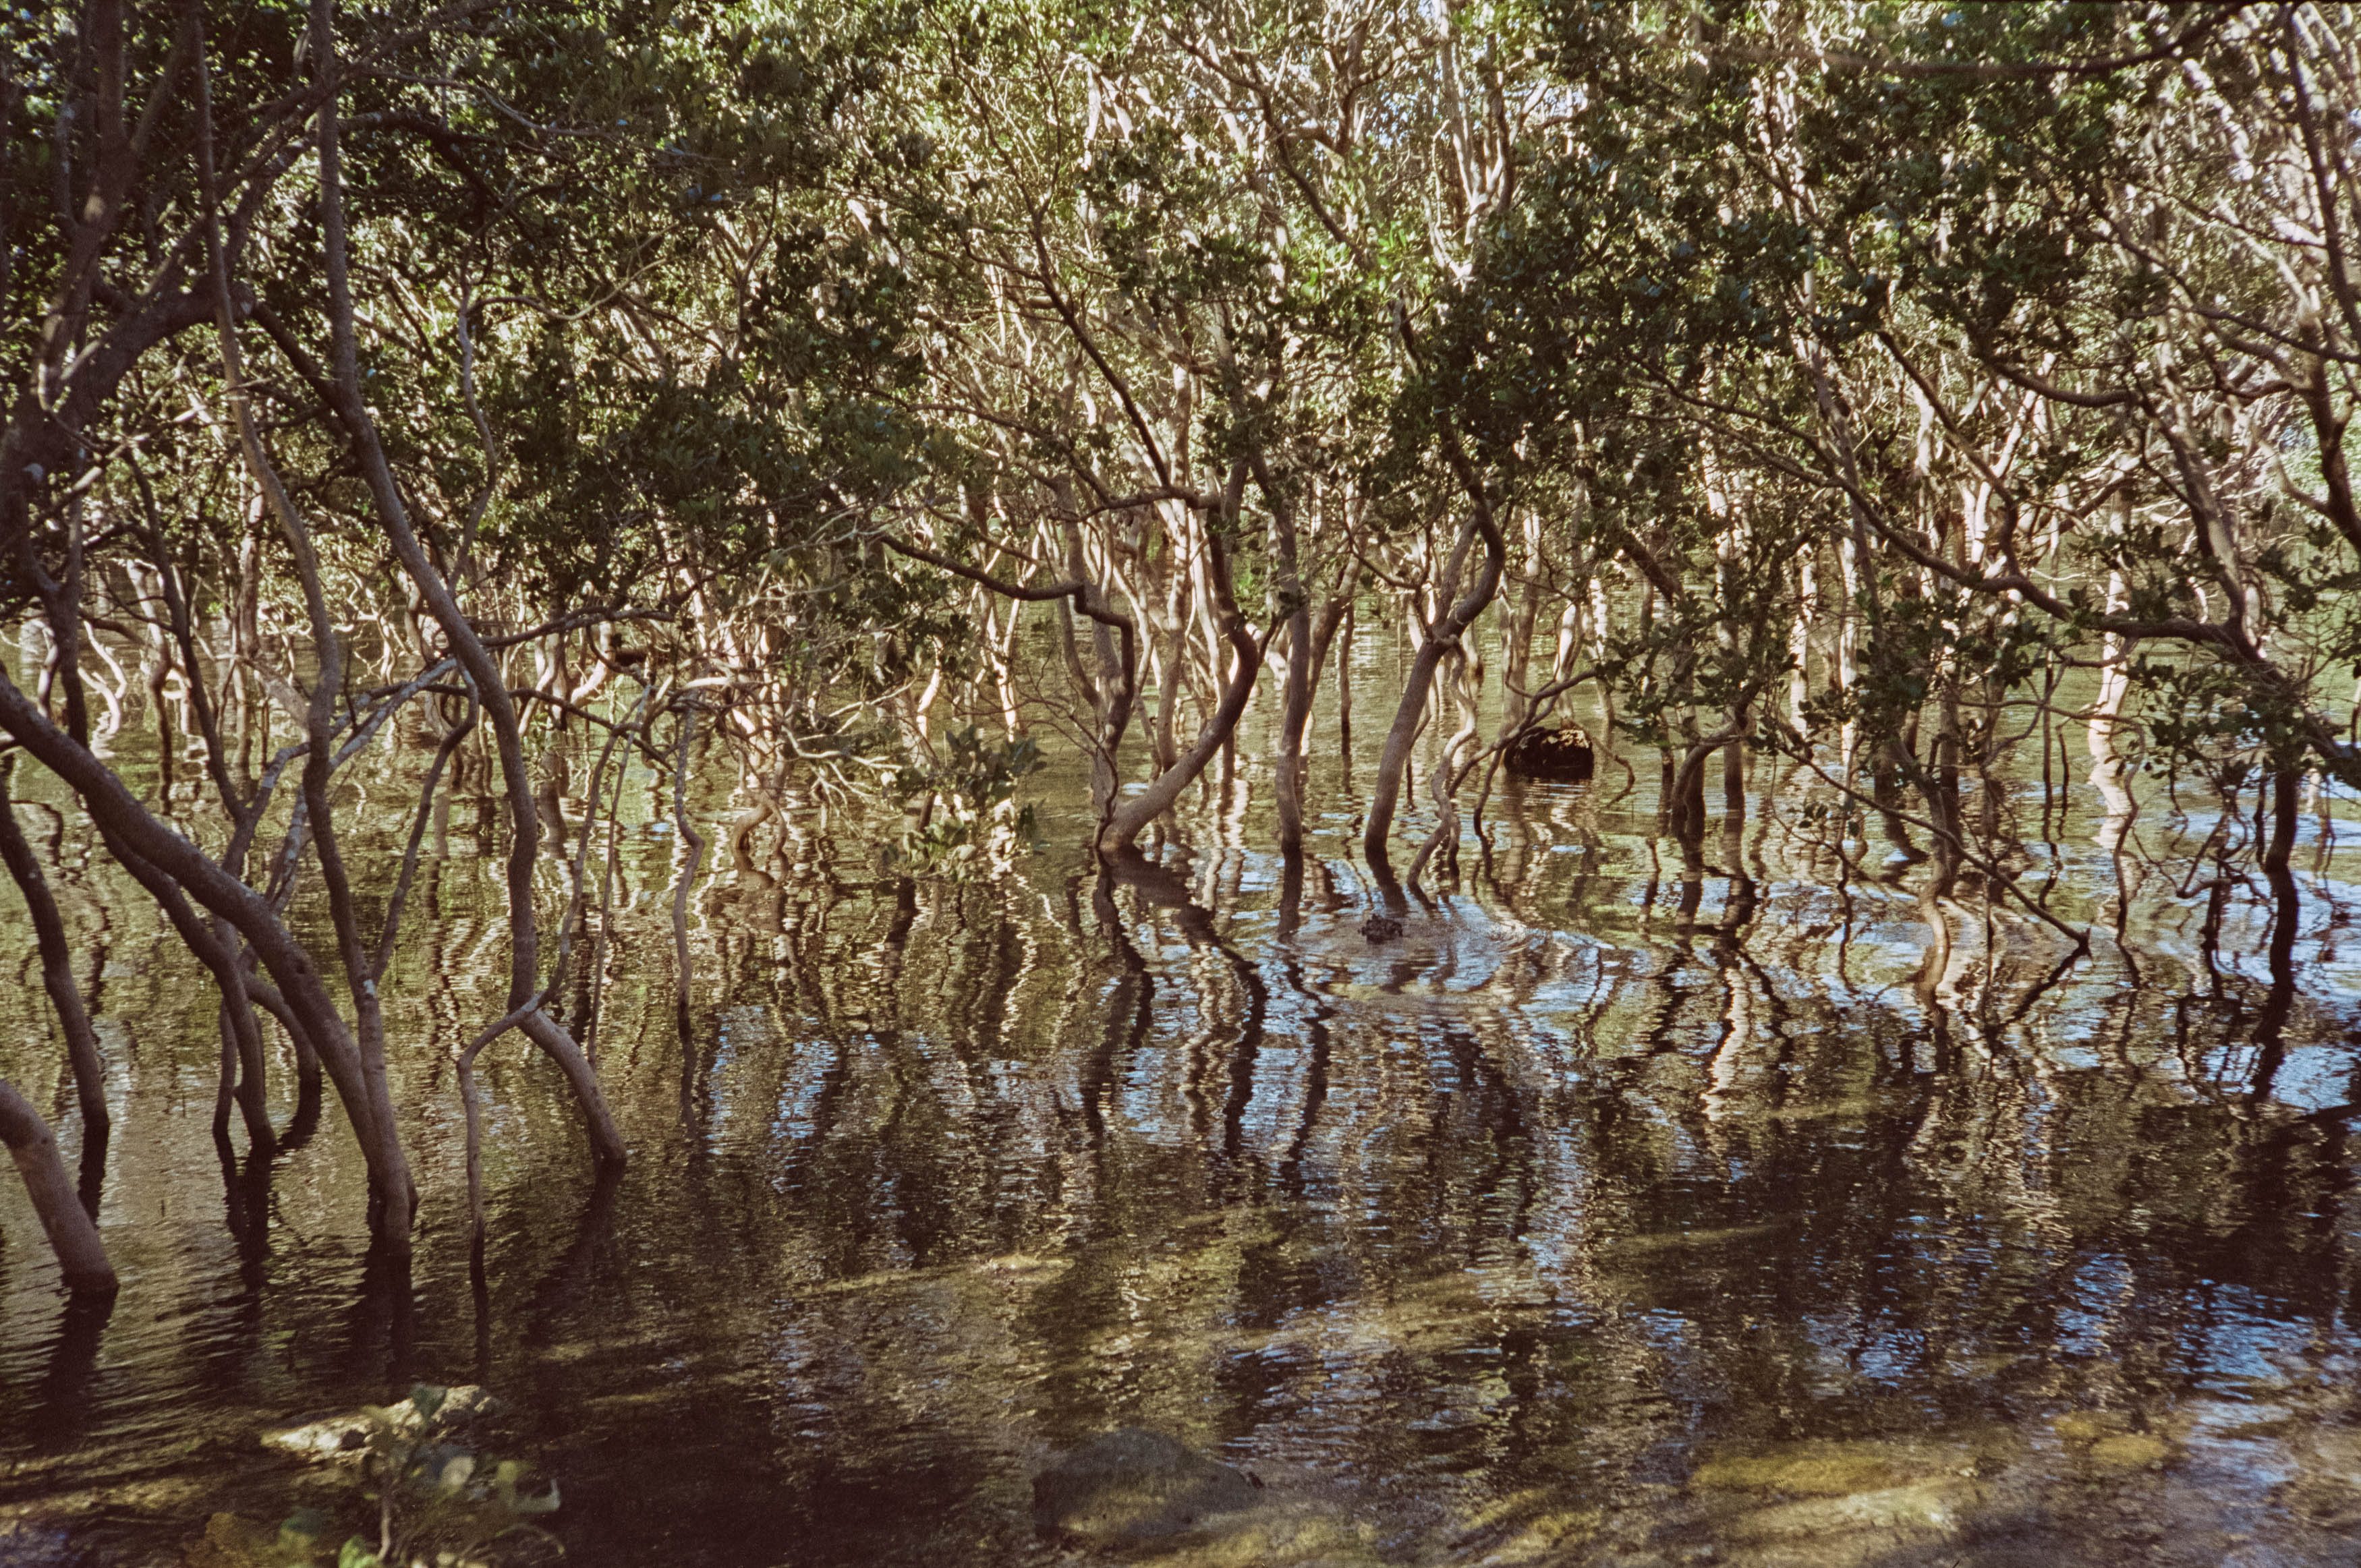
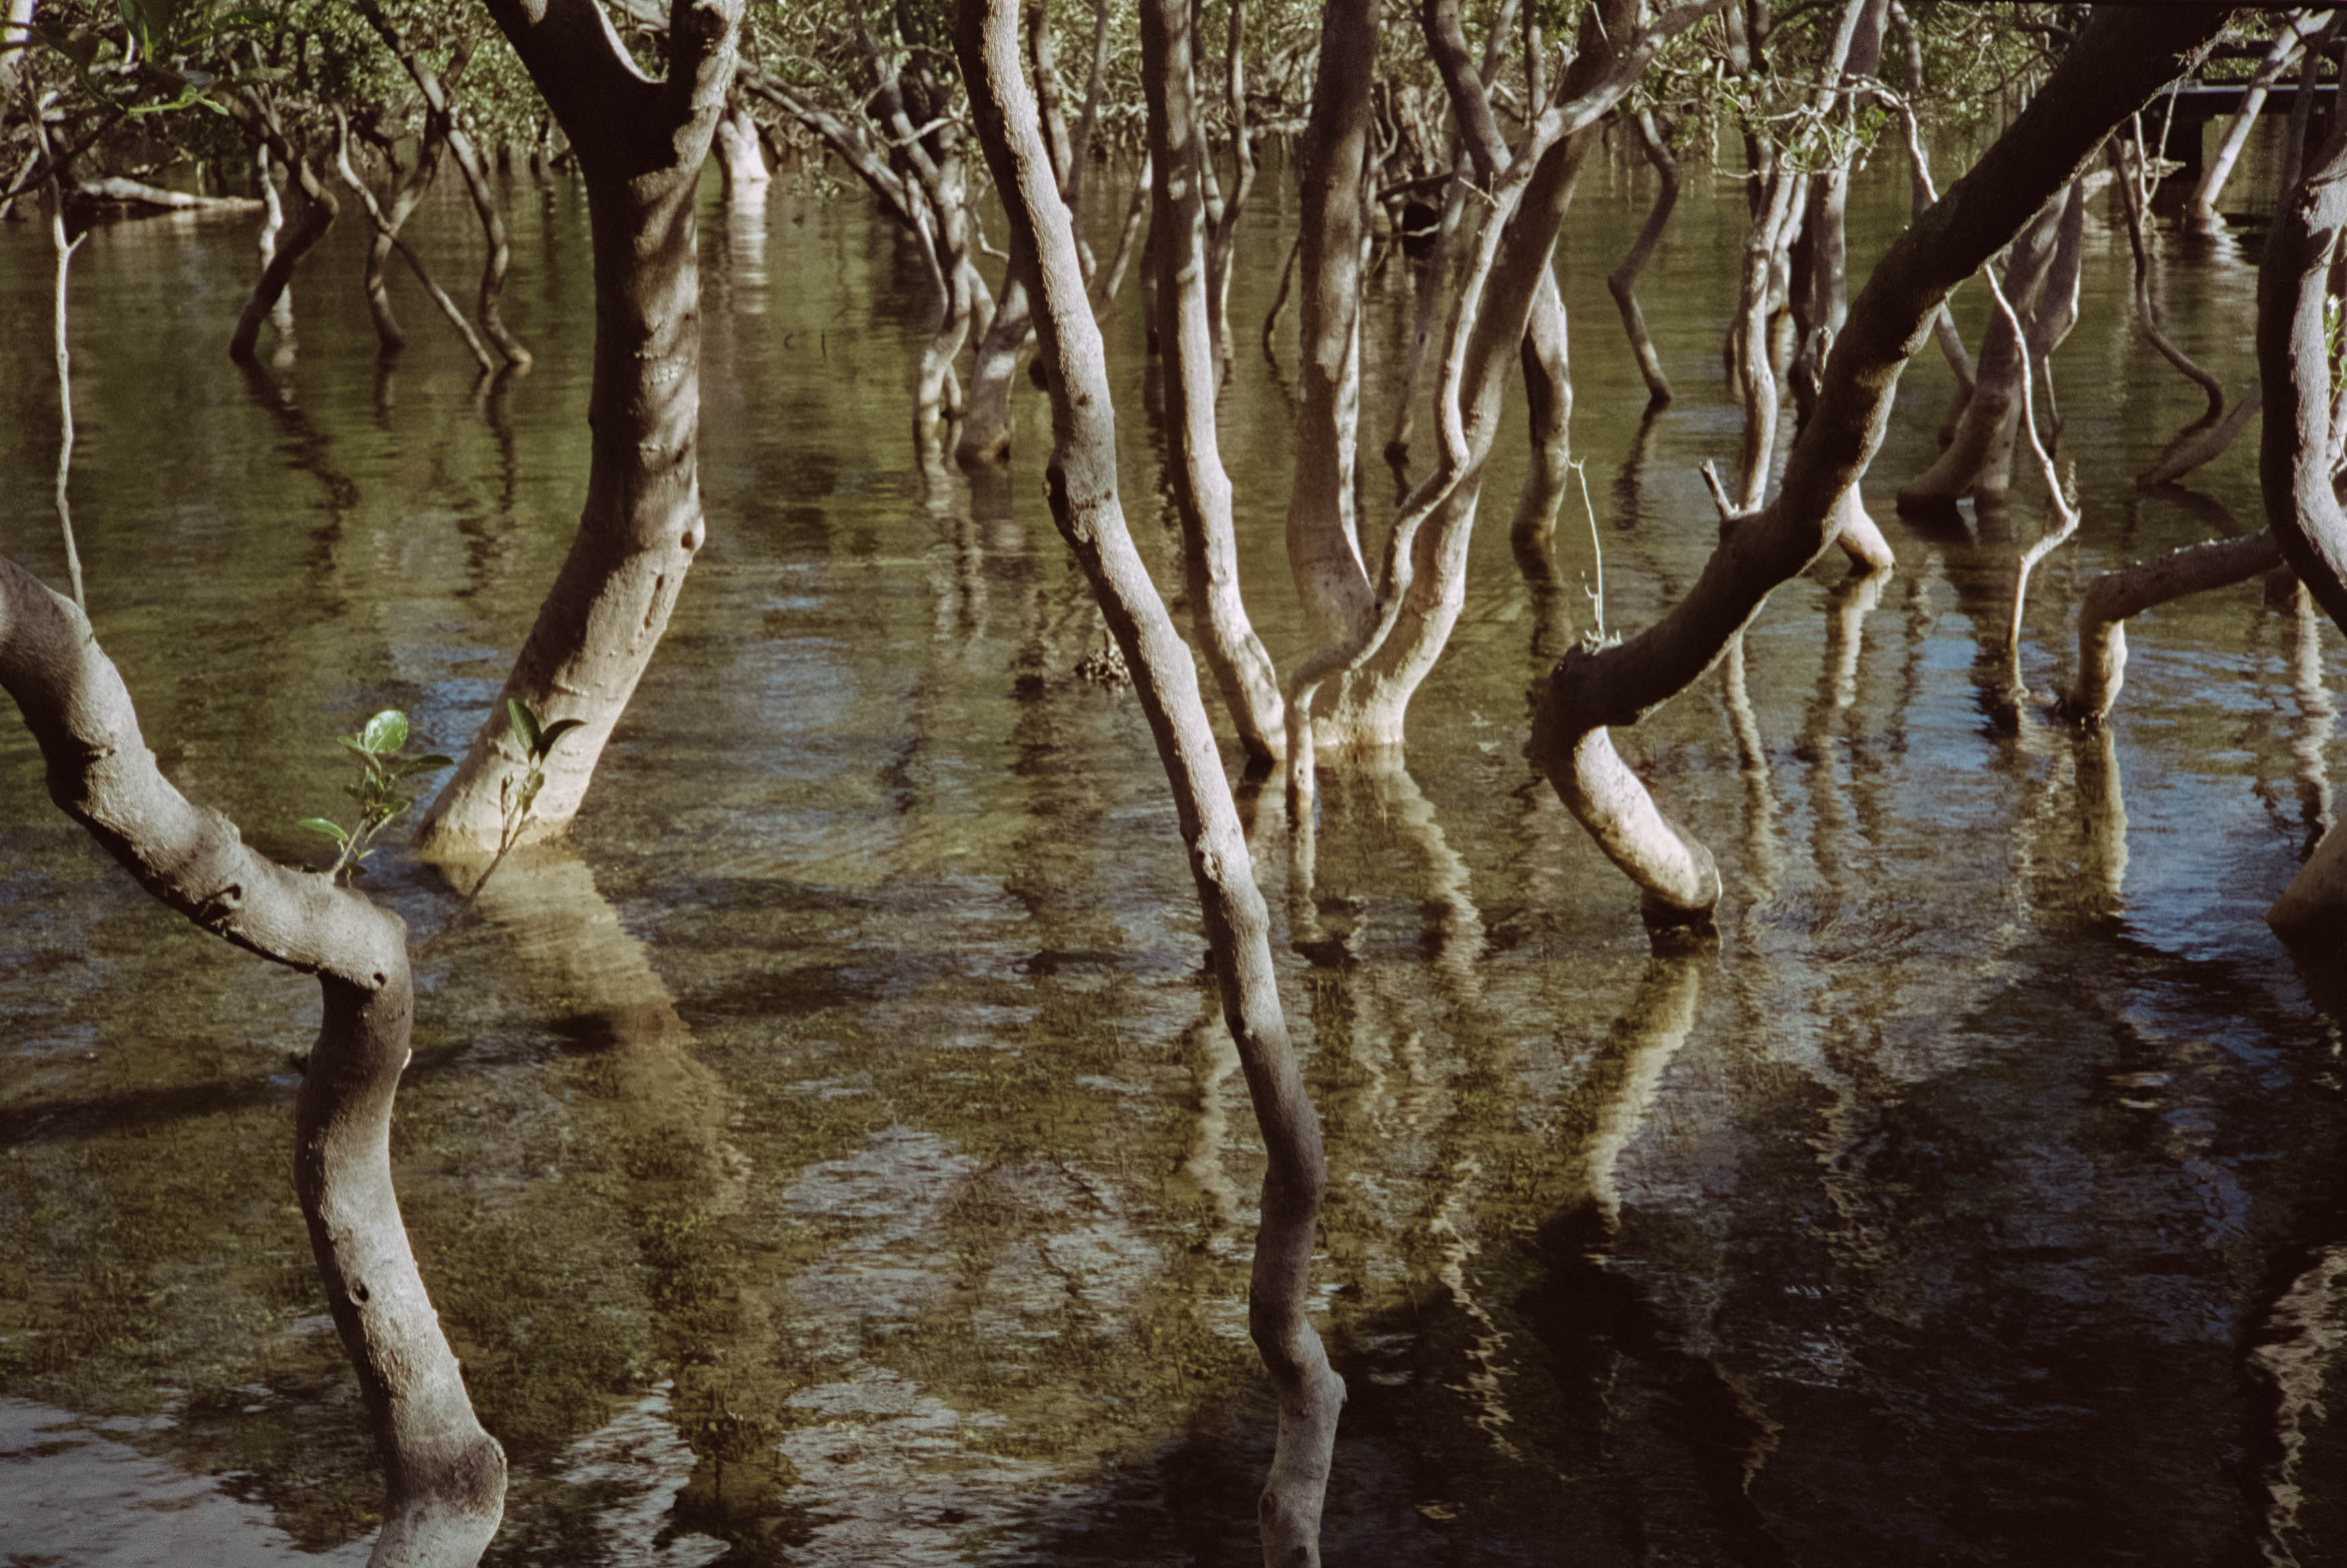
I’ve tried photographing mangroves before, including with this same Leica, and my failures now seem to be geographically universal. There’s something otherworldly about their tangled roots and muddy pools that simply refuses to translate onto film. Perhaps the problem is the plants themselves, although I’m prepared to entertain the possibility that it’s me. If anyone has managed to photograph mangroves without producing muddy photographs of muddy things, I’d genuinely like to know how.

My attempts at more conventional bushland photography weren’t much better, so I turned my attention towards human habitation. Huskisson, a small town that attracts plenty of visitors when the sun comes out, seemed a more promising subject. I also visited Cape St George, where the ruins of an old lighthouse stand as a reminder that even well-intentioned projects can go spectacularly wrong. Built in 1860, the lighthouse was poorly positioned and its weak light contributed to shipwrecks rather than preventing them. Unfortunately, my own photographic ambitions were running aground too.

I hadn’t developed the film yet, but I could tell that I wasn’t producing anything particularly spectacular. The Leica and Nikon combination certainly wasn’t the problem, though. The M2 might be horrendously overengineered for a camera that essentially lets me focus, compose and take a photograph, but its simplicity is part of the appeal. There are few distractions, and the process becomes increasingly instinctive the more I use it.

The Nikon lens is similarly familiar now. I can find the focus tab almost immediately, and even locking and unlocking the lens at infinity has become second nature. Setting the shutter speed, adjusting the aperture and focusing on a subject gradually become part of the same movement, like an intricate choreography between my hands and eyes. My creative instincts, unfortunately, were taking rather longer to catch up.

Getting to Know Reflx Lab 100D

Things began to improve as the light softened around Callala Bay. By the time I reached my final full day in New South Wales, I was becoming more comfortable with the setup, and the photographs were starting to show a little more promise. My hand-eye coordination was working seamlessly, even if my creative eye was only just beginning to wake up.

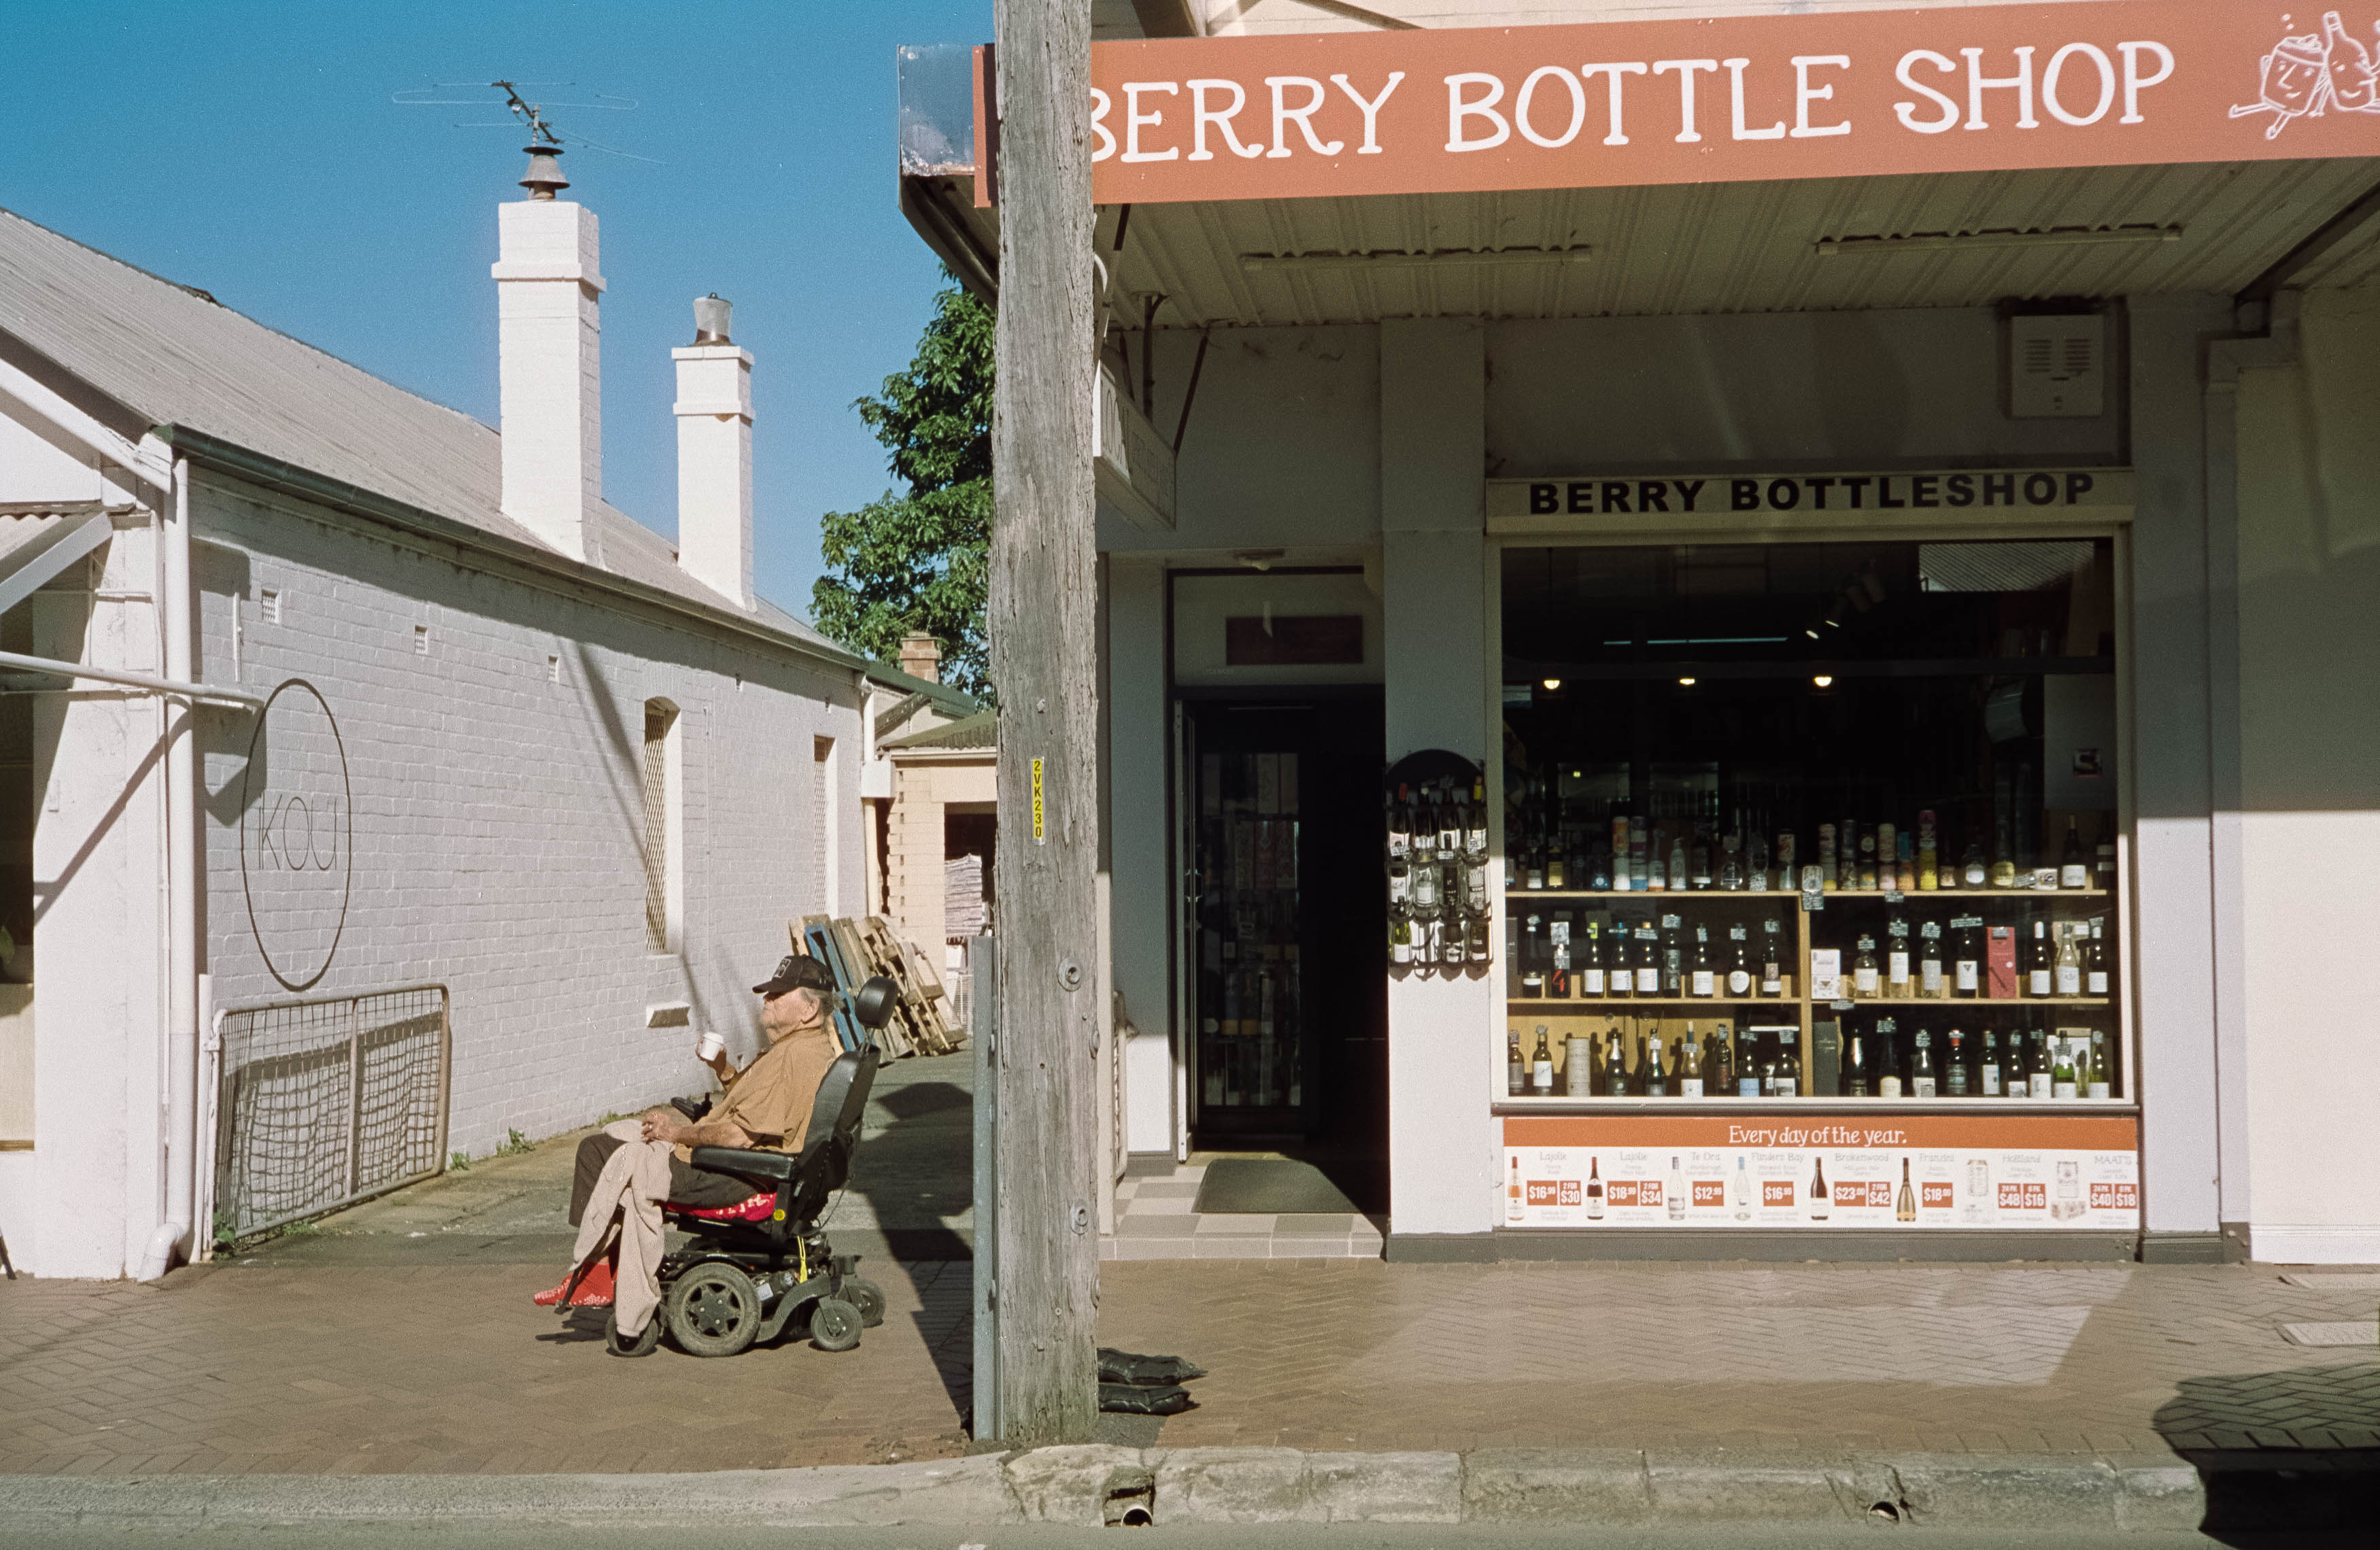
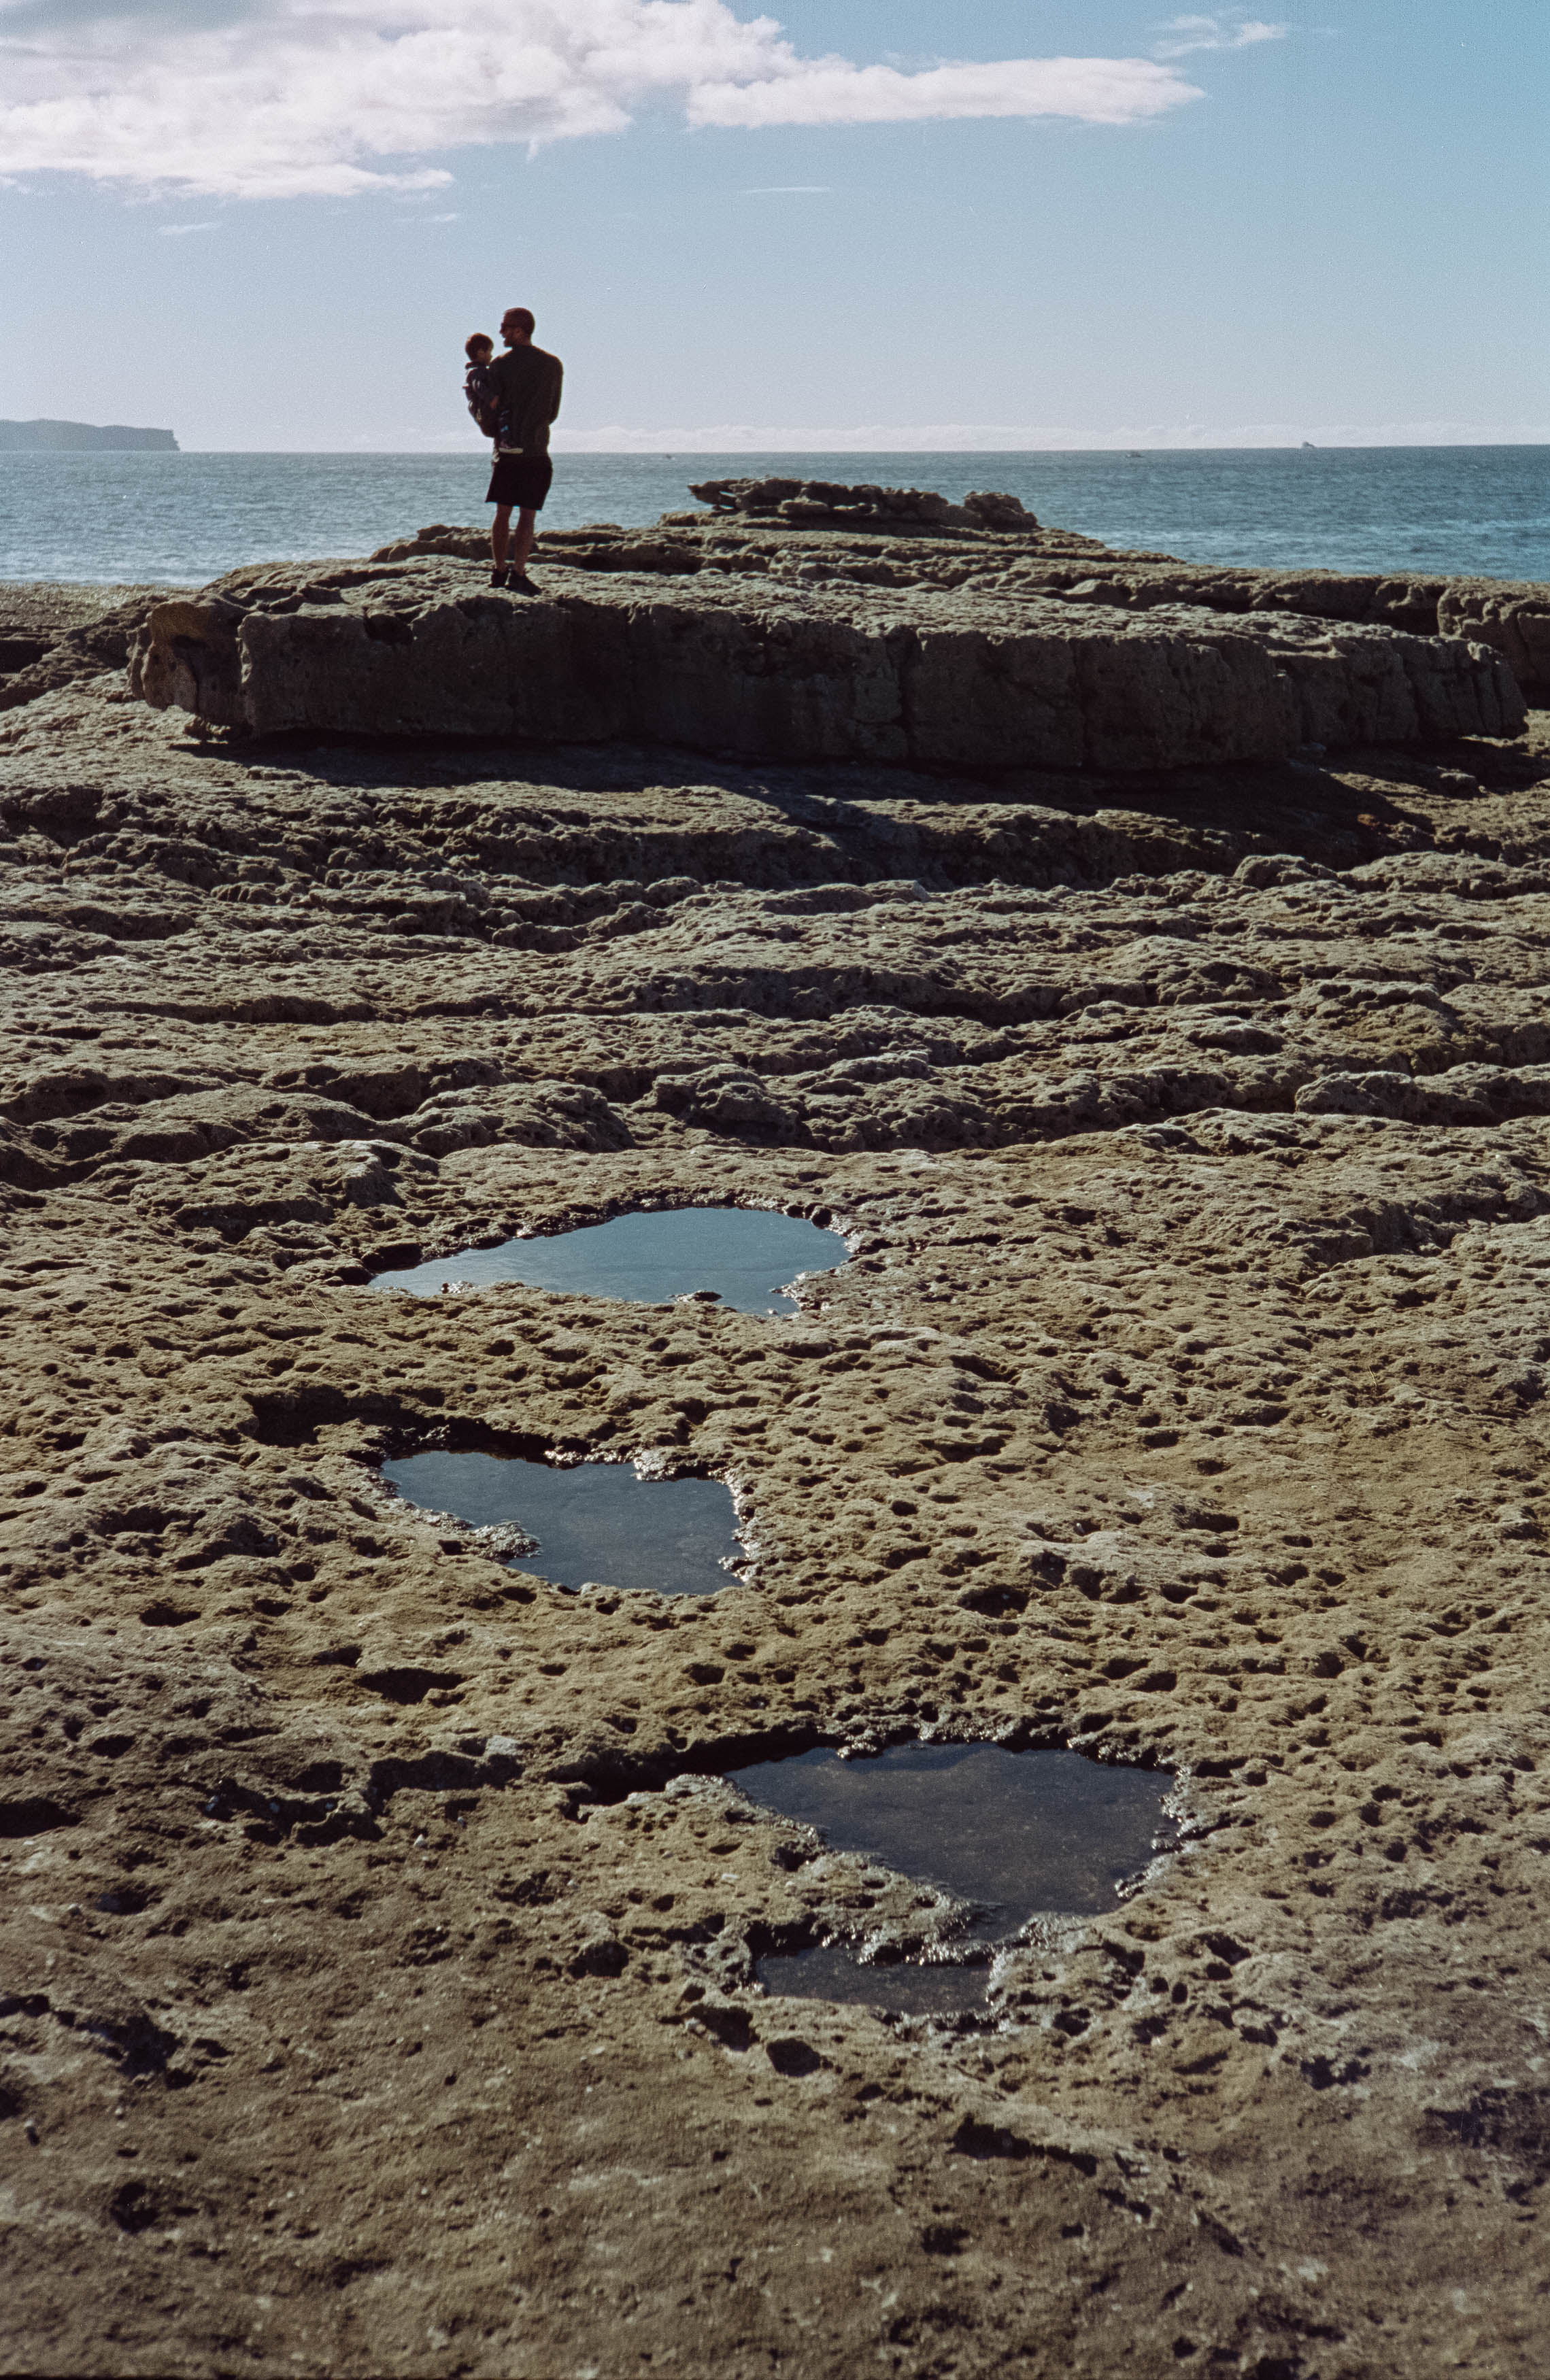
Once I developed the film, I was pleasantly surprised by the results. Reflx Lab 100D produces fairly neutral colours, with the sort of fine grain and sharpness I was hoping for. I find cinema film can lean a little green compared with some budget still-photography stocks, which often introduce pink tones into the shadows. The film wasn’t particularly flattering to the rocks and foliage around Cape St George, but it rendered the towns of Huskisson and Berry with an appealing natural charm.

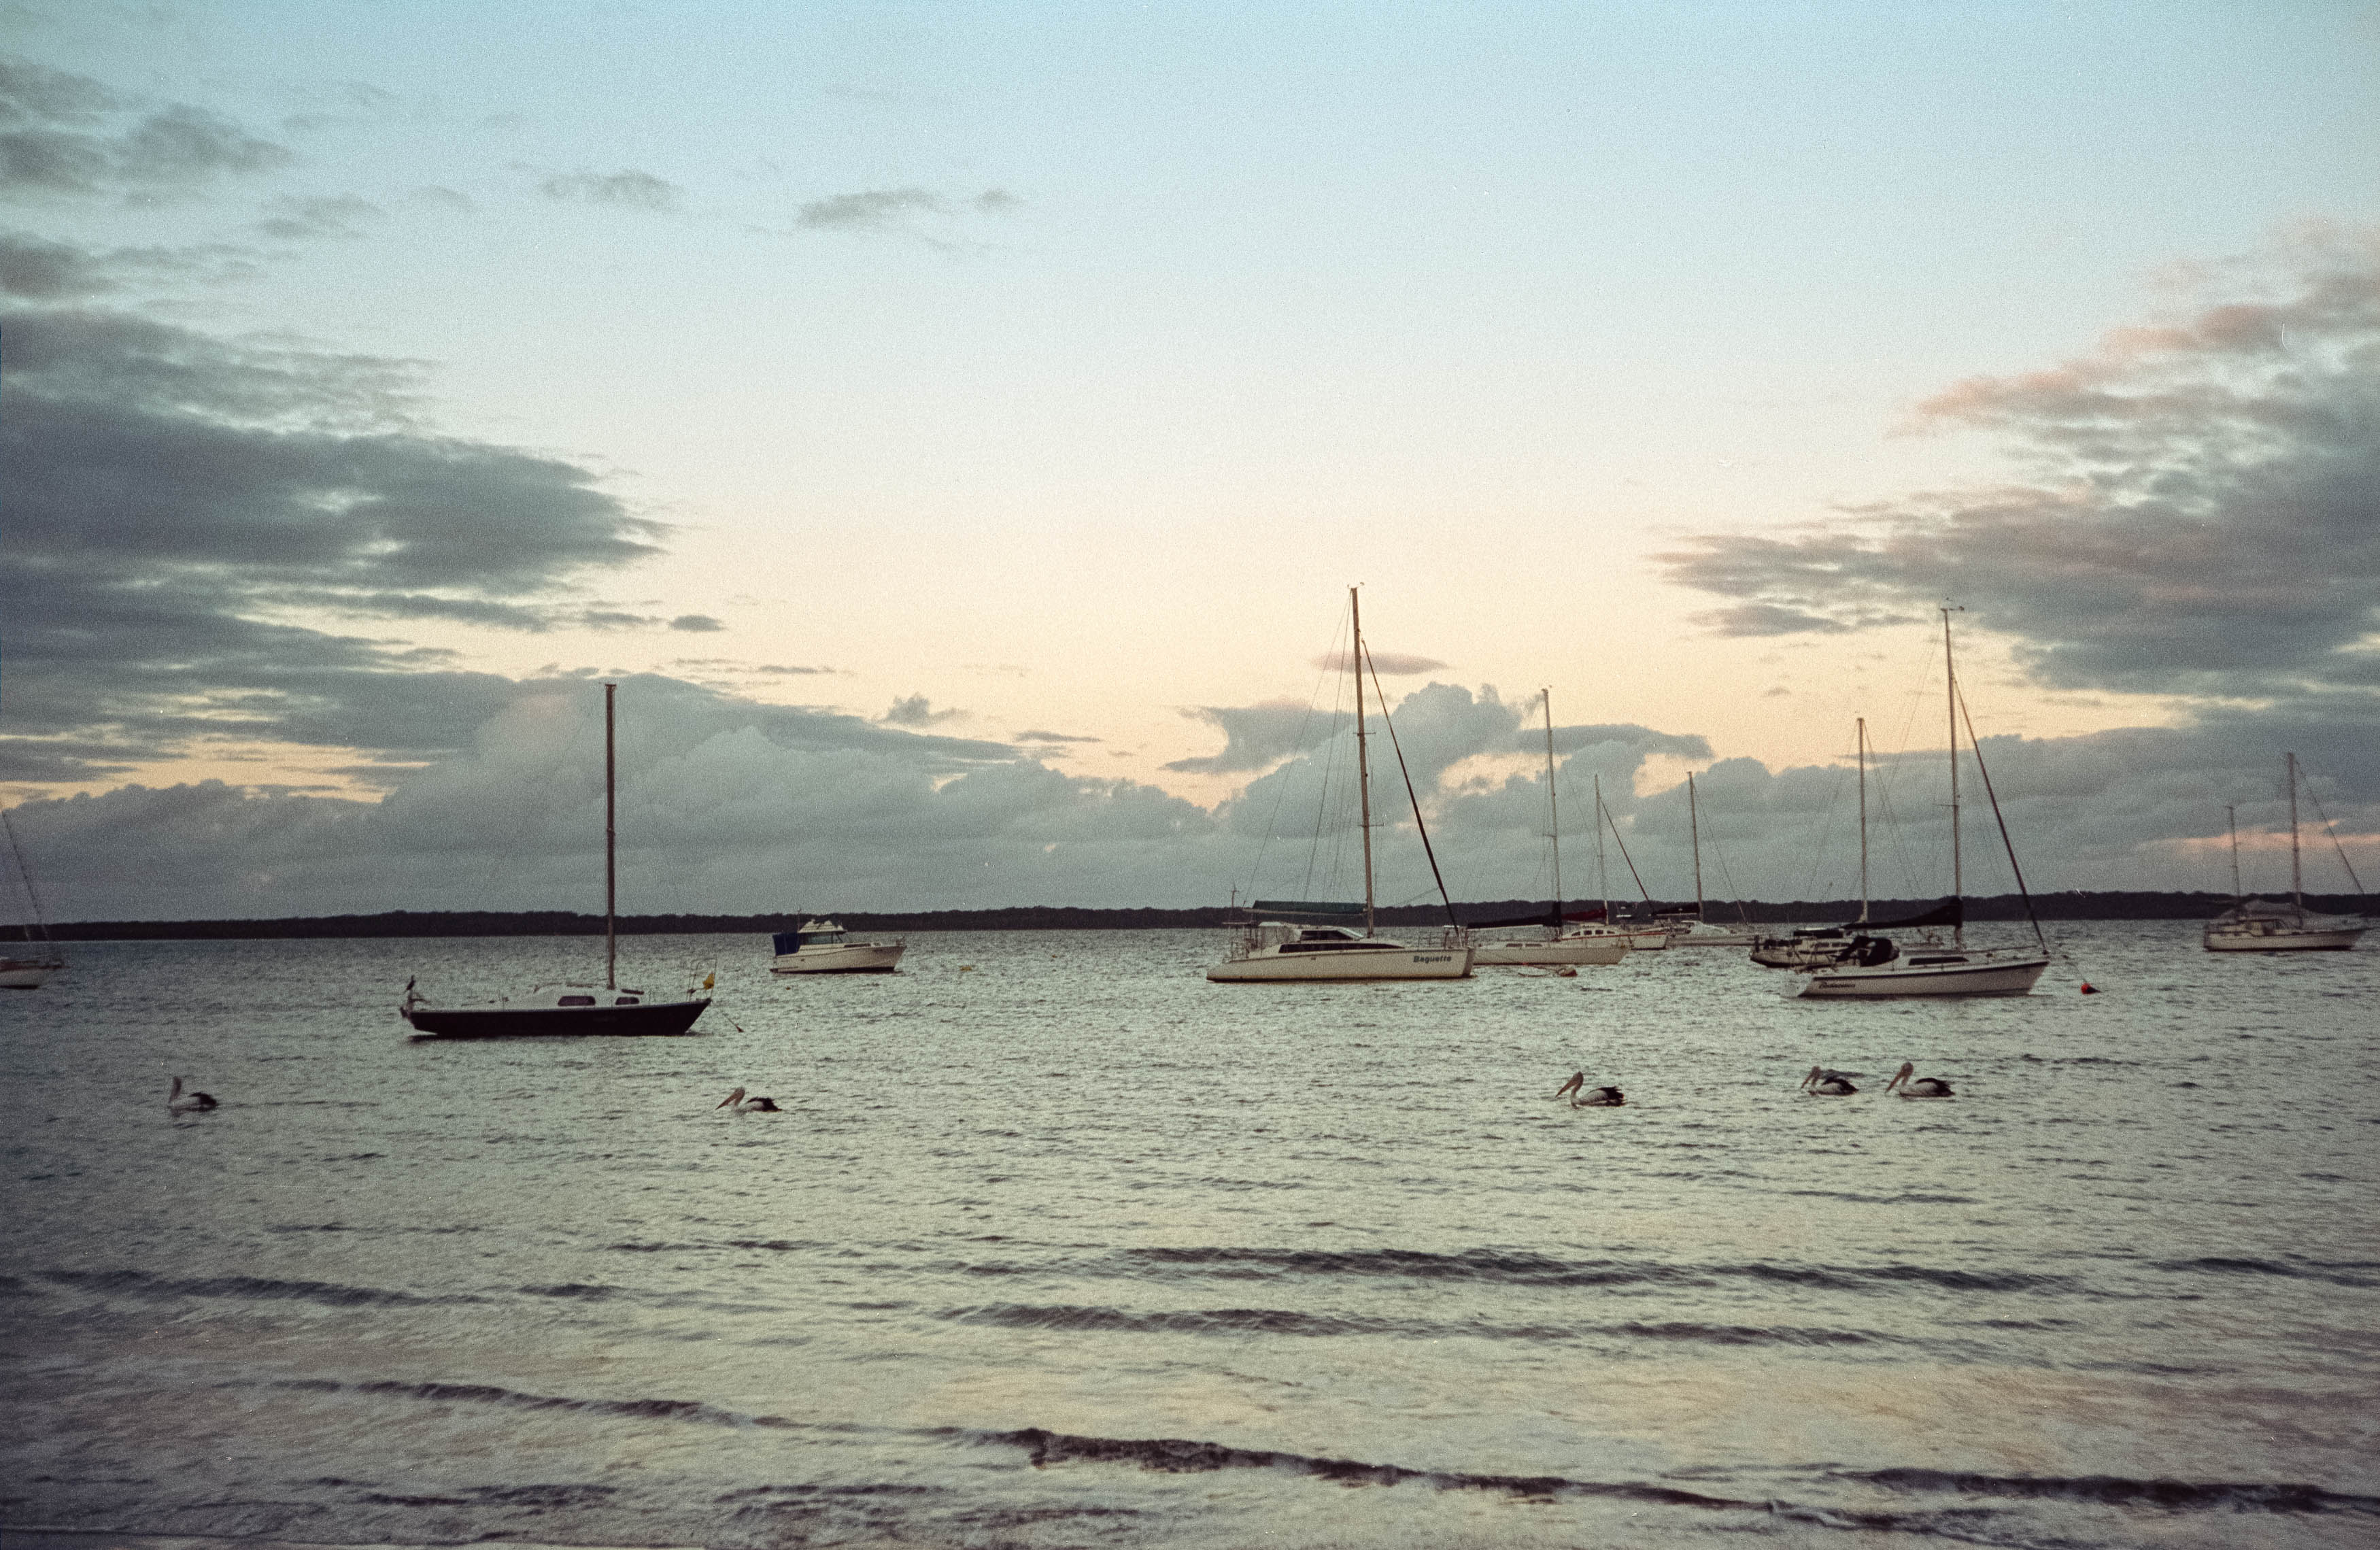
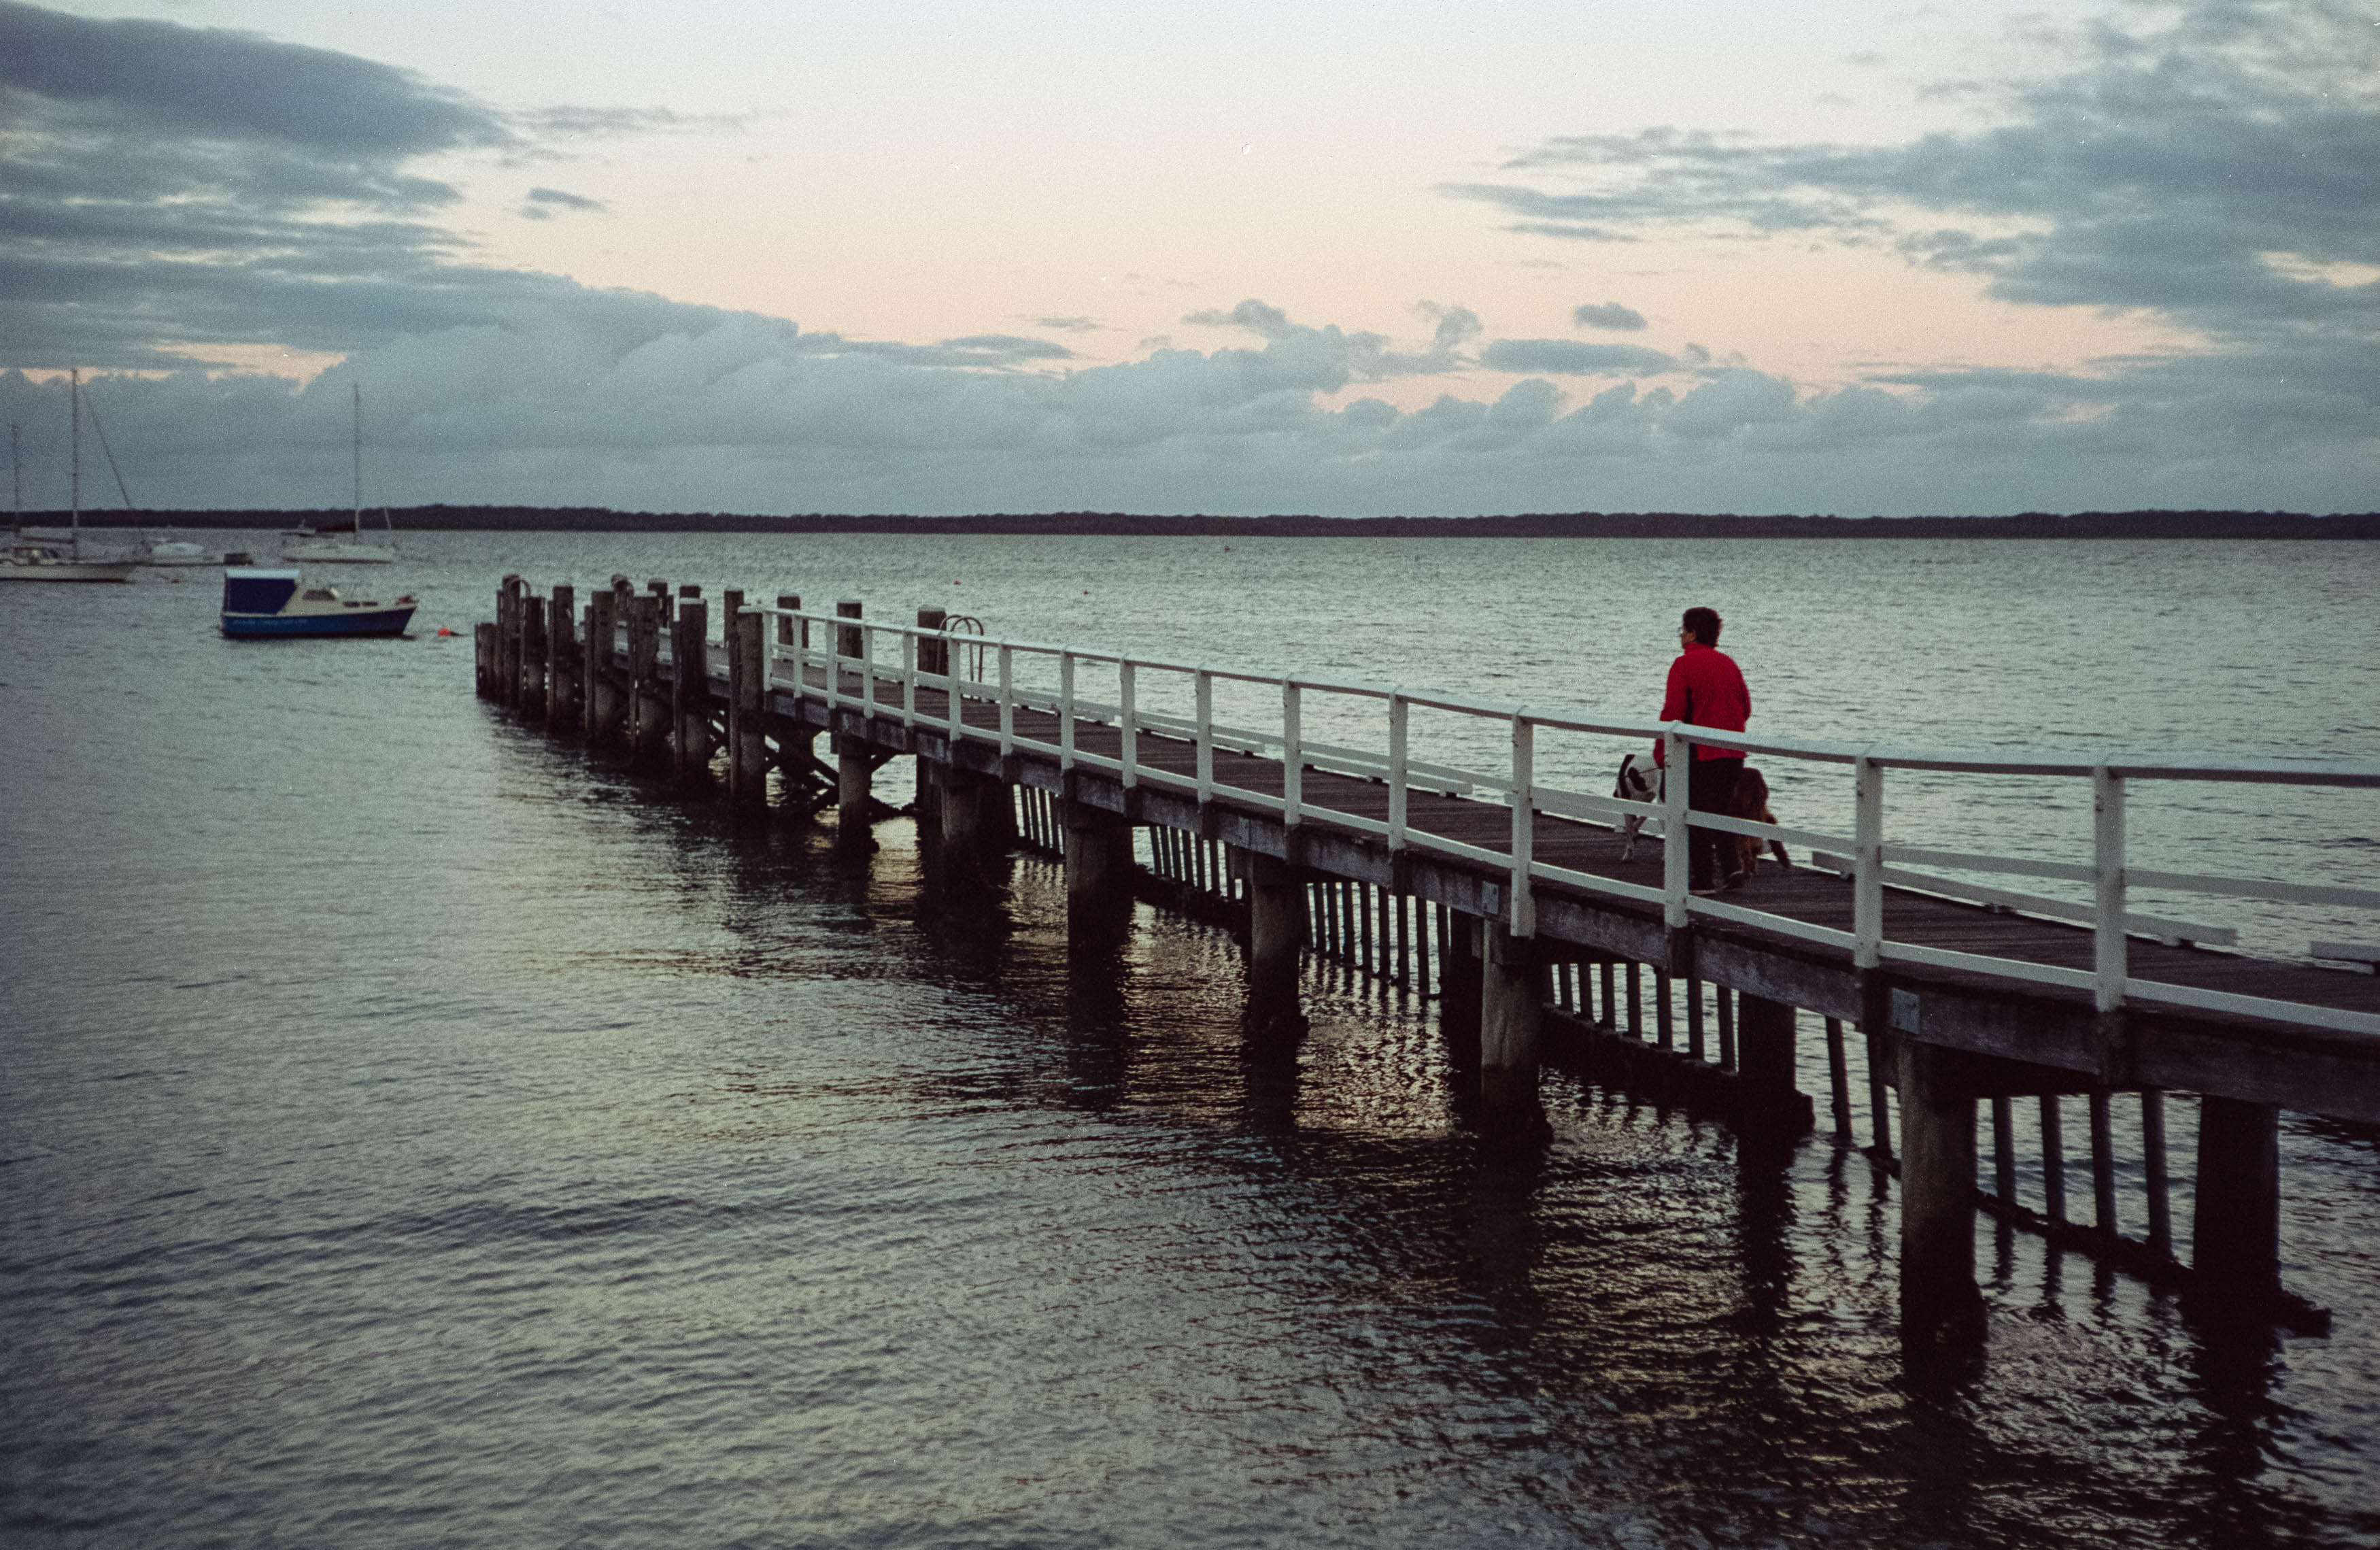
The Nikon lens helped, too. At f/1.4, it can produce the dreamy rendering often associated with vintage optics, although I didn’t see much of the bloominess that sometimes accompanies shooting wide open. In brighter conditions, stopping down allowed me to take advantage of the film’s sharpness, while the sunset photographs of Callala Bay turned out to be among my favourites.

Learning to See, Not Just Shoot

The biggest lesson from this experiment wasn’t really about the camera, lens or film. It was about familiarity. The more I used the Leica M2 and Nikon 50mm, the more naturally everything worked. My fingers found the dials more quickly, focusing became instinctive, and I gradually became more confident judging exposure without reaching for a light meter every time.

After checking the exposure in bright sunshine and in the shade, I found it increasingly easy to judge the light by its intensity and the contrast of the shadows. The camera became less of a mechanical device I had to operate and more of an extension of myself. That freedom allowed me to concentrate on what was actually in front of the lens.

But there’s a difference between learning to operate a camera and learning to see photographs. Limiting myself to one camera, one lens and one film helped me become familiar with my equipment, but it didn’t automatically make me more creative. The real challenge was learning to recognise compositions that worked within those limitations, rather than wishing I had a different lens or another film stock.

By the end of the trip, I was beginning to see the world in 50mm Vision3. I had a better understanding of how the lens behaved, how the film rendered colour and how the camera fitted into my photographic process. I suspect the photographs will improve as that familiarity develops further.

So, did one camera, one lens and one film make me a better photographer? Perhaps not overnight, but it gave me a useful way to focus on the things that matter. The equipment became familiar enough that I could spend less time thinking about it and more time looking for photographs worth taking. Six favourites from 72 frames isn’t exactly a spectacular hit rate, but it’s a start. Just don’t ask me to photograph any more mangroves.

The Godox C100 is More Than a Toy

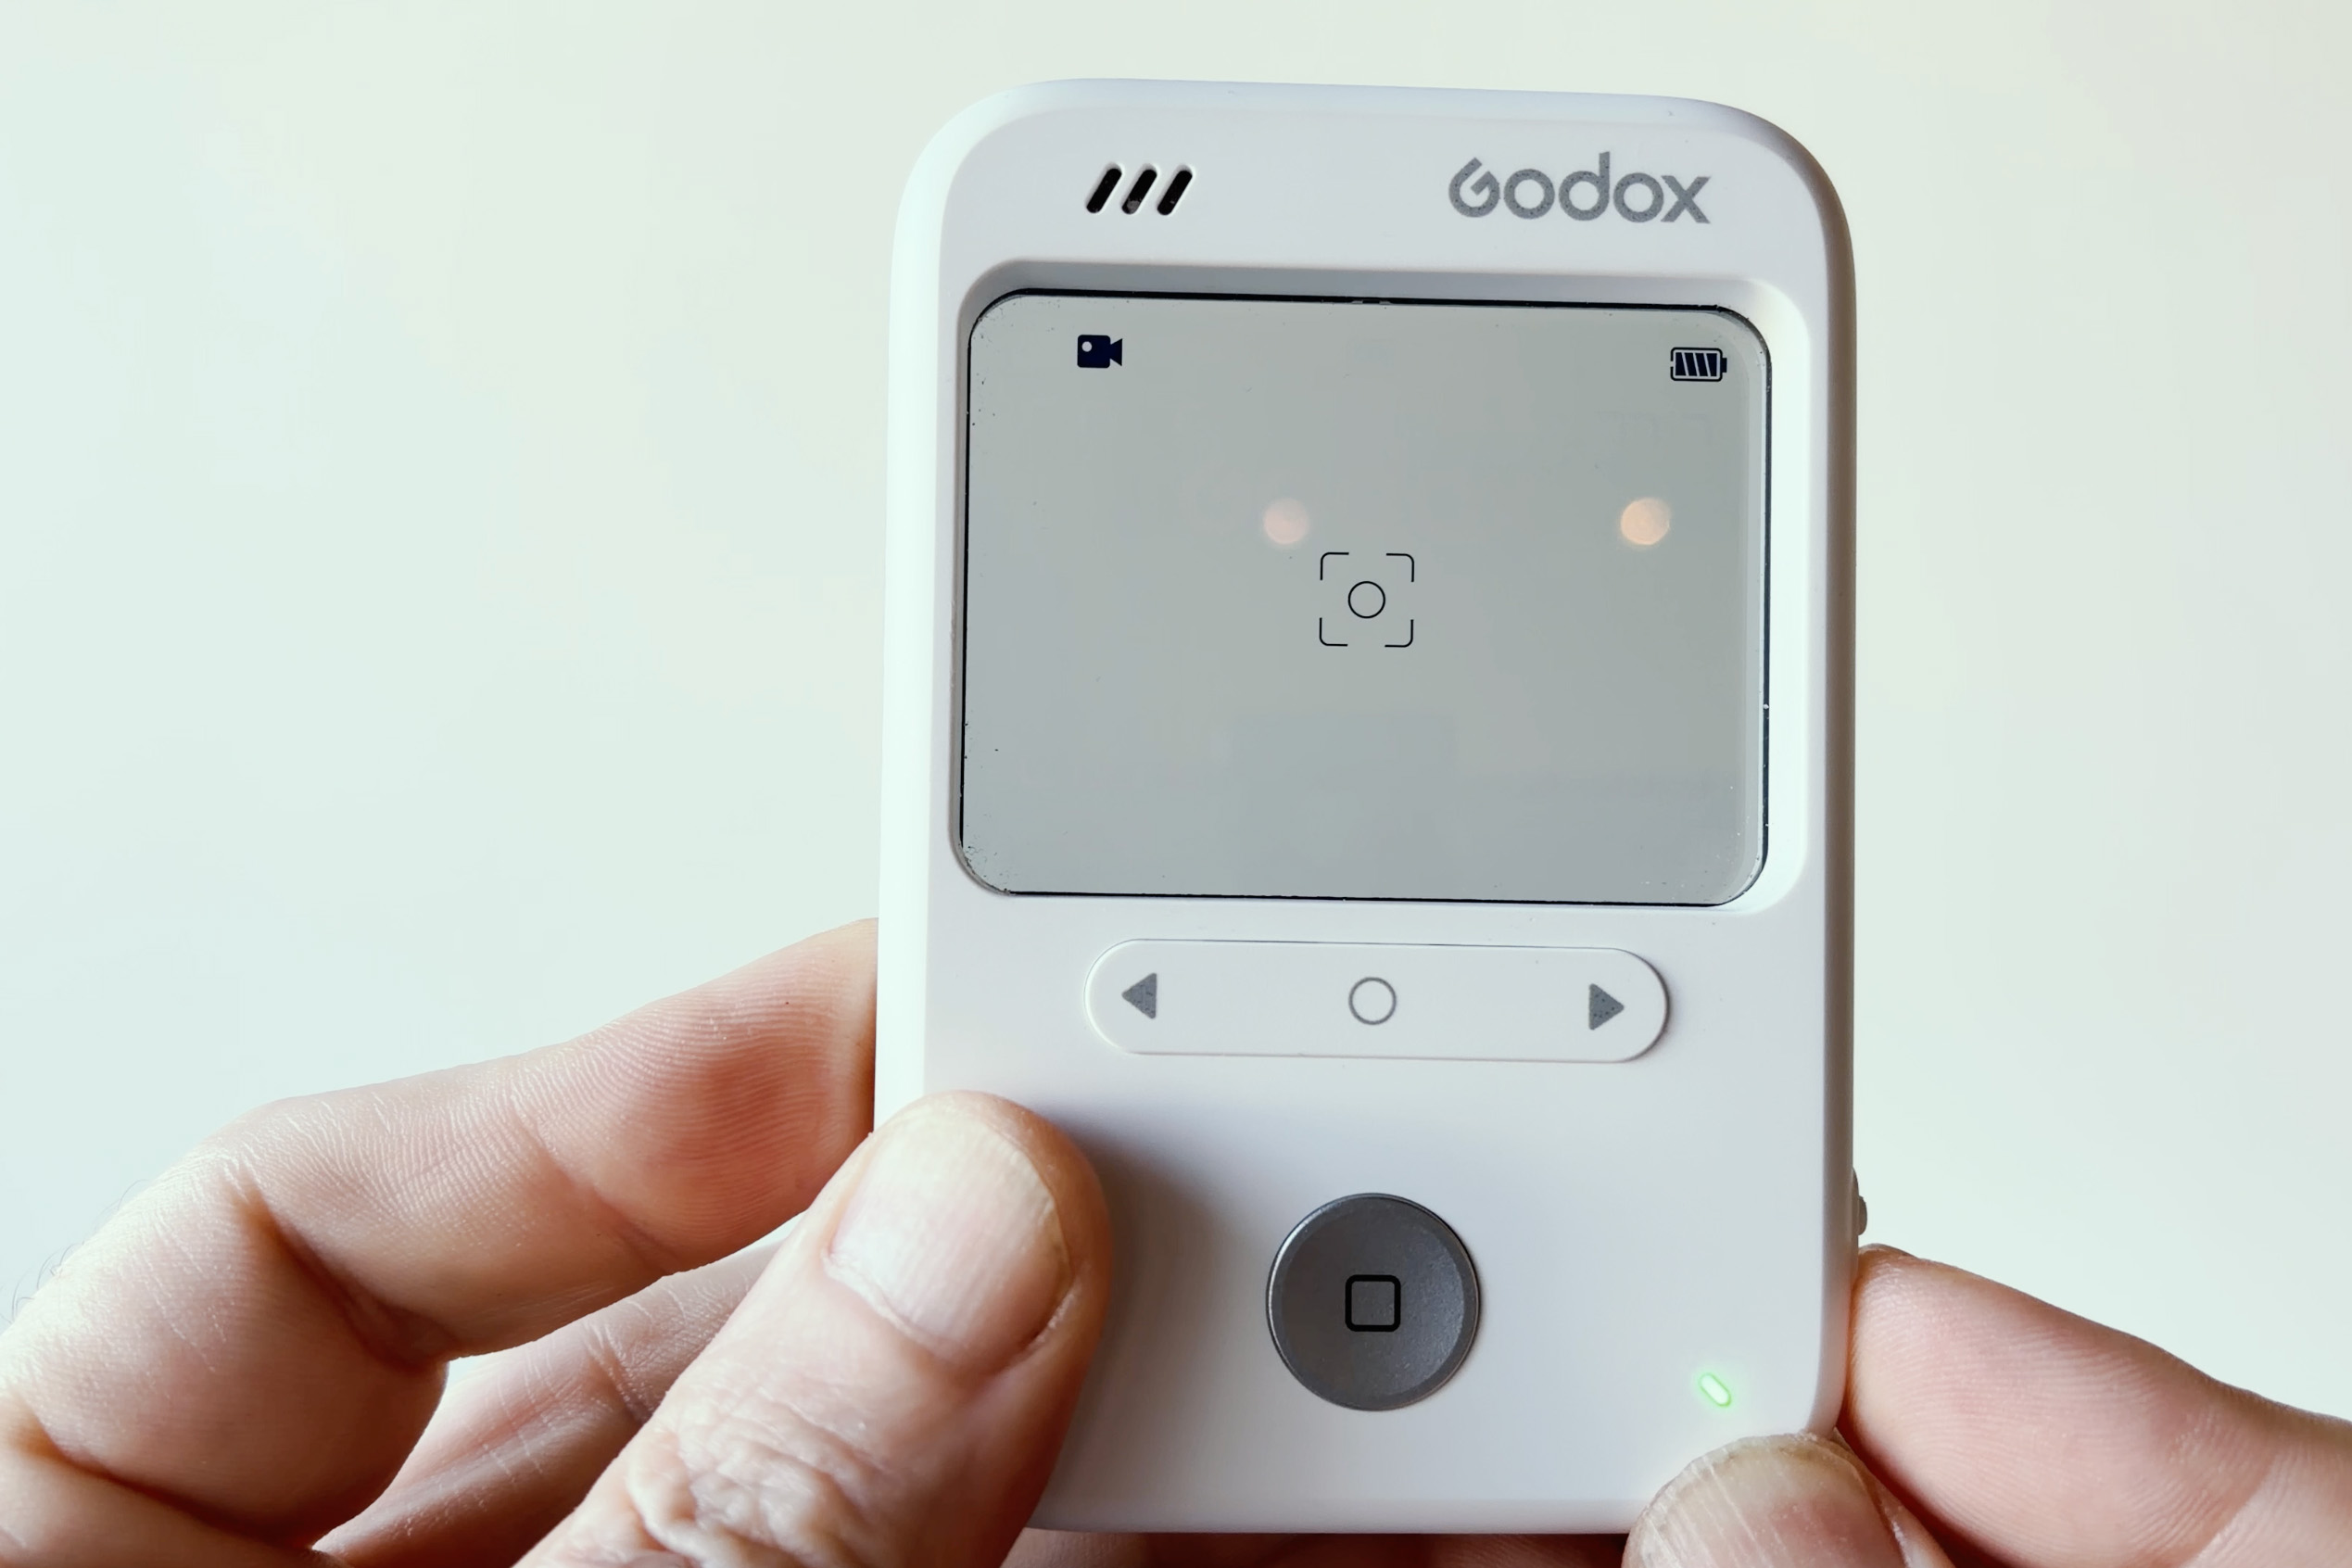
What on earth is the Godox C100, and what is it actually good for? That’s what I wanted to find out. At first glance, it’s certainly different from most cameras I’ve used. Godox has pushed the boat out with this one: it’s a simple white rounded block, relatively unobtrusive, sleek and minimalist, yet somehow exactly the sort of device that makes people stare because it doesn’t really look like anything else.

It is, in fact, a digital camera. It’s just a digital camera without a screen for reviewing your photographs. We’re starting to see a few of these toy cameras appearing, with the Kodak Charmera probably being the best-known example. The C100 takes a rather different approach, though. It has a viewfinder, but rather than a tiny squinty scope, half the device is dedicated to a clear window through which you compose your shots.

There’s something wonderfully anachronistic about it. The viewfinder feels like technology from the 1930s, much like my Voigtlander Bessa folding camera, while the LCD overlays inside it bring things forward to the 1980s. And then, buried inside this strange little object, there’s a two-megapixel digital camera — technology from the 2000s.

But what is it actually good for? If we’re being honest, the camera technology is basically dash-cam territory. It’s the kind of thing you could use to see who’s robbing the convenience store or taking a dump outside your front door. It does the job, so to speak, but that’s hardly groundbreaking. It also shoots 1080p video at a claimed 29 frames per second, although before you start thinking about replacing your DJI Pocket 4 Pro, remember that this is a toy based on technology designed to help you park your car rather than get you onto the cover of National Geographic.

The more important question, then, is whether it’s actually fun.

Taking the C100 Out Into the World

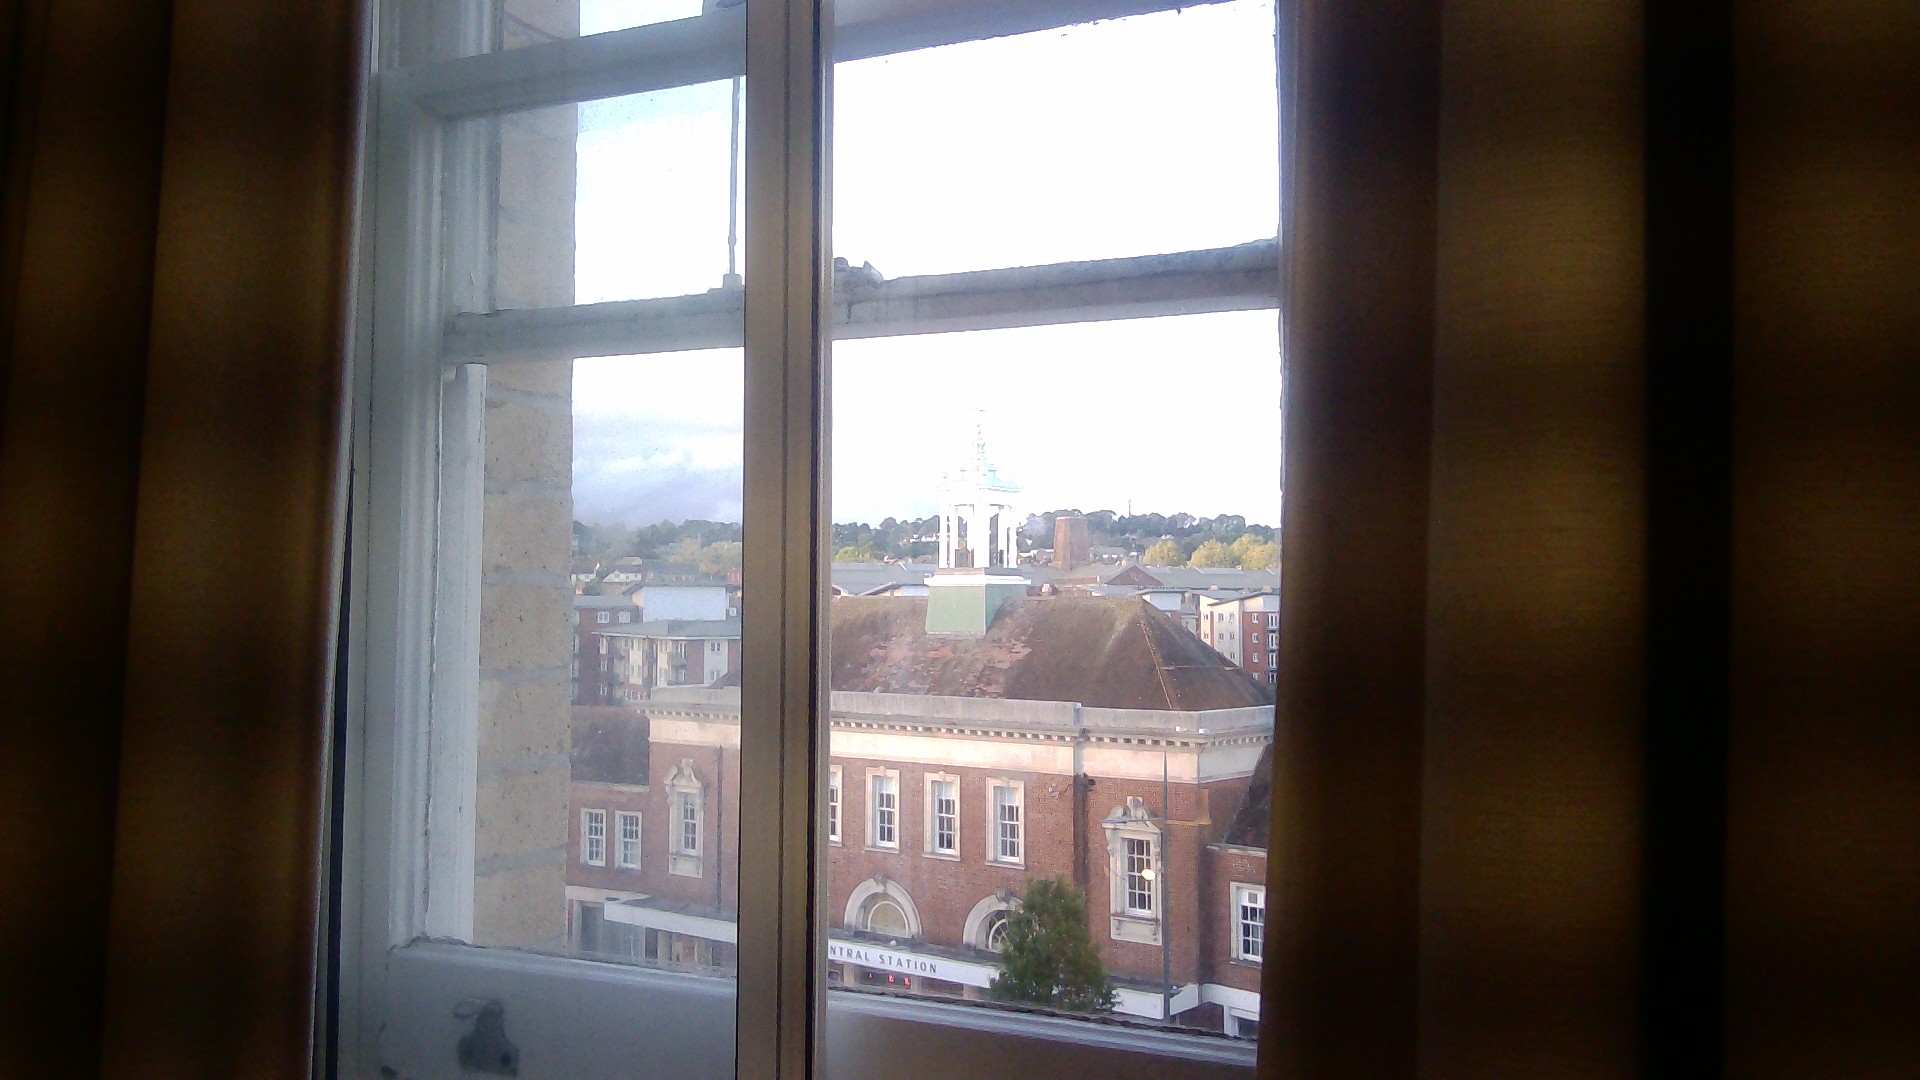
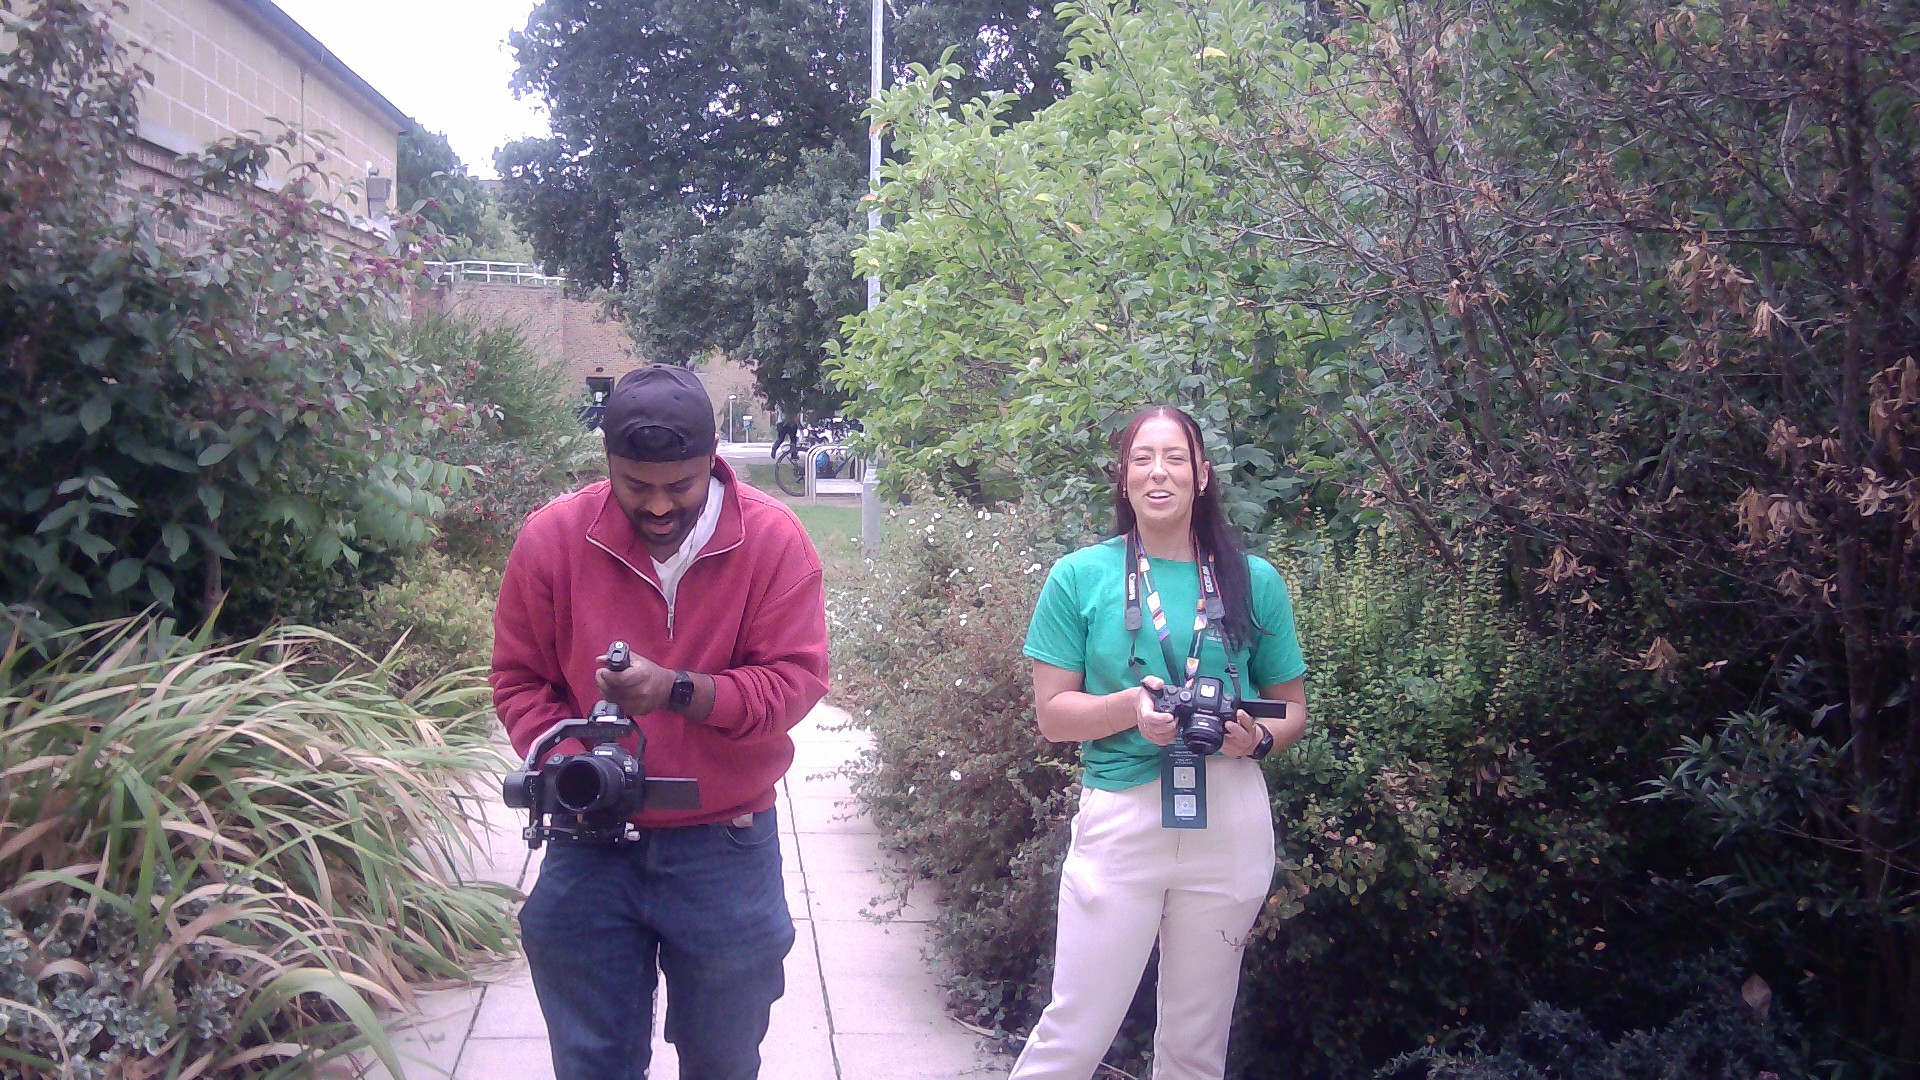
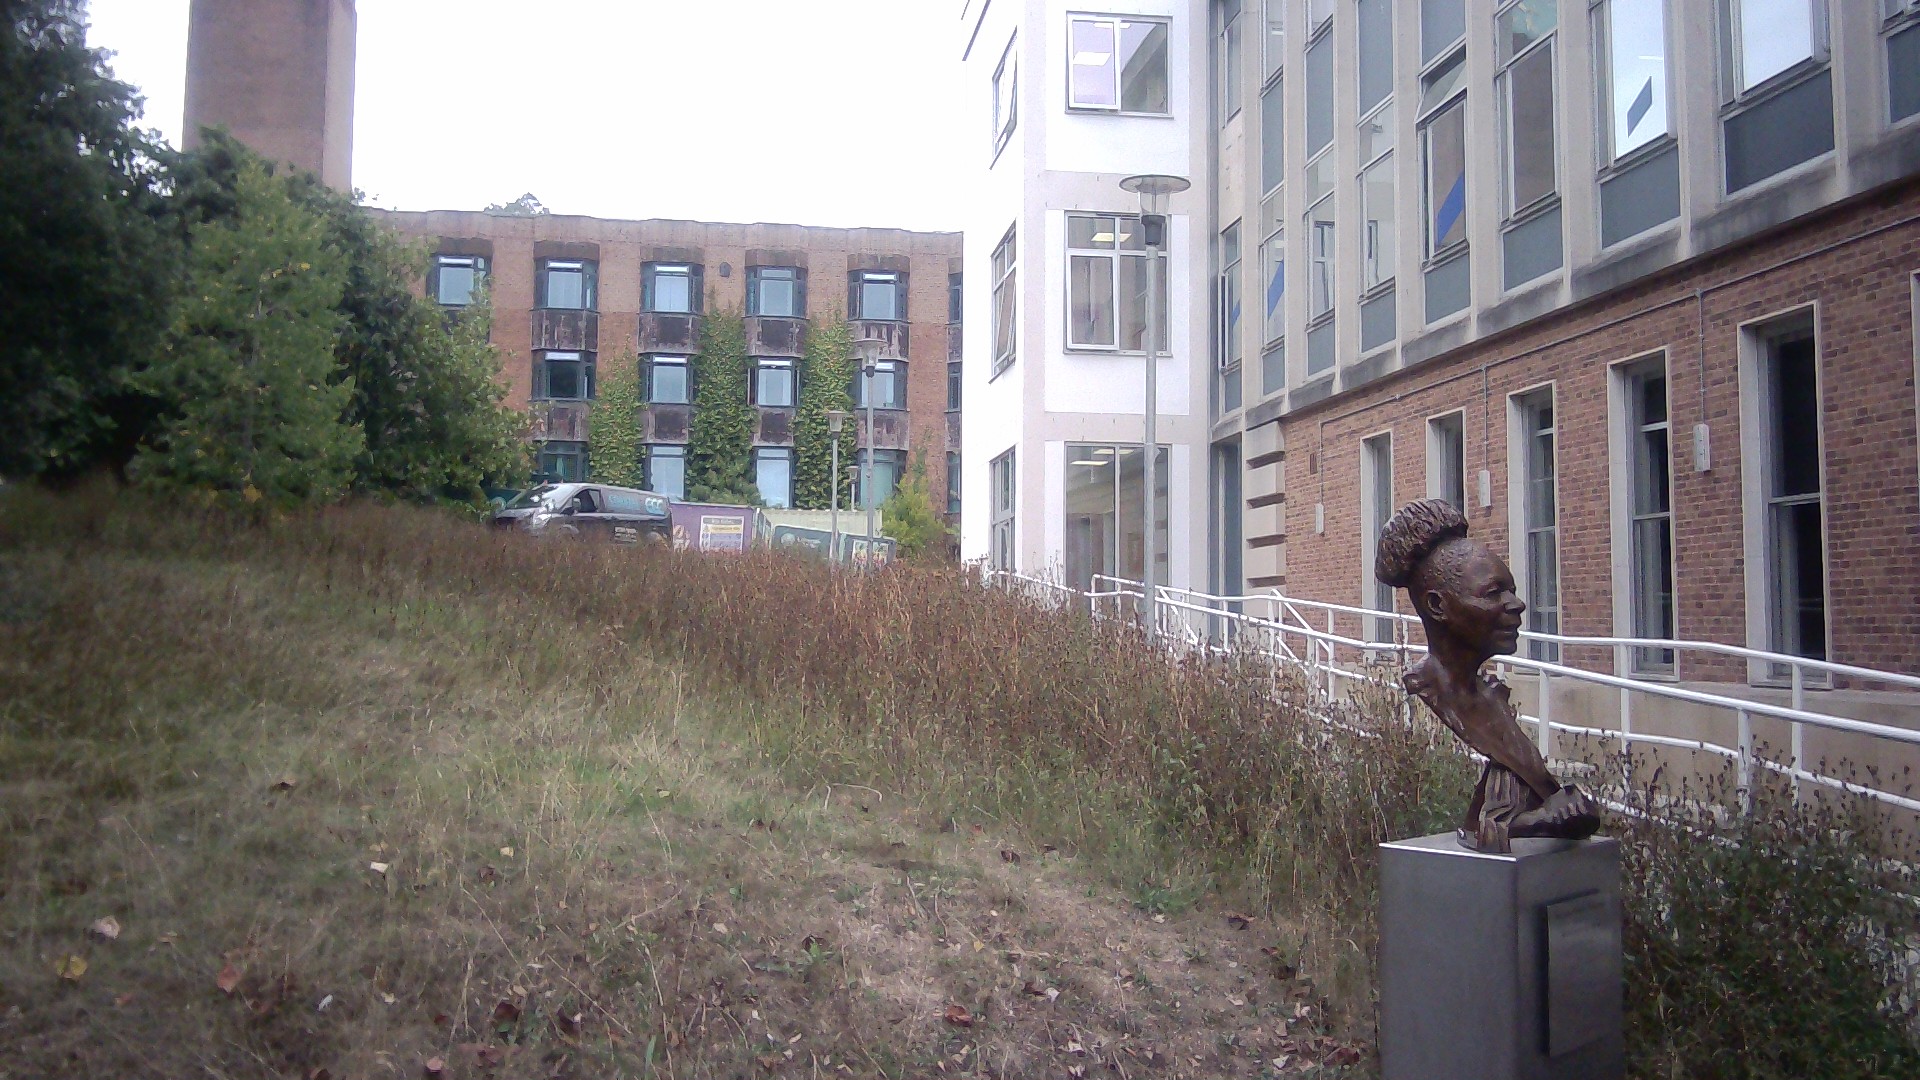
I took the C100 with me to Europe on a work trip, and when I found myself at Exeter University, I decided to take it for a walk around campus. Despite being tiny and unobtrusive, it isn’t particularly discreet. You have to get used to explaining what that weird little white brick in your hand actually is.

Judging by the reactions I was getting as I wandered around campus, it certainly captured attention. For a generation of students who have probably never taken a photograph on anything other than a phone, it’s a particularly strange-looking object. I found it surprisingly enjoyable for documenting the campus, precisely because it was so limited.

The image quality is, well, you’ve seen it. It isn’t going to replace an Ari Alexa or a Hasselblad X2D. But that isn’t really the point. The quality isn’t necessarily much worse than some old digital point-and-shoots, but the C100 gives you almost no control over the image. There’s no decent lens, no zoom, no aperture control and no shutter control, and you can’t review the image afterwards.

That last part makes things particularly random. You might think holding it out at arm’s length would help you compose your photograph, but it doesn’t really work that way. You have to hold it to your eye, using the frame in the viewfinder to work out what you’re actually photographing.

Operation is extremely simple — simple enough that the instructions fit on the back of the plastic case. There are three modes: still photography, video and, most interestingly, a light meter. You can change the aspect ratio for photographs, although that’s really just an in-camera crop. Video works in much the same way, including a 4:3 option that allows you to recapture some VHS nostalgia.

The quality is not great. The JPEGs are low resolution and heavily compressed, with smeary artefacts, while the video is choppy and suffers from rolling shutter and some fairly aggressive digital stabilisation. This is definitely not a vlogging camera. The good news is that transferring those crappy photographs and videos is completely painless: connect it via USB to your phone or computer and, within seconds, you can post those bilious videos as Instagram reels.

The Surprisingly Useful Light Meter

If the C100 were only a two-megapixel camera and a mediocre video recorder, I’m not sure I’d have much reason to keep it. The third mode, however, changes things considerably. This little white brick is also a light meter, and for me, that’s the real killer feature.

I own several manual film cameras that provide no exposure aids, so I normally have to rely on my eyes, my phone or a proper light meter. My eyes are shot, while using my phone is surprisingly inconvenient. I have to unlock it, open the app, take the reading on a touchscreen and then put the phone away safely again.

My little Sekonic is a much better solution, but dedicated light meters cost considerably more than the C100. I tested the Godox against my phone, the Sekonic and my digital camera’s meter, and it matched them pretty closely. That’s a pretty impressive result for something costing around seventy Australian dollars and weighing just 65 grams.

It isn’t a spot meter; it’s centre-weighted. By pointing the centre LCD frame at different parts of the scene, I can gauge the brightest and darkest areas, which is useful in contrasty situations. The interface lets me cycle through ISO, aperture and shutter speed, locking two settings while calculating the third. For film, I can set the ISO and shutter speed and have the C100 tell me the aperture I need to use.

I took the opportunity to put that into practice with my Voigtlander Perkeo 1, loading a roll of Ilford FP4 Plus and heading out to make some proper analogue photographs.

A Toy That I Actually Want to Keep

So that’s the Godox C100. It’s a still camera, a video camera and a light meter, but most of all, it’s fun. If you don’t expect much from it as an imaging device, it will still give you some snapshots to memorialise moments, and the strange little design makes it a pretty good conversation starter.

For me, though, the real value comes from the light meter. If you shoot a lot of film with manual cameras, having a tiny, inexpensive meter that you can simply hang around your neck is genuinely useful. At 65 grams, it’s easy to throw into the bag or wear with a lanyard, and it’s there whenever I need it.

It isn’t perfect. Scrolling through shutter speeds and apertures is a bit of a button fumble compared with the analogue dial on my Sekonic, and I’ve missed shots by pointing the meter slightly too high and exposing for the sky instead of the land. The interface also has some counter-intuitive moments. The camera makes an audible click with every photograph, and the video mode clearly announces when recording starts but goes silent when you stop, meaning there were times when I wasn’t entirely sure what it was doing.

It also switches itself off to preserve battery life, and waking it up requires flicking the side switch off and back into the correct mode. After a few days, I found that the battery had run out, so a few more milliamp hours wouldn’t hurt either.

Those are fairly small complaints about a modest device that punches well above its weight. Yes, it’s a toy, but I was surprised by how much I enjoyed the delayed gratification of taking photographs and video and having to wait to see the results. It was fun, despite those results being almost universally crap.

I do think there’s potential for a more advanced version. Better image quality would obviously help, although that isn’t really what this camera is about. I’d rather see some built-in art filters that could deshittify the photographs a little, perhaps giving them a nostalgic, tobacco-tinged 70s postcard look or gritty black-and-white grain.

I’d also love the light meter to record its settings as metadata, perhaps allowing the readings to be logged alongside the images. That could be genuinely useful for keeping track of the settings I use on film photographs.

Ultimately, I really like the C100. It isn’t a serious imaging device and it doesn’t pretend to be one, but it’s a surprisingly enjoyable little camera with a genuinely useful trick hidden inside. I can see it having a permanent place in my bag as a secondary light meter, and perhaps, at some point, I’ll try to work around its limitations, polish those photographic turds and see if I can actually make some art out of the Godox C100.

The Olympus IS-2000 is a ridiculously cheap and ridiculously good quality film camera

Olympus is no more, but before OM System started warming up yesterday’s ramen in the form of rebadged products from a more successful era, Olympus was a major innovator in camera technology. The IS-2000 isn’t one of those cameras that gets whispered about in hushed tones alongside legends like the original OM-1 or the Mju series of point-and-shoots, but I think it deserves a little more attention.

The only thing it really has in common with the Olympus Mju is the cheap plastic housing. While those cameras were celebrated for putting sharp optics into compact bodies, the only thing small about the IS-2000 is the price tag. I picked mine up for the princely sum of 18 Australian dollars, or closer to $30 once postage was included. As princely prices go, we’re talking bargain-basement Prince Andrew, with all the associated heft, although at least this camera actually works.

The Mju may have legendary status, but the hundreds of dollars being asked for a second-hand Mju II puts it firmly into the Emperor Has No Clothes category. My own copy no longer works and I’m not prepared to replace it at those prices, so perhaps this Olympus can fill the gap. The only problem is finding the gap, because this thing is big. It lumbered onto the scene in 1991 and, in today’s world of sleek electronics, it’s probably best described as husky.

That size was actually part of the appeal when it was new. Olympus marketed the IS-2000, also known as the IS-2 or L-2 depending on where you were, as a ZLR — a Zoom Lens Reflex camera — offering the advantages of an SLR without the weight and inconvenience of carrying interchangeable lenses on holiday. These days we’d call it a bridge camera, but at the time it represented a new class of camera, and this was the second model in Olympus’s flagship range. It certainly wasn’t cheap either, with the retail price approaching US$1,000.

So the question I wanted to answer was simple: adjusted for inflation, is this thing really worth close to two thousand Australian dollars, or have I overpaid at a hundred times less?

Taking the IS-2000 for a Walk

To find out, I took this heritage camera to a heritage town, Guildford in Perth’s Swan Valley. Founded in 1829, it’s one of Western Australia’s earliest settlements, and the pioneers apparently arrived, discovered that you could grow grapes here, and decided never to leave. It takes a while to go from vine to wine, though, and I was only there for a short walk.

Despite the size, the Olympus is genuinely quite a pleasure to use. For all intents and purposes, you’re using a single-lens reflex camera, just one with a fixed zoom lens and somewhat dubious build quality. You get shutter speeds all the way to 1/2000th, shooting at up to two and a half frames per second, although I’m not sure anyone had the money or interest in blasting through a roll of film in fifteen seconds.

The maximum aperture is a slightly disappointing f/4.5 at the wide end and f/5.6 at telephoto, and there doesn’t appear to be any image stabilisation. The 35-135mm zoom range is practical for a point-and-shoot, although 35mm isn’t going to let you fit the whole ceiling of the Sistine Chapel into the frame. You also get an ISO range from 25 to 3200, provided your film is DX encoded or you’re prepared to hack the cassette if you want to push or pull it.

It does, however, have considerably more going on than a conventional point-and-shoot. There are three macro modes, including a zoom macro that lets you focus as close as 0.6m and a supermacro mode that gets you down to 39cm with the zoom locked at 70mm. There’s even an accessory capable of producing a 1:1 reproduction ratio, although naturally I don’t have that, nor do I have the panorama accessory.

The flash system is more interesting than it initially looks. It uses Olympus’s Intelligent Variable-Power flash system, and there are actually two flashes built into the camera. The system can put enough light into a scene without simply blowing out the highlights in close-up subjects.

Most of the cleverness is hidden from the user, but the function button gives you access to considerably more control than you’d expect. There are program, aperture-priority and manual exposure modes, along with options to prioritise fast shutter speeds for sport, wide apertures for portraits or slower shutter speeds for night photography. There’s single or continuous autofocus, double exposure, exposure lock and multiple flash modes including fill-in.

Ergonomically, it feels surprisingly good in the hand, even though it’s big and heavy. The buttons are a little spongy but well placed, and the zoom rocker sits naturally on the top left of the lens barrel. It feels good to shoot with, even if aesthetically it takes its cues from a 1940s gas mask.

The Good, the Bad and the Film

The camera isn’t perfect. One of the first problems I encountered was loading film, because the film door only opens 90 degrees, partly because of the technology stuffed into the databack. You have to get the film underneath a red tab and push it deep into the corner so the teeth can grab the film leader. I managed it in one go previously, but doing it one-handed in the field while holding a GoPro proved considerably more difficult.

Once I got going, I used the flash to see what the camera could do. In automatic mode, it apparently decided the scene didn’t need any assistance, while the fill-in flash did a much better job of forcing some light into the shadows. A backlit portrait of my daughter showed the same thing: despite the flare and lack of contrast, the fill-in flash added some useful punch to an otherwise flat scene.


The lens can flare, too. It isn’t a problem in most situations, but there’s a visible veiling haze in some images, probably not surprising given the sophisticated lens design with sixteen elements in four groups. That’s a lot of glass. The subject matter, meanwhile, was considerably less sophisticated.

Shooting black and white was particularly liberating. Every frame of colour feels precious, but with the Kentmere 100 I found myself shooting with a sense of joyful abandon, randomly spattering the scene with black and white film. By the end of the walk, I’d also finished a roll of Kodak Colorplus and had enough material to see what this lumbering beast could actually produce.

So, Is It Any Good?

The surprising answer is yes. The lens on this thing is sharp, and I found myself wondering whether you could really tell the difference between these photographs and images from an SLR costing considerably more. The obvious compromises are the size, the slow maximum aperture and the fact that you can’t remove the lens and replace it with something faster or wider.

But perhaps that’s the point. Olympus had apparently found that many people were buying SLRs in the early nineties because they wanted better image quality, only to spend most of their time using the kit lens that came with the camera. With the IS-2000, there’s only one lens, but Olympus made it a good one. The 35-135mm range doesn’t show any major weaknesses, and the addition of macro makes it considerably more versatile.

The price is another standout. It’s difficult to argue with the quality of film photographs you can get from an $18 Australian camera. Even if you can’t find one for that price, this class of camera still feels like one of the last true bargains. I would have preferred something wider — 28mm would have made more sense to me for a walkabout camera — but the 135mm telephoto is perfectly usable.

There’s no getting around the cheap-feeling plastic, either, and the size and build quality could be a dealbreaker. I’ve already lamented the slow death of my Fuji GA645Zi medium format camera, and I suspect this Olympus may eventually meet the same fate, becoming one more slab of comically large 90s landfill.

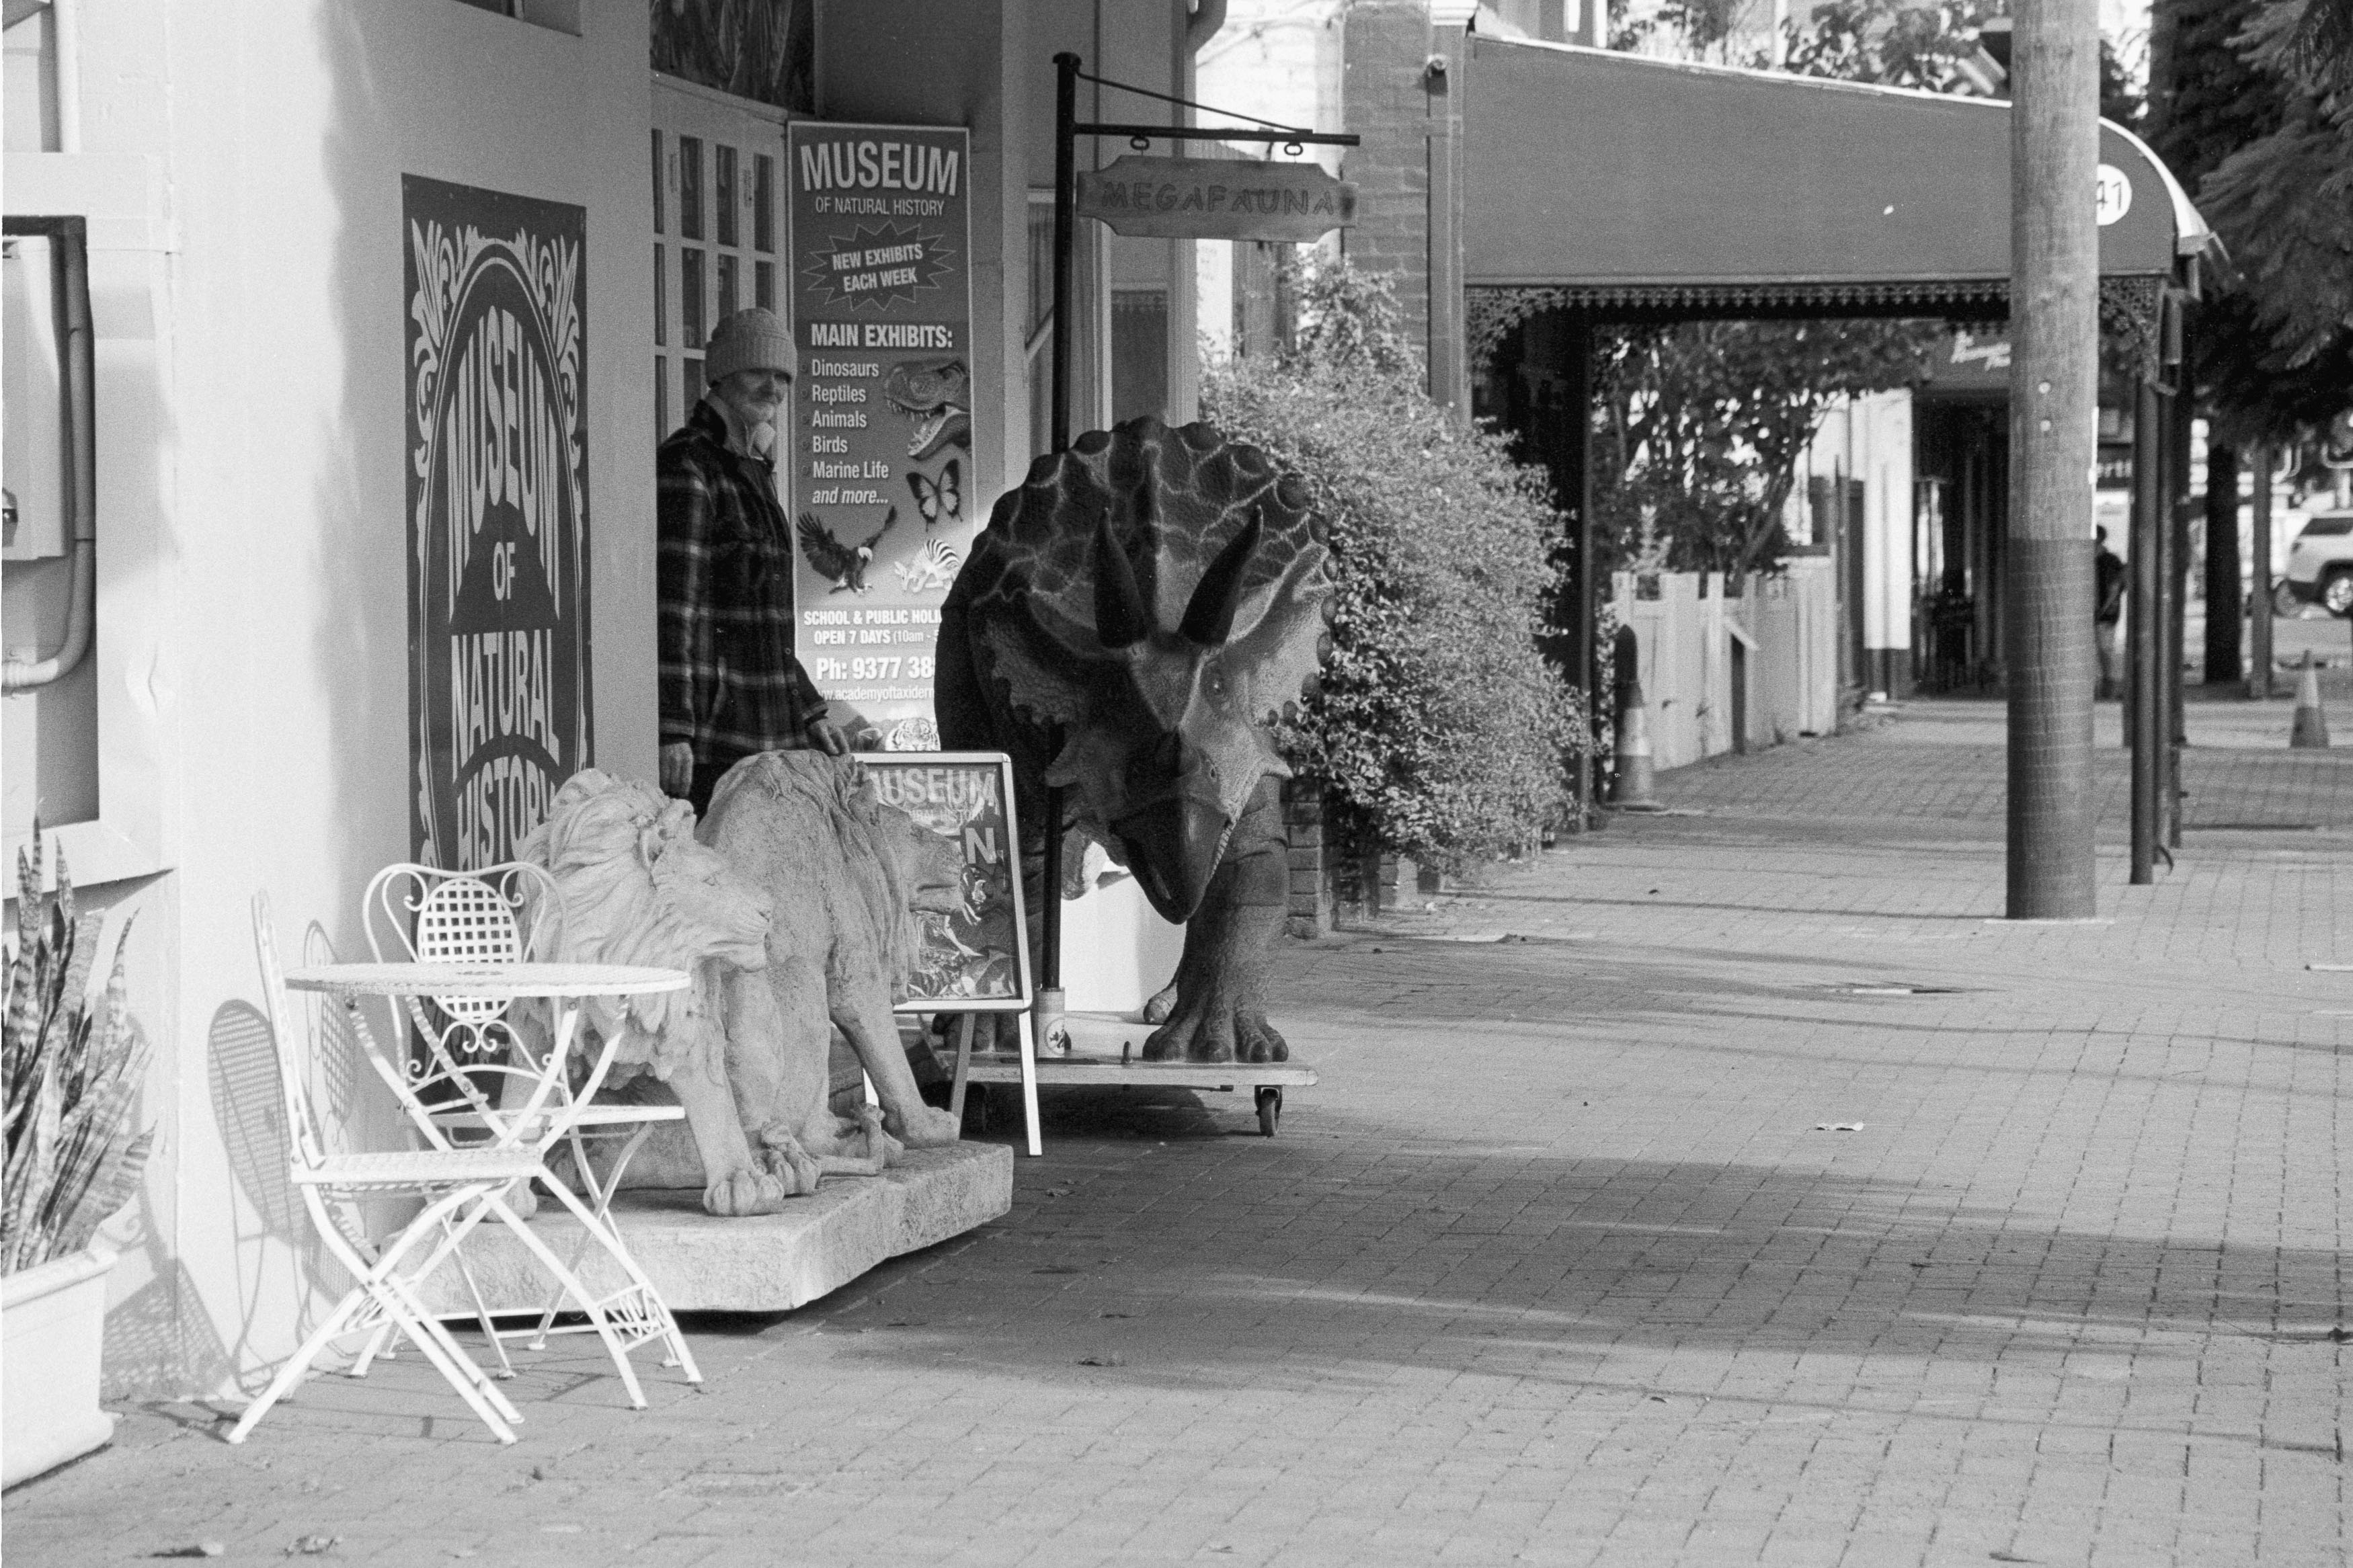
At 18 dollars, though, who cares? This was a dog walk rather than a formal photoshoot, and the photographs are nothing more than snapshots of a part of Perth I rarely visit. Still, the camera delivered where it mattered. I ended up with six Golden moments from Guildford, including the triceratops, a suburban shrine and, very nearly, the back of a sign — a deliberately contrary photograph that I still rather liked.

So these are the six for today: a strange and banal set of photographs from a strange and banal camera. The Olympus IS-2000 may not be something I’m going to pull out to impress the girls at parties, and sometimes size isn’t everything, but in terms of pure image quality, this lumbering beast delivers.

The BEST Cheap Film Camera for Travel? Nikon N65 and Tamron 28-200mm f/3.8-5.6

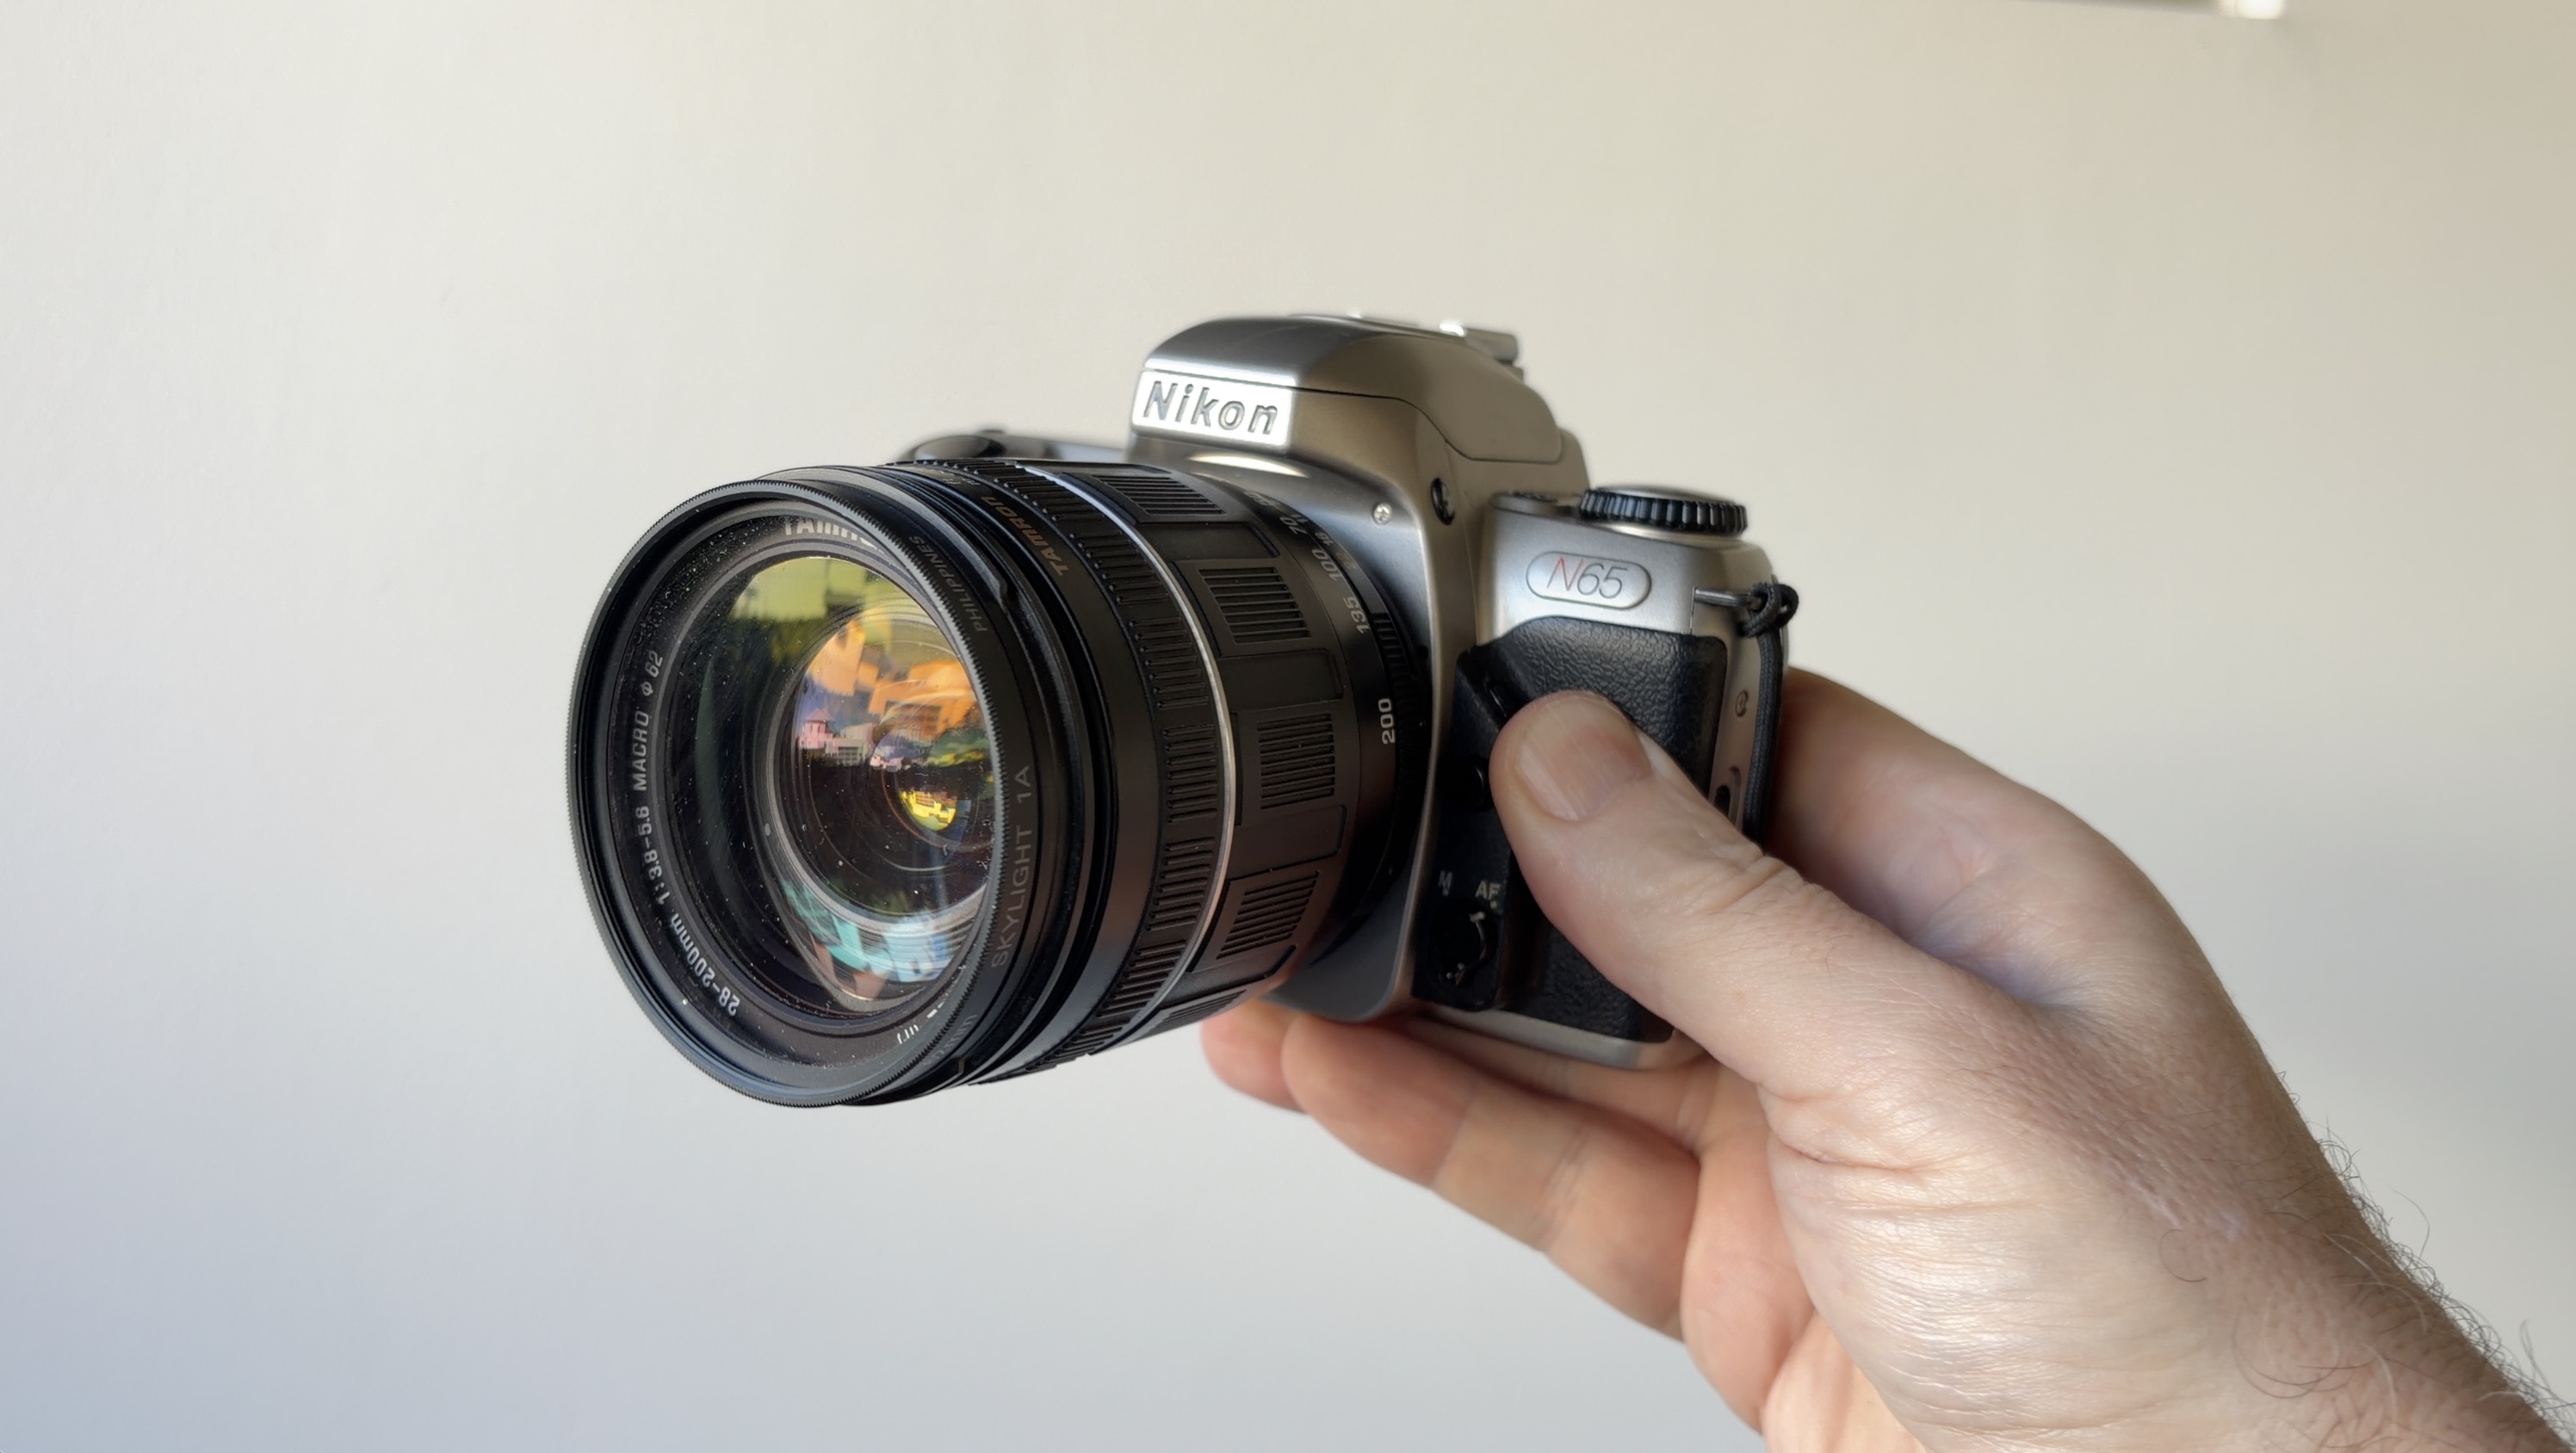
Are the Nikon N65 and Tamron 28-200mm the peaches-and-cream pairing of budget film photography, or do they clash like toothpaste and orange juice? After taking this decidedly unfashionable combination with me to Tokyo, I think I have a pretty good idea of where it sits in the hierarchy of cheap film cameras.

I travel quite a bit for work, and one of the recurring problems is that my camera collection stubbornly refuses to fit into a suitcase. Eventually, there comes a point where you have to accept that I’m taking one camera and one lens, once you have packed essentials such as a toothbrush, passport and your pet iguana. That makes size, weight, versatility and price rather important considerations.

The Nikon N65, also known as the F65 or Nikon U depending on where you live, is hardly the sort of camera that gets the heart racing. It is a late-era film SLR, made from plastic, finished in a rather unfortunate silver colour and generally ignored by photographers in favour of more glamorous cameras. It is, in other words, absolutely perfect for me.

The camera weighs less than 400 grams, yet manages to pack in an impressive collection of features. You get Program, Shutter Priority, Aperture Priority and Manual modes, along with 3D Matrix metering, exposure compensation, shutter speeds up to 1/2000 second, TTL flash and even deliberate double exposures. It is very much a product of the period when manufacturers had essentially perfected the SLR and were busy figuring out how many features they could squeeze into something ordinary people could afford.

Its biggest problem may simply be that it isn’t cool. The silver plastic body looks more like something you’d find in a child’s dressing-up box than around the neck of a serious photographer. There is a black version if you’re particularly concerned about your sartorial reputation, but the N65 isn’t going to impress anybody at a photography exhibition. Fortunately, I have no reputation to protect.

The Tamron Superzoom Problem

The other half of the equation is the Tamron 28-200mm f/3.8-5.6 Macro AF Aspherical XR (IF), a lens whose name contains approximately as many acronyms as some entire camera systems. Tamron was one of the pioneers of the all-in-one zoom, producing a 28-200mm as early as 1992 at a time when achieving that kind of focal range without producing complete optical rubbish was a genuine challenge.

This particular version comes from the later generations of the design and includes aspherical and high-refractive-index elements. It isn’t going to produce the sort of three-dimensional pop that inspires lengthy forum arguments, but it is generally sharp, well corrected and has enough contrast to produce a pleasingly modern-looking image on film.

That’s important because this isn’t really a test of ultimate optical performance. I’m not trying to determine whether the Tamron can defeat a modern professional zoom in a forensic pixel-peeping contest. The whole point is finding the sweet spot between price, size, quality and versatility. A 28-200mm gives me the ability to photograph a cathedral, a street scene or something considerably further away without changing lenses, and that’s enormously useful when travelling.

There are limitations, of course. The relatively slow maximum aperture means this isn’t the lens I’d choose for exploring the darkest corners of Tokyo with ISO 100 film. In those circumstances, a fast 35mm or 50mm prime would be a much better choice. At 200mm, you also need to be careful with camera shake, particularly when shooting slow film such as Kentmere 100.

But when the light is good and I hold the camera properly, the results are more than good enough for my purposes. Some photographs were soft, but that wasn’t necessarily the fault of the lens. At 200mm, a little movement is enough to turn a potentially sharp photograph into something resembling a vague memory of having taken a photograph.

And when everything comes together, the results are surprisingly convincing. Some of the photographs I took in Tokyo was easily sharp enough to have been produced by a much more expensive camera and lens combination, while costing a fraction of the price and weighing considerably less.

The Budget Travel Sweet Spot

Taking the N65 and Tamron together, the entire combination weighs less than about 750 grams. That makes it a remarkably portable package considering the enormous focal-length range it provides. A 28mm isn’t ultra-wide, but it’s wide enough for most street photography without introducing excessive distortion, while 200mm gives you enough reach to isolate details and compress layers in a busy urban environment.

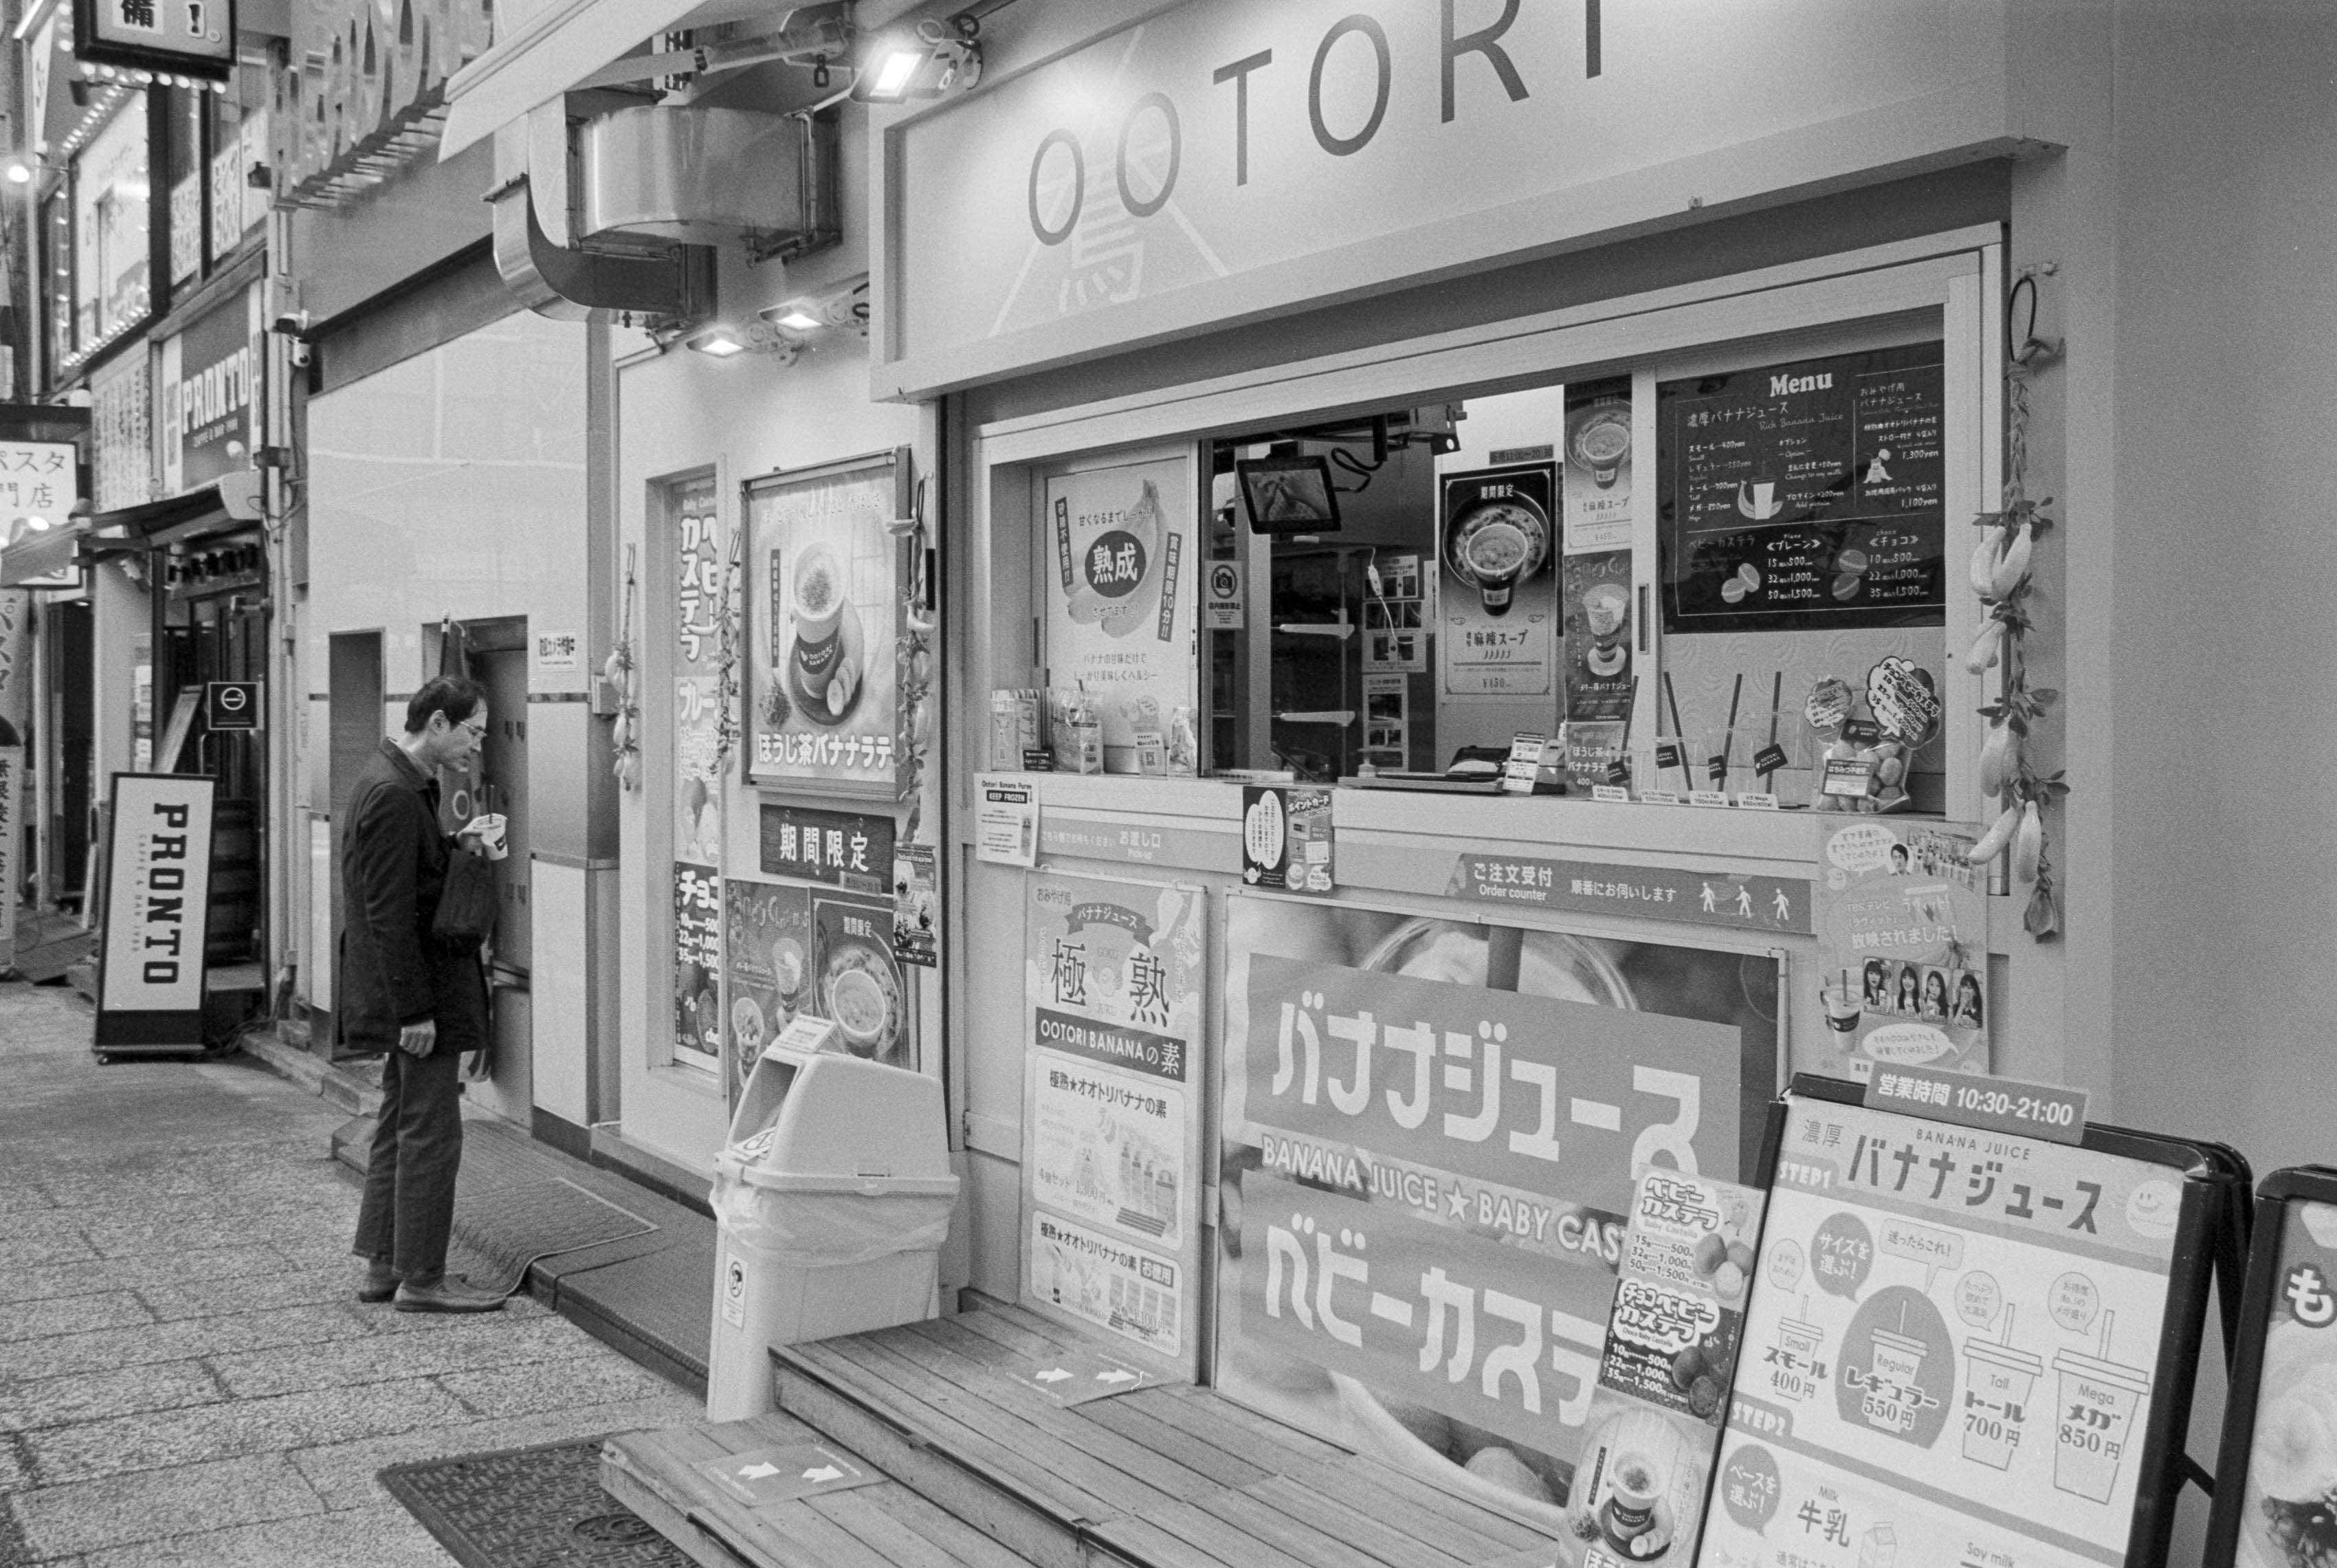
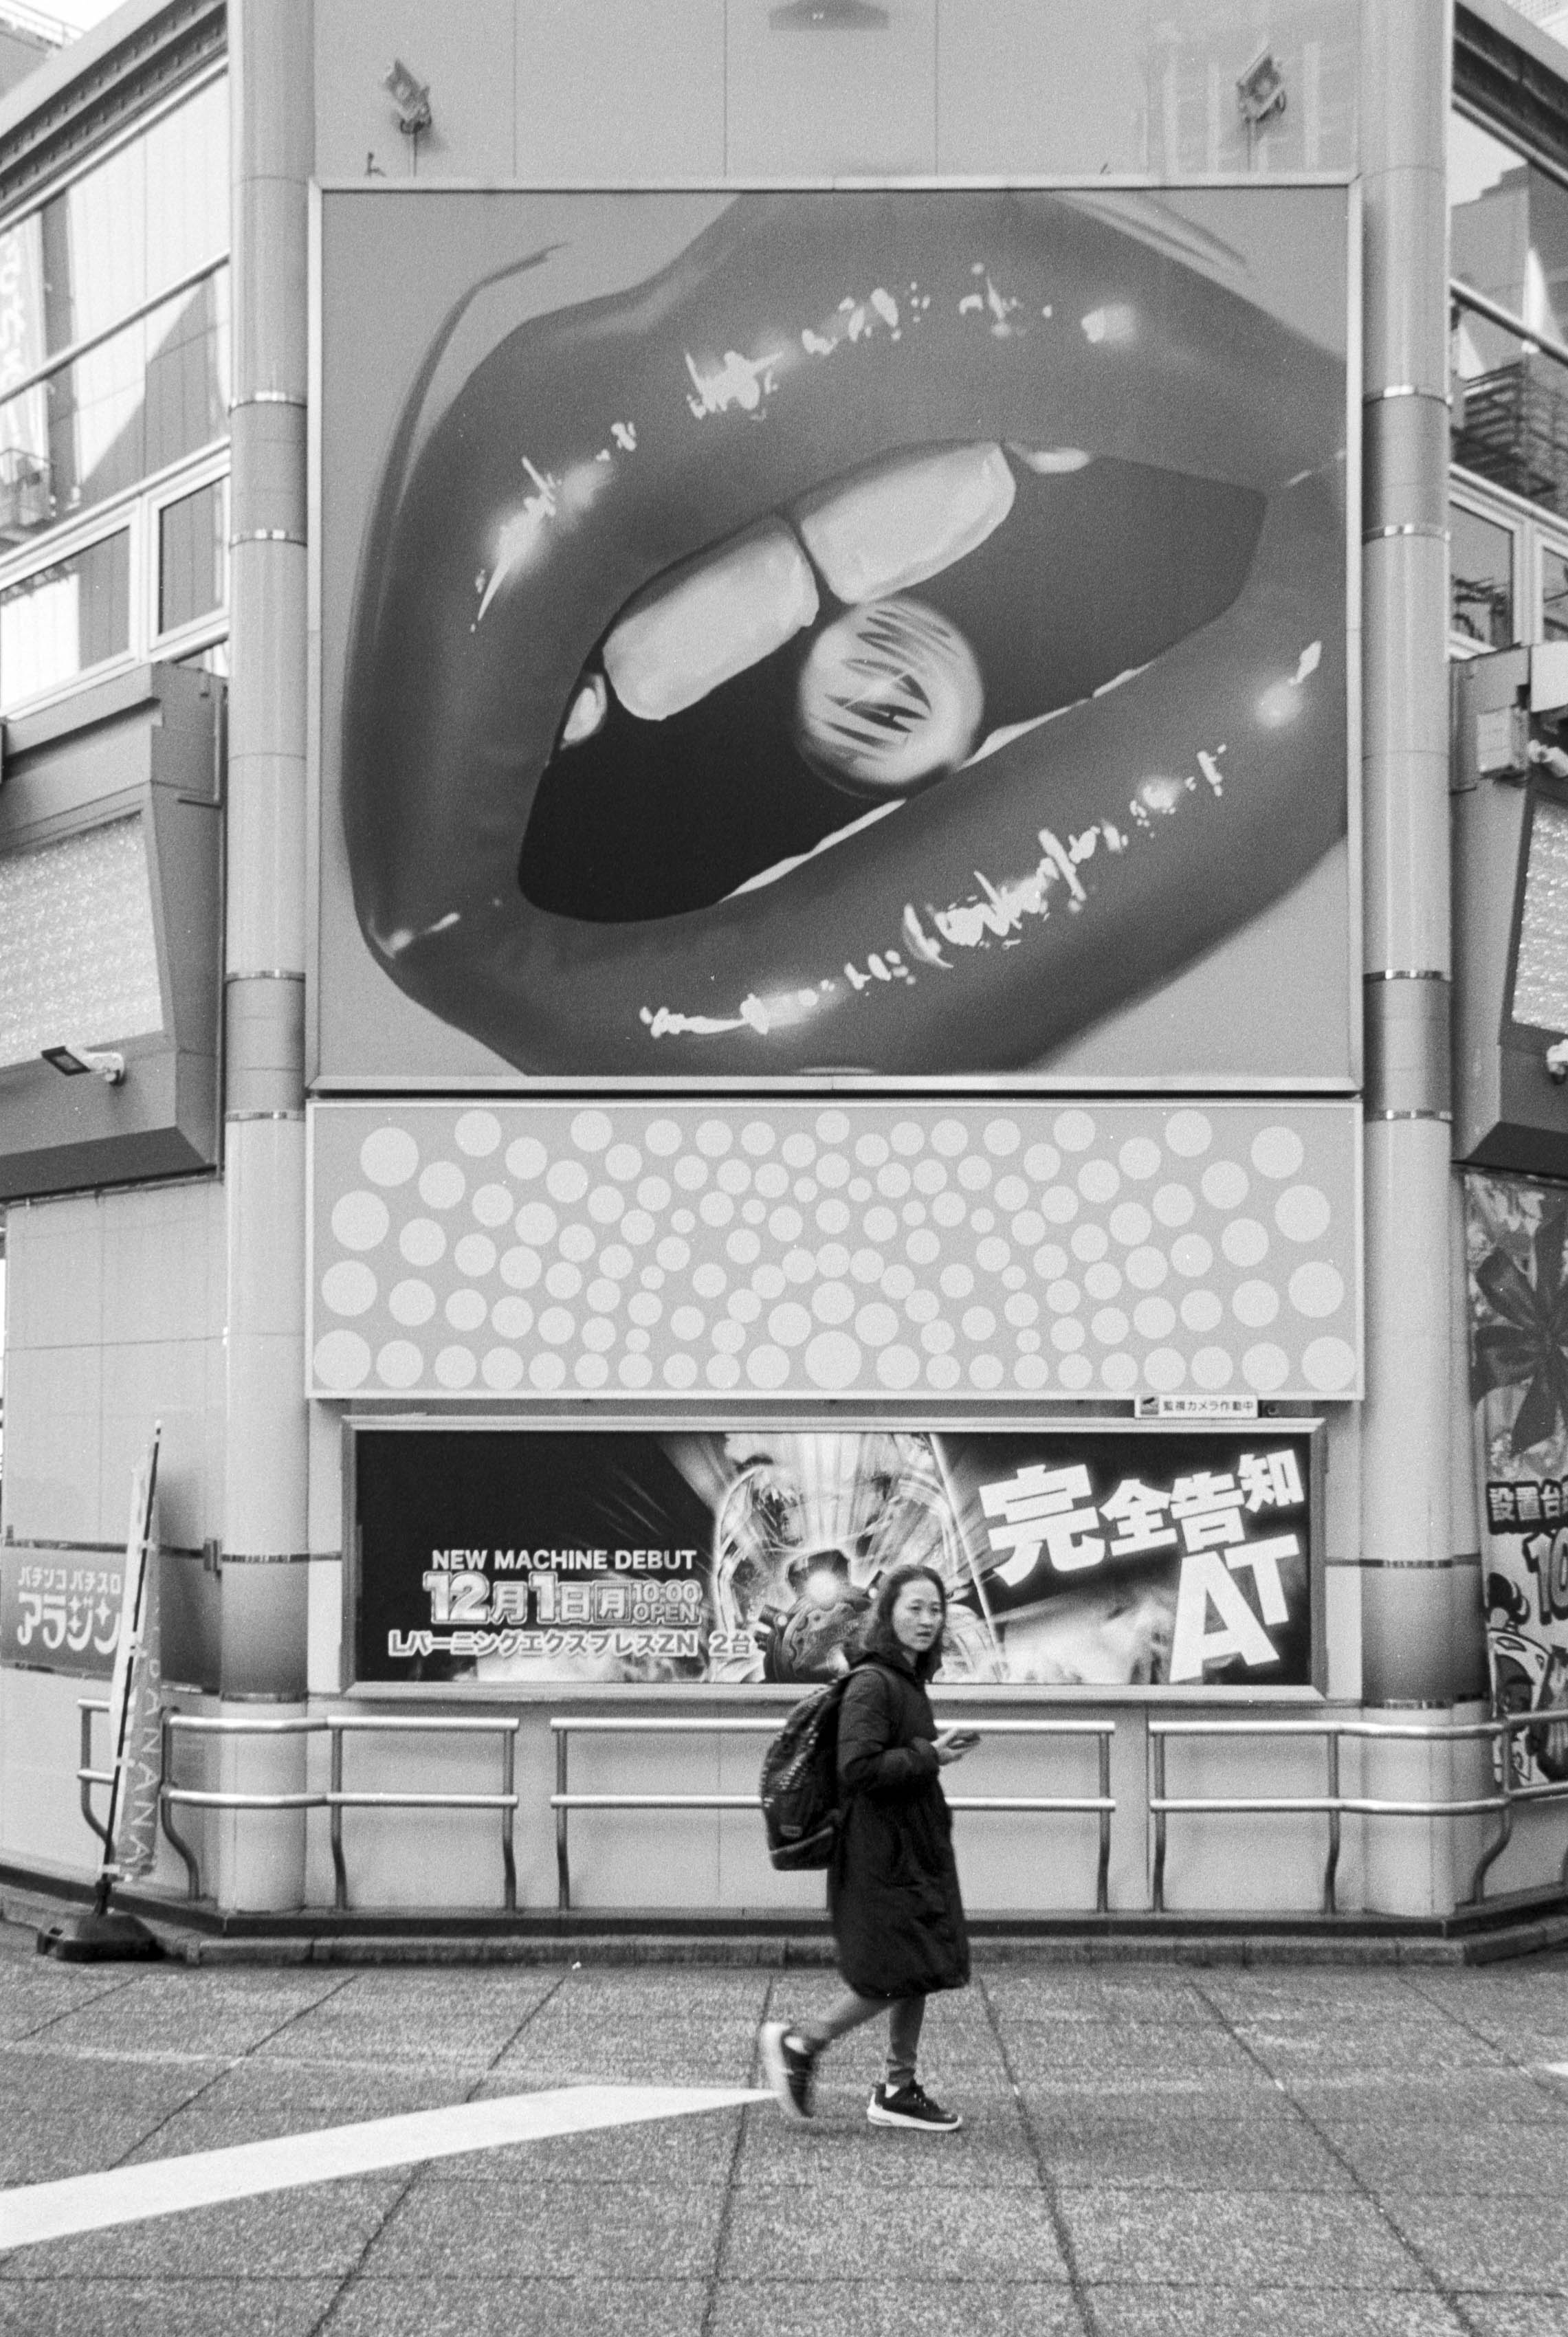
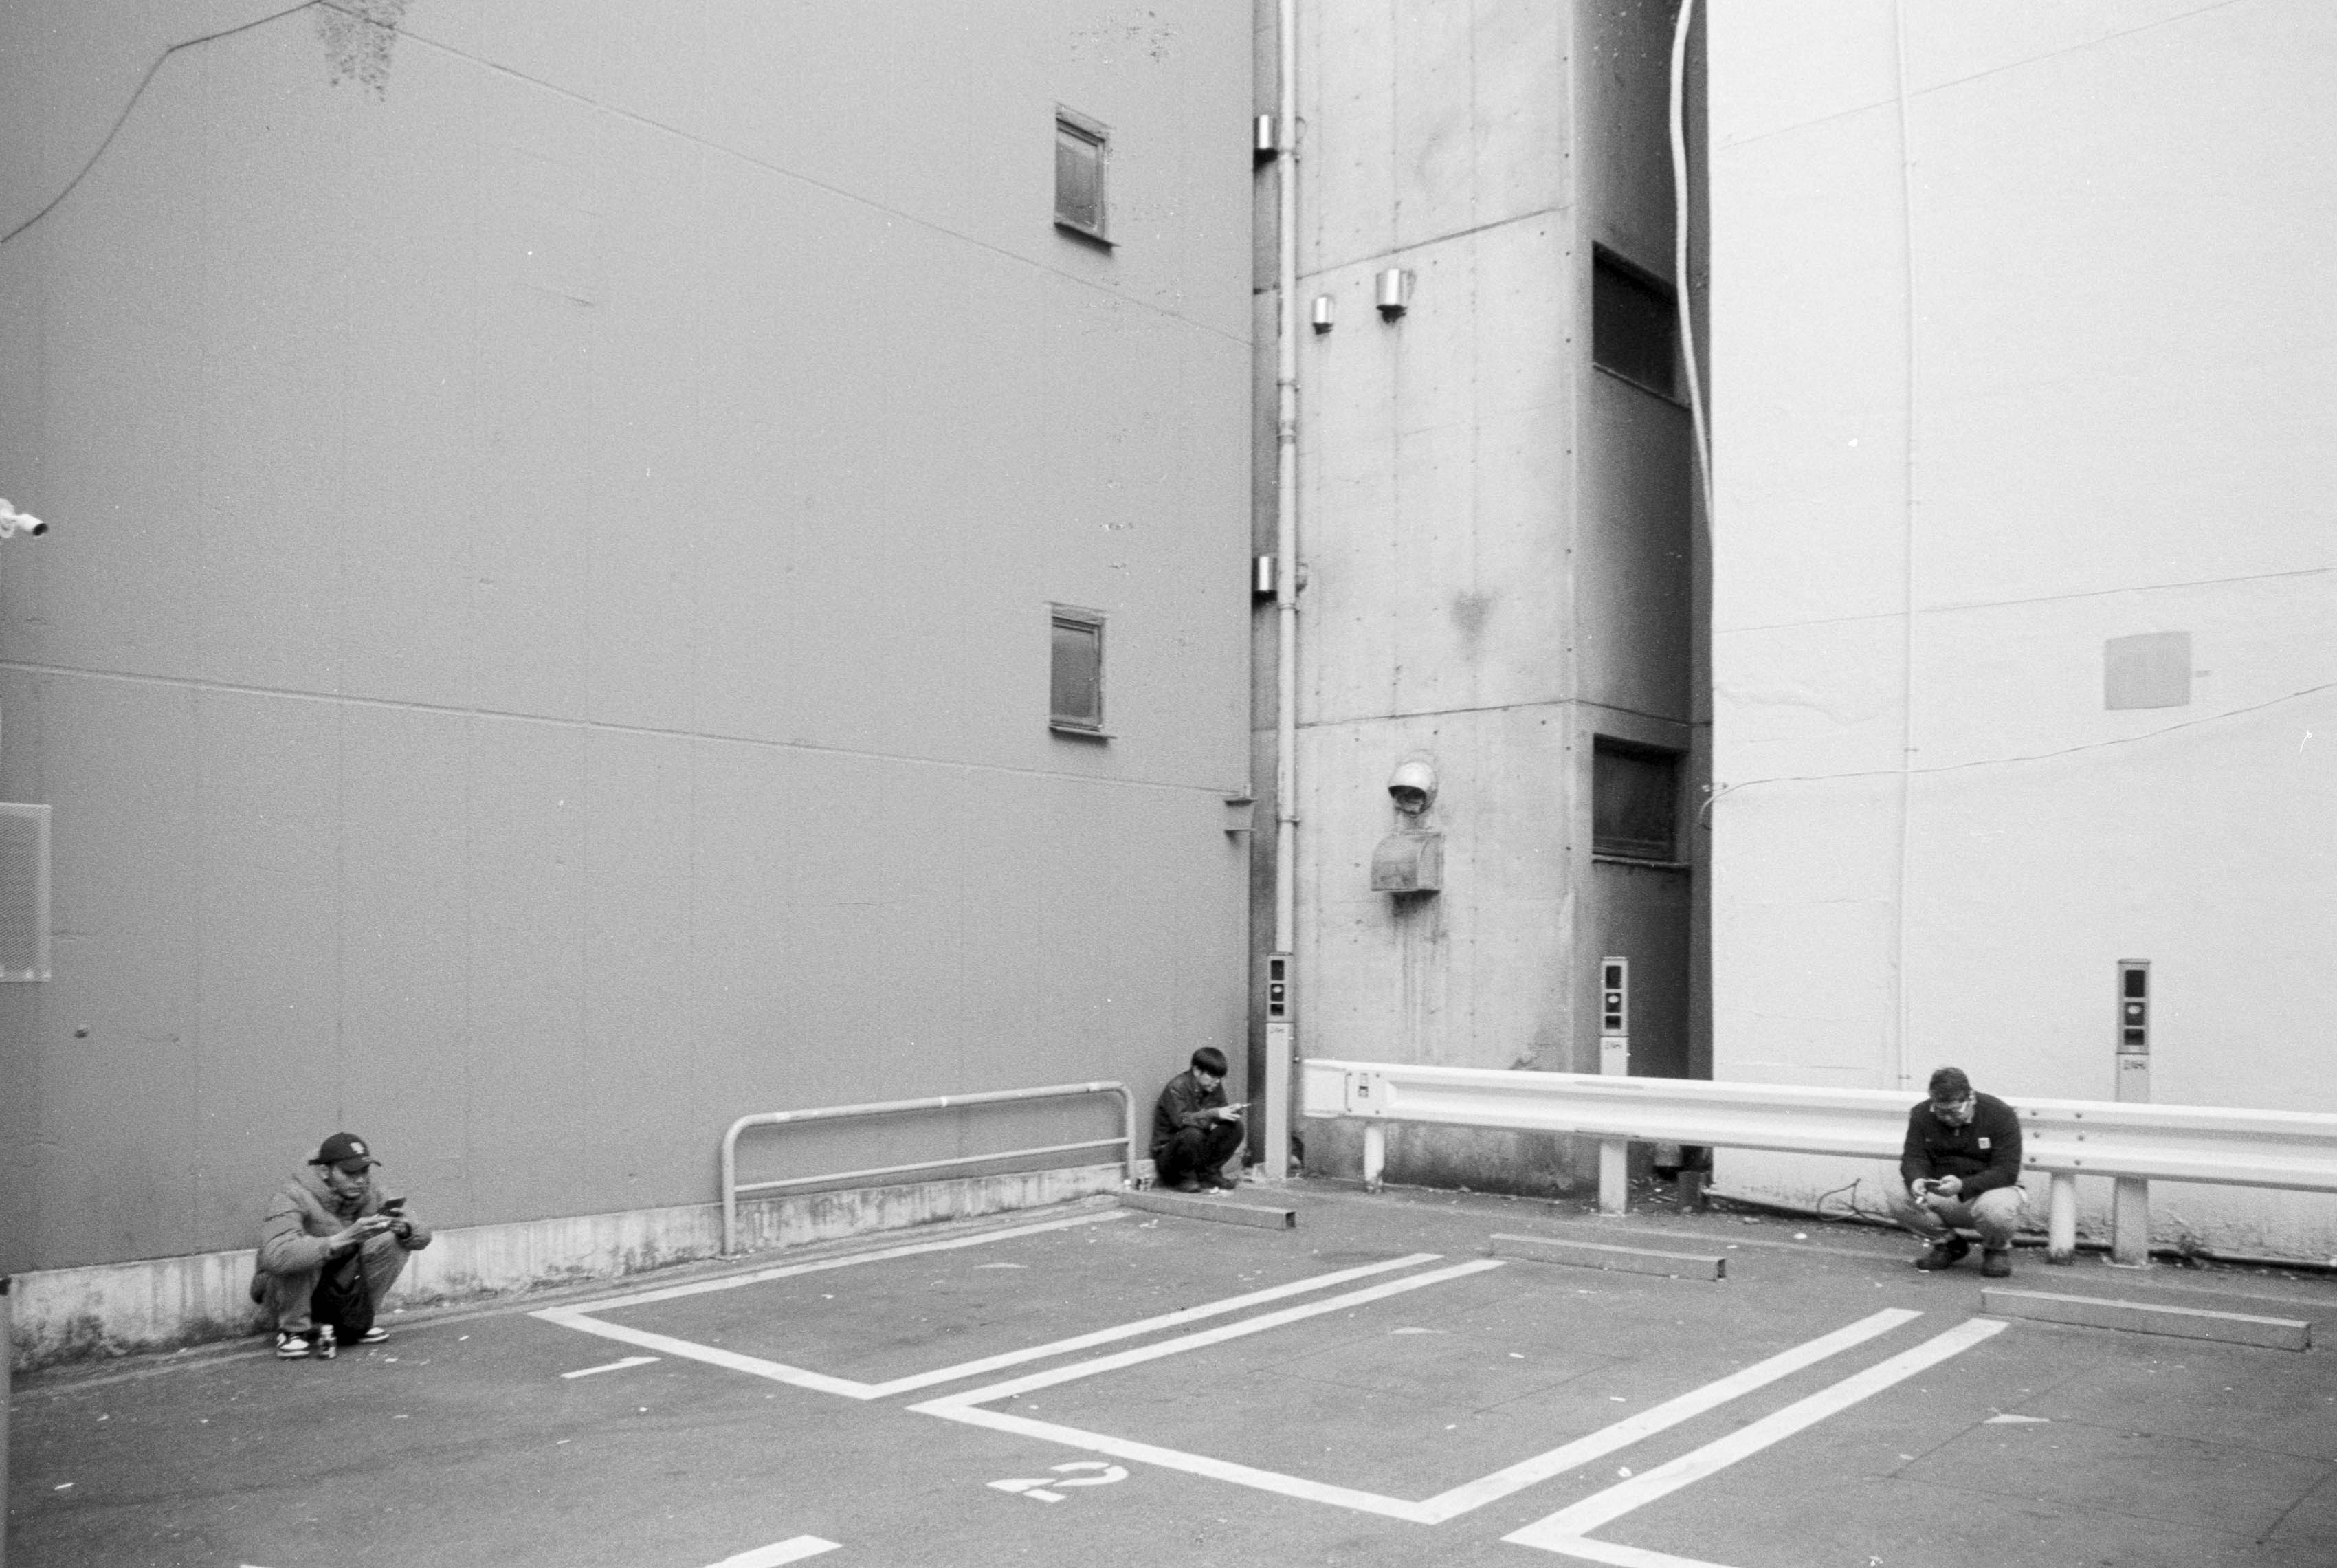
That’s exactly what I found useful in West Shinjuku and Nakano. I wasn’t simply trying to photograph the spectacular parts of Tokyo; I wanted to capture the mixture of business, social life, signage, buildings and random human moments that gives these places their character. The 200mm end of the zoom was particularly useful for compressing layers of windows and billboards, while also allowing me to pick out small moments happening within the chaos.

There are alternatives. Nikon’s F75 and F80 are better cameras and solve some of the N65’s irritating quirks, although they are correspondingly more expensive and, in the case of the F80, heavier. The N65’s Dynamic AF can decide to change focusing behaviour when it detects movement, which isn’t particularly helpful when you’re carefully composing something near the edge of the frame. I also find the inability to override DX film coding frustrating.

There are plenty of alternative lenses, too. Nikon’s 28-105mm and 28-85mm are excellent inexpensive choices if you don’t need the 200mm reach, while the humble 28-80mm can provide a remarkably cheap and lightweight solution. There are equivalent combinations from Canon, Pentax, Minolta and others, so this isn’t necessarily a recommendation that everyone should rush out and buy an N65.

For me, though, this combination hits that elusive golden triangle of heft, price and quality remarkably well. It isn’t perfect, and it certainly isn’t glamorous, but that’s not really the point. If I wanted perfection, I wouldn’t be shooting 25-year-old plastic cameras and cheap black-and-white film in the first place.

The N65 and Tamron 28-200mm are cheap, light, versatile and capable of producing photographs that are more than good enough. More importantly, they let me travel with one camera and one lens without feeling as though I’ve sacrificed the ability to photograph whatever happens to come along. In the end, that’s probably a much more useful quality than being cool.

So, will I be taking this combination on my next holiday? Quite possibly. And if that means leaving the expensive digital camera at home while carrying around a silver plastic Nikon that looks like it escaped from a 2000s department store, so be it. Sometimes the cheap seats have a surprisingly good view.

Reconnecting with the creative process, featuring the Apexel ATL T5-10x telephoto smartphone lens

Photography for Me, Not for Everyone Else

Just as well we have photography and video to memorialise our lives and leave a trace like digital skidmarks over human history. I’m not getting maudlin here, but I’ve been thinking about what photography will mean to me when I’m old. For some photographers, it’s about making art that is unique, groundbreaking and capable of saying something about the human condition that has never been uttered before. For me, though, I suspect I’ll be much more interested in opening an old album and looking at imperfect renderings of perfect personal memories.

That got me thinking about how I could get back to the roots of photography and make images for myself rather than for an imaginary audience. How could I create photographs that invoke the feelings of a particular time and place instead of becoming carefully polished artefacts designed to impress somebody else? The answer, I think, is to embrace imperfection rather than constantly striving to eliminate it.

A recent family trip to Sydney and southern New South Wales became an opportunity to experiment with exactly that idea. It was a low-key holiday, so I decided it deserved some low-key photography. I ended up approaching the whole thing through three pillars: printing, analogue journalling and using deliberately compromised equipment.

Printing Memories Instead of Leaving Them on a Hard Drive

The first of these is printing. How many of us actually go through our Lightroom catalogues years later and relive our experiences? I’ve had access to an A2 printer at work and occasionally printed photographs, usually putting them into cheap frames. Part of the problem is that the frames themselves can be rather underwhelming, but there’s also a lingering feeling that my photographs simply aren’t important enough to deserve that much wall space.

More recently, I’ve started thinking about printing in a smaller and more thematic way. I printed a series of Tokyo photographs that concentrated on little details around Shibuya rather than trying to capture the whole city. There’s something satisfying about taking something enormous and making it small enough to hold in your hands.

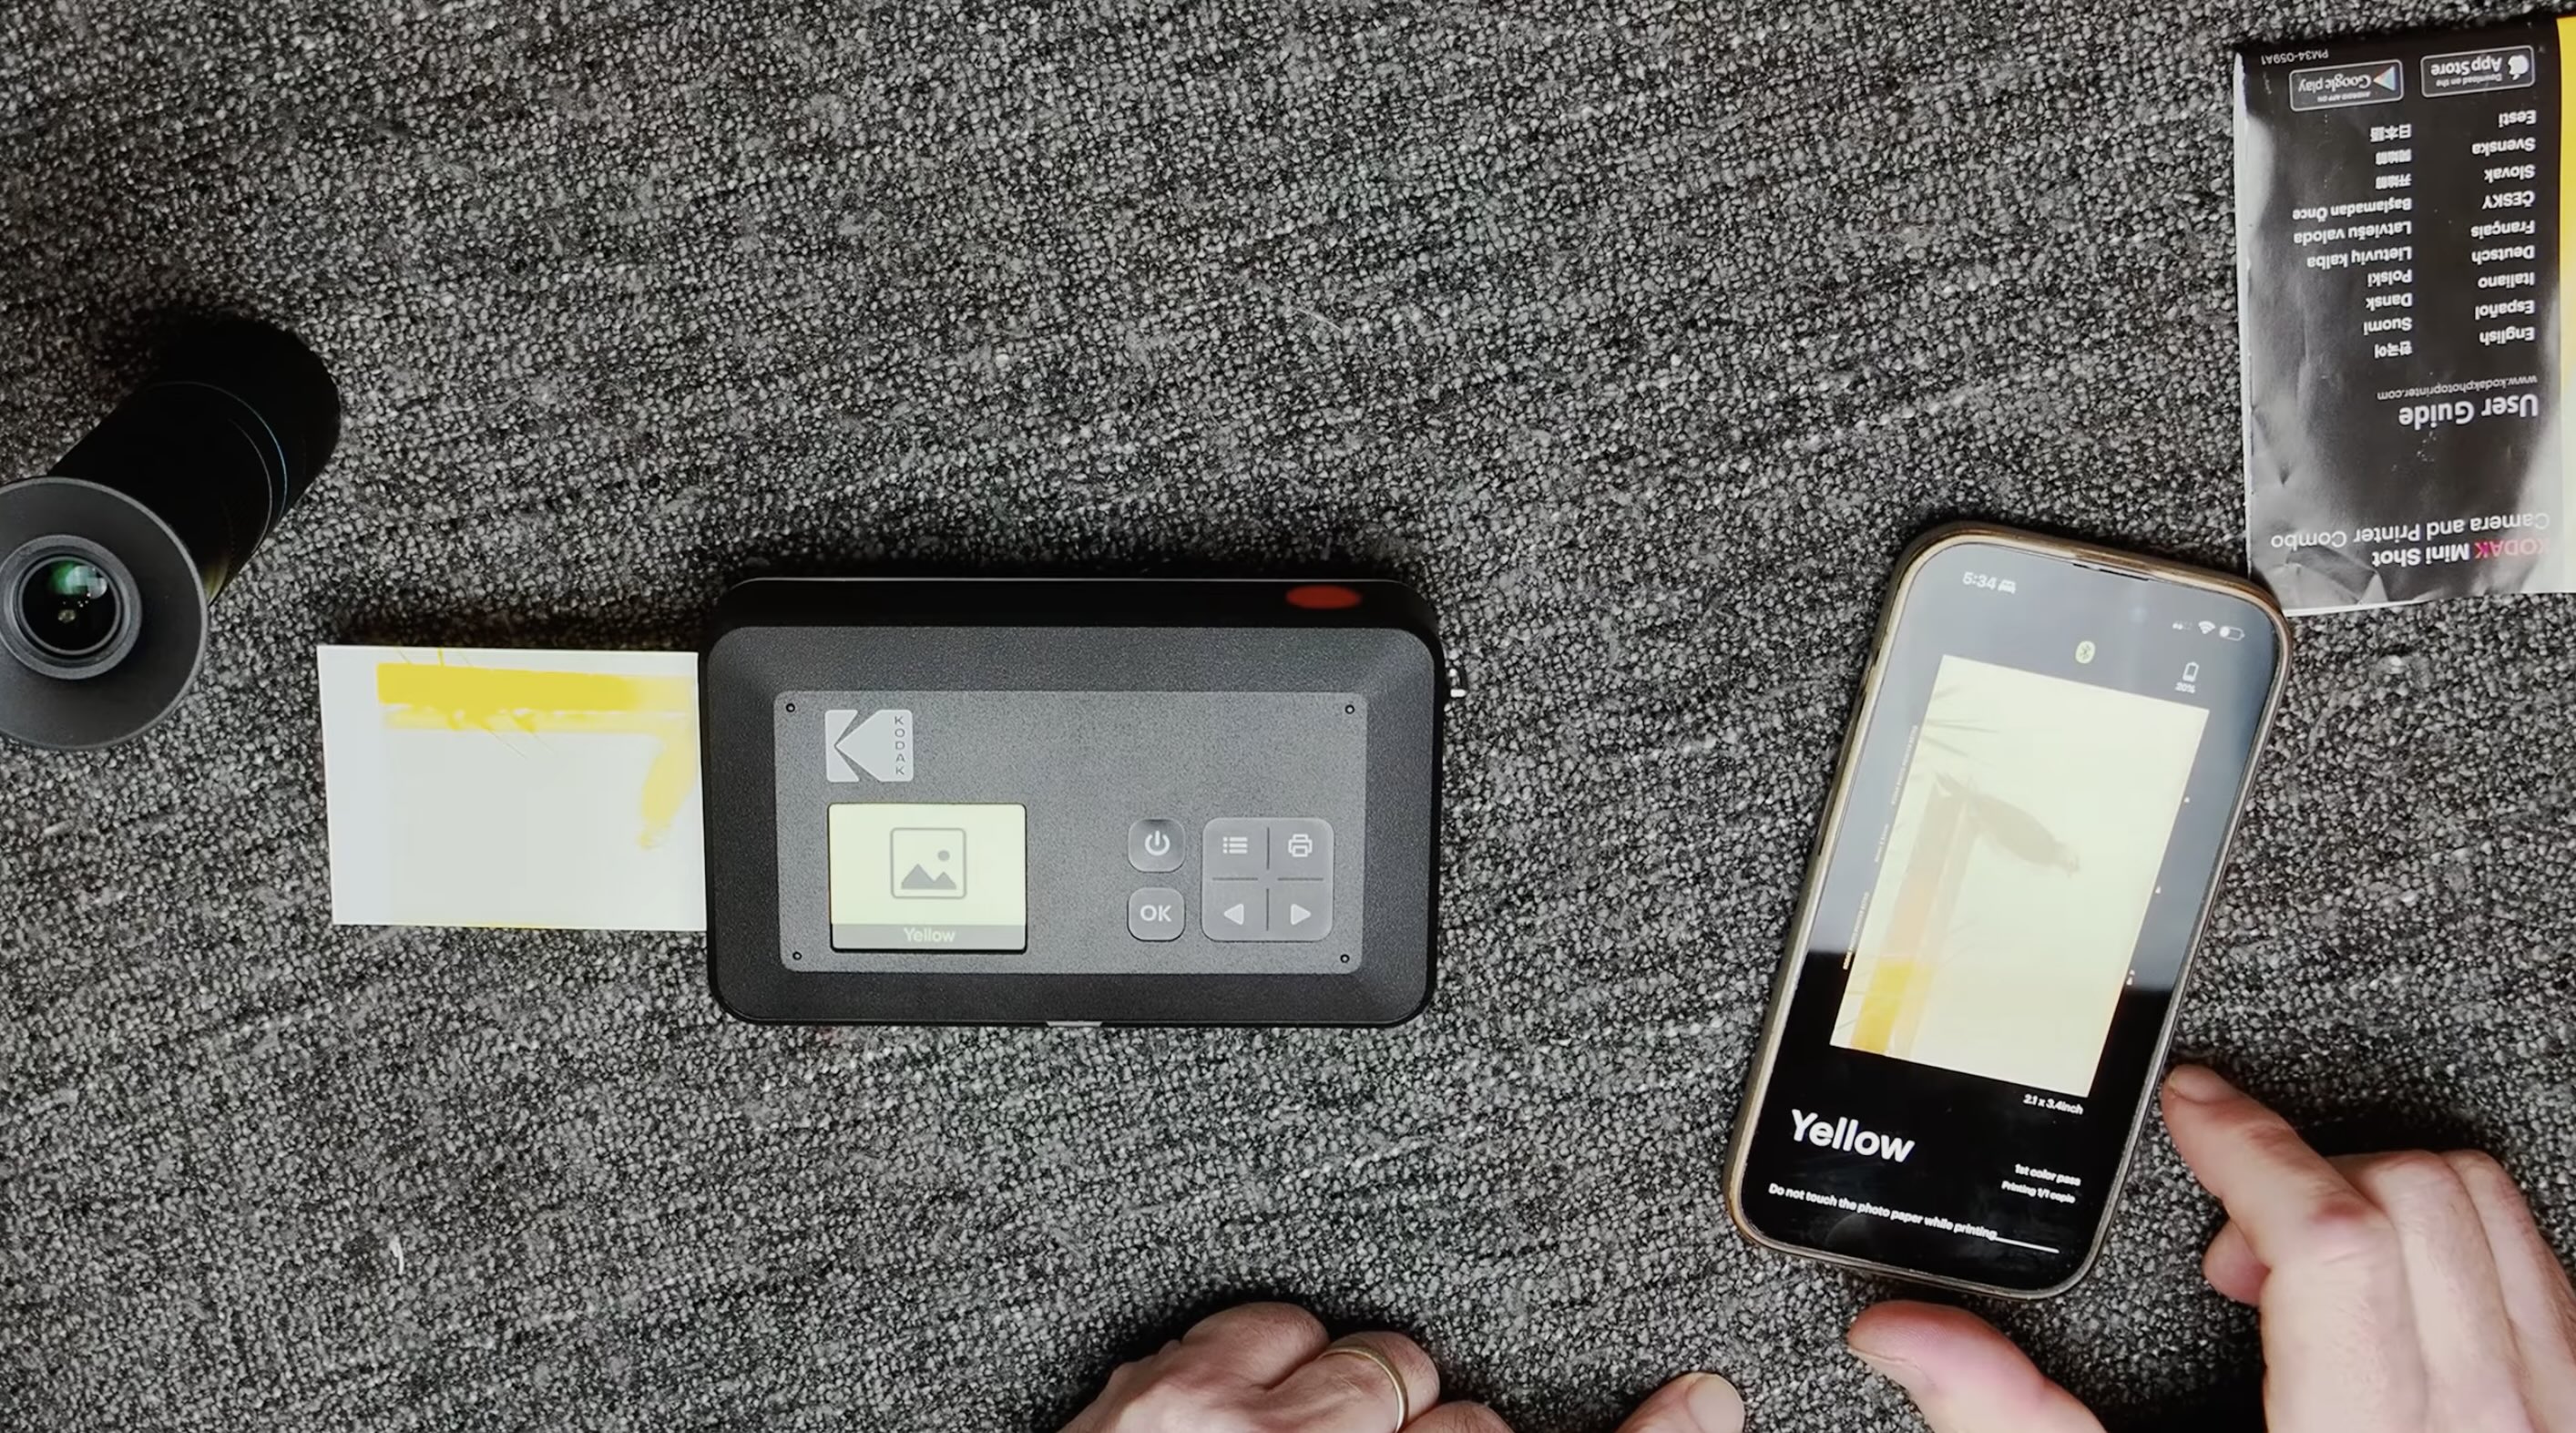
That eventually led me to a Kodak Mini Shot 2 Retro. It’s a camera, but it’s also a printer, which makes it particularly appealing for this sort of project. I bought mine second-hand because apparently I can’t resist buying photography equipment, but the real attraction is the ability to print photographs almost instantly. I also had a batch of 6×4 prints made at Officeworks, which is the Australian equivalent of Walmart for office supplies, and while they use inkjet rather than wet-lab technology, they’re inexpensive and perfectly adequate for this kind of memory-making.

A Cheap Phone Lens and a Very Bad Drawing

The second pillar was analogue journalling, which turned out to be considerably more frightening than I expected. My wife enjoys sketching and writing, so I thought it would be nice to document the NSW trip together on actual paper. Unfortunately, I can’t draw. My hands have the fine motor skills of a camel hoof, and that’s before we consider the neural spaghetti connecting my eyes to my fingers.

Still, that’s rather the point. This project isn’t about producing beautiful drawings. It’s about engaging with the process and accepting that the result might be terrible. There’s something strangely liberating about deliberately removing the expectation that everything needs to be good.

The third pillar was a tiny piece of equipment that actually prompted this whole experiment: the Apexel APL-T5-10X Variable Telephoto Lens. Apexel sent it to me free of charge and I get to keep it, but there were no conditions attached and my opinion remains entirely my own. The lens is designed to turn your phone into something resembling a 150–300mm telephoto camera, which sounds suspiciously ambitious for something that fits in your pocket.

Surprisingly, it doesn’t feel cheap. It’s a substantial little object with a nicely knurled metal exterior, glass elements and a multi-coated optical system. It weighs around 171 grams and has damped zoom and focus rings with a reasonably long throw. The phone adapter is also much more robust than the usual dog-clip contraptions I’ve encountered with smartphone accessories.

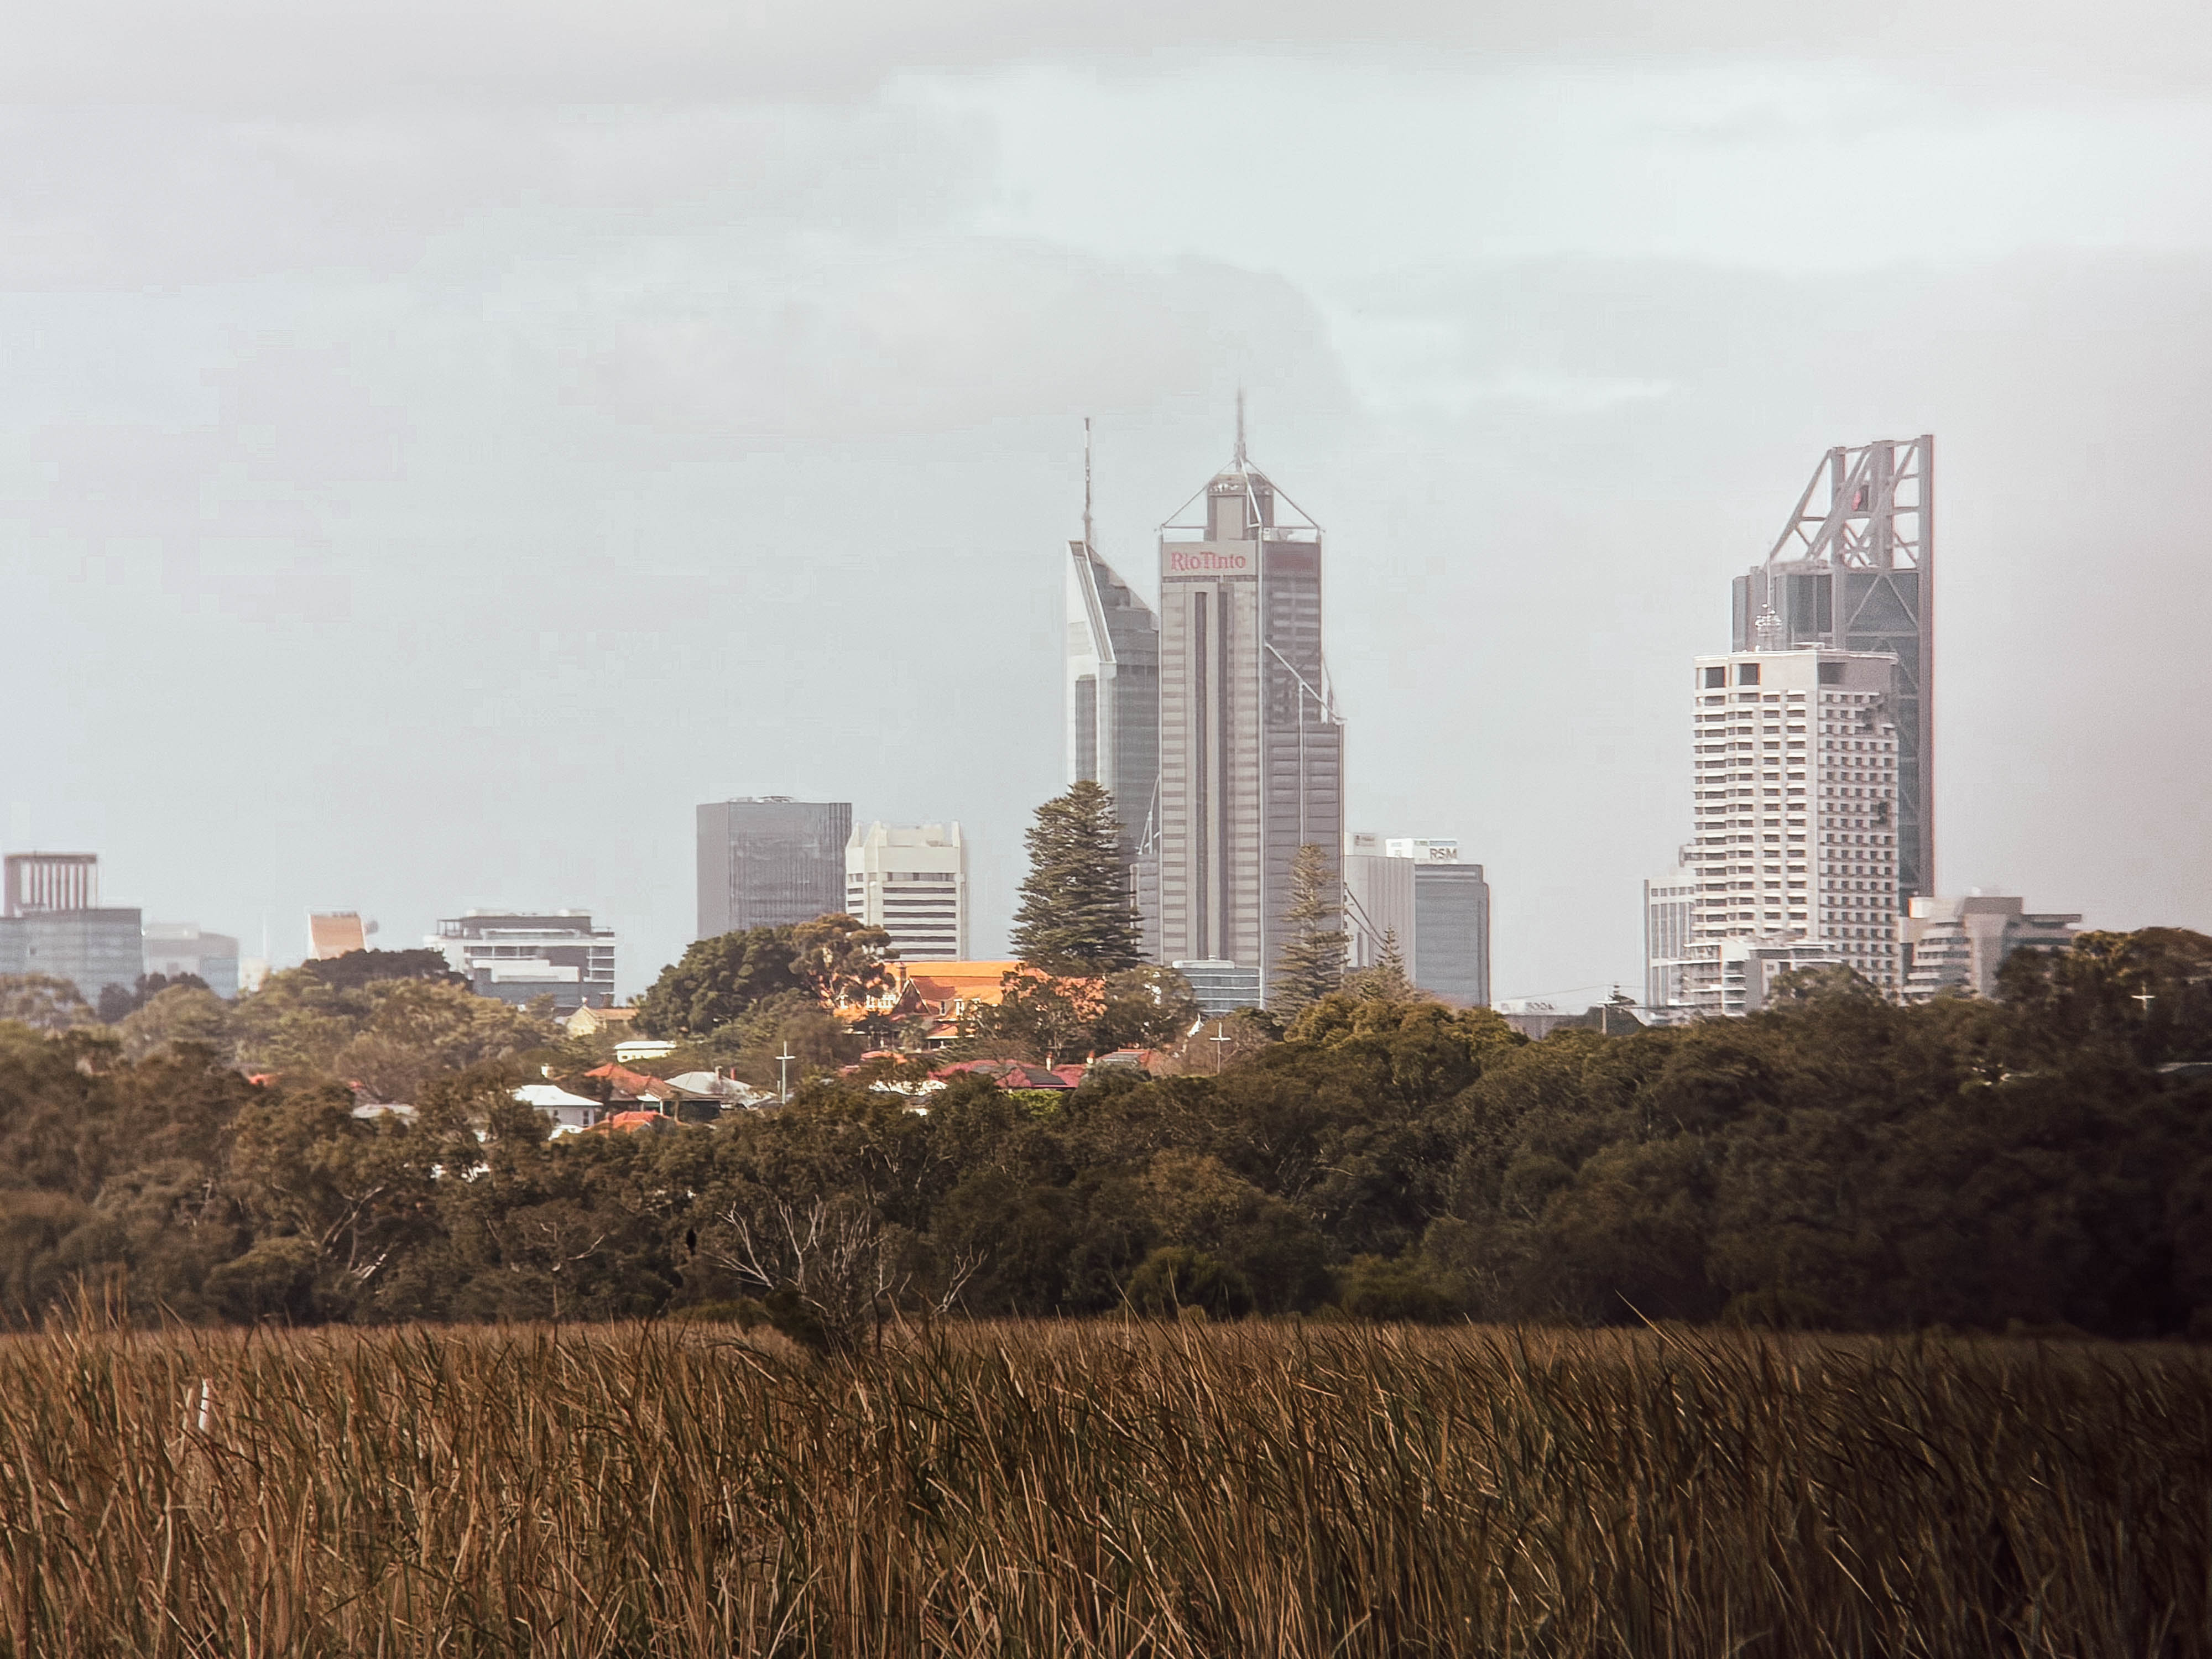
The results, naturally, aren’t going to challenge my full-frame Nikon or even my Micro Four Thirds cameras. There’s some softness, highlights can become a little bloomy and you have to contend with camera shake and a surprisingly narrow plane of focus. But when it gets things right, the images are actually pretty good, especially considering what this thing is. You certainly won’t be making enormous A2 prints from it, but for small prints or a journal, it works remarkably well.

Why Imperfection Might Actually Be the Point

Using the lens around wetlands was fun, although I quickly discovered that phones don’t particularly enjoy shooting telephoto video. A tripod helps, as does using the right camera on the phone, and there can be some circular vignetting if you attach the lens to a wide-angle camera. These are compromises, but that’s exactly what this project was about.

Back in Perth, I continued the journal, adding photographs and attempting to draw a bird that somehow transformed into what looked like a Liverbird on crack. It was not my finest artistic achievement, but it was mine. The important thing was that these imperfect tools forced me to slow down and actually consider what I was doing.

That might be the biggest benefit of all. The Kodak printer, the Apexel lens, the pen and the paper are all relatively cheap and accessible, but they also introduce friction into the creative process. You have to think, plan and physically engage with what you’re making. A blank page is intimidating, but somehow it becomes less intimidating when you give yourself permission to make something bad.

I’ve realised that reconnecting with analogue processes has made me feel creatively engaged in a way I wasn’t expecting. Perfection is highly overrated. The world is already full of perfectly manufactured objects and clinically perfect images that can sometimes feel more like products of mass production than things made by an individual.

When I travel, I’d much rather eat a home-cooked meal than a Michelin-starred dish, and believe me, when I cook, perfection is not exactly on the menu. But something made with love and consideration carries memories and feelings that have value far beyond any objective measurement.

That’s probably what I want from my photography too. I might not draw in this journal every day, and I may never become remotely competent at sketching, but when I return to it years from now, I’ll remember the trip. The crooked drawings, cheap prints and imperfect photographs will probably mean more to me than the technically flawless images ever could.

In a strange way, this also connects back to YouTube. Taking photographs, curating them and turning them into a story helps me relive my experiences, while sharing them allows those memories to become something communal. I’ve been thinking about doing something similar with my accumulated photographs from Japan, perhaps turning them into a book or zine around ideas such as wabi-sabi—finding beauty in imperfection—and ikigai, engaging with activities for their intrinsic pleasure.

Perhaps that’s where this whole experiment is heading. Maybe it’s a little bit of Shu-Ha-Ri: learning the basics, absorbing the experience and eventually finding your own creative trajectory. For me, at least, that trajectory seems to involve fewer demands for perfection, more tangible creativity and, most importantly, enjoying the process along the way.

Is shooting expired film actually worth it? Or am I just chasing rainbows?

Agfacolor 200 20 years later

The recent demise of my beloved Fuji medium format point-and-shoot left me with photographic trauma that still hasn’t quite healed. If there were anything capable of adding fresh scars to that emotional damage, it would surely be expired film. After all, paying good money for something that’s already gone off feels completely irrational. I wouldn’t eat a mouldy sandwich that’s been sitting in a school bag for twenty years, so why would I willingly load twenty-year-old film into a camera?

Yet expired film has an undeniable appeal. Plenty of photographers swear by its unpredictable character, embracing colour shifts, grain and imperfections as part of the experience. I’ve never really belonged to that particular camp. If expired film were dramatically cheaper than fresh stock, I might understand the attraction, but these days many old rolls cost almost as much as new ones.

Fortunately, I didn’t have to buy this roll. My brother-in-law picked up some AgfaColor XRG 200 while visiting Spain several years ago and kindly passed a few rolls on to me. So, armed with film that expired in 2001 and expectations hovering somewhere below sea level, it was time to see whether this forgotten emulsion still had anything left to offer.

The original plan involved an early morning trip to Perth’s beaches, but the weather had other ideas. Rain is such a novelty in Perth that the first shower feels almost like a public celebration. Once the excitement wears off, though, you’re simply wet, so I postponed the outing and instead headed into the city under far more typical blue skies.

Giving Old Film Every Chance

Conventional wisdom suggests overexposing expired colour negative film by roughly one stop for every decade past its expiry date. At 21 years old, that meant treating this ISO 200 film as roughly ISO 50, while also remaining willing to give it even more light if conditions allowed.

I also tried to stack the odds in my favour by using a Nikon N80, whose Matrix metering was considered impressively sophisticated when both the camera and this film were new. Paired with Nikon’s versatile 28-300mm zoom, it offered the flexibility to photograph whatever caught my eye, even if the relatively slow aperture wasn’t ideal for ageing film.

I’d never been particularly fond of Agfa’s colour films, even when they were fresh. Compared to Kodak or Fuji, I’ve always found Agfa prone to muddy shadows and an overly magenta colour palette. Naturally, I expected two decades of ageing to make those weaknesses even worse.

Instead, I was greeted with something unexpected.

Better Than Expected

The first victory was simply that the film worked at all. Given my previous encounters with expired film, I’d fully expected another disaster. Instead, the generous exposure produced enough image density to cut through the inevitable base fog, leaving negatives that scanned surprisingly well.

There was certainly evidence of the film’s age. Grain was more noticeable, colours had shifted slightly and contrast wasn’t quite what fresh film would deliver. Even so, the results were far more usable than I’d anticipated. Static subjects came out especially well, while moving subjects occasionally defeated both the ageing emulsion and the slower zoom lens. Rather than feeling ruined, though, some of those imperfect frames developed a charm all of their own.

Reviewing my favourite images, I realised I’d accidentally assembled a mixture of street photography, architecture, minimalism and abstract compositions. More importantly, I genuinely liked several of them. Considering how low my expectations had been, that felt like a genuine success.

Expired film may never replace fresh stock in my camera bag, and I’m still not convinced it’s worth today’s inflated prices. However, this roll reminded me that photography doesn’t always reward certainty. Sometimes lowering your expectations leaves plenty of room to be pleasantly surprised.

Unlike my dearly departed Fuji GA645Zi, this ancient roll of Agfa actually delivered. That’s enough to spare it from photographic damnation, at least for now. As for me, I may be approaching my own use-by date, but there are still plenty more questionable photographic adventures waiting just around the corner. If nothing else, they should provide fresh material for the next chapter of my ongoing catalogue of photographic misadventures.

The Slow Death of My Fujifilm GA645Zi – a Posthumous Review

A Medium Format Camera in Berlin

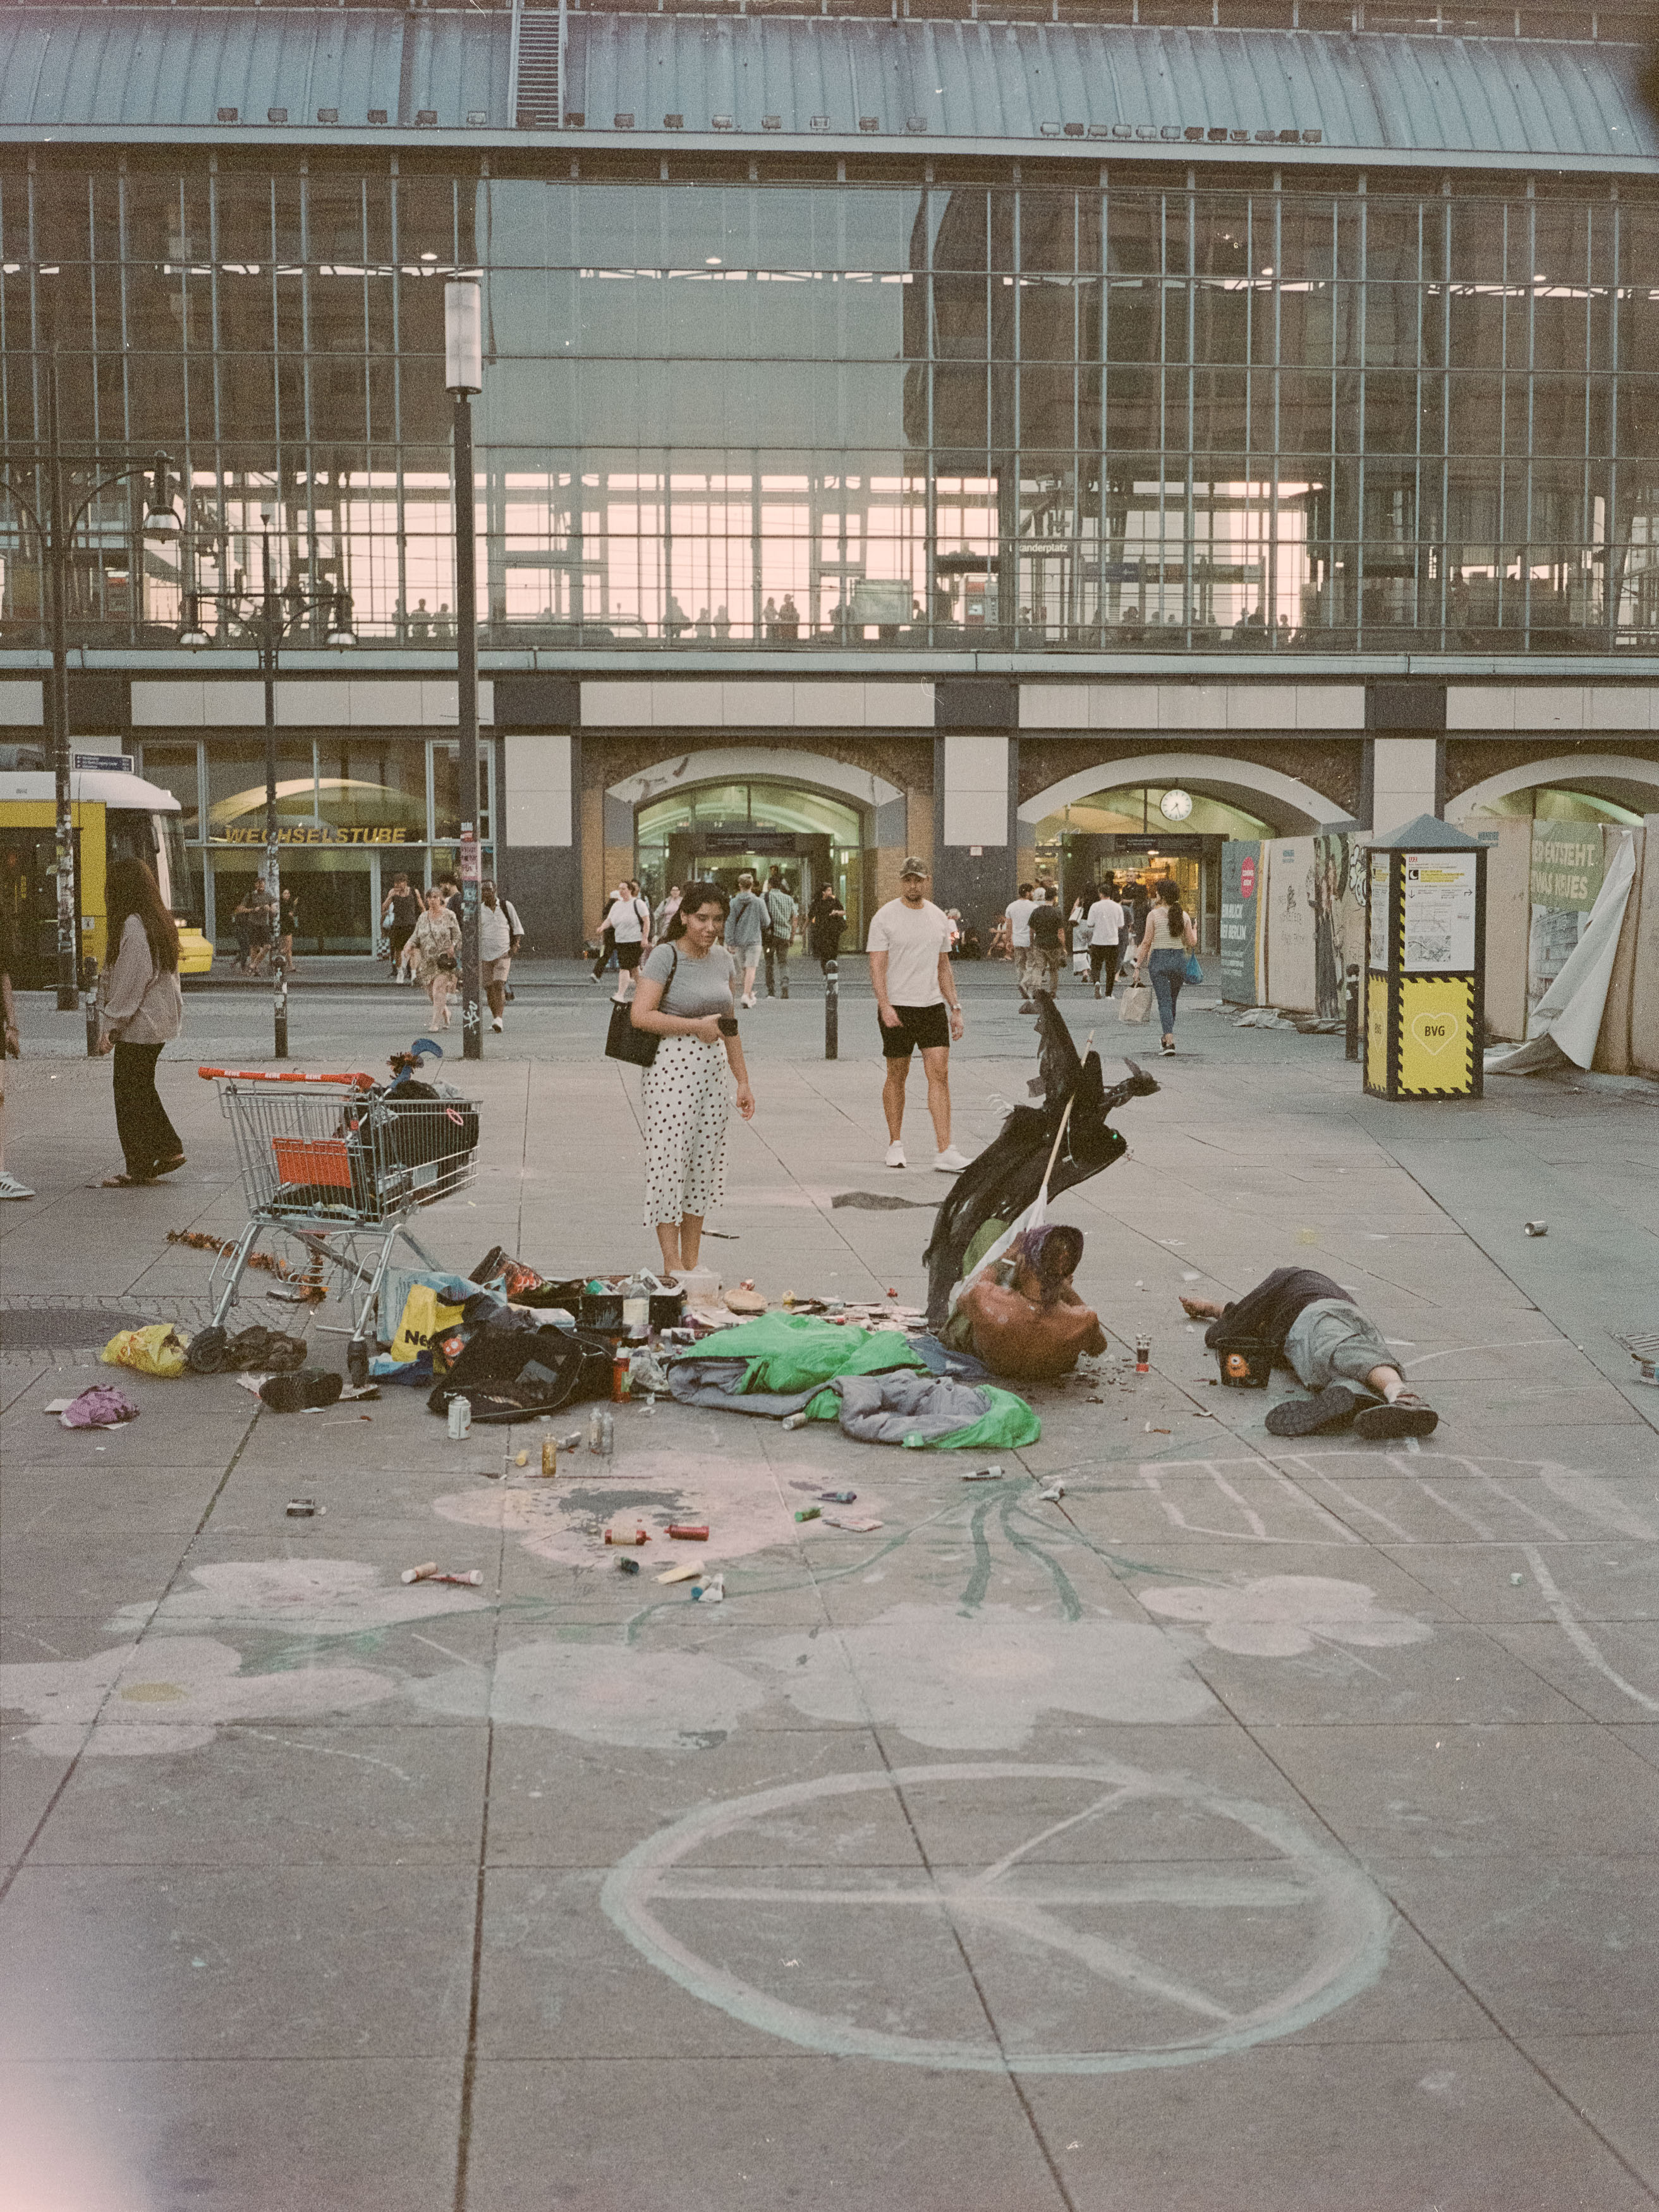
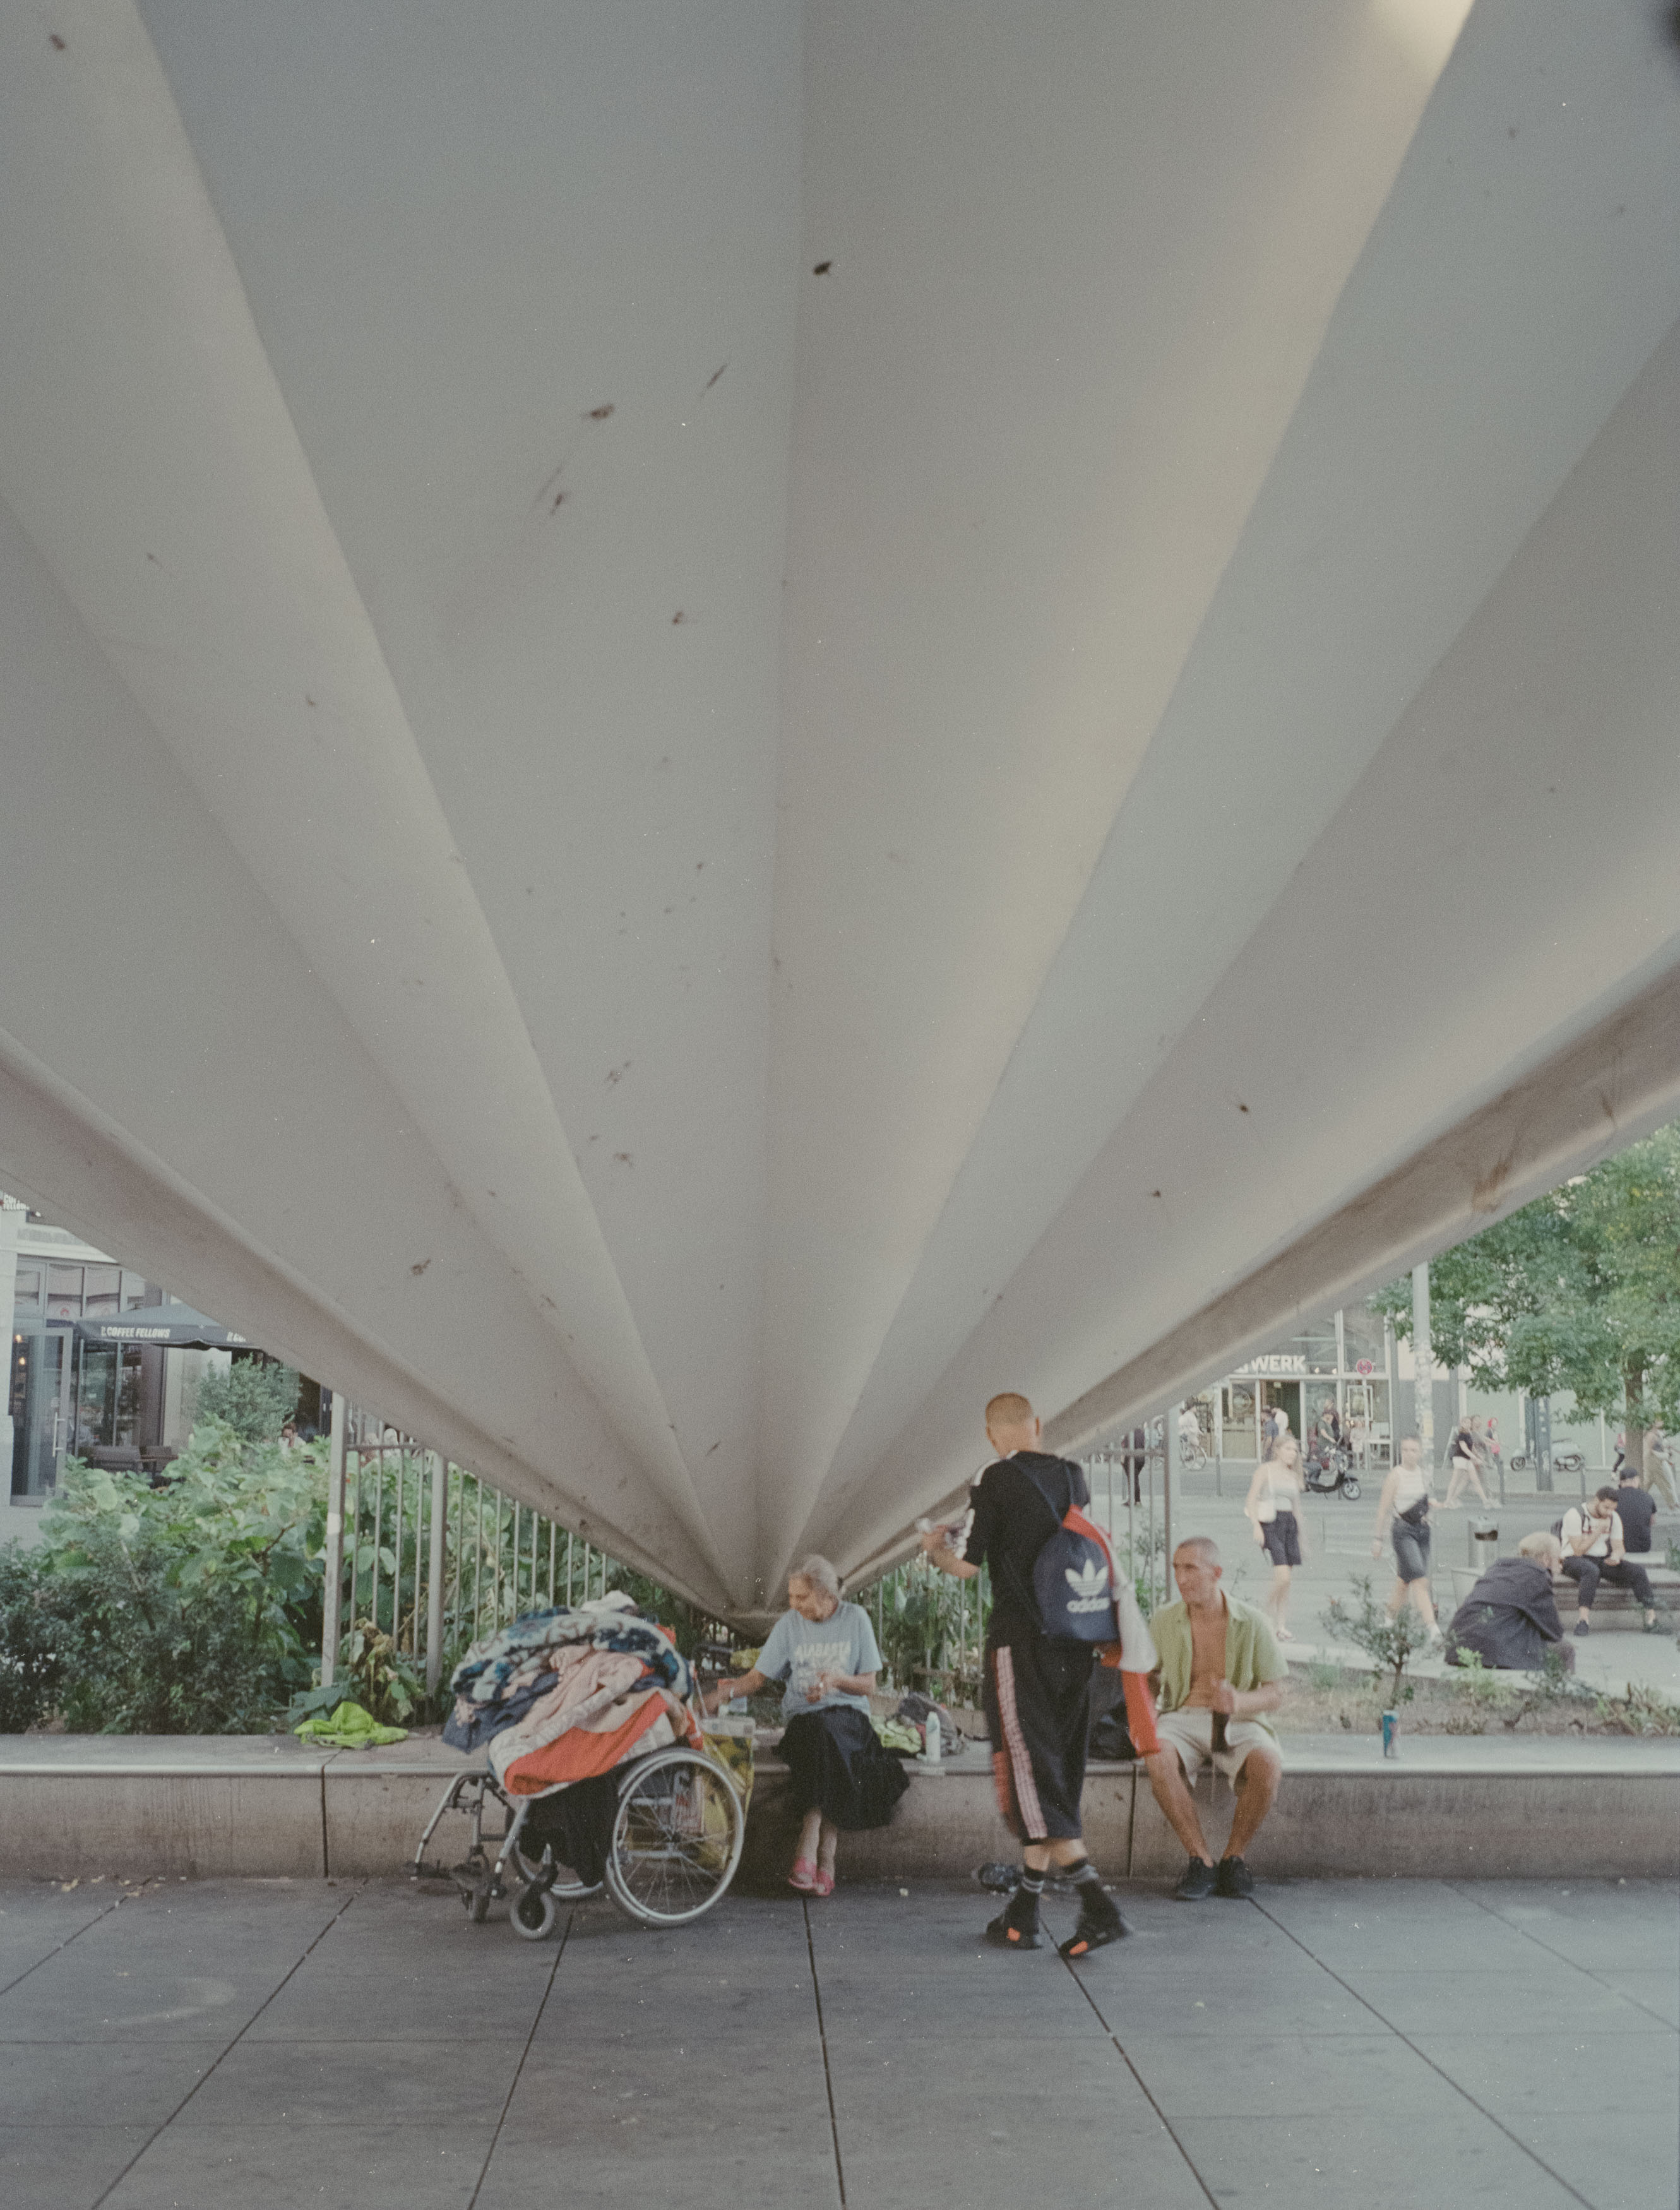
The beginning of the end for my Fujifilm GA645Zi can be traced back to Berlin in mid-2024. After spending several miserable days confined to a hotel room with COVID, my final evening brought just enough recovery to venture outside. Alexanderplatz seemed like the perfect place to stretch both my legs and the shutter of a camera that had travelled with me for the better part of a decade.

The GA645Zi is an unusual machine. It’s a medium format point-and-shoot from 1998 that somehow combines professional image quality with the appearance of an oversized family holiday camera. It shoots 6×4.5 negatives, which may be the smallest of the medium format options, but they’re still enormous compared to 35mm film. That extra real estate gives your photographs an incredible amount of detail while still allowing a reasonably compact camera to accompany you on your travels.

Of course, not every photograph from Berlin was a masterpiece. That’s partly because photography is an excellent way to discover your own shortcomings on a regular basis, but the camera itself deserves some of the blame. On paper, the specifications don’t exactly inspire confidence. The 55-90mm zoom translates to roughly 34-56mm in 35mm terms, with only four zoom positions to choose from. At the long end, the maximum aperture falls to a leisurely f/6.9, leaving very little room for low-light photography while still giving you all the opportunities for camera shake that come with a 90mm lens.

Despite those limitations, the lens itself is astonishingly sharp. The GA645Zi was never a cheap camera, and while the body feels disappointingly plasticky, the negatives it produces are spectacular. Zooming into the scans reveals detail that seems almost endless, reminding you why photographers continue to pay increasingly eye-watering prices for these cameras today. I bought mine around ten years ago for roughly a quarter of what they’re worth now, and for years it rewarded me with images that justified every compromise.

The Beginning of the End

As the Berlin sun disappeared, so too did my confidence in the camera’s future. The notorious weakness of the GA645Zi is its rear LCD panel, connected by a ribbon cable that flexes every time the camera is opened for loading film. Eventually that cable fails, and mine began displaying the first telltale flickers that countless owners before me had documented online.

The camera still functioned, so I loaded another roll and headed into the gathering darkness. Night photography with this Fuji was always going to be challenging. Ilford HP5 pushed to ISO 1600 has served me well in other cities, and I’ve even shot colour film after dark in places like Shinjuku and South Korean markets. Berlin, however, felt different. Empty squares, dim lighting and reflective surfaces made flash photography more frustrating than helpful, while my own developing mistakes probably didn’t do the negatives any favours.

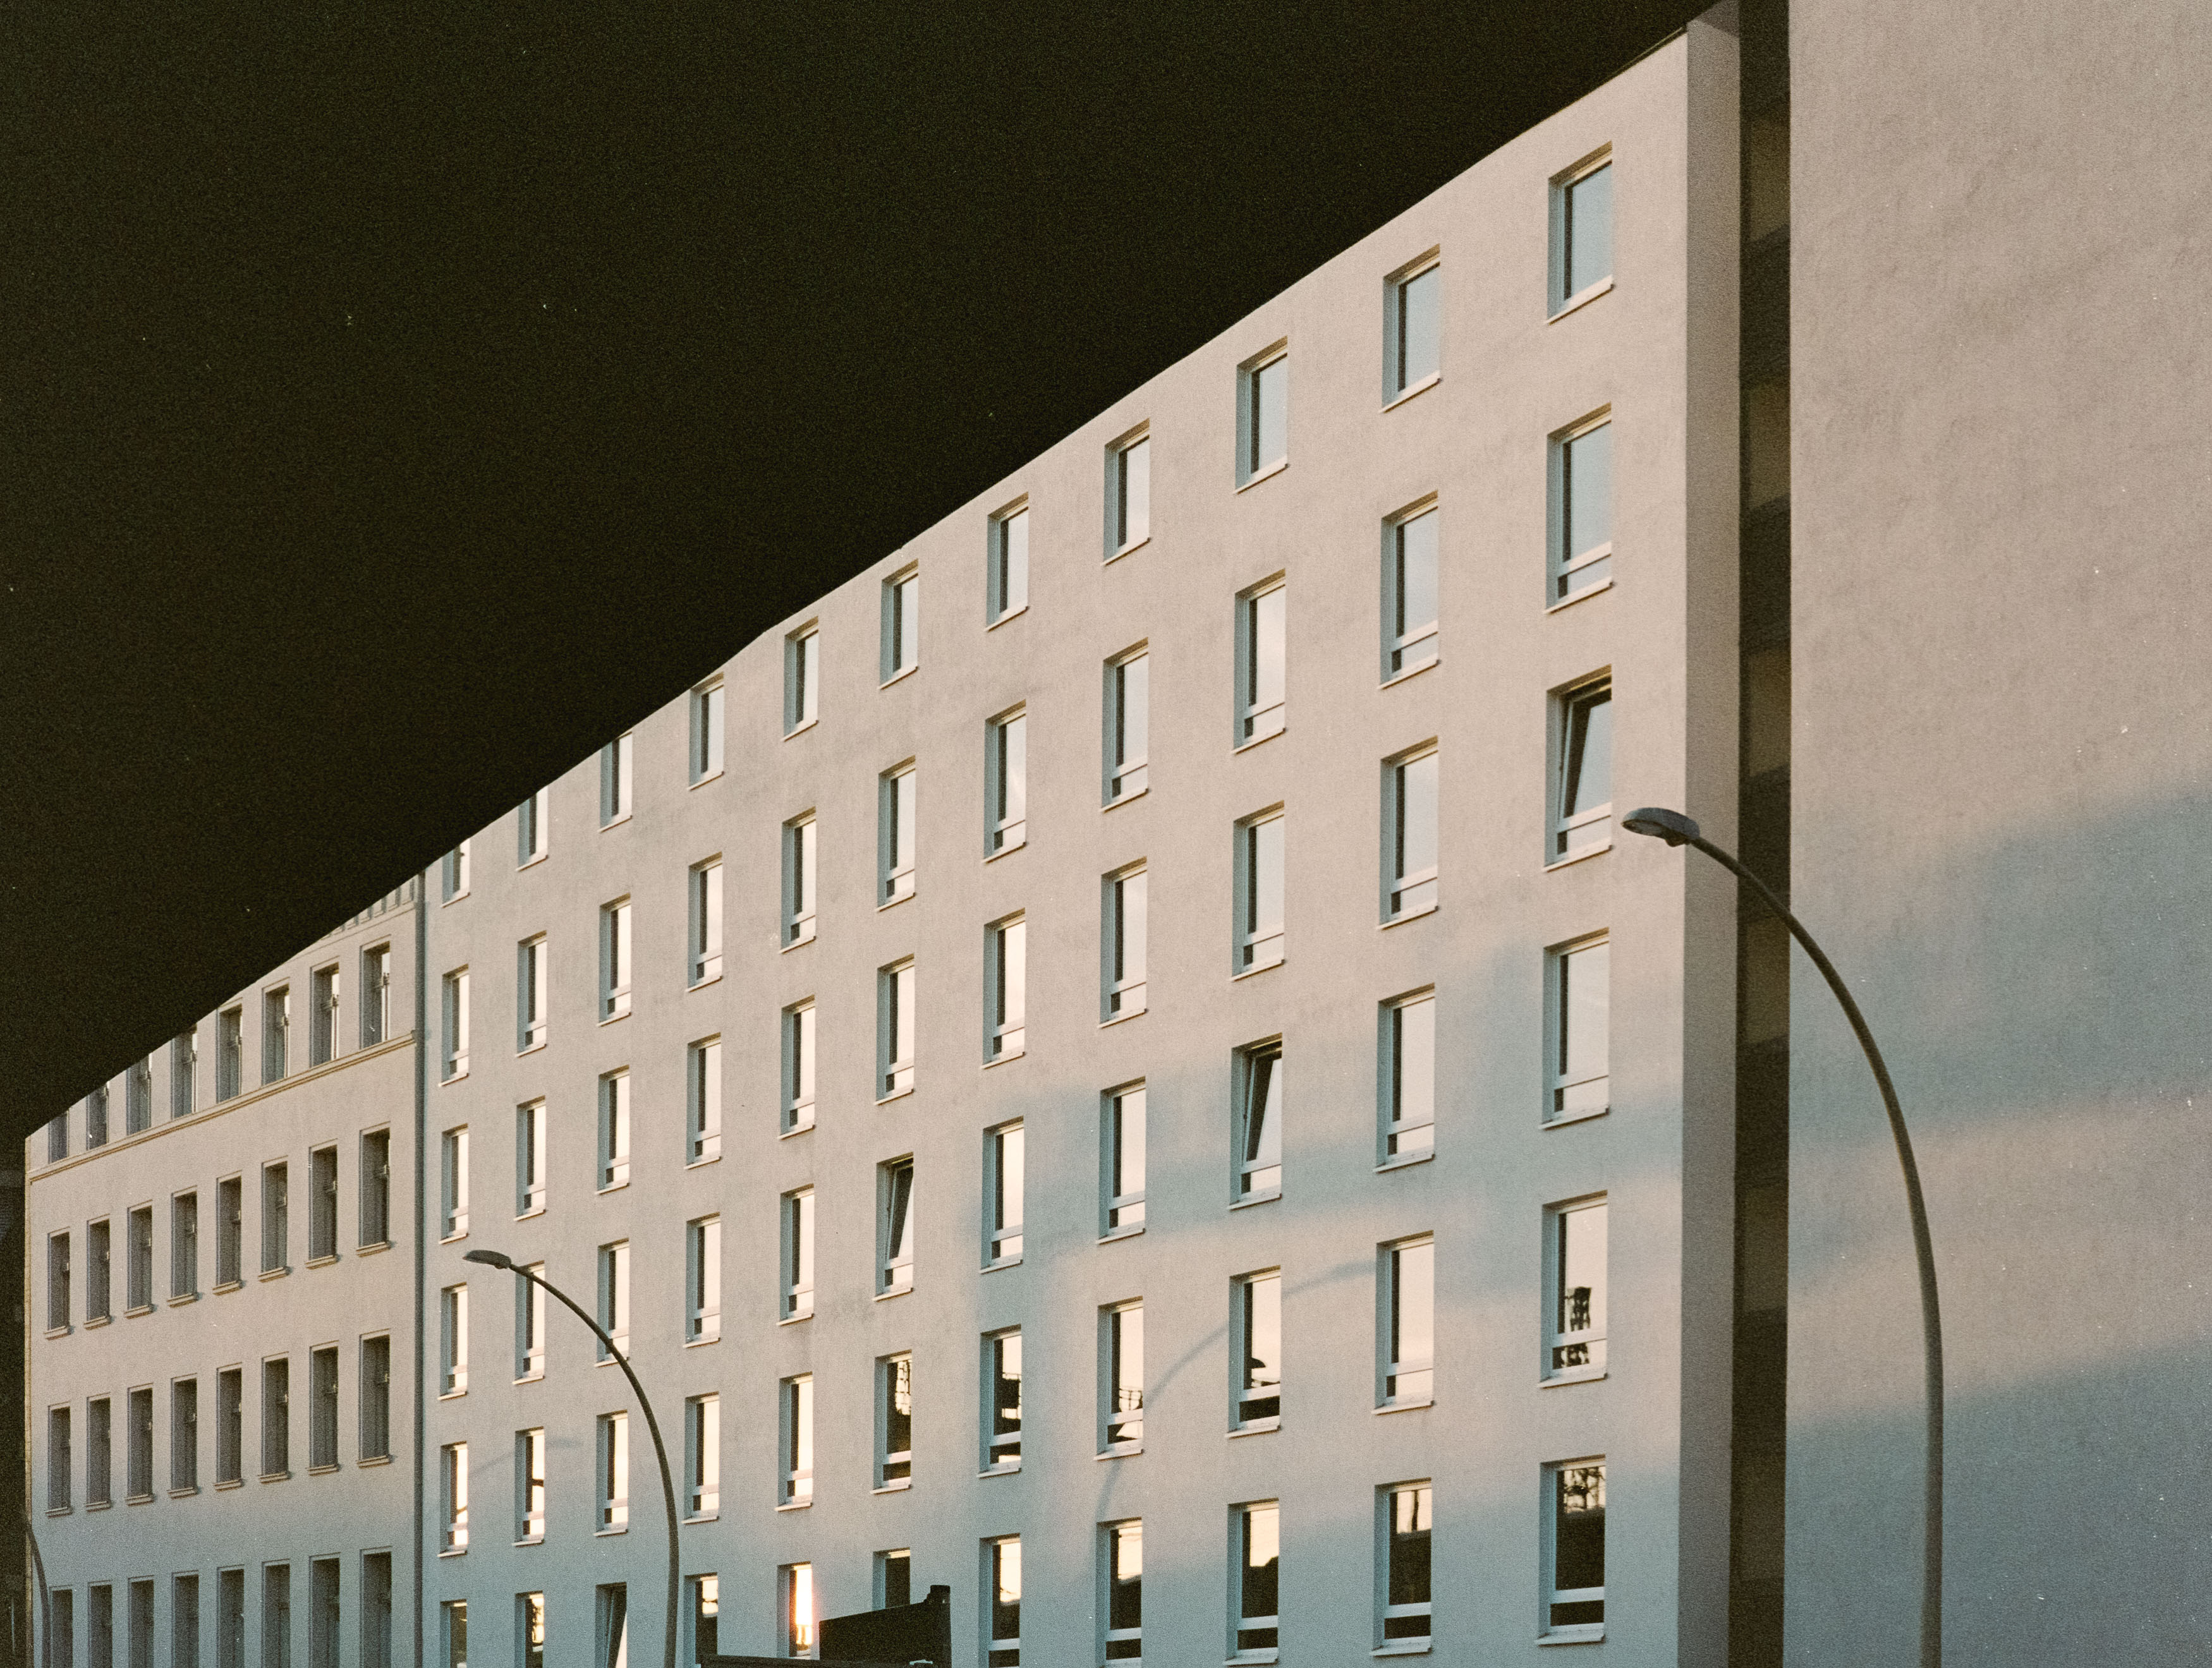
Rather than fight the darkness, I eventually decided to embrace it. Cropping away unnecessary empty space and leaning into deep shadows produced images that felt more atmospheric than documentary. Streetlights reflecting from tram tracks, isolated figures disappearing into blackness and fragments of illuminated architecture became studies in mood rather than perfect technical photographs. Some images asked viewers to complete the story themselves, filling the darkness with their own interpretation.

Living with a Flawed Masterpiece

The GA645Zi wasn’t finished just yet. On a later trip through China, the LCD had deteriorated so badly that I could barely read it, but I managed to improvise. By comparing the camera’s exposure readings against a phone light meter, I convinced myself that as long as the ISO setting matched, perhaps the missing display wasn’t the end of the world.

After all, the qualities that make this camera special remained intact. The viewfinder still displays shutter speed and aperture information, which is essential given the relatively slow lens and the razor-thin depth of field that medium format provides. When the autofocus gets things right, the results are genuinely superb.

Unfortunately, “when” is doing a lot of work in that sentence. The autofocus has always been somewhat optimistic about its own abilities, occasionally deciding that somewhere near your intended subject is close enough. The camera is also painfully slow. Switching it on feels remarkably similar to trying to wake a teenager for school. It pauses, contemplates life for a moment, and then reluctantly gets moving with as much complaining as possible.

That makes it a poor choice for decisive street photography, yet somehow it still produced some of my favourite travel images. Whether wandering through Vietnam, Japan, Barcelona or elsewhere, the combination of medium format resolution and an unobtrusive automatic camera often resulted in photographs that simply felt different. Massive negatives are arguably better suited to sweeping architecture, dramatic landscapes and iconic locations than everyday street scenes, but the GA645Zi always tempted me to use it for everything.

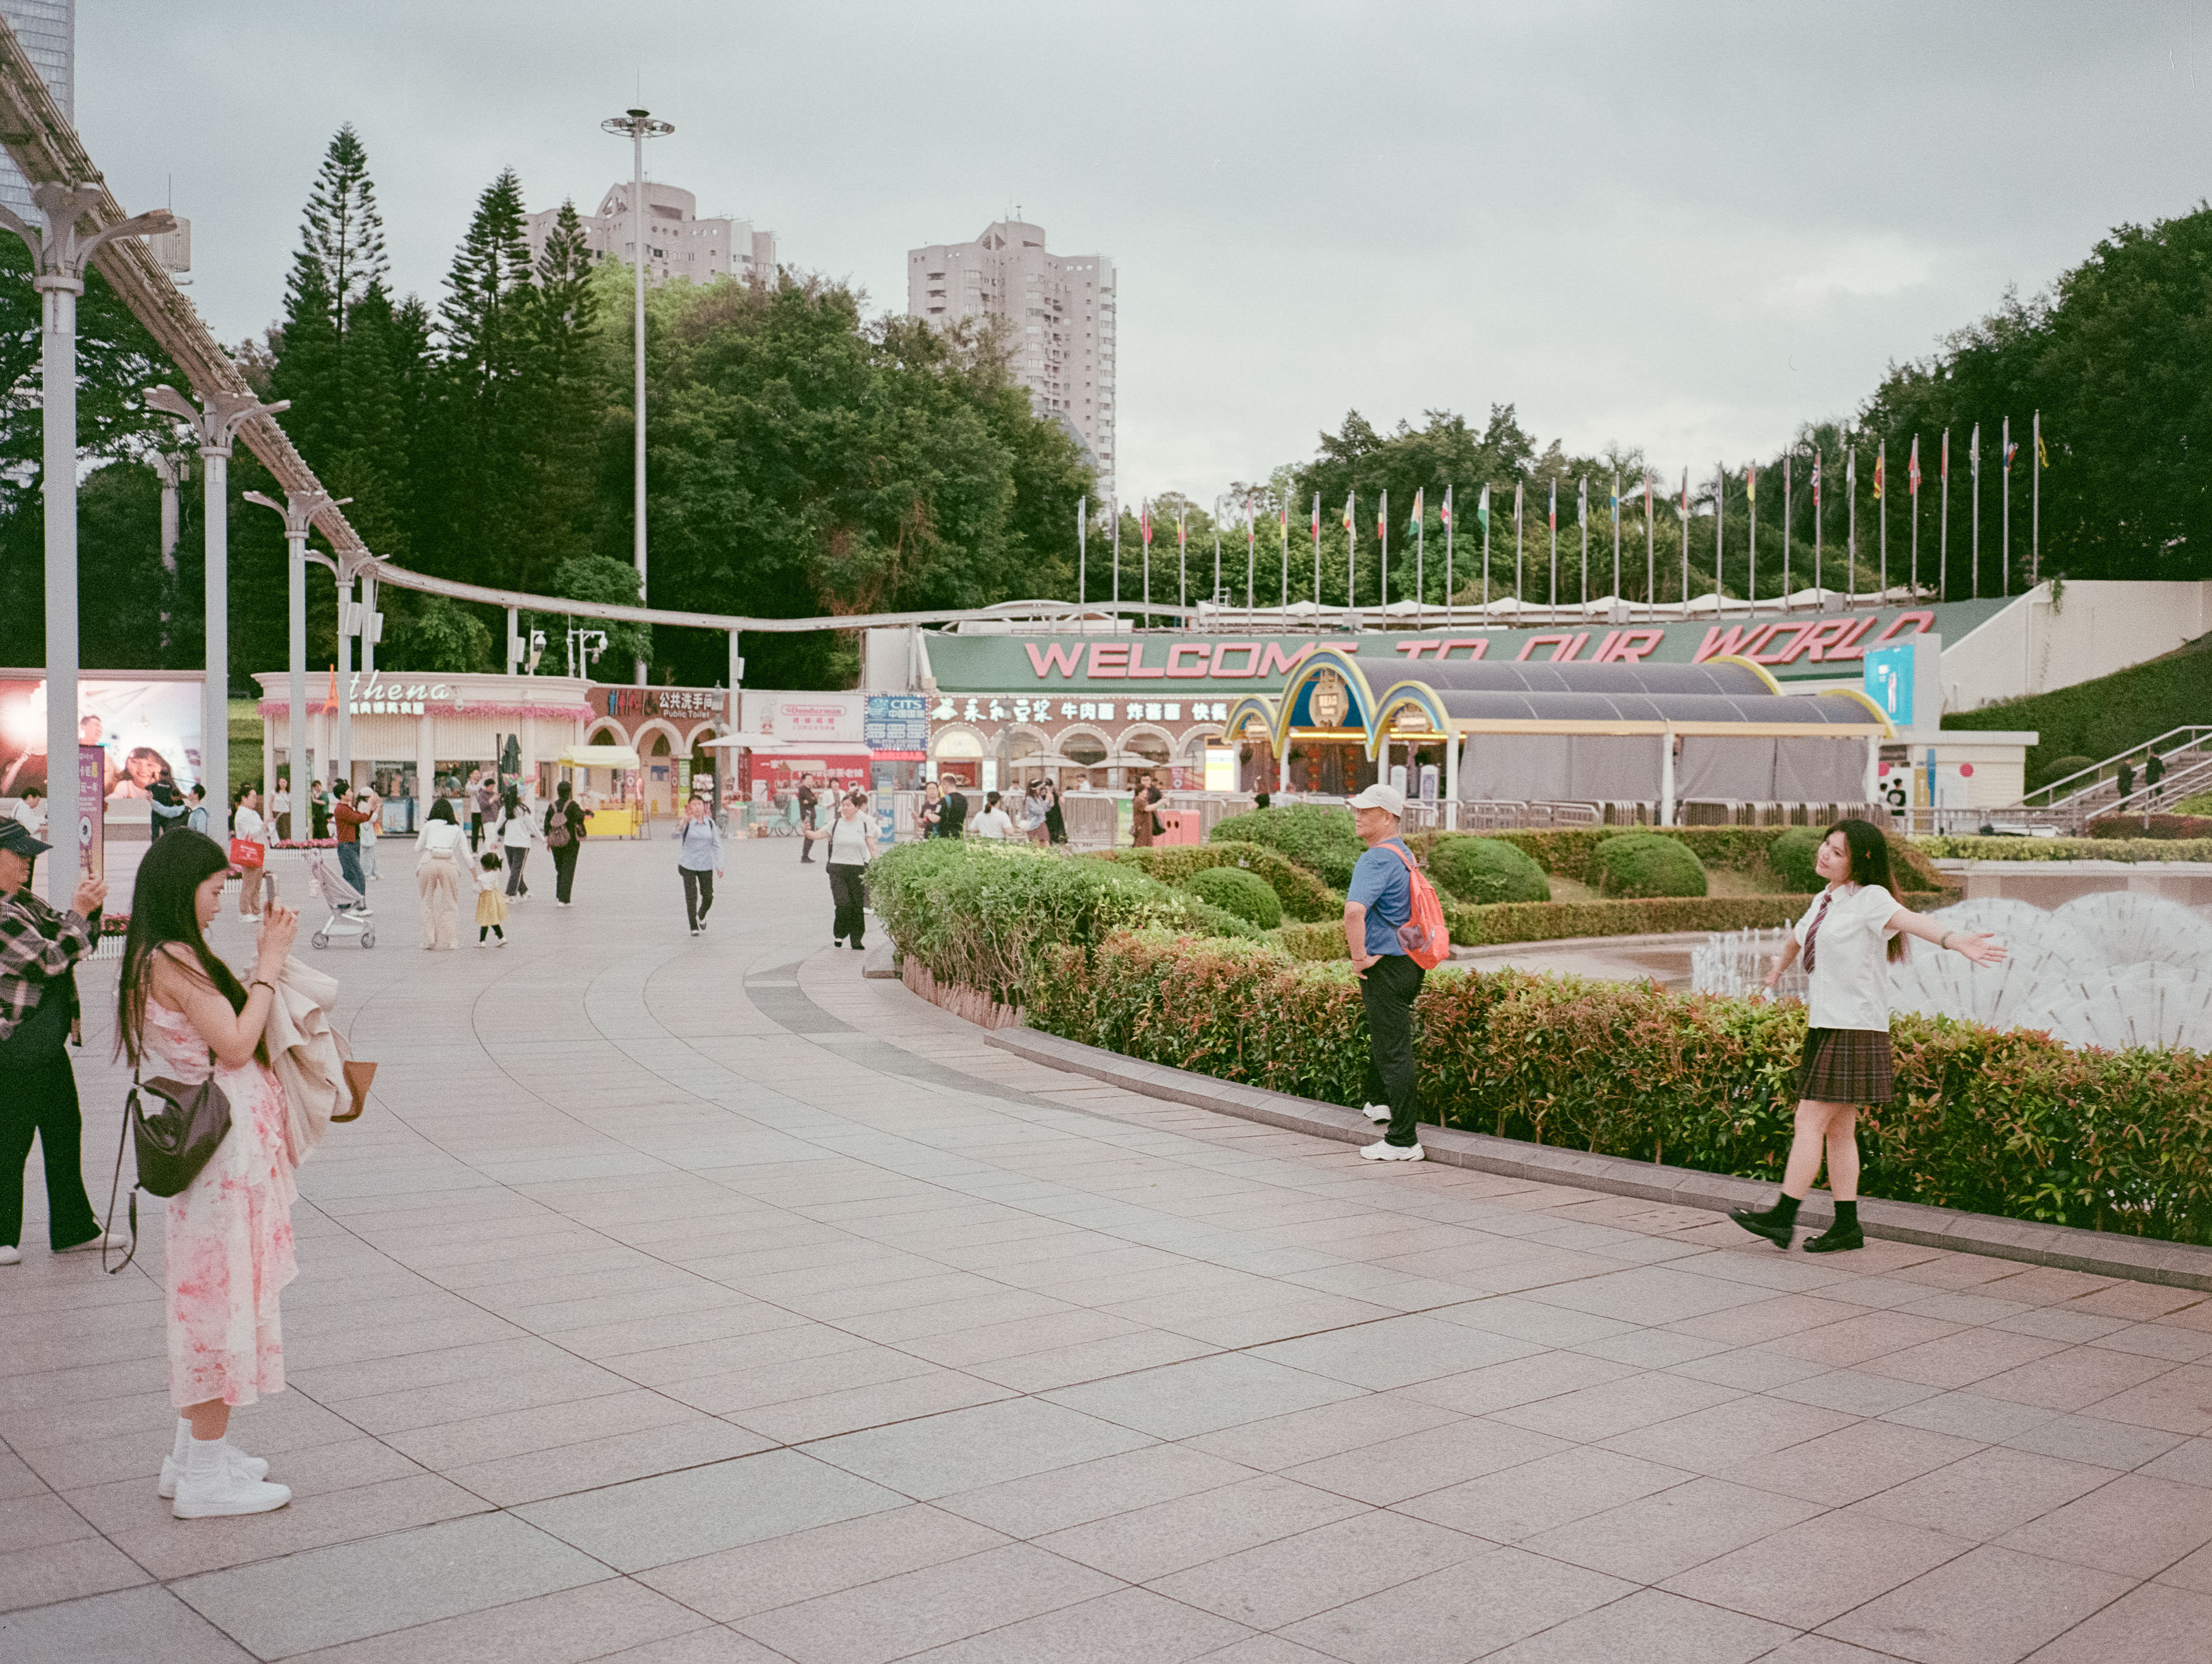
One of its final adventures took place in Shenzhen’s Overseas Chinese Town, where replicas of famous landmarks from around the world provided an appropriately surreal setting for a camera that itself seemed full of contradictions. A sophisticated medium format system disguised as a disposable point-and-shoot felt perfectly at home photographing imitation Venice inside one of the world’s youngest megacities.

Saying Goodbye

By the end of that trip, the LCD had finally died completely. Unfortunately, the problem turned out to be more serious than simply losing information on the display. Whatever electronics had failed also prevented the film from advancing correctly. Film would load, exposure compensation still functioned, but the camera simply refused to wind on. After years of faithful service, it had reached the end of the road.

Over the past decade this Fuji accompanied me across Europe and Asia. It documented family history, quiet personal moments and famous destinations alike. It visited places connected to my family’s experiences during the First World War, wandered through Aix-en-Provence, Kuala Lumpur, Japan and countless other cities, while also recording the ordinary family photographs that often become the most precious years later. Medium format has a wonderful way of preserving tiny details that you barely notice at the time but come to treasure with hindsight.

Looking back through its final rolls, there are still plenty of photographs worth celebrating. As always, they combine people, architecture and those odd little moments that somehow define travel better than famous landmarks ever could. The camera occasionally produced technical disasters alongside genuine gems, but perhaps that’s part of its charm.

I’ll genuinely miss the Fujifilm GA645Zi, although not enough to pay today’s inflated prices for another one. Losing it felt surprisingly similar to saying goodbye to an ageing pet: increasingly slow, occasionally unreliable and prone to little accidents, yet a loyal companion that had been there for some remarkable experiences.

Thankfully, medium format photography doesn’t end here. There are other cameras waiting for future adventures, including one substantially larger beast with enormous 6×9 negatives and, perhaps most importantly, absolutely no electronics waiting to self-destruct. It may make me look even more ridiculous carrying it through airports and city streets, but at least I won’t be worrying about ribbon cables every time I load a roll of film.

The Voigtlander 15mm Super Wide-Heliar f/4.5 for M39 in Vienna: A Great Lens, just not for Digital

There are lenses you use every day, and then there are lenses that completely change the way you see the world. The Voigtländer 15mm Super Wide-Heliar f/4.5 LTM definitely falls into the second category.

I recently packed it for a trip to Vienna, partly because the city’s grand architecture seemed like the perfect playground for an ultra-wide lens, and partly because I wanted to see whether this quirky little optic still deserved its reputation. After spending time with it on both my Leica M2 and Nikon Z6, I came away impressed—but also reminded that a 15mm lens demands far more from the photographer than most people realise.

This isn’t the sort of lens you casually leave on your camera. It’s more like a special occasion lens that rewards patience, careful composition and a willingness to embrace the strange.

Learning to See at 15mm

Fifteen millimetres is unbelievably wide. Point it at a scene and it doesn’t simply capture what’s in front of you—it seems to swallow everything around it as well.

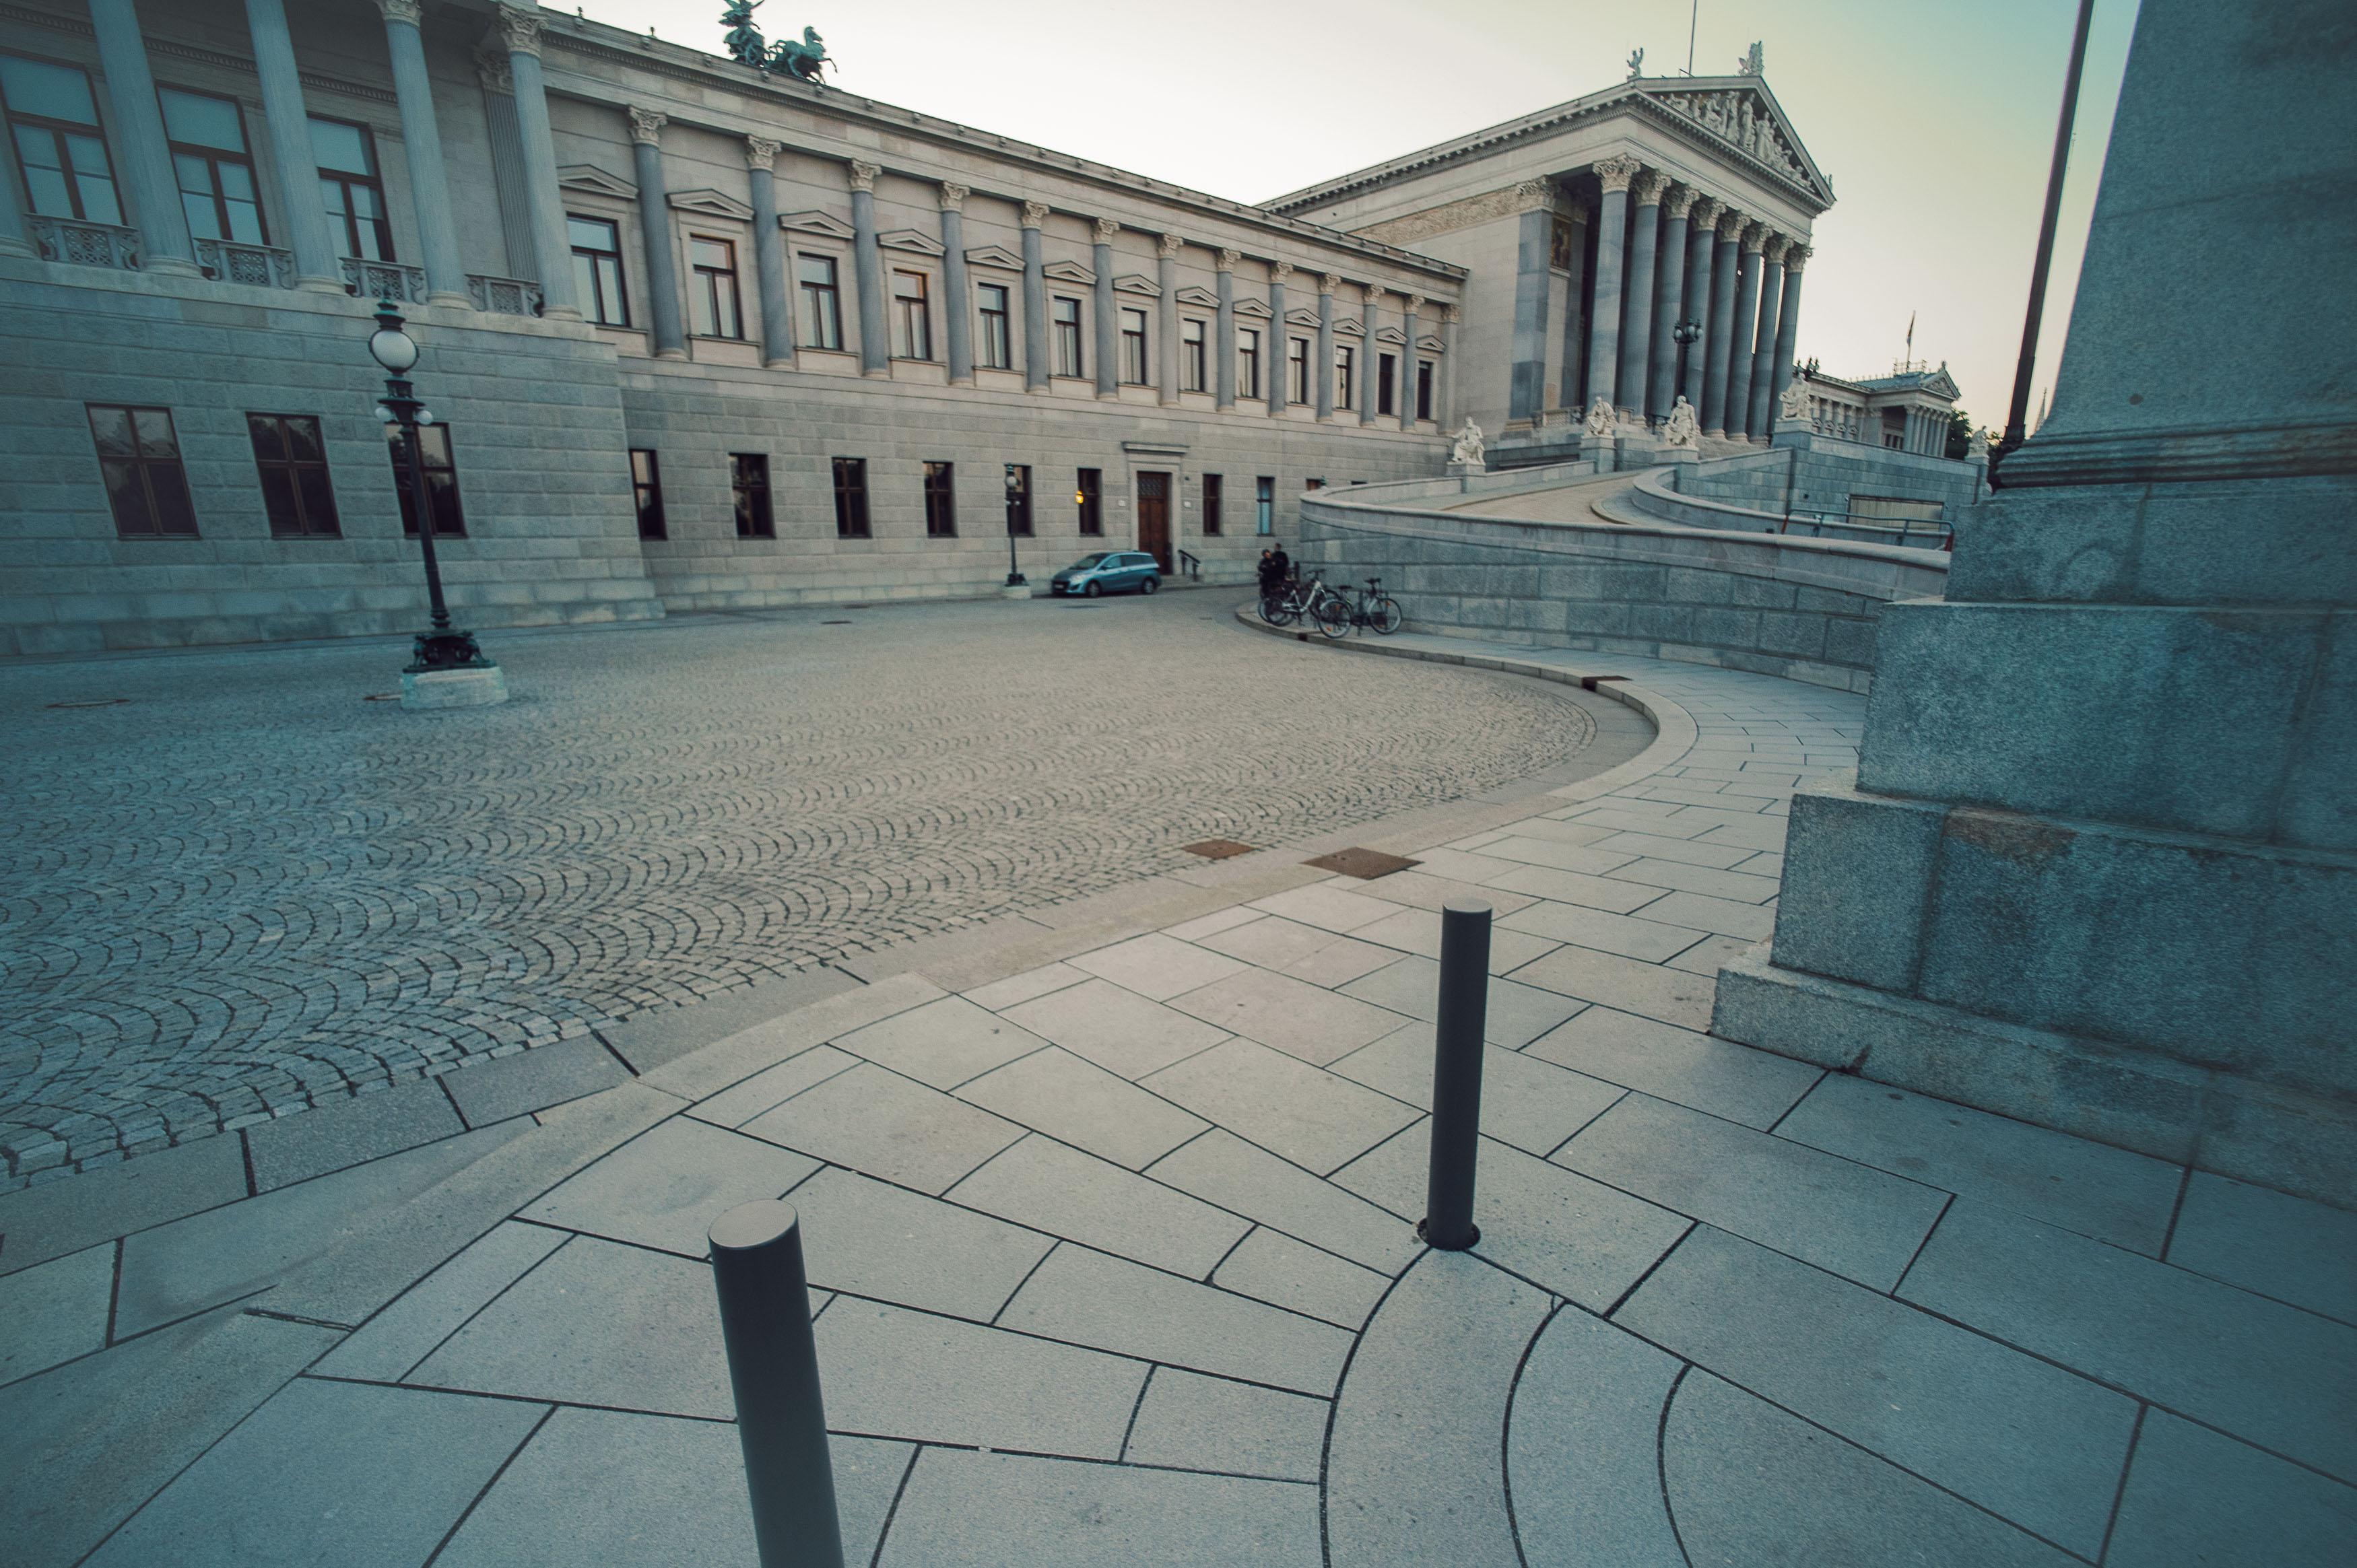
The first thing you notice is how dramatically it changes perspective. Objects close to the camera become enormous, while anything further away quickly shrinks into the distance. Straightforward compositions suddenly become much more complicated because every corner of the frame starts demanding your attention. If there isn’t something interesting happening throughout the image, you’ll often end up with a photograph that contains an awful lot of… well… not very much.

That’s why using this lens feels like learning photography all over again. You can’t rely on the habits you’ve built shooting 35mm or 50mm lenses. Instead, you have to train yourself to notice foreground subjects, converging lines and the relationships between objects across the entire frame.

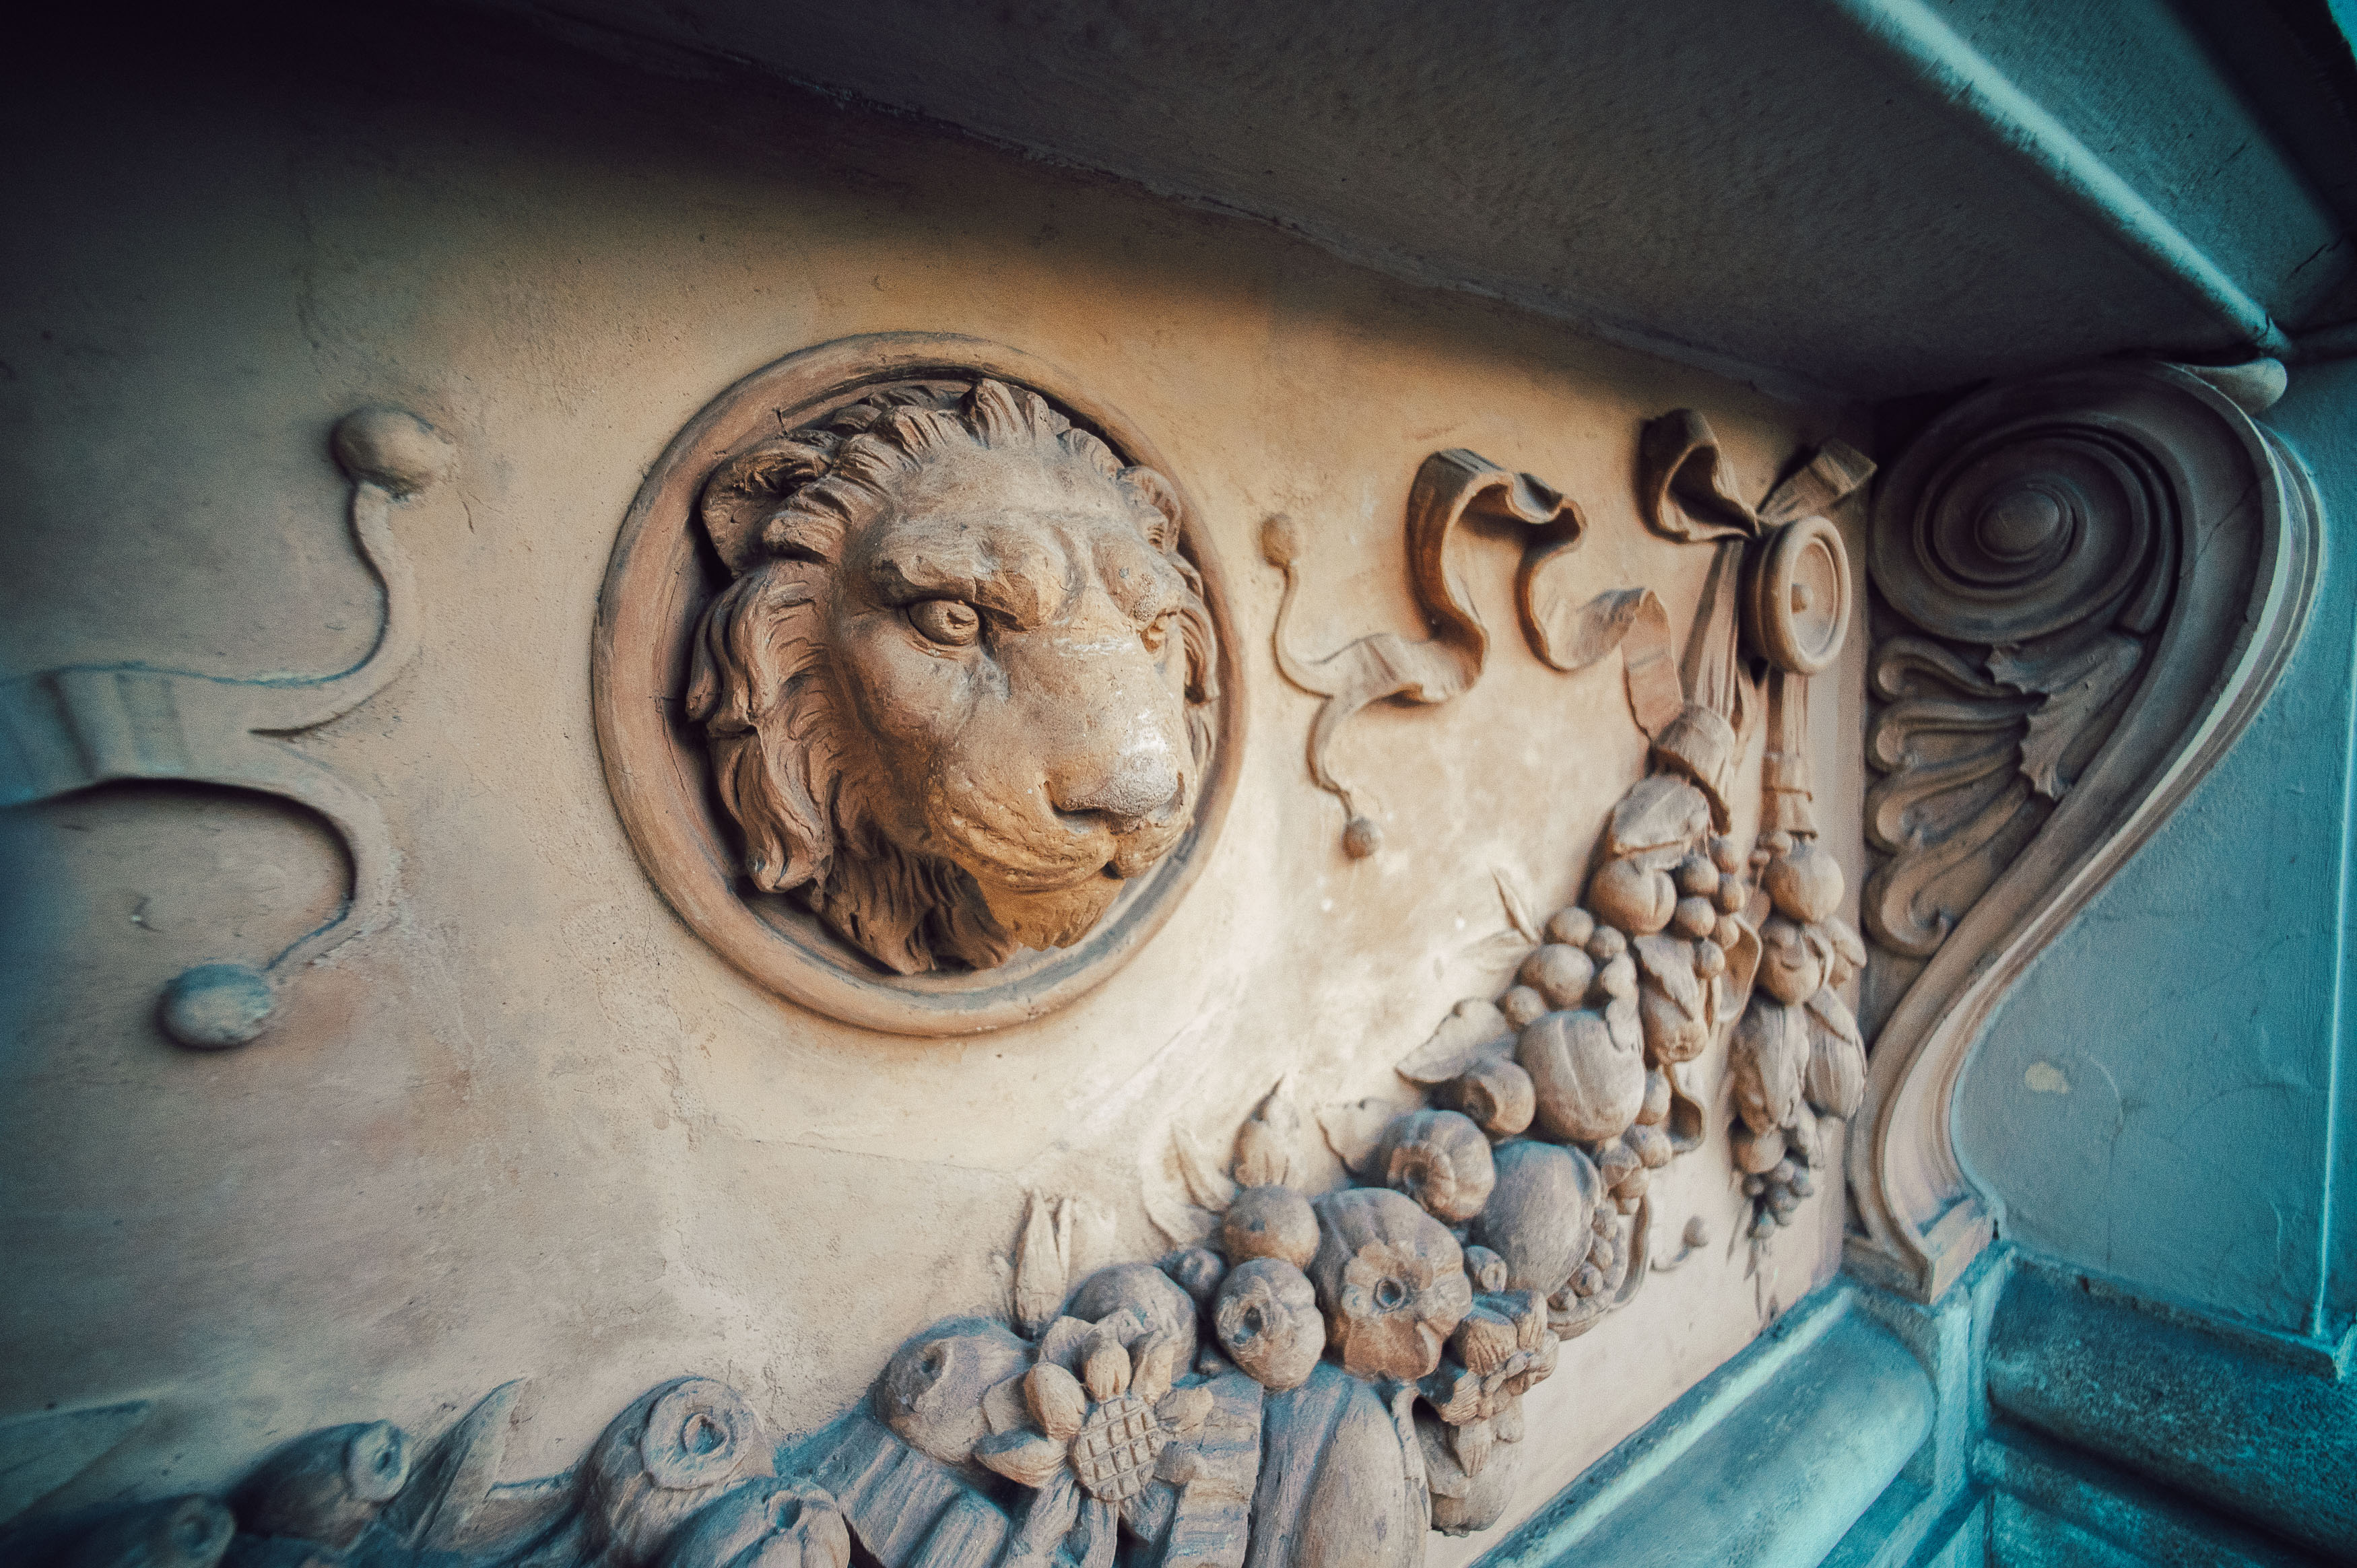
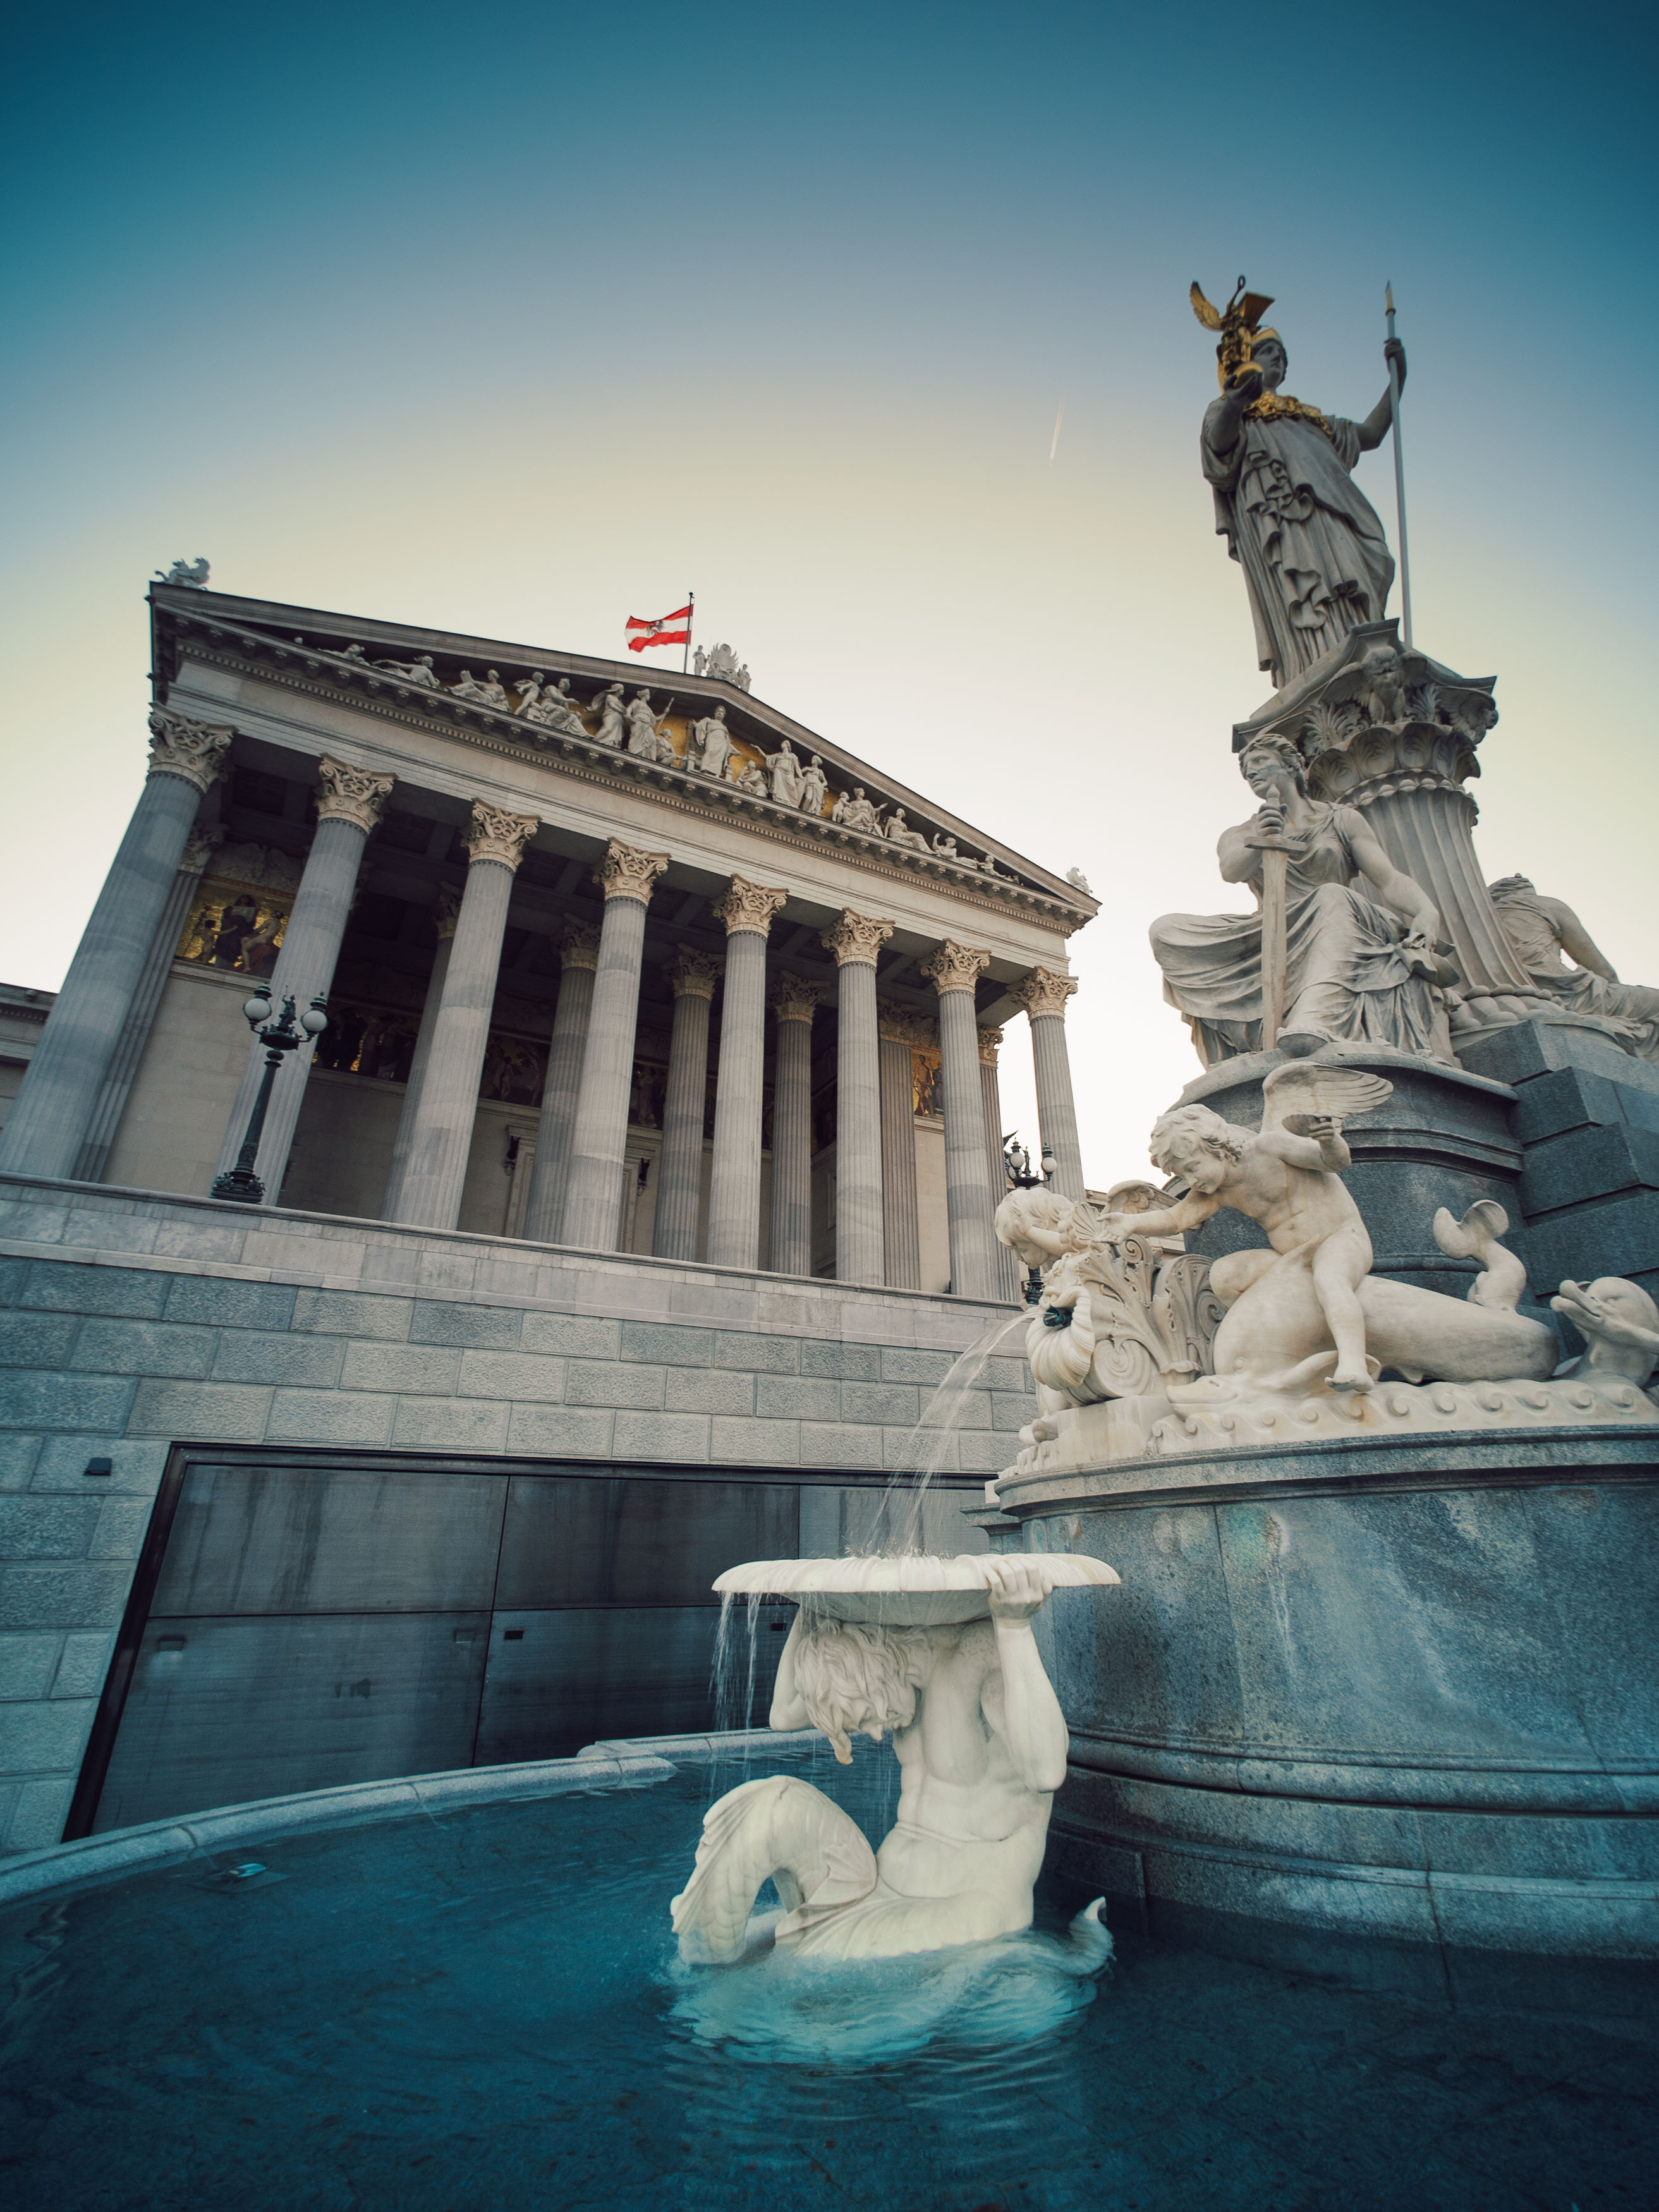
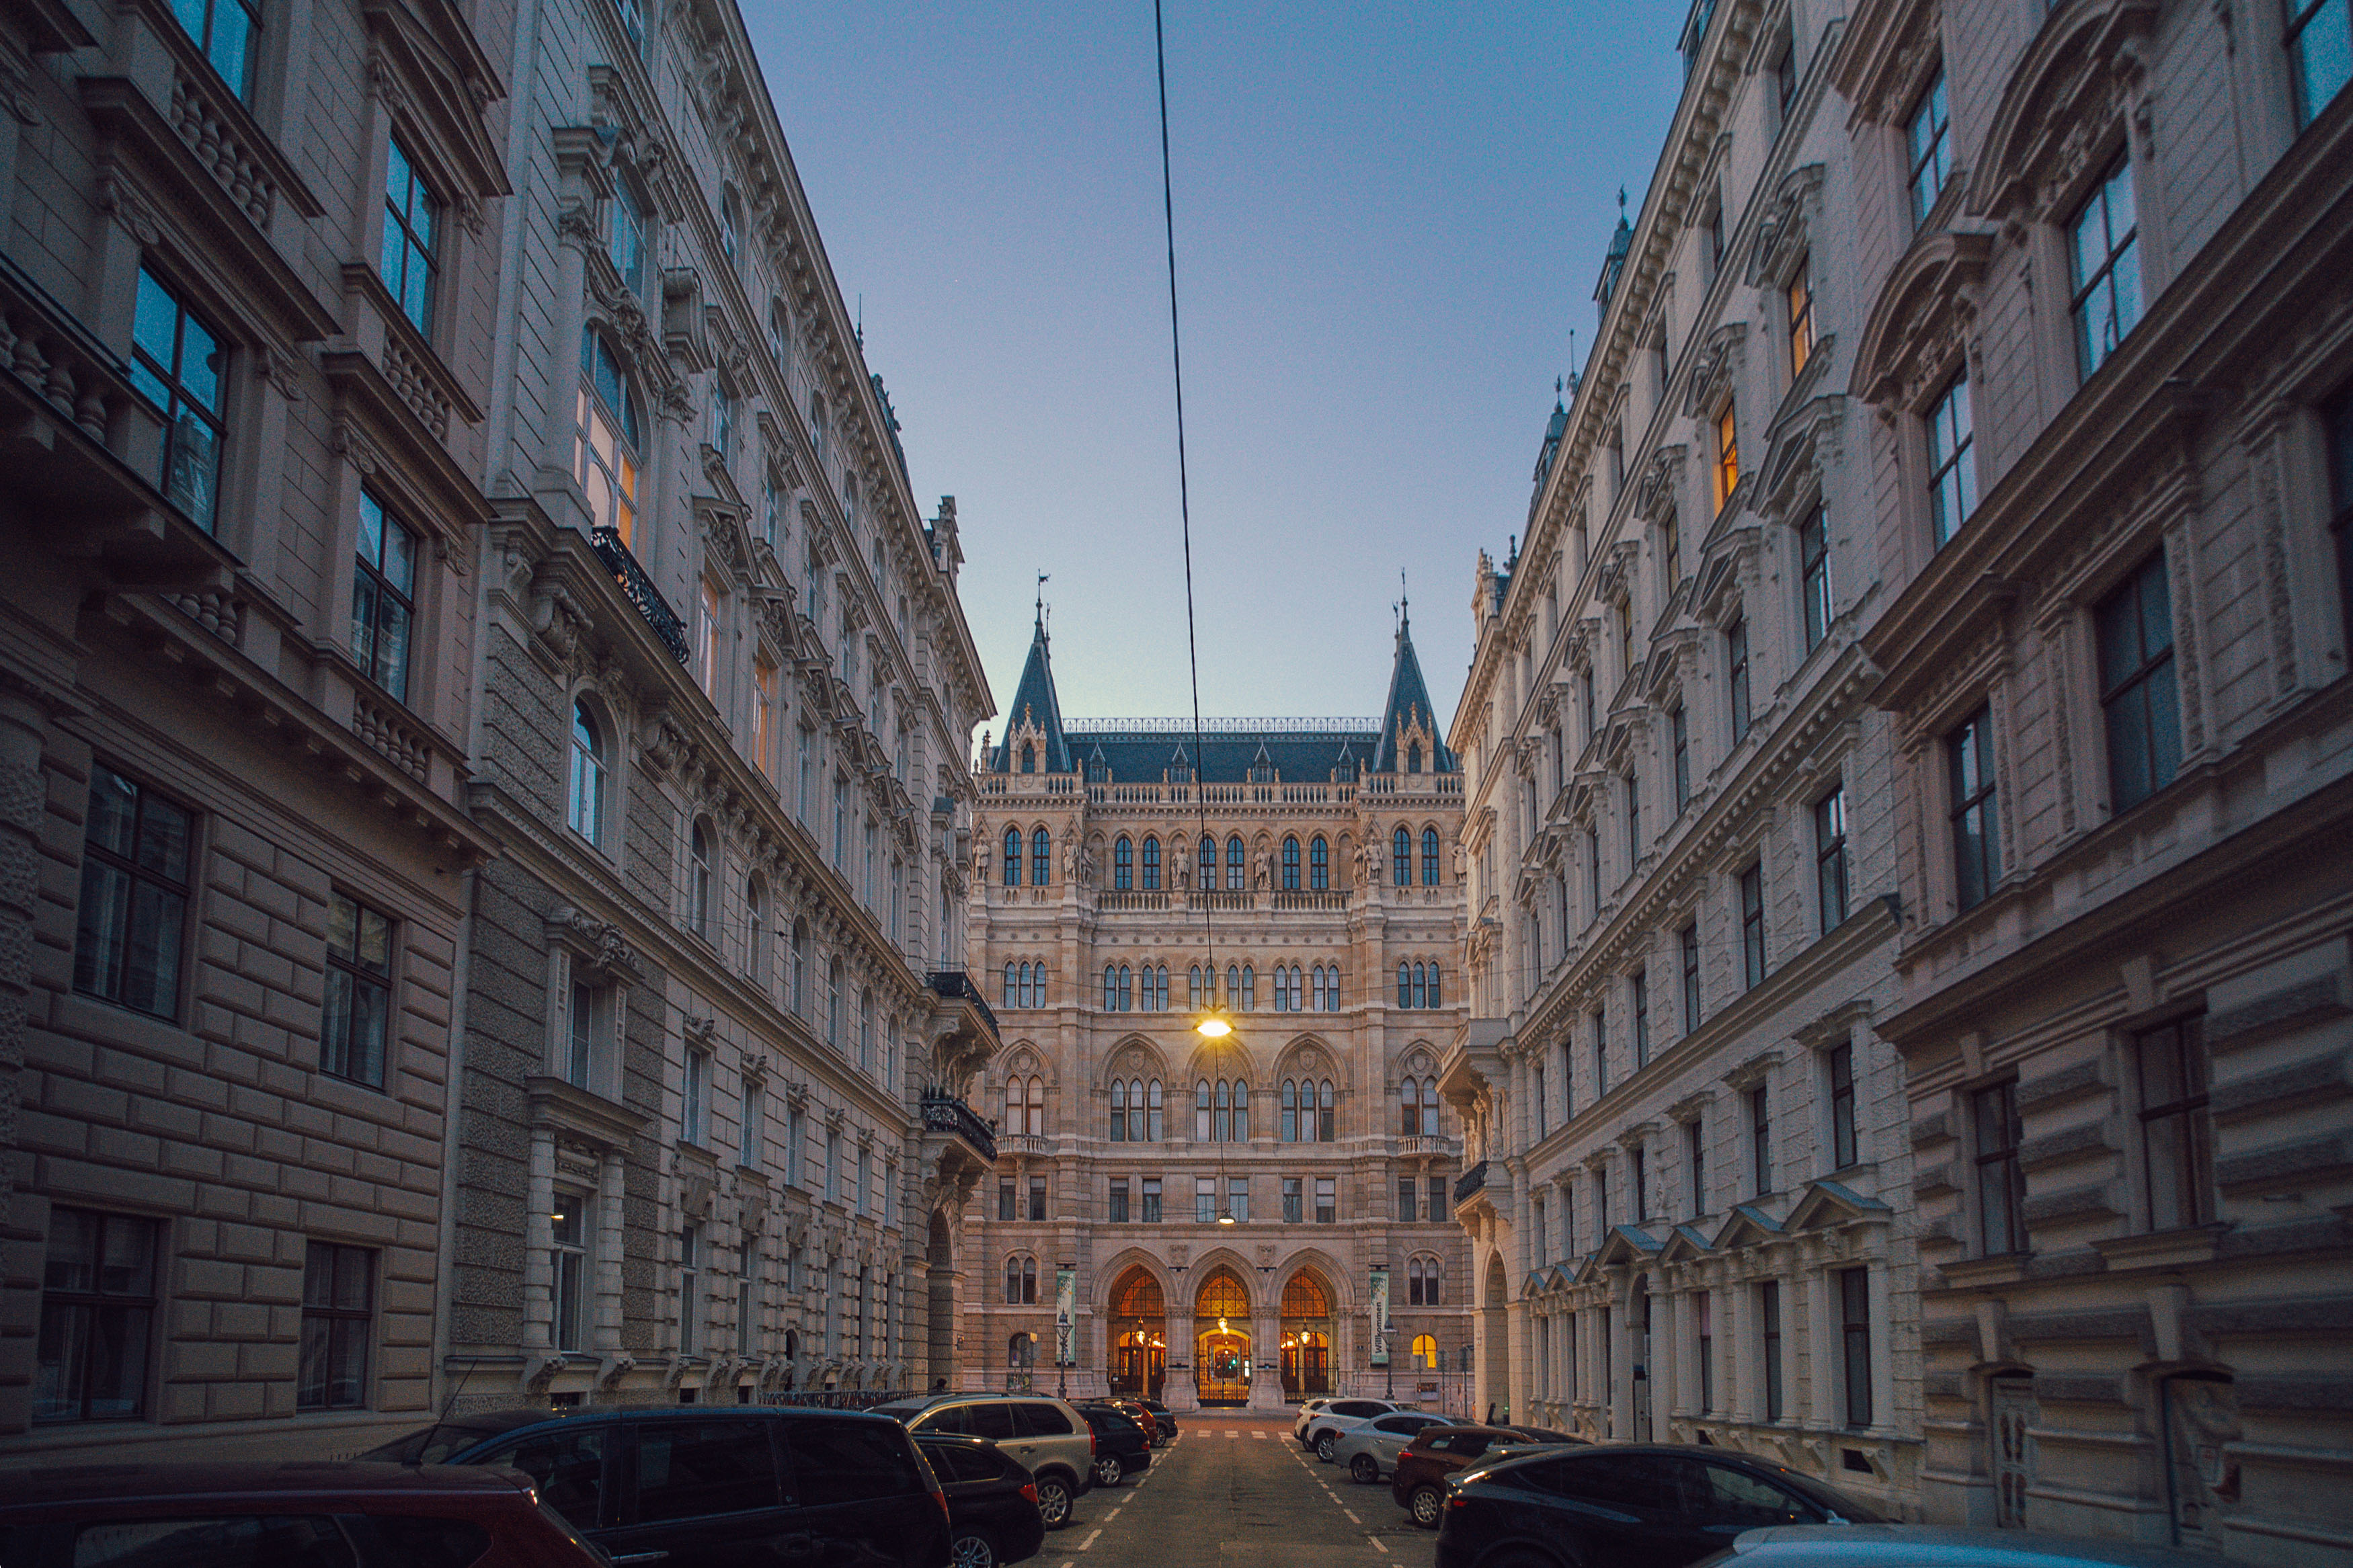
Vienna turned out to be the ideal place to practise. The city is packed with grand Baroque and Neoclassical buildings, wide boulevards and impressive public spaces that suit this kind of exaggerated perspective beautifully. Even ordinary streets can suddenly feel dramatic when viewed through such an expansive field of view.

Not every outing went entirely to plan, though. During one photo walk I accidentally wandered into what appeared to be the filming of a historical production and quickly realised I wasn’t quite as welcome as I thought. I made a fairly discreet exit, although not before managing to expose a few frames that will probably confuse future historians if anyone ever discovers the negatives.

Small Lens, Serious Engineering

One of the most surprising things about the Voigtländer is just how tiny it is. Despite its compact dimensions, it feels reassuringly solid rather than toy-like. At around 190 grams it’s light enough to carry all day without thinking about it, yet substantial enough to inspire confidence.

Mine is the original Leica Thread Mount version, first released in 1999 alongside Voigtländer’s Bessa cameras. It’s actually relatively modern by Leica screw mount standards, although prices have climbed dramatically since I bought mine back in 2017.

The design is remarkably clever. The aperture ring sits at the front of the lens, which initially feels unusual, but makes perfect sense given how compact everything is. With such a wide focal length, depth of field is enormous anyway, so you’re rarely making huge focus adjustments.

There are a few compromises. The fixed lens hood means you can’t easily use filters, and it requires a slip-on lens cap that looks lovely but costs a frightening amount to replace if it disappears somewhere on your travels.

What continues to impress me, though, is how well the optics behave. Considering just how absurdly wide this lens is, it does an excellent job of keeping straight lines straight. That’s a genuine engineering achievement and makes it much more useful for architectural photography than many people might expect.

Film Still Has the Advantage

Using the lens on my Leica M2 produced exactly the sort of images I’d hoped for. The negatives showed plenty of character, dramatic perspective and surprisingly clean rendering across the frame. Things became a little more complicated once I mounted it on my Nikon Z6.

This isn’t really the lens’s fault. Older ultra-wide lenses were designed for film, not modern digital sensors, and the way light reaches a sensor is quite different. On digital cameras you can end up with colour casts, heavier vignetting and smeared corners, particularly towards the edges of the frame.

Some of my digital images definitely showed those characteristics. In certain photographs the cooler colour shifts actually added atmosphere, especially during Vienna’s blue hour, but after a while they became distracting enough that I enabled lens corrections in Lightroom. That’s something I rarely do because I generally prefer working with a lens’s quirks rather than correcting them away, but in this case the adjustments helped produce more natural-looking files while still preserving plenty of the lens’s personality.

Interestingly, those same issues simply weren’t present on film. Looking at the Leica negatives afterwards reinforced my feeling that this first-generation version of the 15mm still feels most at home on analogue cameras.

A Lens Worth Owning… Just Not Every Day

The biggest challenge with the Voigtländer isn’t sharpness or build quality. It’s simply the focal length. Fifteen millimetres can produce wonderfully dramatic photographs, but only when you have a composition that deserves it. Without a strong foreground subject or carefully arranged scene, everything risks becoming small and insignificant. It’s surprisingly easy to fill a frame with lots of space and very little interest.

There’s also the occasional occupational hazard of photographing your own fingers. When the lens is this wide, it’s alarmingly easy to discover afterwards that part of your hand has made an unexpected guest appearance in the corner of the frame.

Even so, I can’t help liking this peculiar little lens. It encourages experimentation, rewards careful observation and produces photographs that don’t look quite like those from anything else in my collection.

Would I recommend it? Absolutely, but only if you understand what you’re getting into. This isn’t an everyday walk-around lens, and it isn’t designed to make photography easier. What it does offer is a genuinely different way of seeing the world, and sometimes that’s exactly the creative challenge you need.
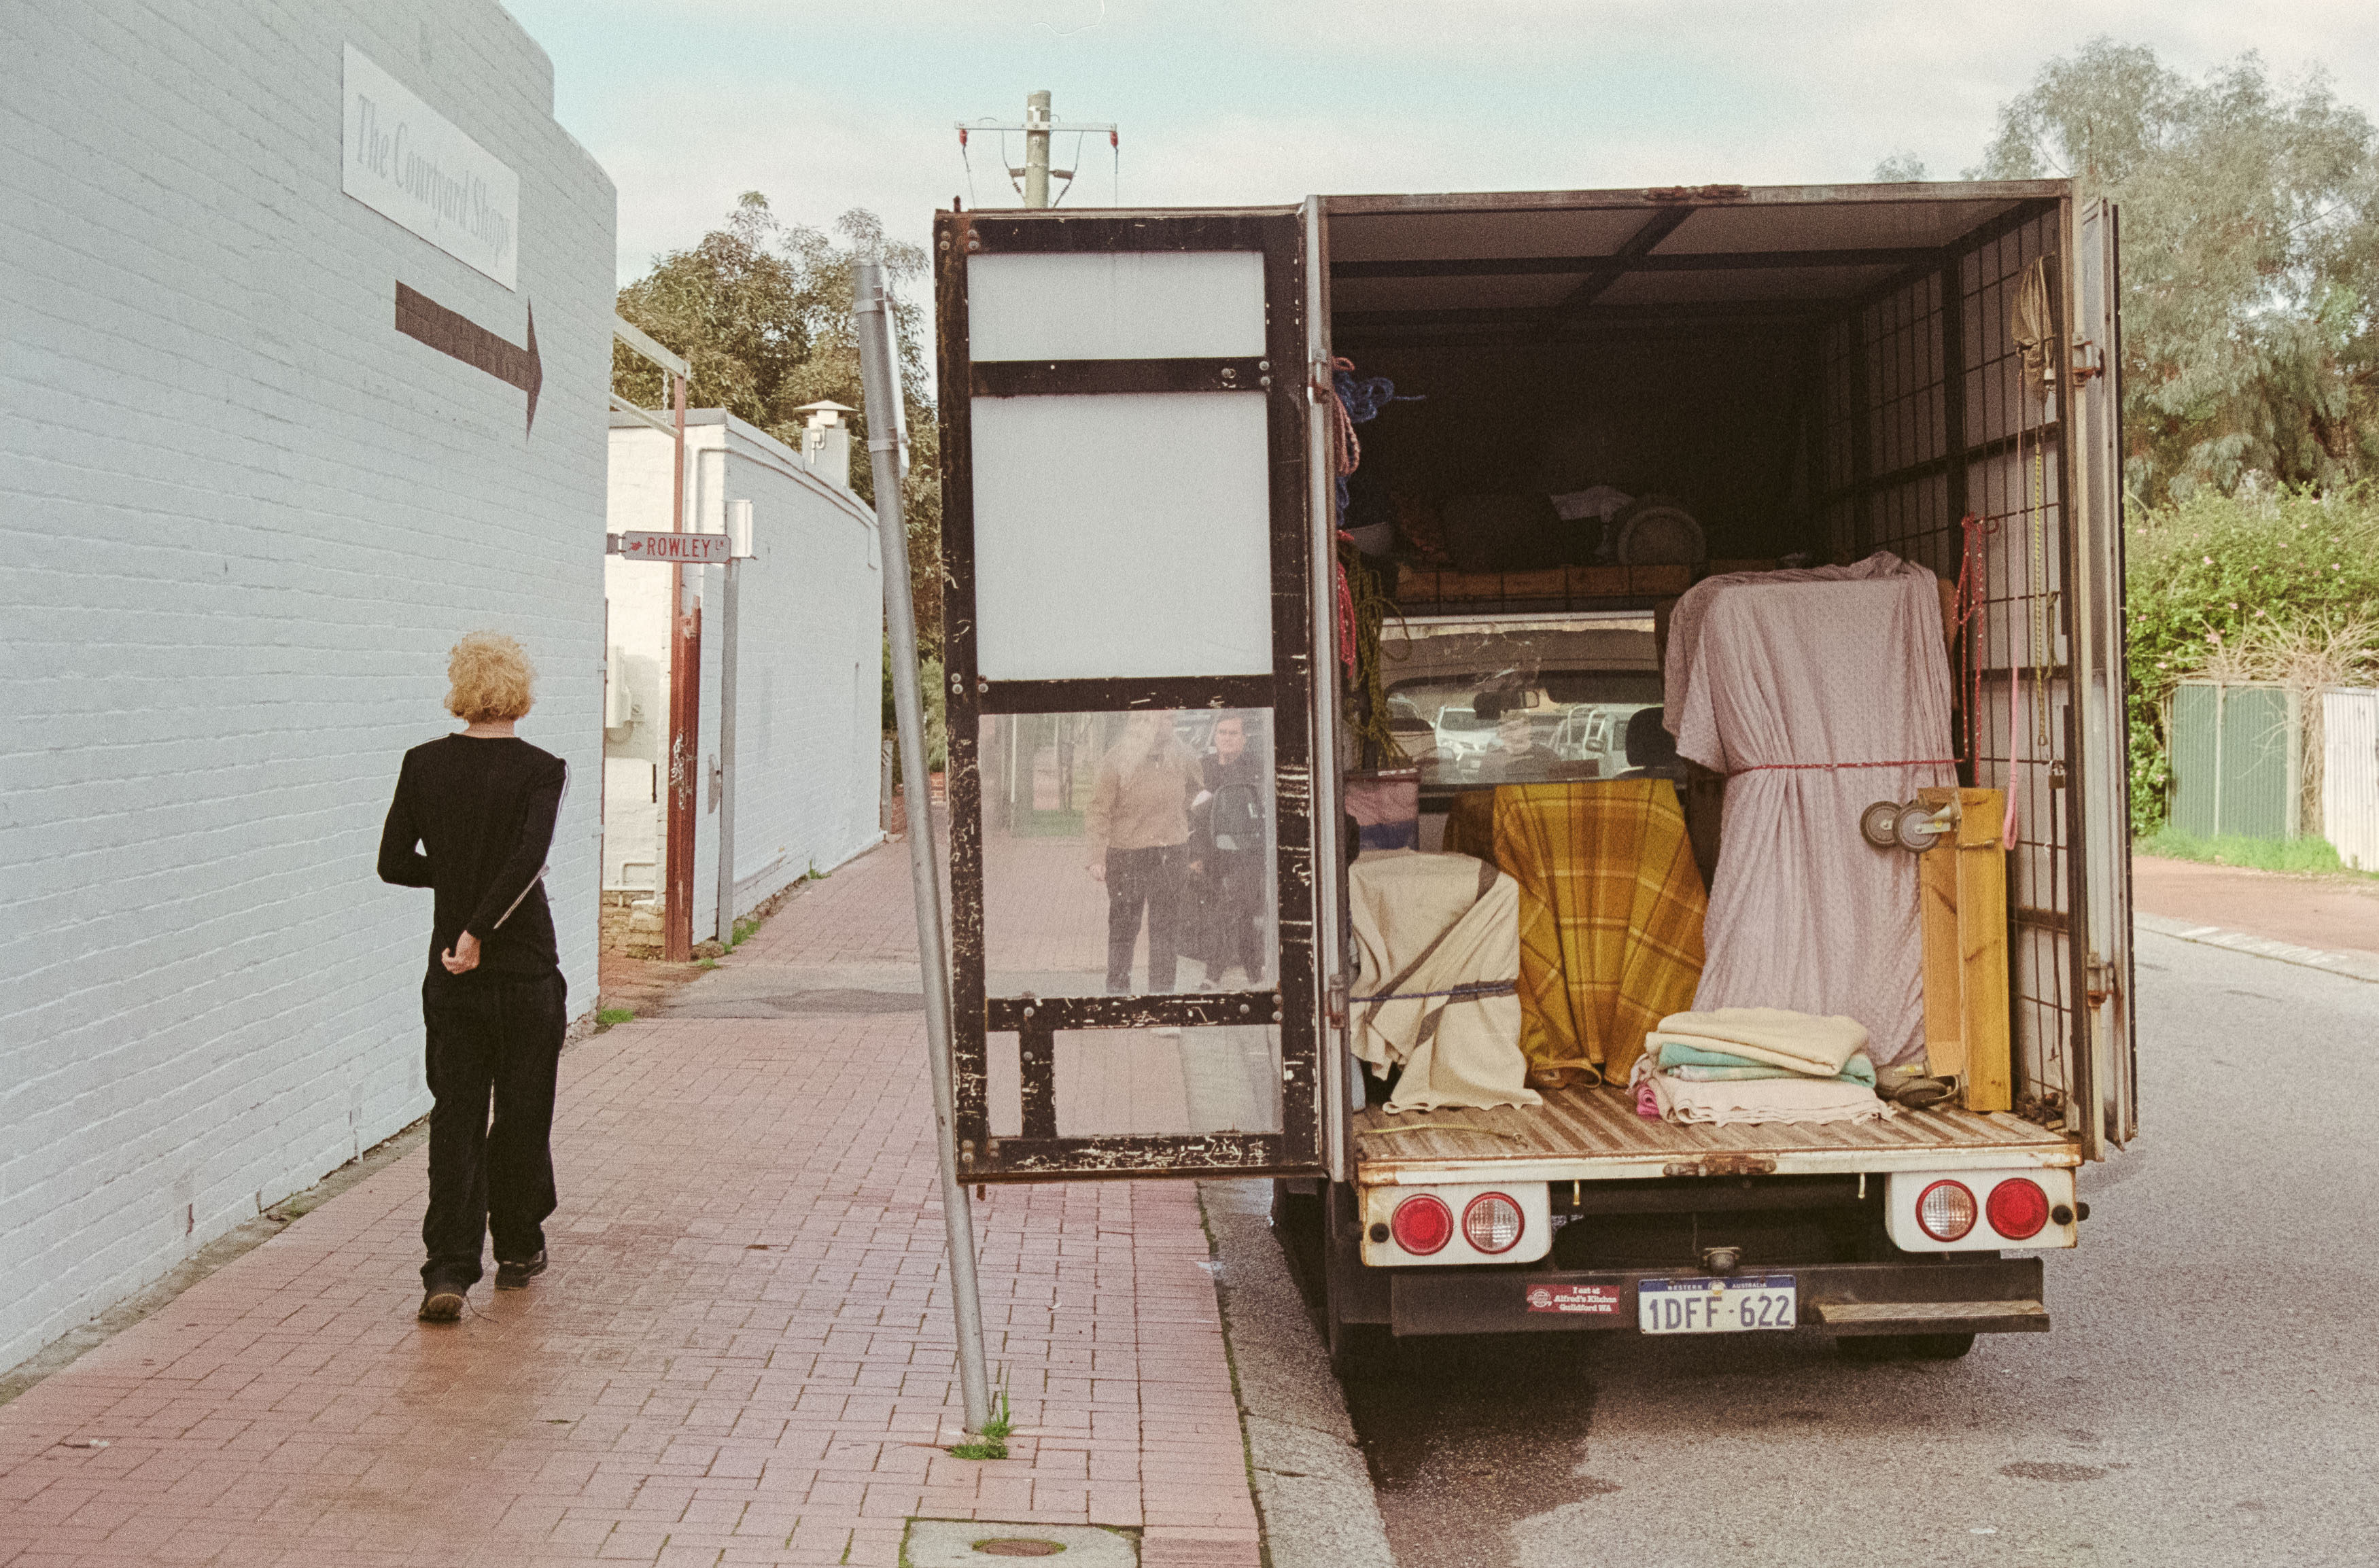
If you’re prepared to work with its quirks rather than against them, the Voigtländer 15mm Super Wide-Heliar remains one of the most entertaining ultra-wide lenses you can mount on a film camera.