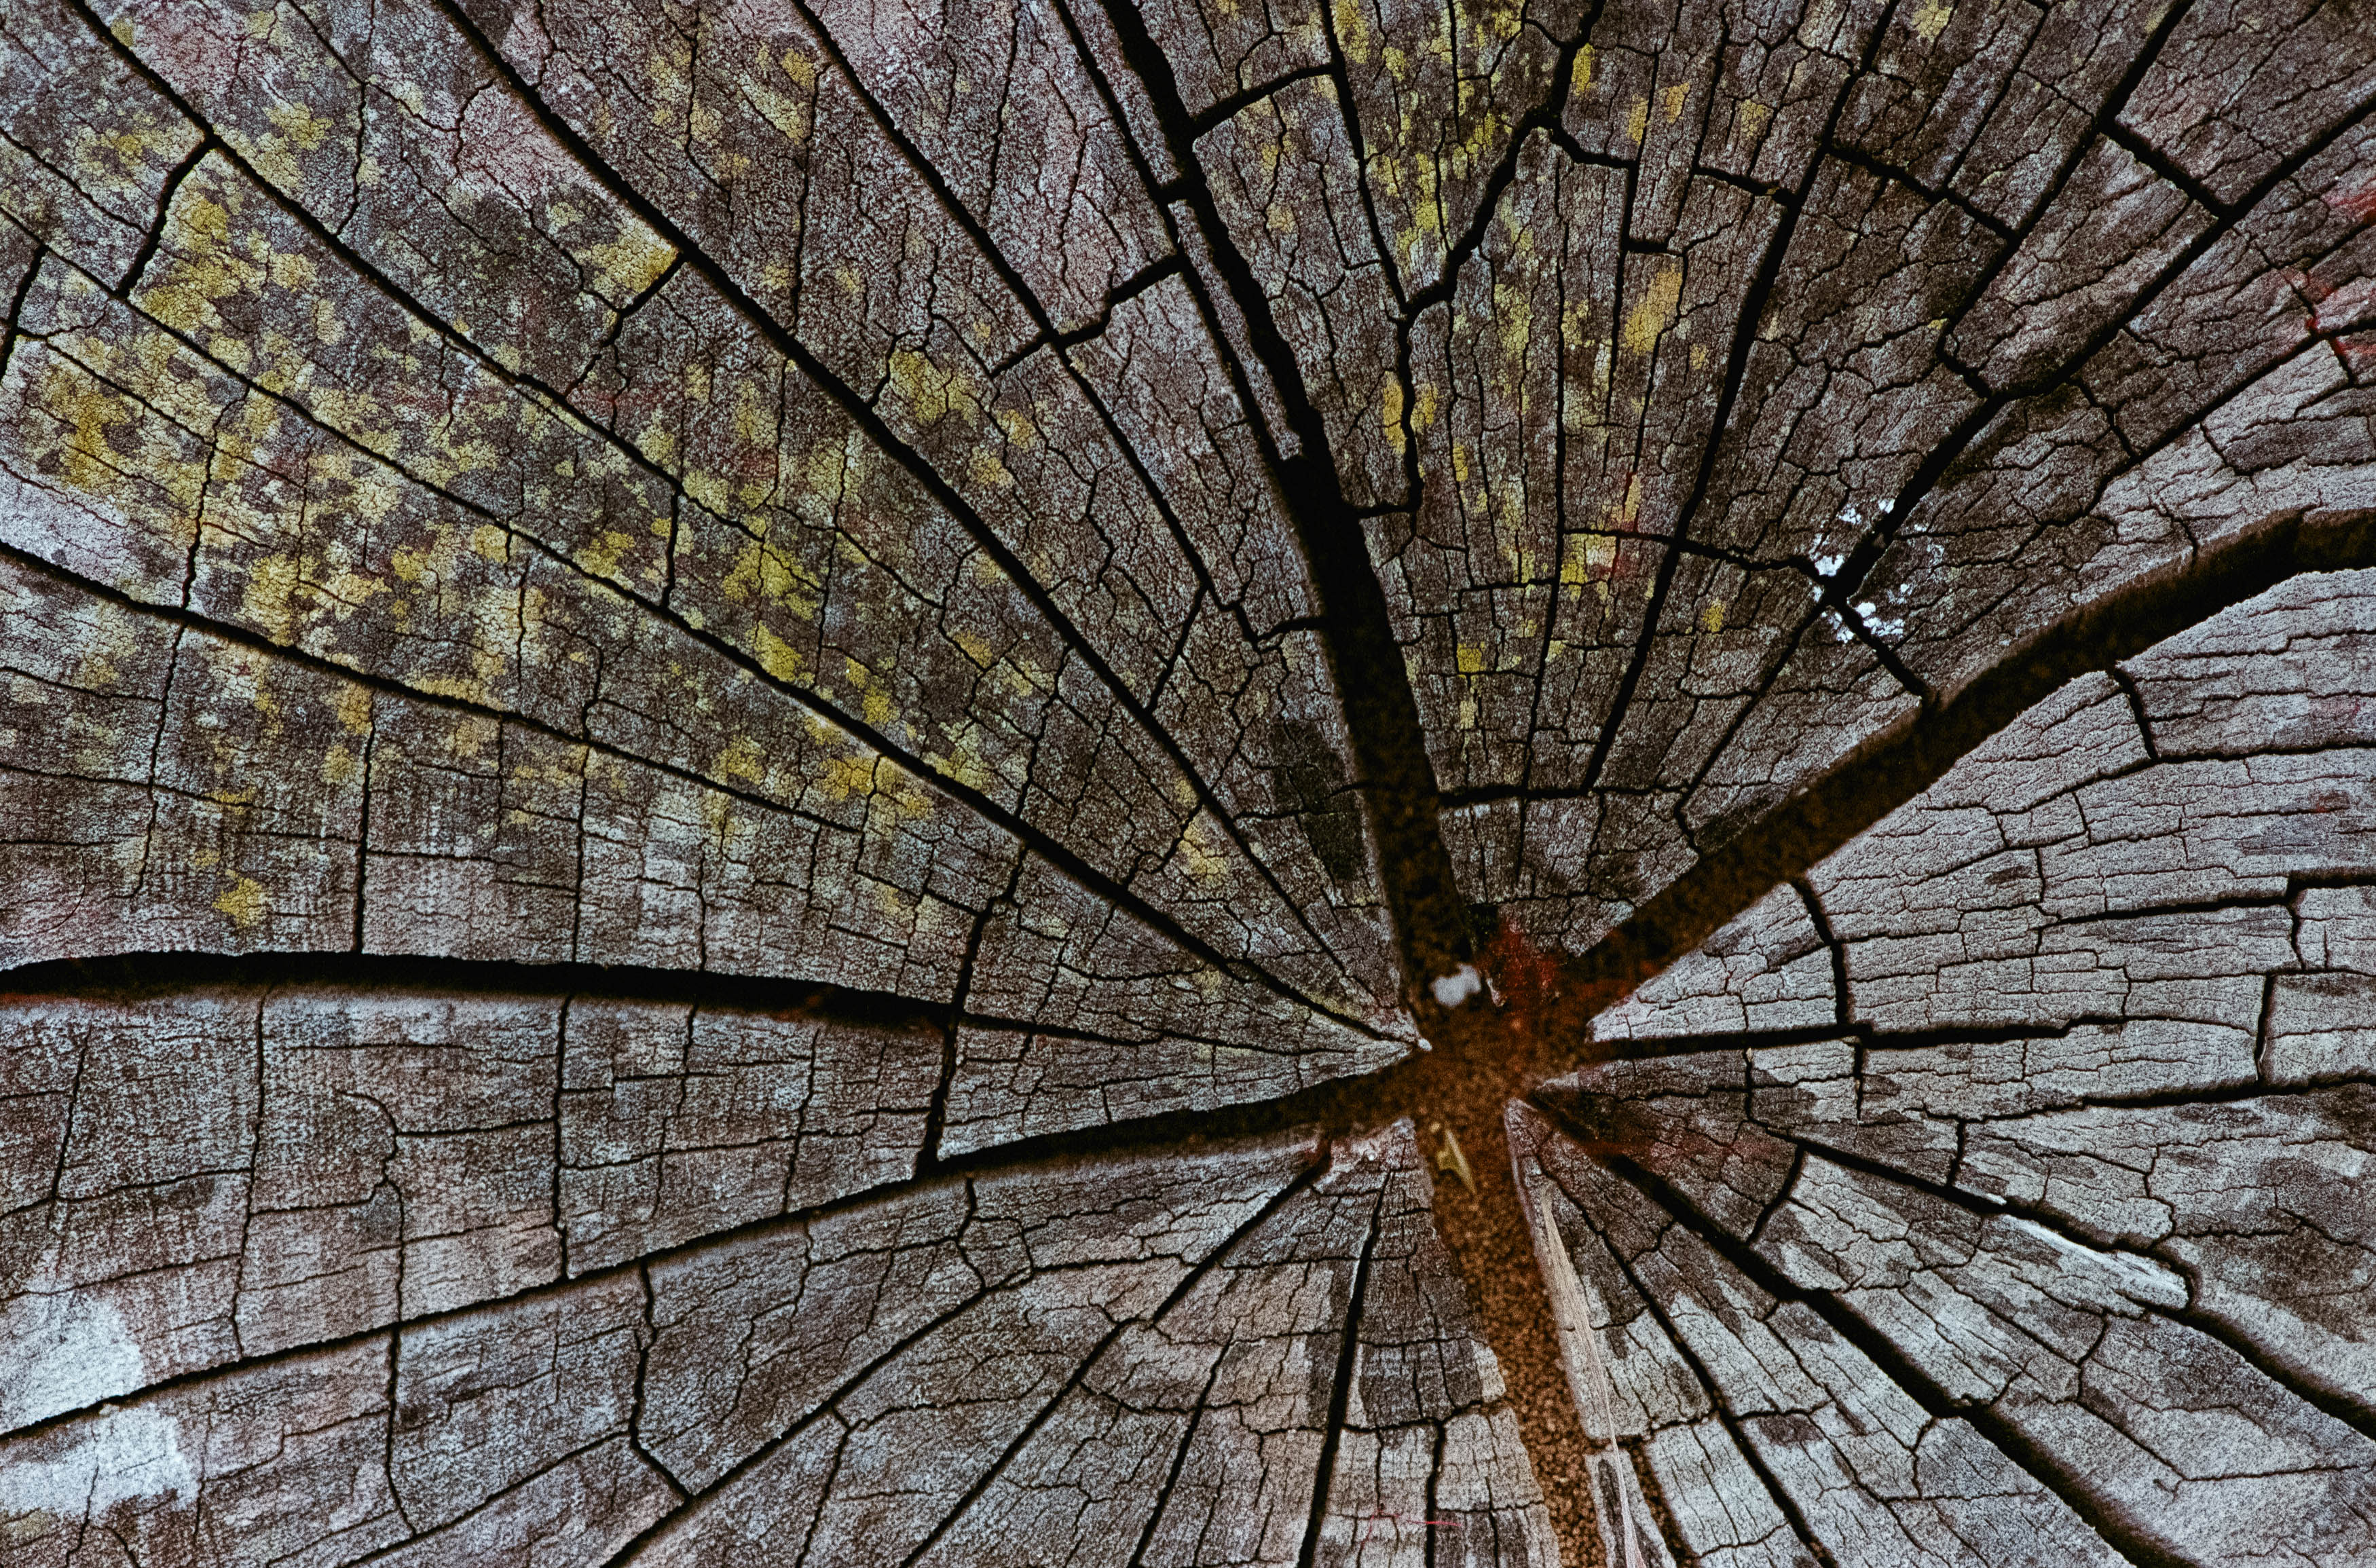
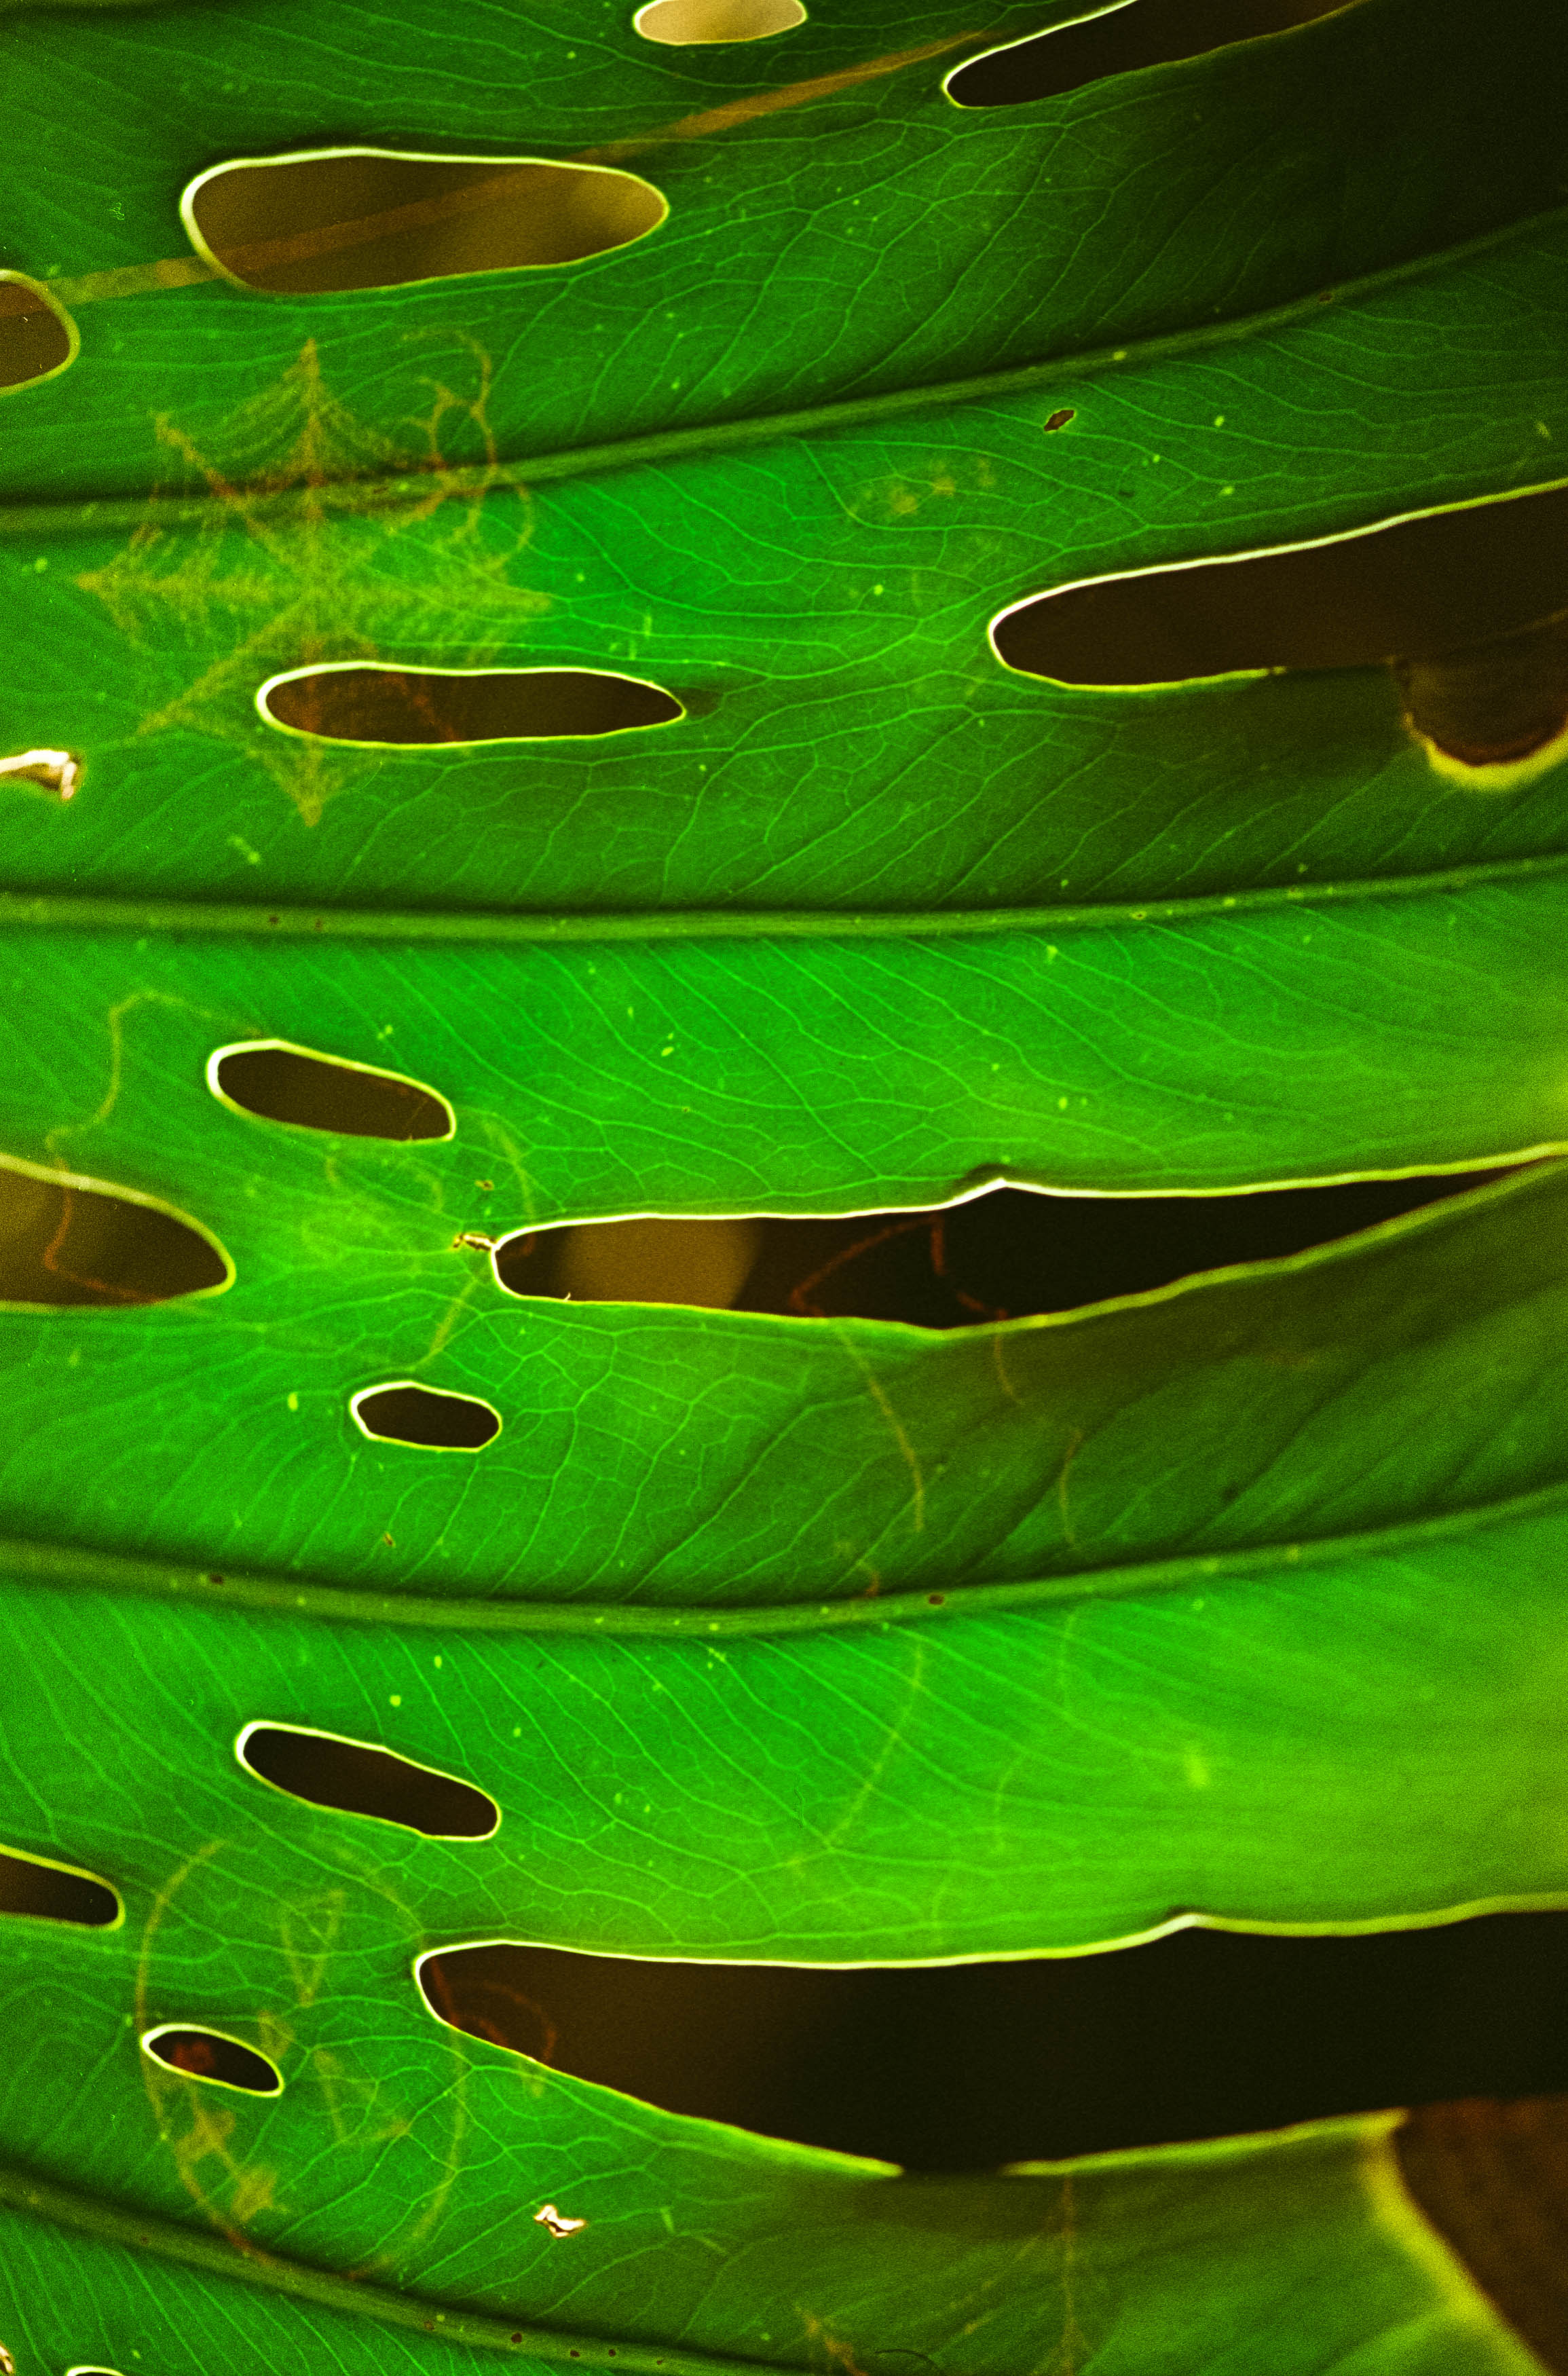
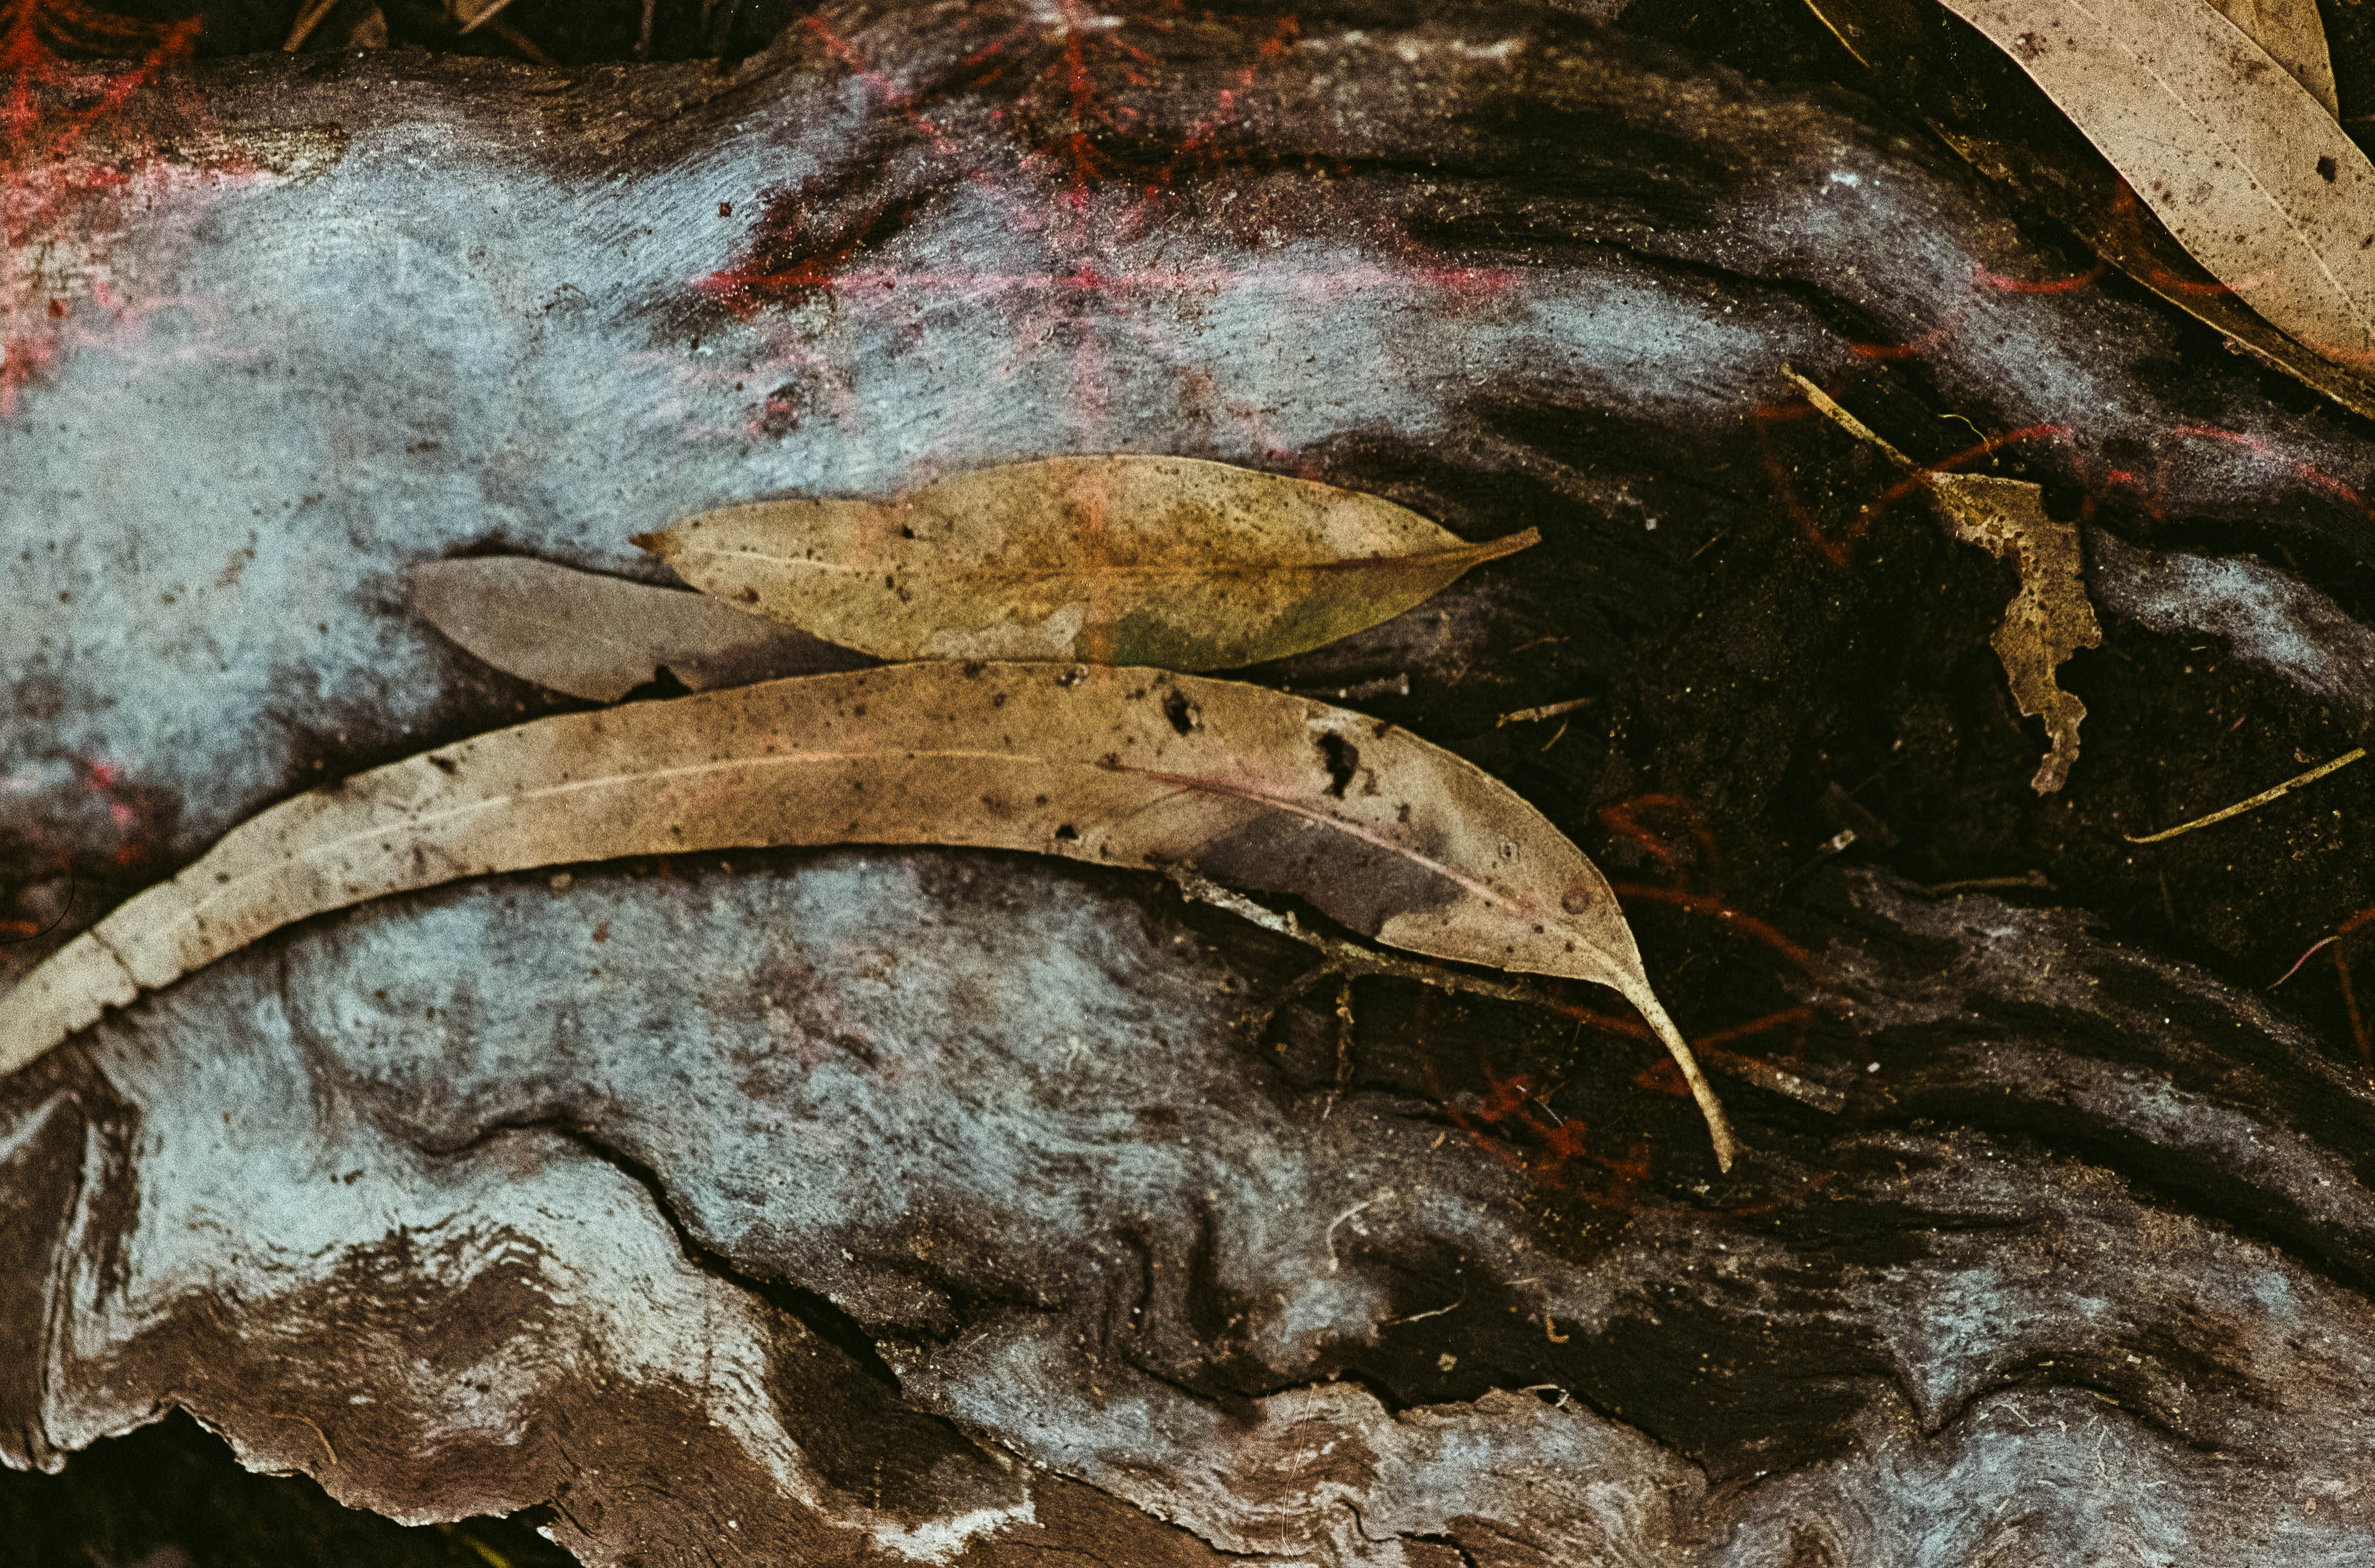
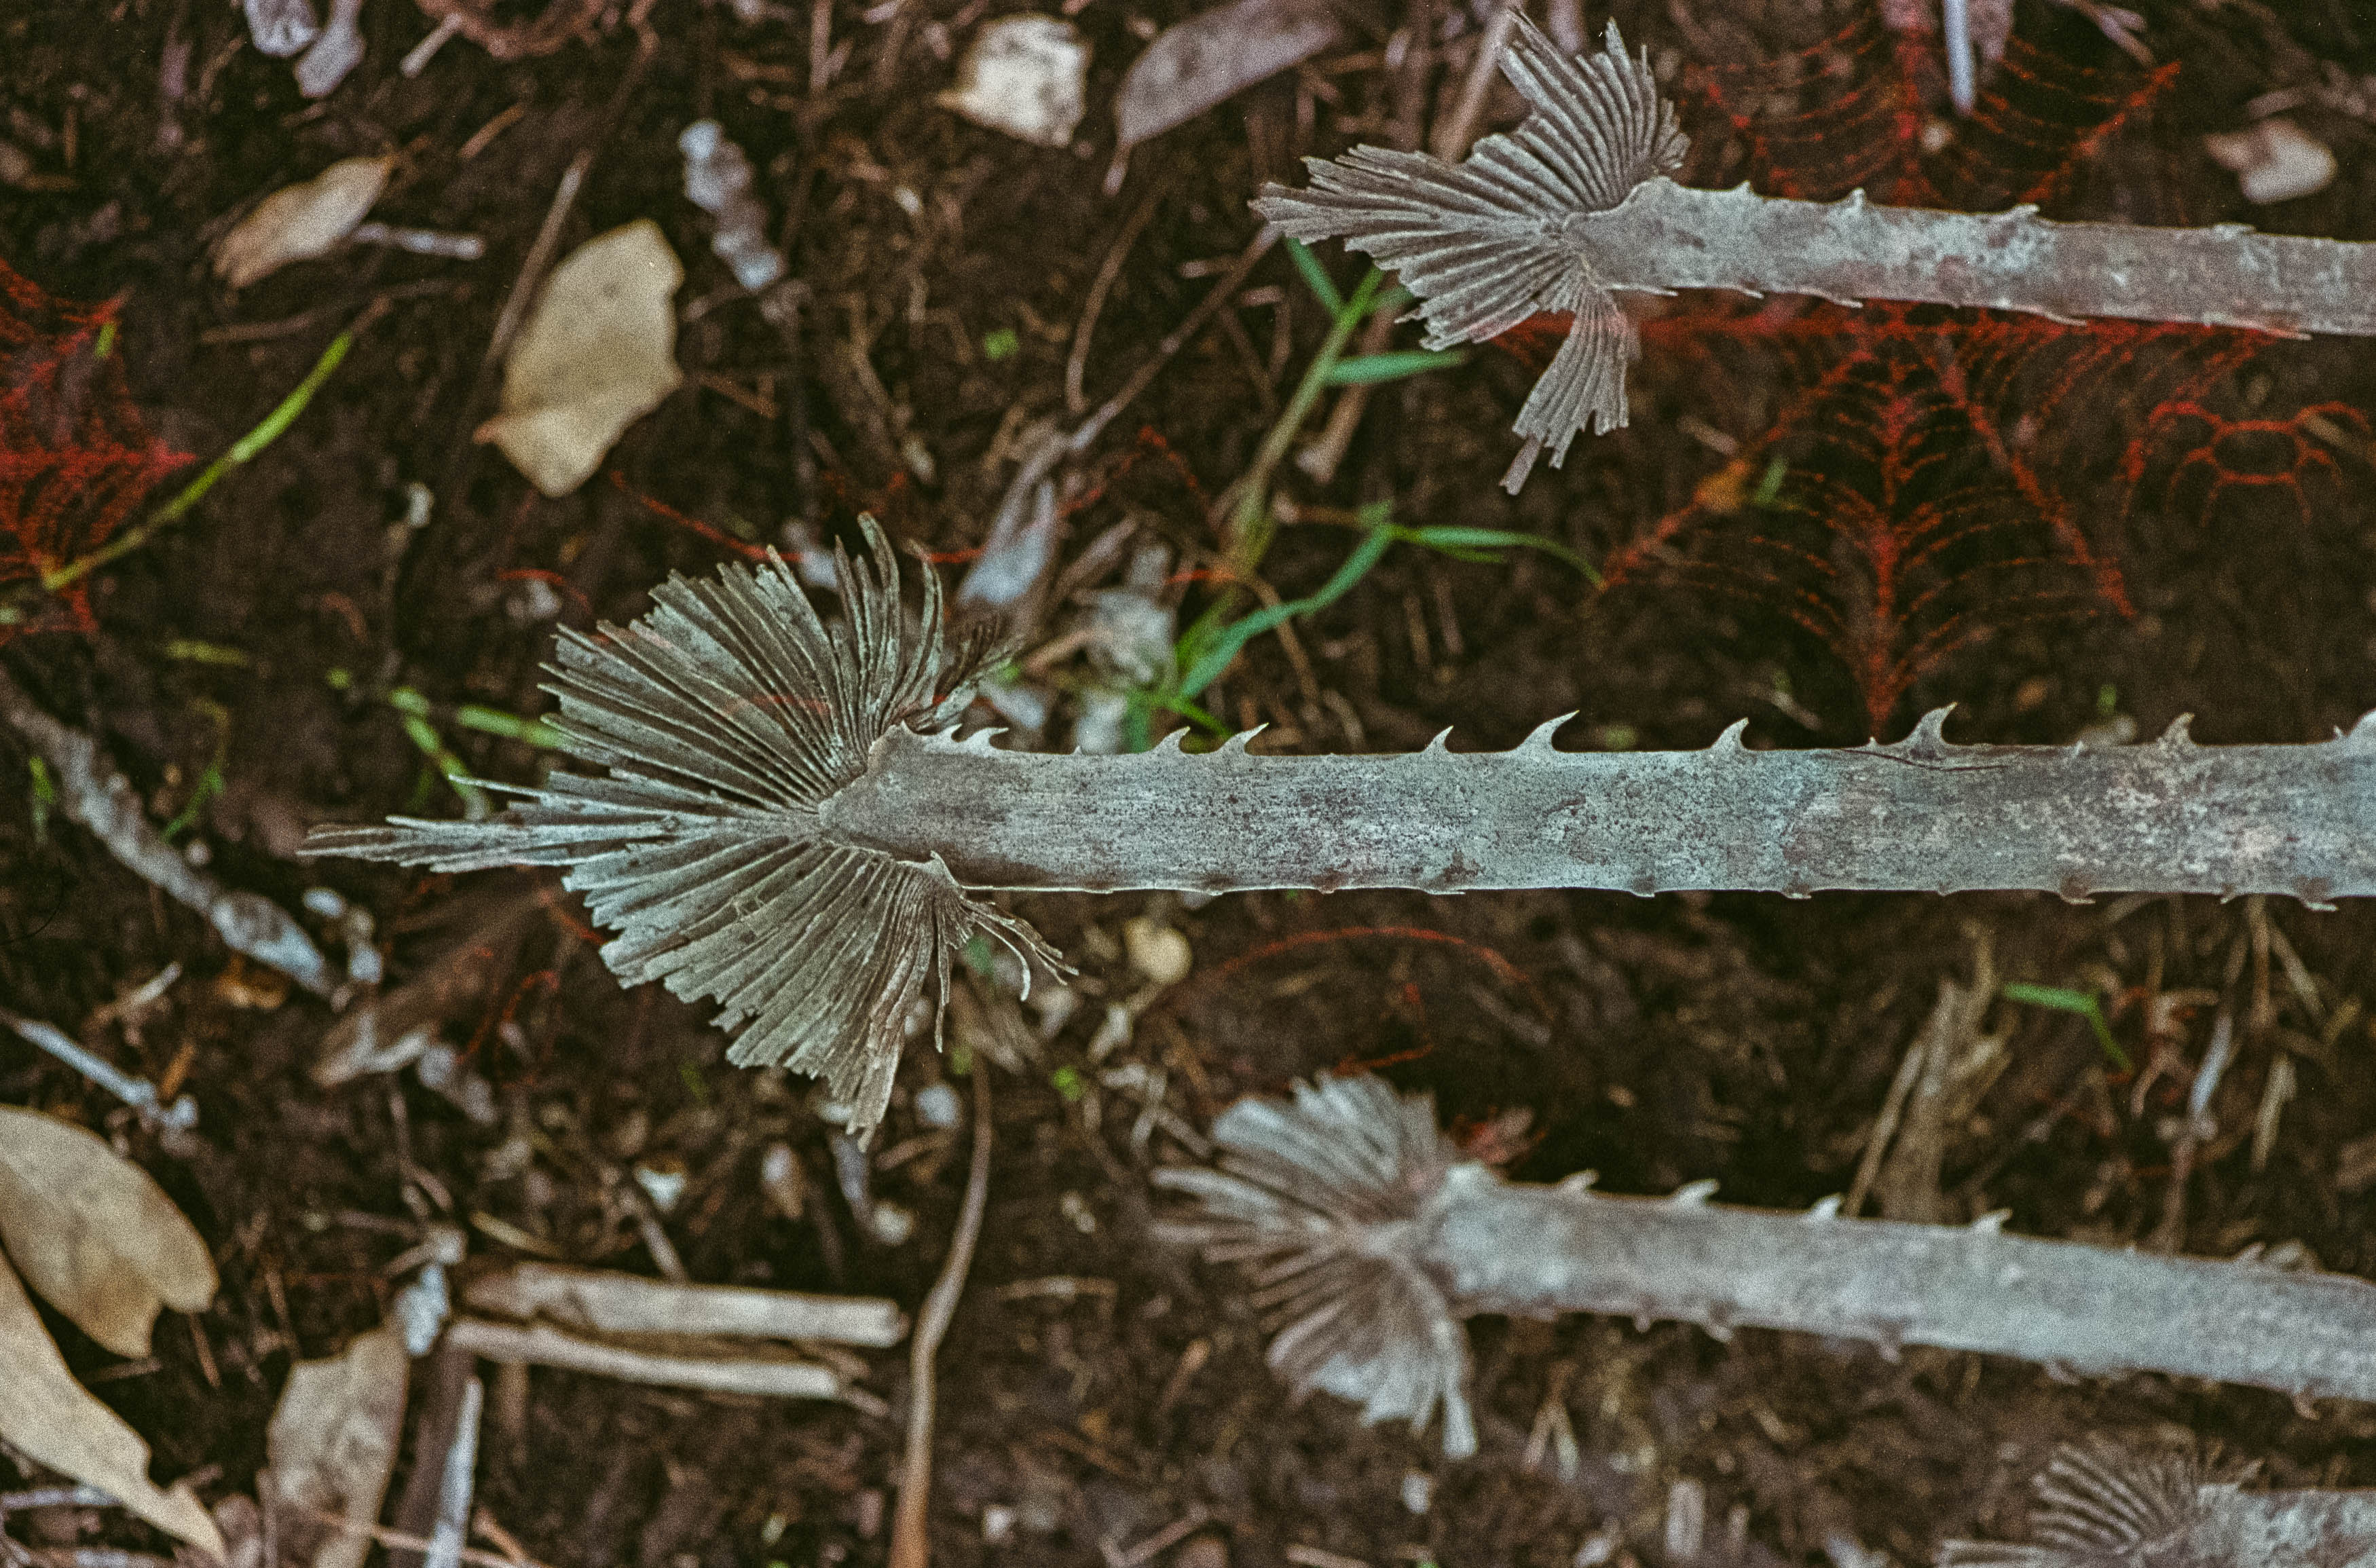
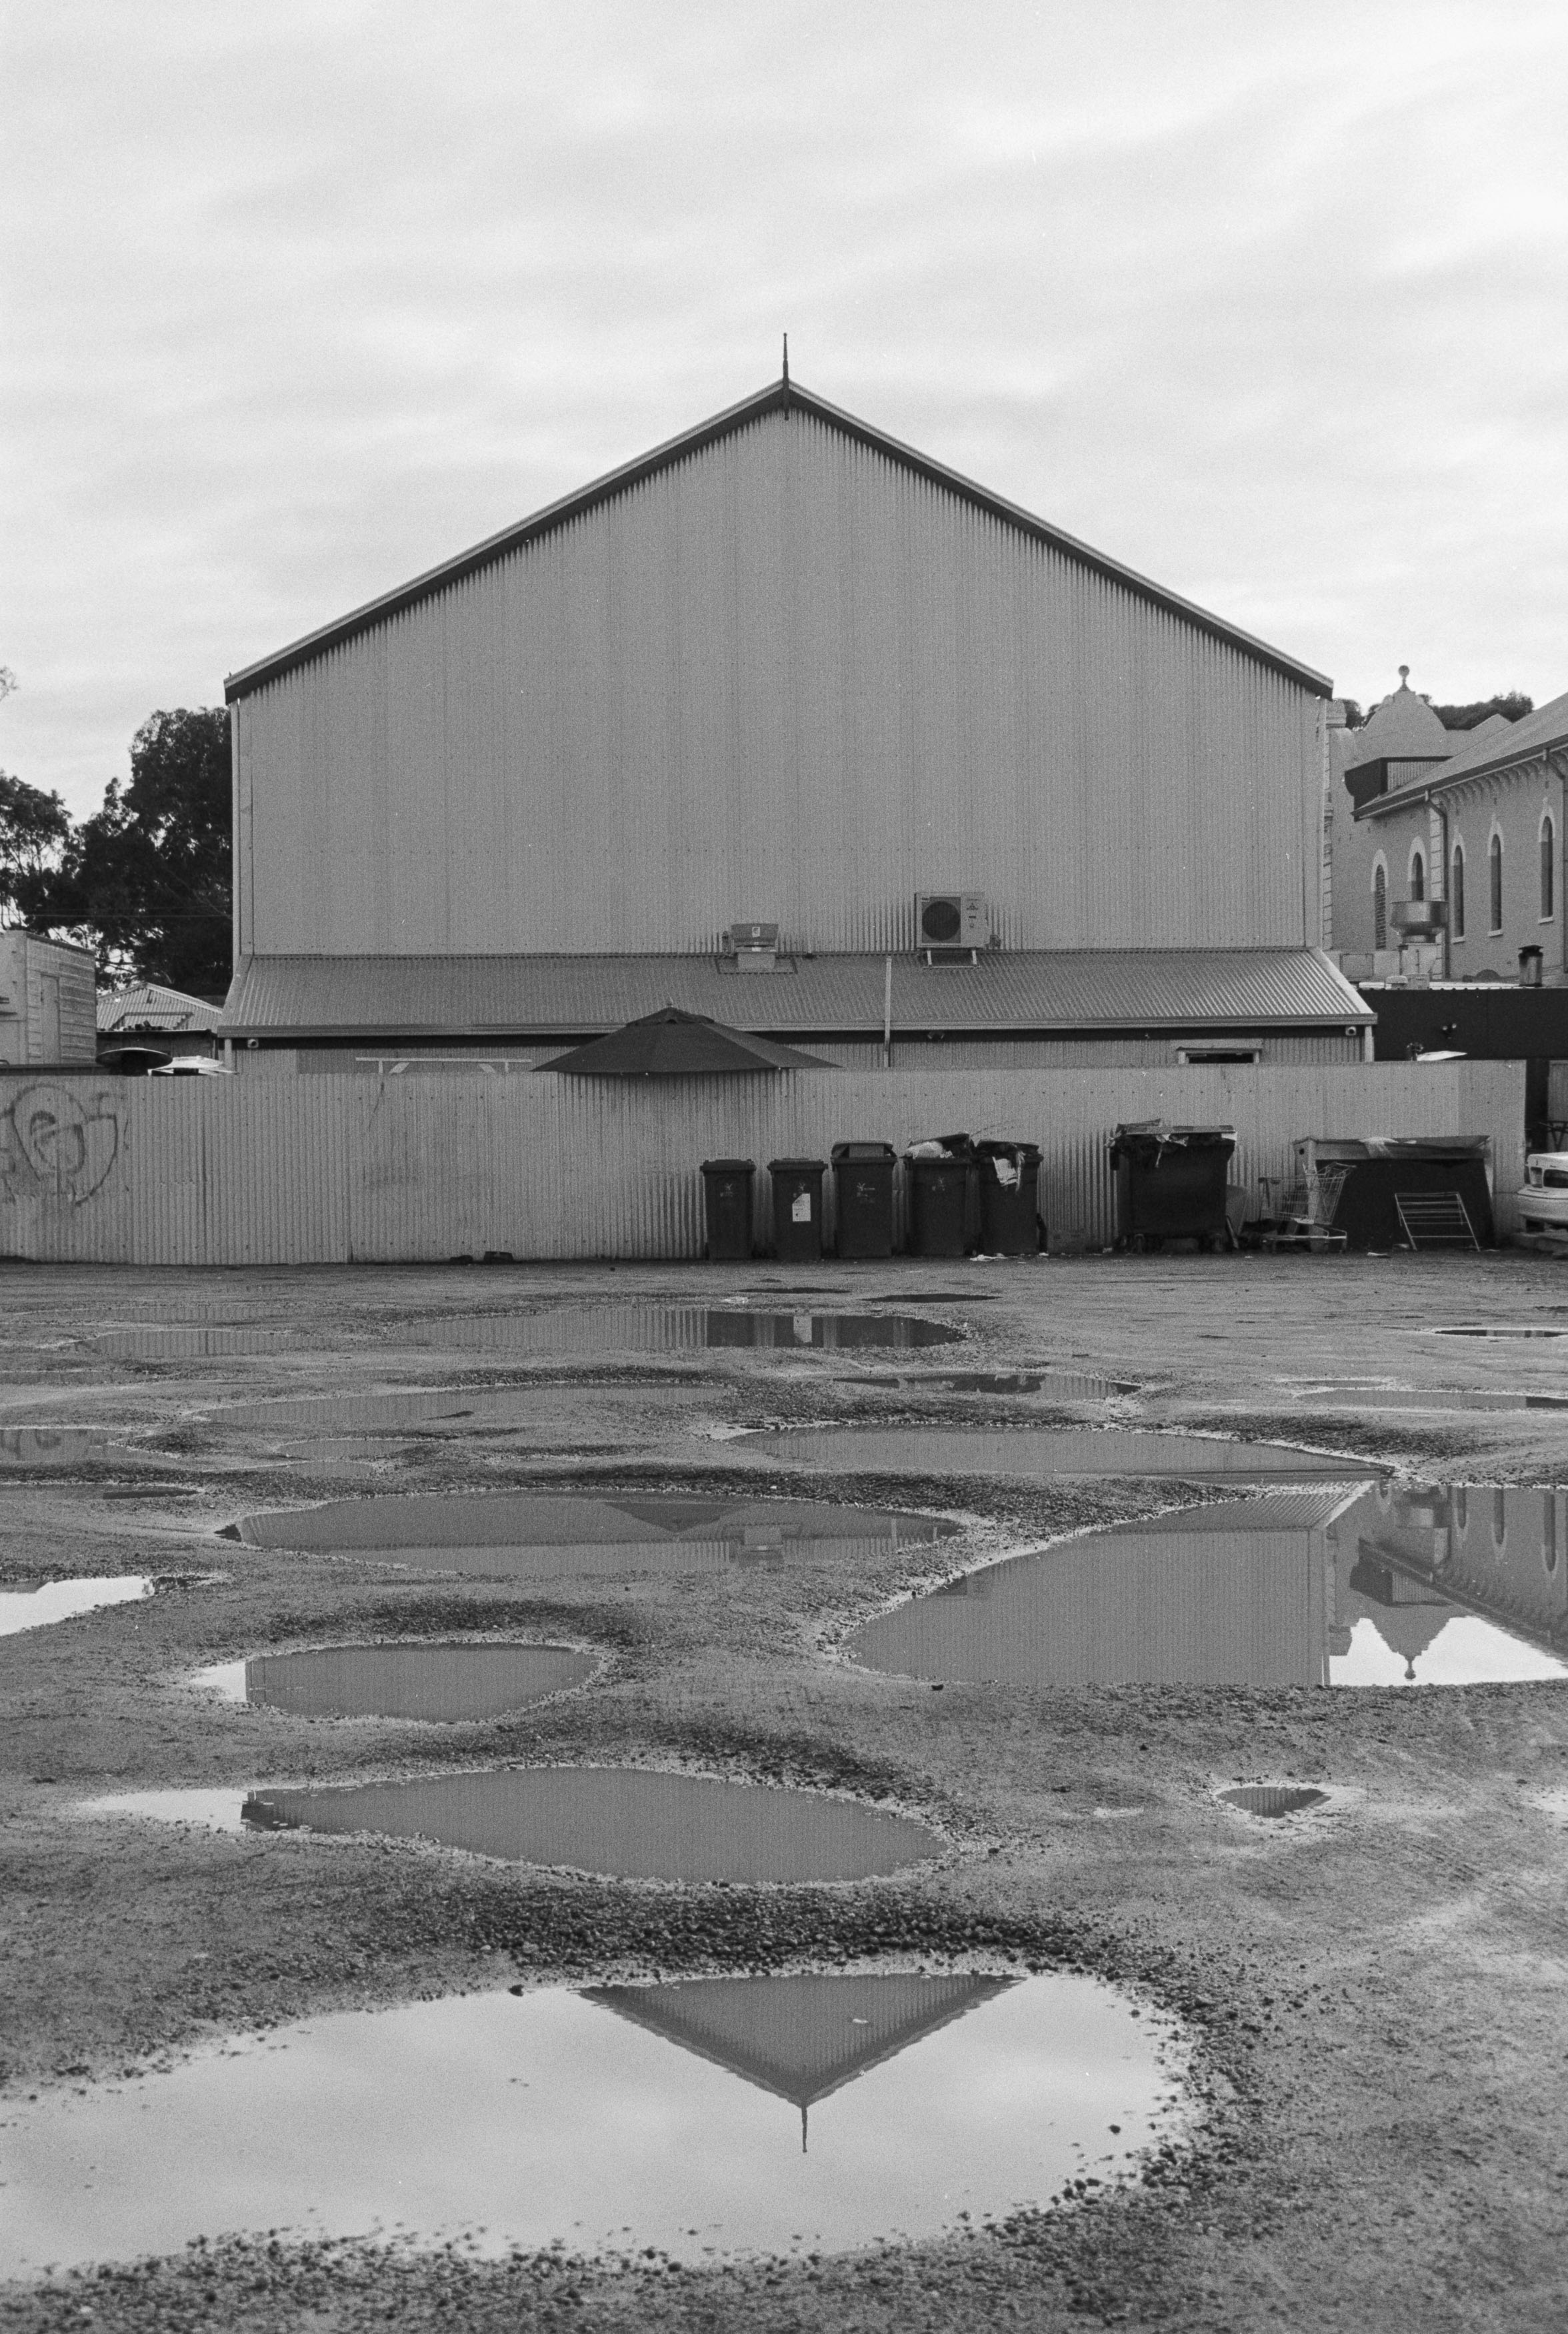
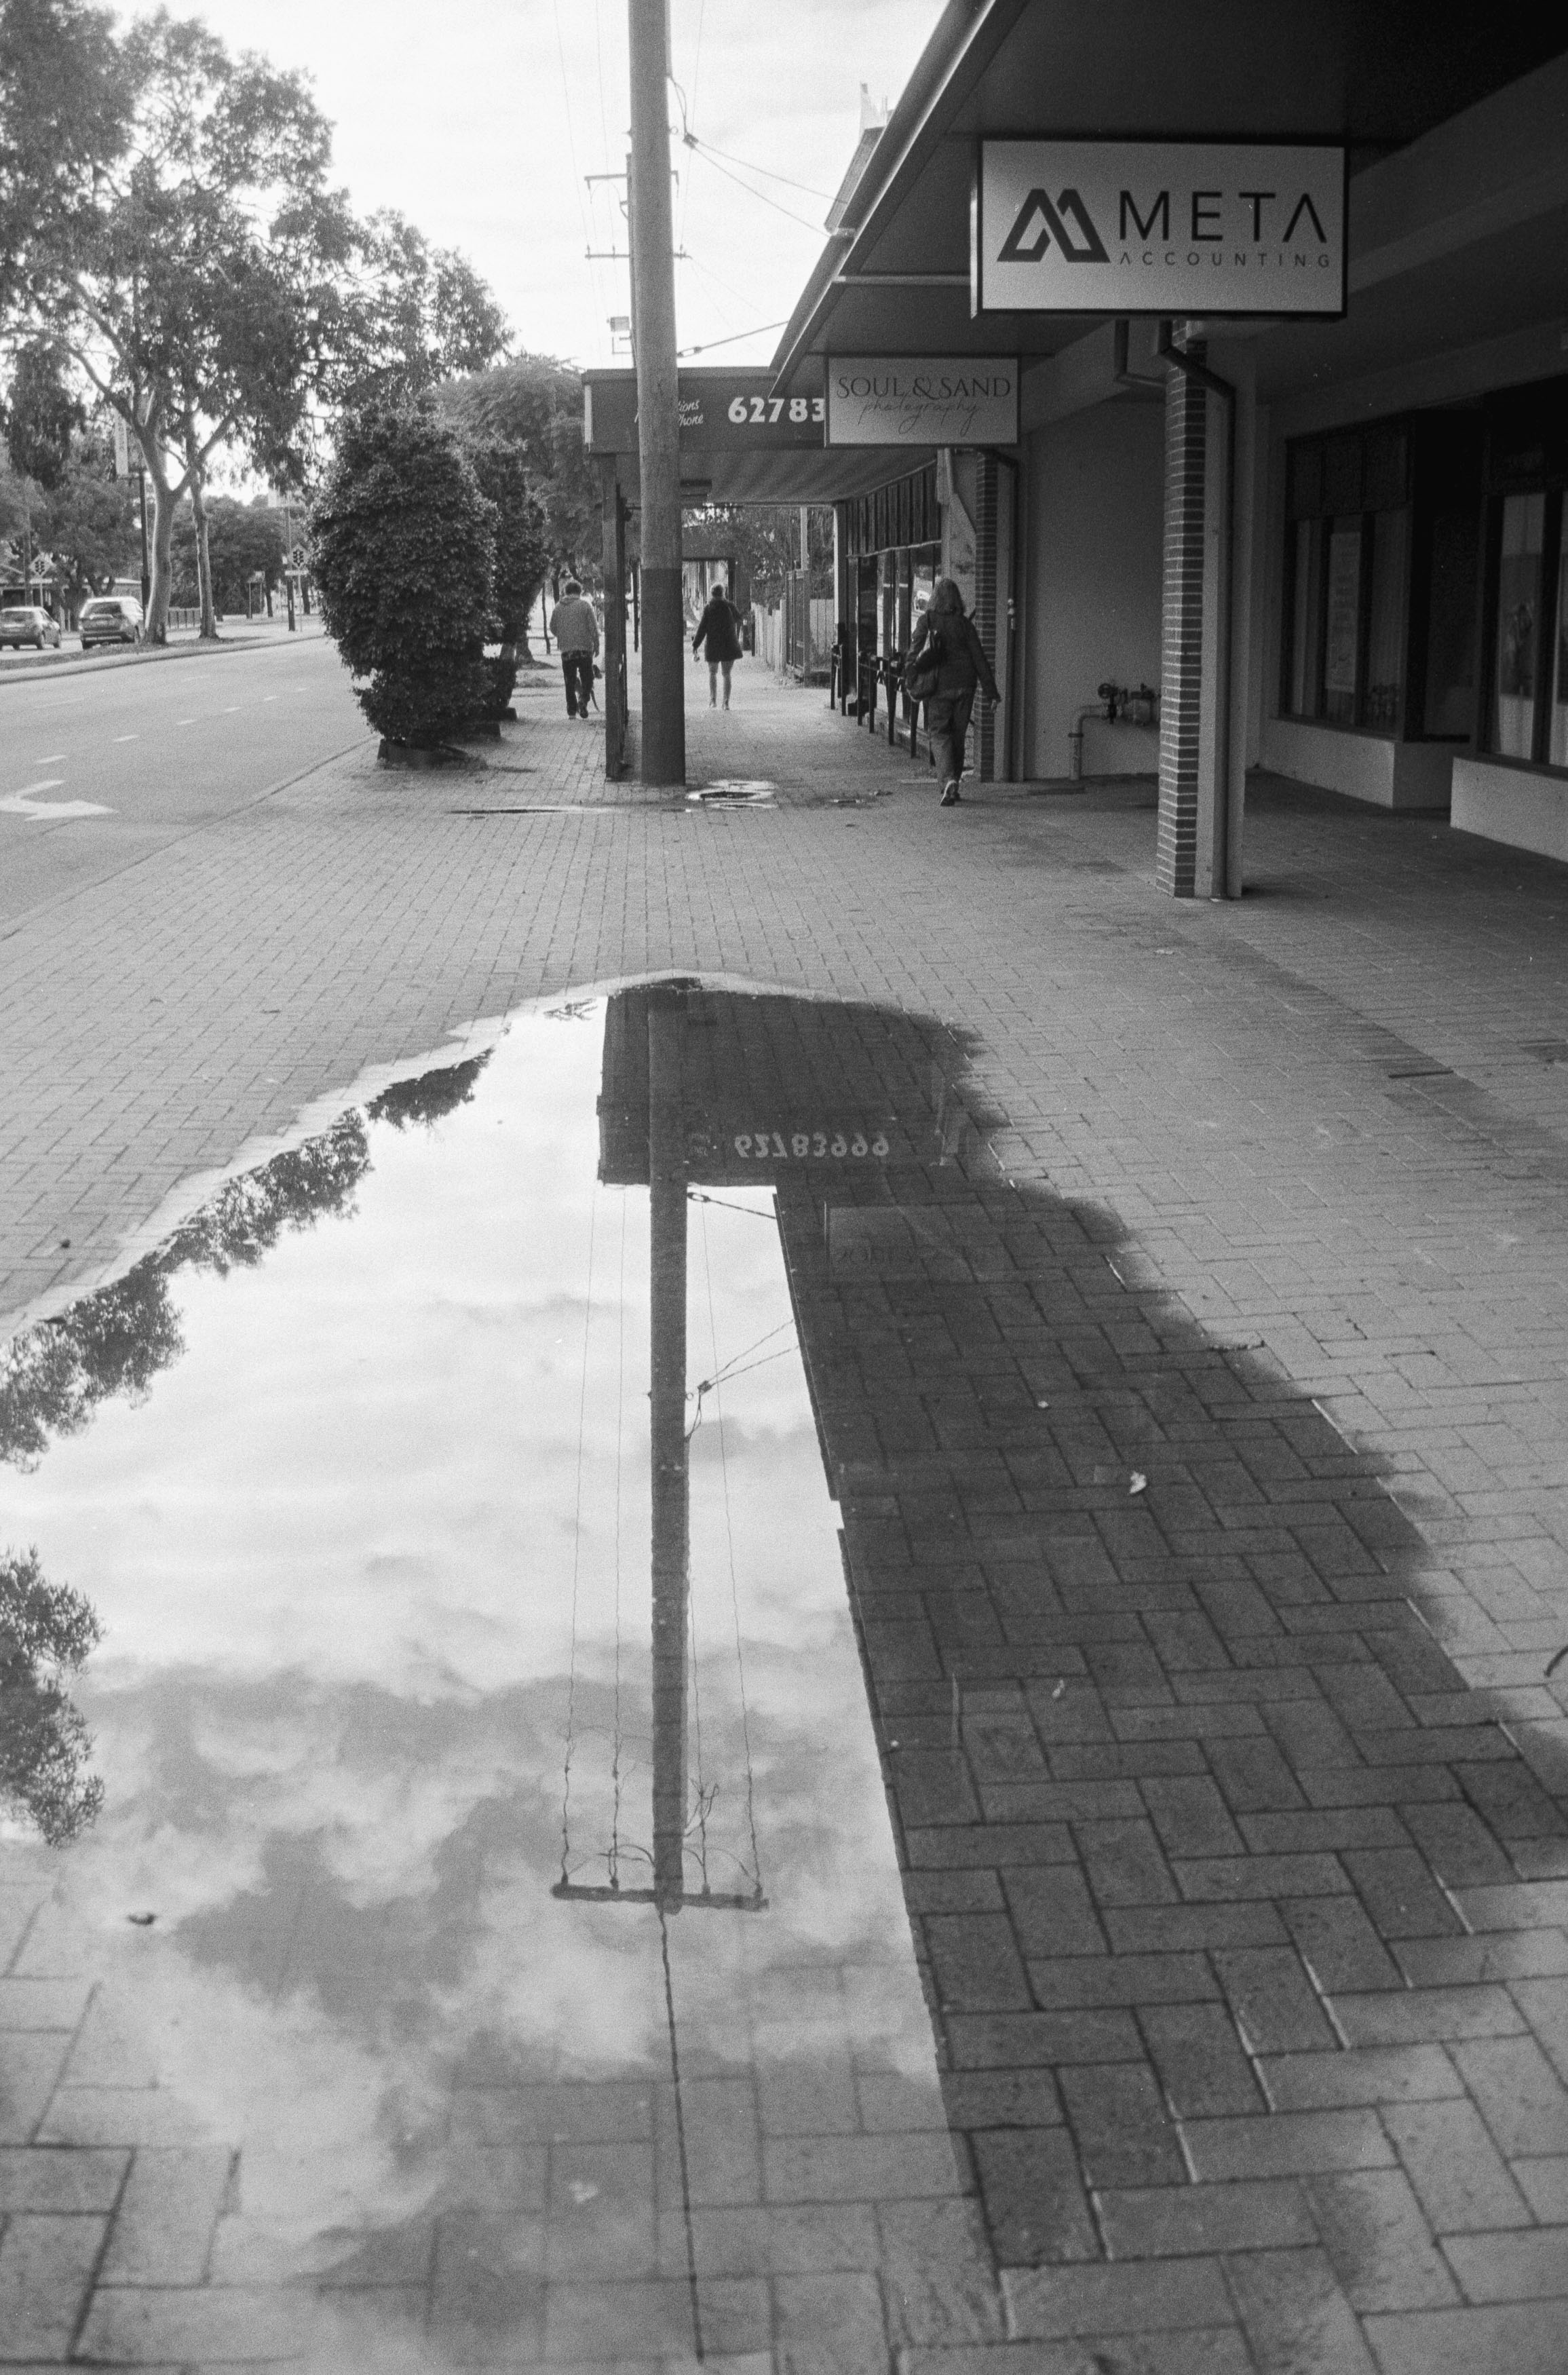
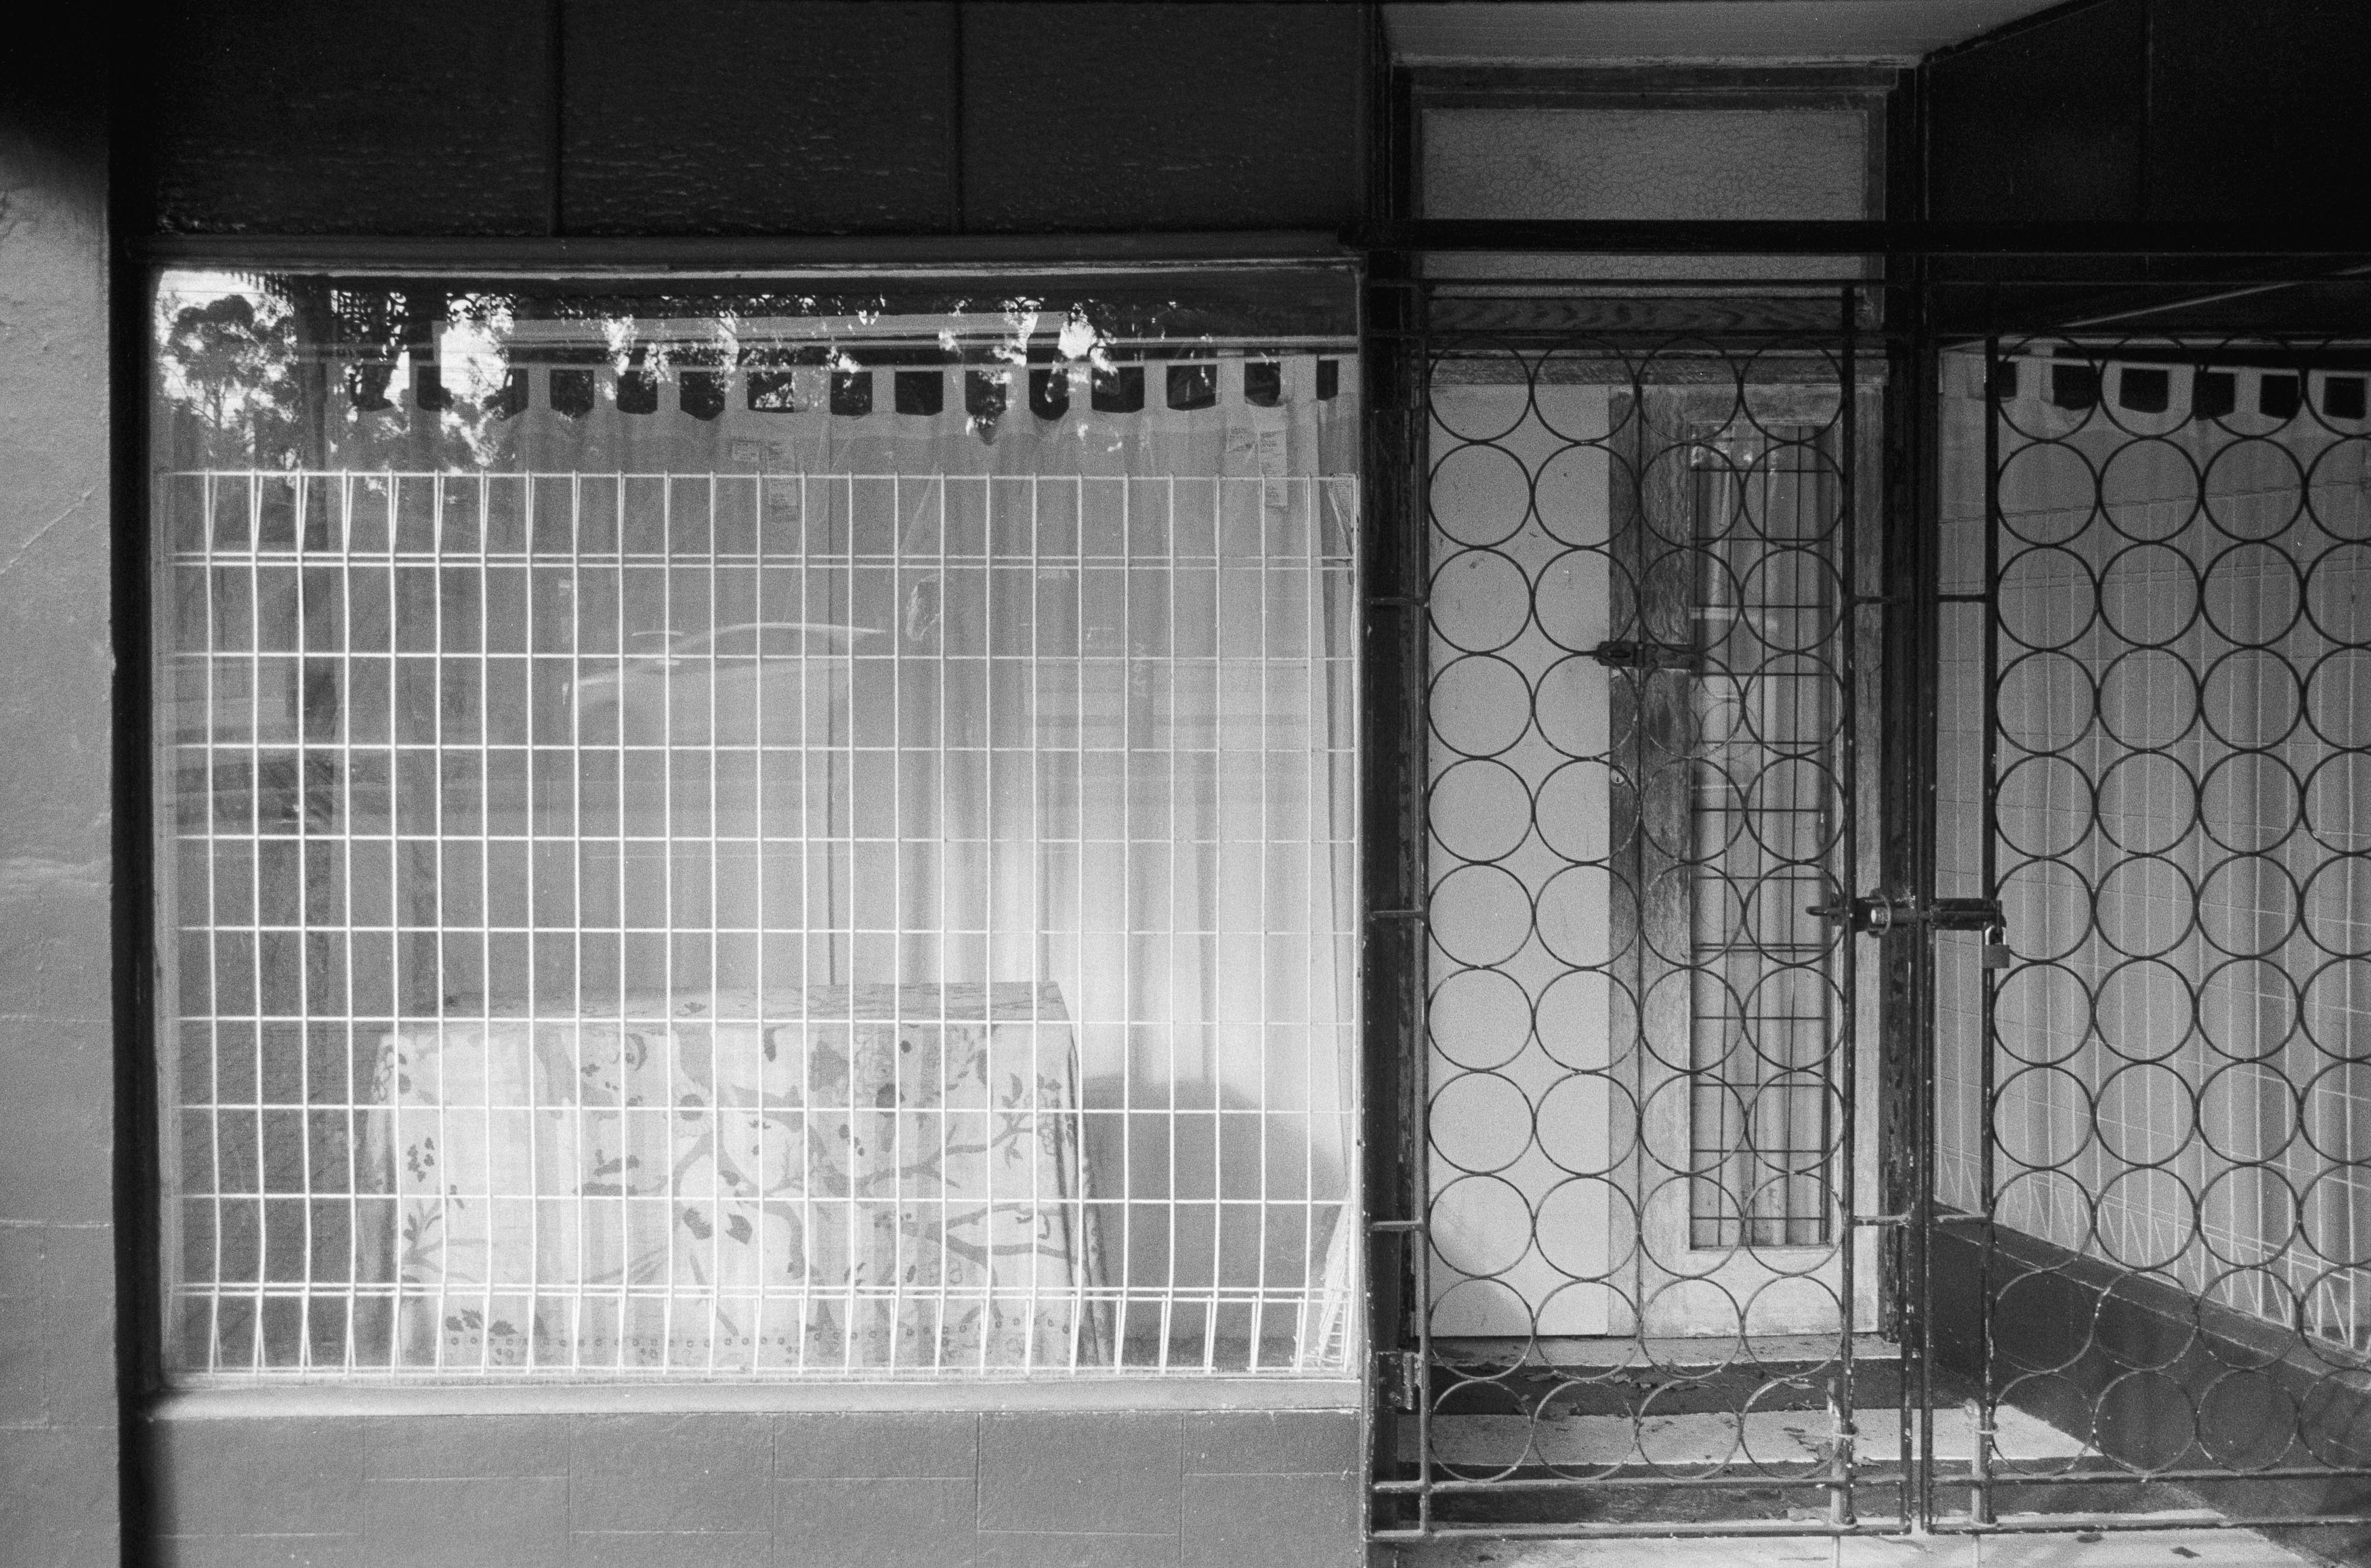
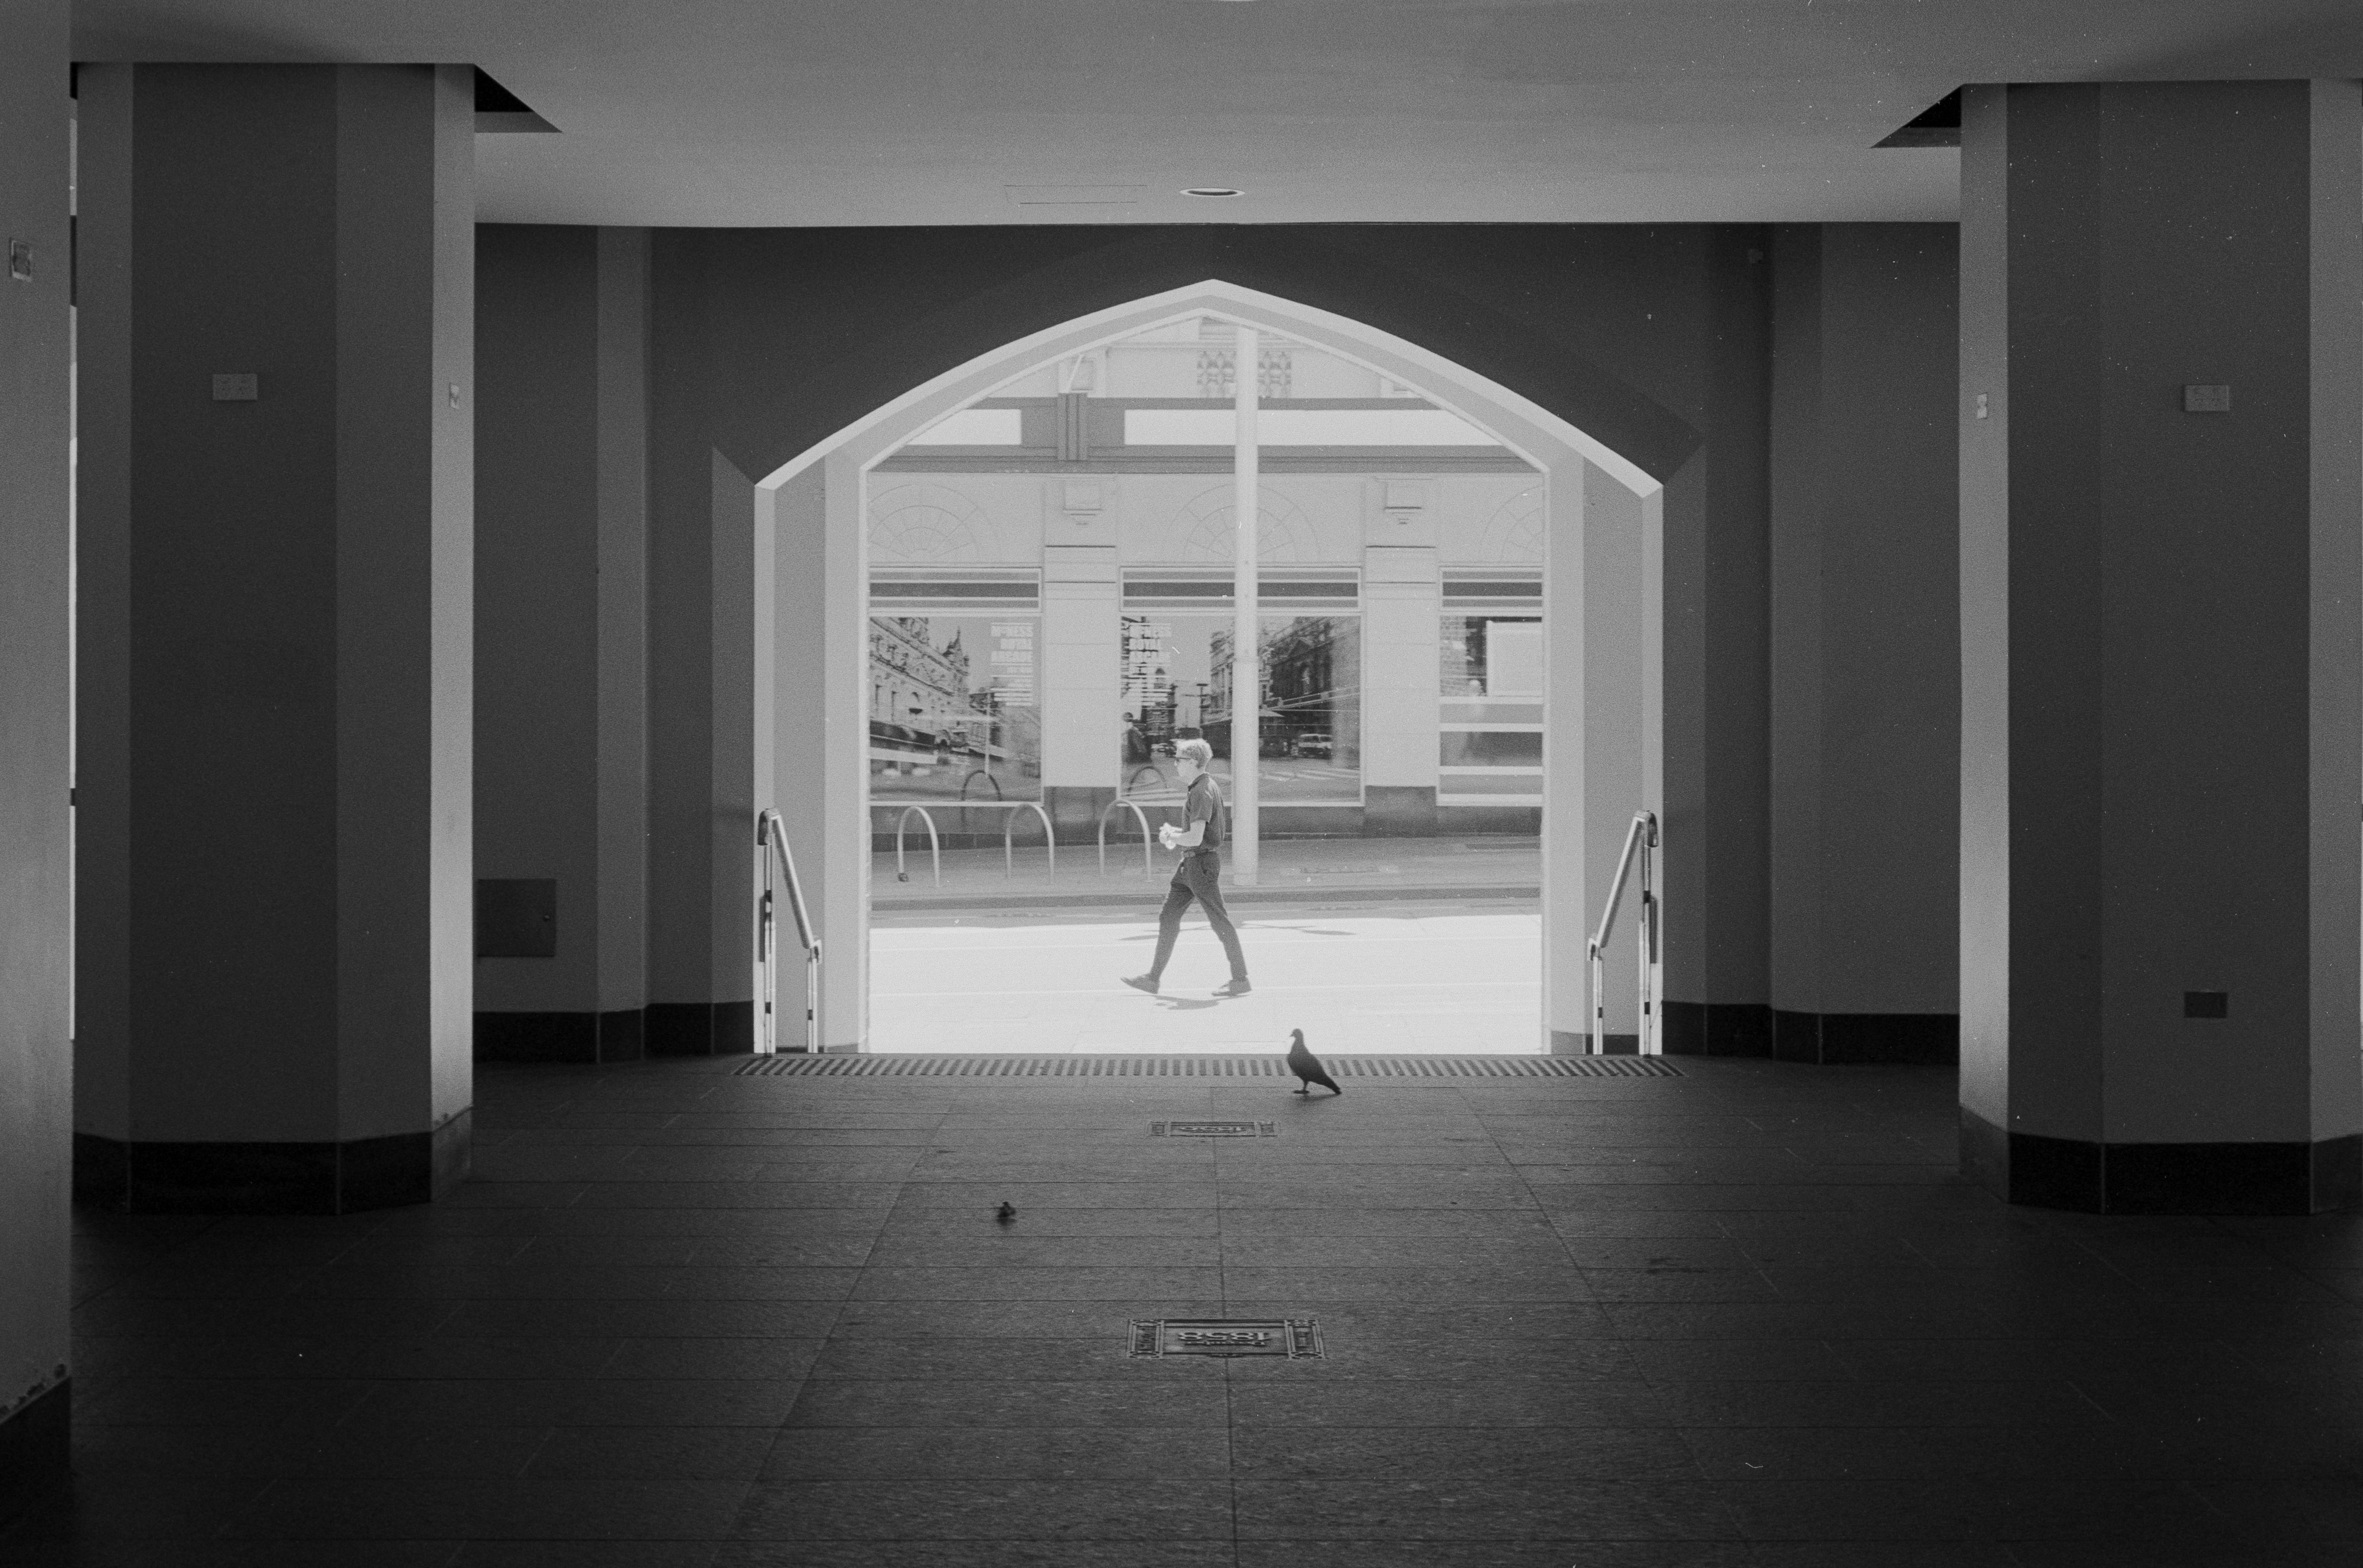
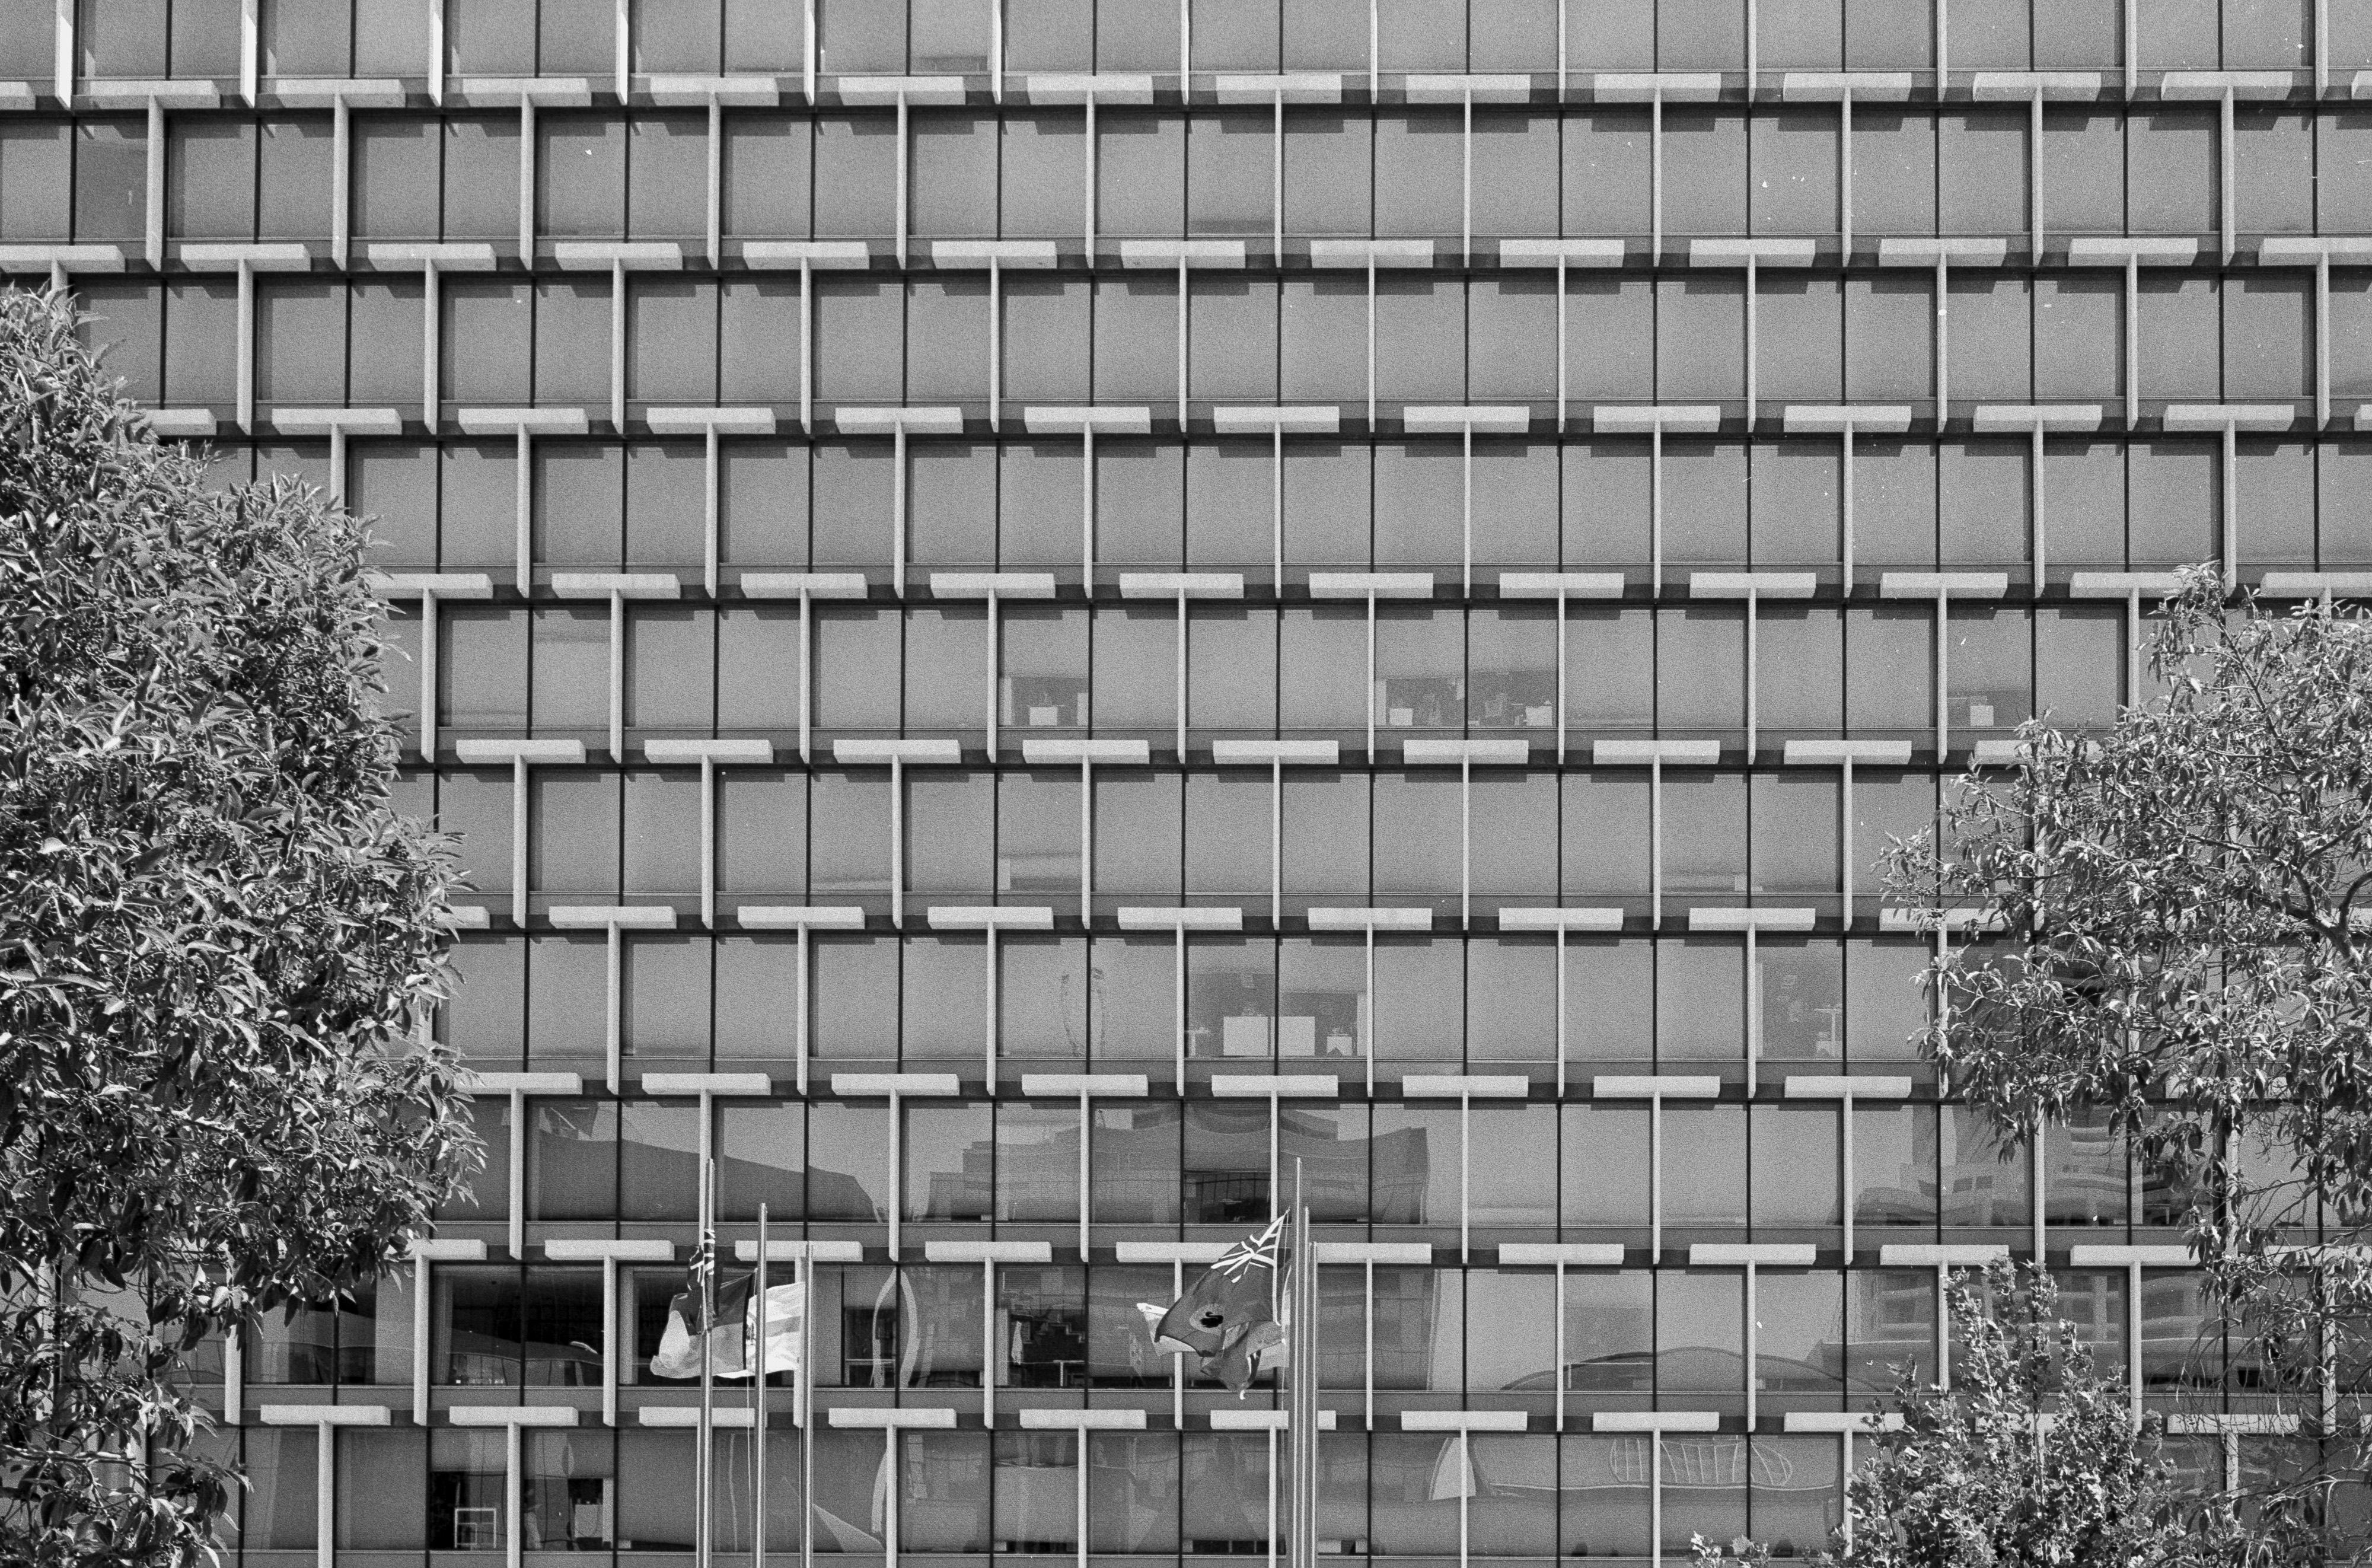
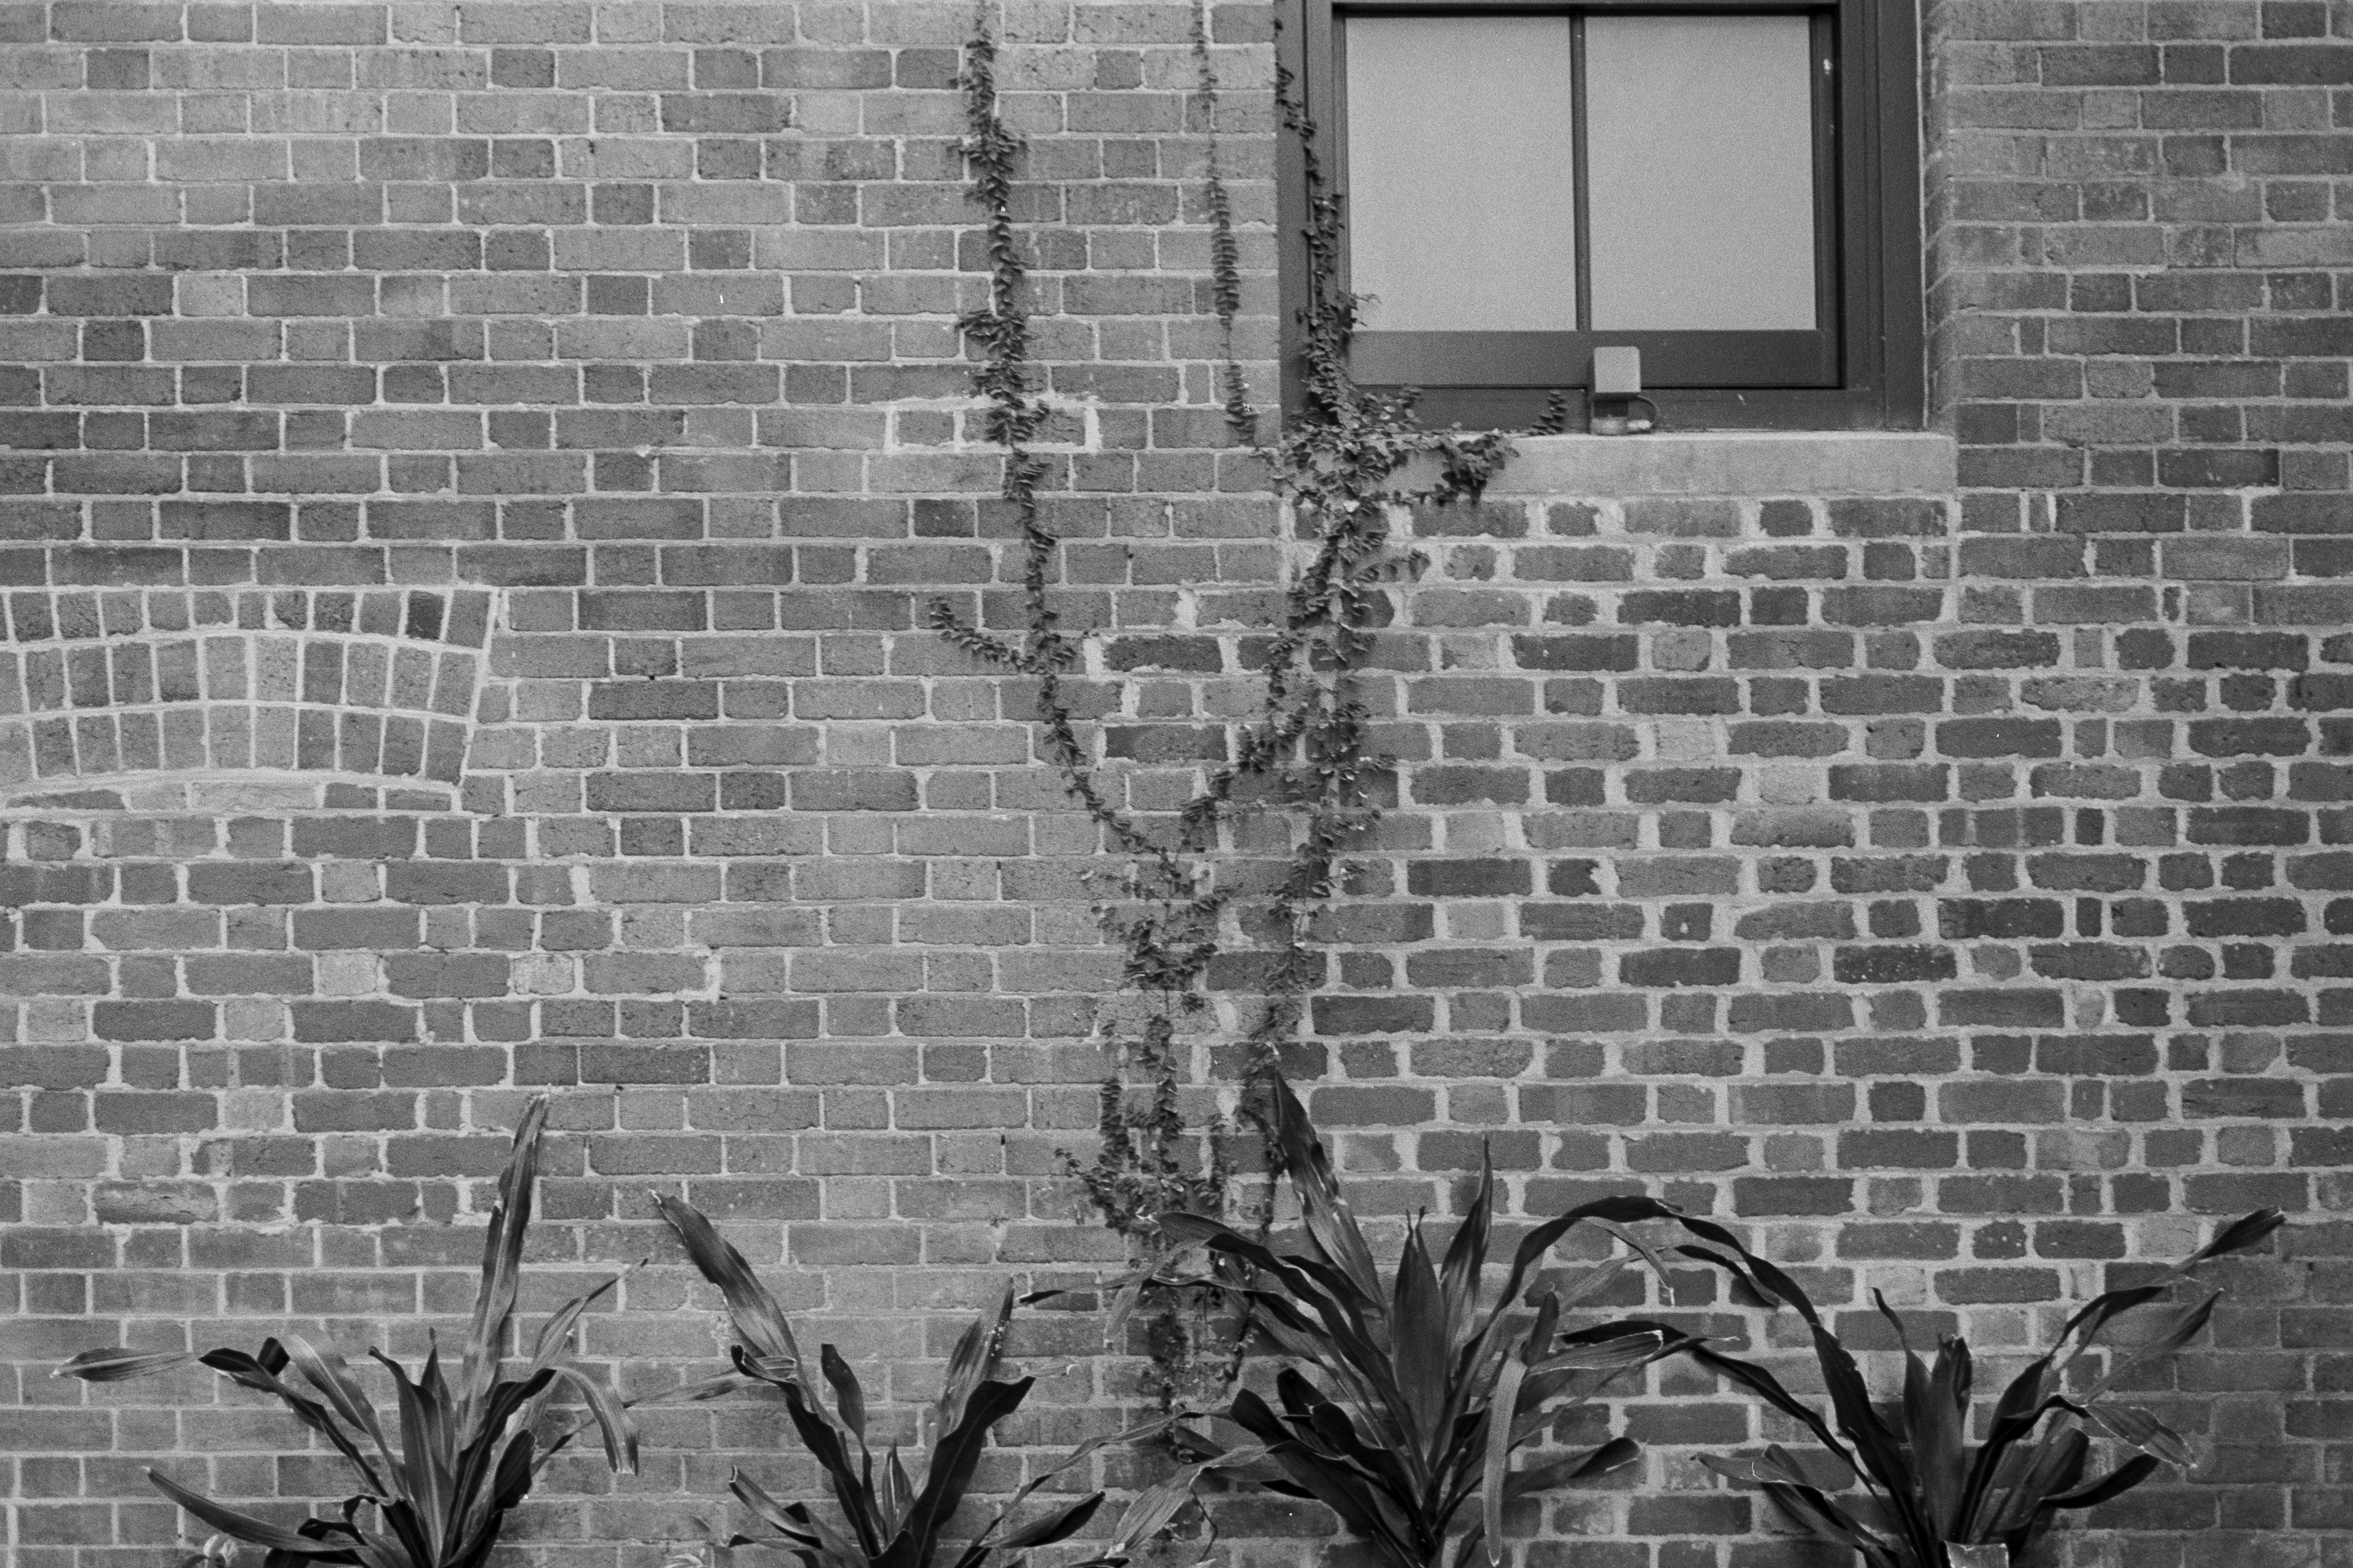
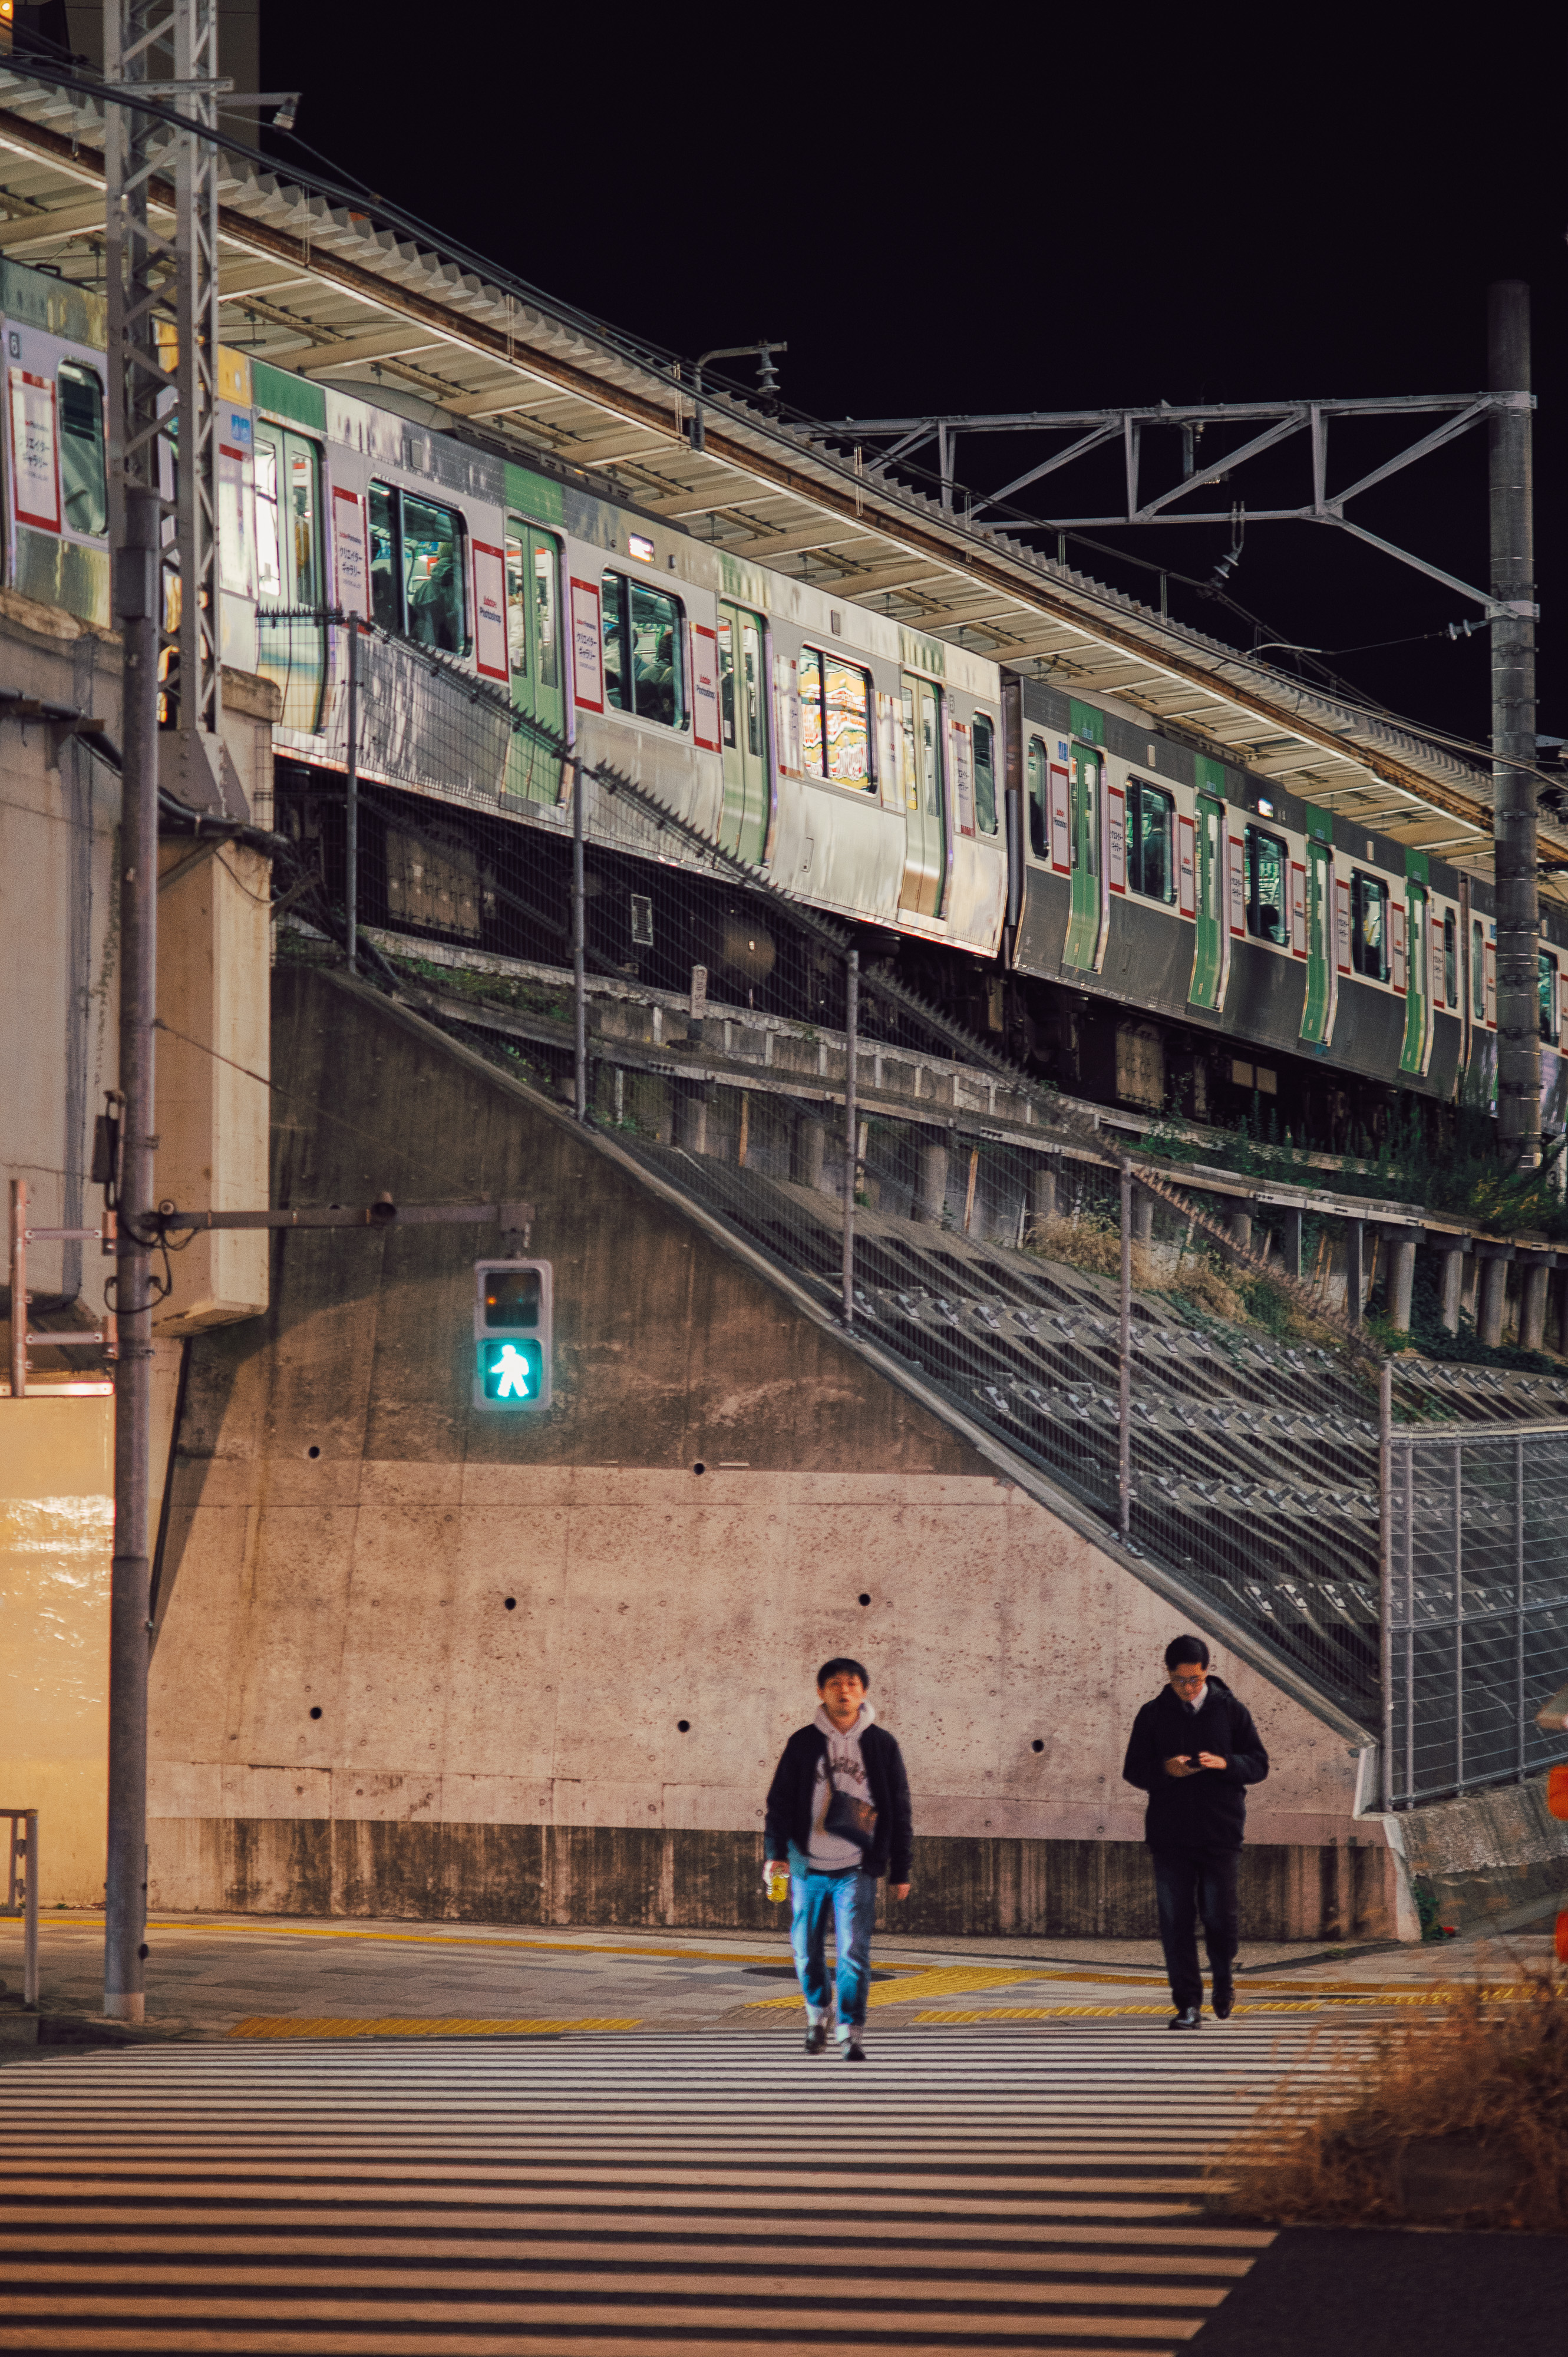
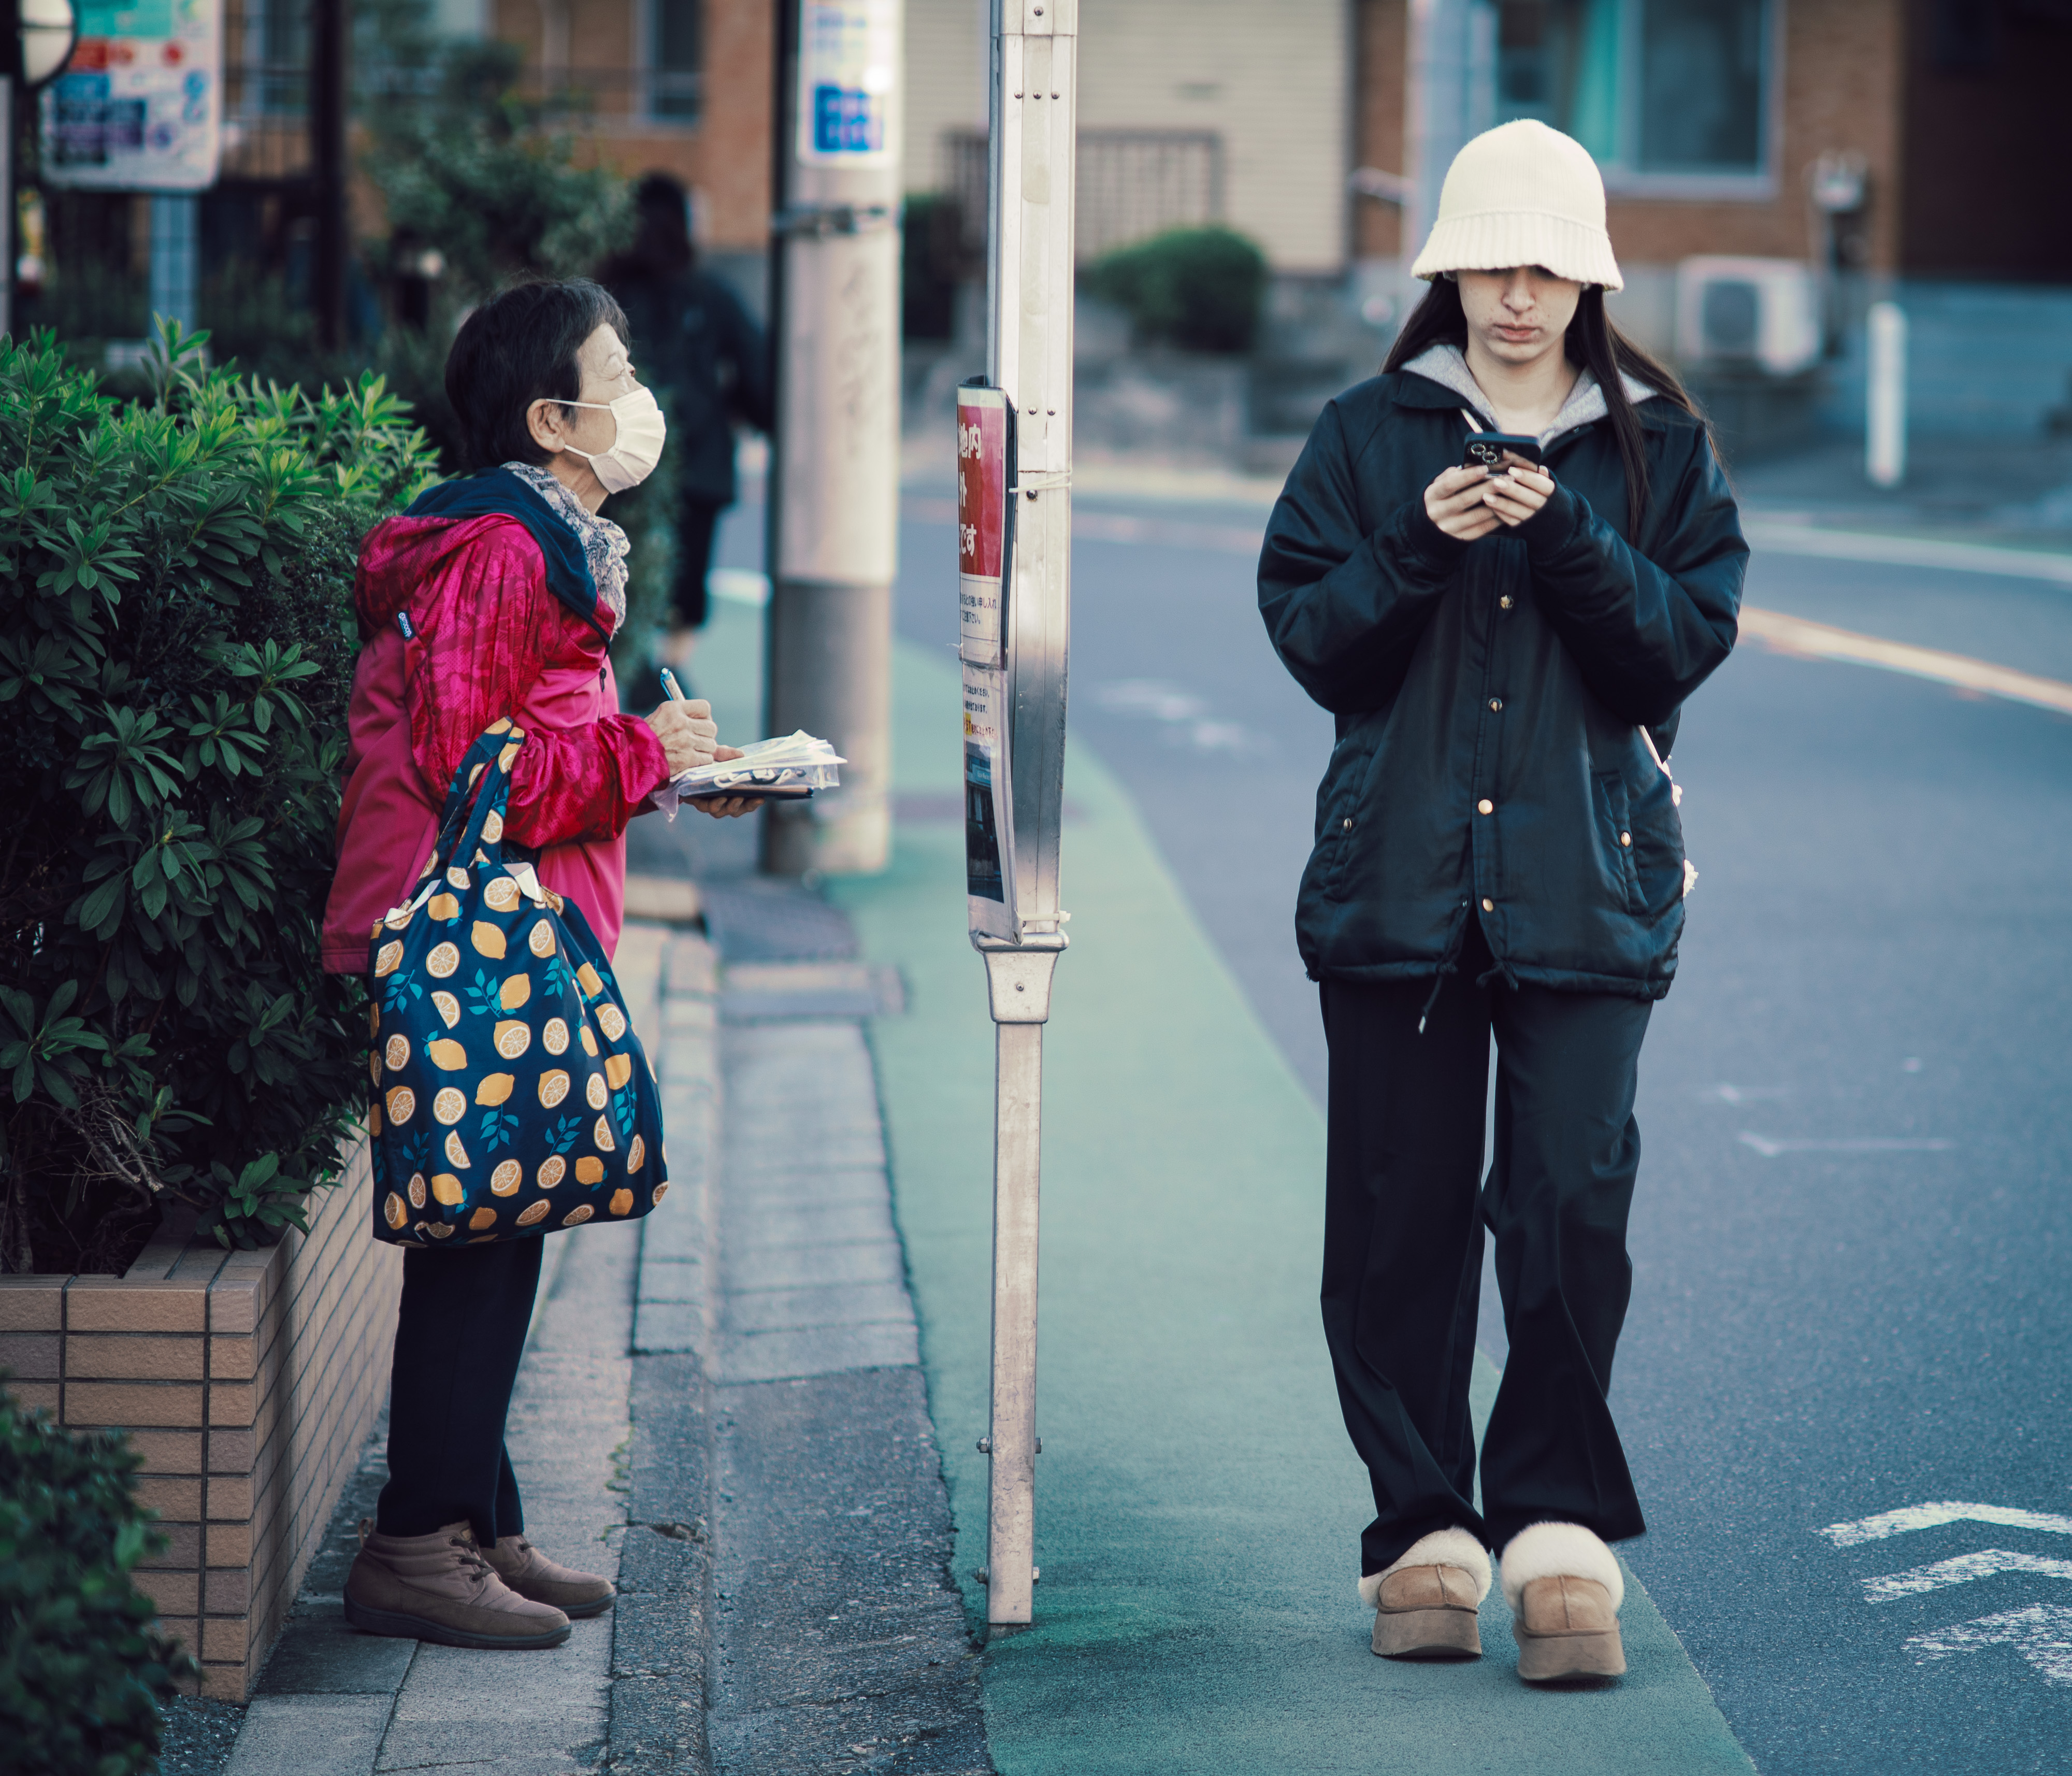
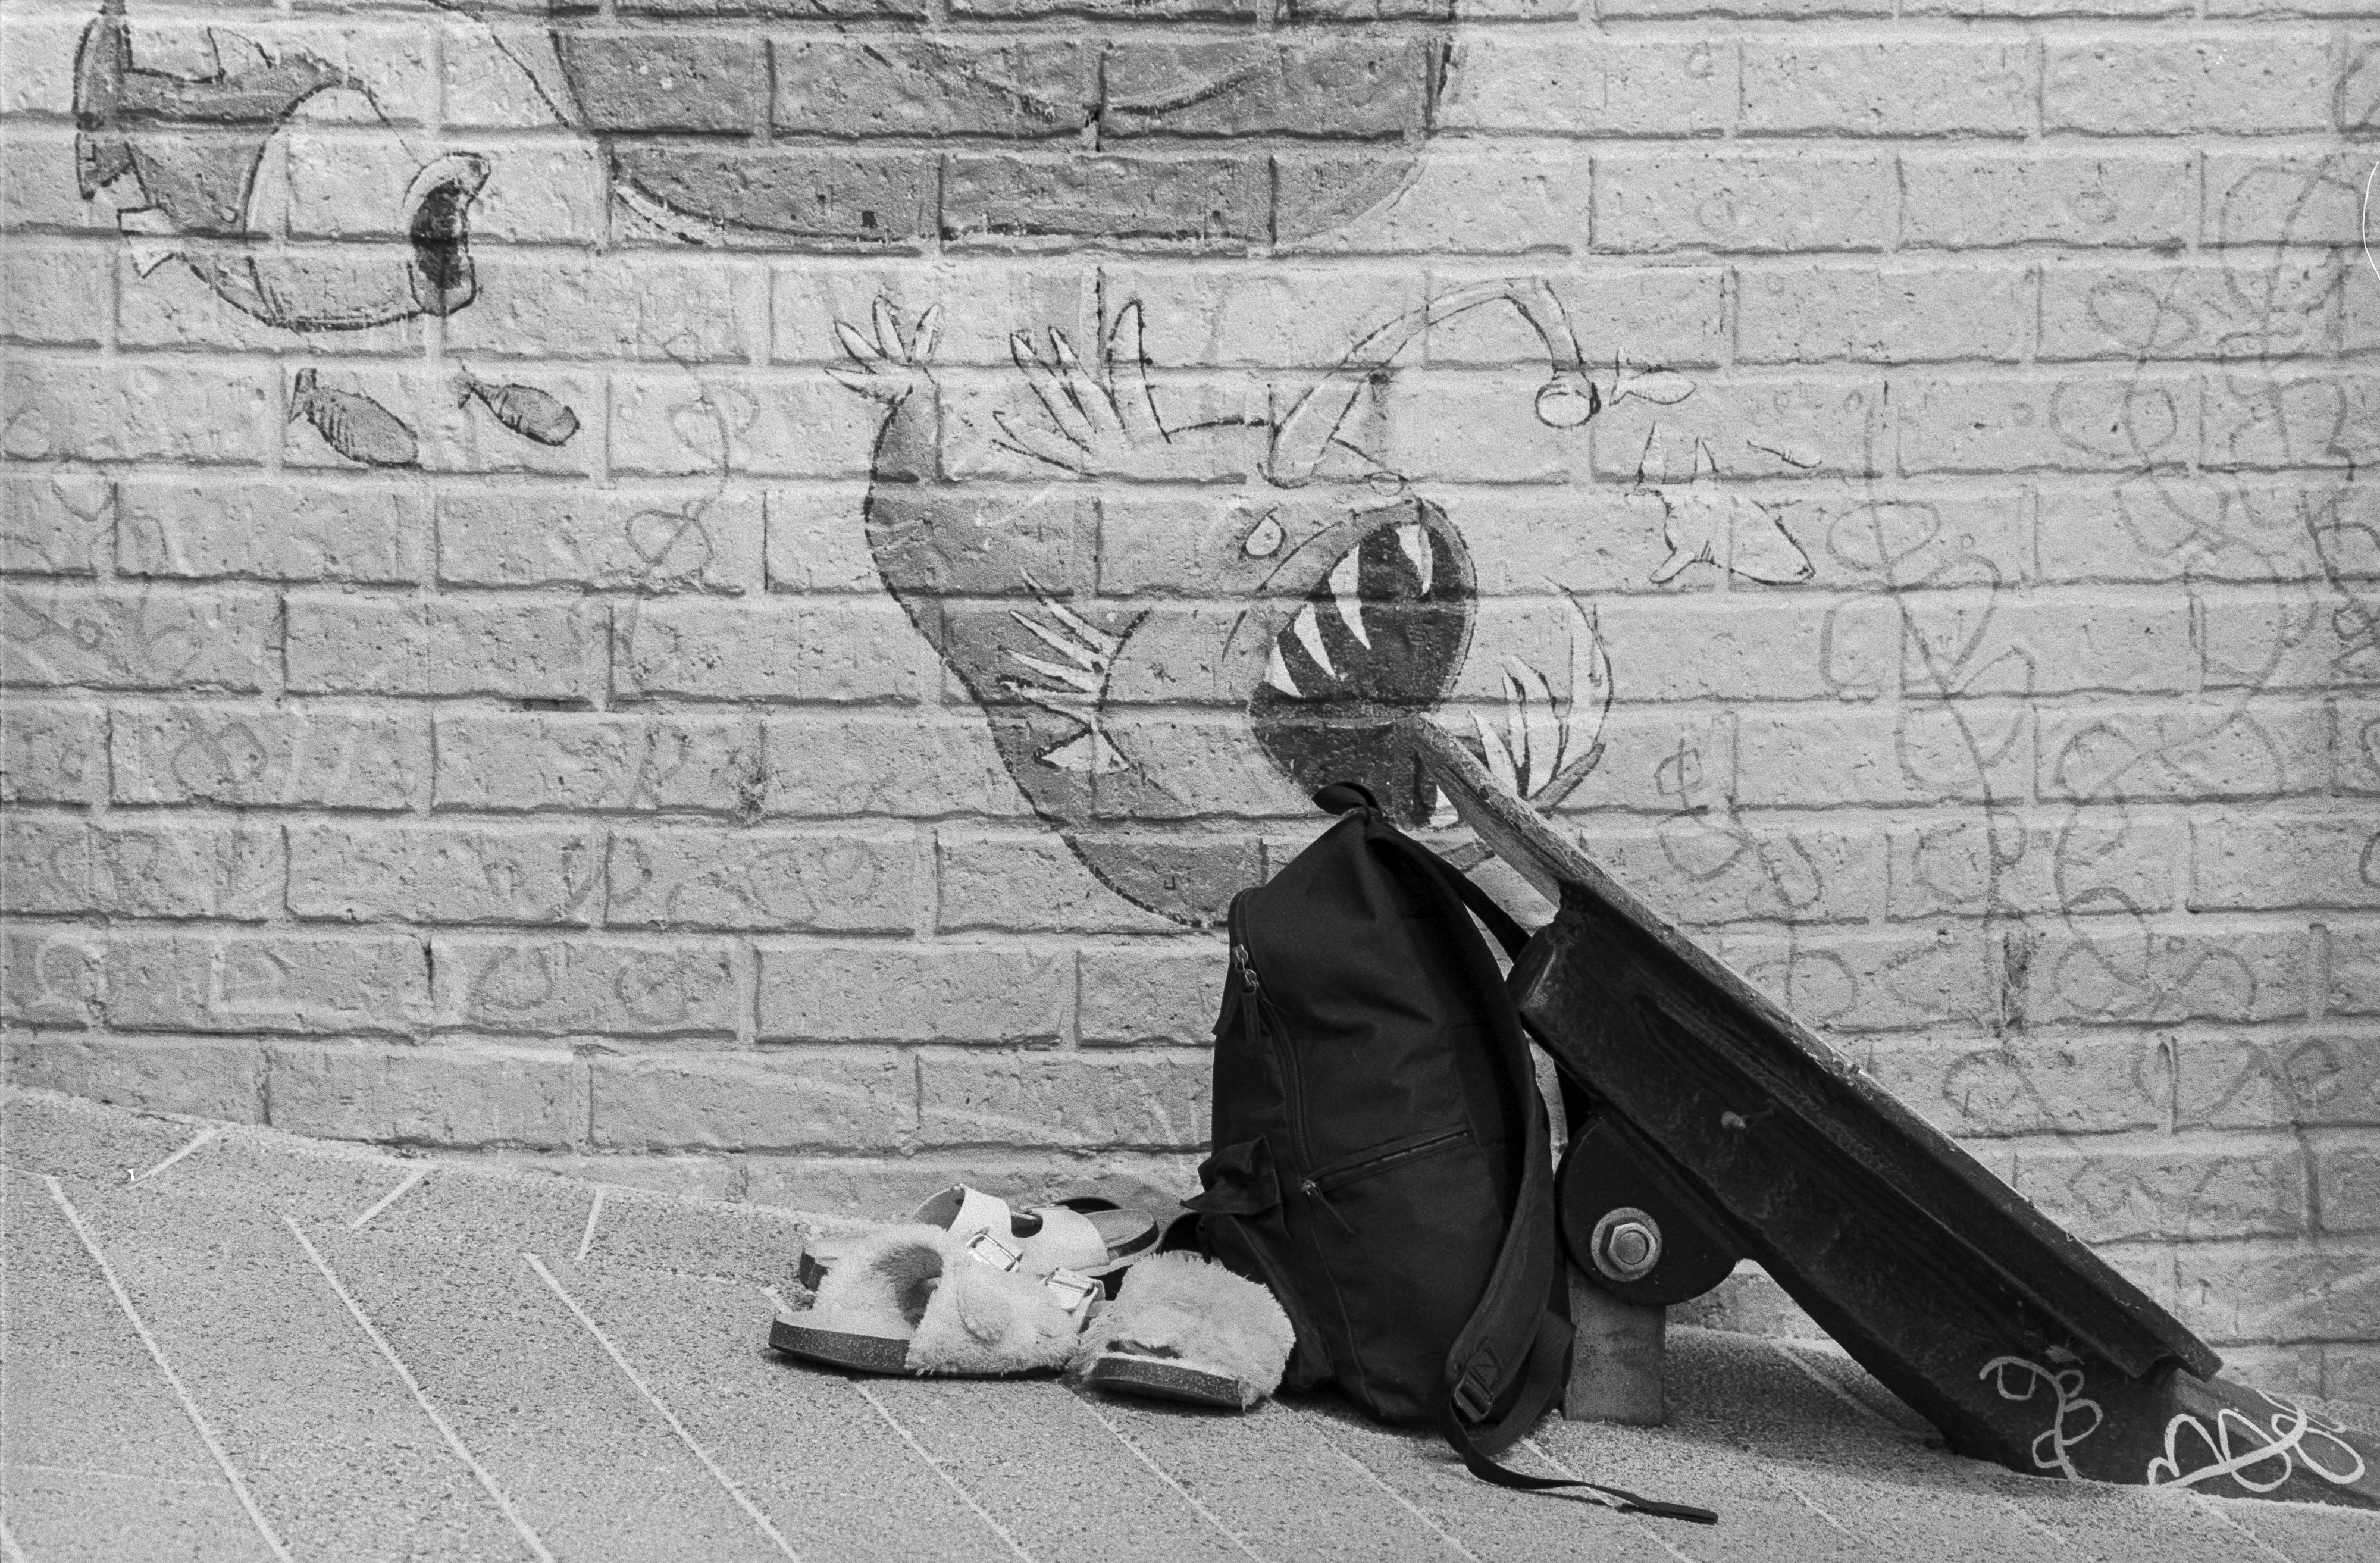
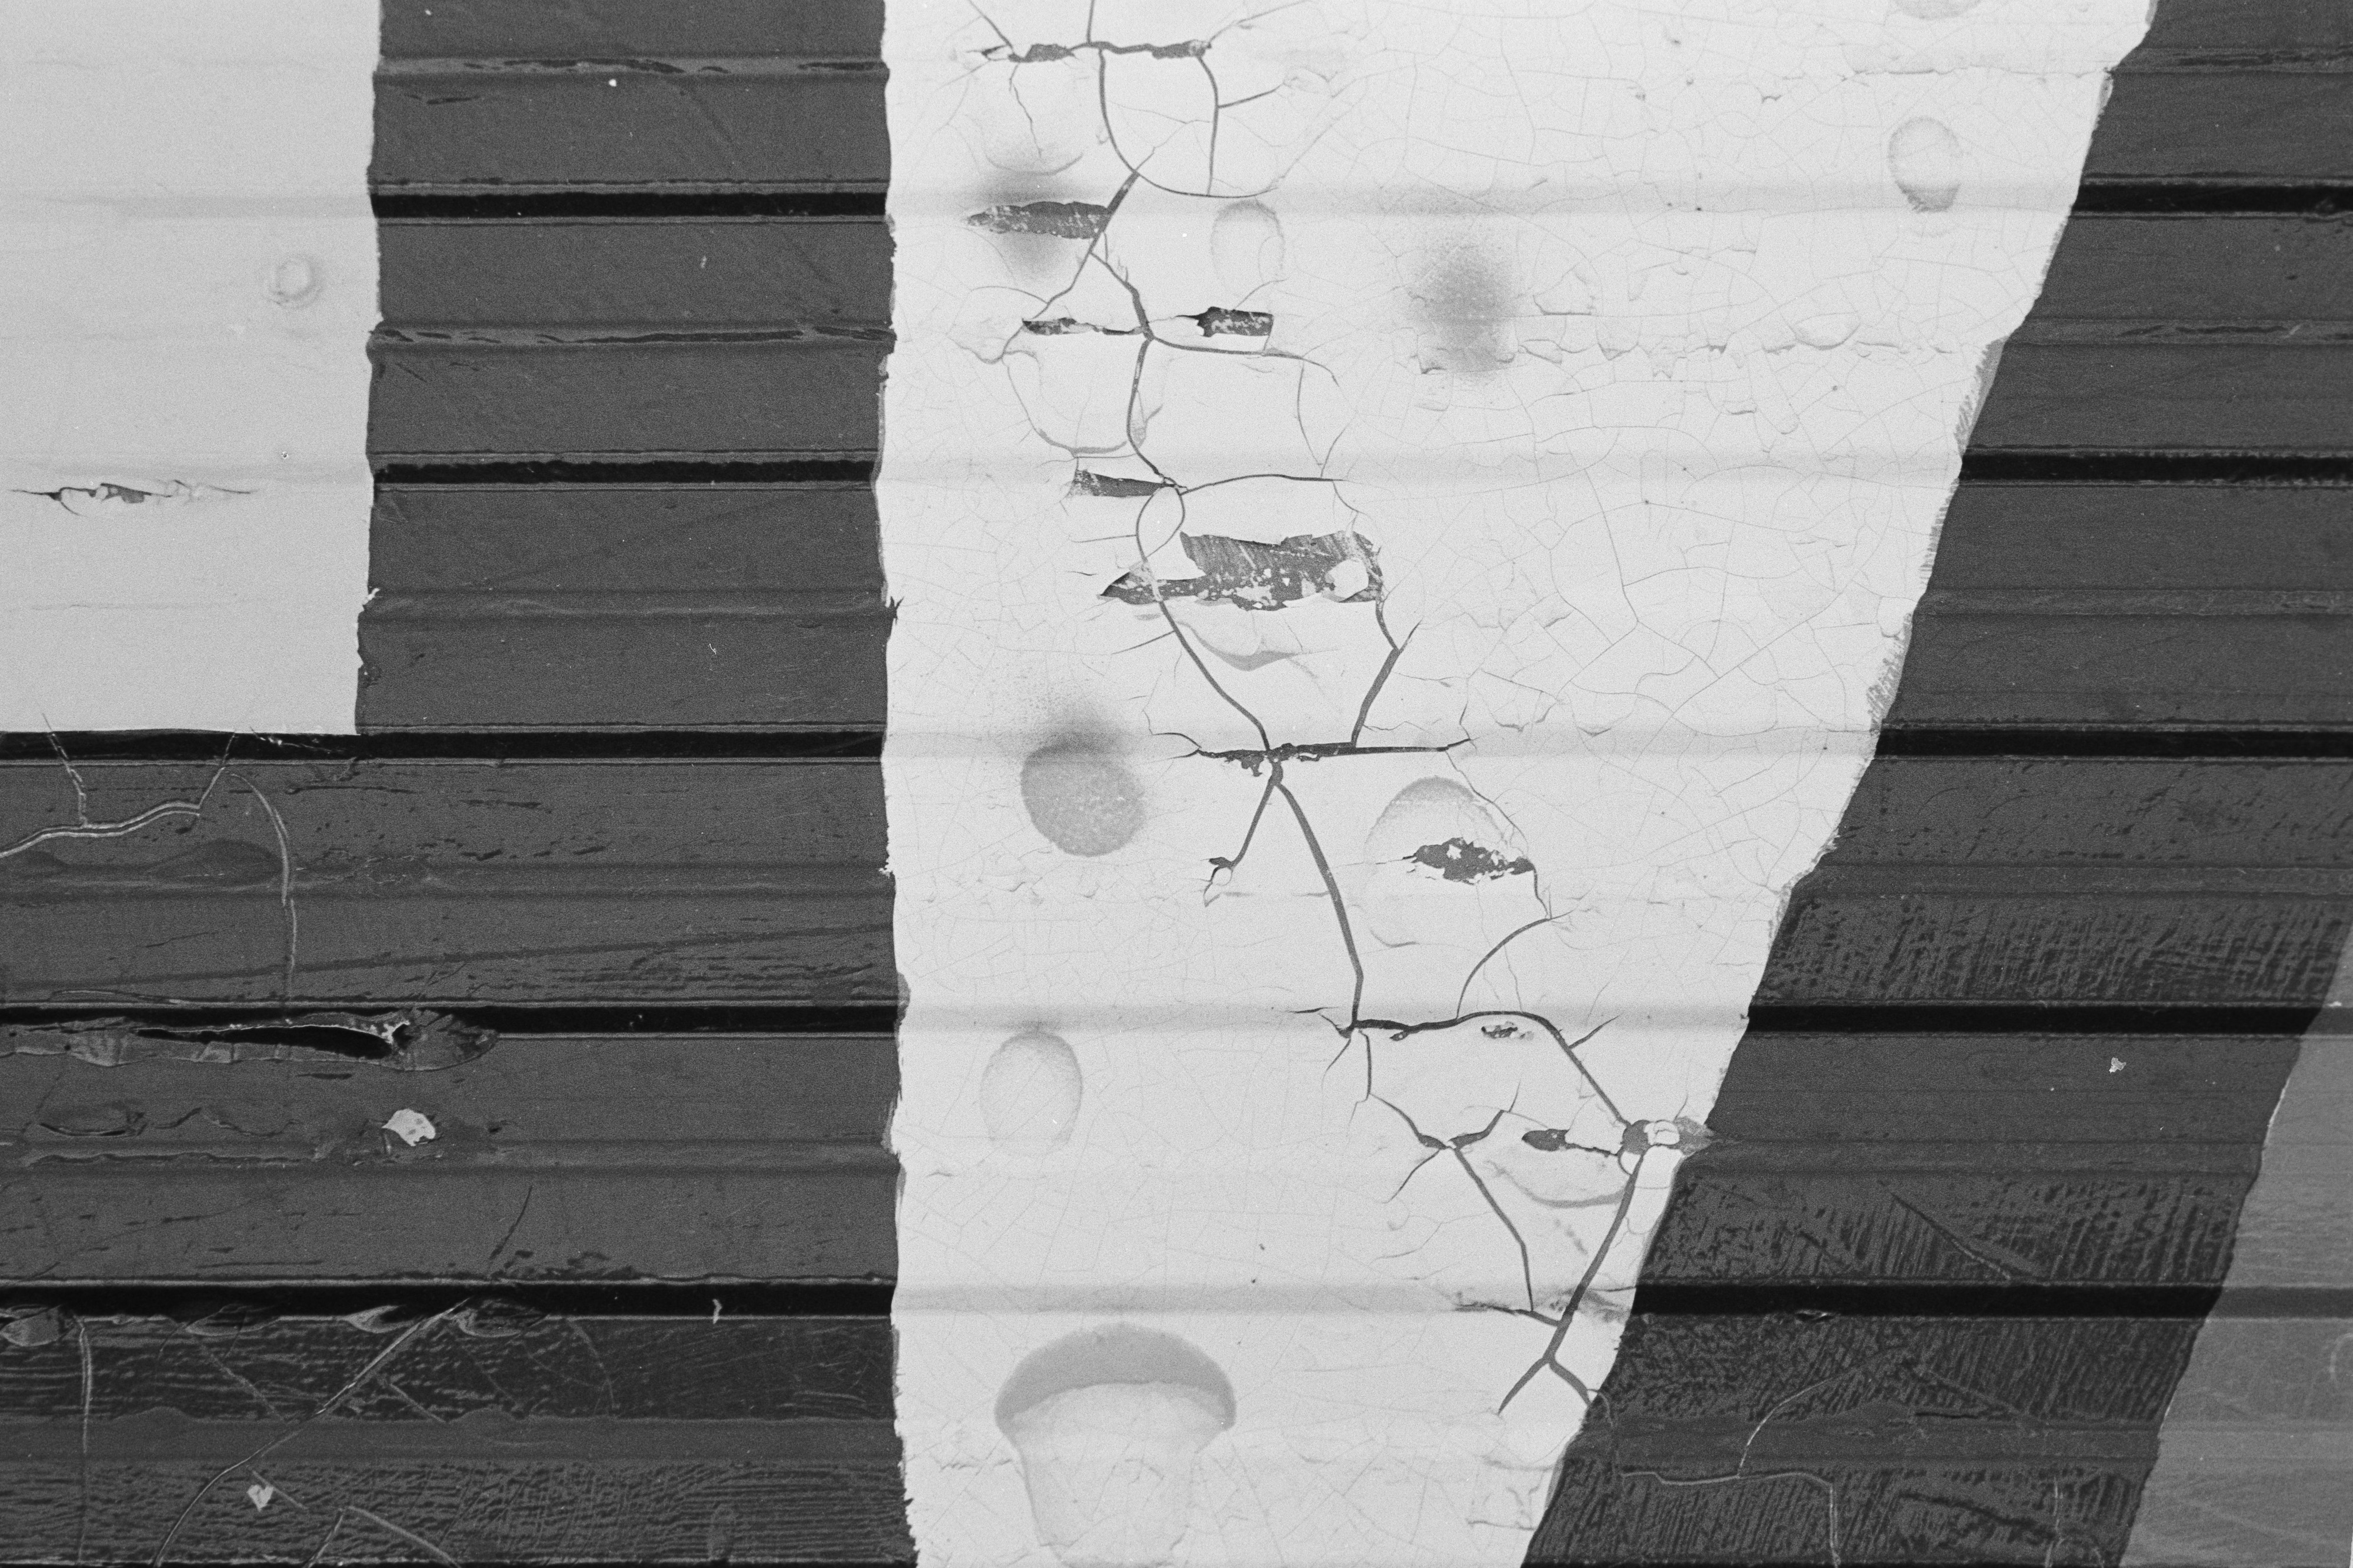
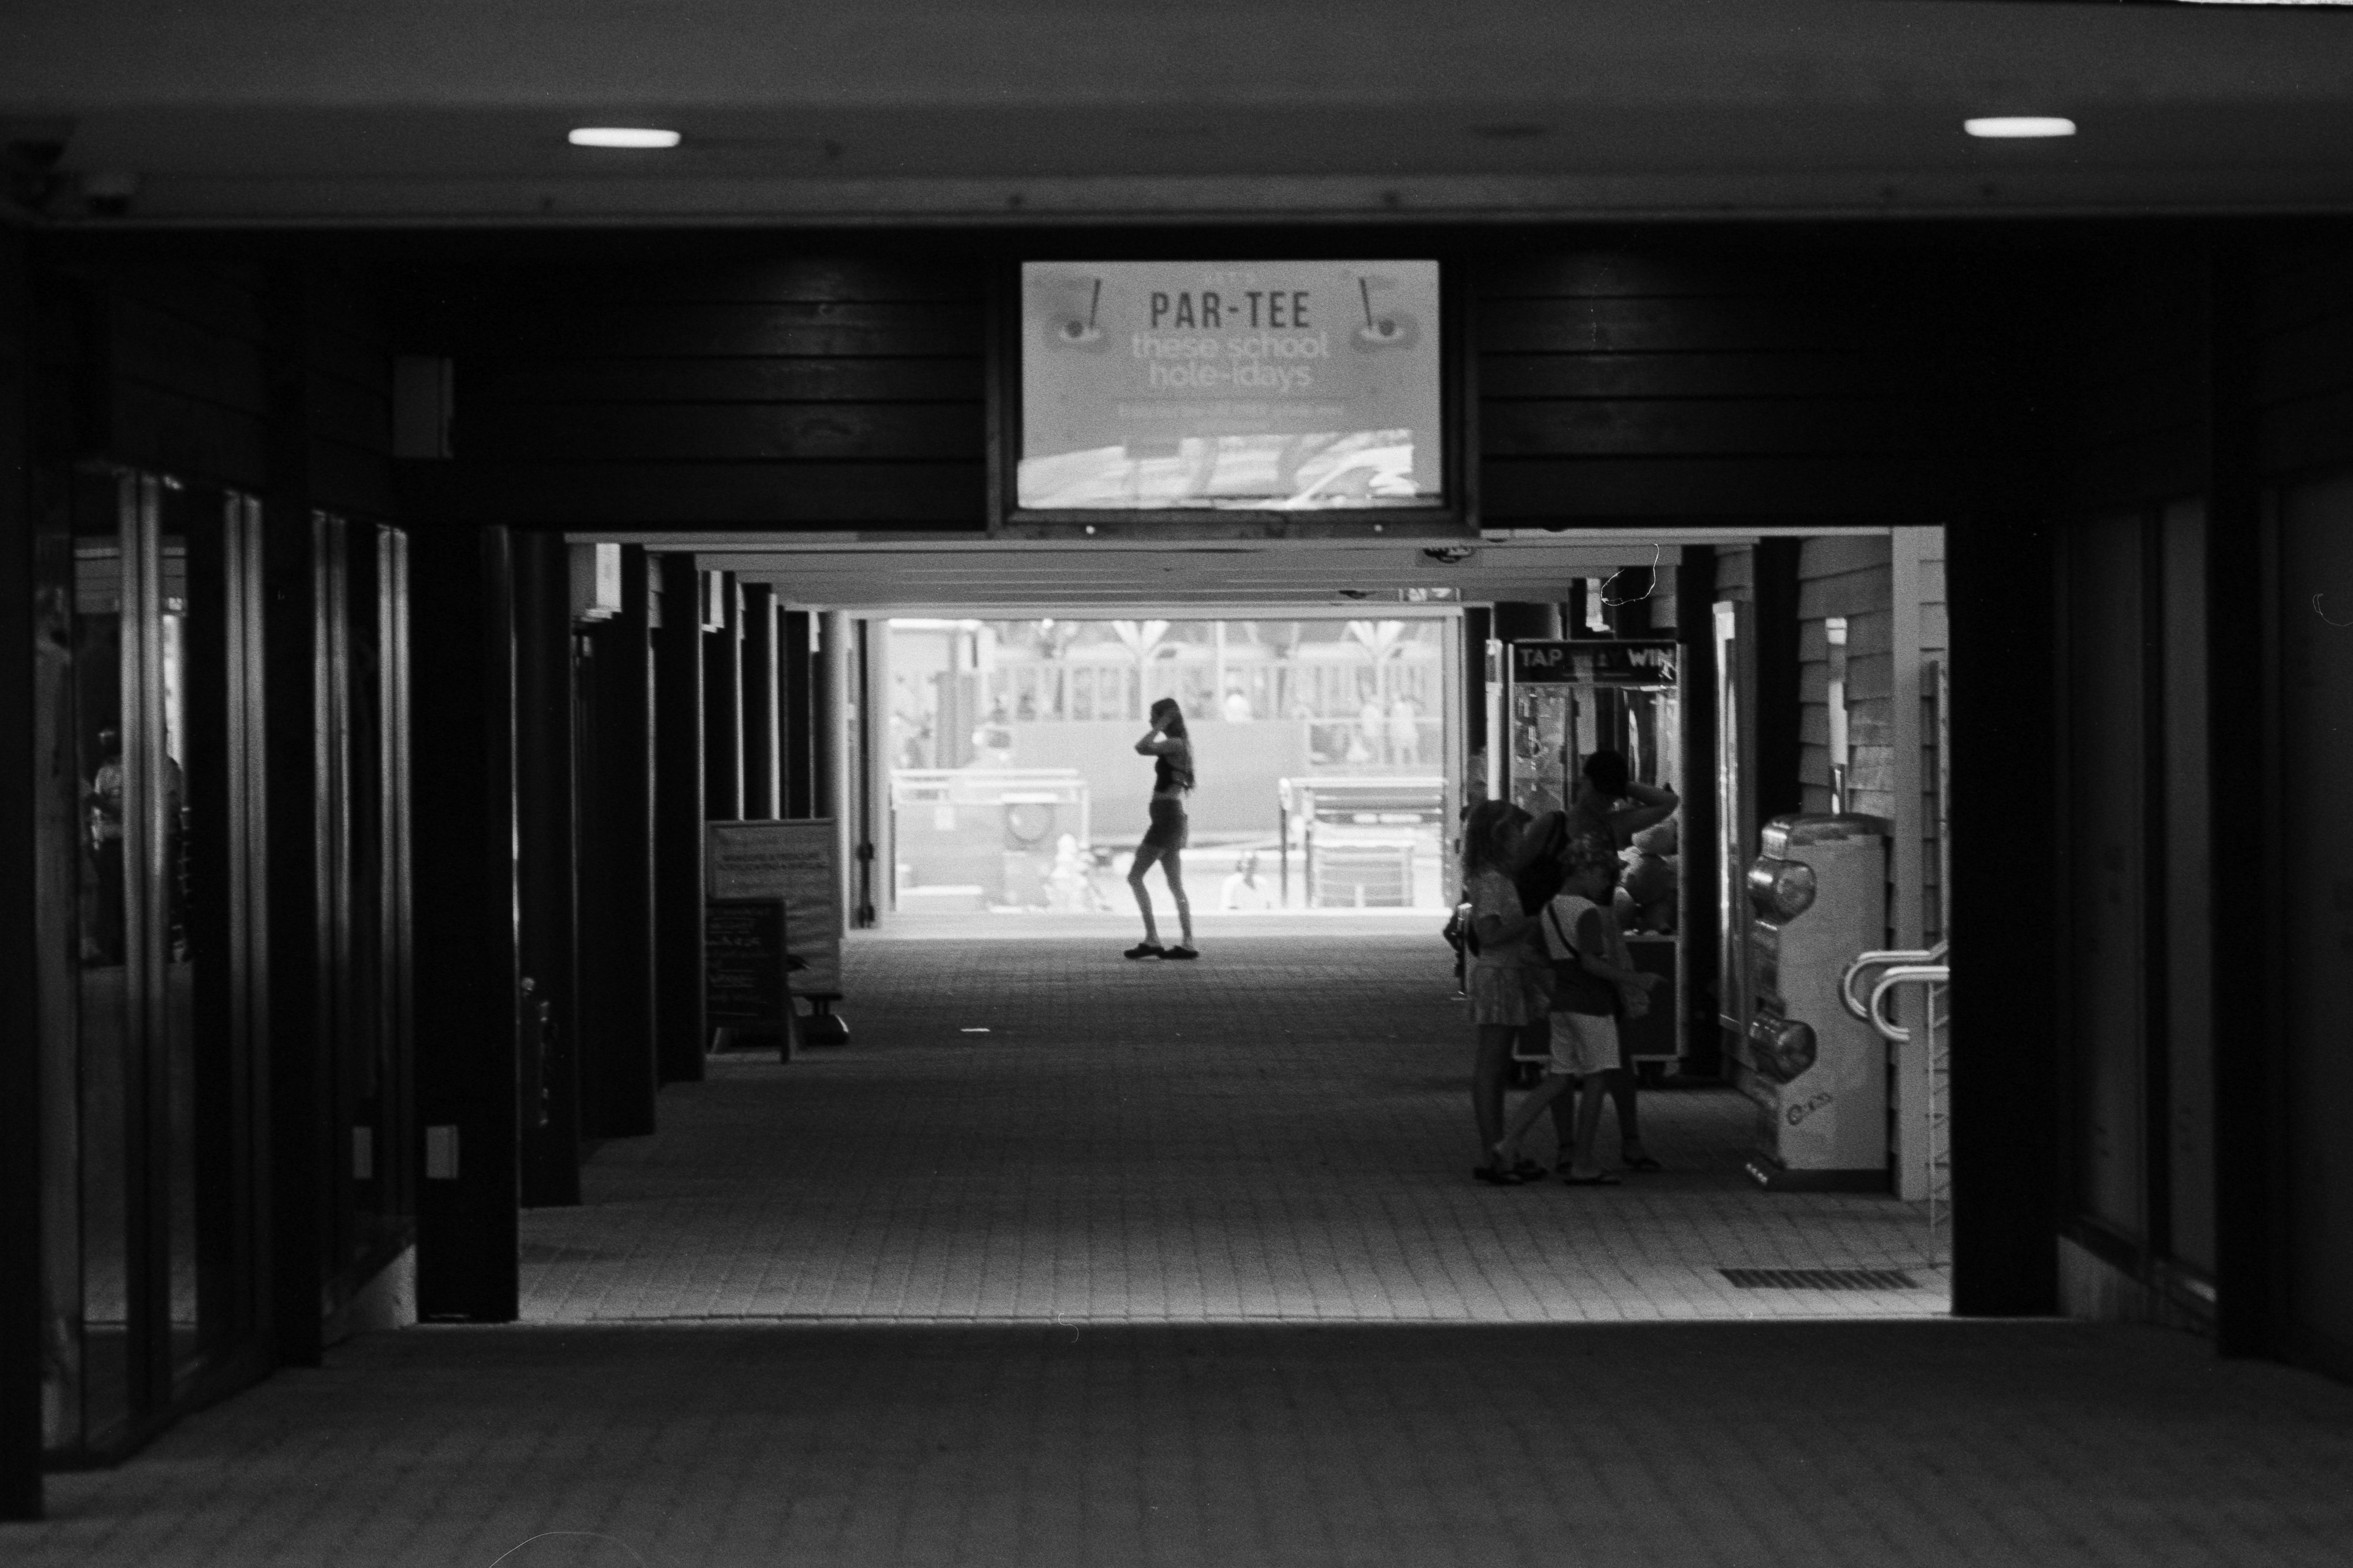
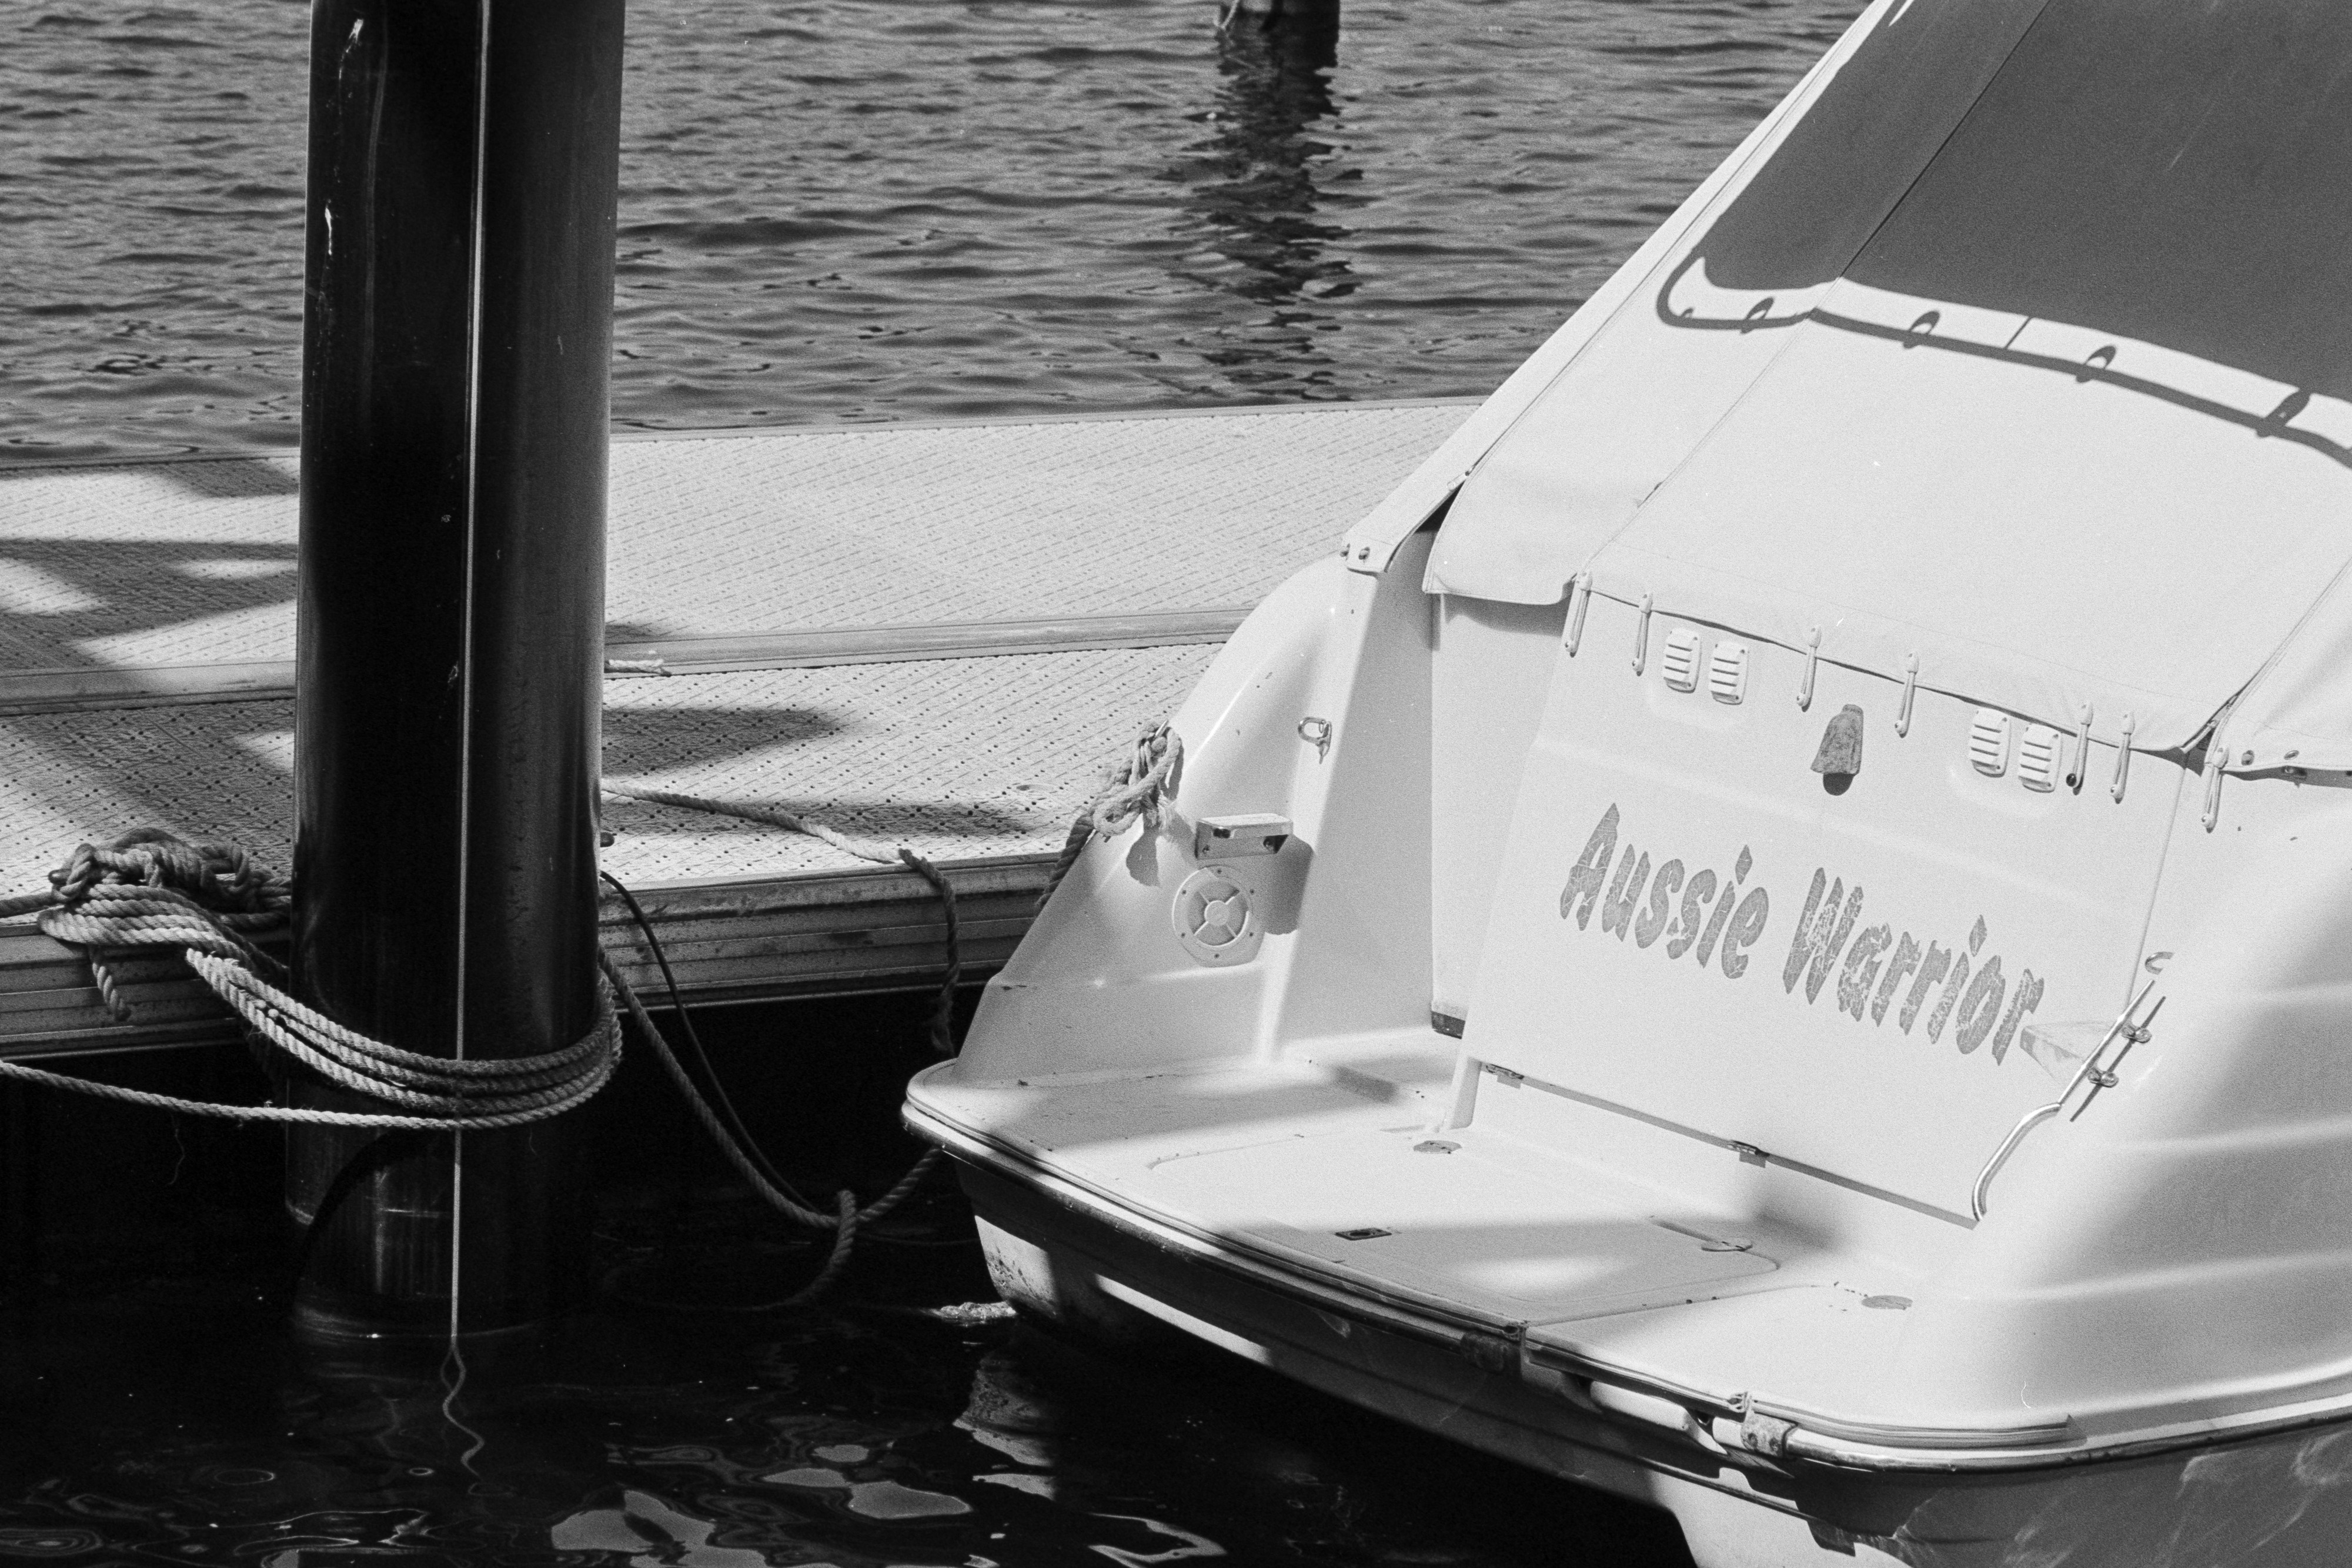
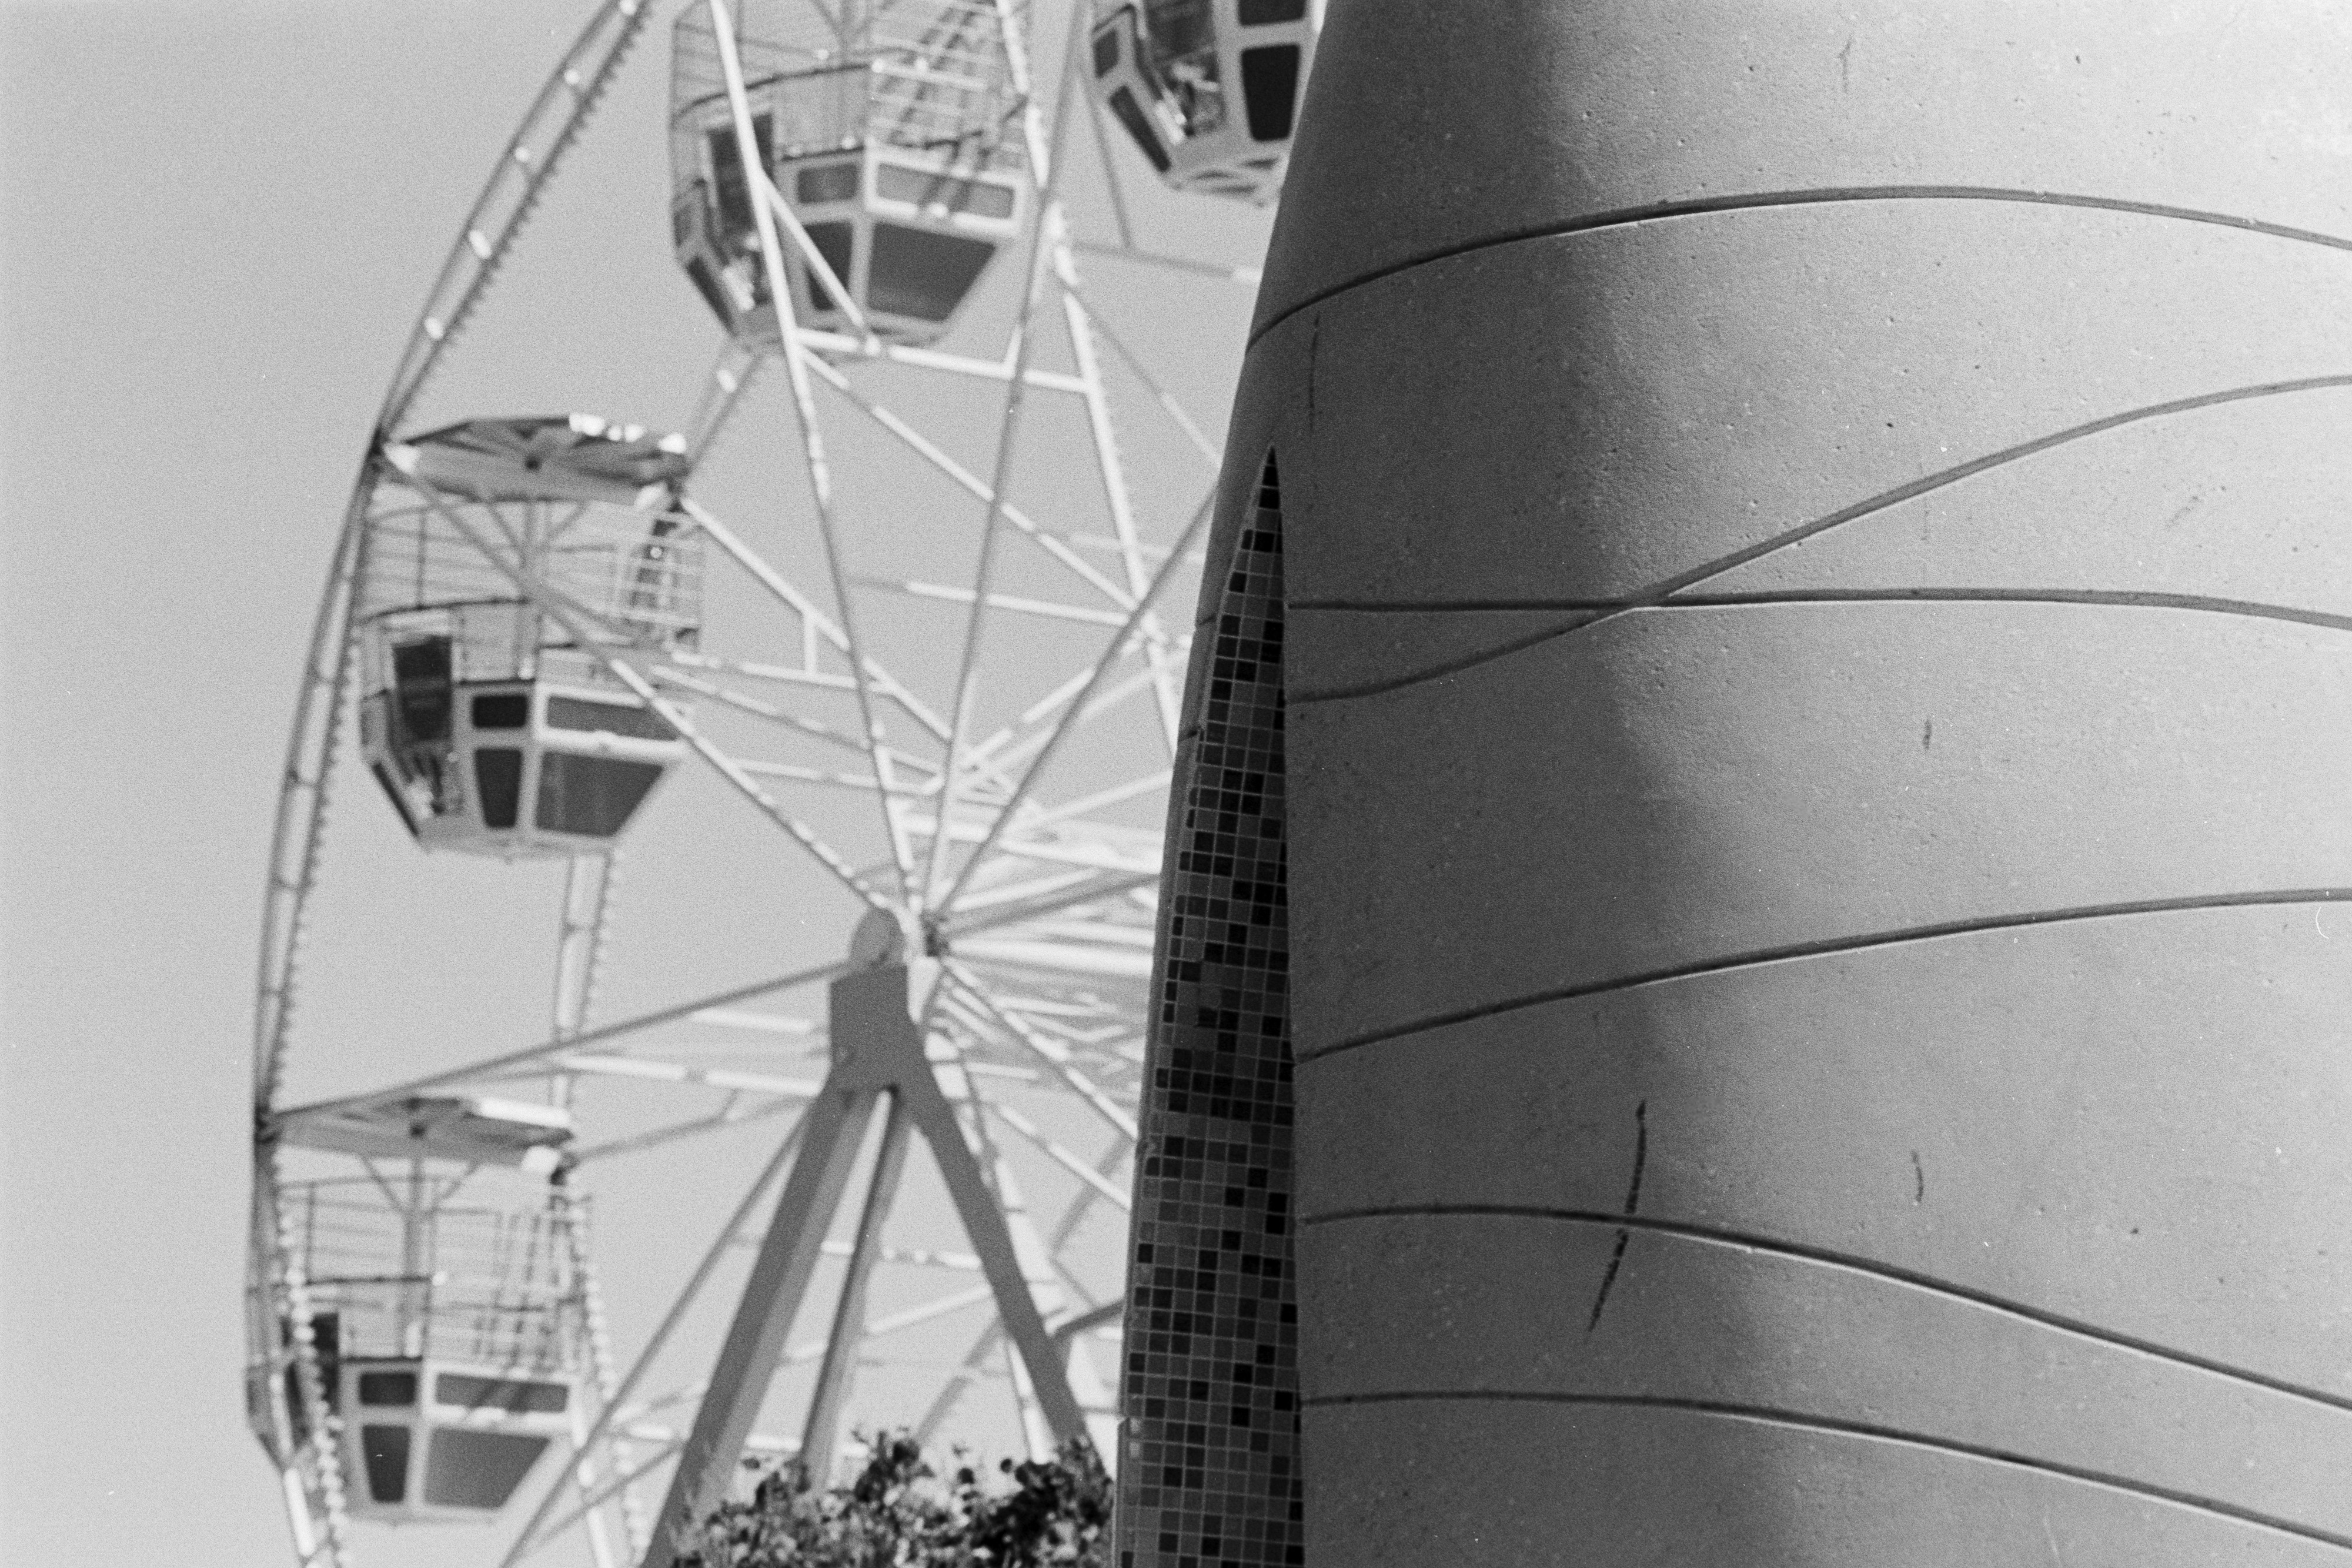
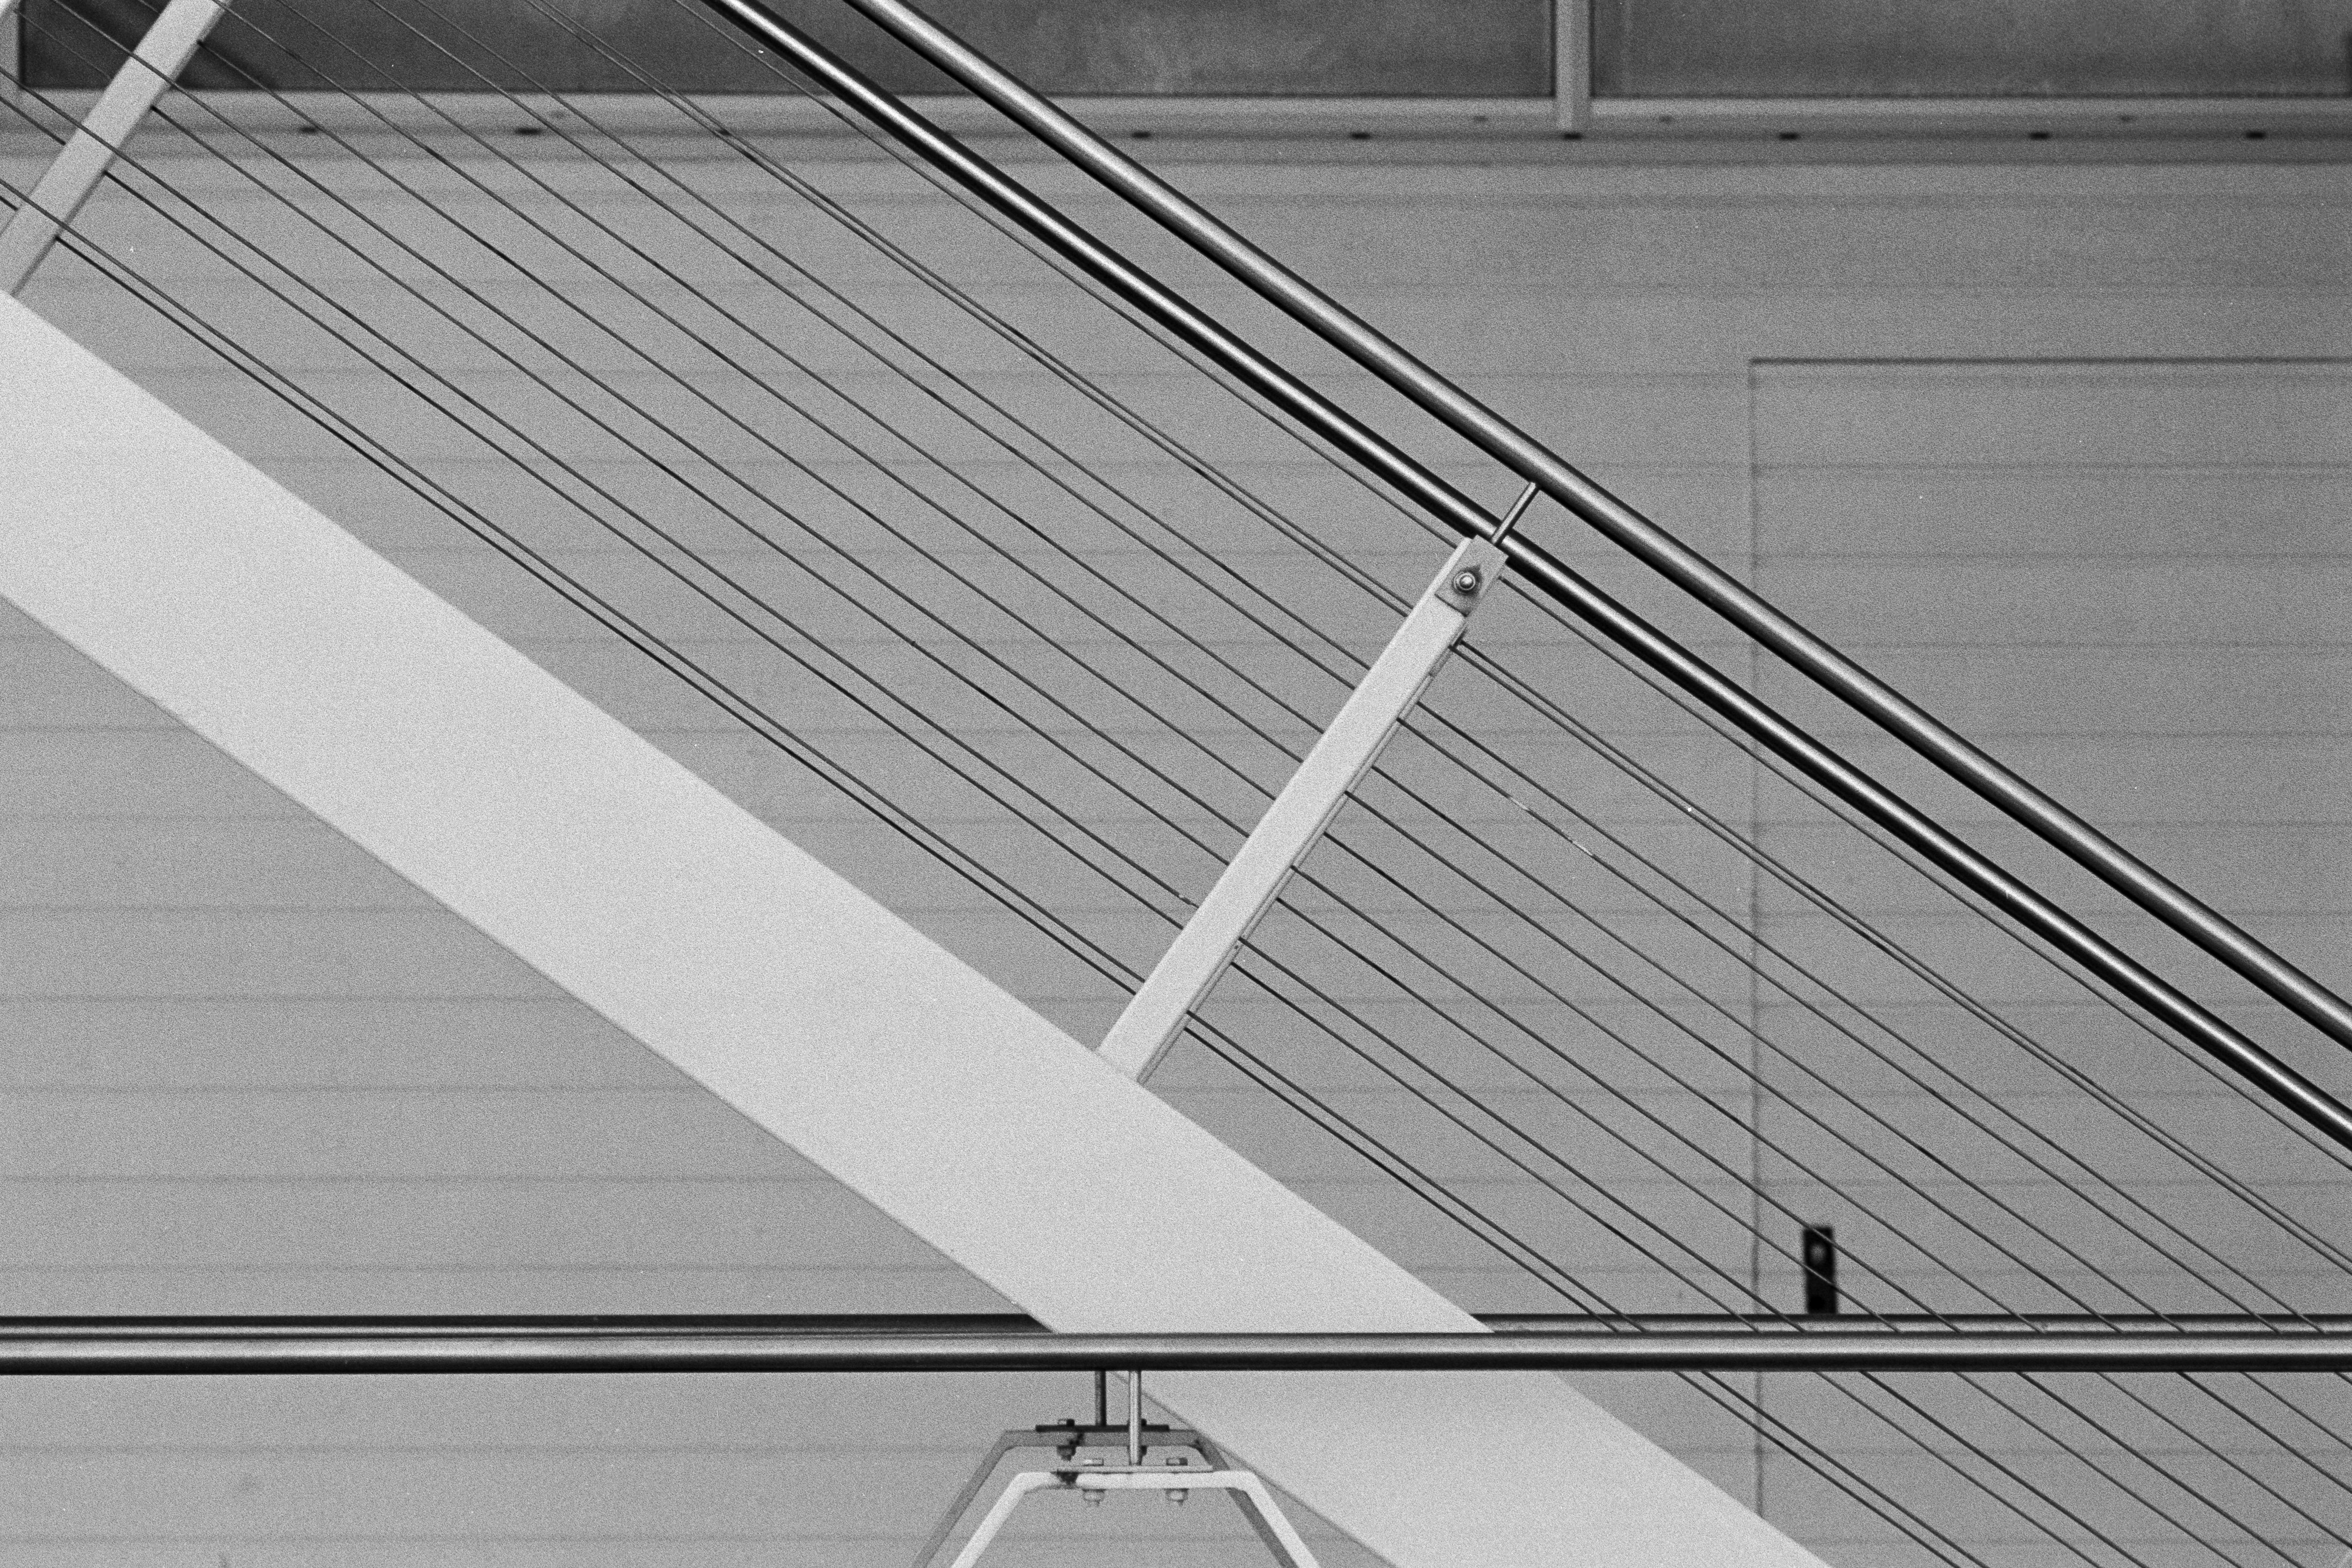
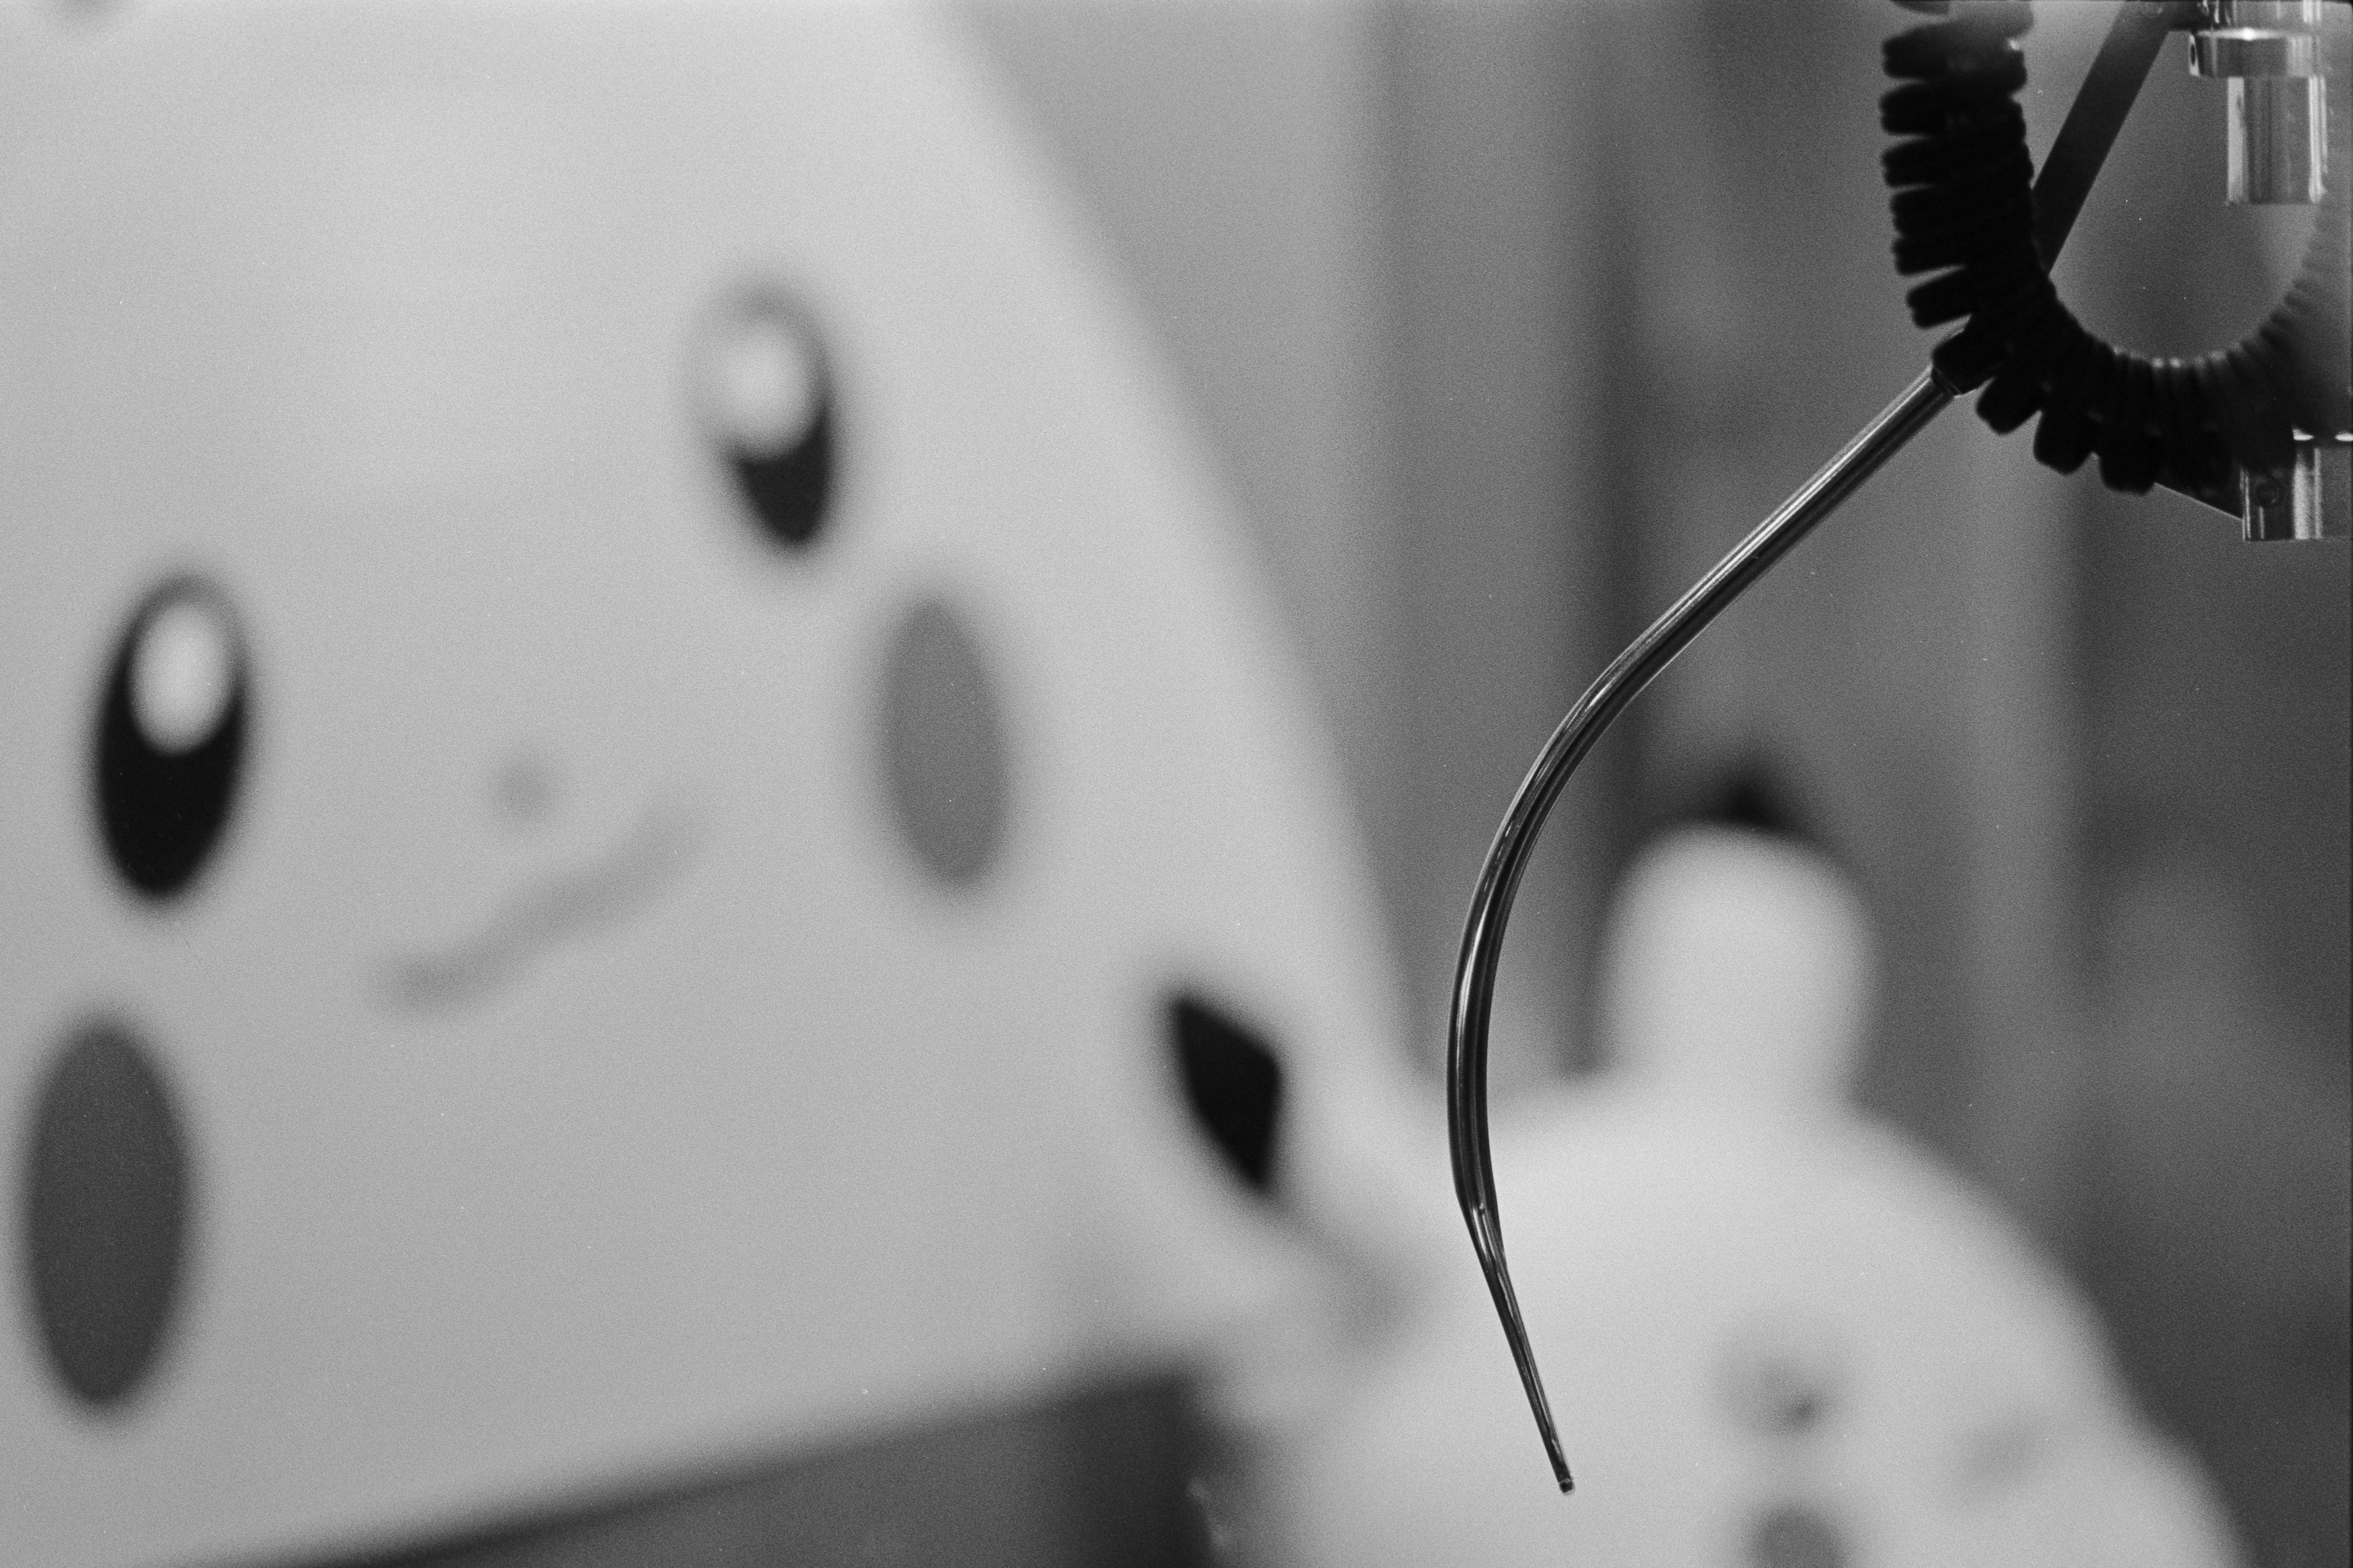
Gettin’ Spooky with Kono Boo! Film

It’s that time of the year again, when children knock on strangers’ doors demanding confectionery, and parents are totally ok with that. Perhaps the Buffy the Vampire Slayer explanation is the best one: real vampires don’t turn up because they find the whole affair rather tacky. And what could be more tacky than a film specifically designed for the Halloween season? Enter Kono Boo!, an experimental 35mm colour film that promises to bring a little seasonal spirit to my photography. Whether that spirit is supernatural or simply the result of a marketing department having a particularly good afternoon remains to be seen.

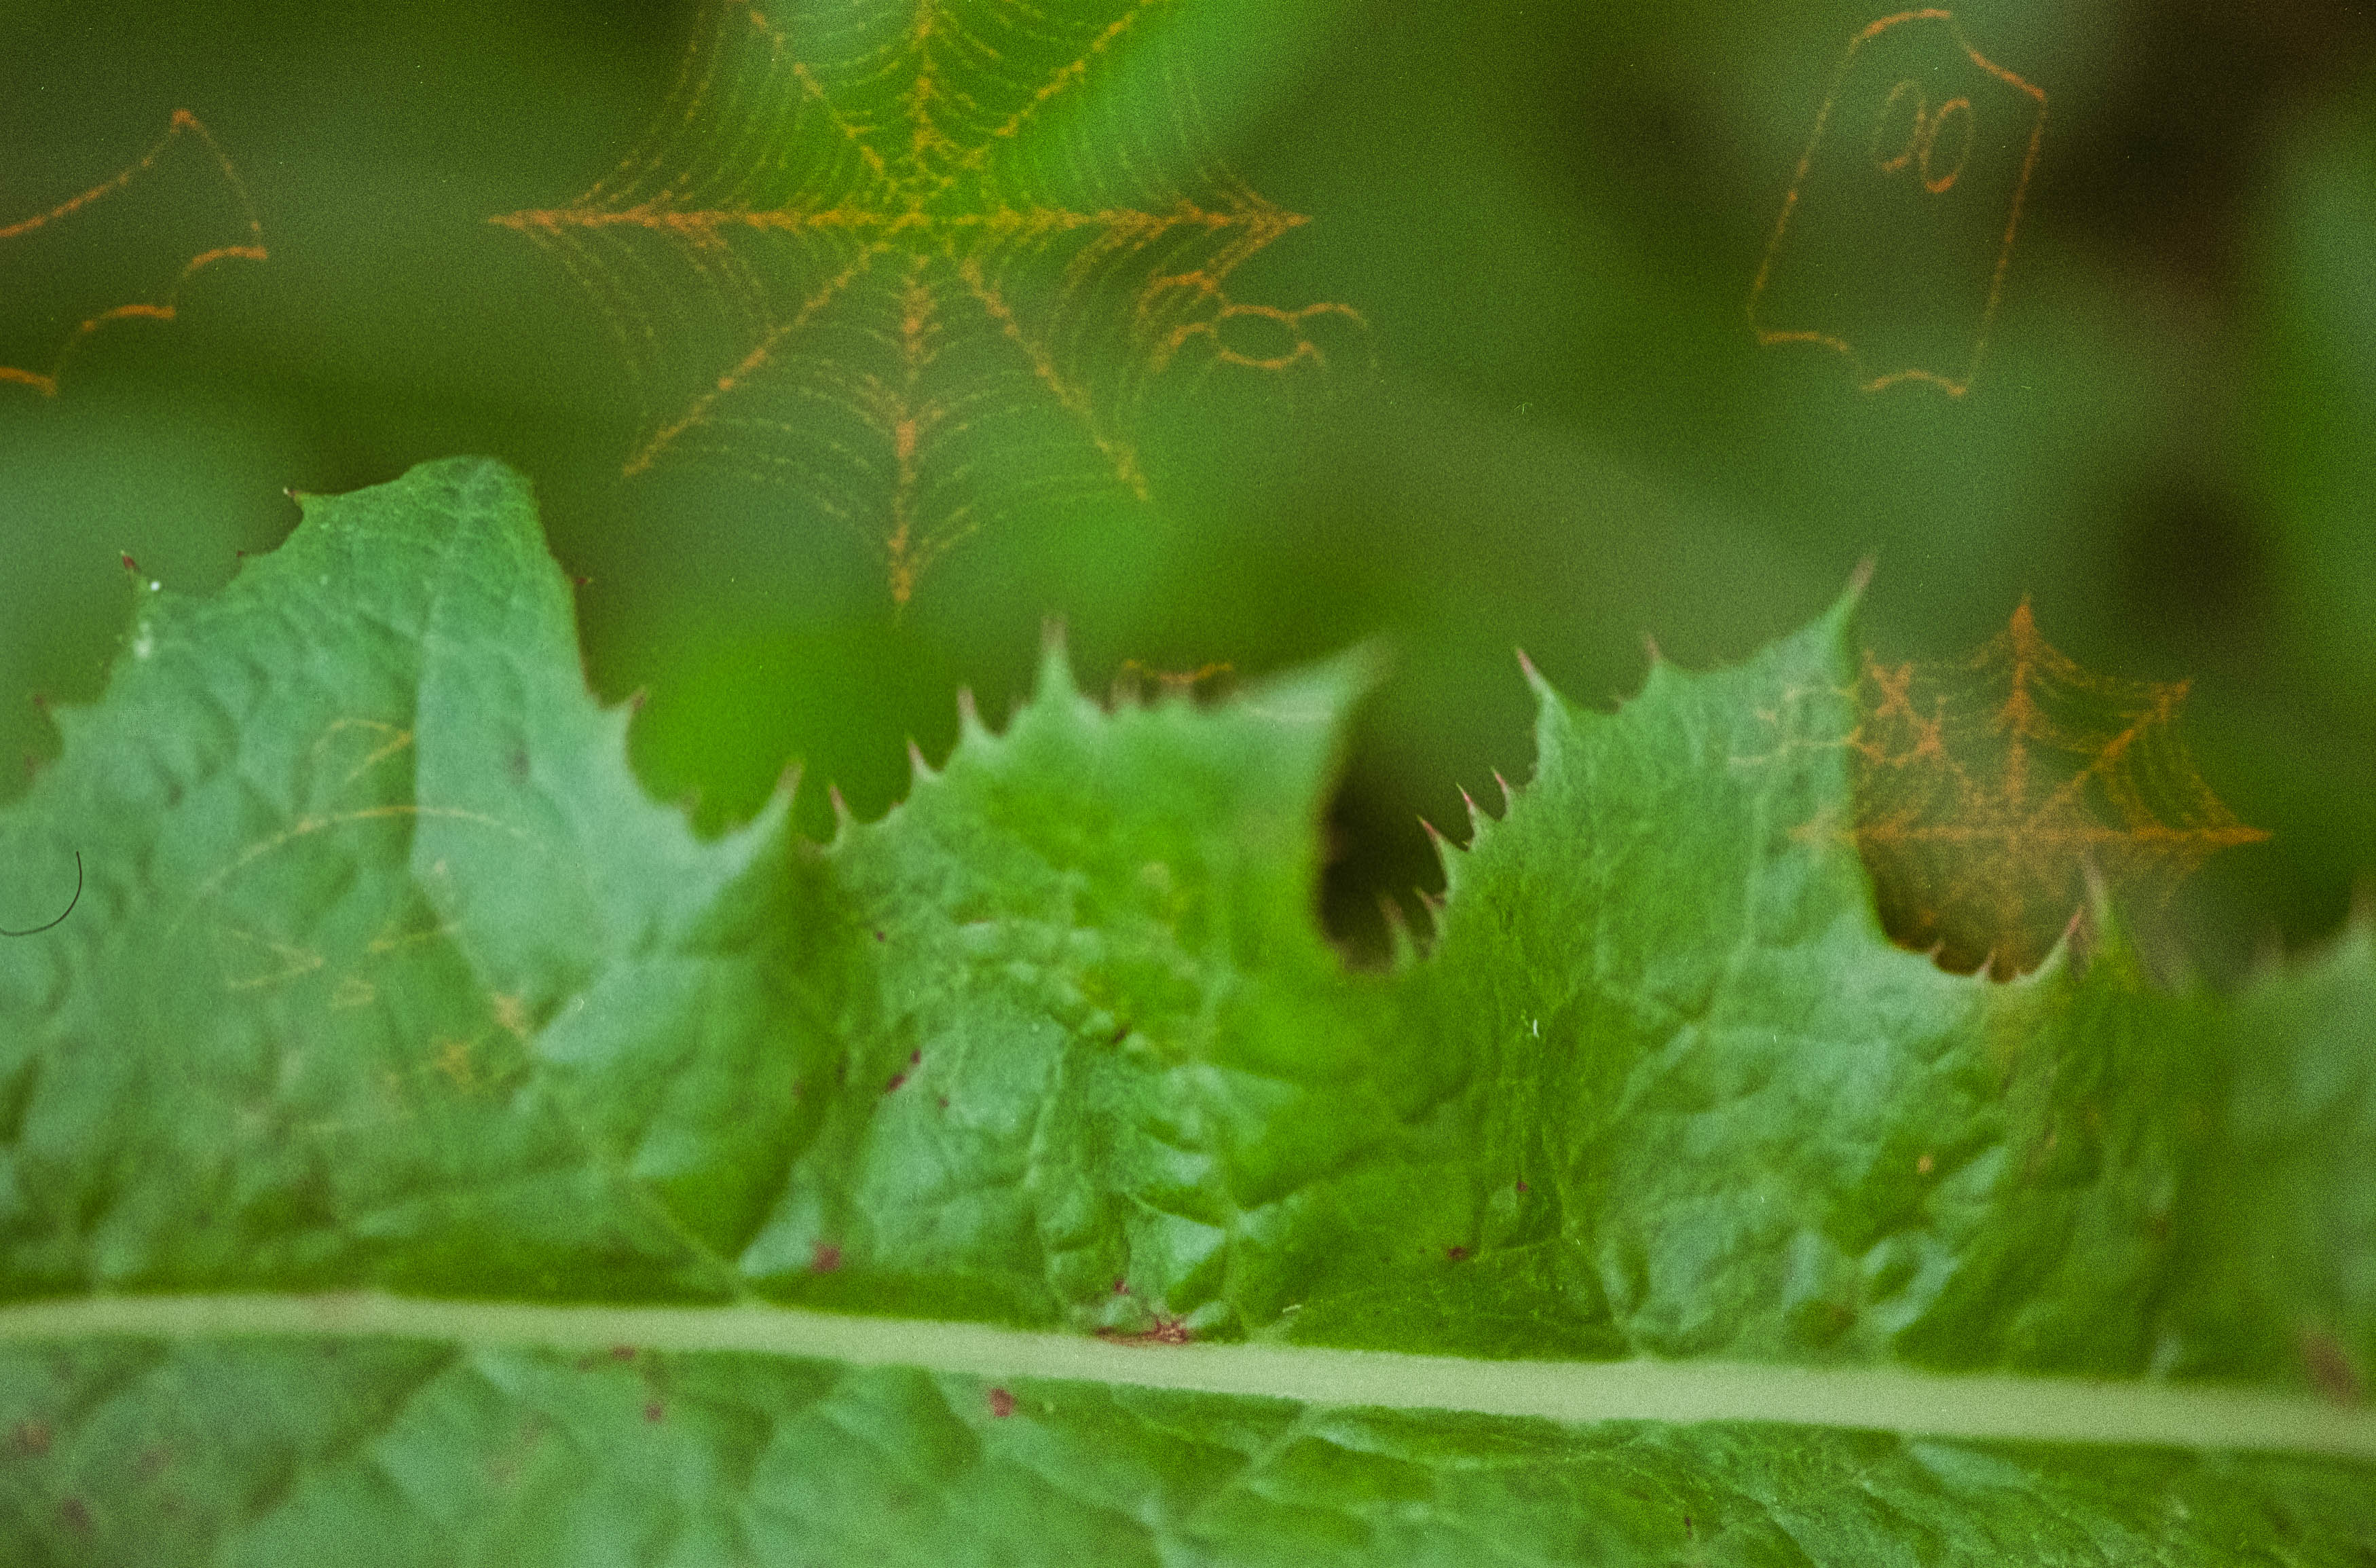
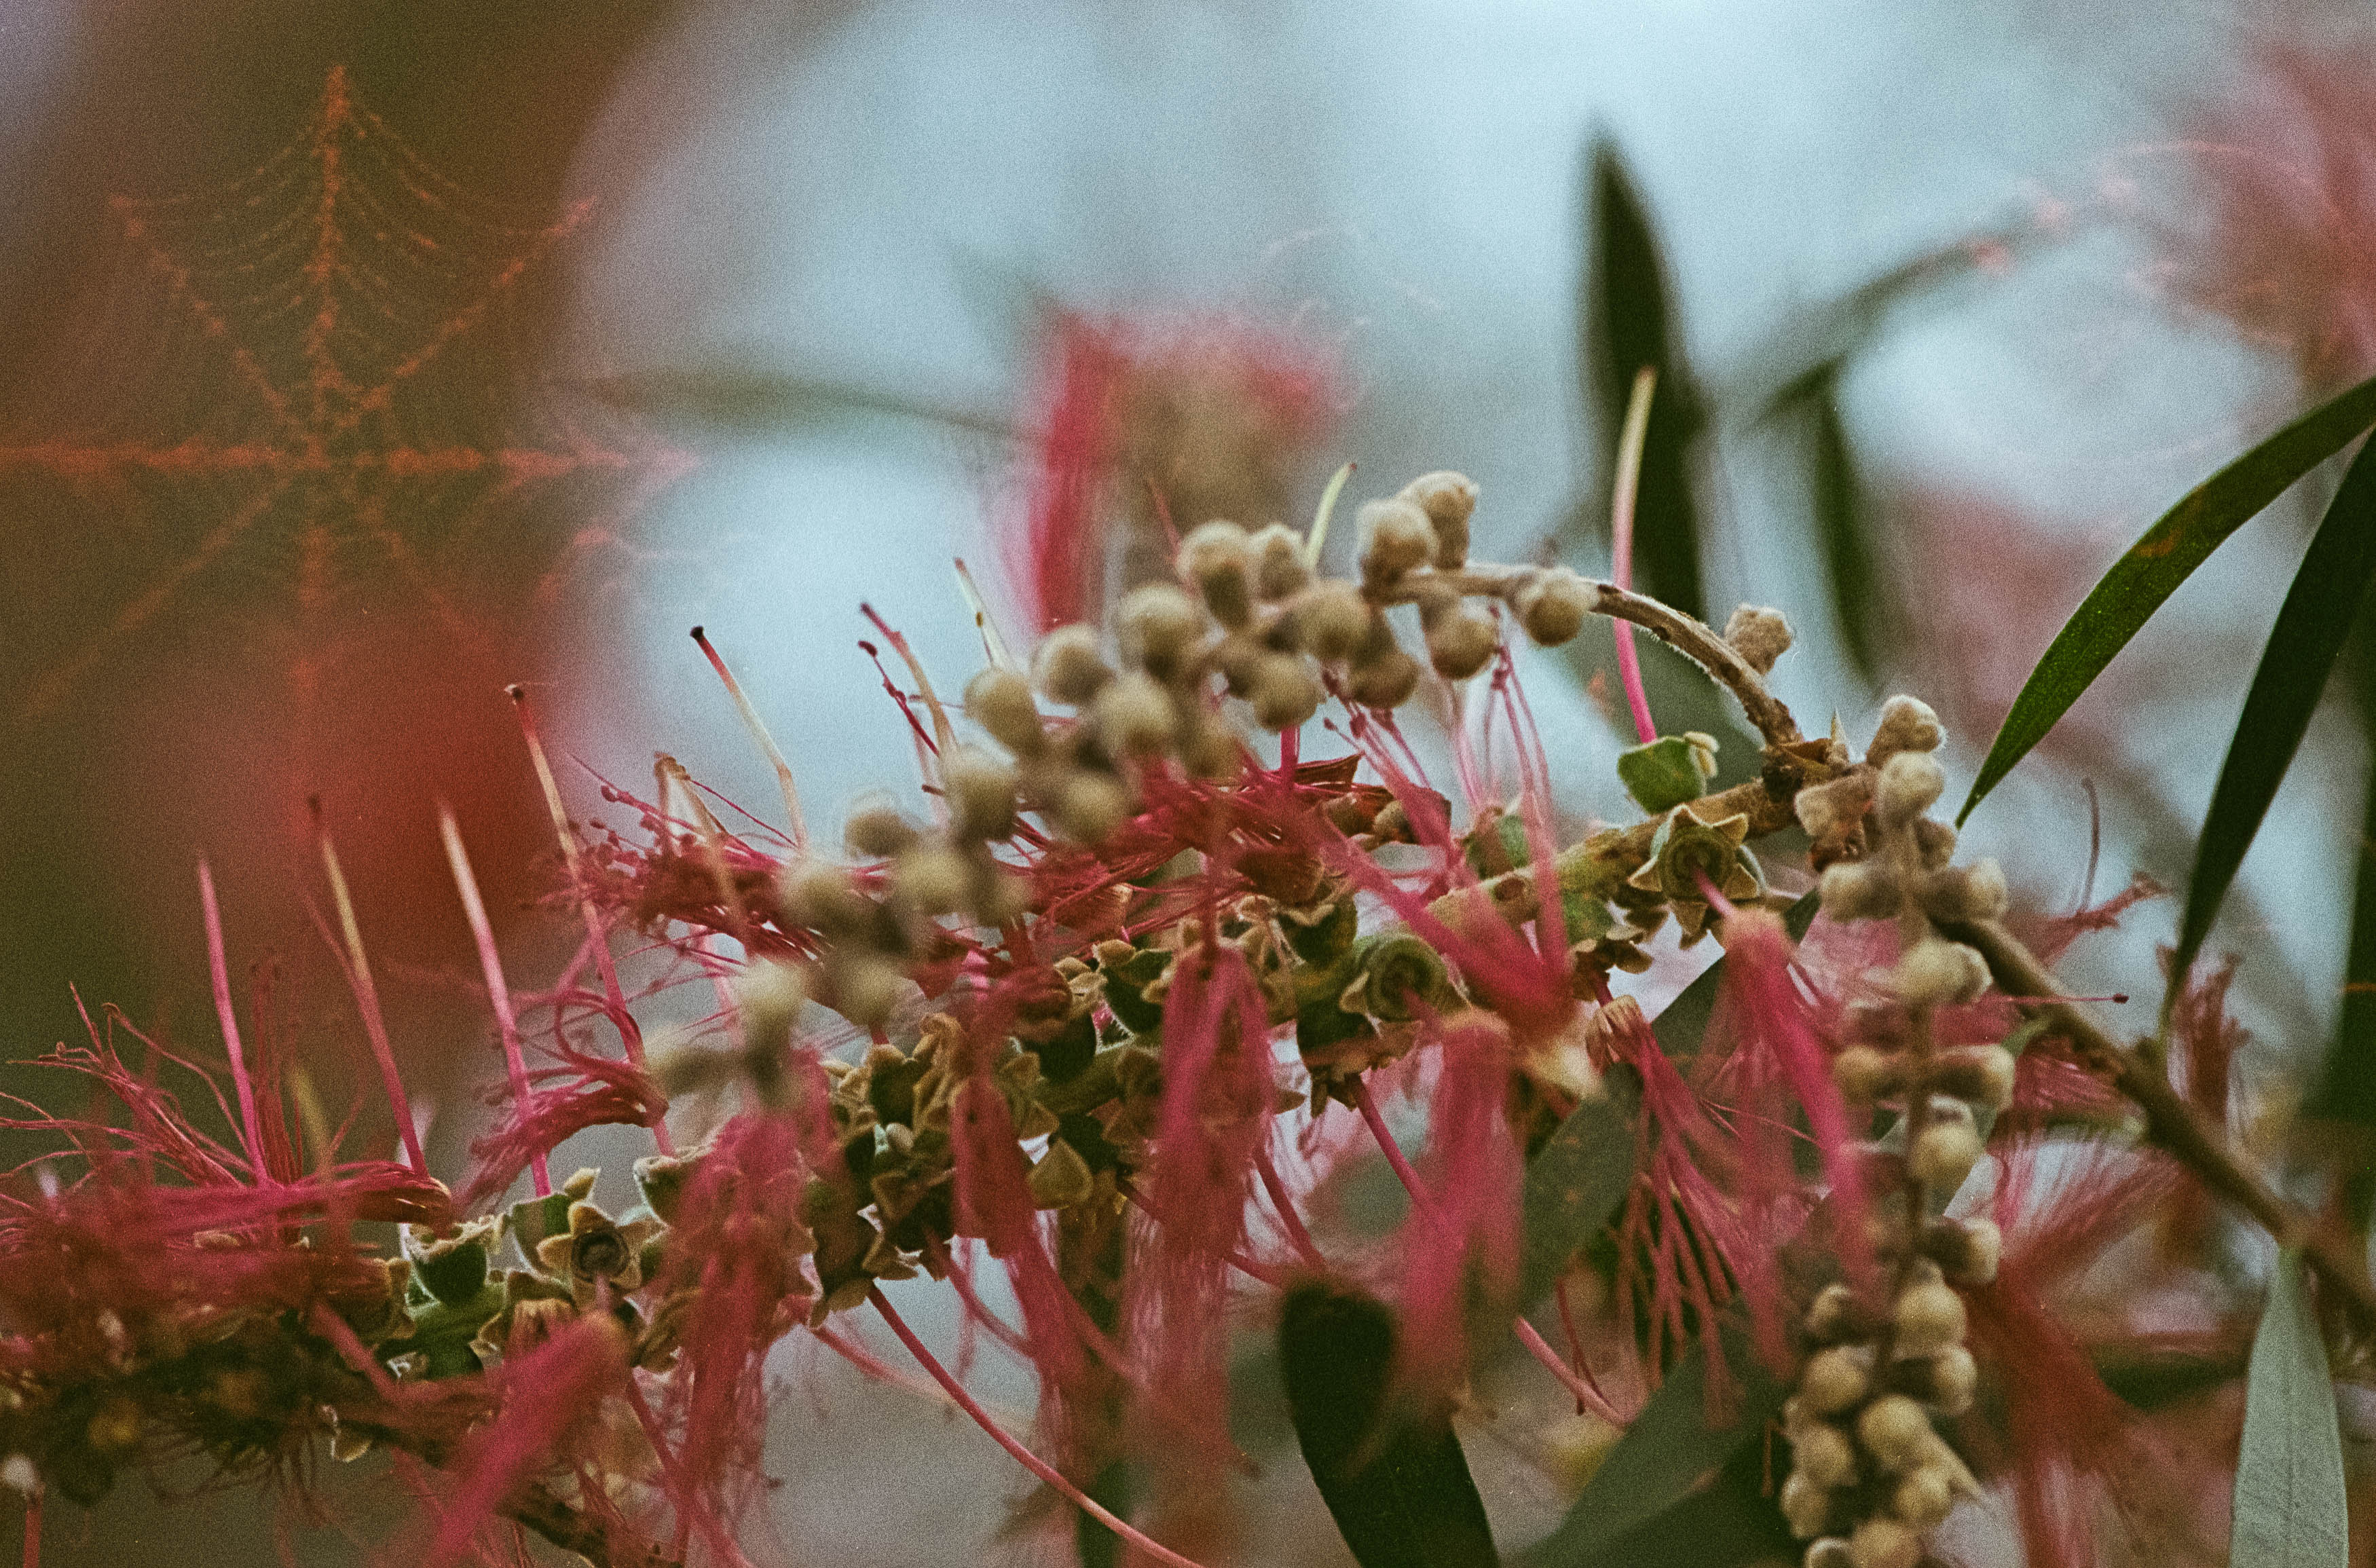
The idea behind Kono Boo! is fairly straightforward. The film is pre-exposed with Halloween-themed graphics, which should appear alongside whatever you photograph, adding a suitably eerie touch to your images. Underneath the novelty, however, we’re dealing with good old Kodak Gold, packaged up in a seasonal disguise and sold at a premium to a population eager to inject a little Halloween hilarity into their otherwise mundane lives. It’s a bright idea, certainly, although perhaps one conceived after a few too many beers at lunch. There’s a sucker born every day, and this time that sucker is me. In fairness, the film was a gift from my daughter, so thanks, Lizzy. Let’s see what we can do with it.

Photographing Halloween in the Australian Spring

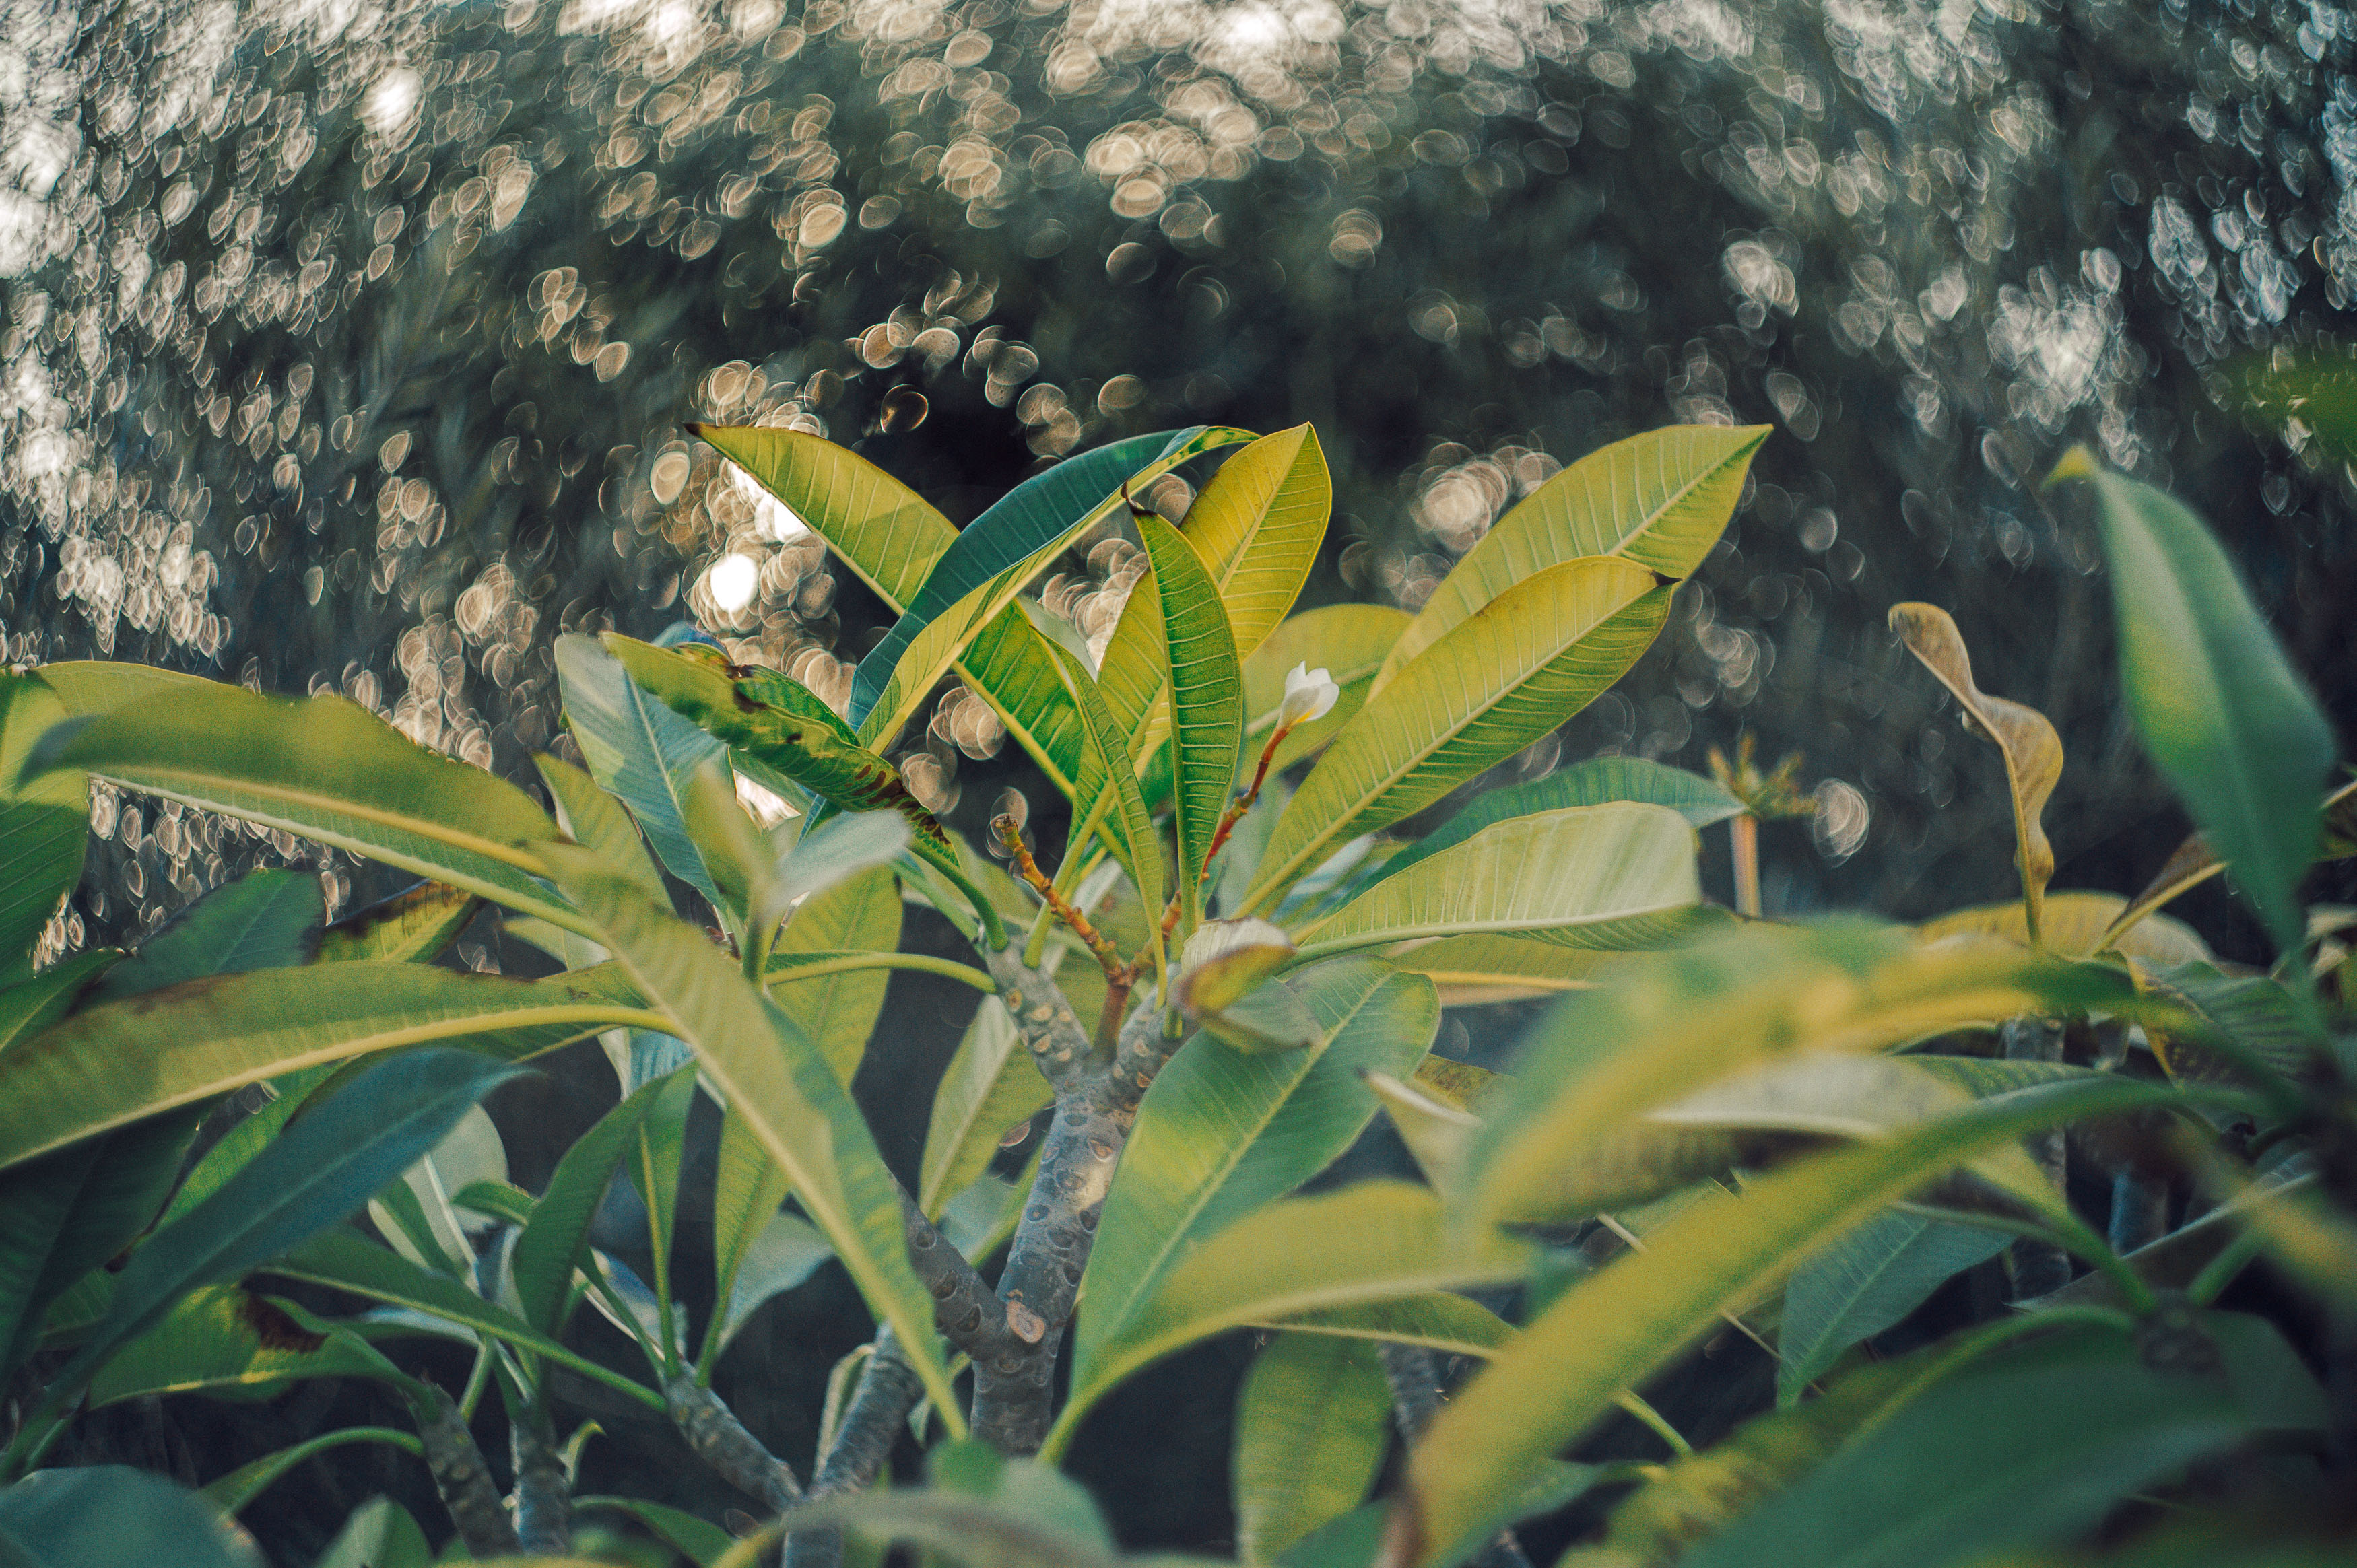
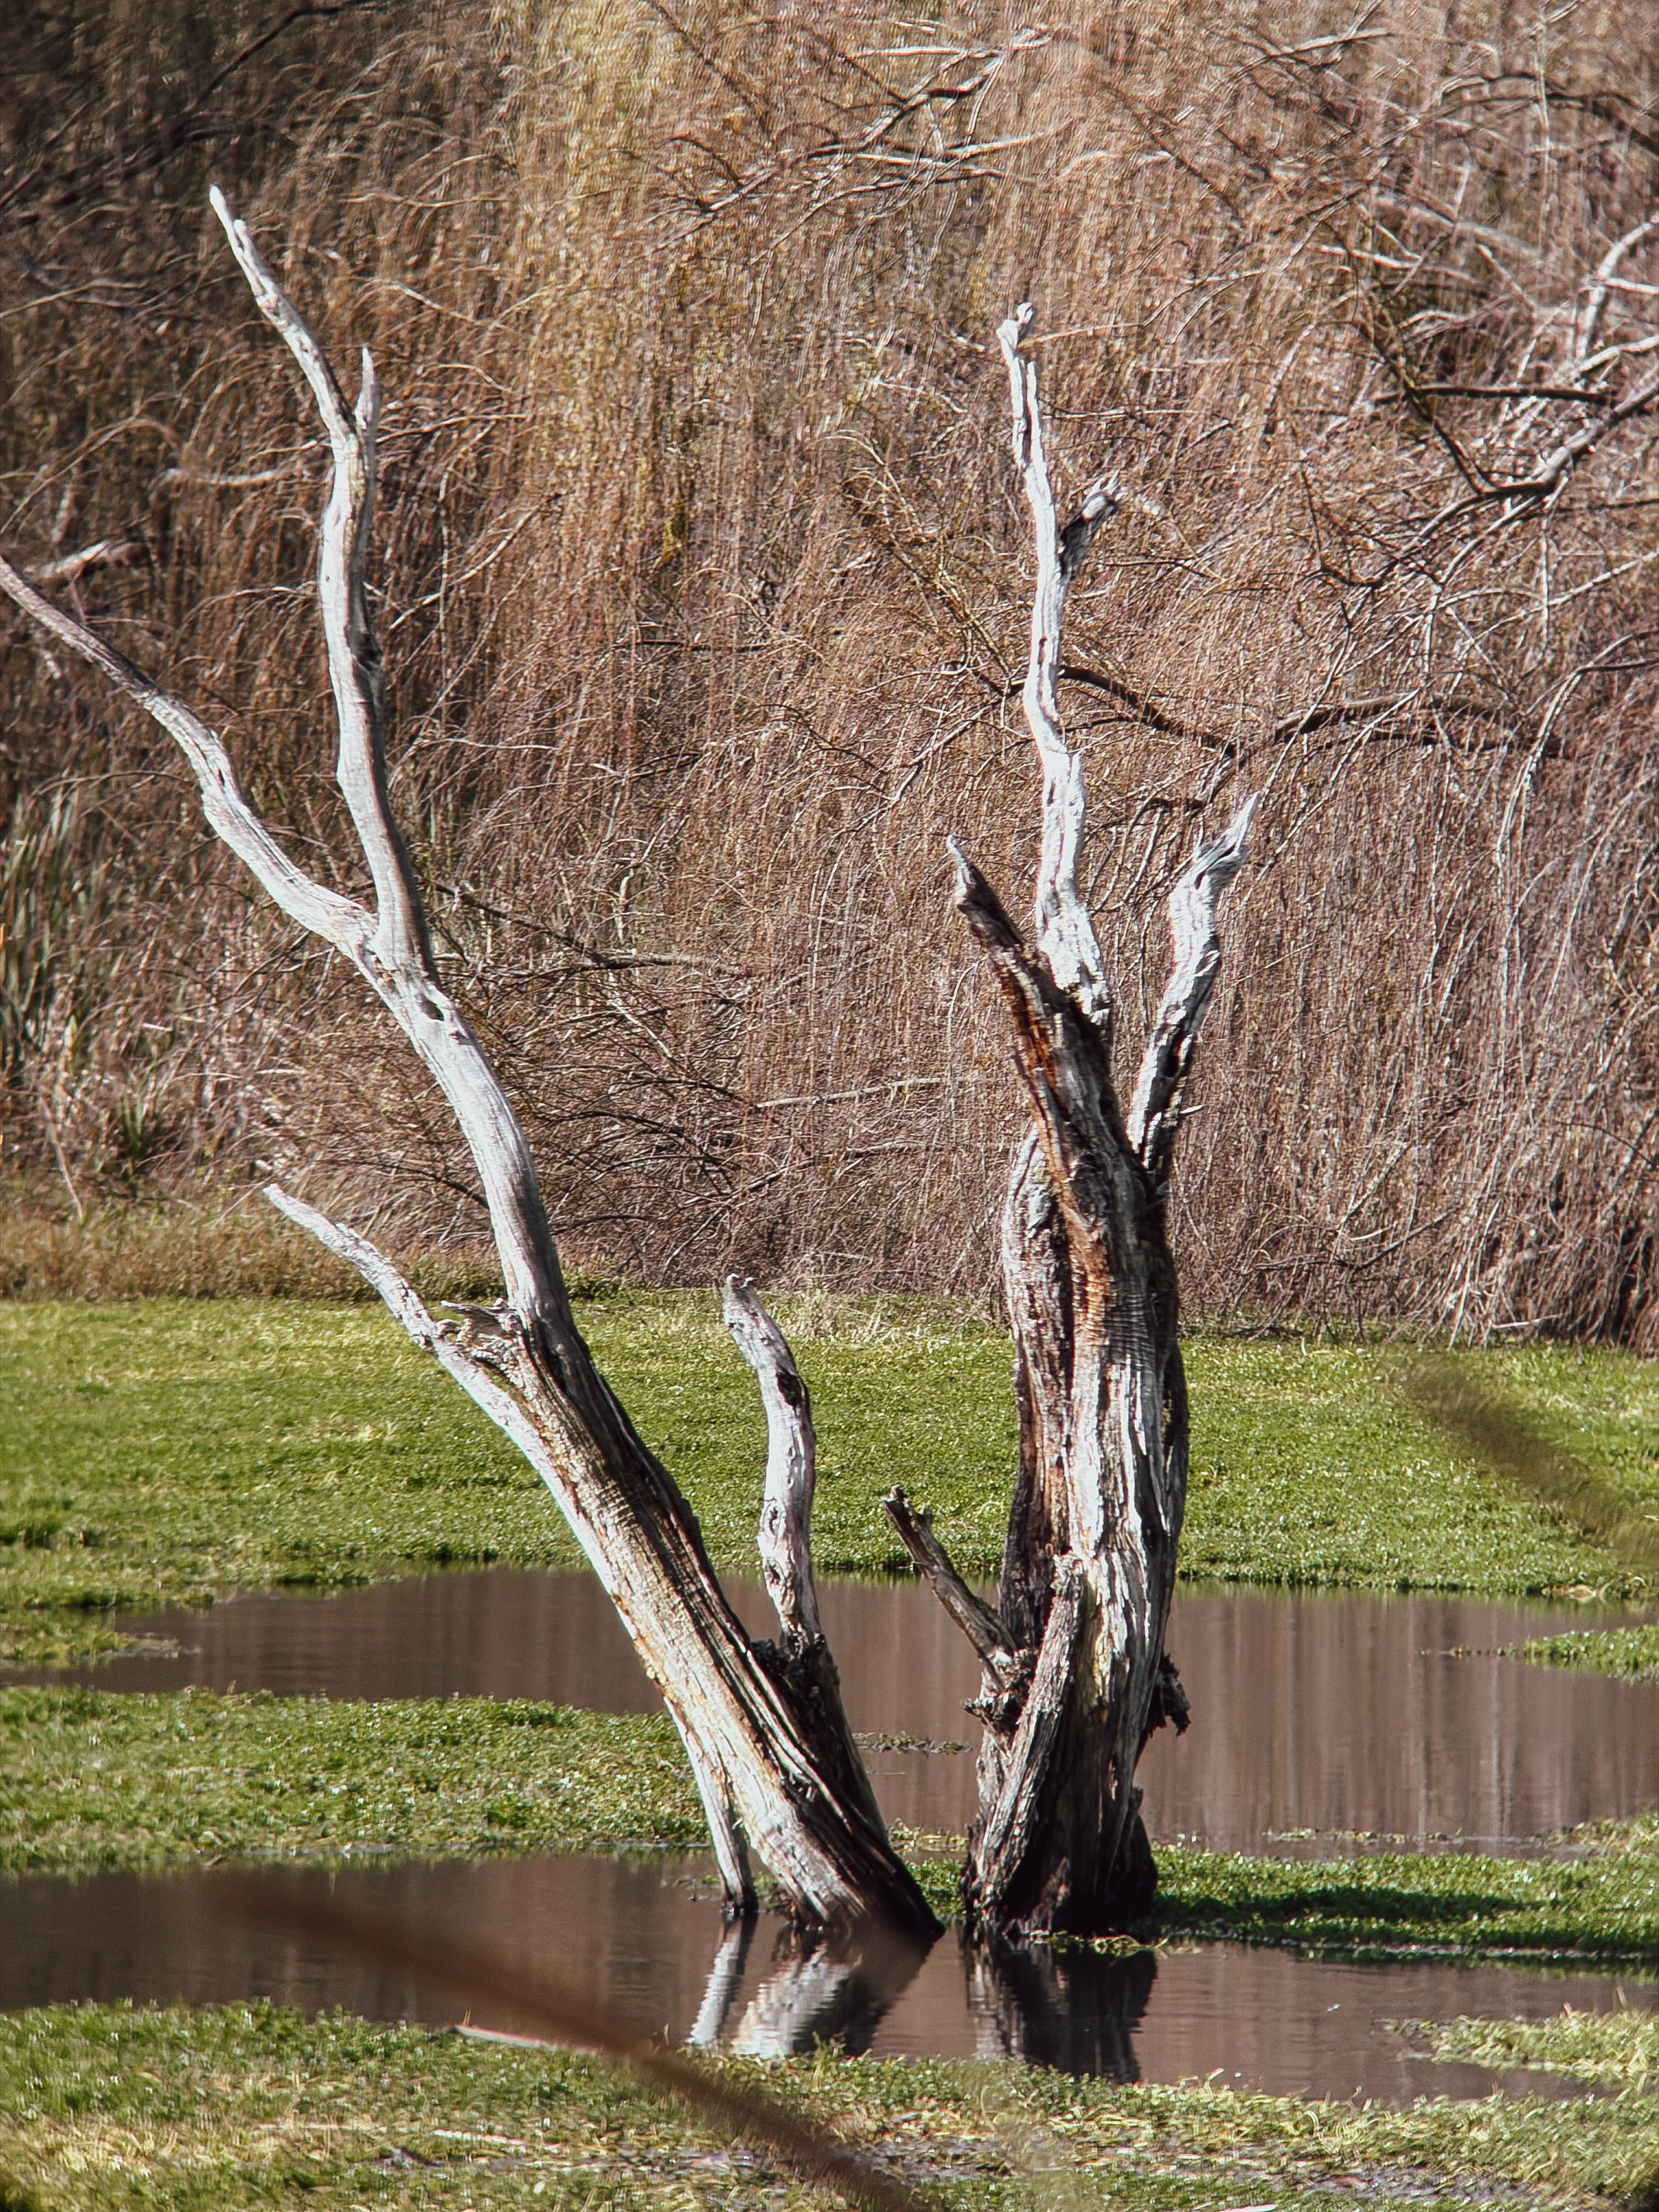
There’s one problem with celebrating this Autumnal festival. I’m in Australia, where October means spring. While our northern hemispherical friends are out photographing burnished autumnal foliage, we’re watching hardy wildflowers desperately squeeze through the cracked earth, only to be scorched by the increasingly unforgiving antipodean sun. It’s not exactly the classic Halloween aesthetic, but surely there’s something unsettling lurking in the natural world if I look hard enough. Trees are silent sentries watching the world renew and decay, while flowers are ephemeral seductresses of pollination, giving themselves up to insects before withering into nothingness. If that doesn’t sound vaguely sinister, I don’t know what does.

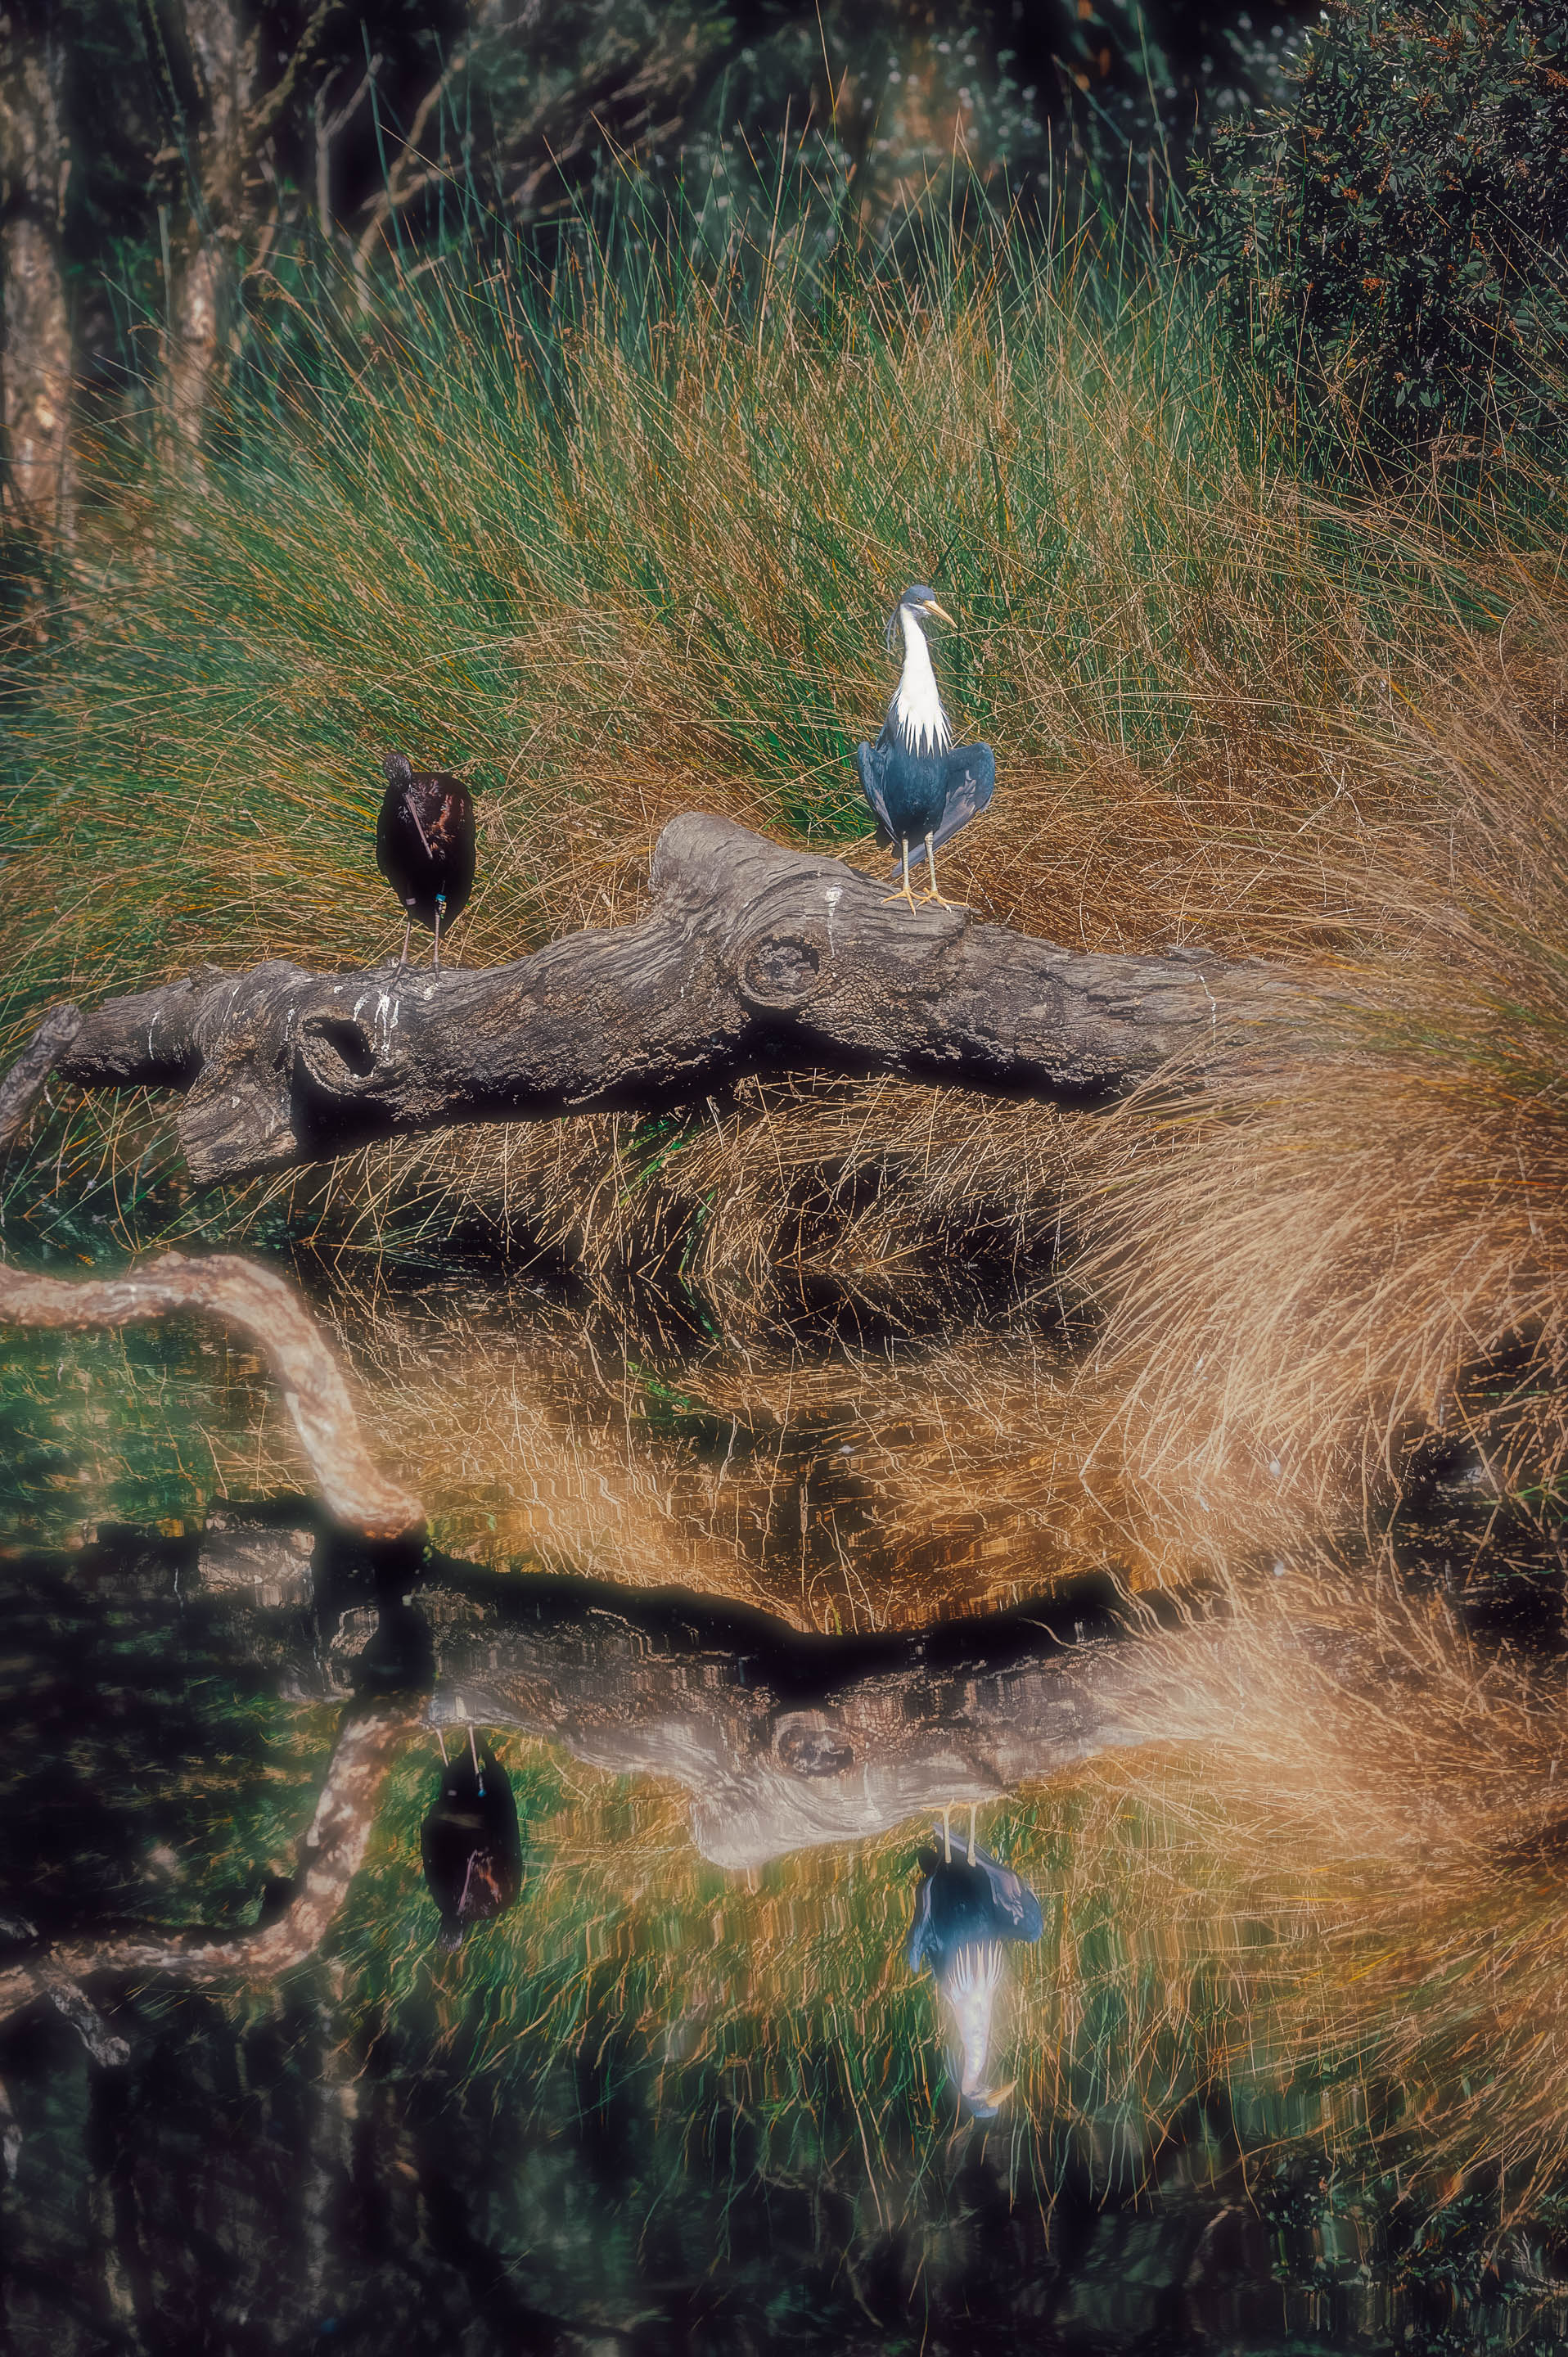
For this photographic expedition, I’m taking my Nikon N65, a perfectly functional late-model plastic SLR with approximately thirty-year-old electronics slowly rotting inside it. The lens, fortunately, is a little more contemporary: the Nikon AF-S VR Micro-NIKKOR 105mm f/2.8G IF ED. That’s quite a collection of acronyms, but it’s a capable macro lens that should allow me to get up close and personal with the miniature horrors hiding in nature. My local wetlands provide the setting, and I’m hoping that a few creepy plants, cobwebs and unsettling details might provide the perfect subjects for this unusual film stock.
Of course, Halloween itself is a curious tradition. Originally associated with the pagan festival marking the beginning of winter, it was subsequently appropriated by Christianity as the evening before All Saints’ Day. The Christians do love to crash a party. And for those who prefer their religious history with a little Protestant resentment, 31 October is also Reformation Day, commemorating Martin Luther’s famous 95 Theses. Killjoys. Personally, I’m probably more Methodist than Catholic when it comes to handing out treats, and the neighbourhood children shouldn’t expect too much generosity from my doorstep. Nevertheless, I can’t stop everyone else from having their fun, so let’s see whether this festive film can deliver something worth celebrating.

Kodak Gold, Halloween Graphics and Missed Opportunities

The first thing to remember about Kono Boo! is that, beneath its Halloween mask, we’re essentially shooting Kodak Gold. That’s not necessarily a bad thing. Kodak Gold is known for its warm, cheerful colours, which are wonderful for holiday snaps but perhaps a little antithetical to the cold, sinister atmosphere we’re trying to create here. Something grainier, with cooler tones, might have been a more appropriate choice. Orwo NC500 springs to mind, although my previous experience with Ilford Ilfocolor 400 has already provided enough colour-related nightmares to last a lifetime.

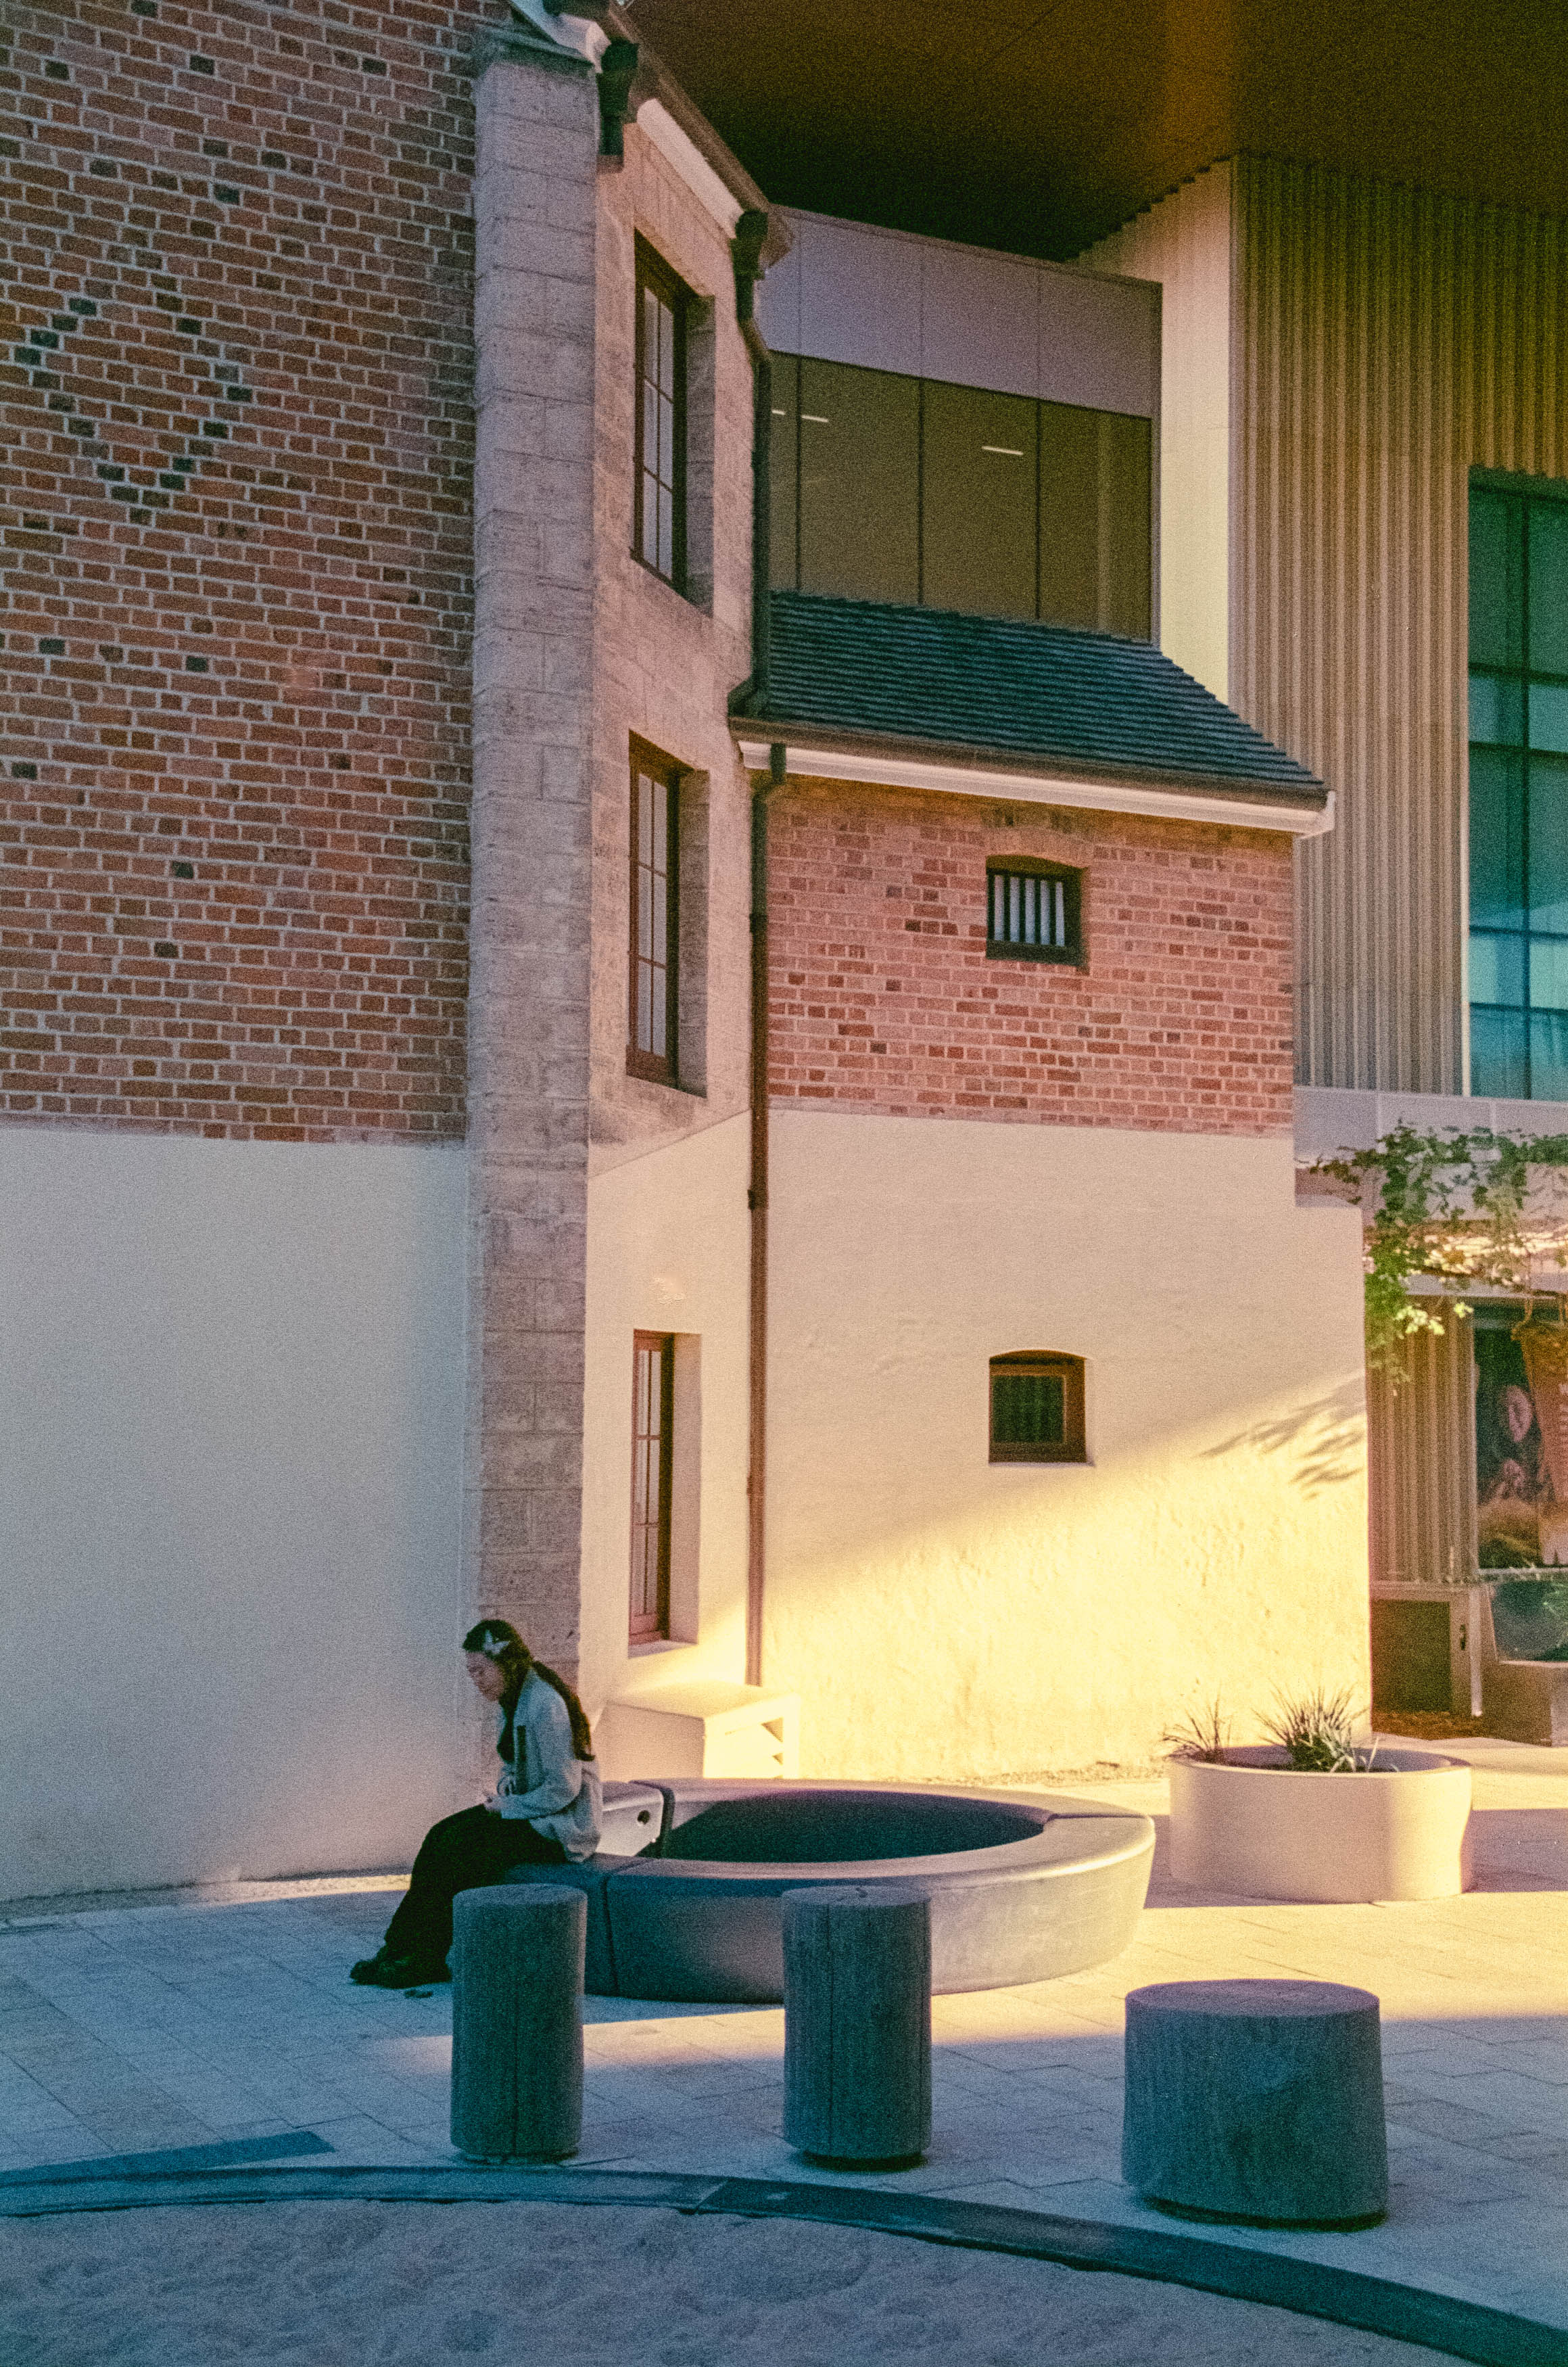
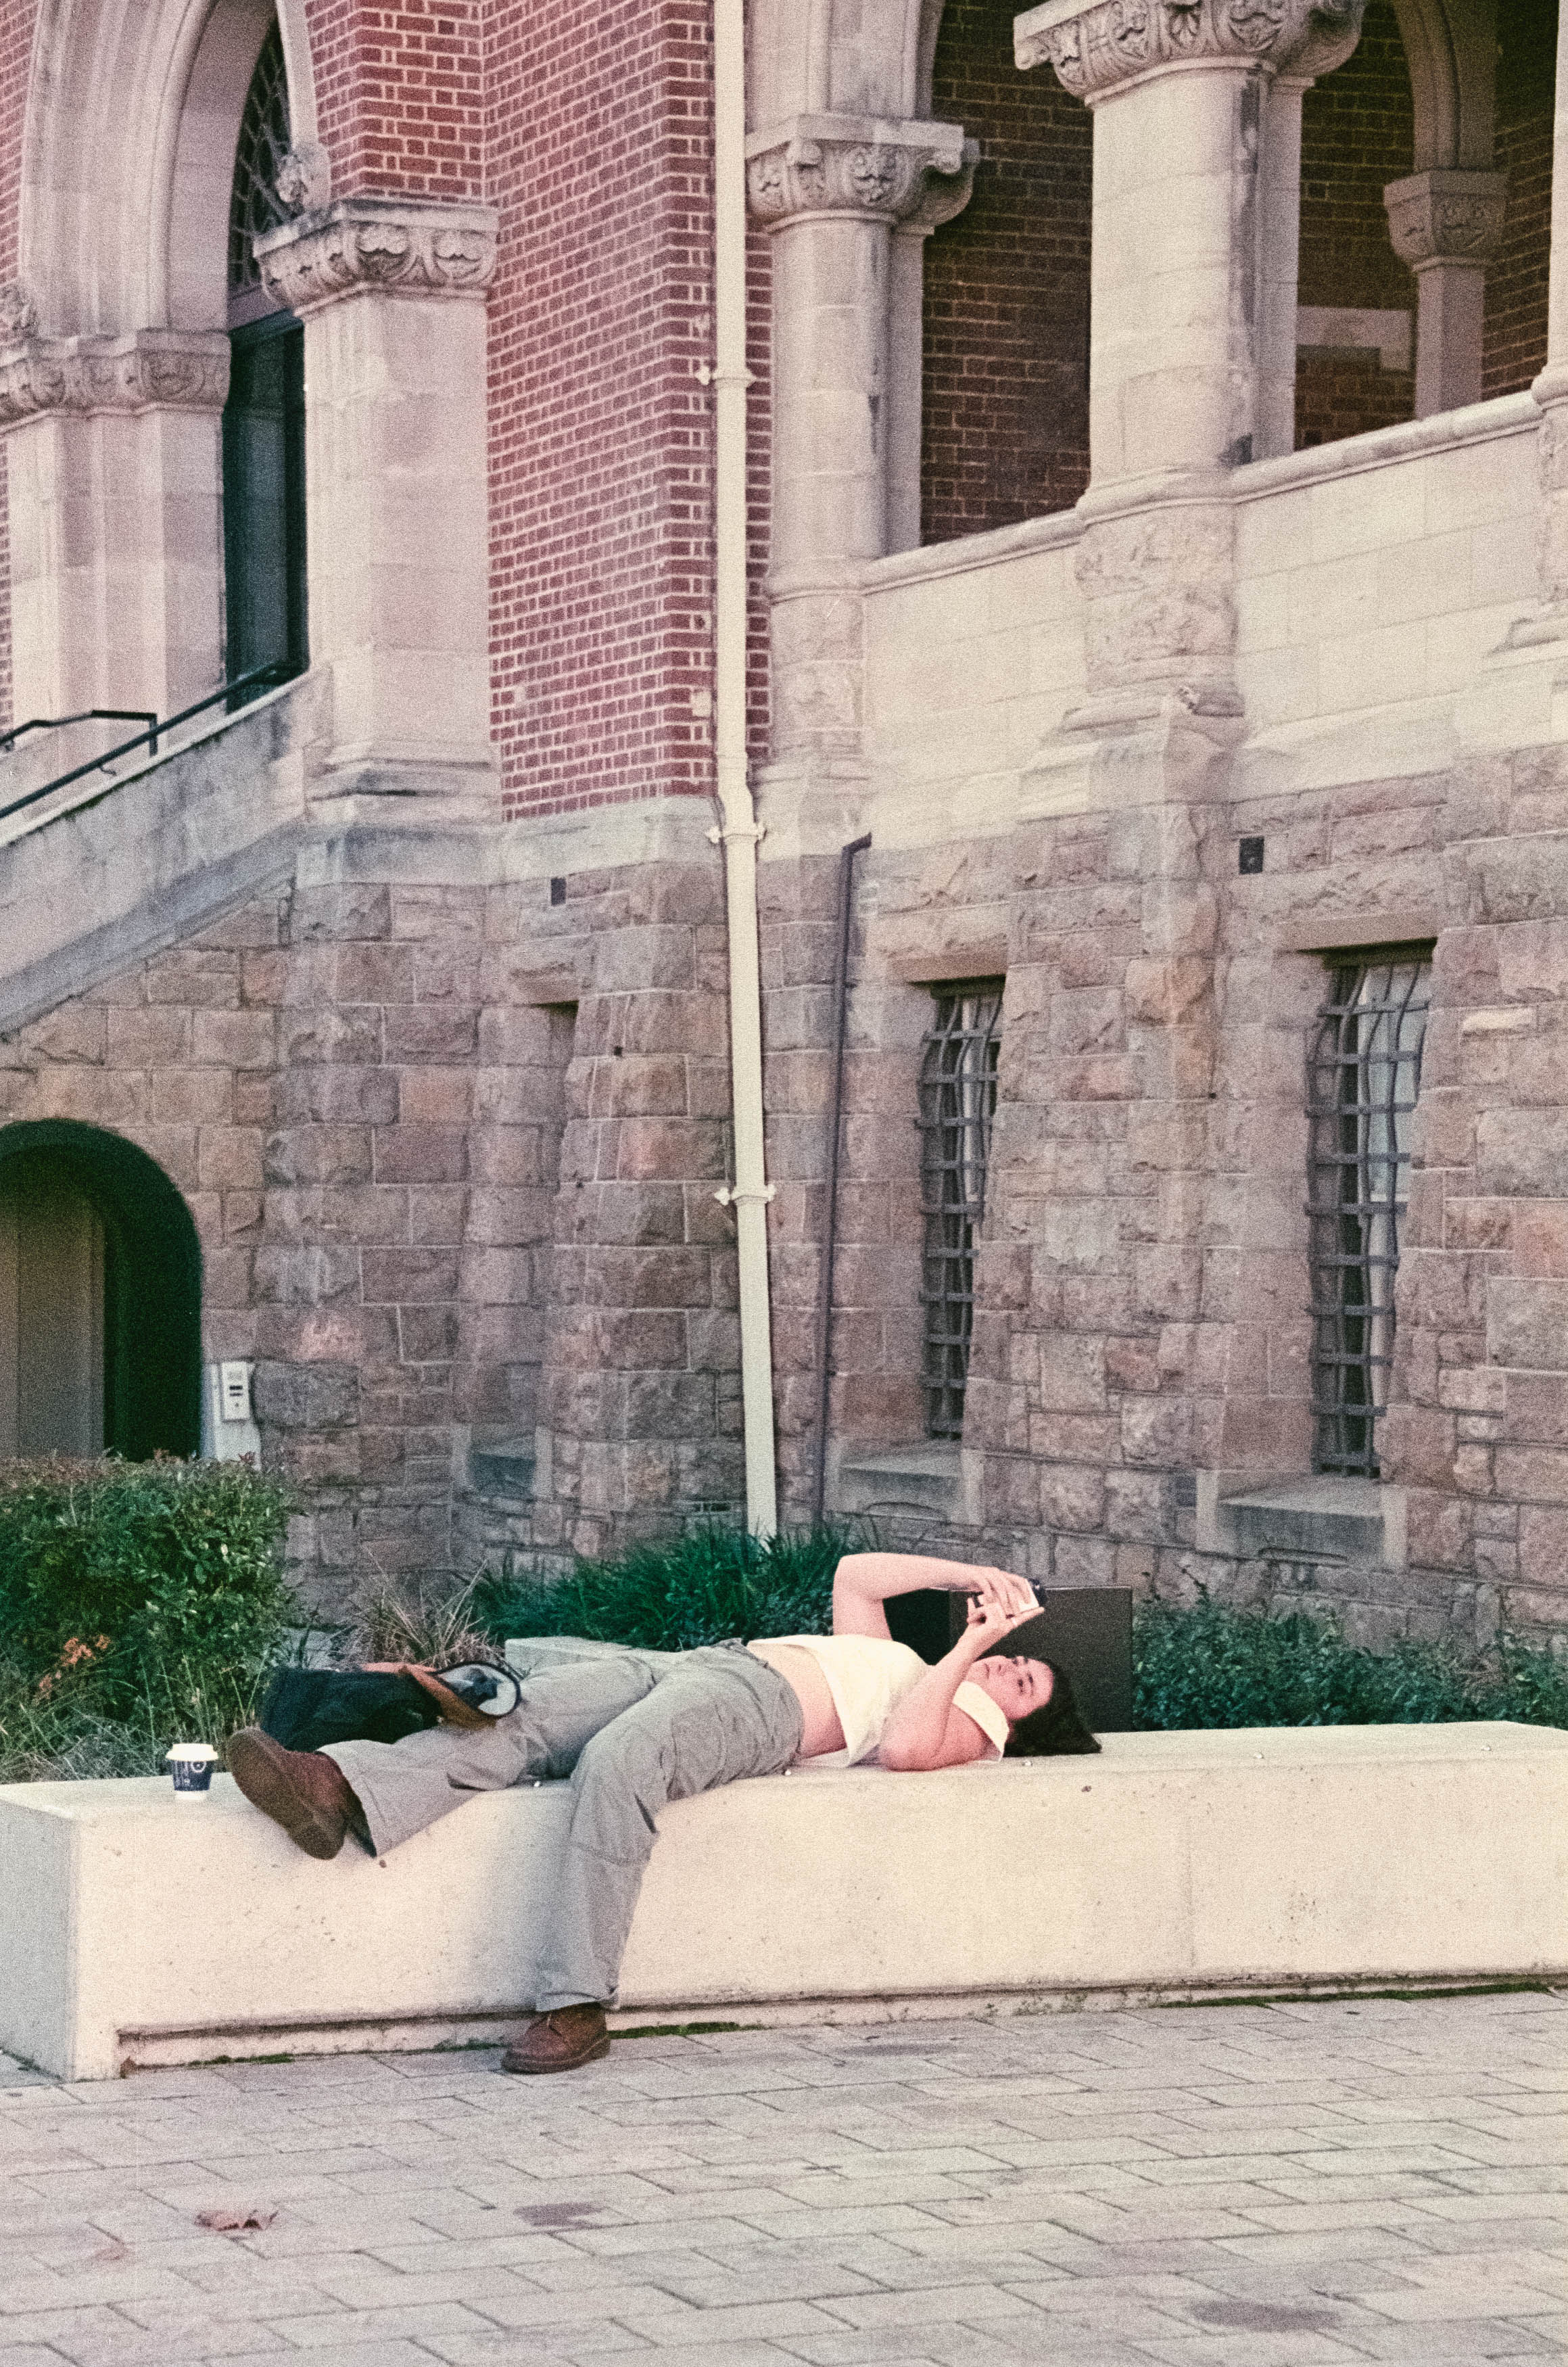
Unfortunately, the Halloween graphics don’t really make their presence felt under most conditions. It’s only in darker scenes or areas of high contrast that those pre-exposed designs begin to emerge, and even then, the results can be rather underwhelming. In many of my photographs, the subject itself does most of the heavy lifting, while the Halloween imagery remains frustratingly inconspicuous. The film isn’t entirely without merit, but it certainly requires a little more thought than simply loading a roll and hoping for the best.

One thing that becomes clear during the walk is that I haven’t really optimised my photography for the characteristics of the film. I’ve been approaching it much as I would any other roll of colour negative film, rather than considering how the pre-exposed designs might interact with the composition. Perhaps the real trick is to shoot outdoors at night, using flash with a point-and-shoot camera. The resulting black backgrounds would provide a much better canvas for those cartoonish Halloween graphics, allowing them to stand out instead of disappearing into the scenery. It’s an approach I’ll have to investigate another time.

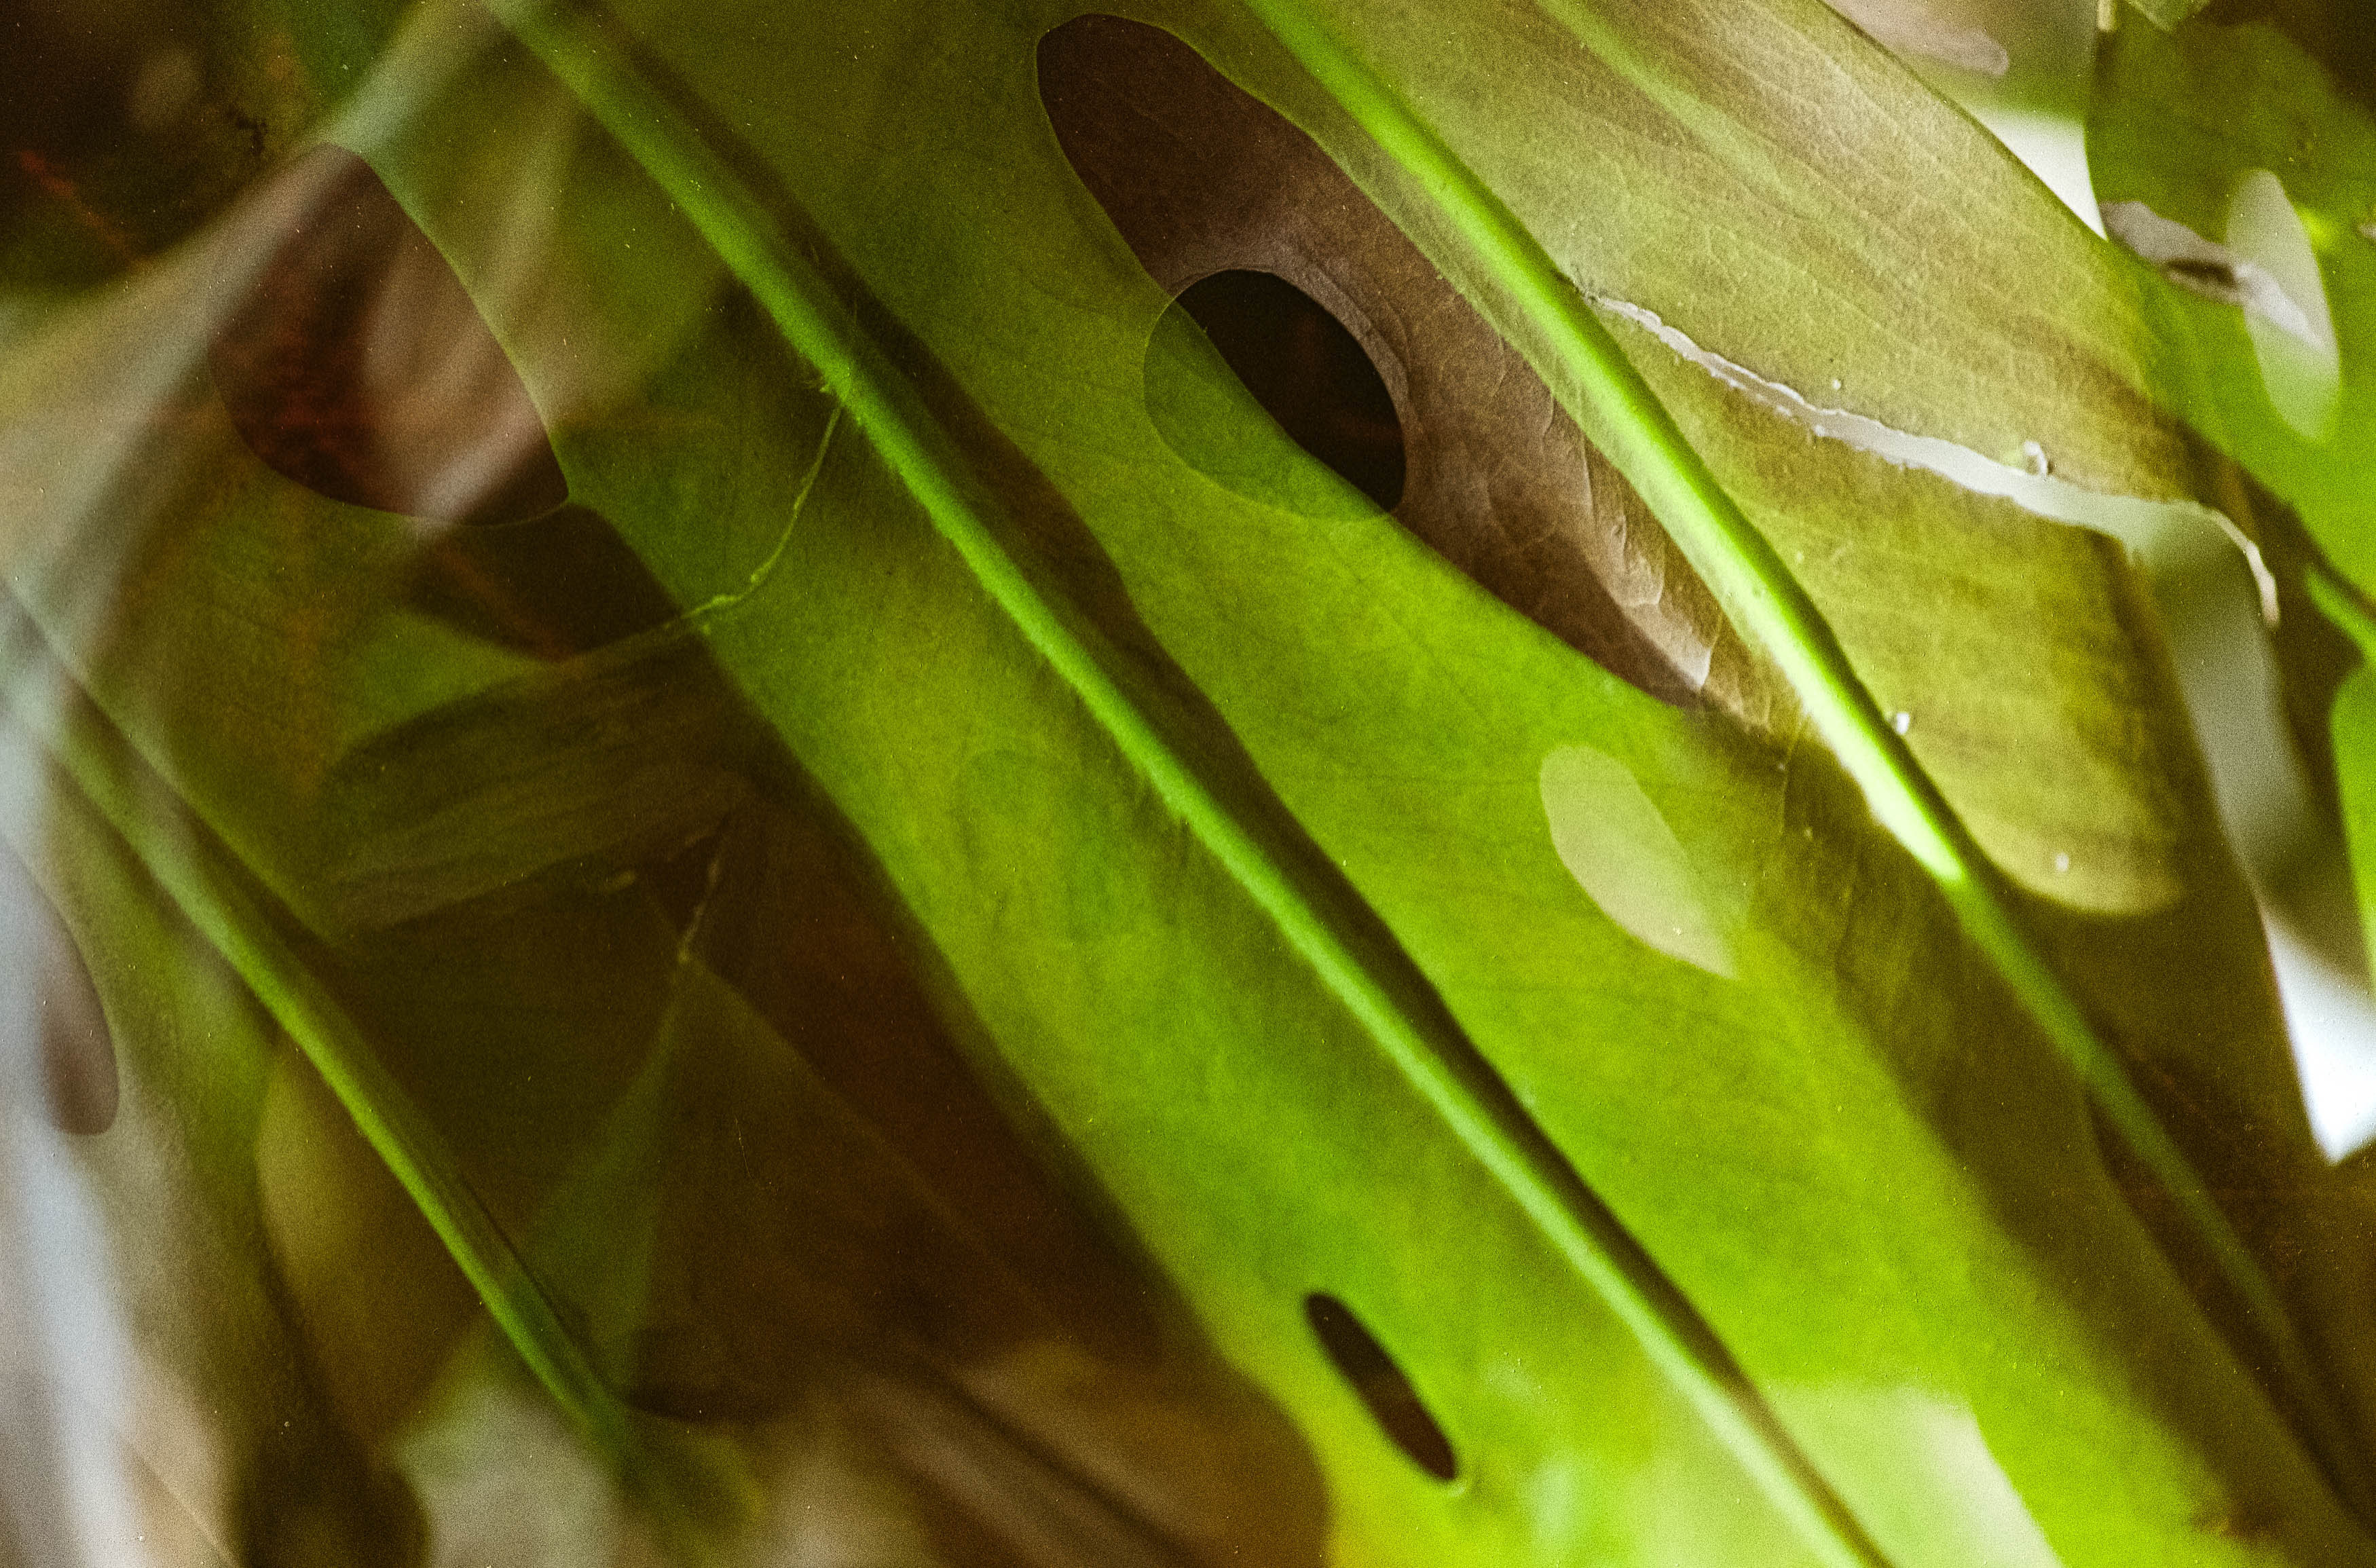
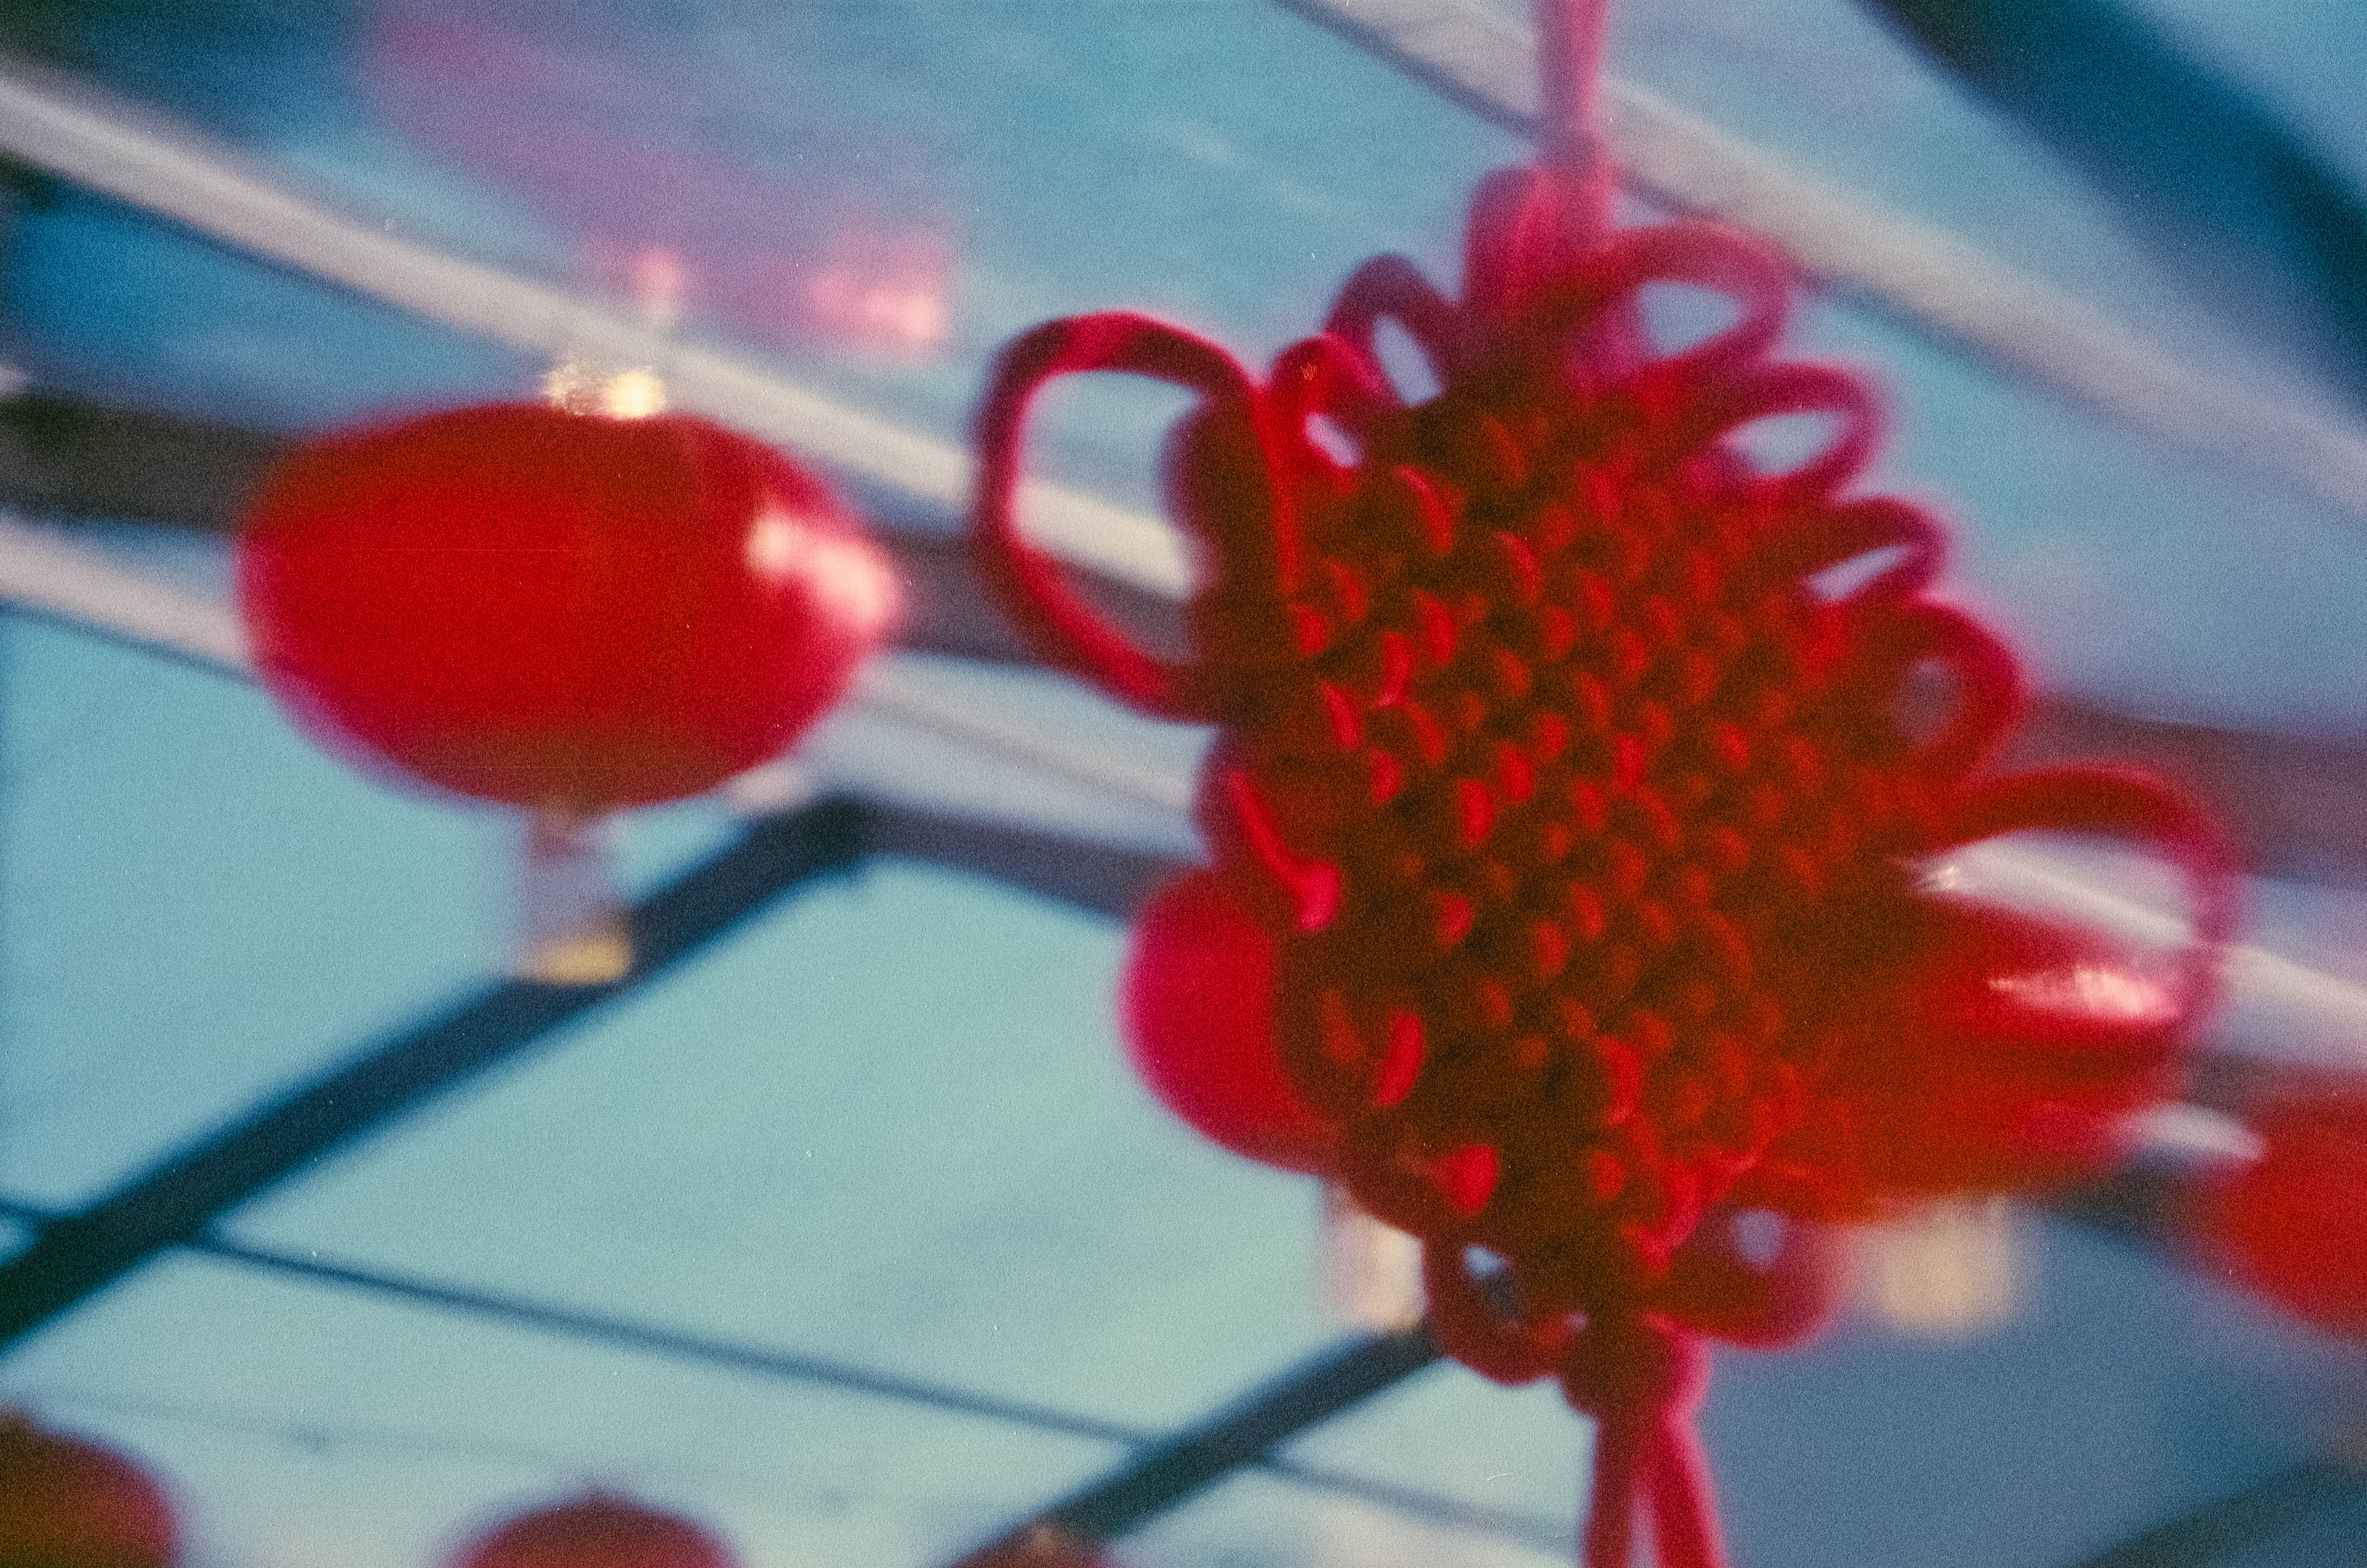
There are some interesting moments, particularly when I experiment with double exposures. I’ve had plenty of experience with multiple exposures over the years, although most of mine have been accidental, especially when using older medium-format cameras that require the shutter to be cocked between frames. Here, though, the technique offers some intriguing possibilities, and I suspect there’s enough potential to justify a dedicated video in the future.

A Questionable Conclusion

So, have I managed to capture the creepiness of Halloween? Probably not. Has Kono Boo! delivered the scares? Not really. But the experiment has been fun, and I think there’s something to be learned from the experience. Pre-exposed film isn’t necessarily going to do all the work for you, and if you want to make the most of it, you need to consider your subjects, lighting and composition carefully. Otherwise, you’re likely to end up with ordinary photographs wearing a rather unconvincing Halloween costume.

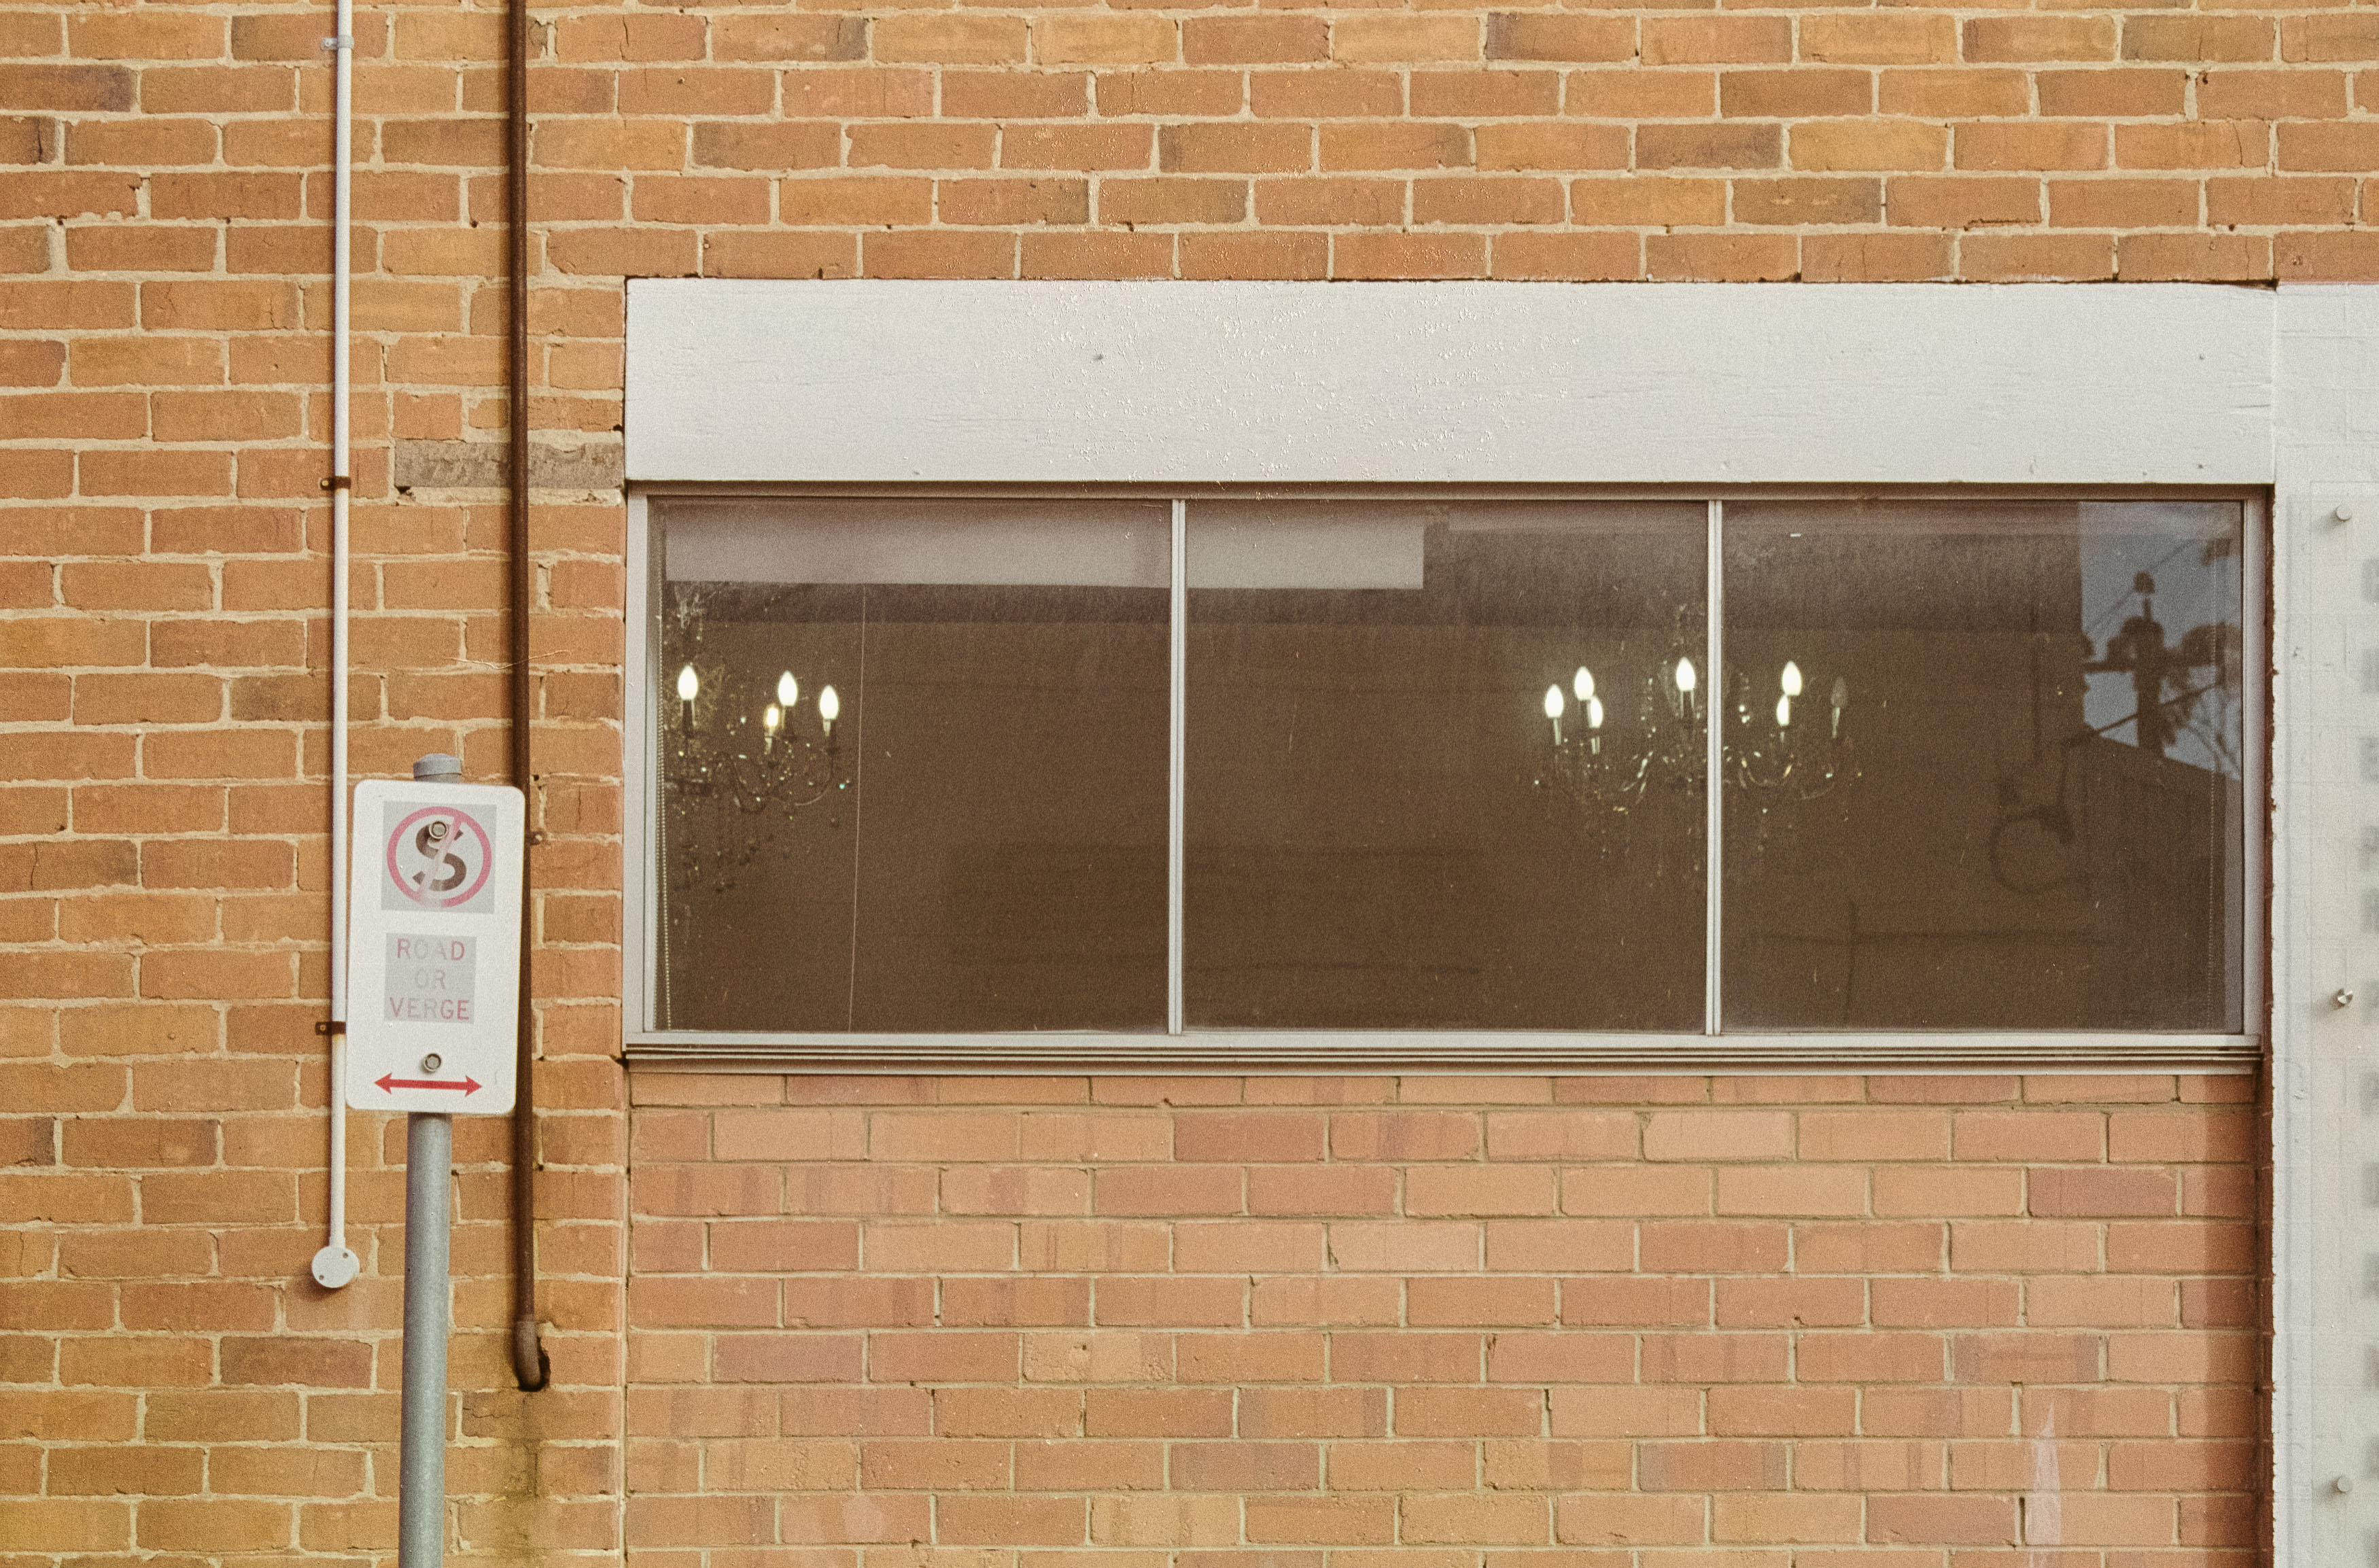
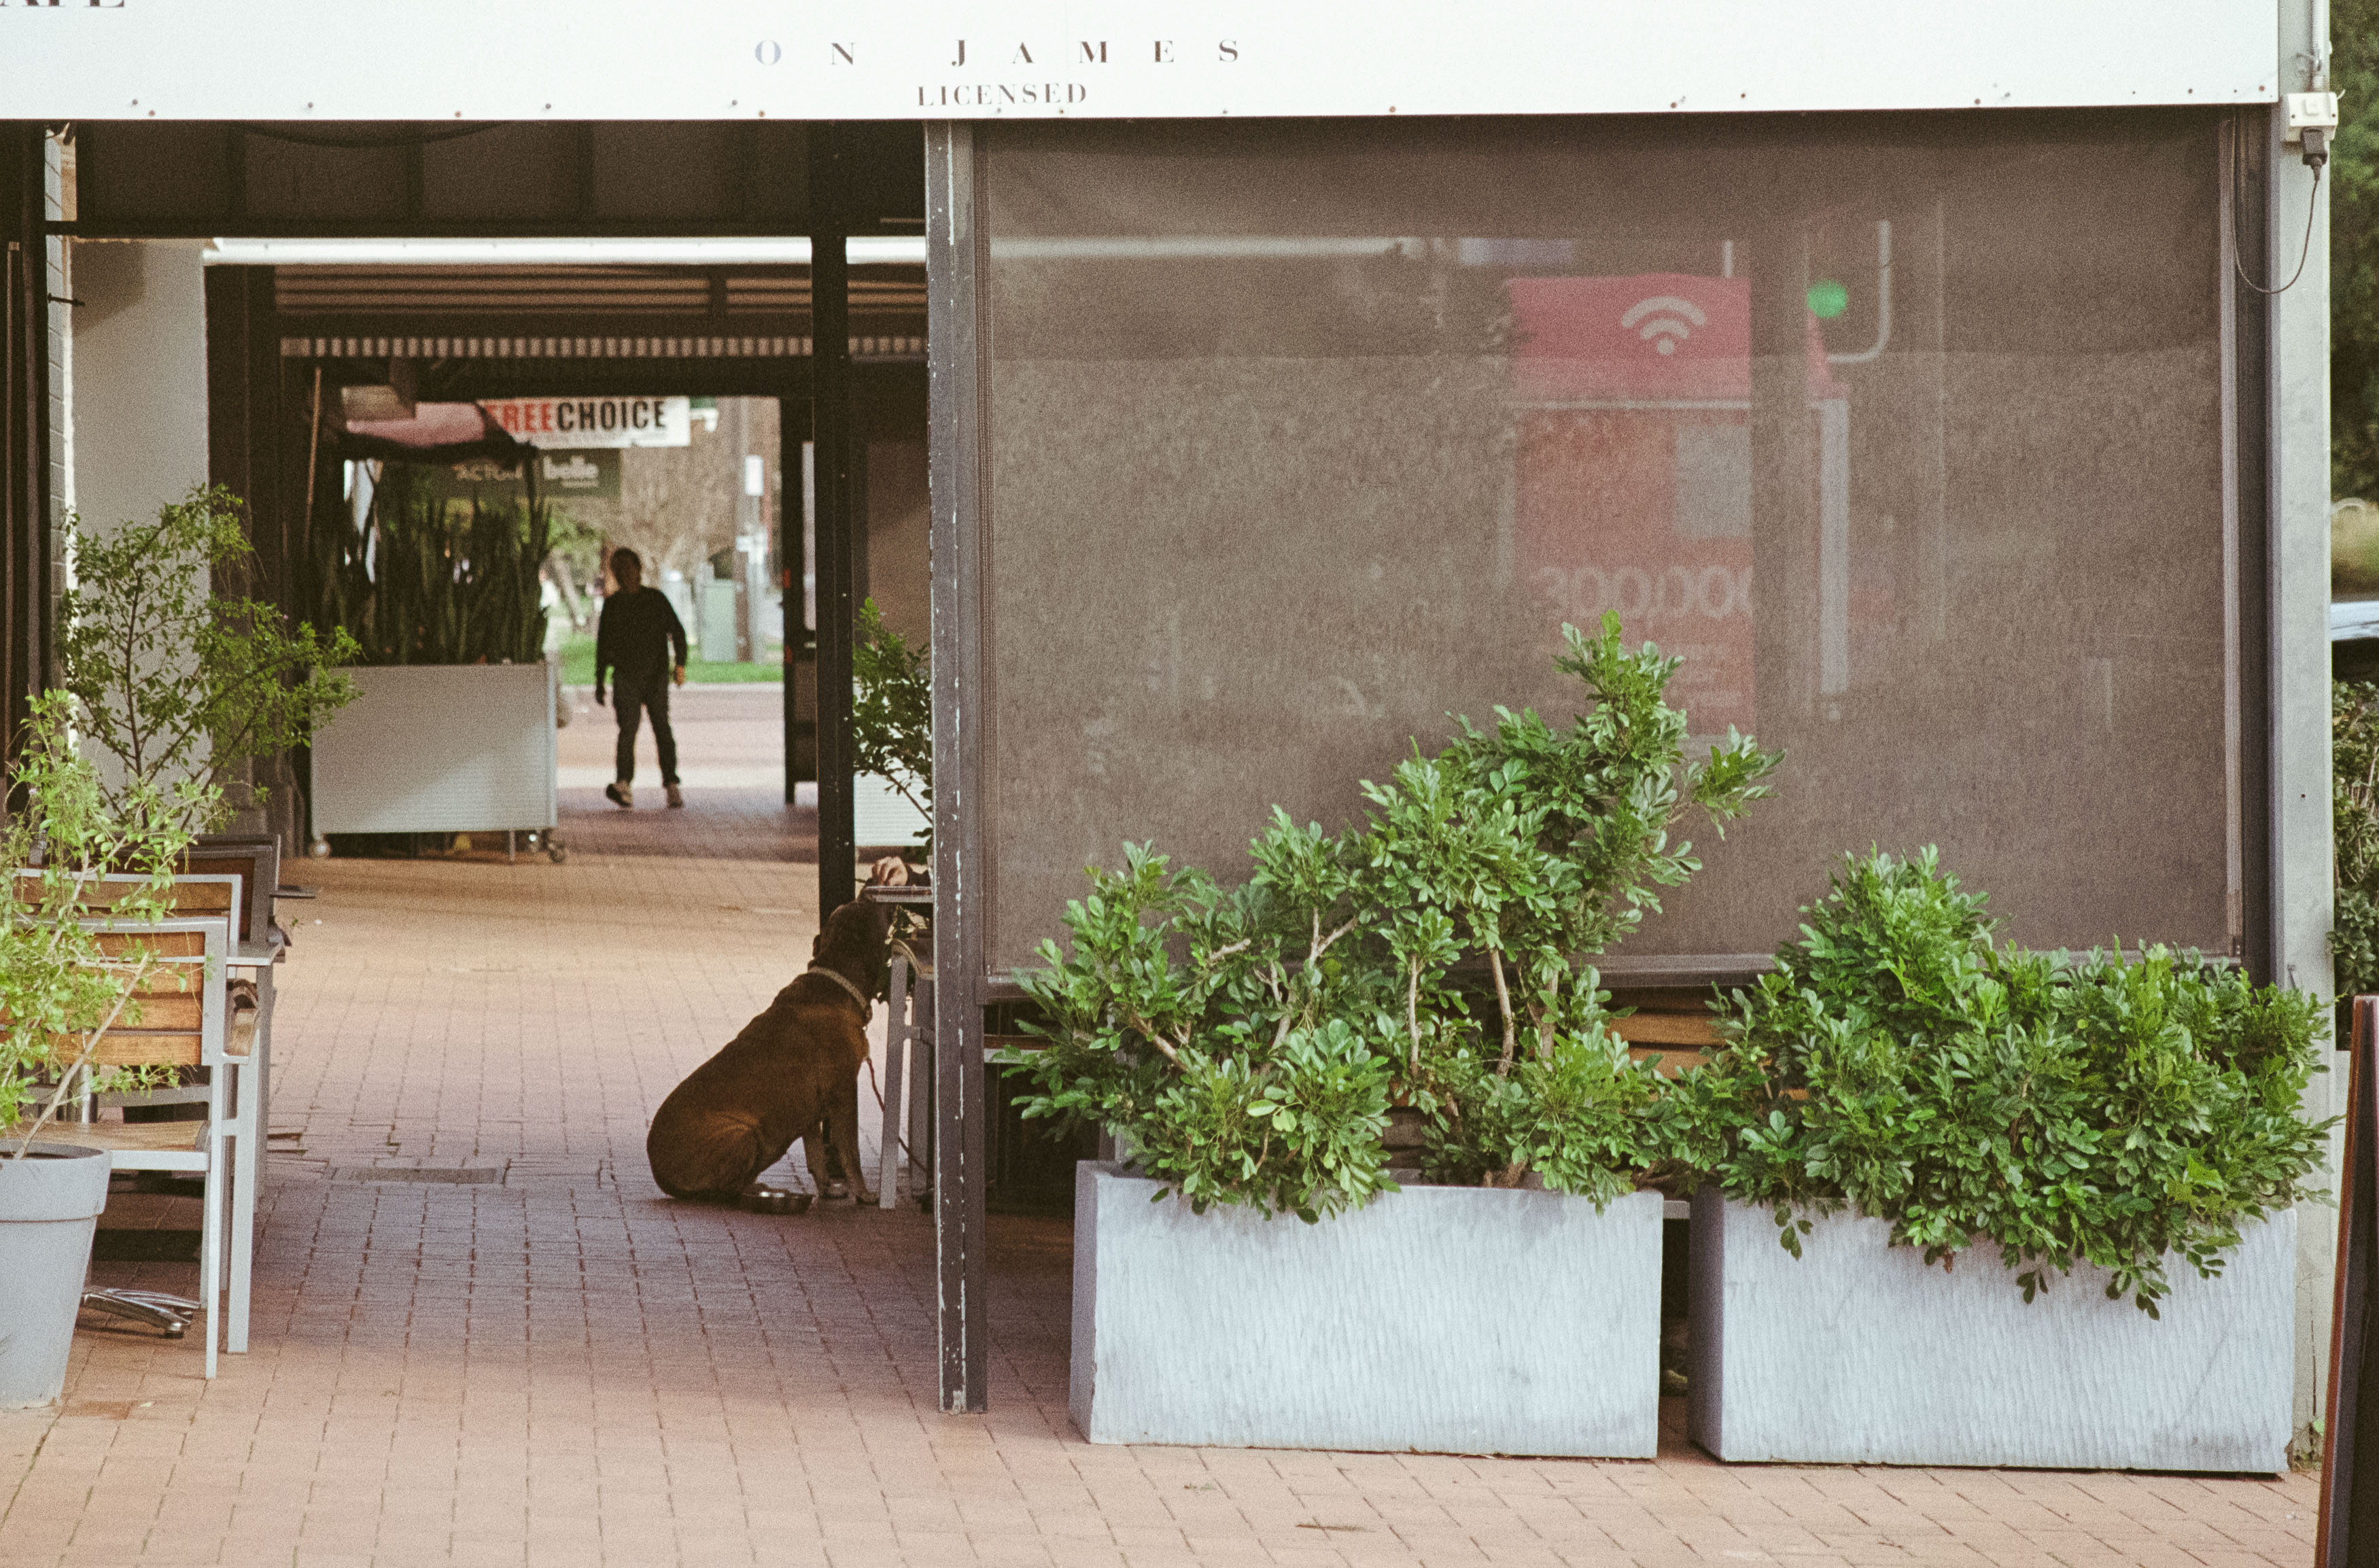
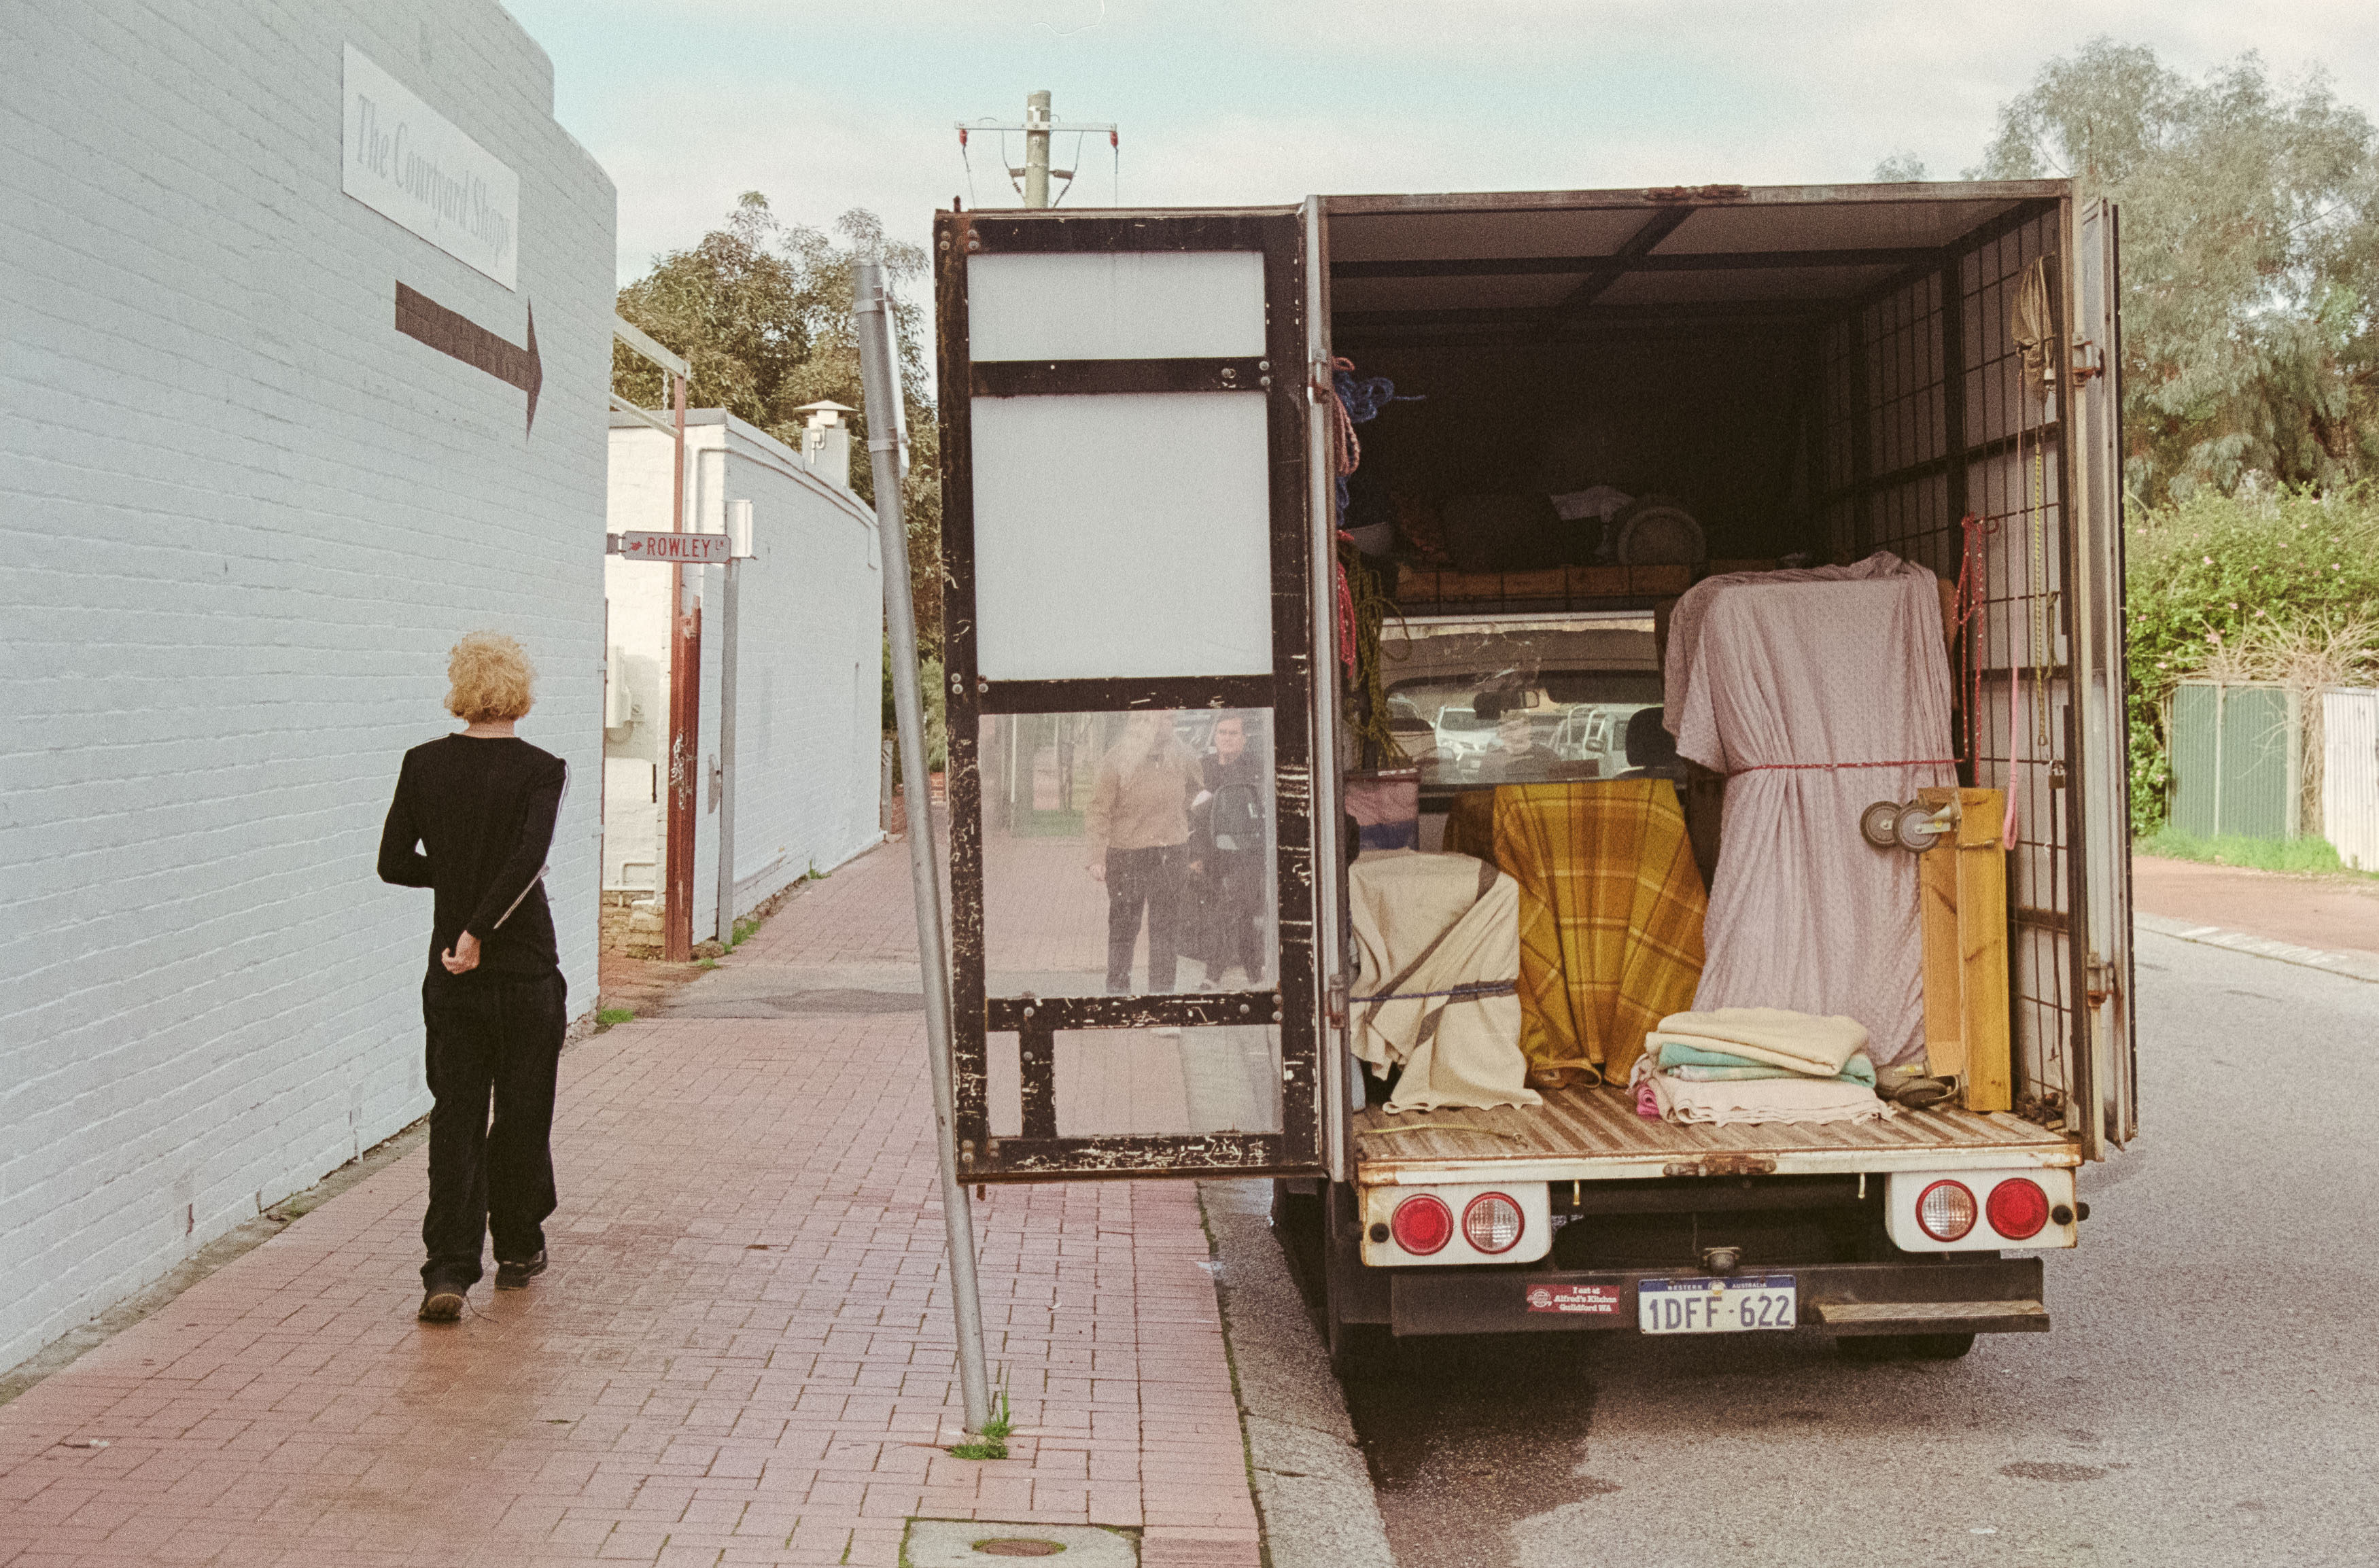
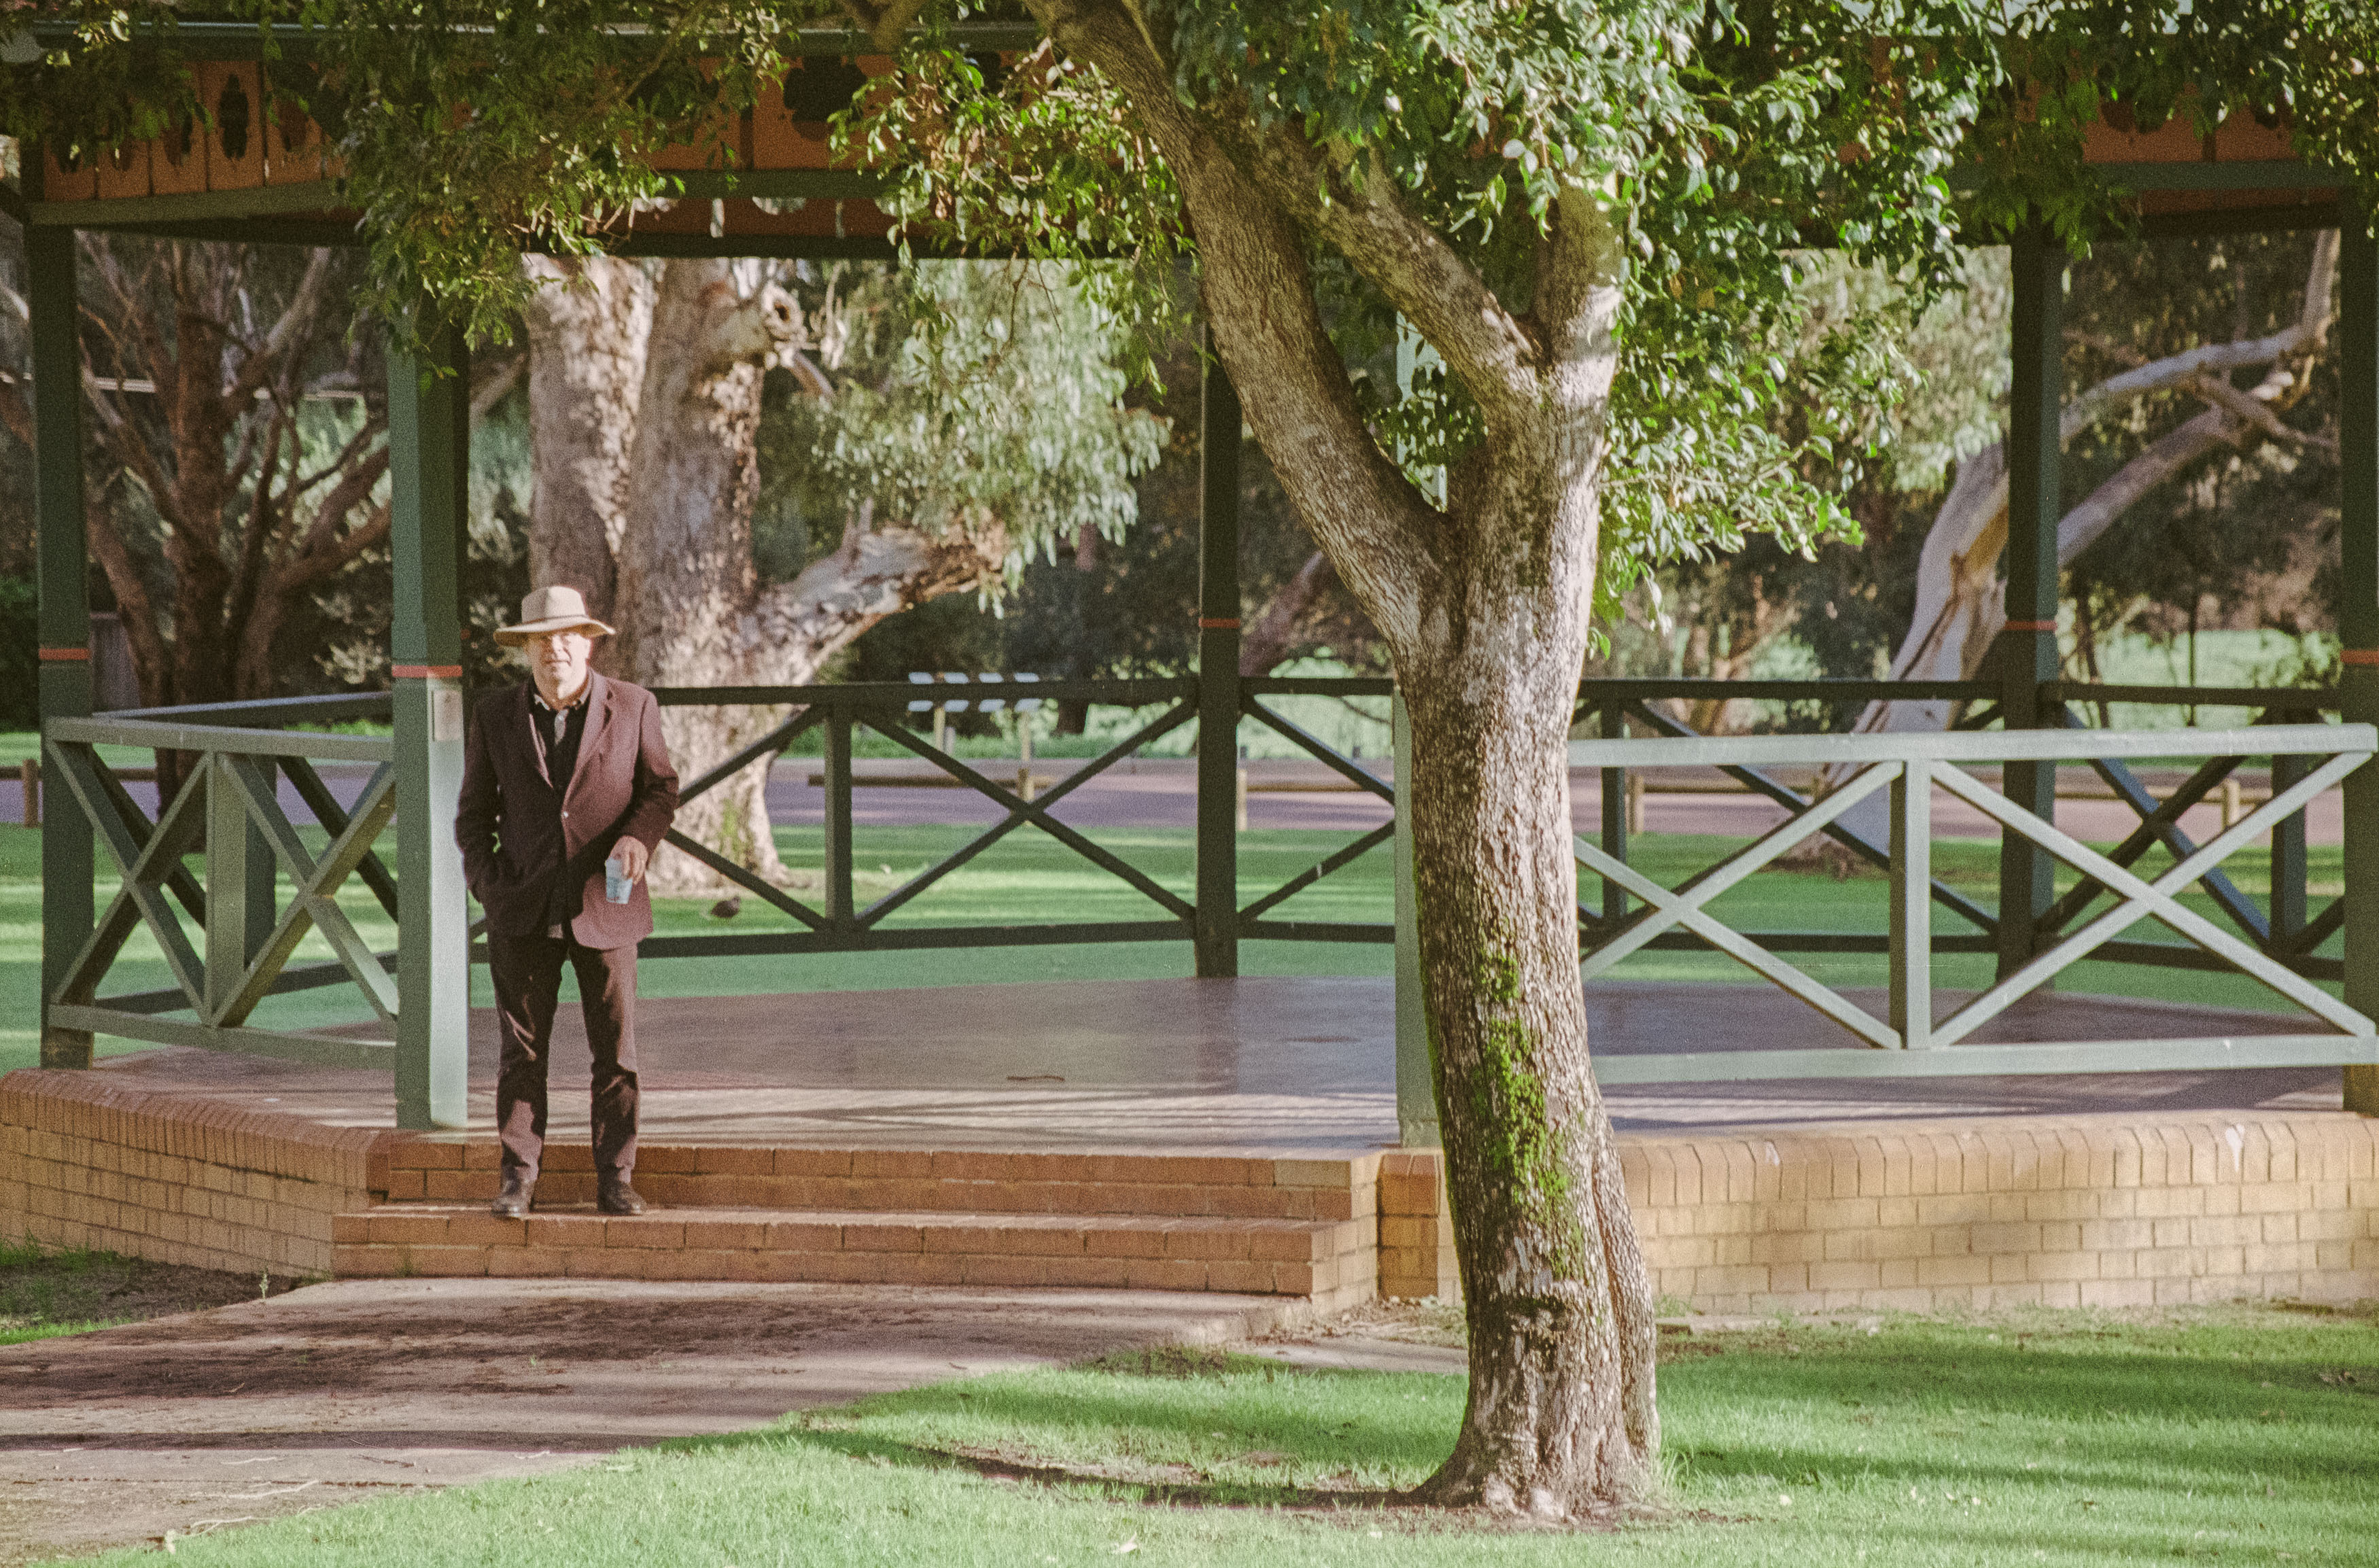
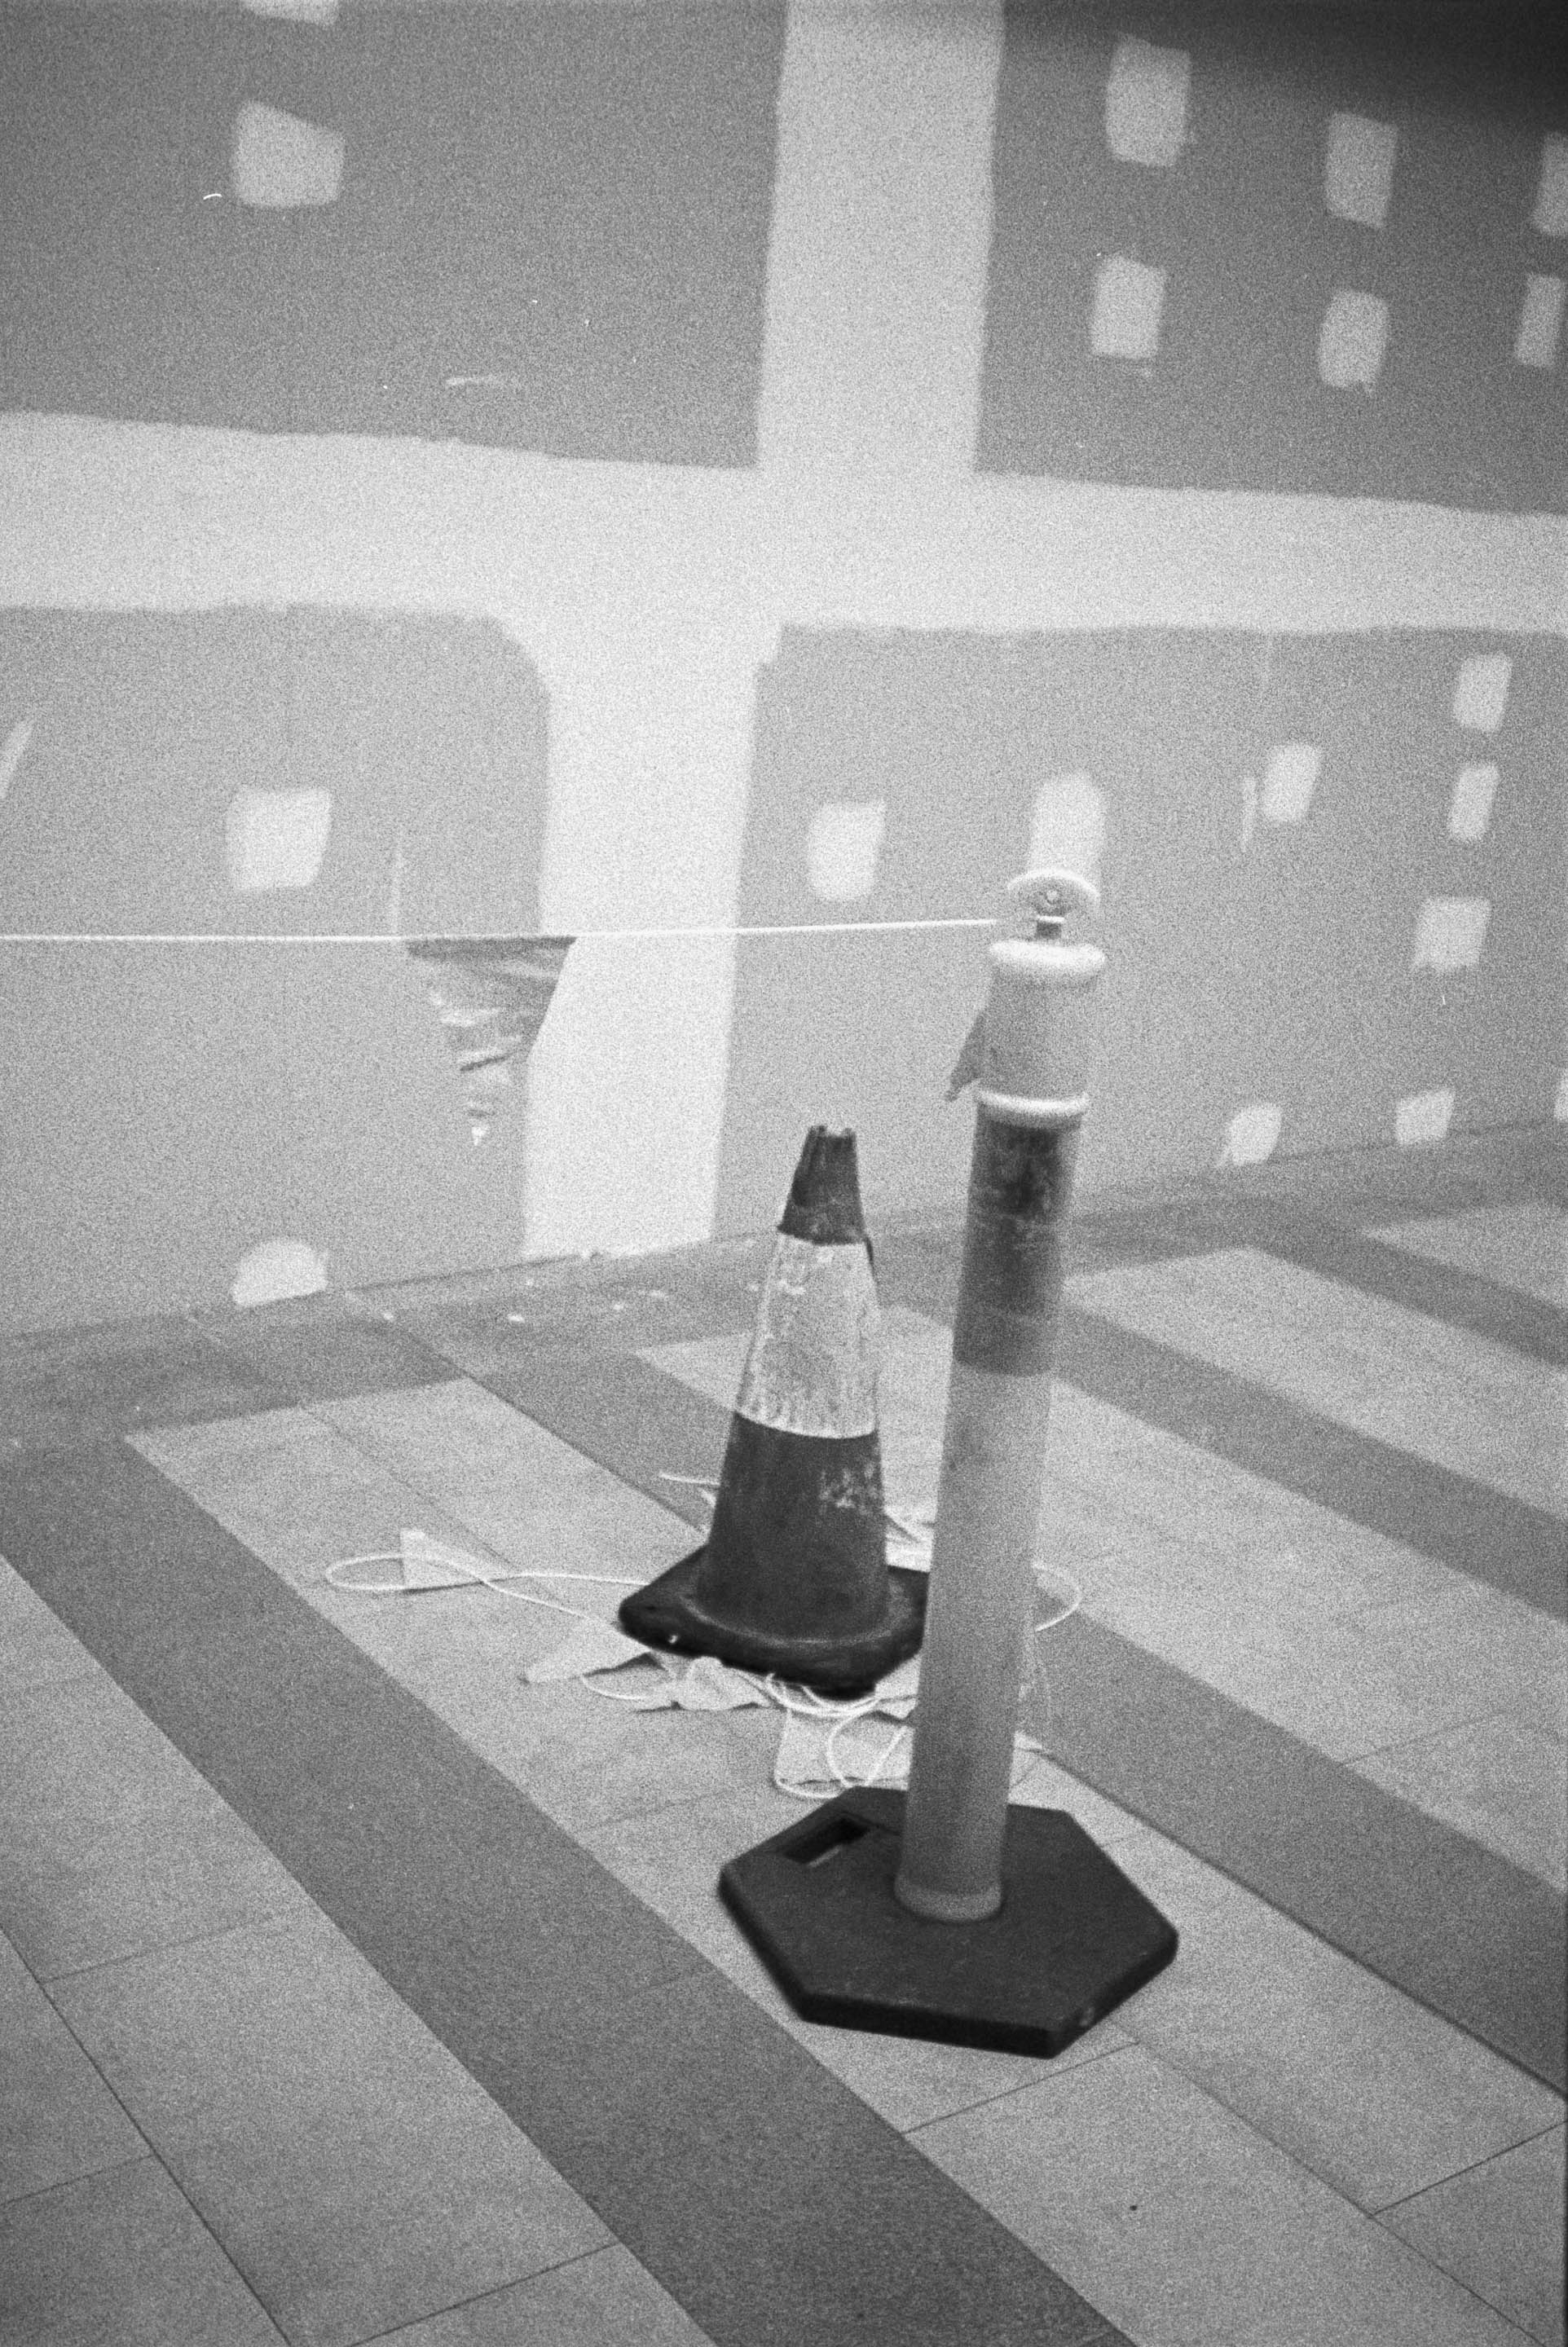
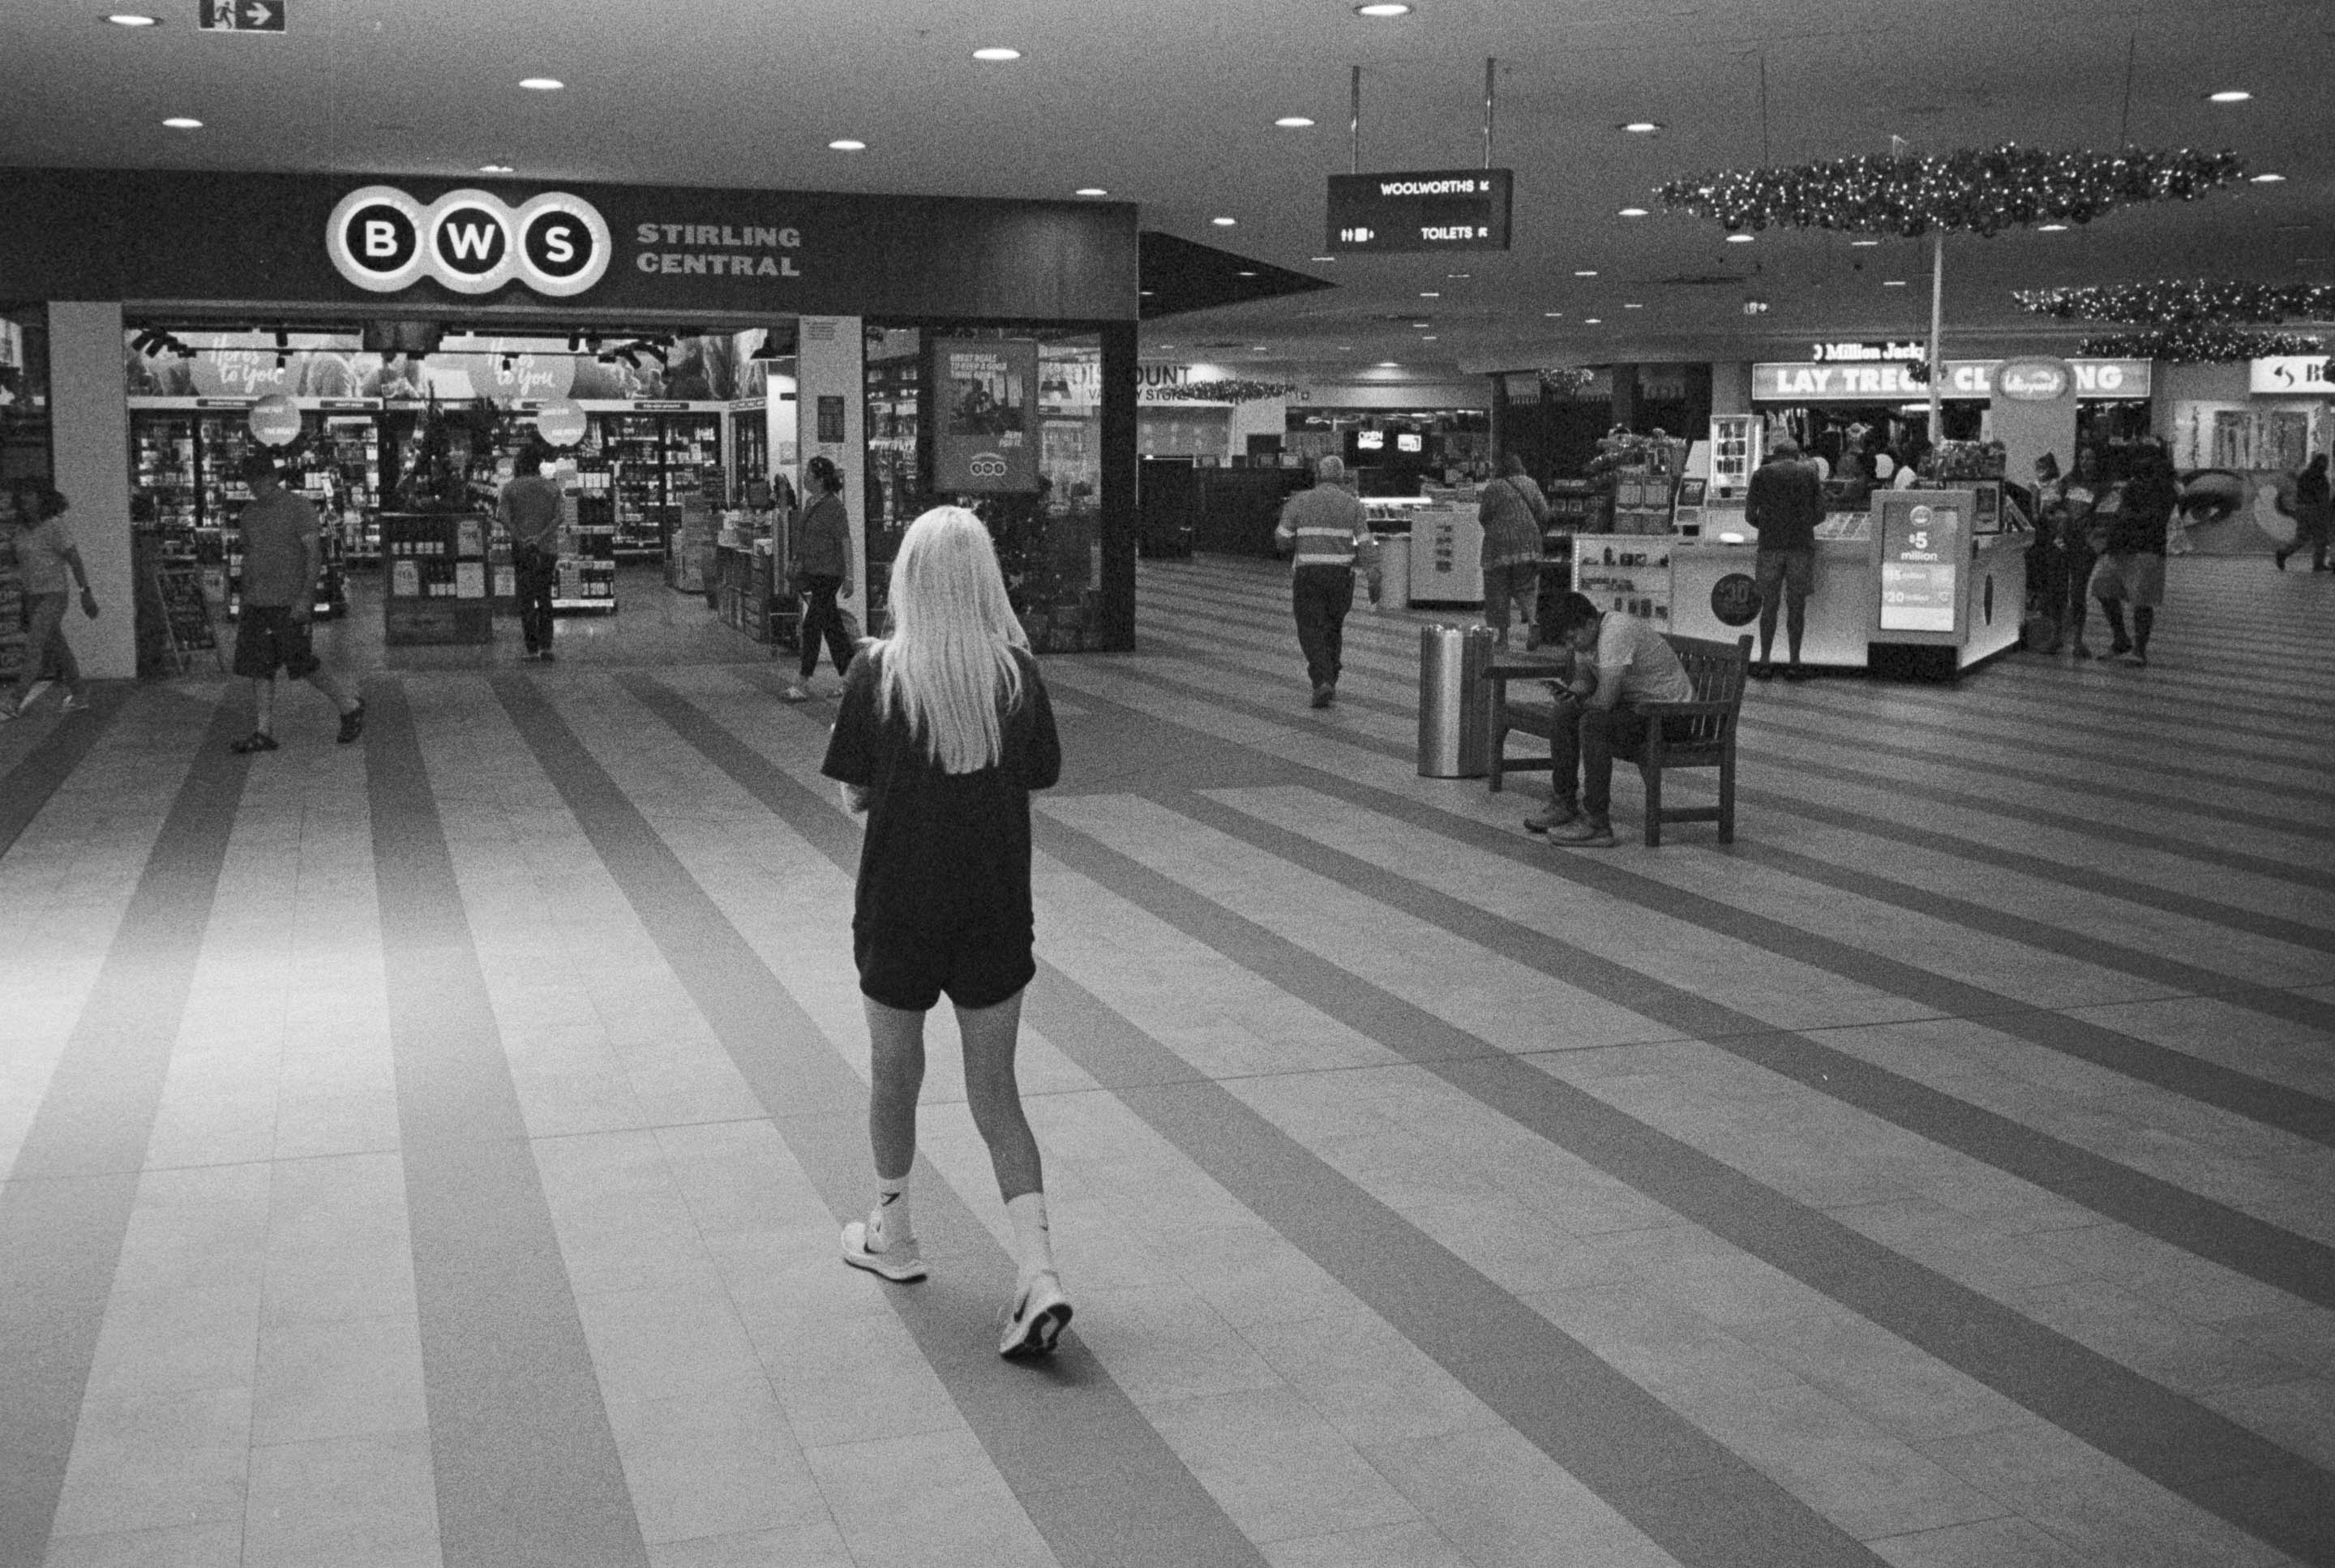
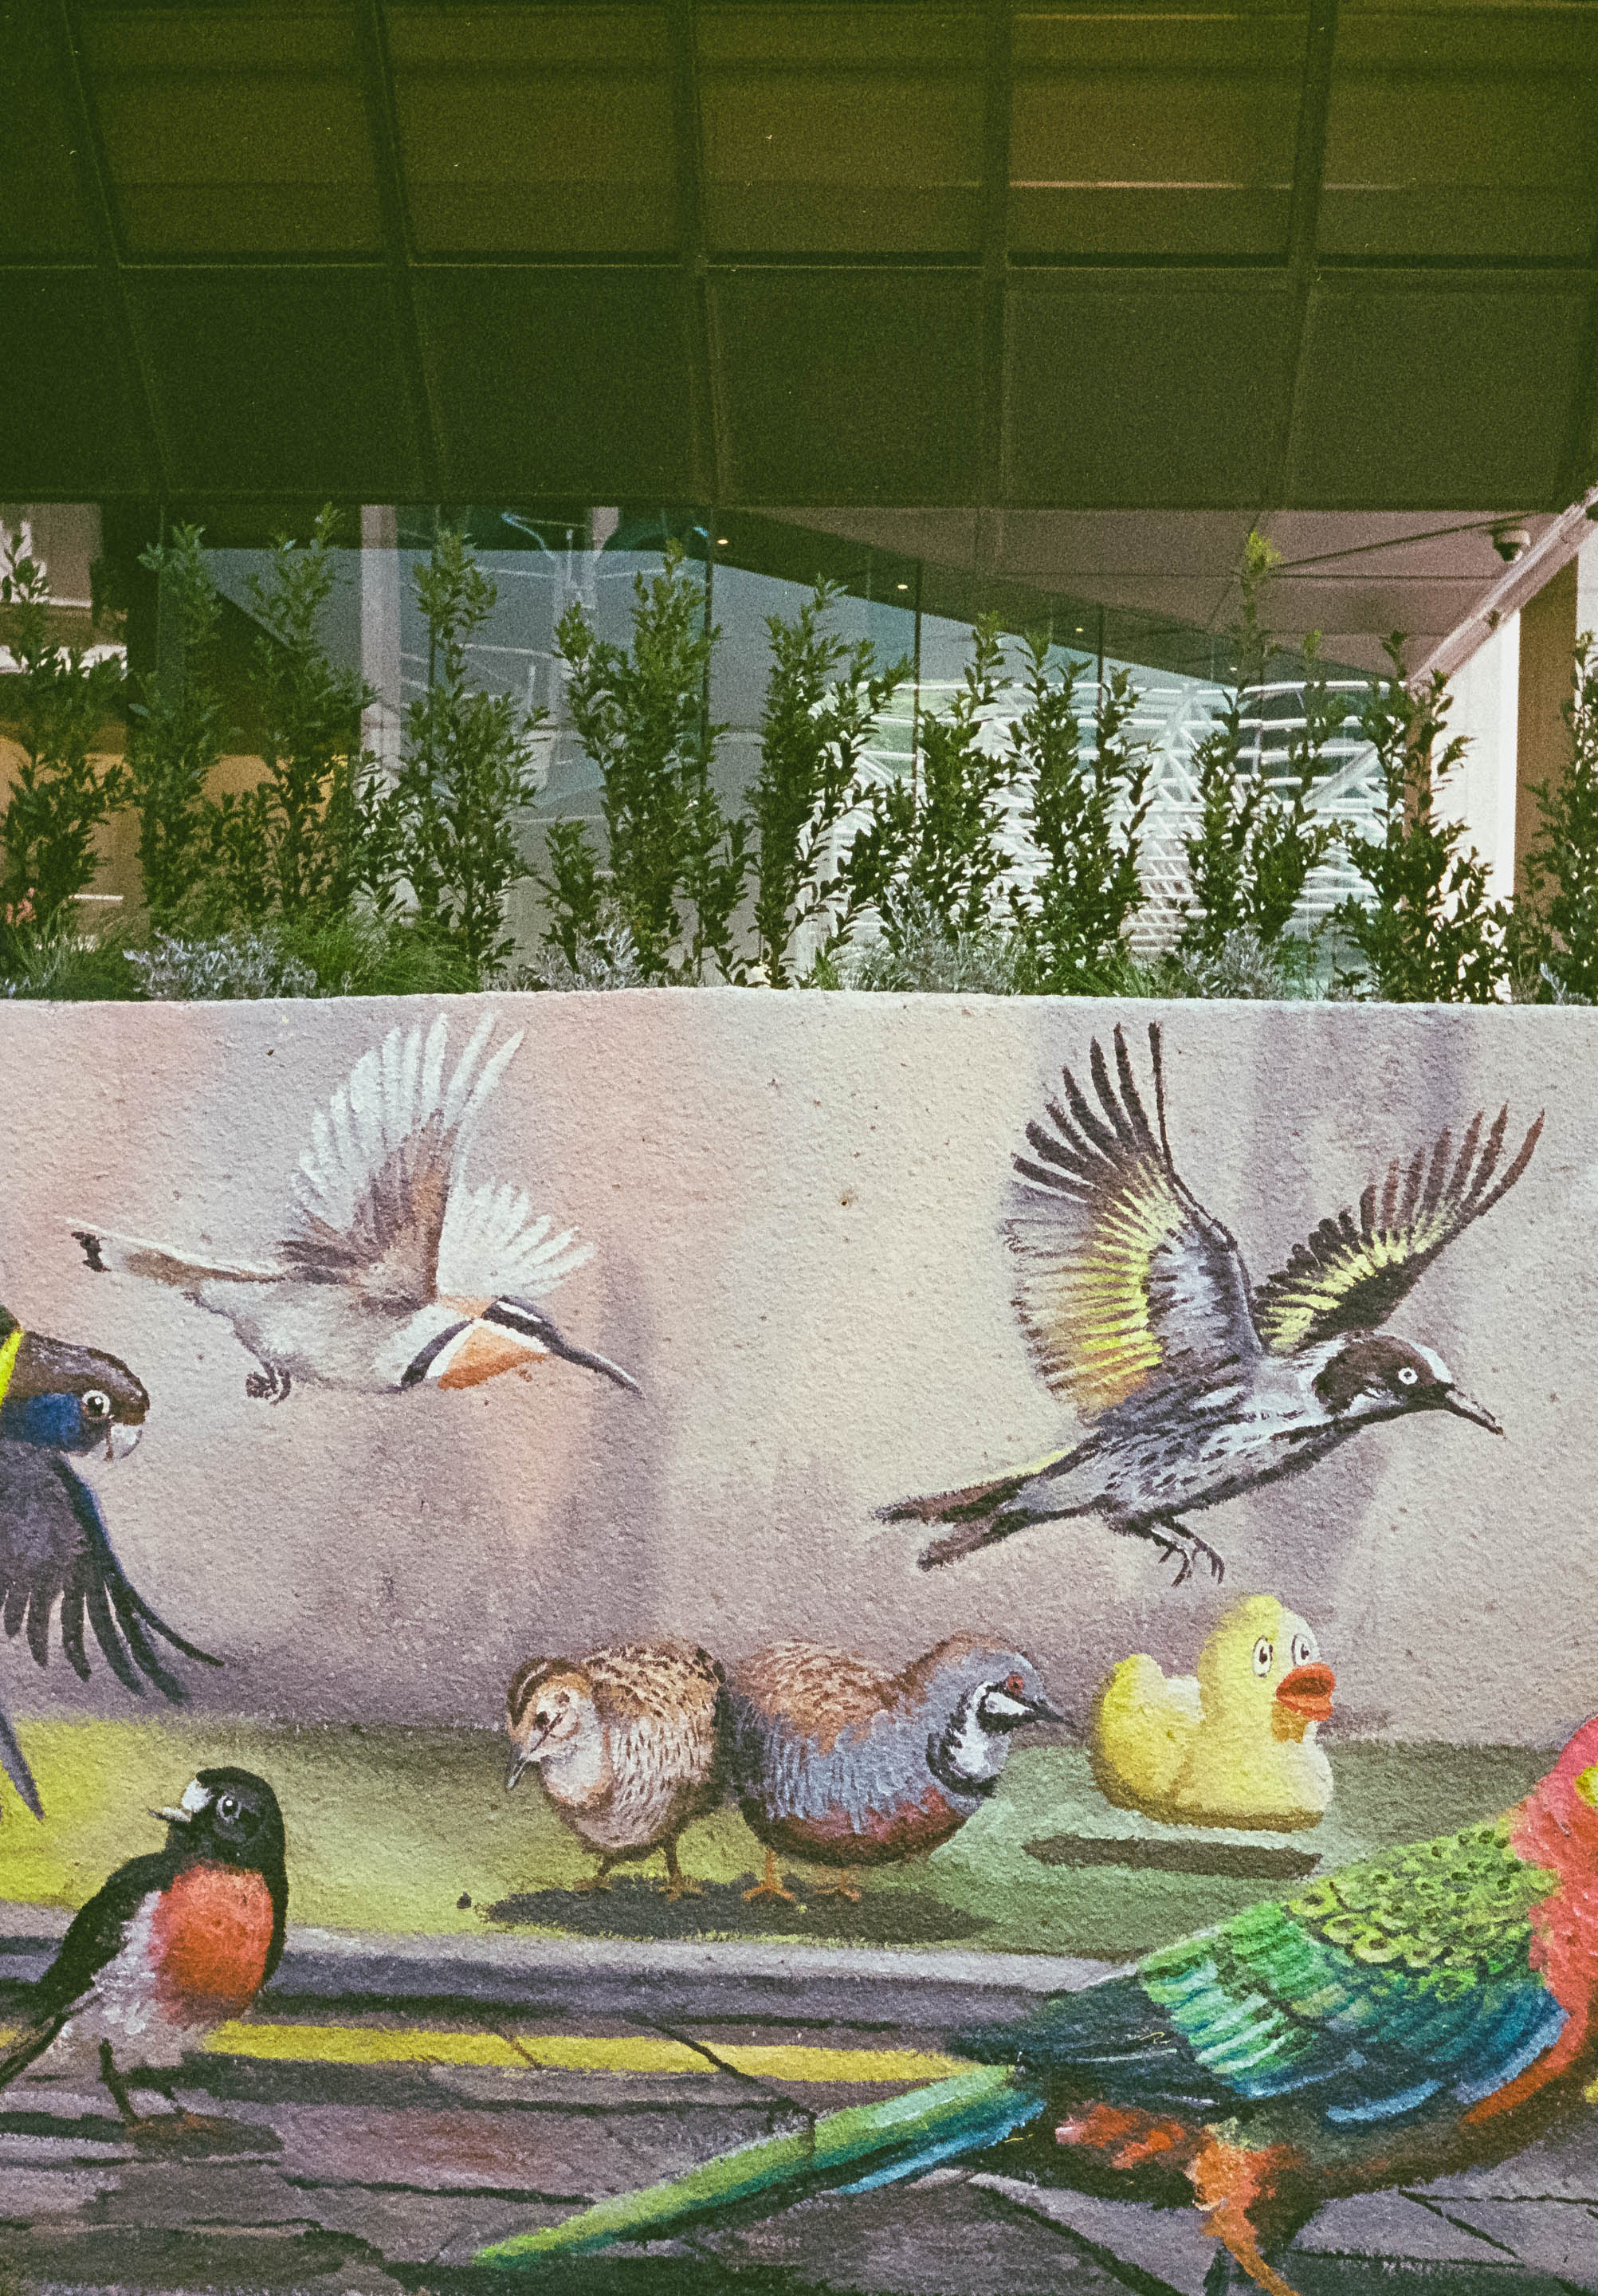
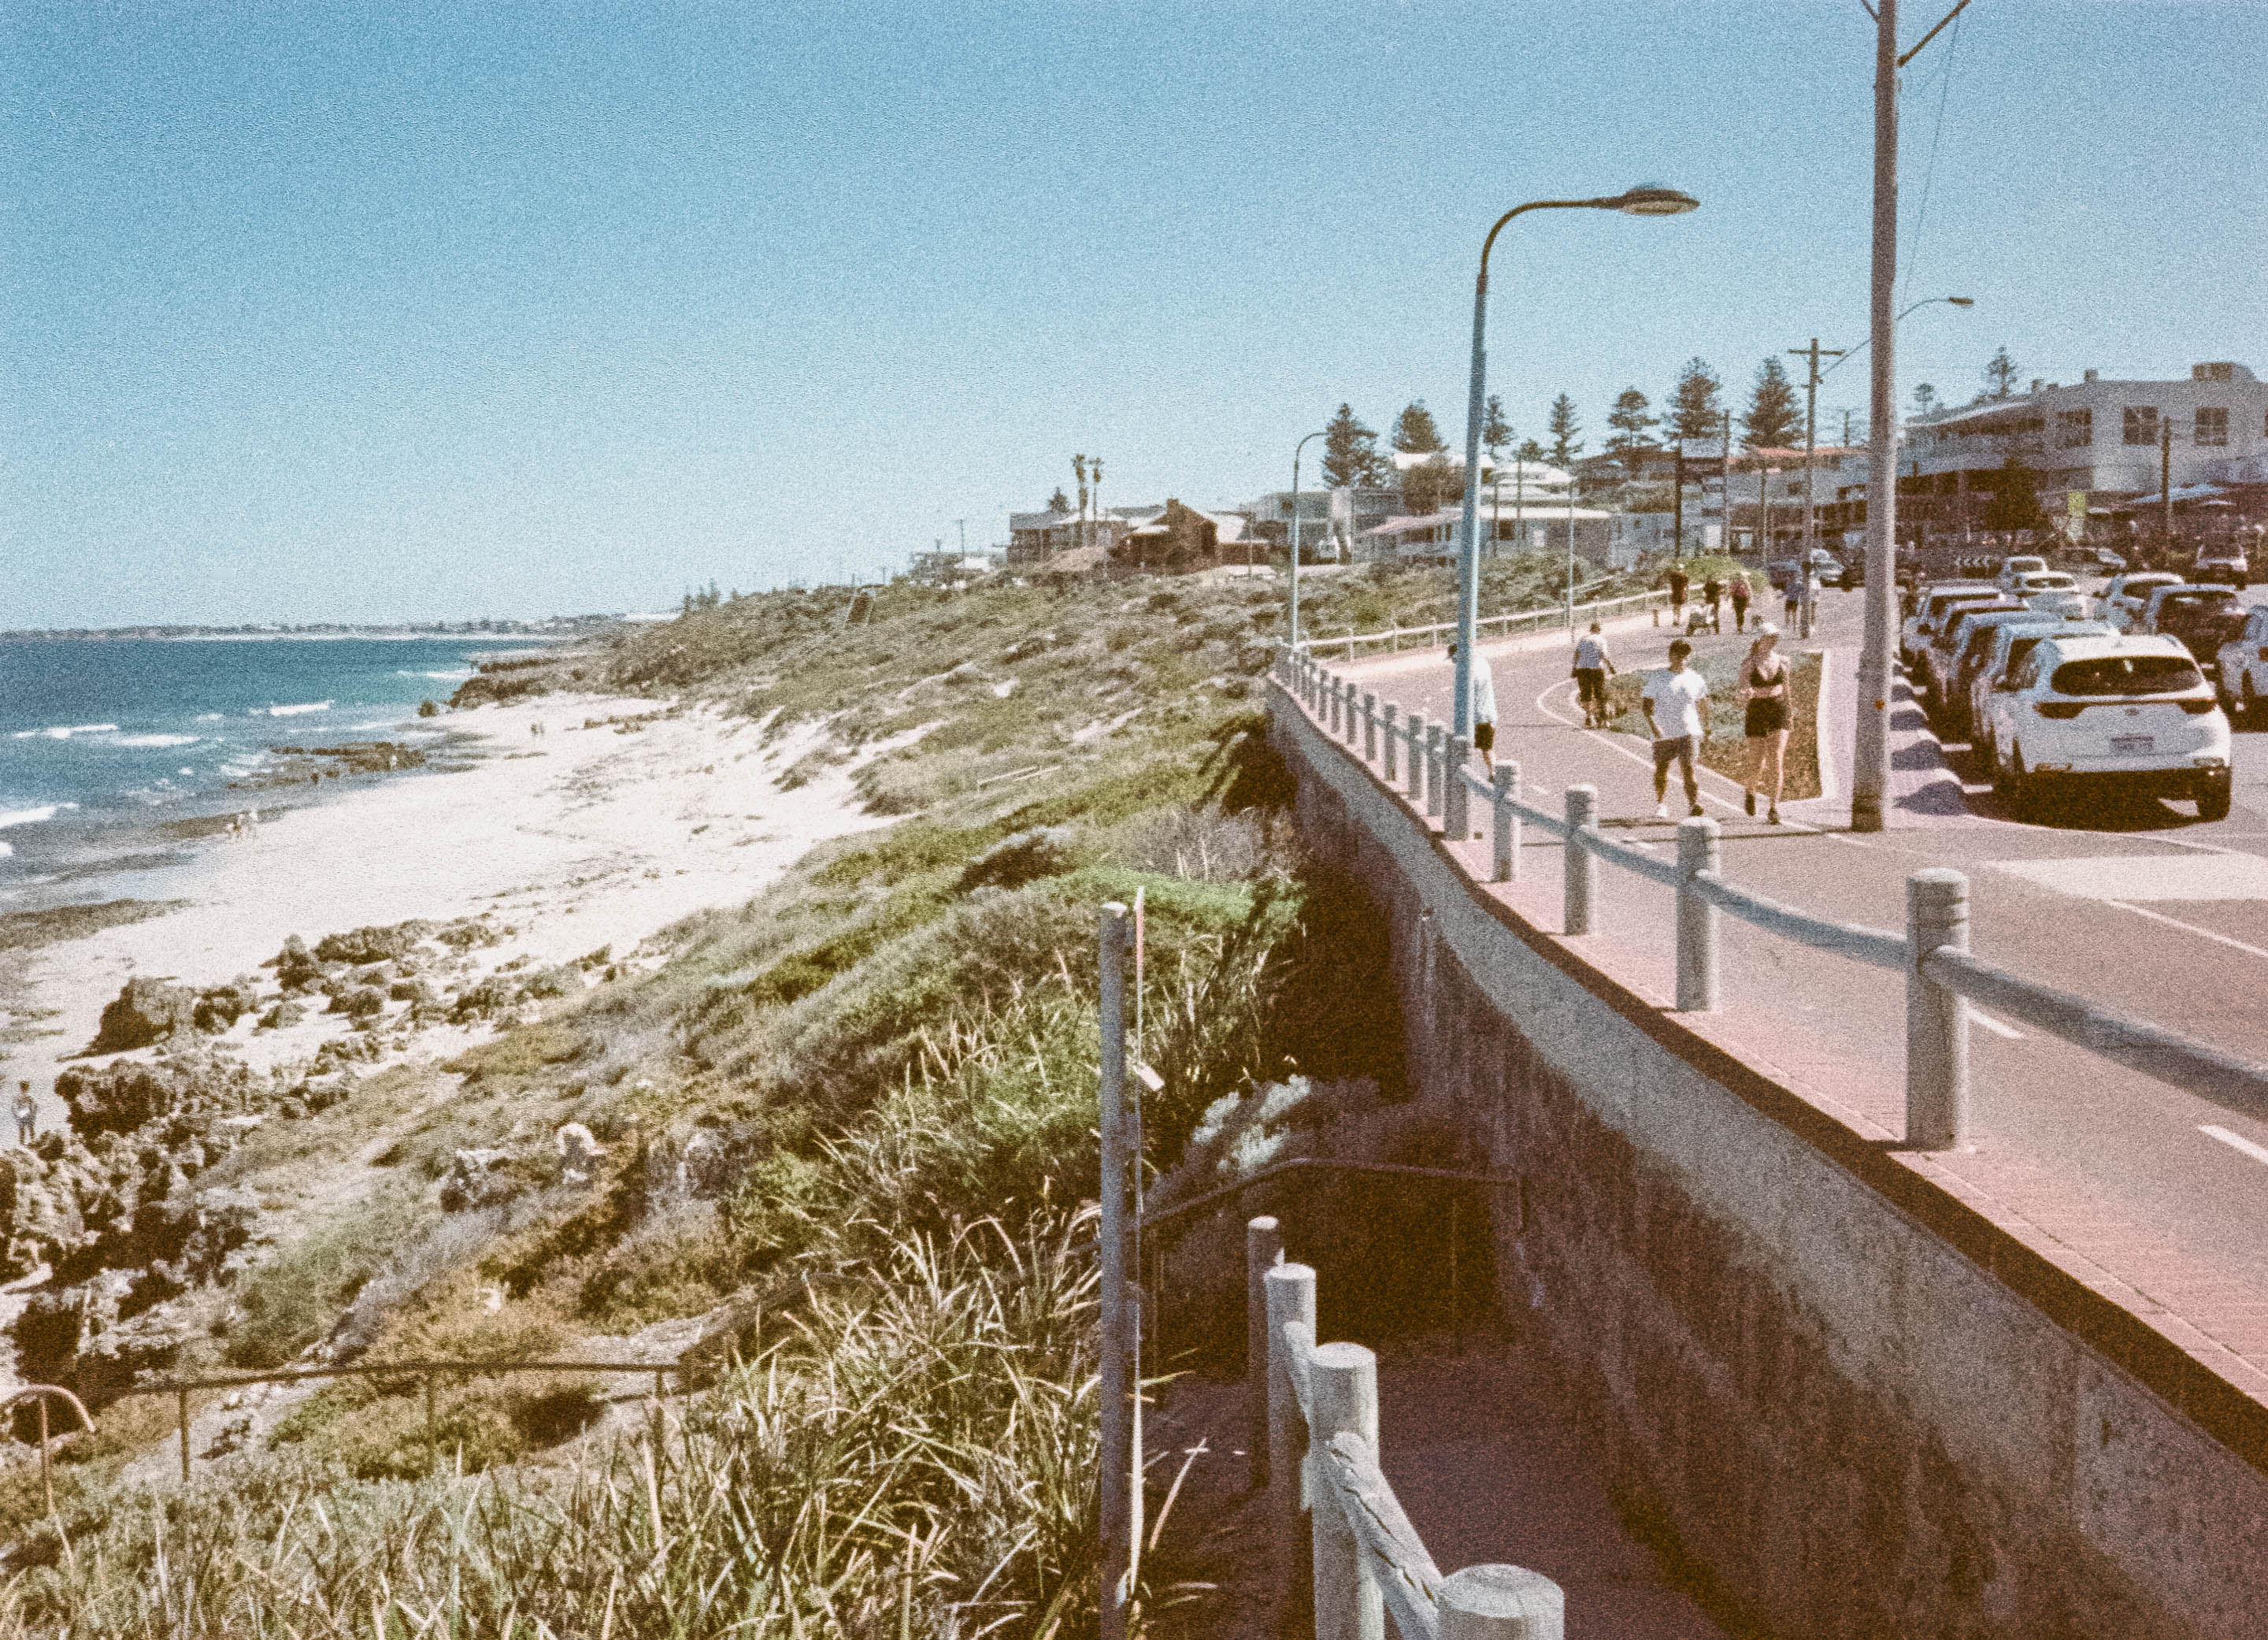
Ultimately, these photographs look more like nature photography than Halloween pictures but perhaps that’s the point. Not everything needs to be terrifying, and sometimes the most interesting images emerge when a photographic experiment doesn’t quite go according to plan. Kono Boo! hasn’t transformed my local wetlands into a landscape of supernatural dread, but it has encouraged me to think differently about pre-exposed film and the way I approach my subjects.

Let me know in the comments whether any of these photographs inspire existential dread. Boredom doesn’t count.

The Olympus IS-2000 is a ridiculously cheap and ridiculously good quality film camera

Olympus is no more, but before OM System started warming up yesterday’s ramen in the form of rebadged products from a more successful era, Olympus was a major innovator in camera technology. The IS-2000 isn’t one of those cameras that gets whispered about in hushed tones alongside legends like the original OM-1 or the Mju series of point-and-shoots, but I think it deserves a little more attention.

The only thing it really has in common with the Olympus Mju is the cheap plastic housing. While those cameras were celebrated for putting sharp optics into compact bodies, the only thing small about the IS-2000 is the price tag. I picked mine up for the princely sum of 18 Australian dollars, or closer to $30 once postage was included. As princely prices go, we’re talking bargain-basement Prince Andrew, with all the associated heft, although at least this camera actually works.

The Mju may have legendary status, but the hundreds of dollars being asked for a second-hand Mju II puts it firmly into the Emperor Has No Clothes category. My own copy no longer works and I’m not prepared to replace it at those prices, so perhaps this Olympus can fill the gap. The only problem is finding the gap, because this thing is big. It lumbered onto the scene in 1991 and, in today’s world of sleek electronics, it’s probably best described as husky.

That size was actually part of the appeal when it was new. Olympus marketed the IS-2000, also known as the IS-2 or L-2 depending on where you were, as a ZLR — a Zoom Lens Reflex camera — offering the advantages of an SLR without the weight and inconvenience of carrying interchangeable lenses on holiday. These days we’d call it a bridge camera, but at the time it represented a new class of camera, and this was the second model in Olympus’s flagship range. It certainly wasn’t cheap either, with the retail price approaching US$1,000.

So the question I wanted to answer was simple: adjusted for inflation, is this thing really worth close to two thousand Australian dollars, or have I overpaid at a hundred times less?

Taking the IS-2000 for a Walk

To find out, I took this heritage camera to a heritage town, Guildford in Perth’s Swan Valley. Founded in 1829, it’s one of Western Australia’s earliest settlements, and the pioneers apparently arrived, discovered that you could grow grapes here, and decided never to leave. It takes a while to go from vine to wine, though, and I was only there for a short walk.

Despite the size, the Olympus is genuinely quite a pleasure to use. For all intents and purposes, you’re using a single-lens reflex camera, just one with a fixed zoom lens and somewhat dubious build quality. You get shutter speeds all the way to 1/2000th, shooting at up to two and a half frames per second, although I’m not sure anyone had the money or interest in blasting through a roll of film in fifteen seconds.

The maximum aperture is a slightly disappointing f/4.5 at the wide end and f/5.6 at telephoto, and there doesn’t appear to be any image stabilisation. The 35-135mm zoom range is practical for a point-and-shoot, although 35mm isn’t going to let you fit the whole ceiling of the Sistine Chapel into the frame. You also get an ISO range from 25 to 3200, provided your film is DX encoded or you’re prepared to hack the cassette if you want to push or pull it.

It does, however, have considerably more going on than a conventional point-and-shoot. There are three macro modes, including a zoom macro that lets you focus as close as 0.6m and a supermacro mode that gets you down to 39cm with the zoom locked at 70mm. There’s even an accessory capable of producing a 1:1 reproduction ratio, although naturally I don’t have that, nor do I have the panorama accessory.

The flash system is more interesting than it initially looks. It uses Olympus’s Intelligent Variable-Power flash system, and there are actually two flashes built into the camera. The system can put enough light into a scene without simply blowing out the highlights in close-up subjects.

Most of the cleverness is hidden from the user, but the function button gives you access to considerably more control than you’d expect. There are program, aperture-priority and manual exposure modes, along with options to prioritise fast shutter speeds for sport, wide apertures for portraits or slower shutter speeds for night photography. There’s single or continuous autofocus, double exposure, exposure lock and multiple flash modes including fill-in.

Ergonomically, it feels surprisingly good in the hand, even though it’s big and heavy. The buttons are a little spongy but well placed, and the zoom rocker sits naturally on the top left of the lens barrel. It feels good to shoot with, even if aesthetically it takes its cues from a 1940s gas mask.

The Good, the Bad and the Film

The camera isn’t perfect. One of the first problems I encountered was loading film, because the film door only opens 90 degrees, partly because of the technology stuffed into the databack. You have to get the film underneath a red tab and push it deep into the corner so the teeth can grab the film leader. I managed it in one go previously, but doing it one-handed in the field while holding a GoPro proved considerably more difficult.

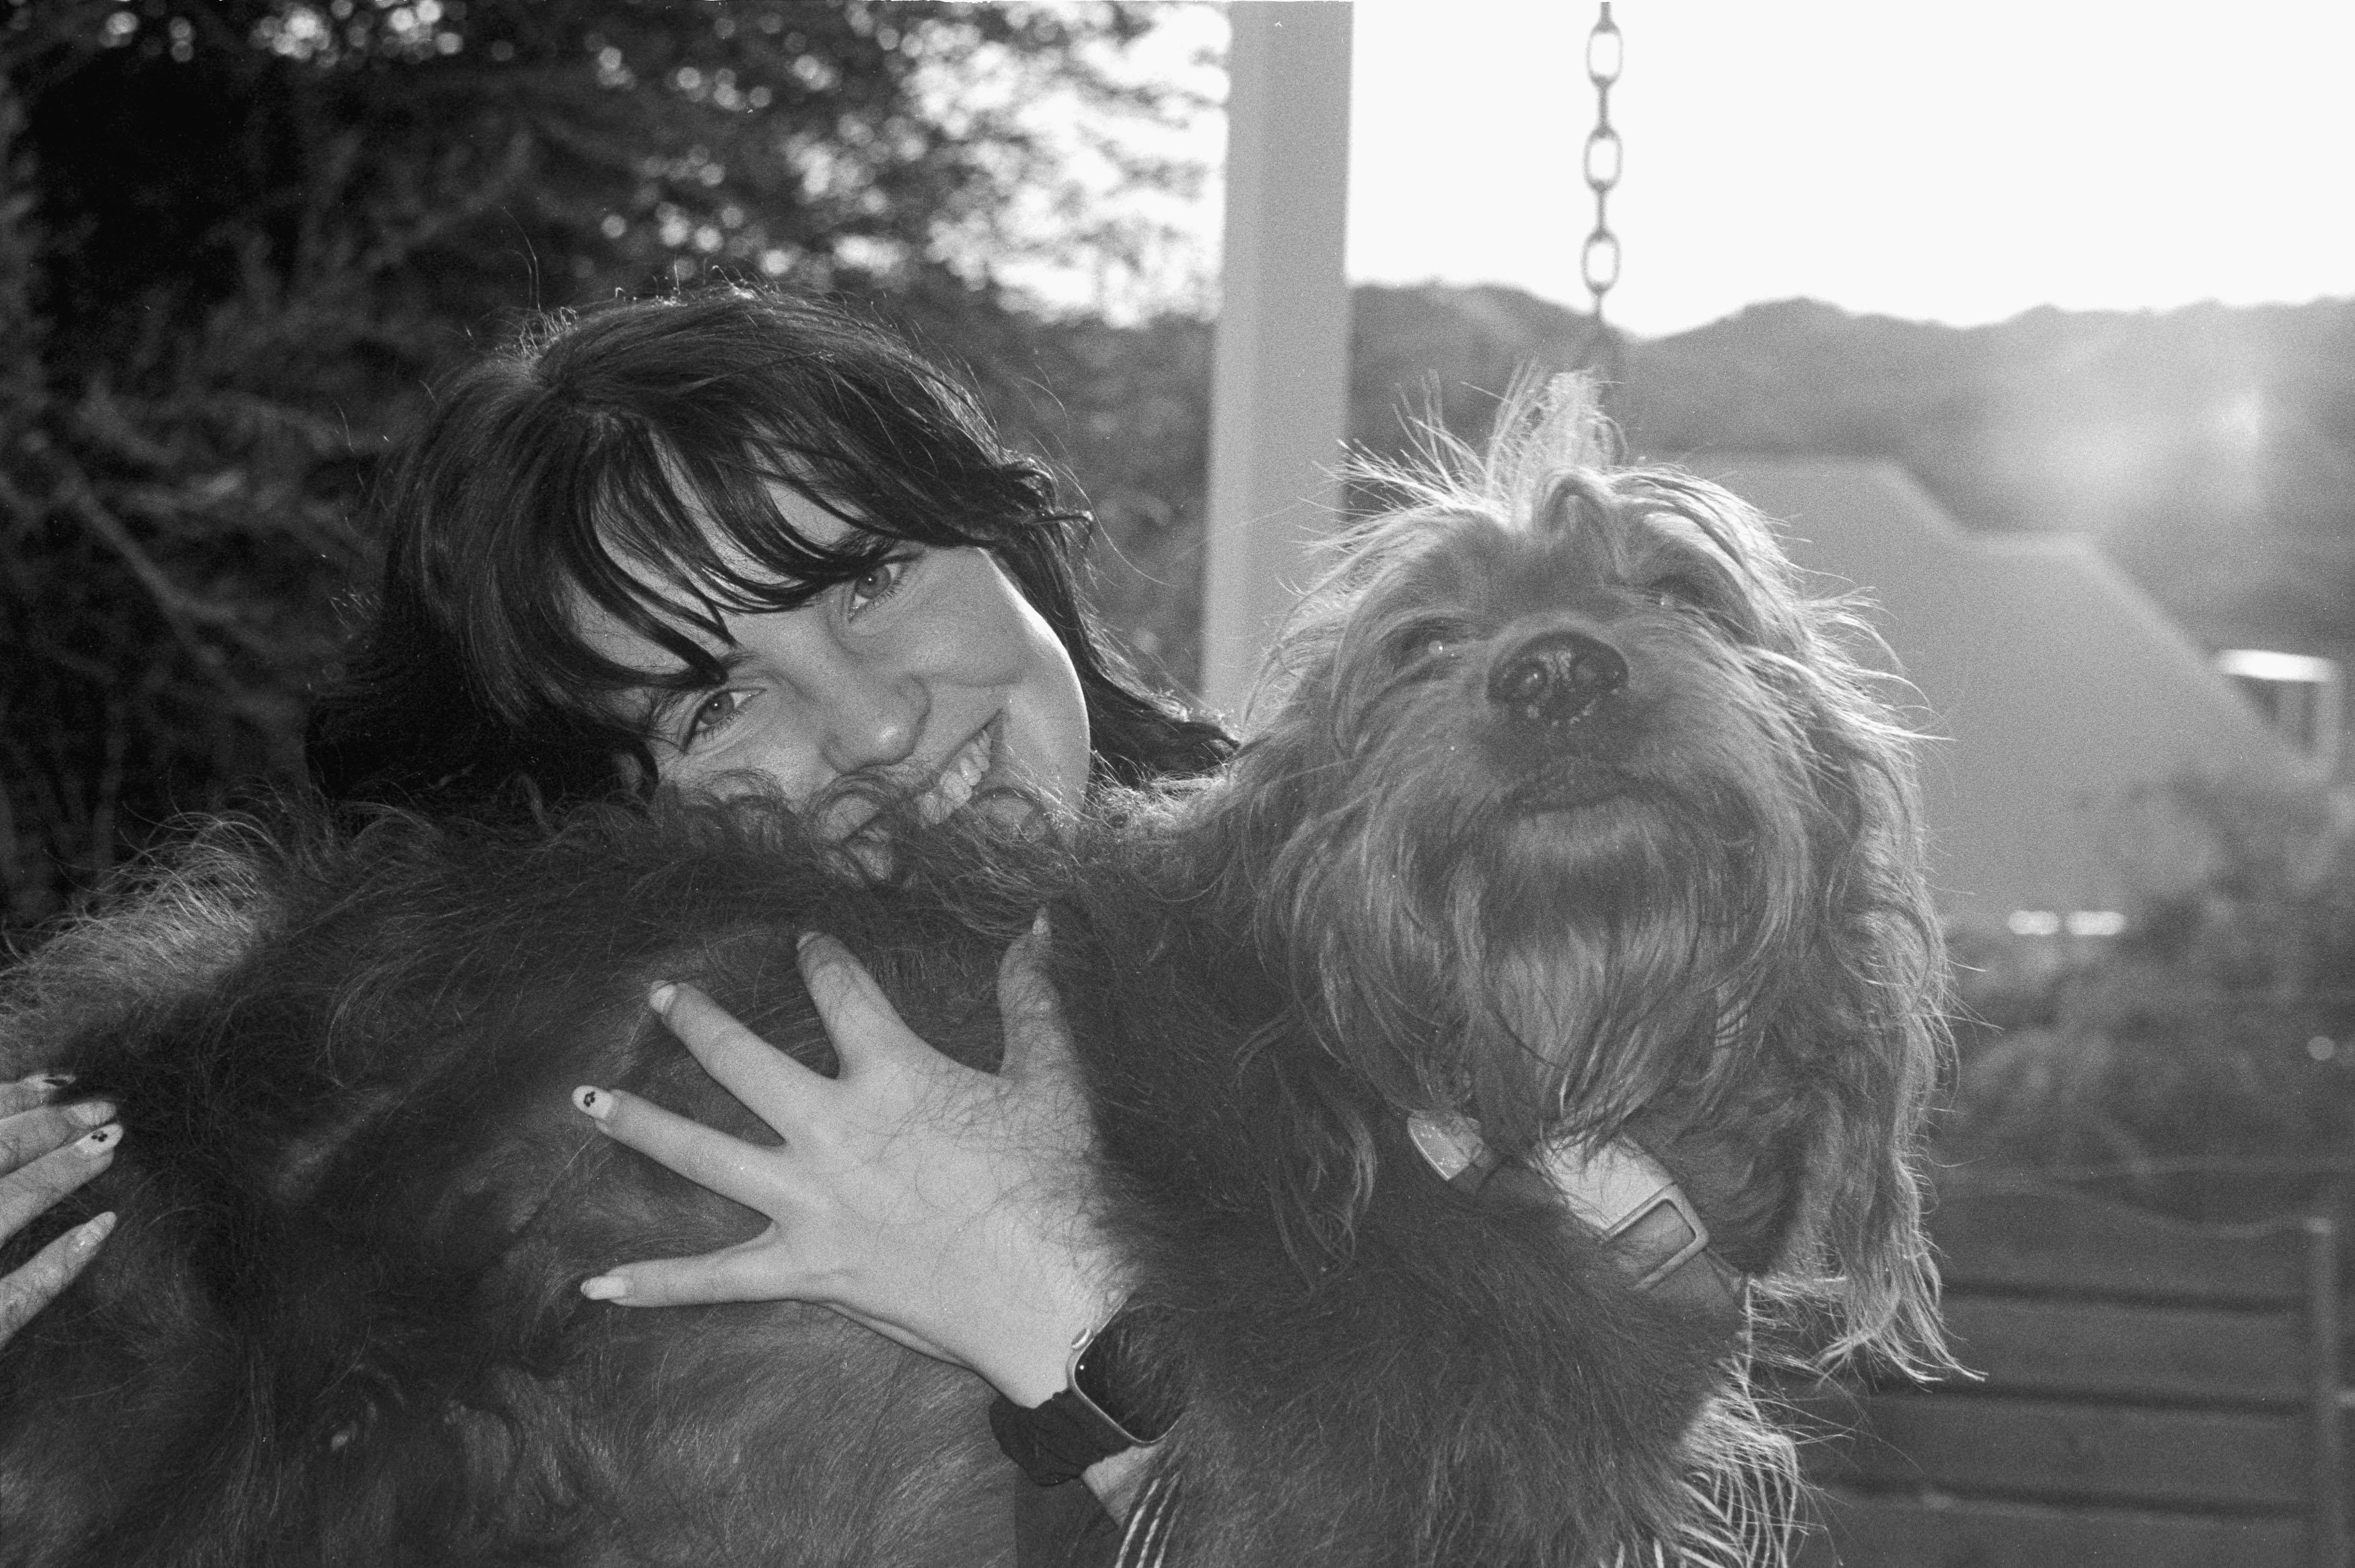
Once I got going, I used the flash to see what the camera could do. In automatic mode, it apparently decided the scene didn’t need any assistance, while the fill-in flash did a much better job of forcing some light into the shadows. A backlit portrait of my daughter showed the same thing: despite the flare and lack of contrast, the fill-in flash added some useful punch to an otherwise flat scene.


The lens can flare, too. It isn’t a problem in most situations, but there’s a visible veiling haze in some images, probably not surprising given the sophisticated lens design with sixteen elements in four groups. That’s a lot of glass. The subject matter, meanwhile, was considerably less sophisticated.

Shooting black and white was particularly liberating. Every frame of colour feels precious, but with the Kentmere 100 I found myself shooting with a sense of joyful abandon, randomly spattering the scene with black and white film. By the end of the walk, I’d also finished a roll of Kodak Colorplus and had enough material to see what this lumbering beast could actually produce.

So, Is It Any Good?

The surprising answer is yes. The lens on this thing is sharp, and I found myself wondering whether you could really tell the difference between these photographs and images from an SLR costing considerably more. The obvious compromises are the size, the slow maximum aperture and the fact that you can’t remove the lens and replace it with something faster or wider.

But perhaps that’s the point. Olympus had apparently found that many people were buying SLRs in the early nineties because they wanted better image quality, only to spend most of their time using the kit lens that came with the camera. With the IS-2000, there’s only one lens, but Olympus made it a good one. The 35-135mm range doesn’t show any major weaknesses, and the addition of macro makes it considerably more versatile.
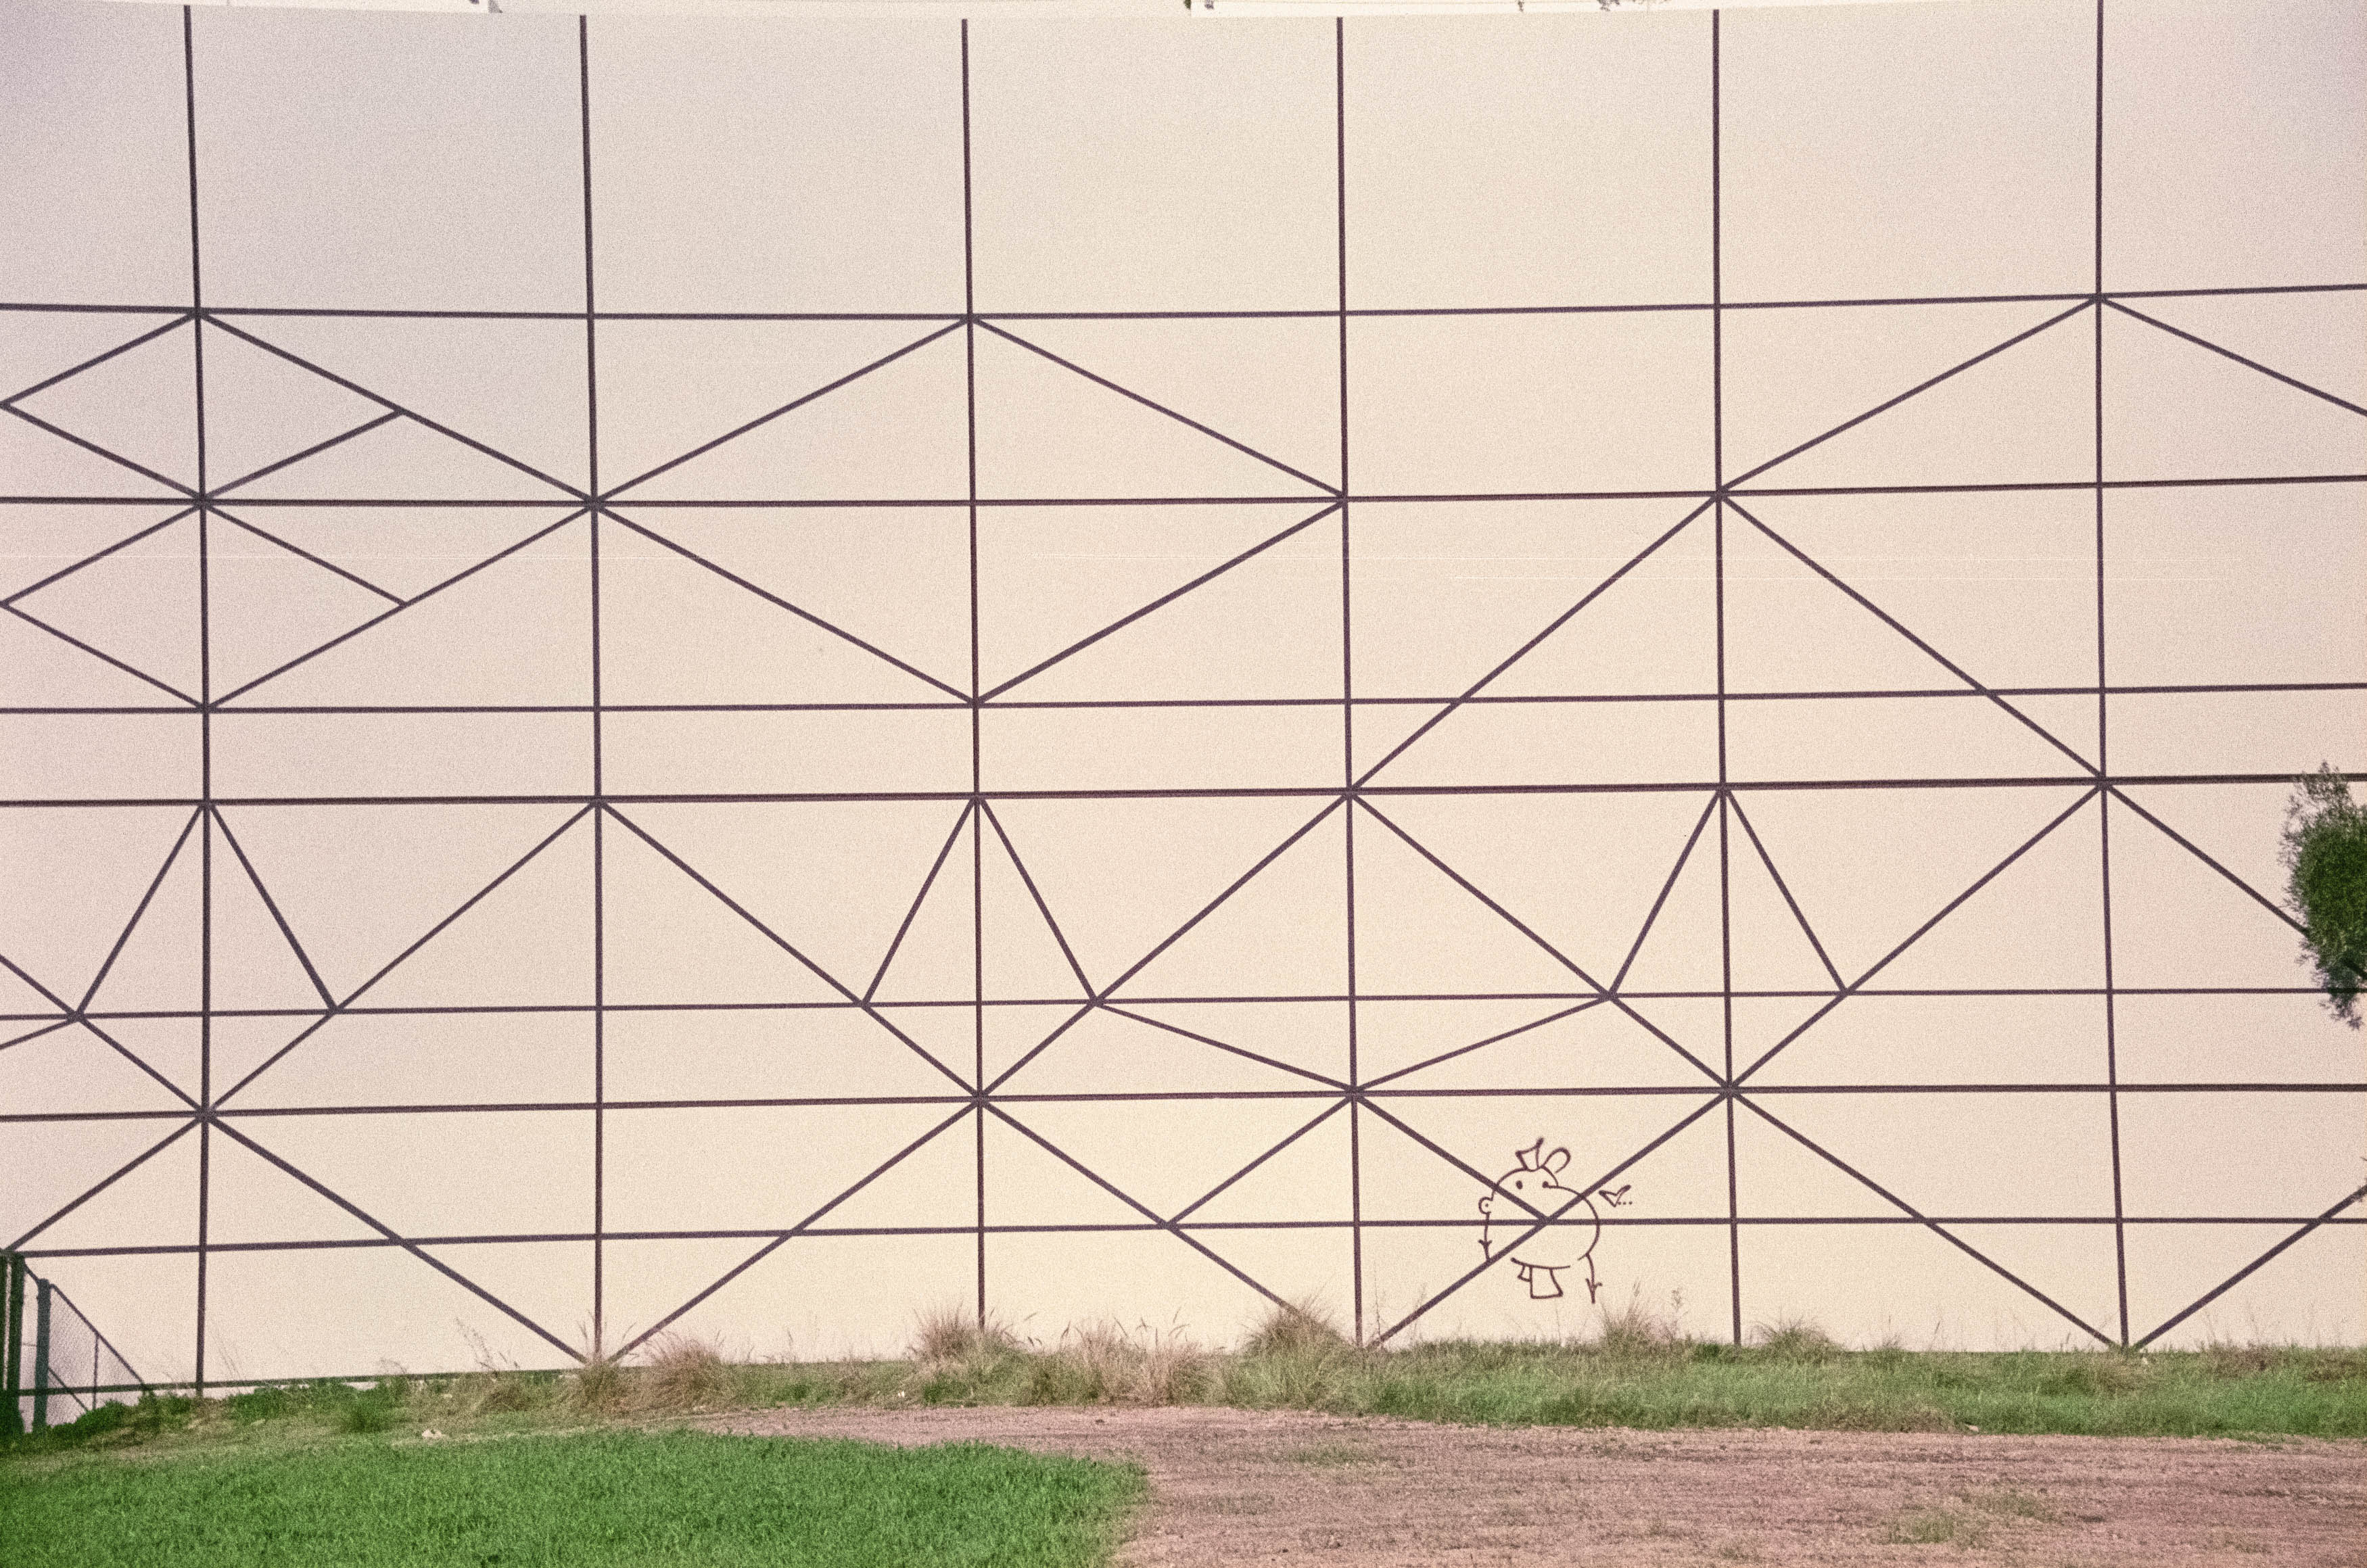
The price is another standout. It’s difficult to argue with the quality of film photographs you can get from an $18 Australian camera. Even if you can’t find one for that price, this class of camera still feels like one of the last true bargains. I would have preferred something wider — 28mm would have made more sense to me for a walkabout camera — but the 135mm telephoto is perfectly usable.
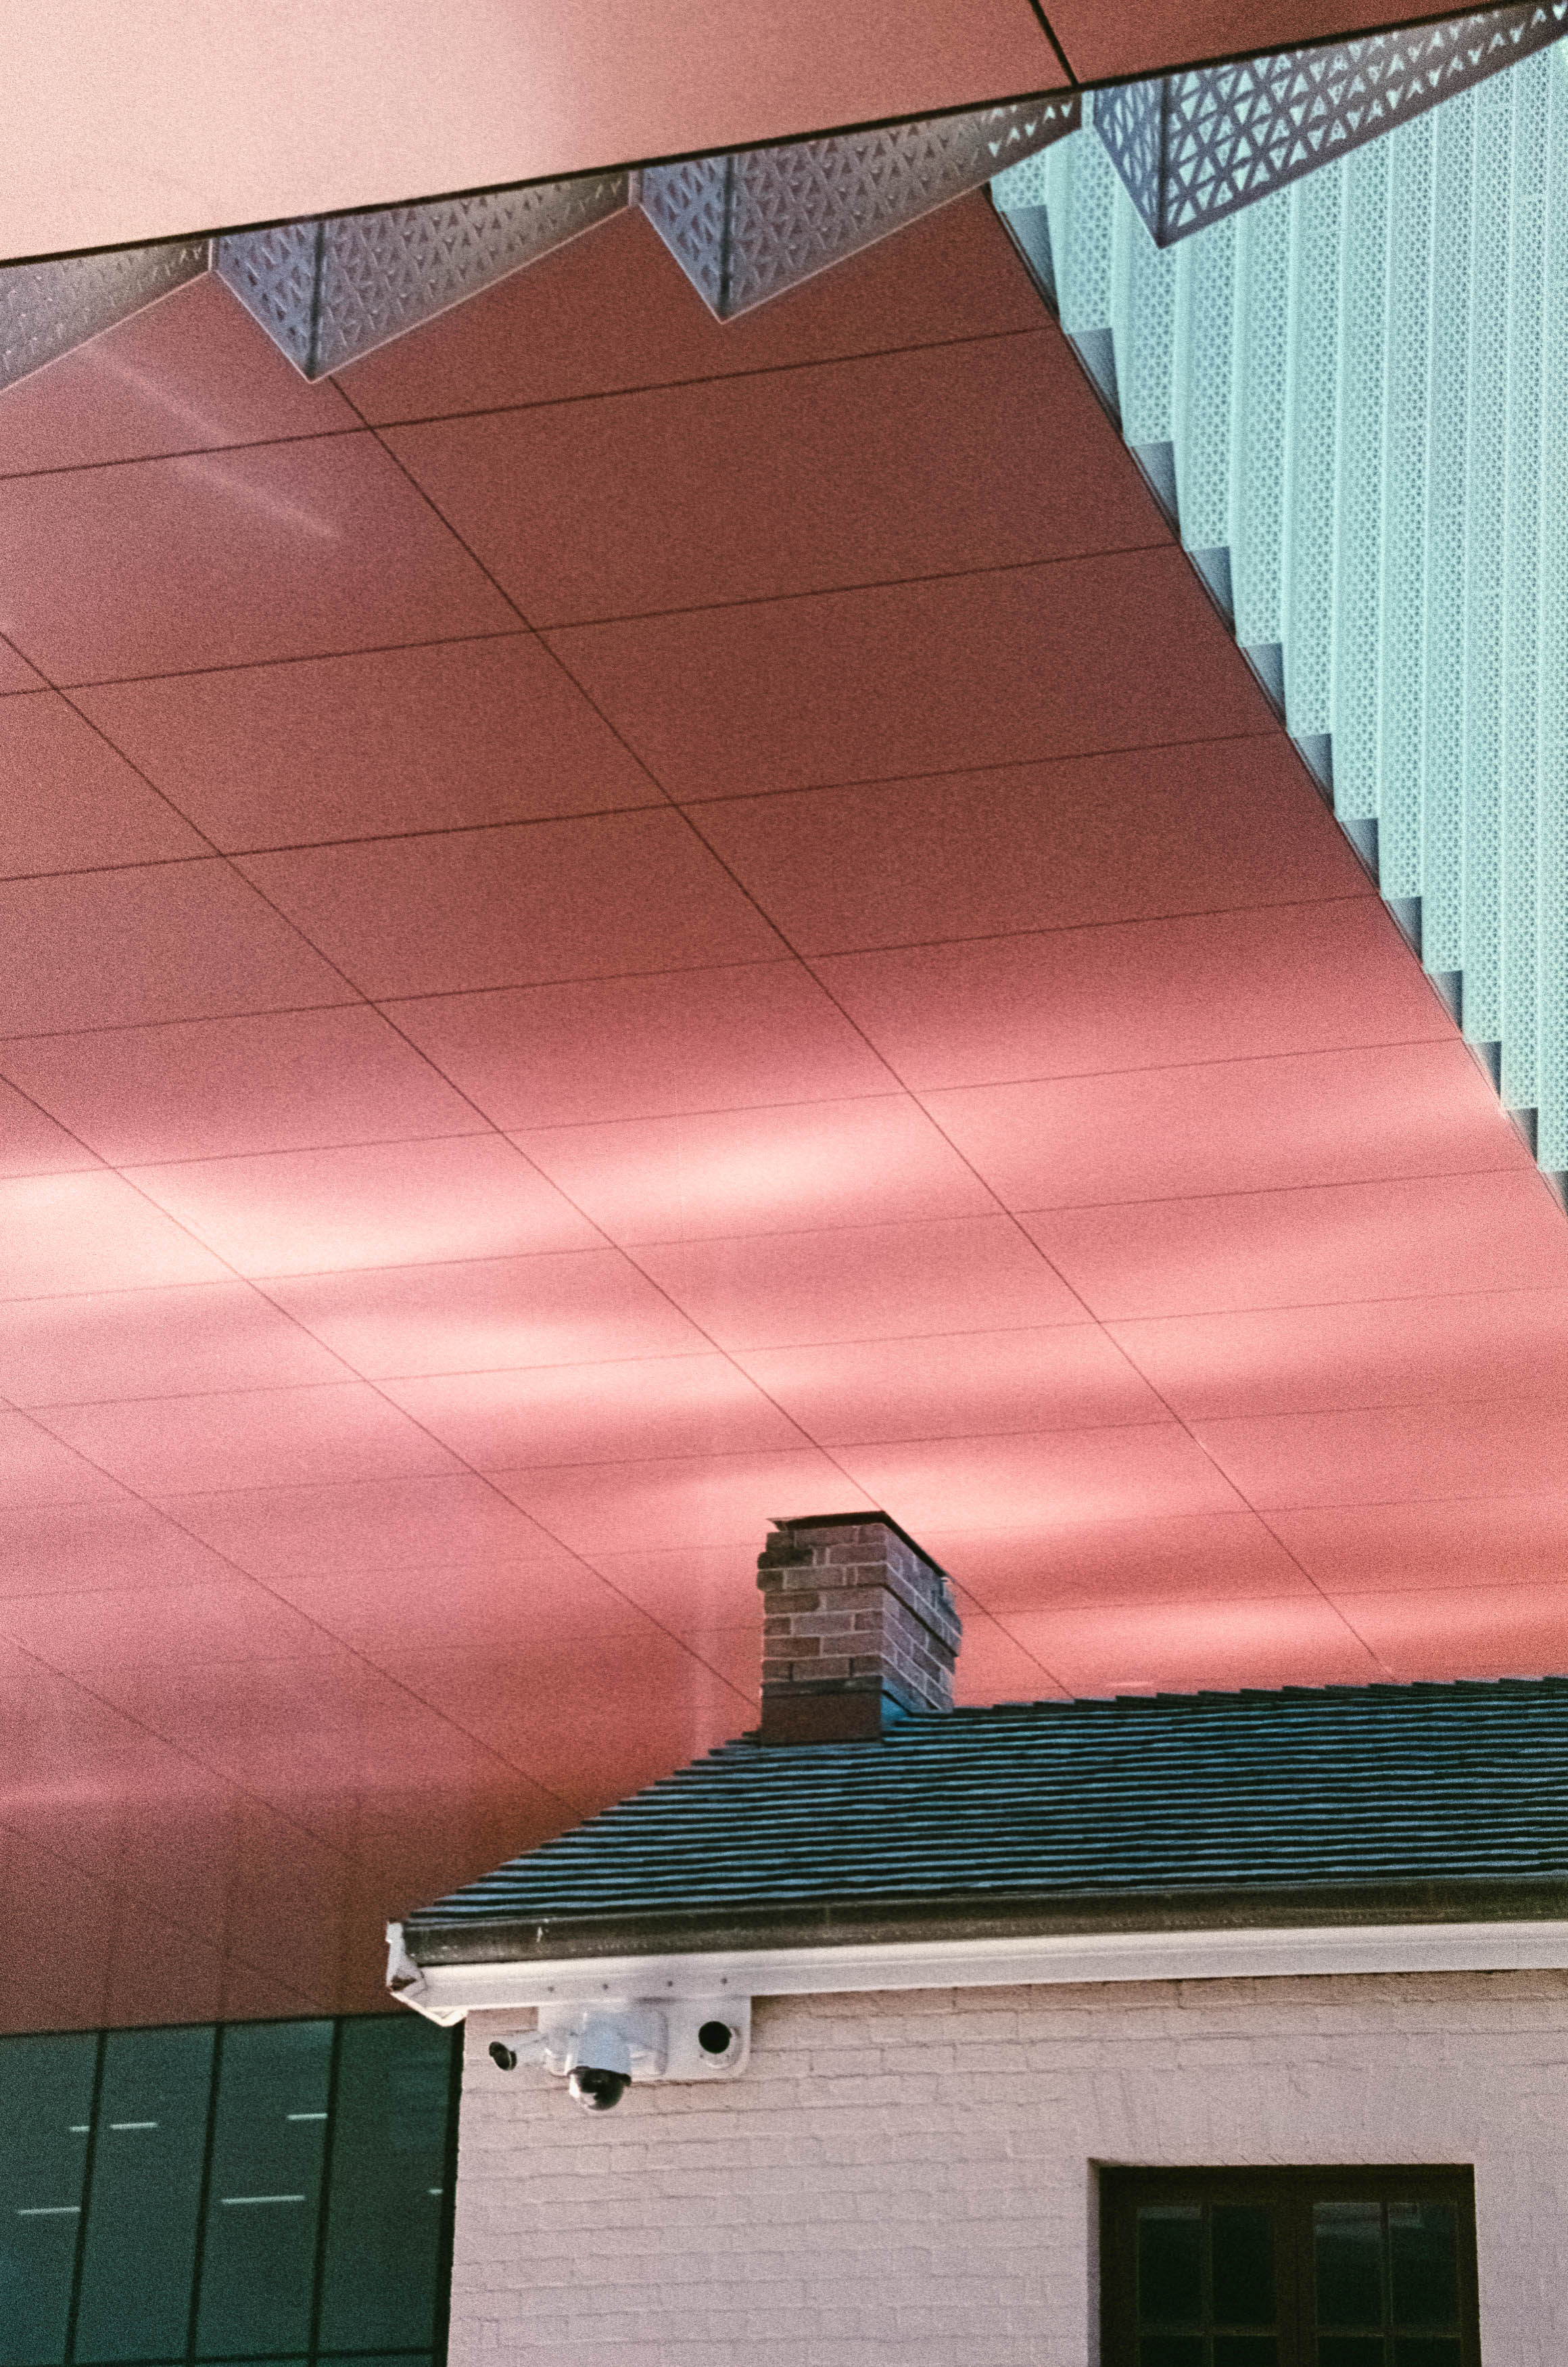
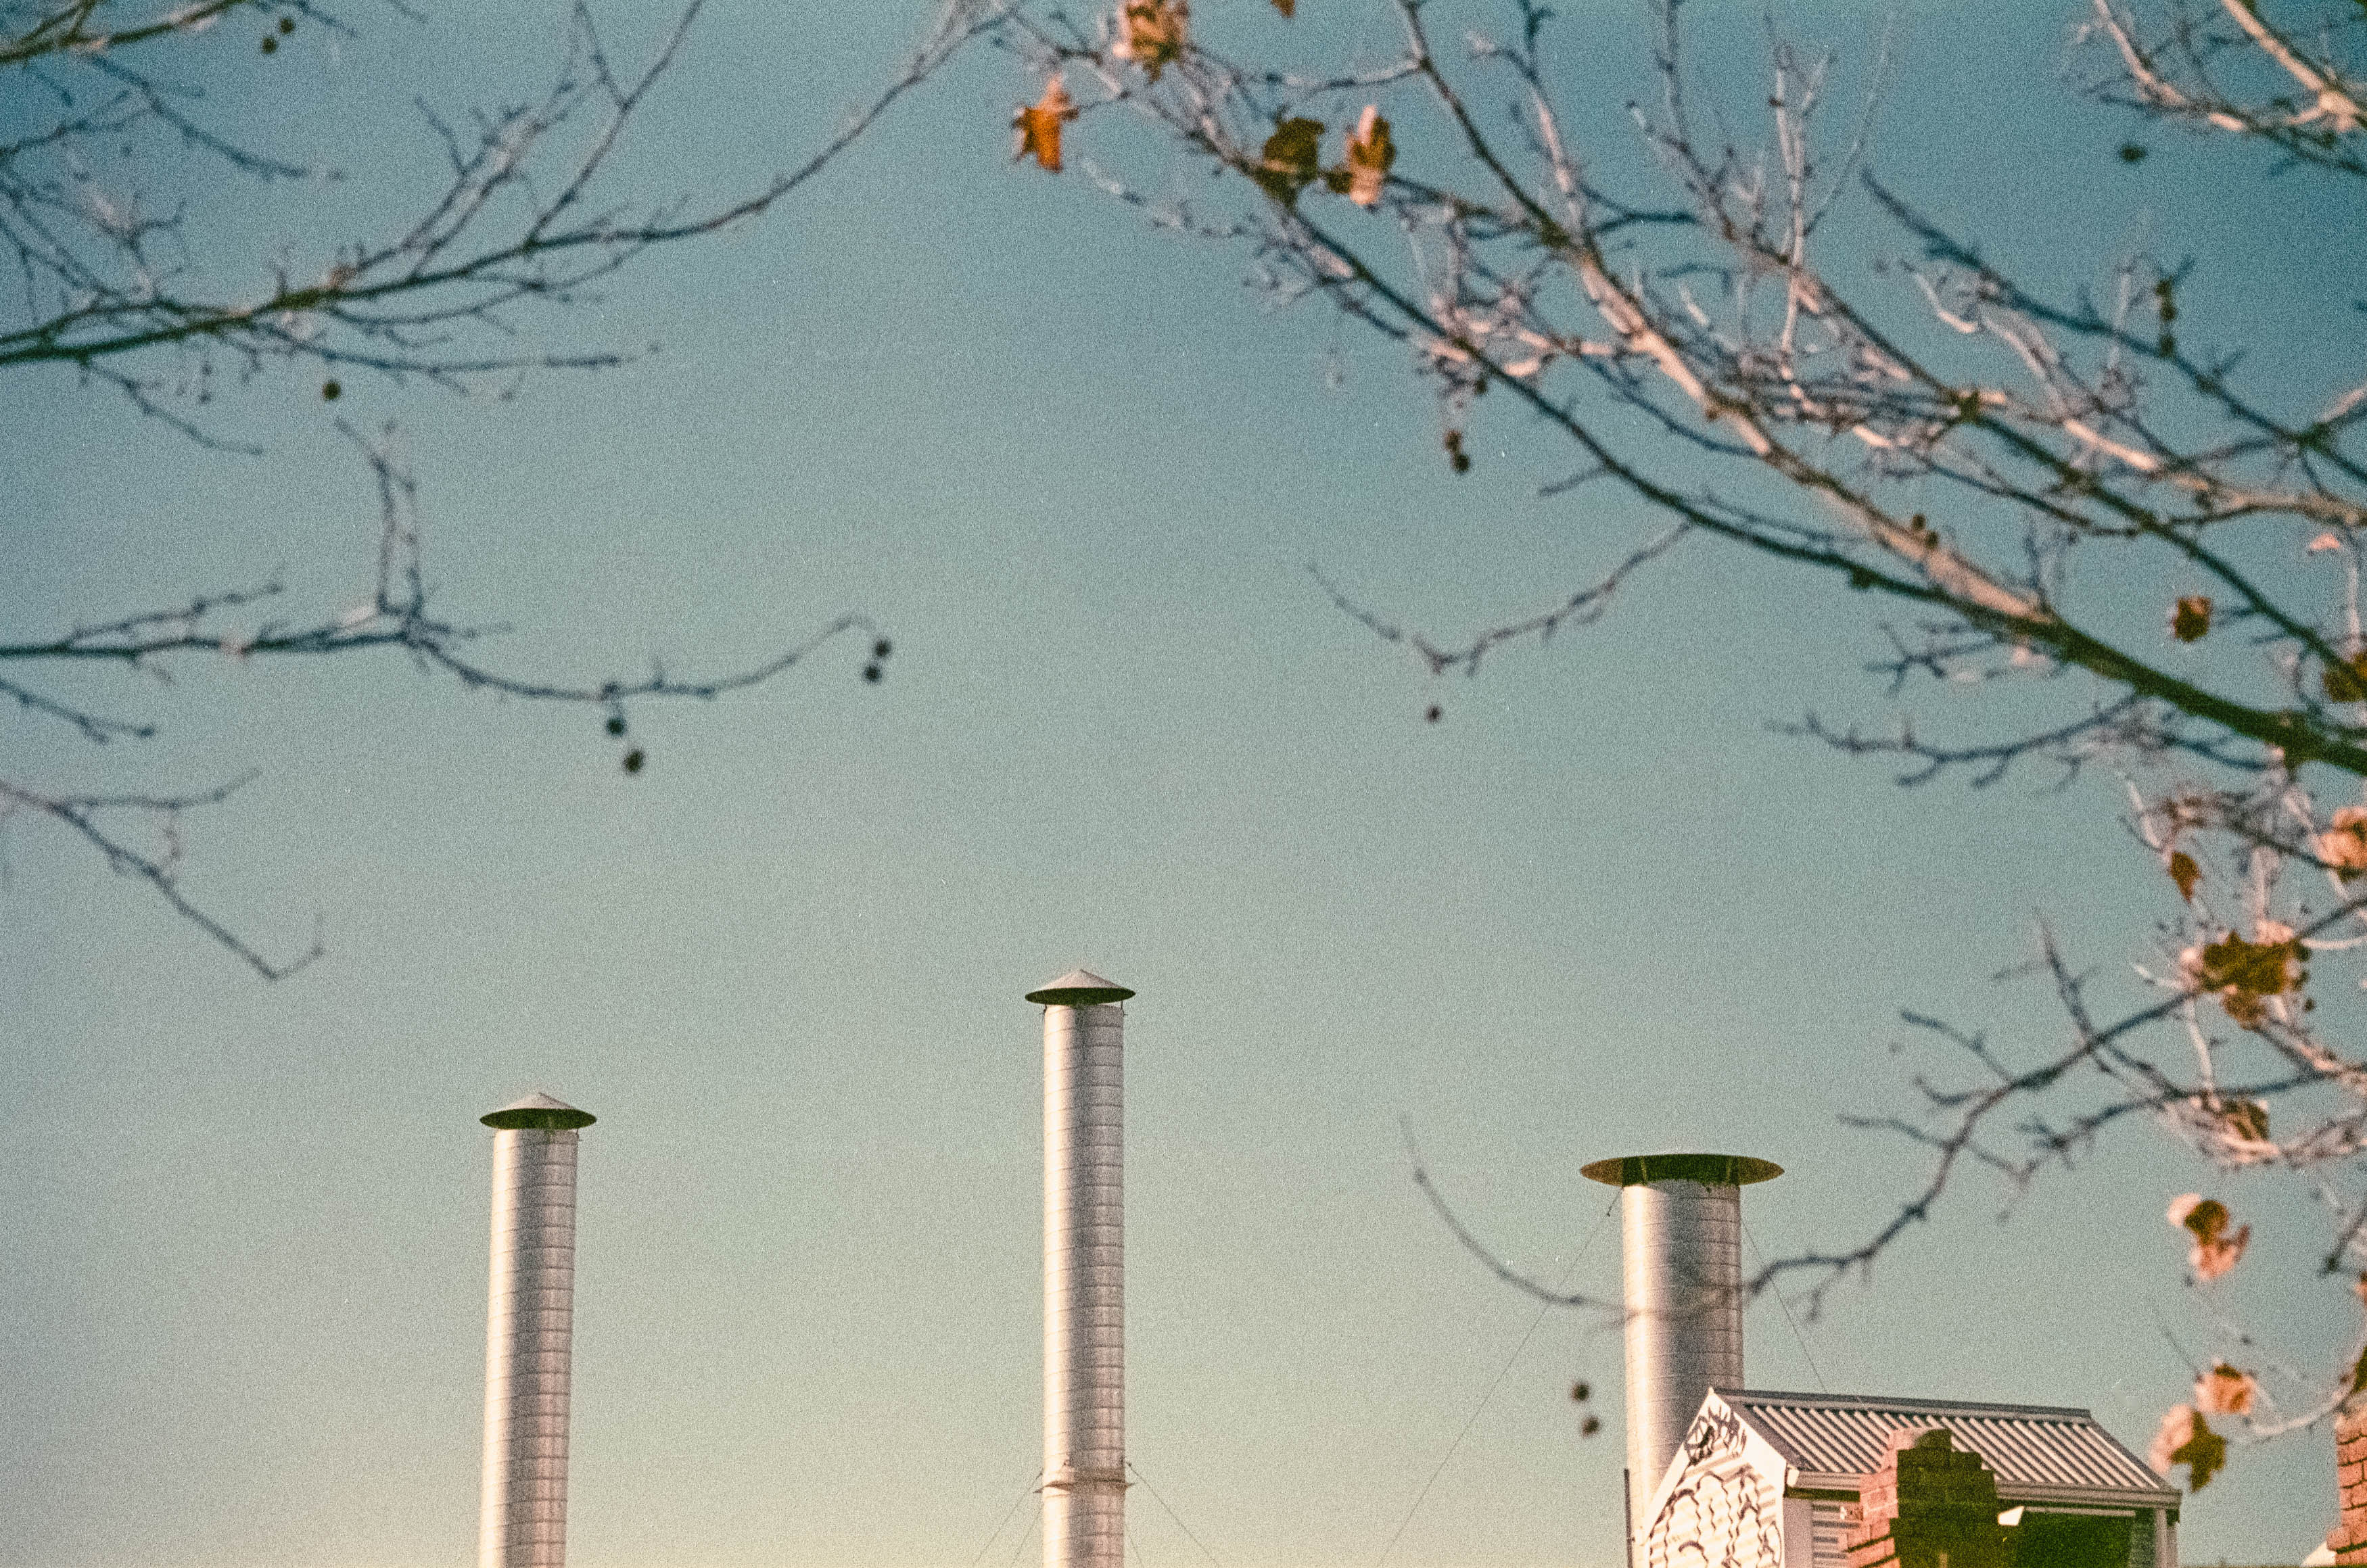
There’s no getting around the cheap-feeling plastic, either, and the size and build quality could be a dealbreaker. I’ve already lamented the slow death of my Fuji GA645Zi medium format camera, and I suspect this Olympus may eventually meet the same fate, becoming one more slab of comically large 90s landfill.

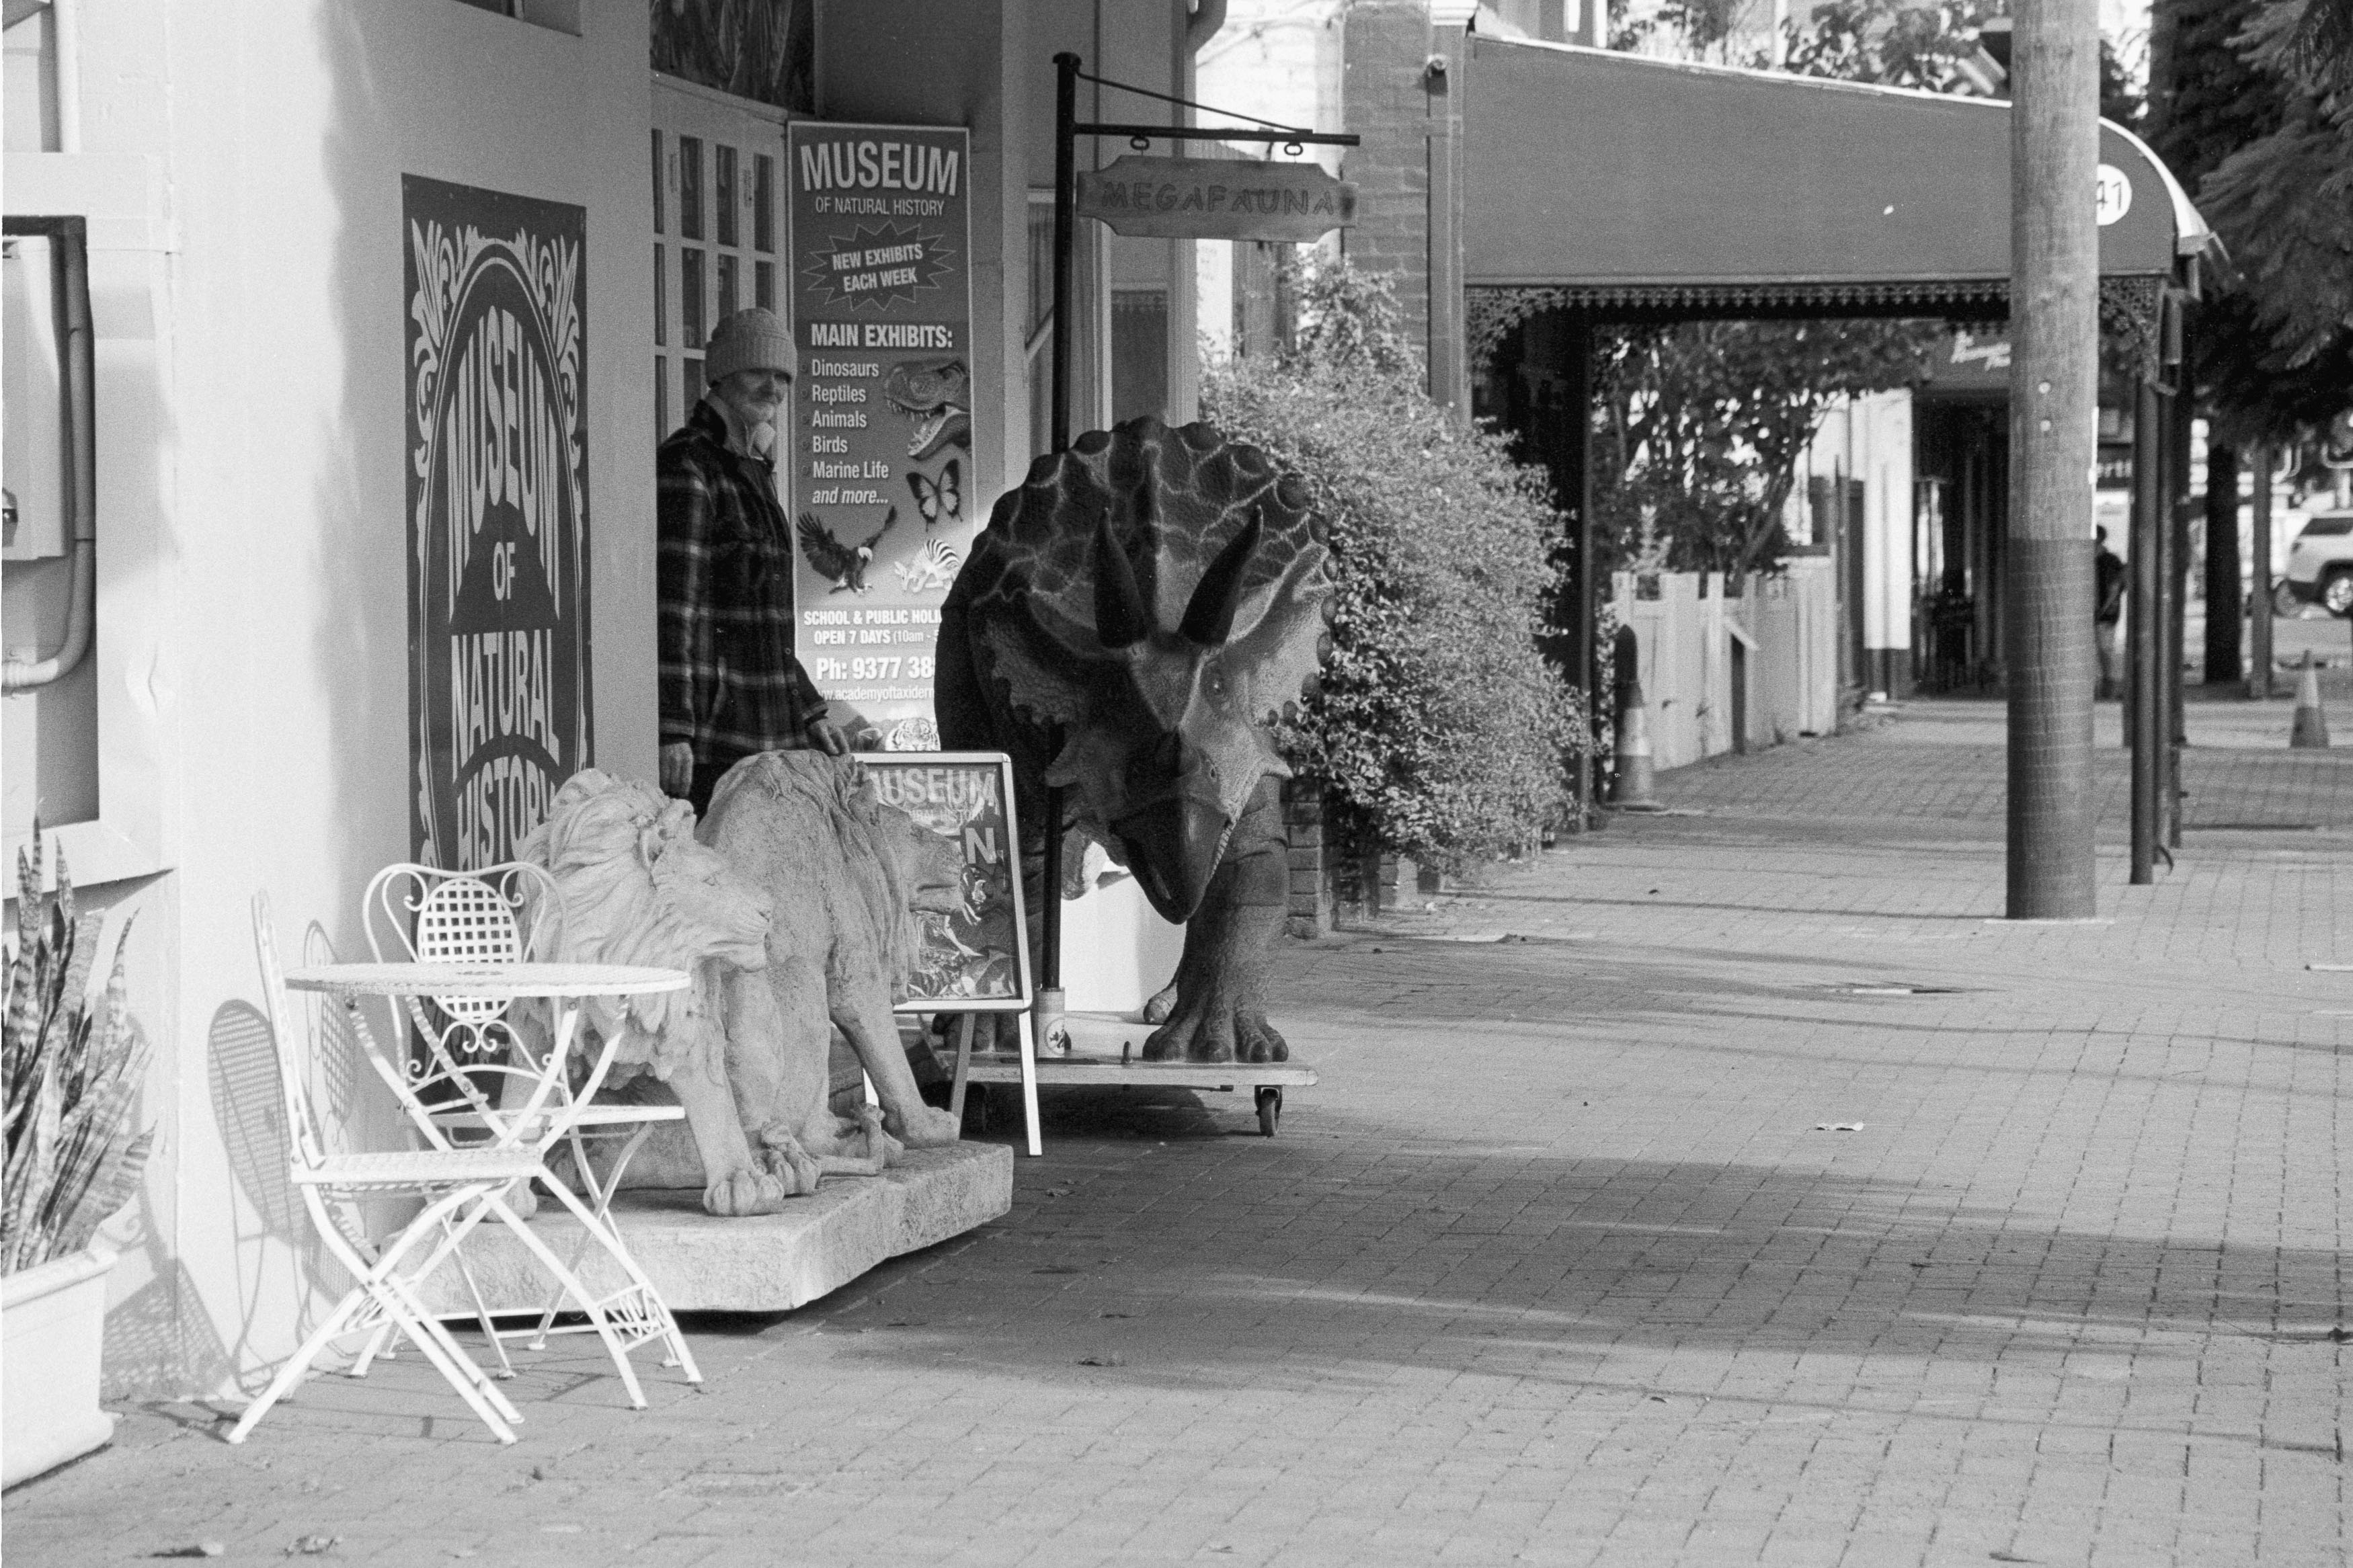
At 18 dollars, though, who cares? This was a dog walk rather than a formal photoshoot, and the photographs are nothing more than snapshots of a part of Perth I rarely visit. Still, the camera delivered where it mattered. I ended up with six Golden moments from Guildford, including the triceratops, a suburban shrine and, very nearly, the back of a sign — a deliberately contrary photograph that I still rather liked.

So these are the six for today: a strange and banal set of photographs from a strange and banal camera. The Olympus IS-2000 may not be something I’m going to pull out to impress the girls at parties, and sometimes size isn’t everything, but in terms of pure image quality, this lumbering beast delivers.

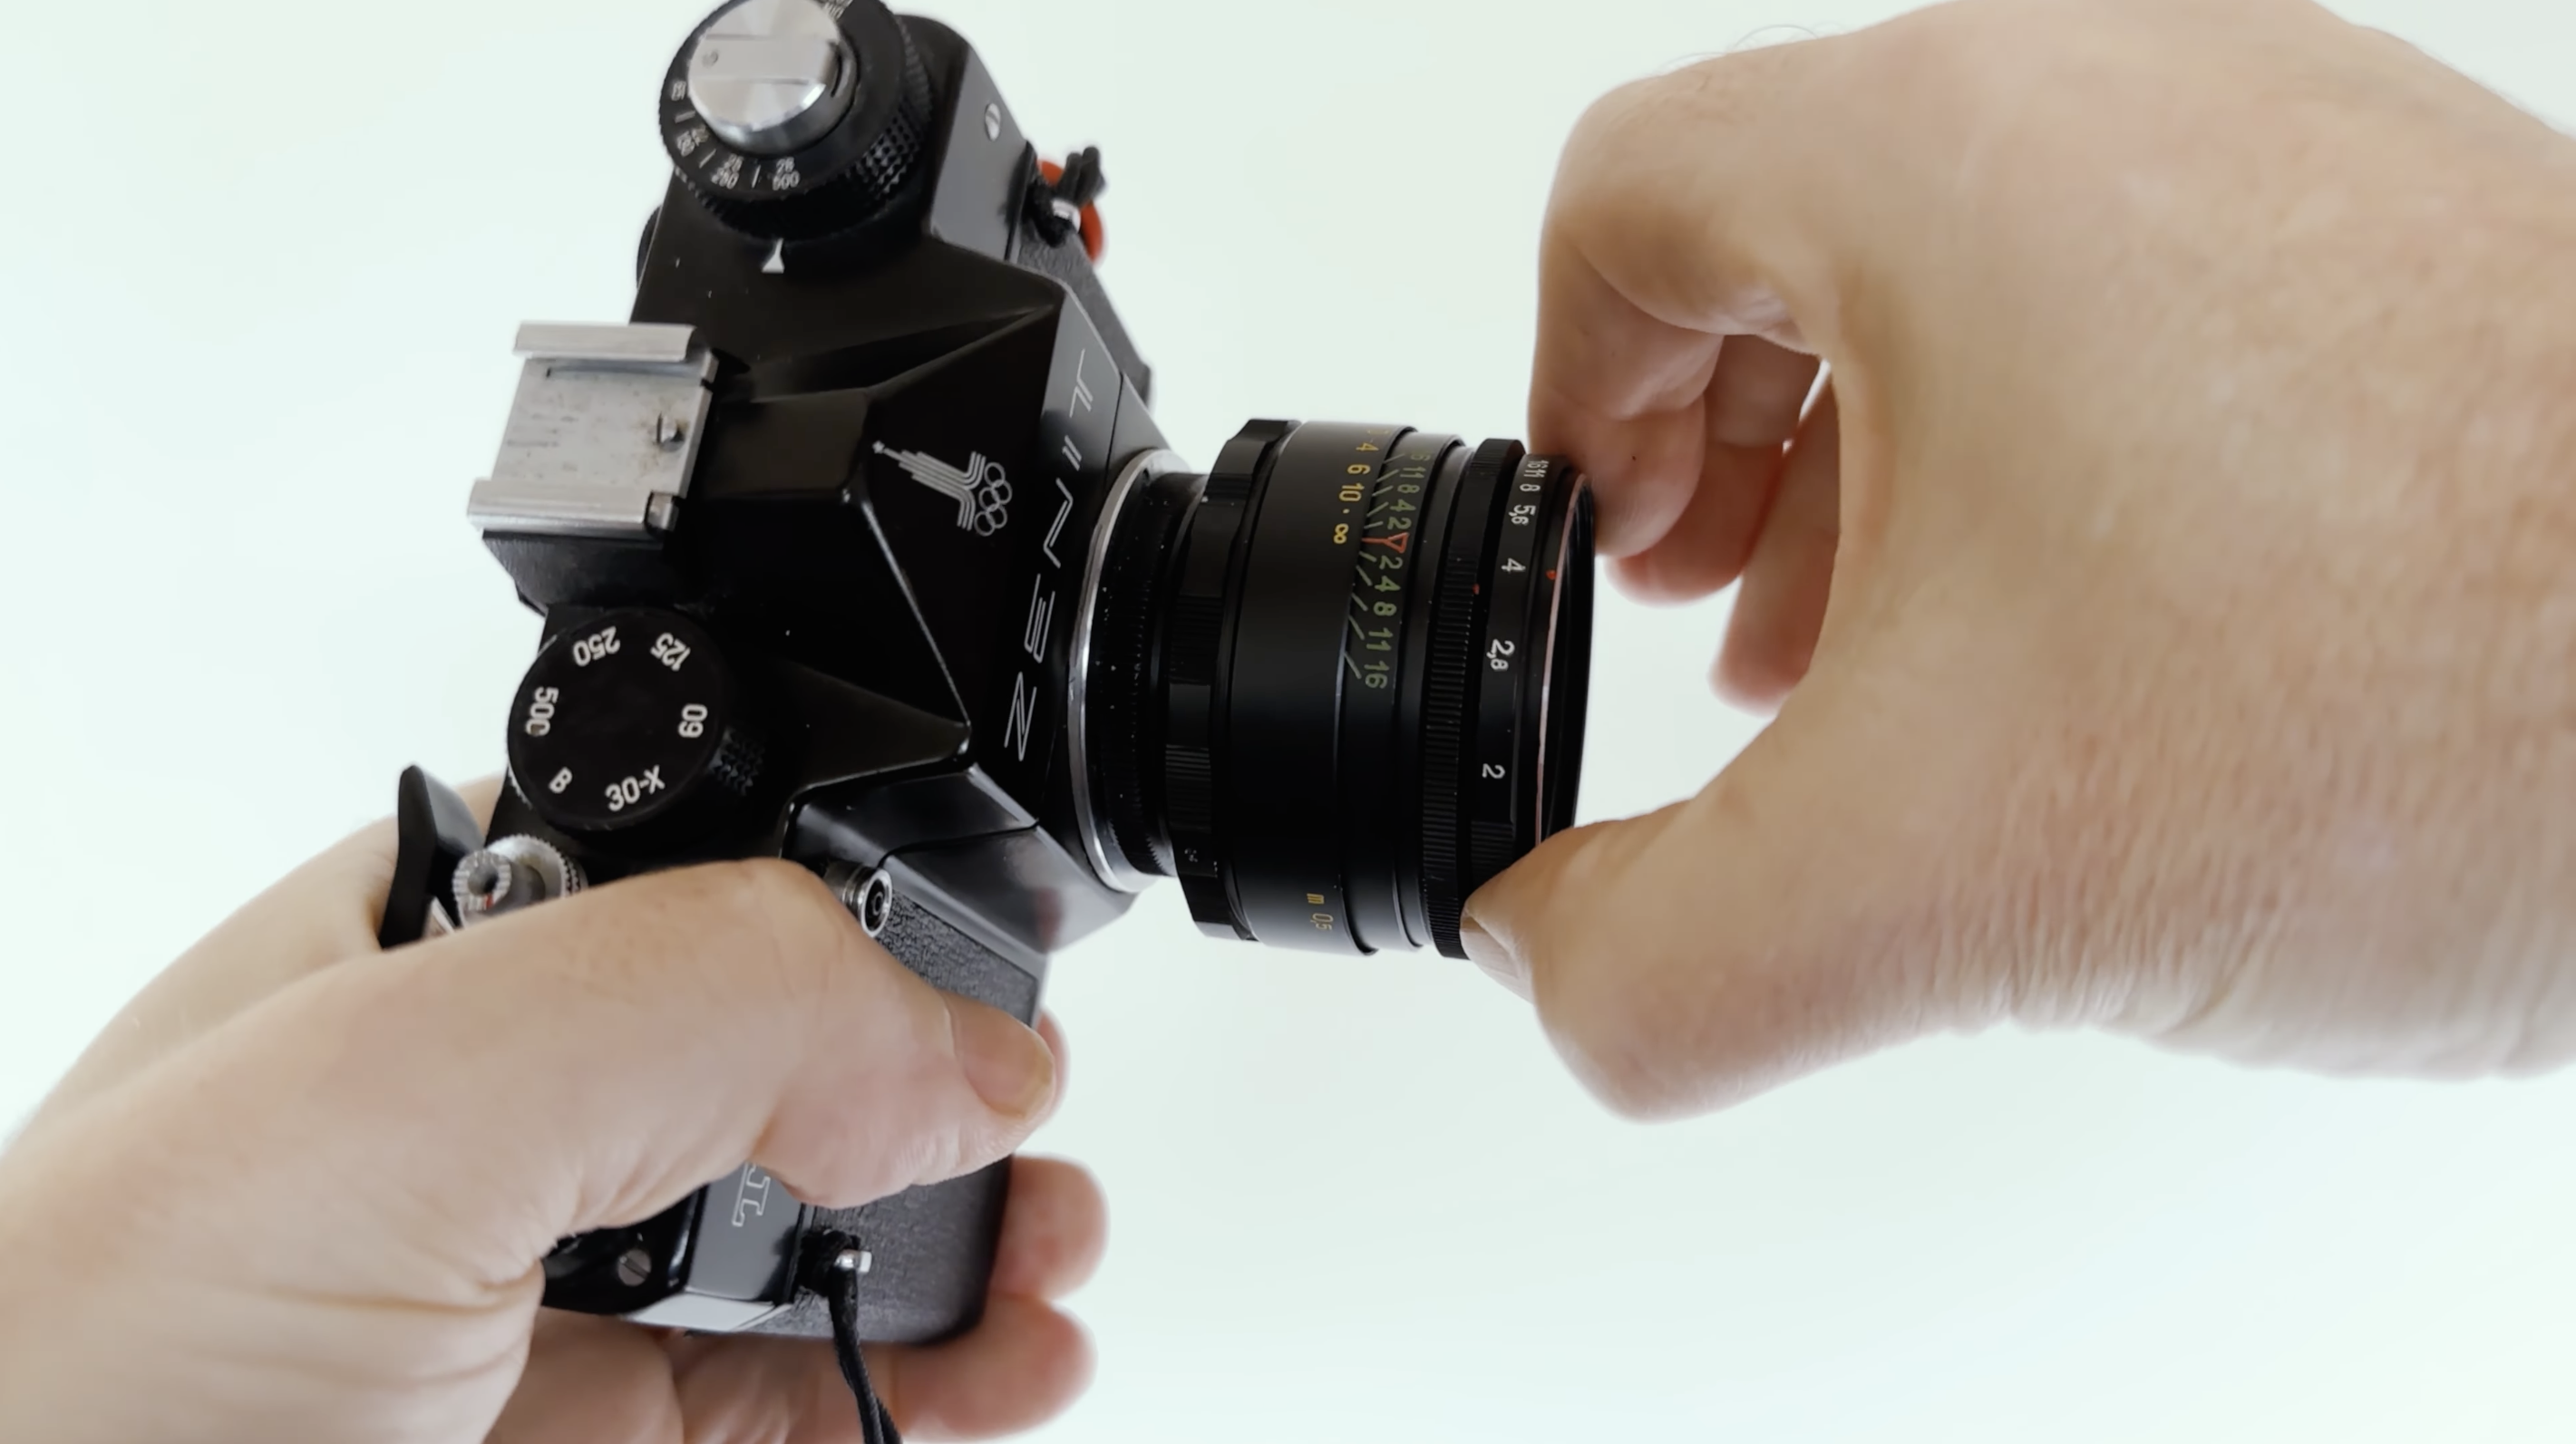
Initial Review of the Zenit TTL and Helios 44-2 at Wedge Island Western Australia

Yes, I have bought into the Helios hype. Unless you’ve been living in a cave you will probably have heard of the Helios 44, a lens famous for its distinctive swirly bokeh, colourful lens flare and general refusal to behave like a modern optical instrument. It even appeared in The Batman and Dune: Part Two, so its cinematic credentials are now considerably more impressive than mine.
The Helios 44 actually began life as a Soviet version of the Carl Zeiss Biotar 58mm f/2, a lens originally introduced in 1936. The Helios 44 first appeared in 1958 and went through numerous versions before production finally ended in 1999, with millions made along the way. So this isn’t some obscure vintage curiosity that three people on a forum have decided is brilliant; it is a genuinely historic lens with an enormous following.

My particular example came attached to something considerably less celebrated: a Zenit TTL from 1980. The camera has a reputation for being less than delightful, and I initially bought it largely because it was an inexpensive way of acquiring the Helios. Still, there was something irresistible about putting the two together and seeing whether this famously characterful lens could overcome what is widely regarded as a fairly agricultural camera.

Taking the Zenit TTL to Wedge

The Zenit TTL is heavy, weighing around 684 grams, which isn’t outrageous in isolation but feels substantial compared with contemporary cameras such as the 510-gram Fujica STX-1n. Calling it a tank is tempting, although I think it is more like a Lada Niva: robust, agricultural and apparently designed without anyone becoming overly distracted by things like optimisation or elegance.

The camera does have TTL metering, which sounds promising until you actually try to use it. The meter isn’t coupled to the aperture, so you have to stop the lens down to take a reading. Unfortunately, stopping the lens down also makes the viewfinder considerably darker, making the whole process rather more fiddly than it needs to be. With my Helios 44-2, things became even more complicated because the lens isn’t coupled to the camera either.
The aperture system itself seems almost deliberately designed to confuse. You set an aperture range using one ring and then use another stepless control to select the actual aperture, with the control working in the opposite direction to what your brain expects. By the time I had finished trying to understand what was happening, I had largely abandoned the camera’s meter and decided that my own brain would be a better exposure system.

That might have worked if I hadn’t also managed to leave the diffuser covering my external light meter. Consequently, I was getting readings that were a stop or two too slow, while simultaneously dealing with the Zenit’s eccentric aperture controls. The inevitable result was a number of overexposed frames, some by several stops.

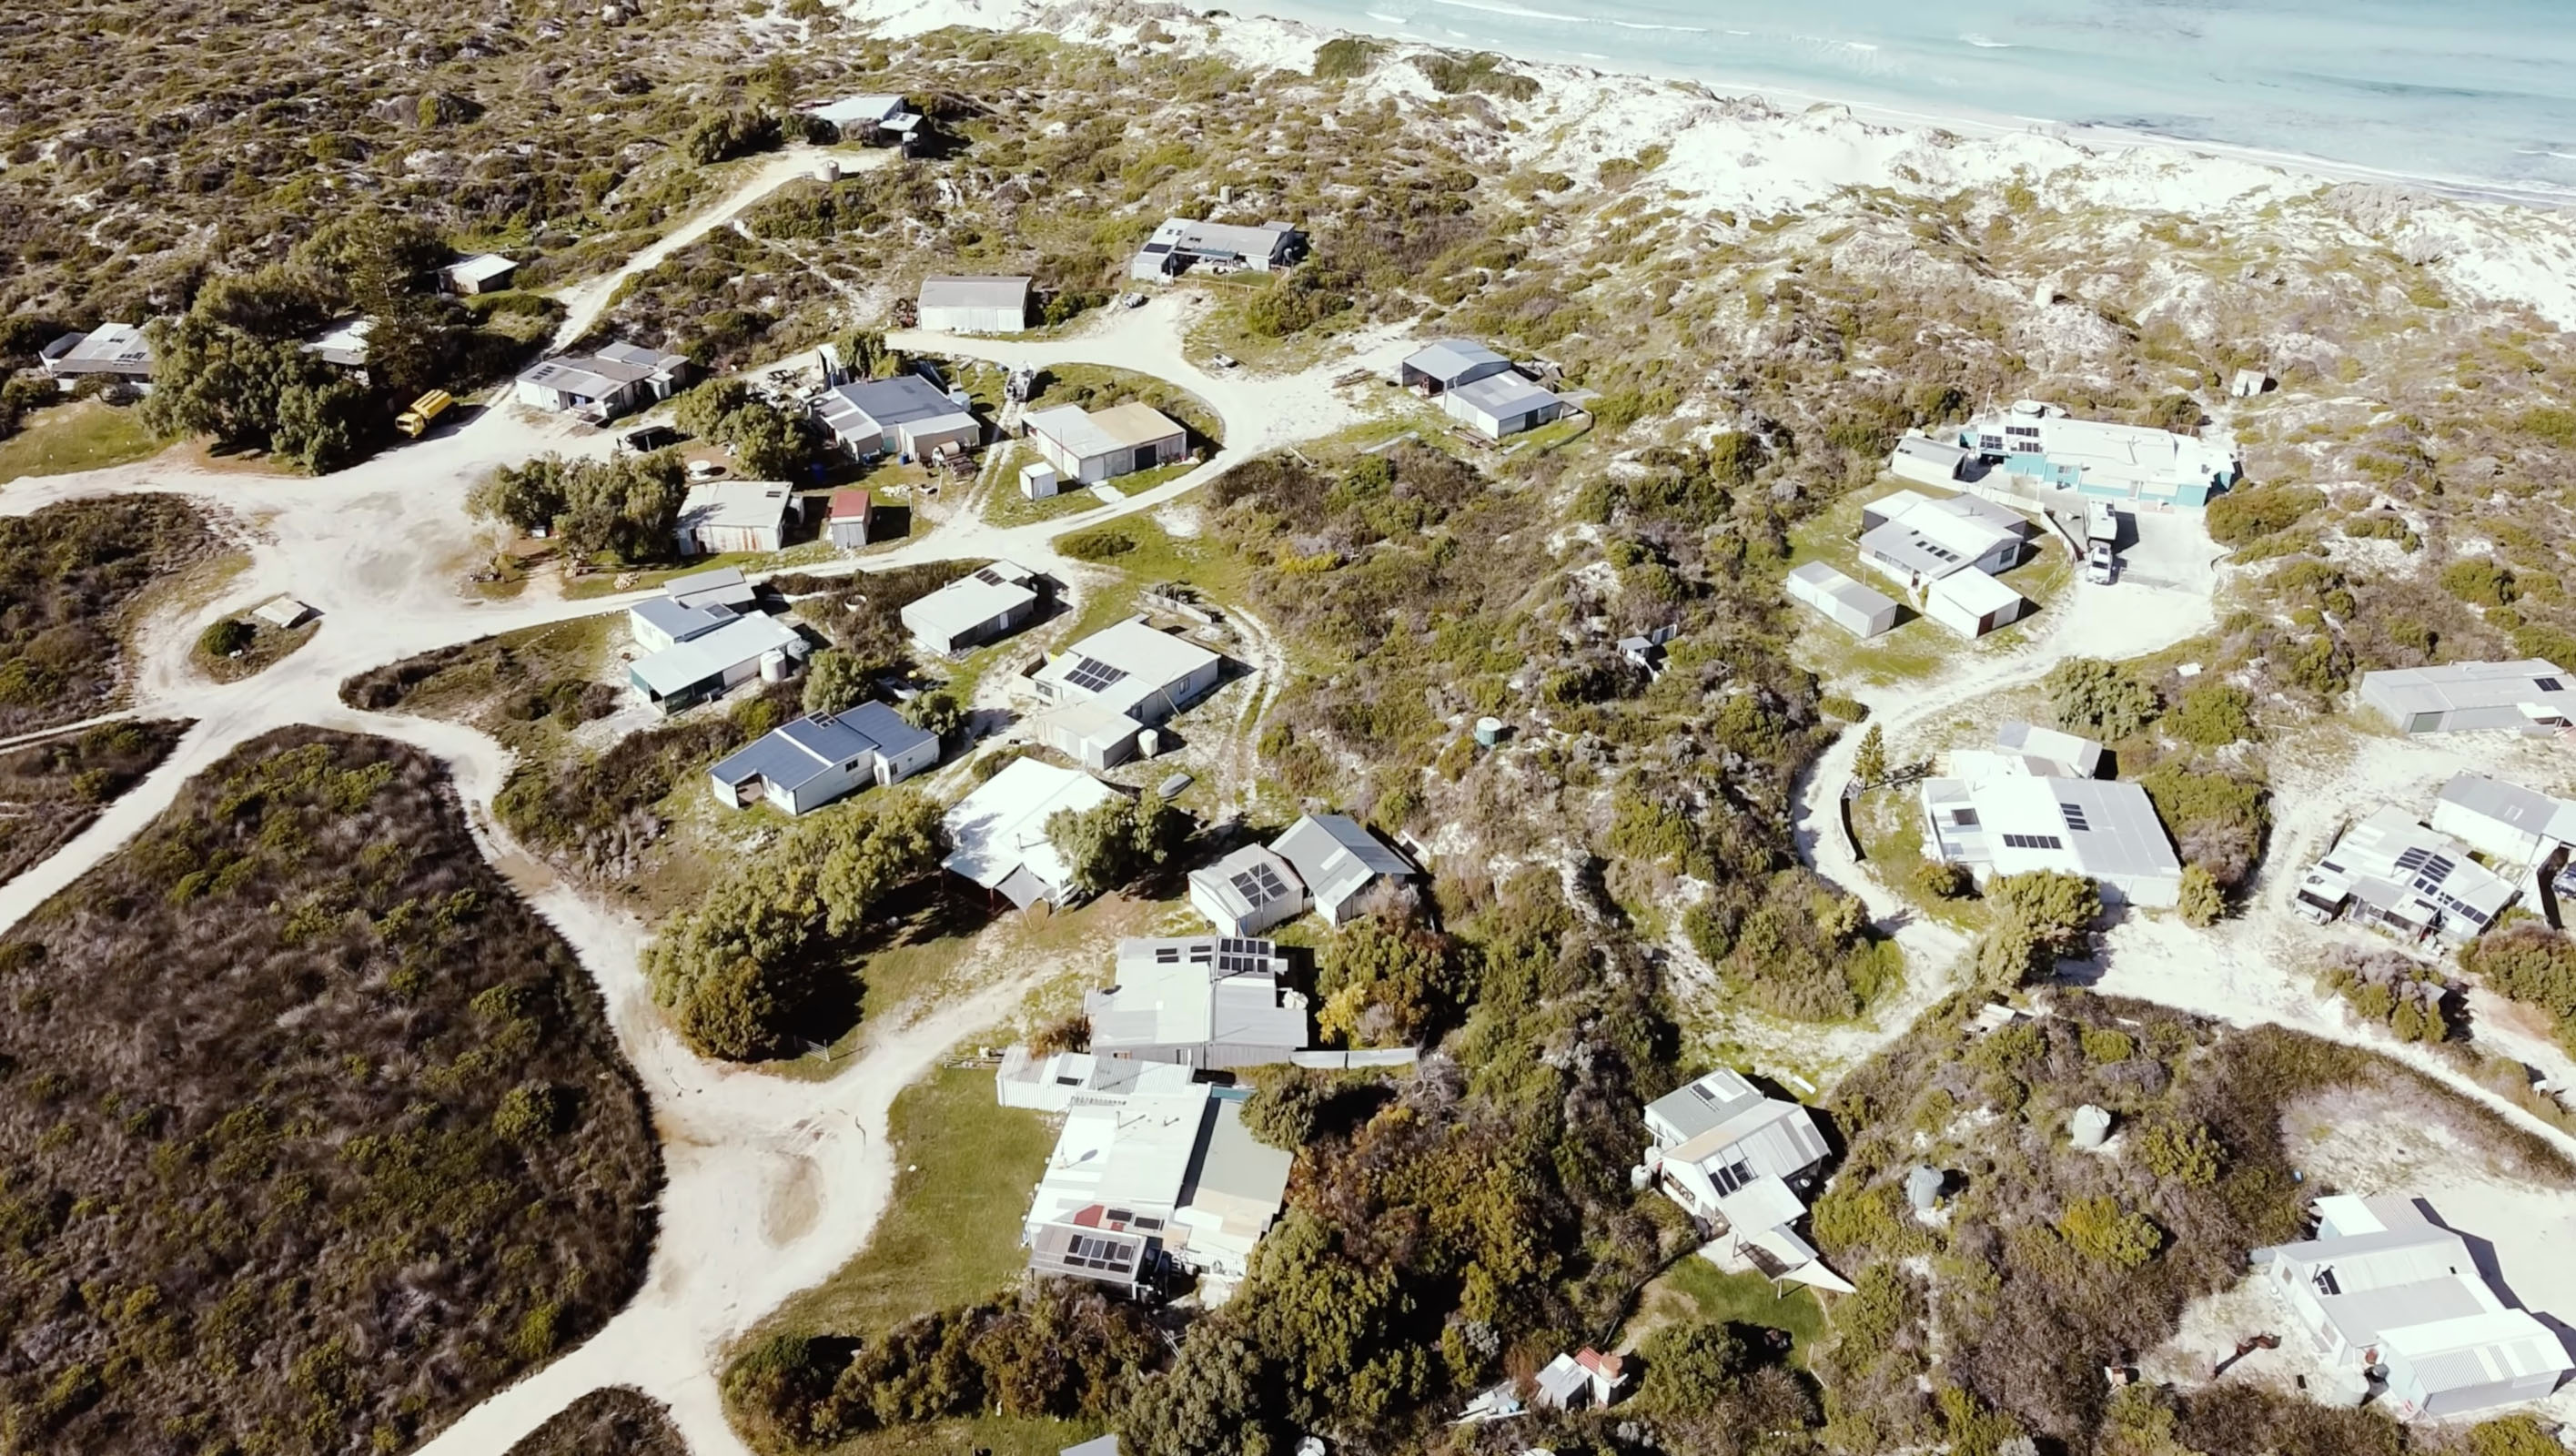
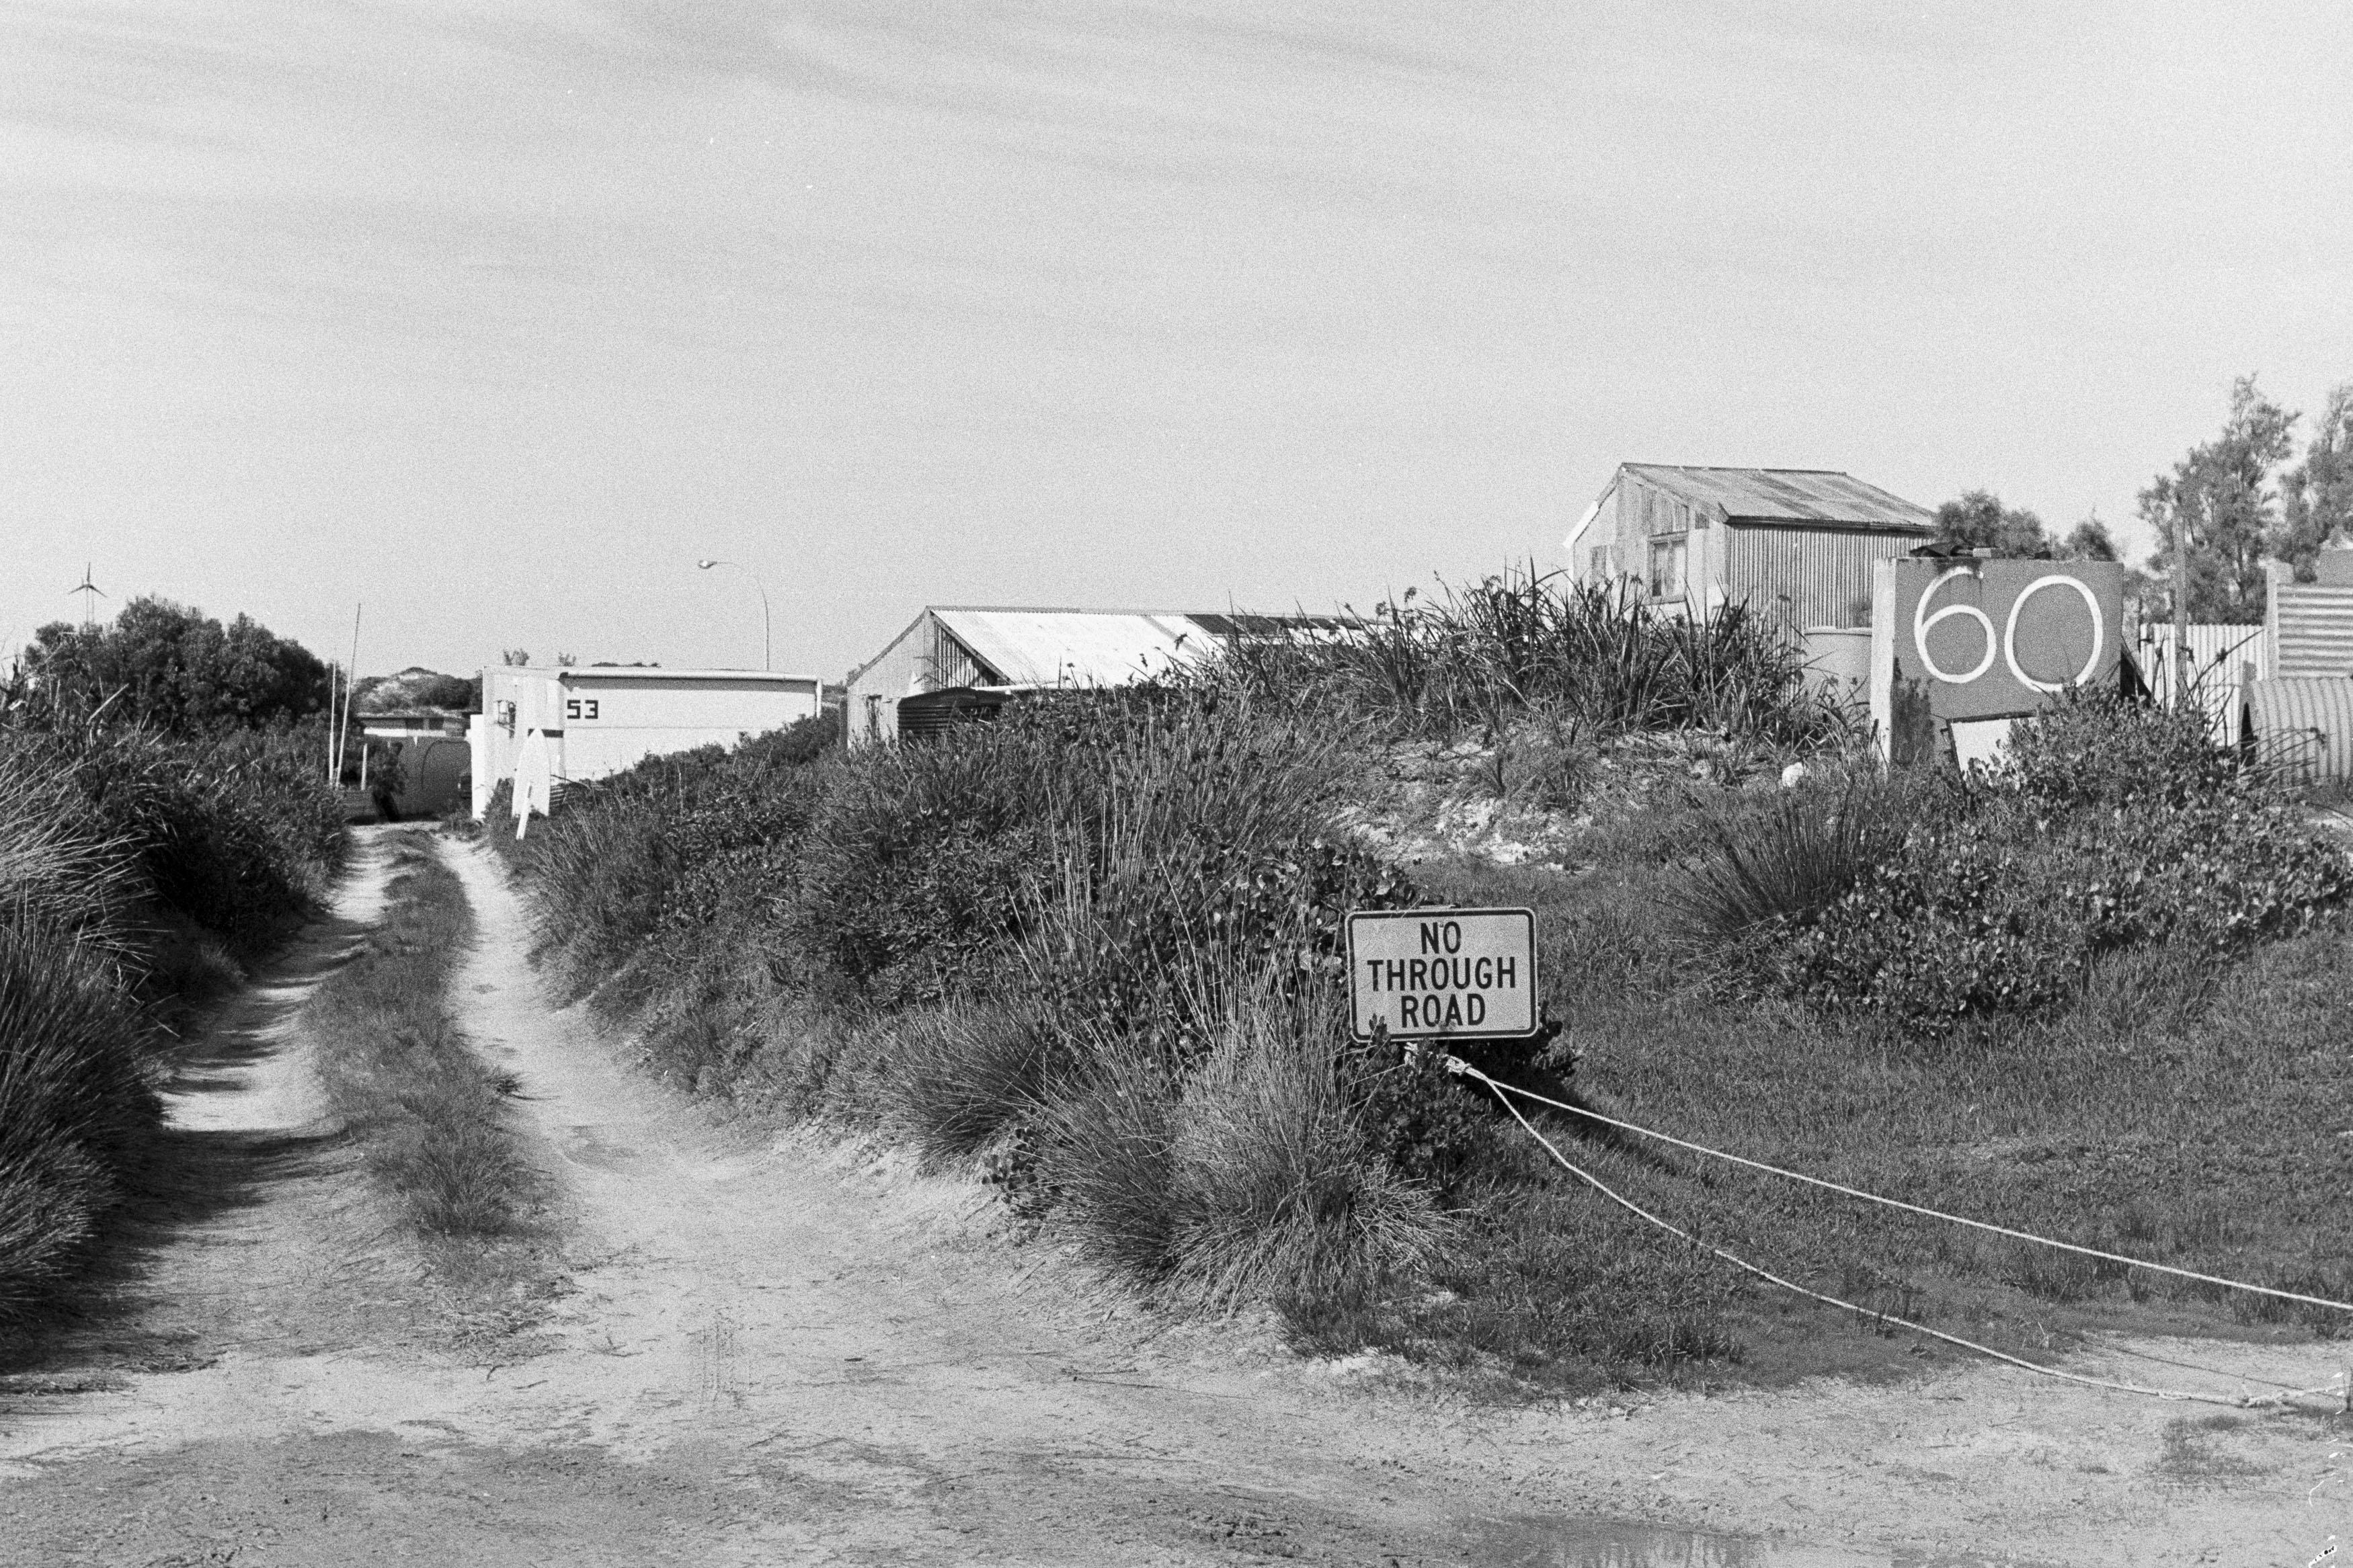
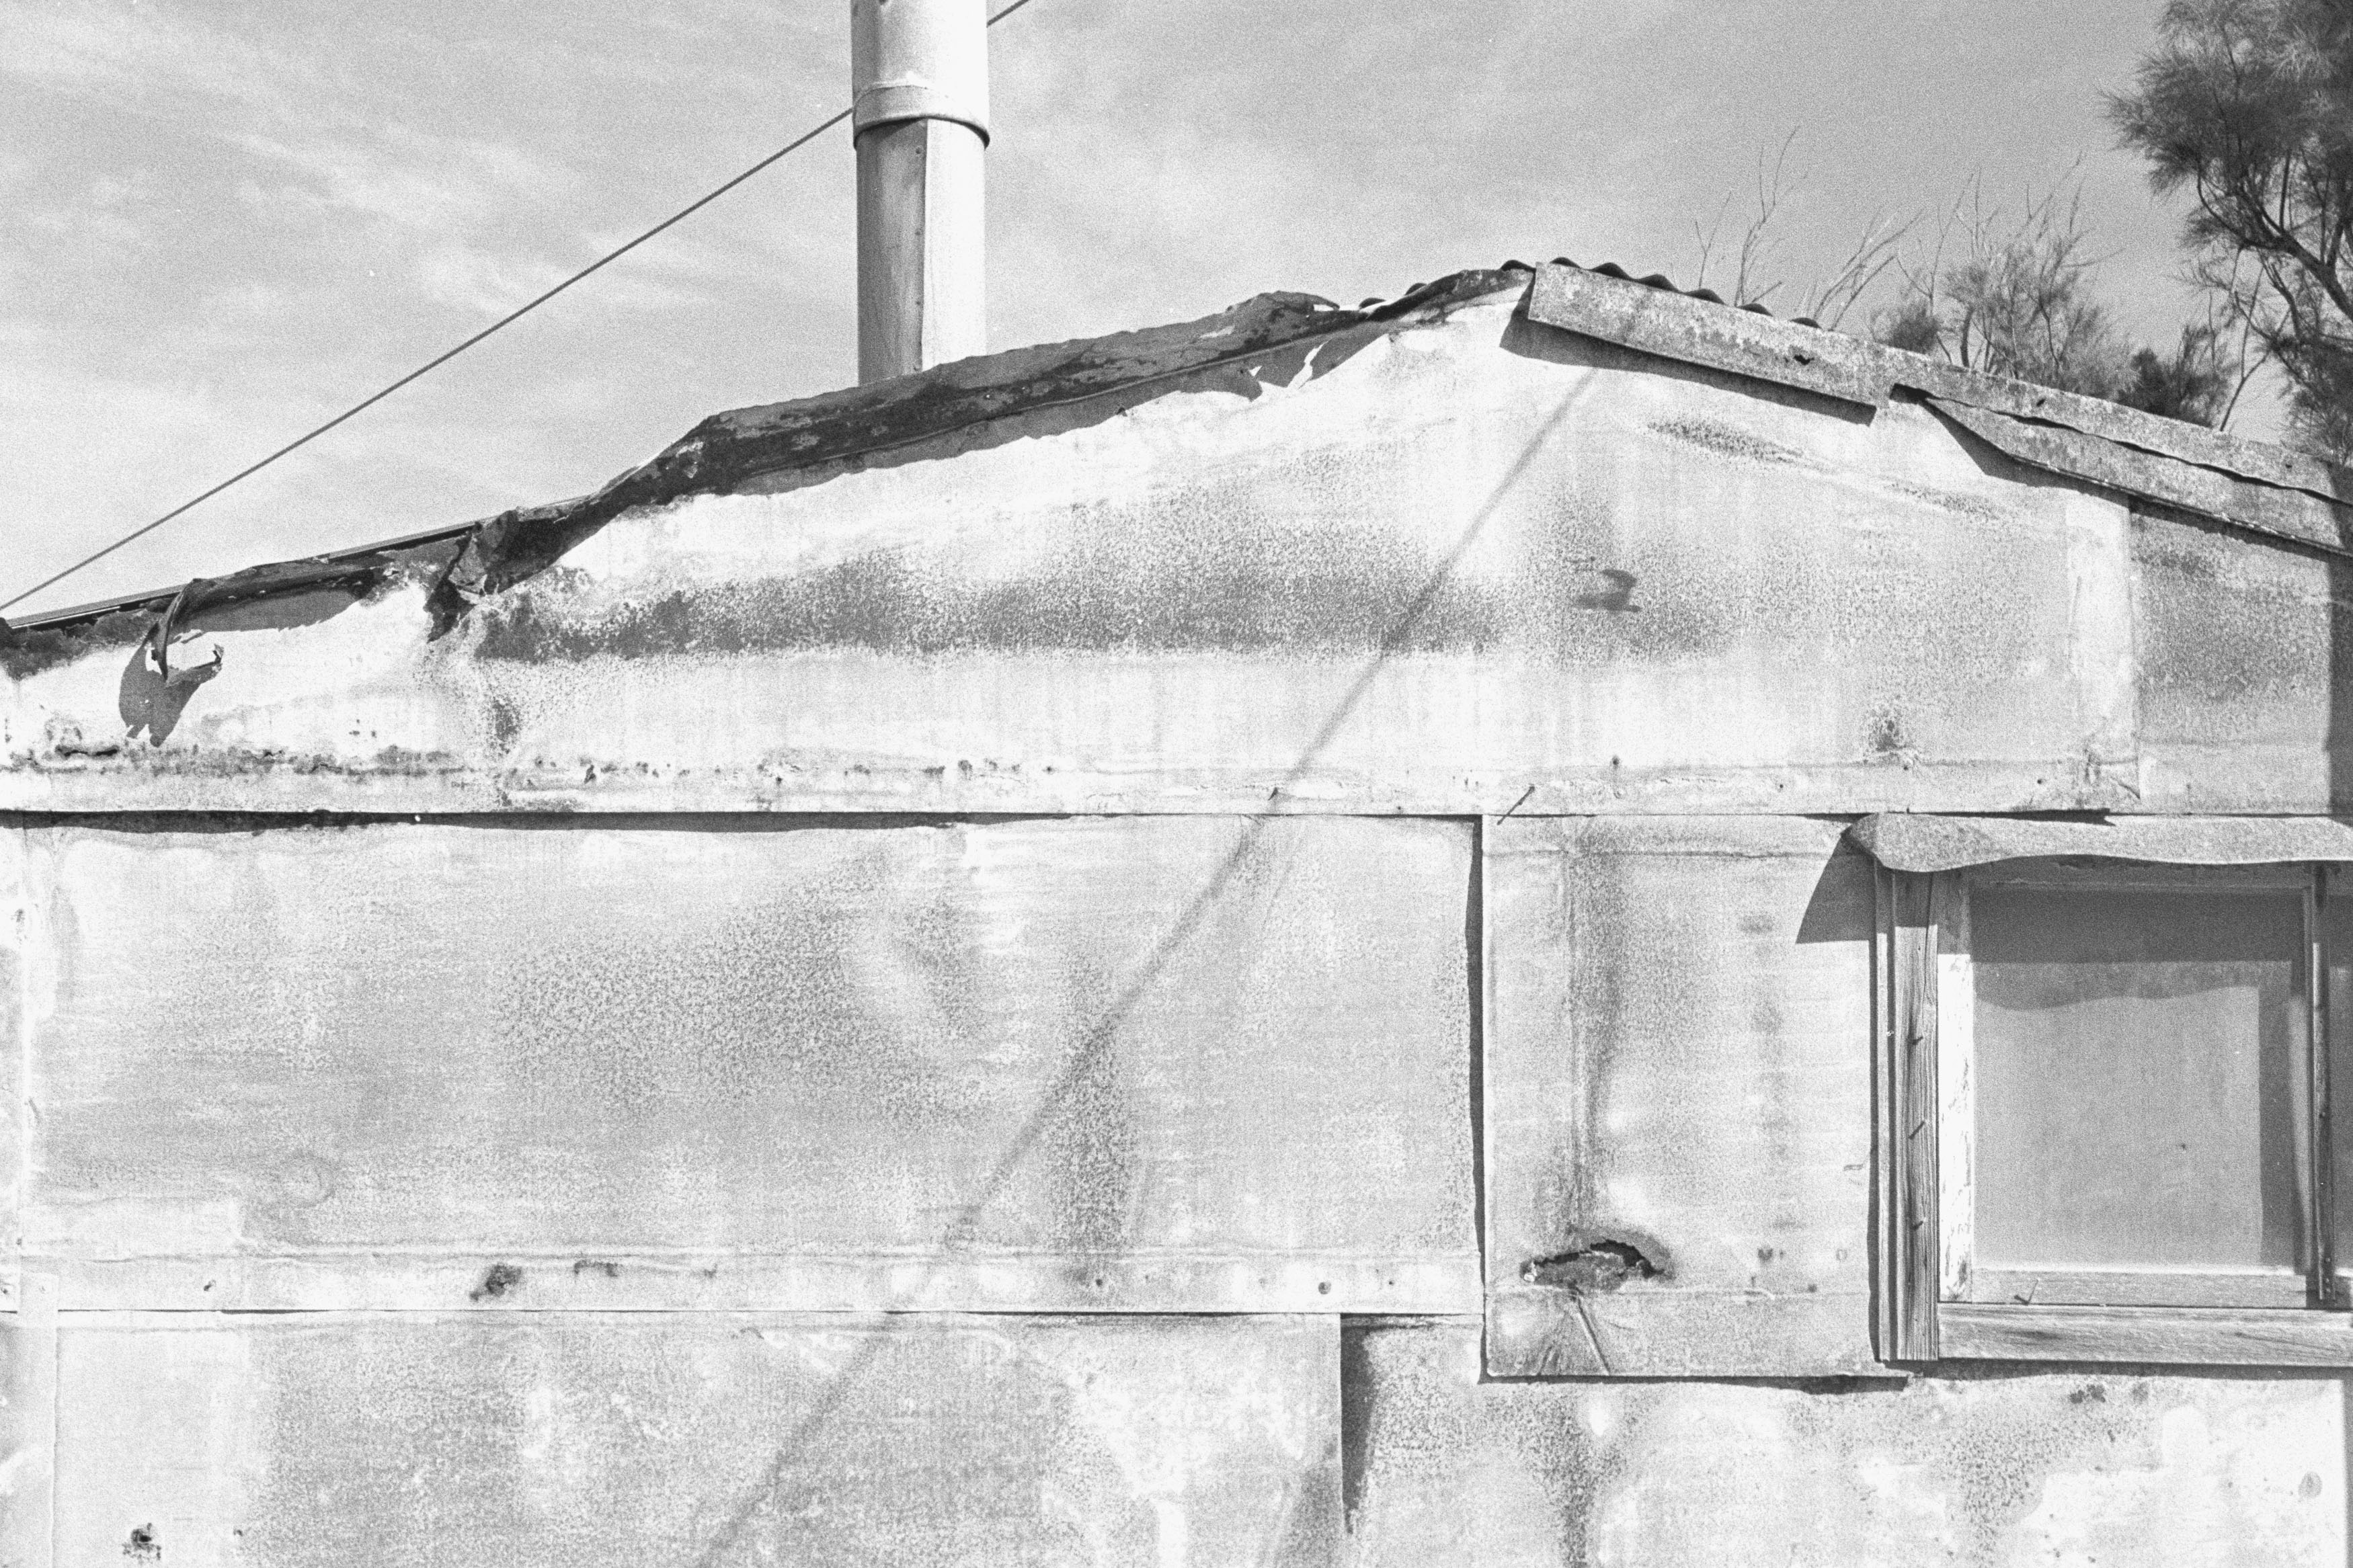
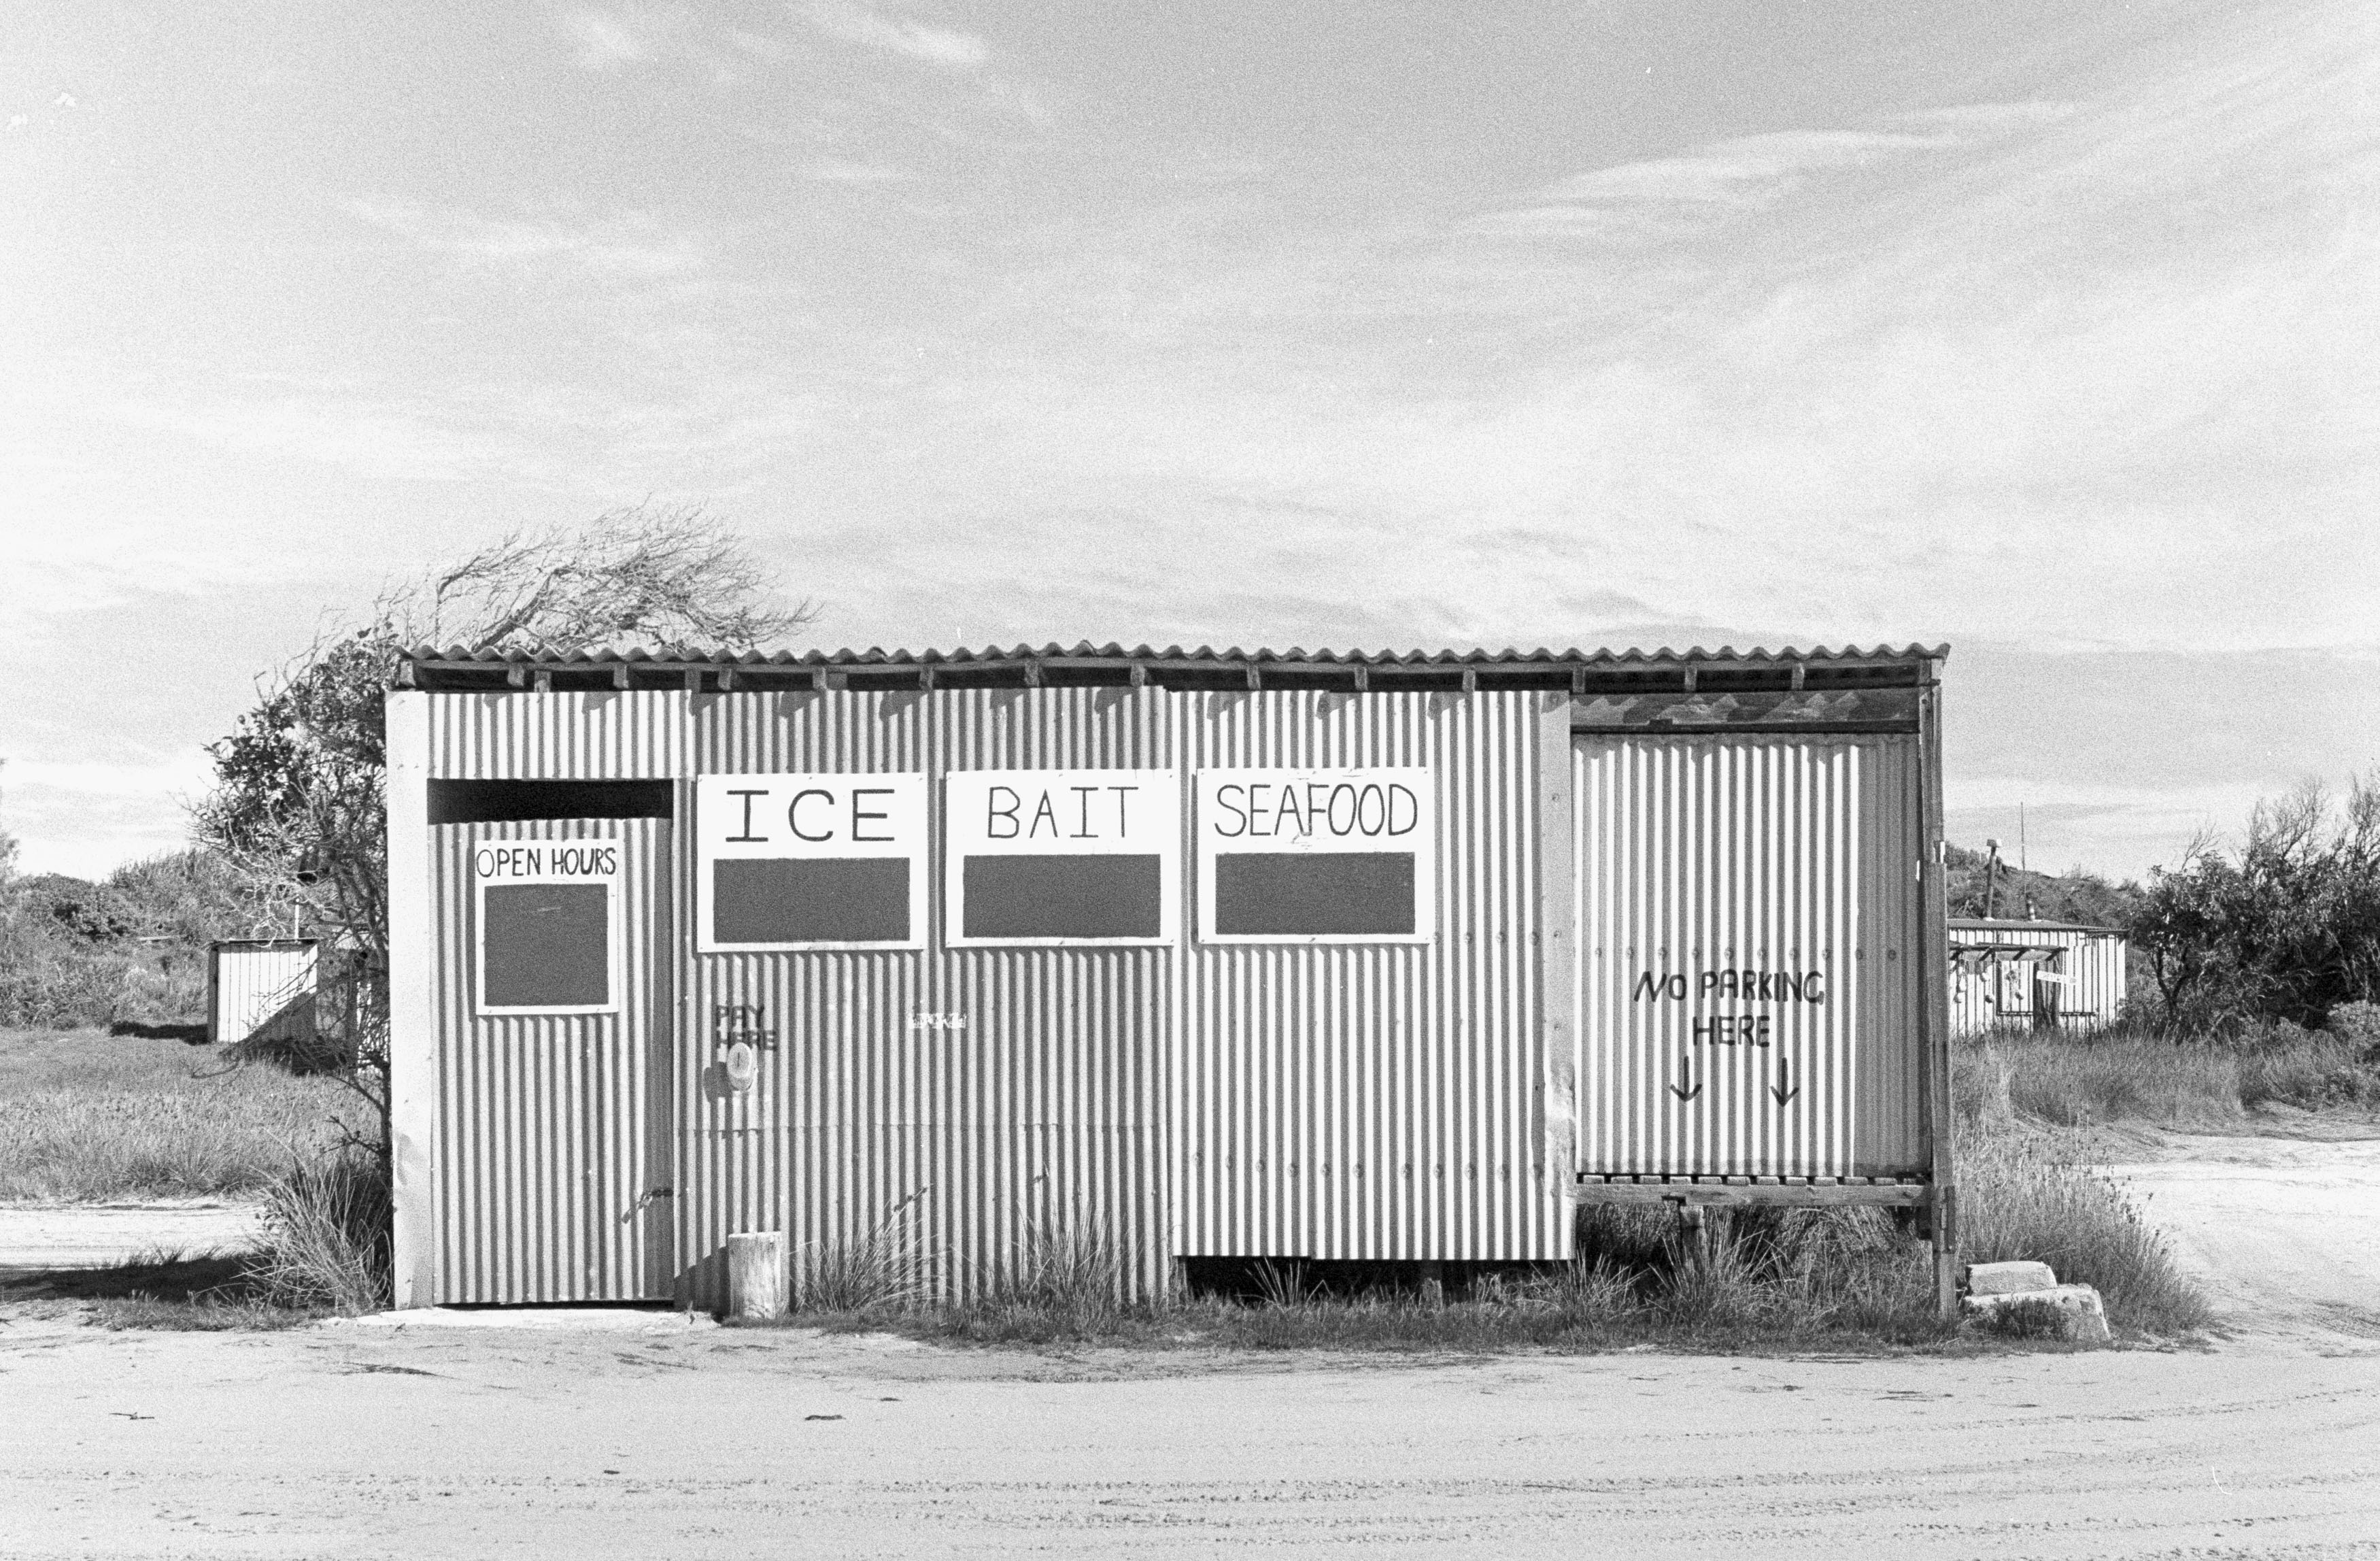
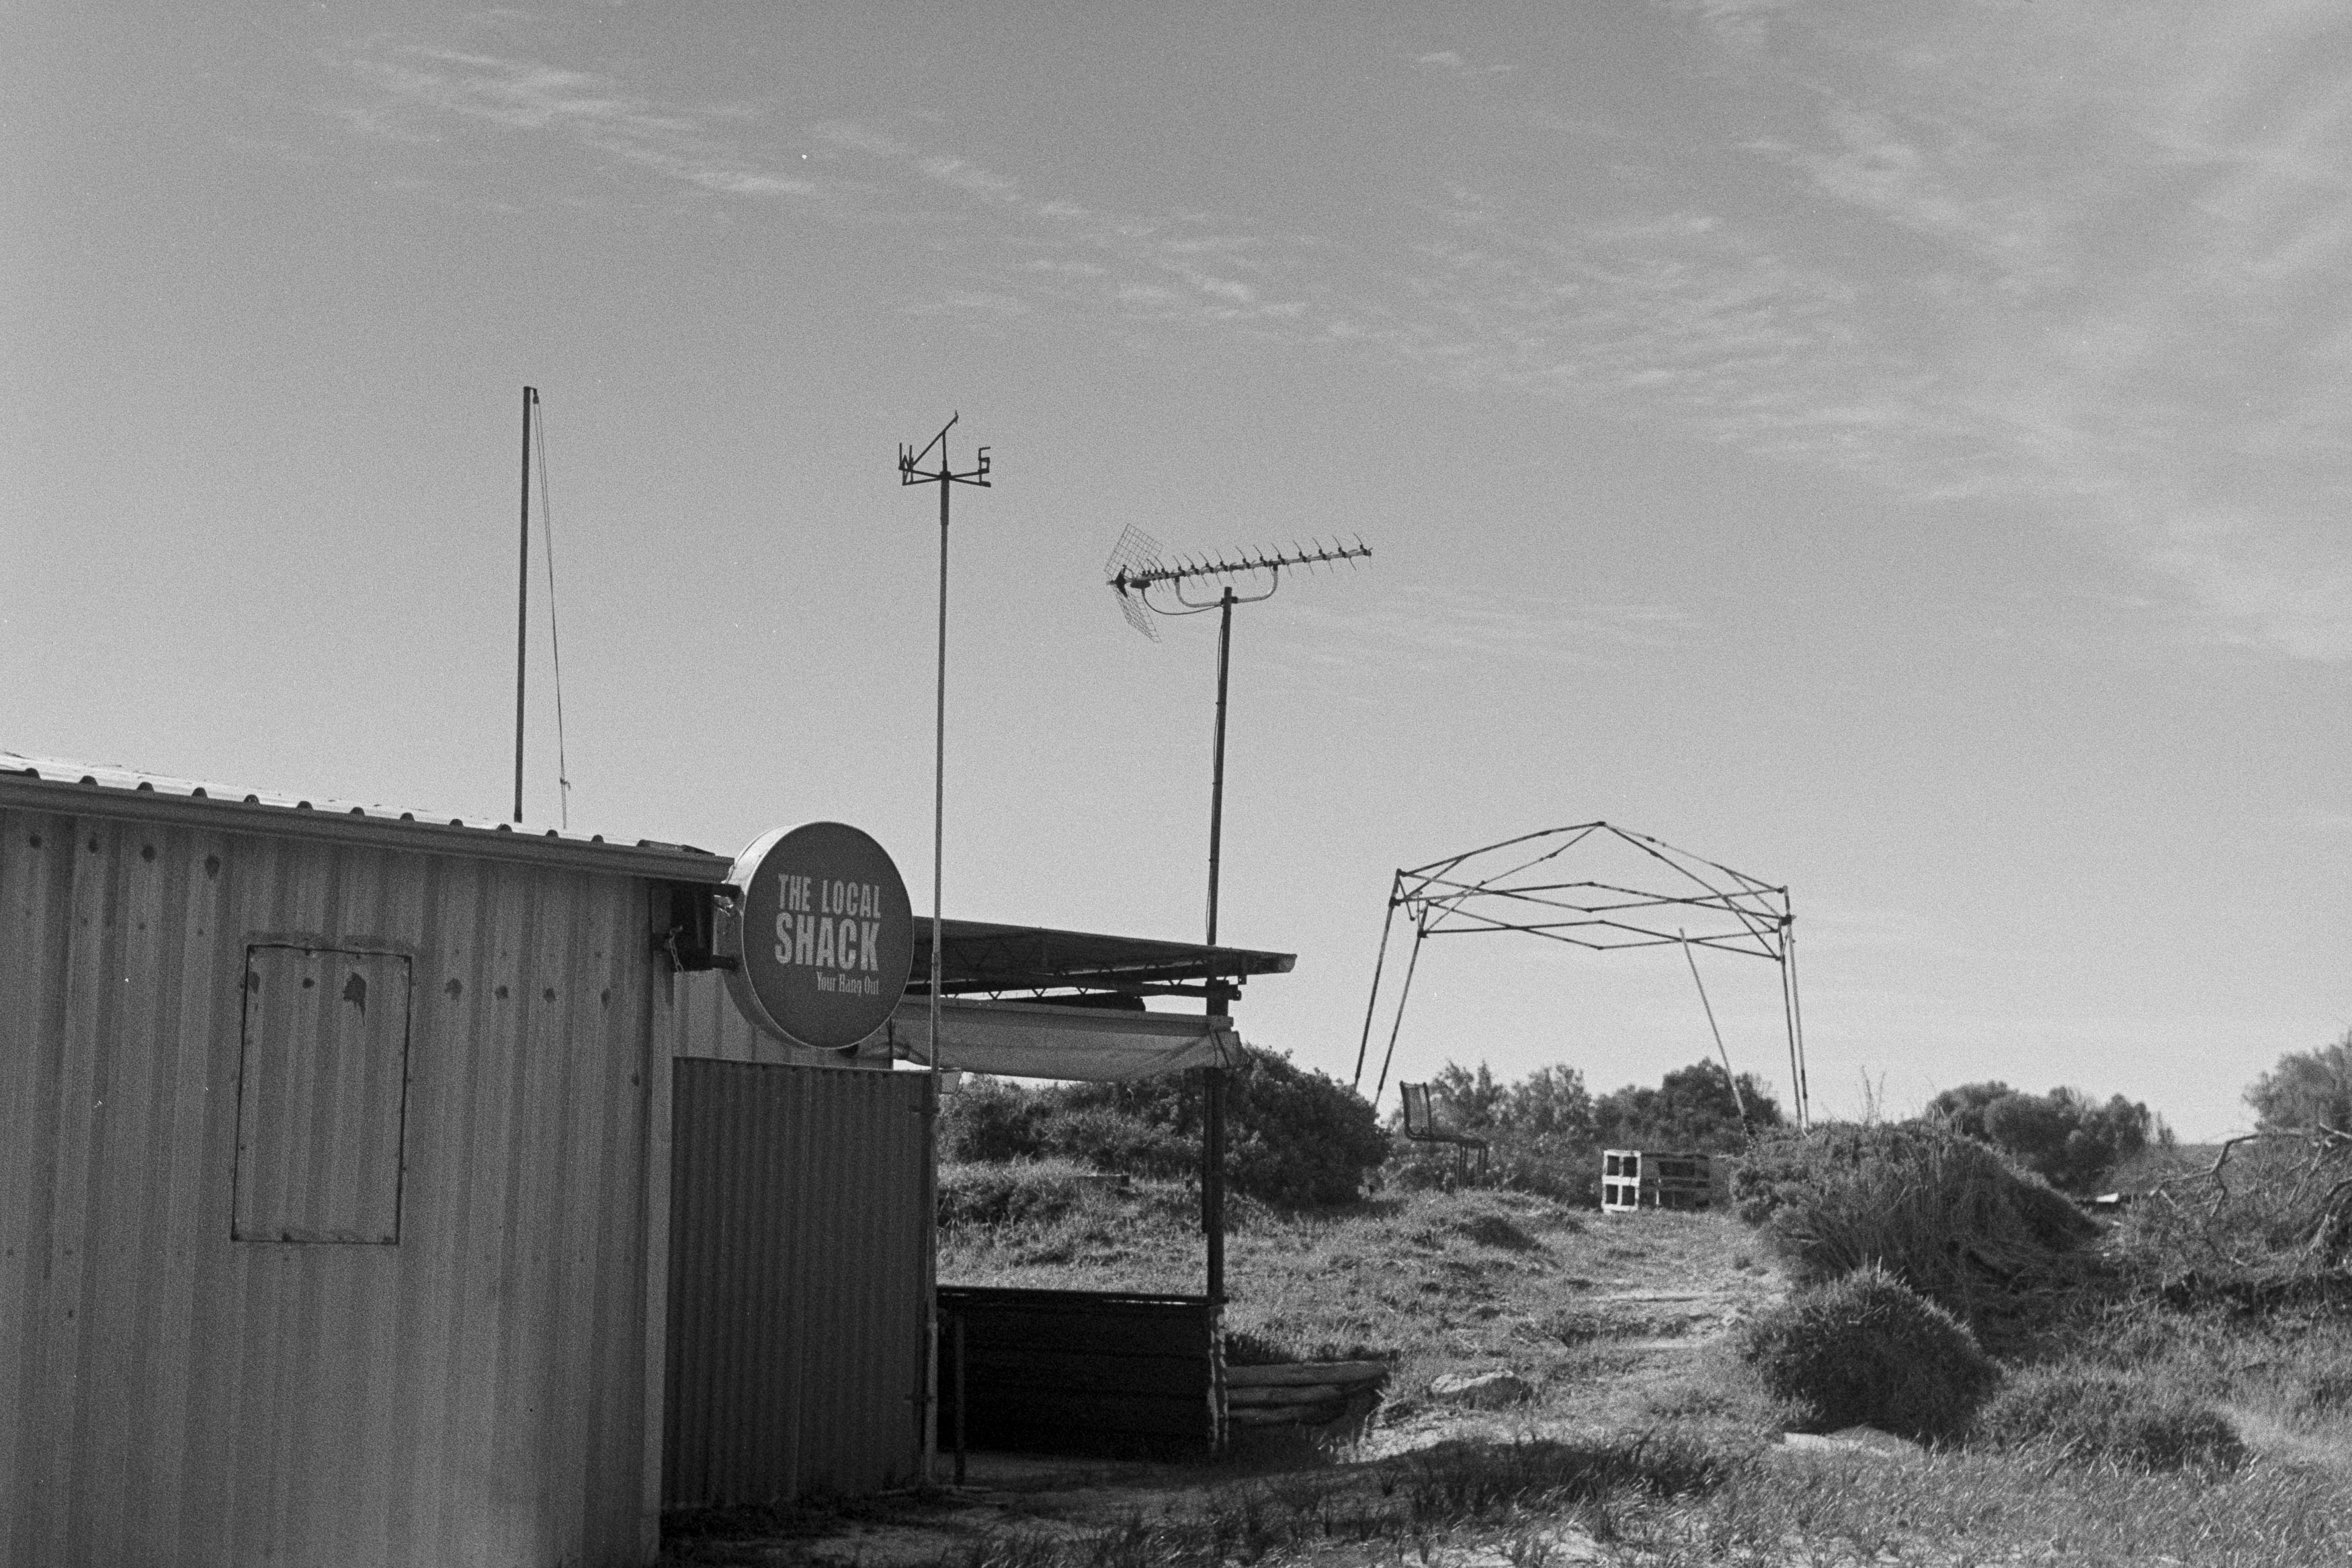
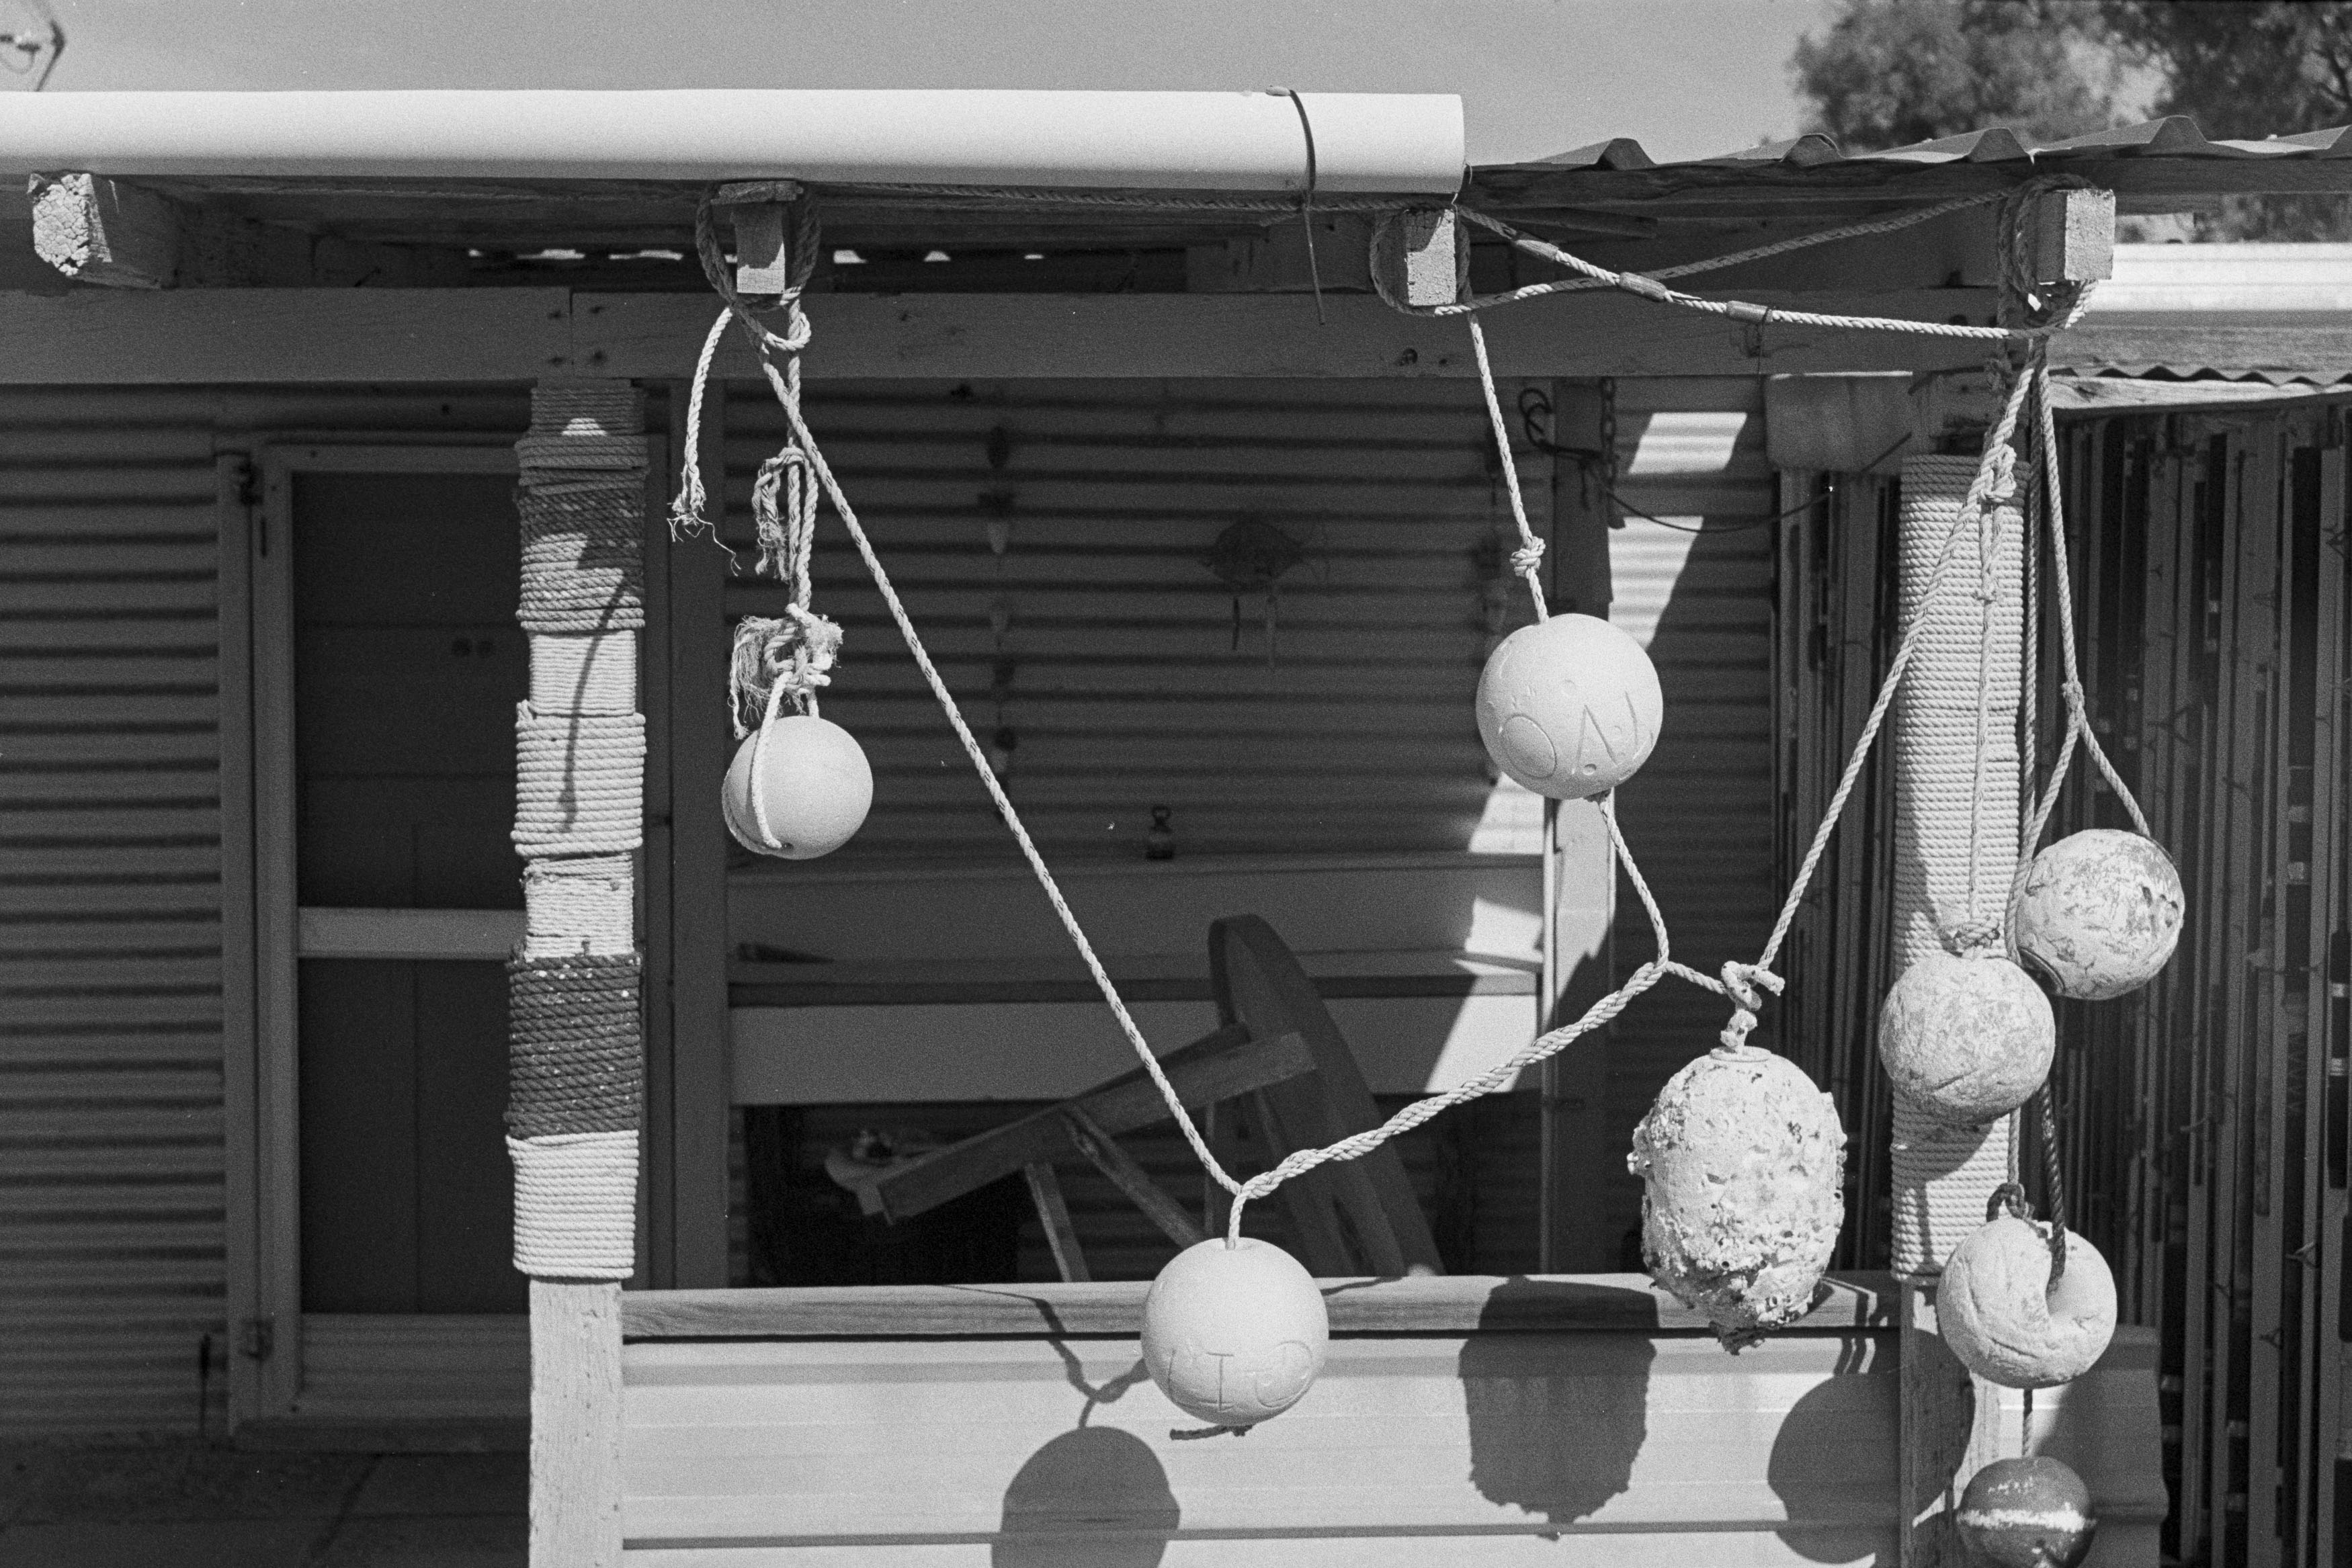
I took this combination to Wedge, one of those remarkable coastal shack communities north of Perth. Wedge has historically been remote, basic and difficult to access, with no electricity, running water or sanitation. Today it is much easier to visit, but it still retains that ramshackle character that makes it such an interesting photographic environment. I loaded up a roll of Ilford HP5 and set out to see what the Zenit and Helios could actually do.

The Challenges of Stop Down Metering and Clumsy Development

I developed the film in 510 Pyro, partly because I knew by then that my exposures had been all over the place. The developer did a good job of helping preserve some of the highlights, but the combination of overexposure, development and my questionable handling of the camera certainly affected some of the results.

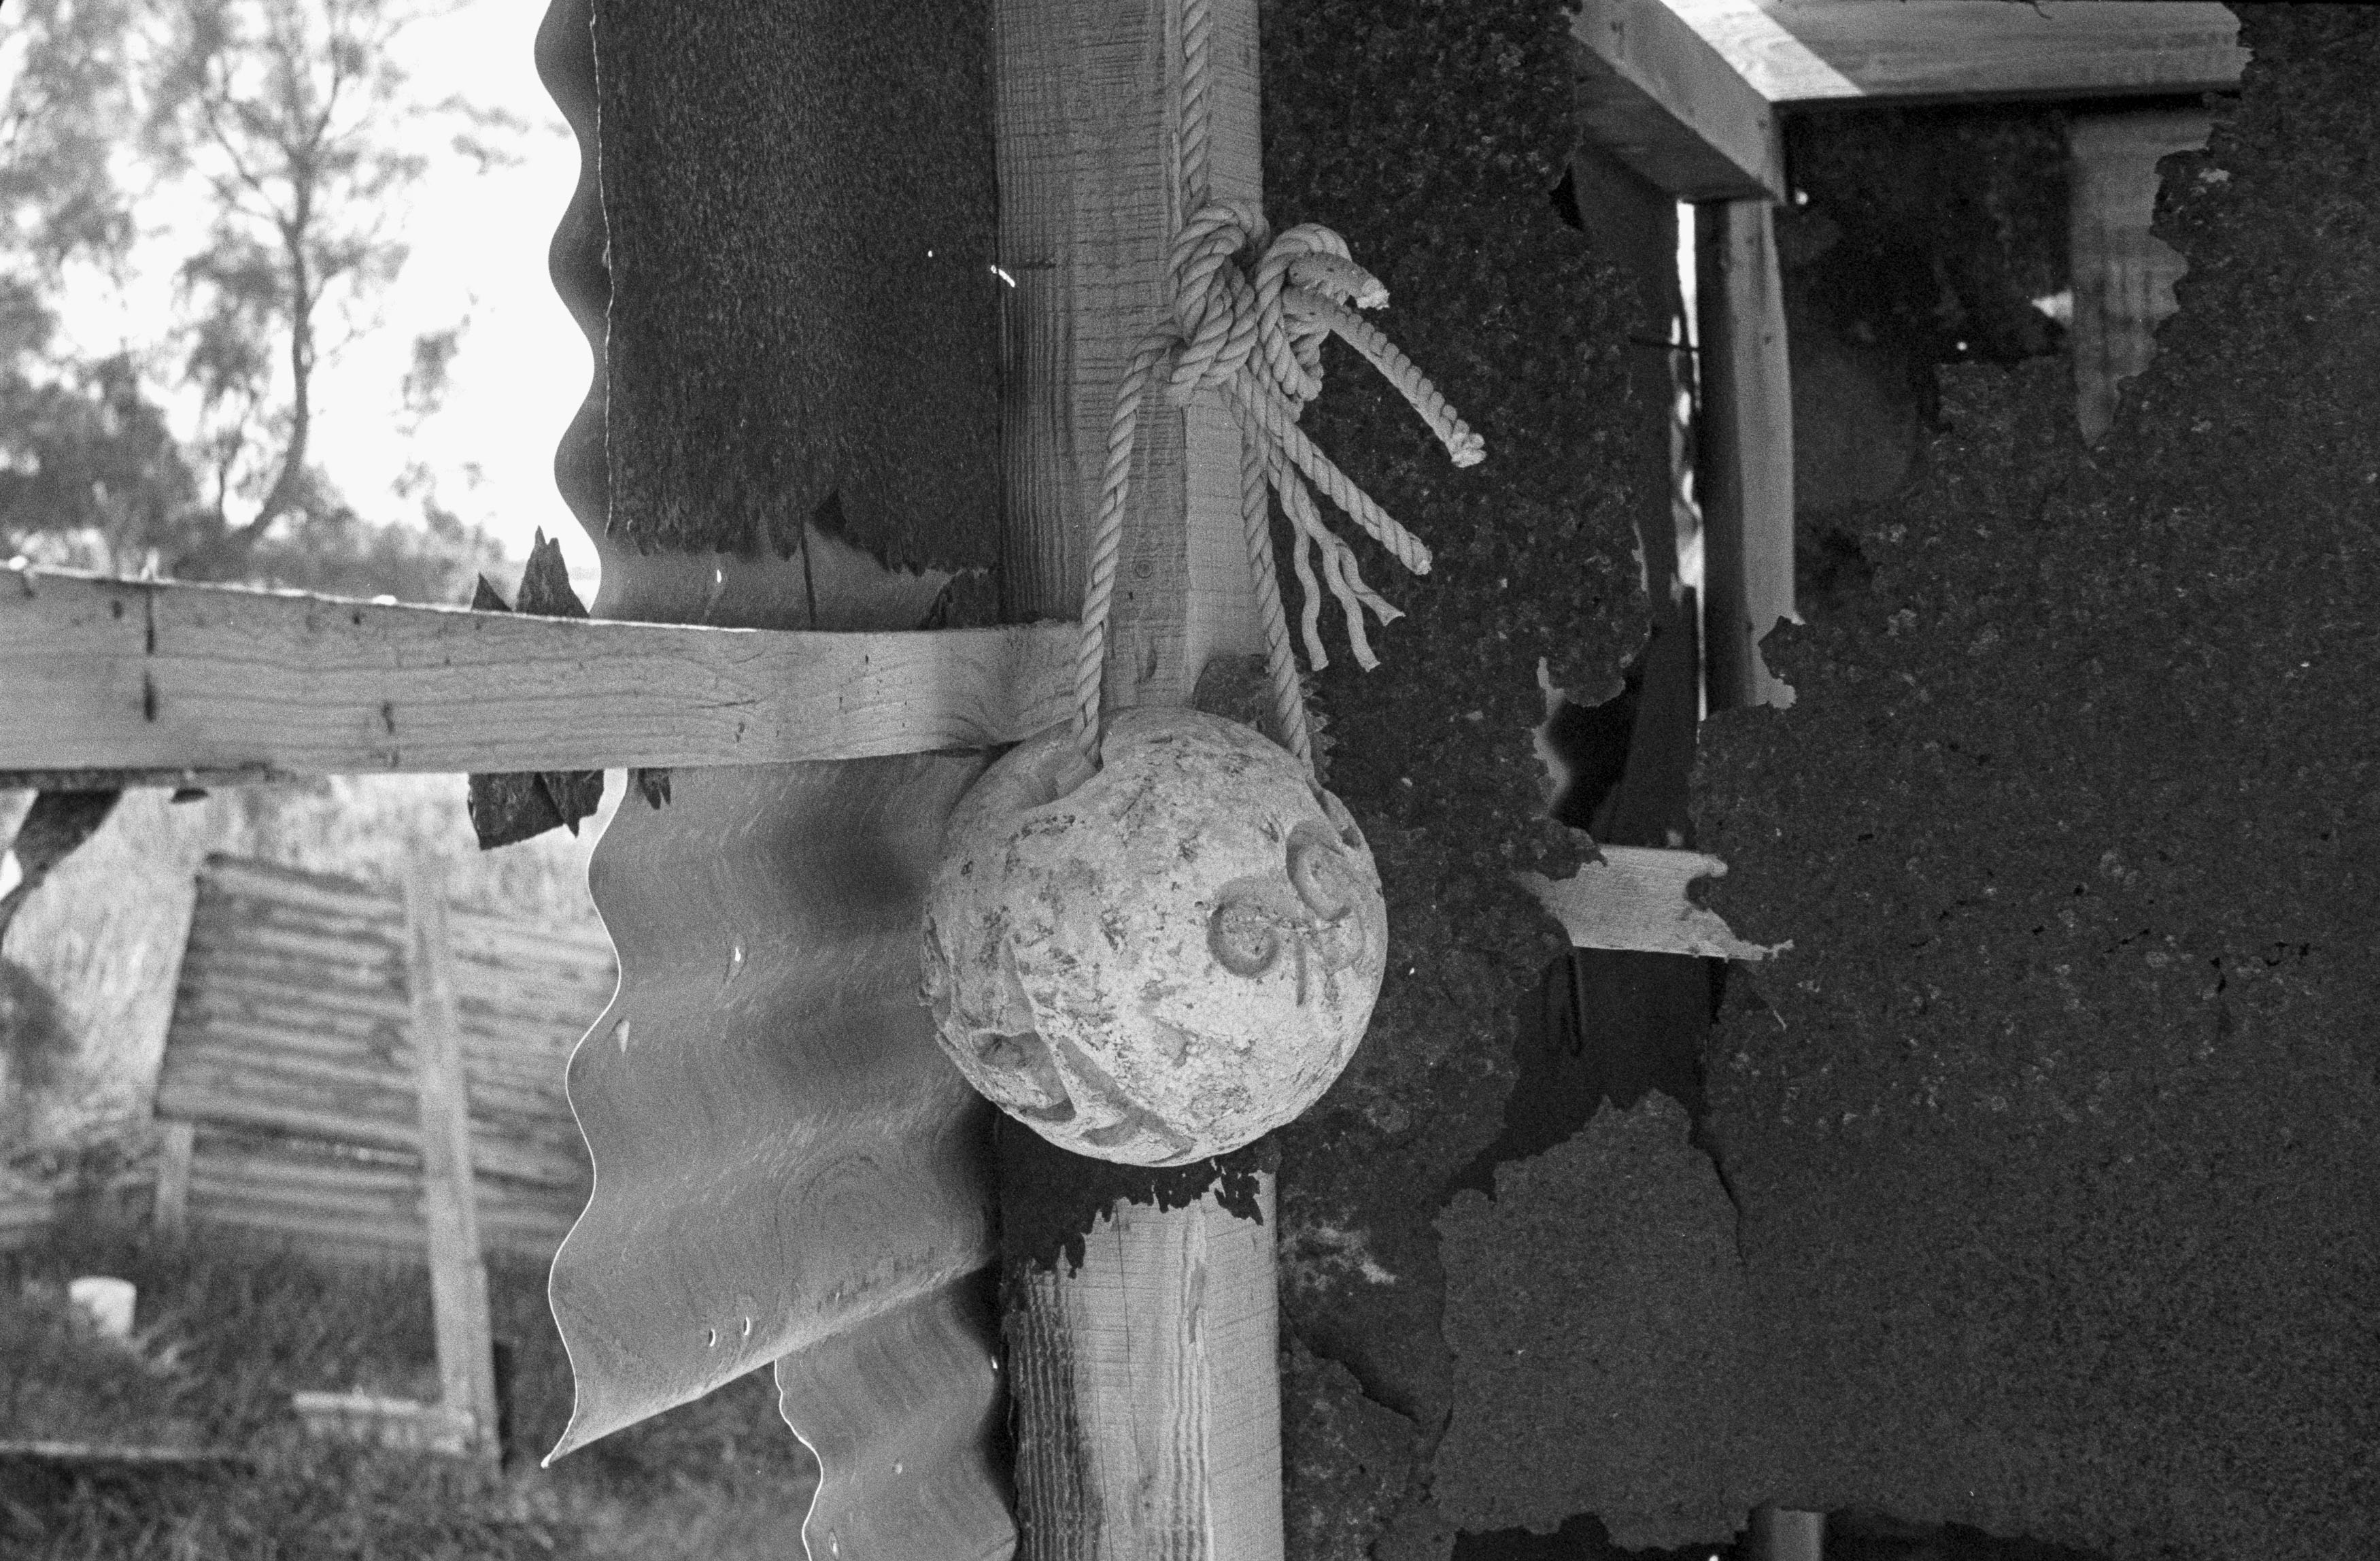
Despite all of that, the pictures actually came out surprisingly well. In ordinary circumstances, the Helios can produce results that aren’t dramatically different from those of a much more modern lens. It is certainly capable of being sharp enough, particularly for portraiture where extreme corner sharpness isn’t especially important. In bright daylight, however, the distinctive character of the lens is harder to see because you simply aren’t going to spend much time shooting wide open.

It was later in the day, as the sun began to disappear, that the Helios really started to reveal its personality. Wide open, it becomes an unruly and slightly belligerent lens, producing a frenzy of out-of-focus artefacts that can sometimes compete with the actual subject for attention. If you’re looking for clean, technically perfect images, this isn’t necessarily an advantage. If you’re looking for something with character, however, it is exactly the point.

And then there is the famous swirl. It doesn’t appear in every photograph, but when you get the right combination of subject distance, background and aperture, the bokeh takes on that distinctive elliptical shape and seems to rotate around the subject. Suddenly an ordinary photograph can look as though you’re tunnelling through time and space. It is undoubtedly a gimmick, but it is a remarkably entertaining one.

Lens flare is another part of the package. Point the Helios towards a bright light source and it can fill the frame with streaks and artefacts that would make a modern lens designer reach for the nearest emergency brake. Whether that is beautiful or hideous is entirely subjective, but the important thing is that you have the choice.

Character Over Perfection

The irony is that the Helios 44 is probably best appreciated away from the Zenit TTL. Put it on a modern mirrorless camera such as my Nikon Z6 and you can dispense with the Zenit’s eccentric metering system while still enjoying the lens’s optical quirks. You get focus peaking, straightforward exposure control and none of the Soviet-era gymnastics required to take a photograph.

But there is something appealing about using the complete Zenit and Helios combination, even if the experience is considerably less convenient. Both are imperfect, both have plenty of personality and neither is particularly interested in making photography easy. In that respect, they actually fit together rather well.

That is also why I think the combination worked at Wedge. The place itself is rough, rustic and imperfect, with its collection of old shacks and weathered structures scattered through the coastal landscape. It isn’t polished or pristine, but it has character, and that is exactly what the Helios brings to a photograph.

So would I take the Zenit TTL and Helios 44 on a serious photoshoot? Probably not. The camera makes the process unnecessarily difficult, and the lens has such a strong personality that it can easily become the dominant feature of the image. But if the objective is to introduce a little chaos into an otherwise predictable photograph, the Helios is difficult to beat.

It may be old, rough around the edges and about as refined as a Soviet tractor, but that is precisely why I like it. Modern lenses are astonishingly good at removing imperfections from the photographic process. The Helios 44 does the opposite. It gives those imperfections a starring role, and sometimes that’s exactly what a photograph needs.

Reconnecting with the creative process, featuring the Apexel ATL T5-10x telephoto smartphone lens

Photography for Me, Not for Everyone Else

Just as well we have photography and video to memorialise our lives and leave a trace like digital skidmarks over human history. I’m not getting maudlin here, but I’ve been thinking about what photography will mean to me when I’m old. For some photographers, it’s about making art that is unique, groundbreaking and capable of saying something about the human condition that has never been uttered before. For me, though, I suspect I’ll be much more interested in opening an old album and looking at imperfect renderings of perfect personal memories.

That got me thinking about how I could get back to the roots of photography and make images for myself rather than for an imaginary audience. How could I create photographs that invoke the feelings of a particular time and place instead of becoming carefully polished artefacts designed to impress somebody else? The answer, I think, is to embrace imperfection rather than constantly striving to eliminate it.

A recent family trip to Sydney and southern New South Wales became an opportunity to experiment with exactly that idea. It was a low-key holiday, so I decided it deserved some low-key photography. I ended up approaching the whole thing through three pillars: printing, analogue journalling and using deliberately compromised equipment.

Printing Memories Instead of Leaving Them on a Hard Drive

The first of these is printing. How many of us actually go through our Lightroom catalogues years later and relive our experiences? I’ve had access to an A2 printer at work and occasionally printed photographs, usually putting them into cheap frames. Part of the problem is that the frames themselves can be rather underwhelming, but there’s also a lingering feeling that my photographs simply aren’t important enough to deserve that much wall space.

More recently, I’ve started thinking about printing in a smaller and more thematic way. I printed a series of Tokyo photographs that concentrated on little details around Shibuya rather than trying to capture the whole city. There’s something satisfying about taking something enormous and making it small enough to hold in your hands.

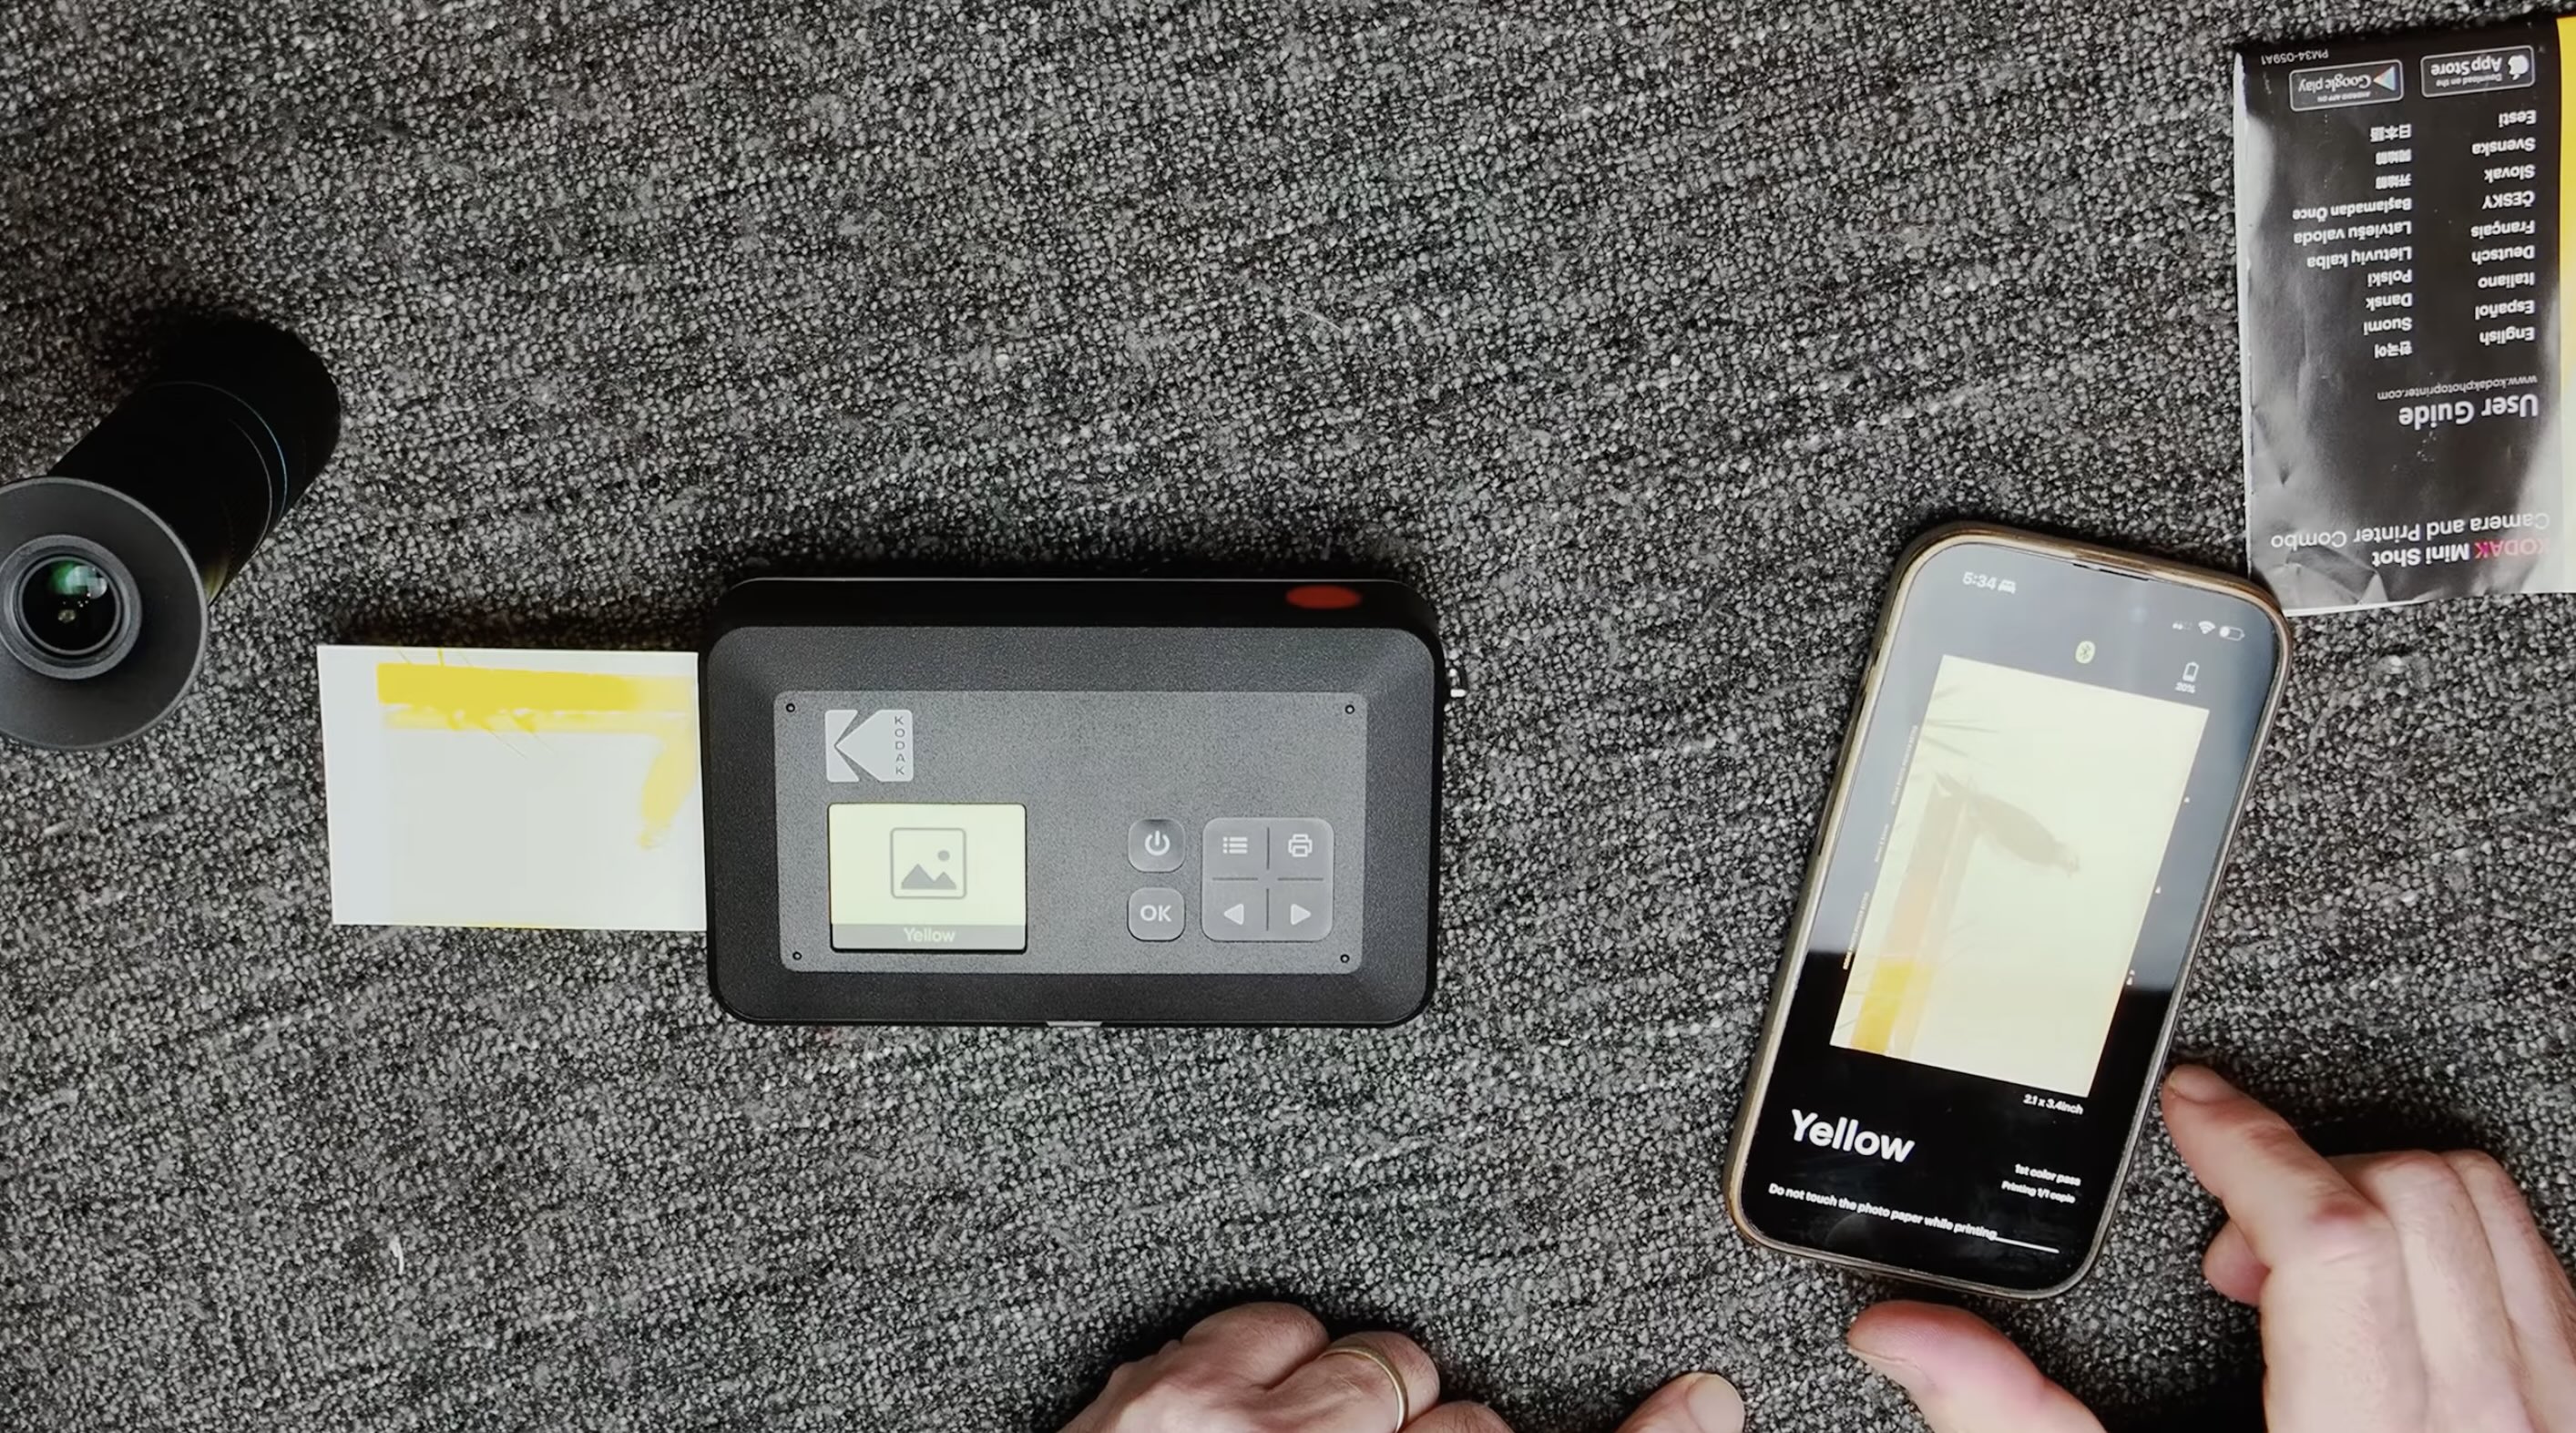
That eventually led me to a Kodak Mini Shot 2 Retro. It’s a camera, but it’s also a printer, which makes it particularly appealing for this sort of project. I bought mine second-hand because apparently I can’t resist buying photography equipment, but the real attraction is the ability to print photographs almost instantly. I also had a batch of 6×4 prints made at Officeworks, which is the Australian equivalent of Walmart for office supplies, and while they use inkjet rather than wet-lab technology, they’re inexpensive and perfectly adequate for this kind of memory-making.

A Cheap Phone Lens and a Very Bad Drawing

The second pillar was analogue journalling, which turned out to be considerably more frightening than I expected. My wife enjoys sketching and writing, so I thought it would be nice to document the NSW trip together on actual paper. Unfortunately, I can’t draw. My hands have the fine motor skills of a camel hoof, and that’s before we consider the neural spaghetti connecting my eyes to my fingers.

Still, that’s rather the point. This project isn’t about producing beautiful drawings. It’s about engaging with the process and accepting that the result might be terrible. There’s something strangely liberating about deliberately removing the expectation that everything needs to be good.

The third pillar was a tiny piece of equipment that actually prompted this whole experiment: the Apexel APL-T5-10X Variable Telephoto Lens. Apexel sent it to me free of charge and I get to keep it, but there were no conditions attached and my opinion remains entirely my own. The lens is designed to turn your phone into something resembling a 150–300mm telephoto camera, which sounds suspiciously ambitious for something that fits in your pocket.

Surprisingly, it doesn’t feel cheap. It’s a substantial little object with a nicely knurled metal exterior, glass elements and a multi-coated optical system. It weighs around 171 grams and has damped zoom and focus rings with a reasonably long throw. The phone adapter is also much more robust than the usual dog-clip contraptions I’ve encountered with smartphone accessories.

The results, naturally, aren’t going to challenge my full-frame Nikon or even my Micro Four Thirds cameras. There’s some softness, highlights can become a little bloomy and you have to contend with camera shake and a surprisingly narrow plane of focus. But when it gets things right, the images are actually pretty good, especially considering what this thing is. You certainly won’t be making enormous A2 prints from it, but for small prints or a journal, it works remarkably well.

Why Imperfection Might Actually Be the Point

Using the lens around wetlands was fun, although I quickly discovered that phones don’t particularly enjoy shooting telephoto video. A tripod helps, as does using the right camera on the phone, and there can be some circular vignetting if you attach the lens to a wide-angle camera. These are compromises, but that’s exactly what this project was about.

Back in Perth, I continued the journal, adding photographs and attempting to draw a bird that somehow transformed into what looked like a Liverbird on crack. It was not my finest artistic achievement, but it was mine. The important thing was that these imperfect tools forced me to slow down and actually consider what I was doing.

That might be the biggest benefit of all. The Kodak printer, the Apexel lens, the pen and the paper are all relatively cheap and accessible, but they also introduce friction into the creative process. You have to think, plan and physically engage with what you’re making. A blank page is intimidating, but somehow it becomes less intimidating when you give yourself permission to make something bad.

I’ve realised that reconnecting with analogue processes has made me feel creatively engaged in a way I wasn’t expecting. Perfection is highly overrated. The world is already full of perfectly manufactured objects and clinically perfect images that can sometimes feel more like products of mass production than things made by an individual.

When I travel, I’d much rather eat a home-cooked meal than a Michelin-starred dish, and believe me, when I cook, perfection is not exactly on the menu. But something made with love and consideration carries memories and feelings that have value far beyond any objective measurement.

That’s probably what I want from my photography too. I might not draw in this journal every day, and I may never become remotely competent at sketching, but when I return to it years from now, I’ll remember the trip. The crooked drawings, cheap prints and imperfect photographs will probably mean more to me than the technically flawless images ever could.

In a strange way, this also connects back to YouTube. Taking photographs, curating them and turning them into a story helps me relive my experiences, while sharing them allows those memories to become something communal. I’ve been thinking about doing something similar with my accumulated photographs from Japan, perhaps turning them into a book or zine around ideas such as wabi-sabi—finding beauty in imperfection—and ikigai, engaging with activities for their intrinsic pleasure.

Perhaps that’s where this whole experiment is heading. Maybe it’s a little bit of Shu-Ha-Ri: learning the basics, absorbing the experience and eventually finding your own creative trajectory. For me, at least, that trajectory seems to involve fewer demands for perfection, more tangible creativity and, most importantly, enjoying the process along the way.

Is shooting expired film actually worth it? Or am I just chasing rainbows?

Agfacolor 200 20 years later

The recent demise of my beloved Fuji medium format point-and-shoot left me with photographic trauma that still hasn’t quite healed. If there were anything capable of adding fresh scars to that emotional damage, it would surely be expired film. After all, paying good money for something that’s already gone off feels completely irrational. I wouldn’t eat a mouldy sandwich that’s been sitting in a school bag for twenty years, so why would I willingly load twenty-year-old film into a camera?

Yet expired film has an undeniable appeal. Plenty of photographers swear by its unpredictable character, embracing colour shifts, grain and imperfections as part of the experience. I’ve never really belonged to that particular camp. If expired film were dramatically cheaper than fresh stock, I might understand the attraction, but these days many old rolls cost almost as much as new ones.

Fortunately, I didn’t have to buy this roll. My brother-in-law picked up some AgfaColor XRG 200 while visiting Spain several years ago and kindly passed a few rolls on to me. So, armed with film that expired in 2001 and expectations hovering somewhere below sea level, it was time to see whether this forgotten emulsion still had anything left to offer.

The original plan involved an early morning trip to Perth’s beaches, but the weather had other ideas. Rain is such a novelty in Perth that the first shower feels almost like a public celebration. Once the excitement wears off, though, you’re simply wet, so I postponed the outing and instead headed into the city under far more typical blue skies.

Giving Old Film Every Chance

Conventional wisdom suggests overexposing expired colour negative film by roughly one stop for every decade past its expiry date. At 21 years old, that meant treating this ISO 200 film as roughly ISO 50, while also remaining willing to give it even more light if conditions allowed.

I also tried to stack the odds in my favour by using a Nikon N80, whose Matrix metering was considered impressively sophisticated when both the camera and this film were new. Paired with Nikon’s versatile 28-300mm zoom, it offered the flexibility to photograph whatever caught my eye, even if the relatively slow aperture wasn’t ideal for ageing film.

I’d never been particularly fond of Agfa’s colour films, even when they were fresh. Compared to Kodak or Fuji, I’ve always found Agfa prone to muddy shadows and an overly magenta colour palette. Naturally, I expected two decades of ageing to make those weaknesses even worse.

Instead, I was greeted with something unexpected.

Better Than Expected

The first victory was simply that the film worked at all. Given my previous encounters with expired film, I’d fully expected another disaster. Instead, the generous exposure produced enough image density to cut through the inevitable base fog, leaving negatives that scanned surprisingly well.

There was certainly evidence of the film’s age. Grain was more noticeable, colours had shifted slightly and contrast wasn’t quite what fresh film would deliver. Even so, the results were far more usable than I’d anticipated. Static subjects came out especially well, while moving subjects occasionally defeated both the ageing emulsion and the slower zoom lens. Rather than feeling ruined, though, some of those imperfect frames developed a charm all of their own.

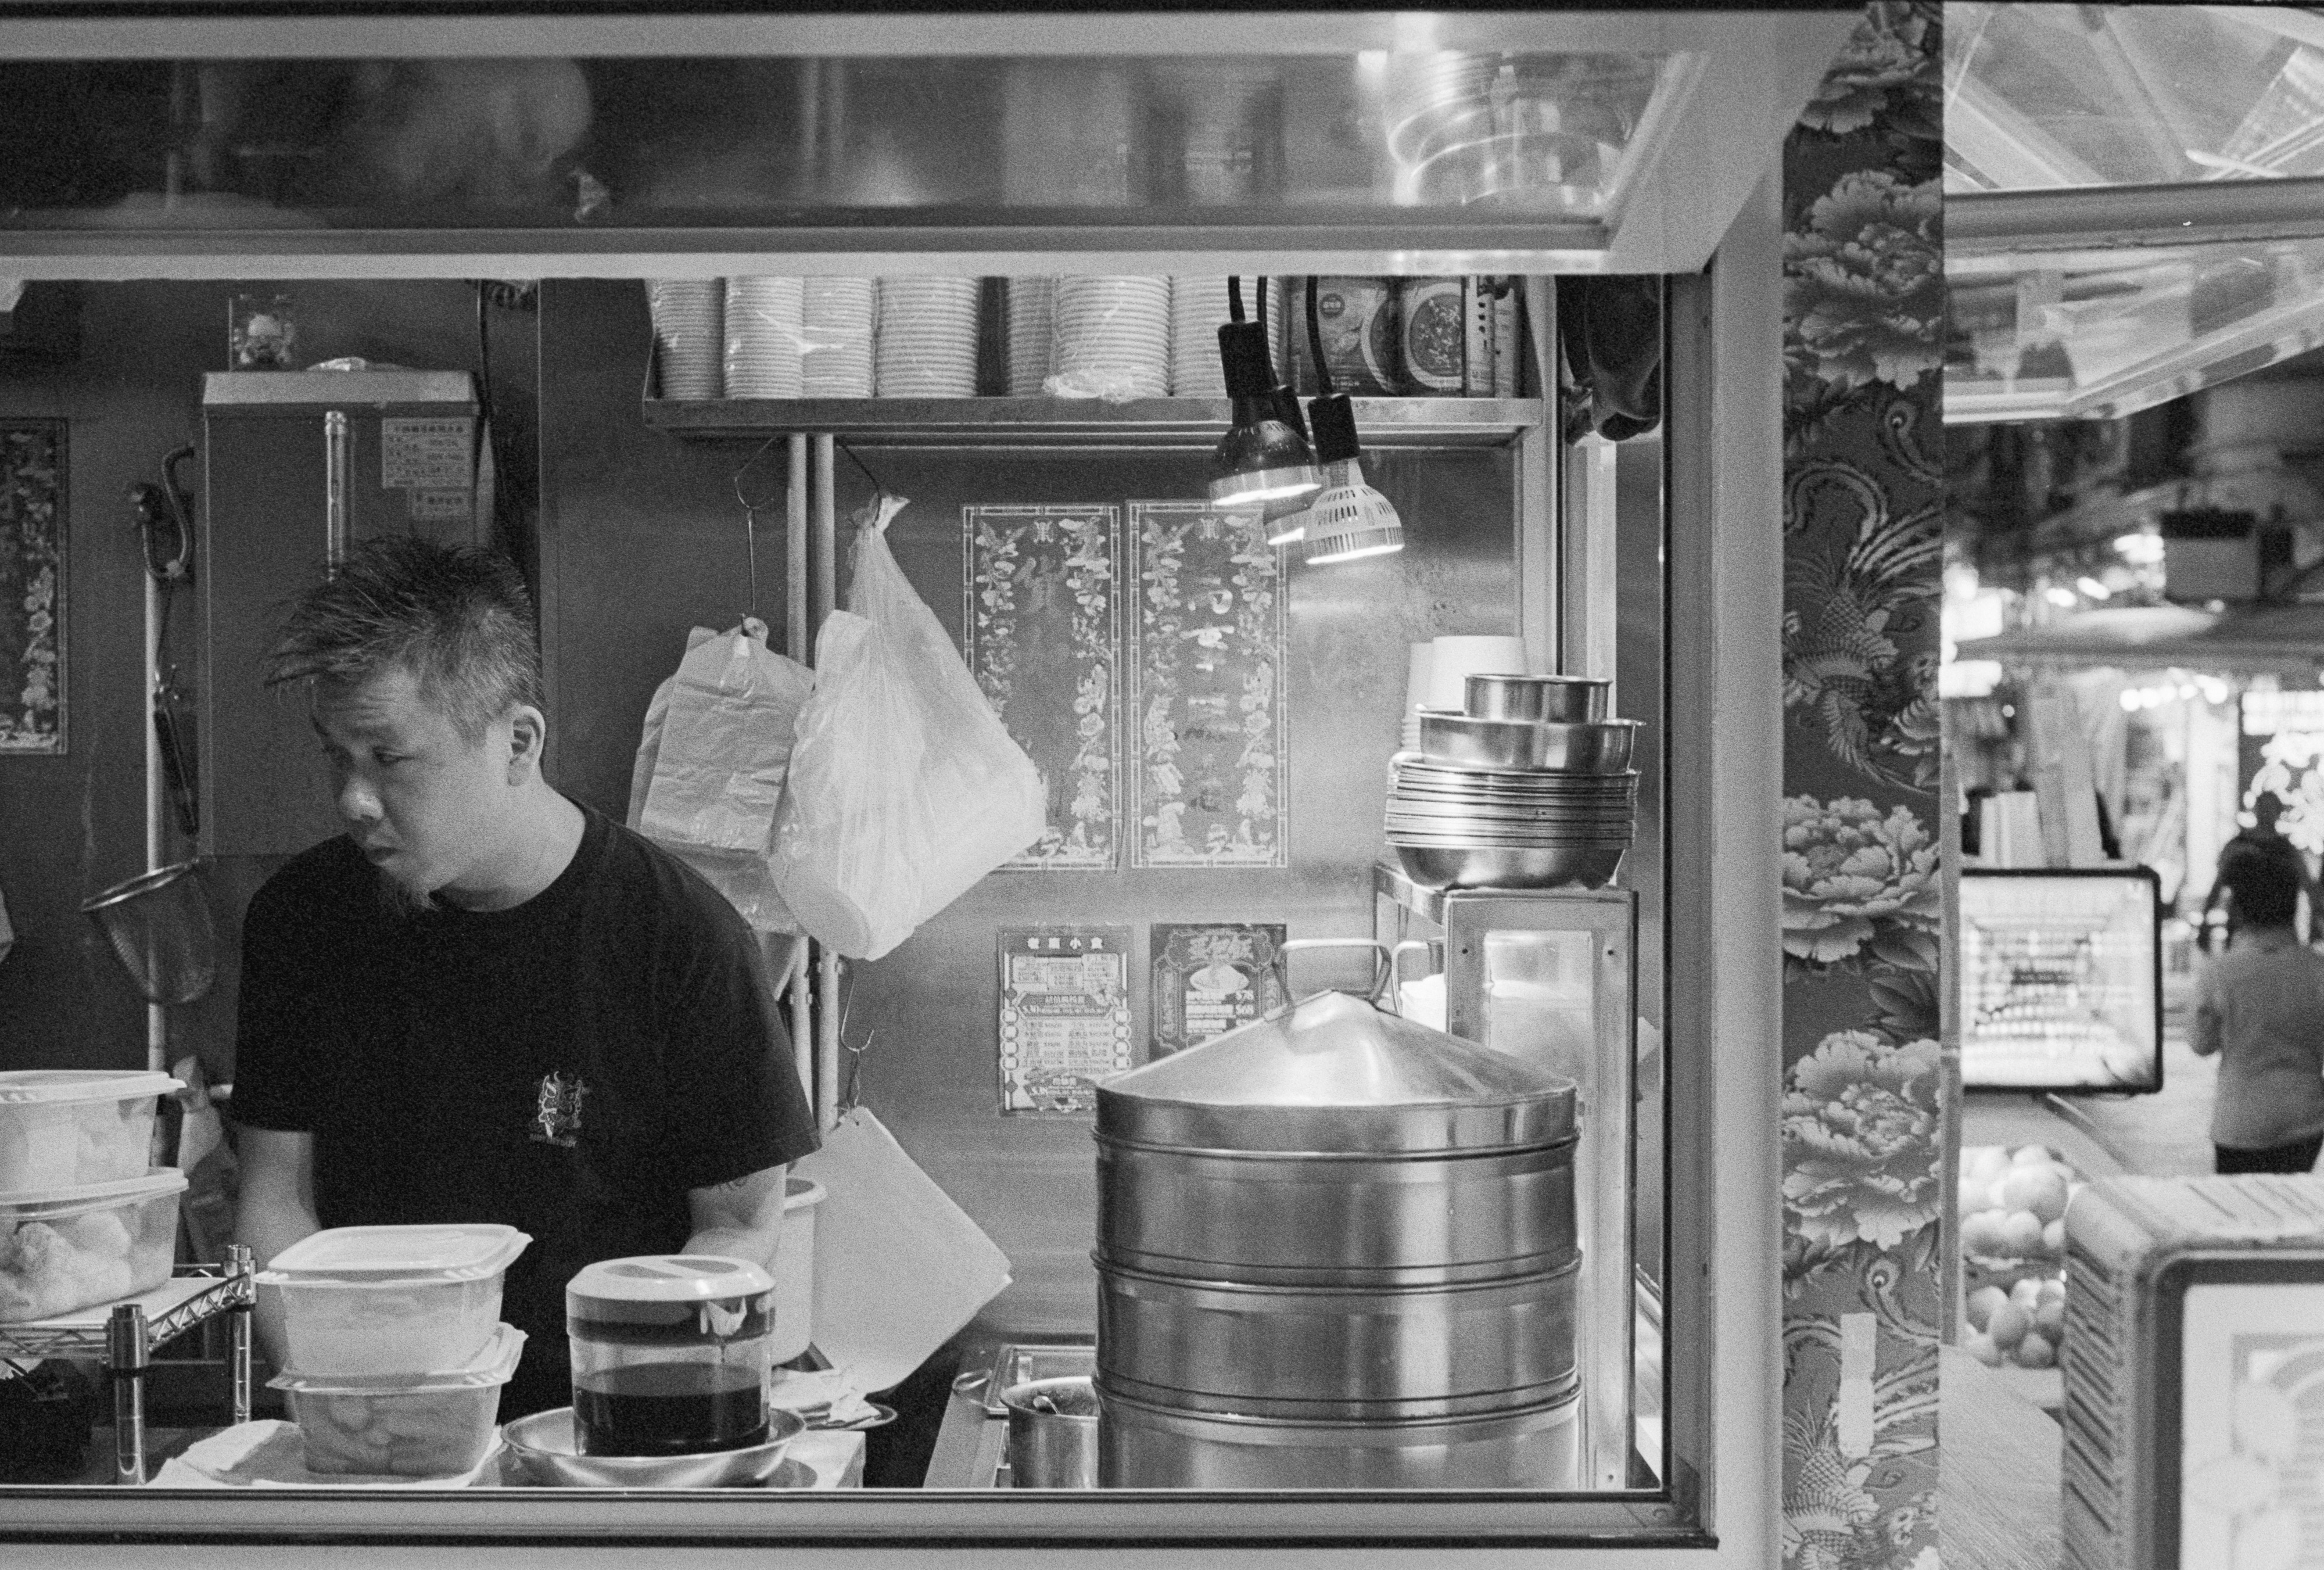
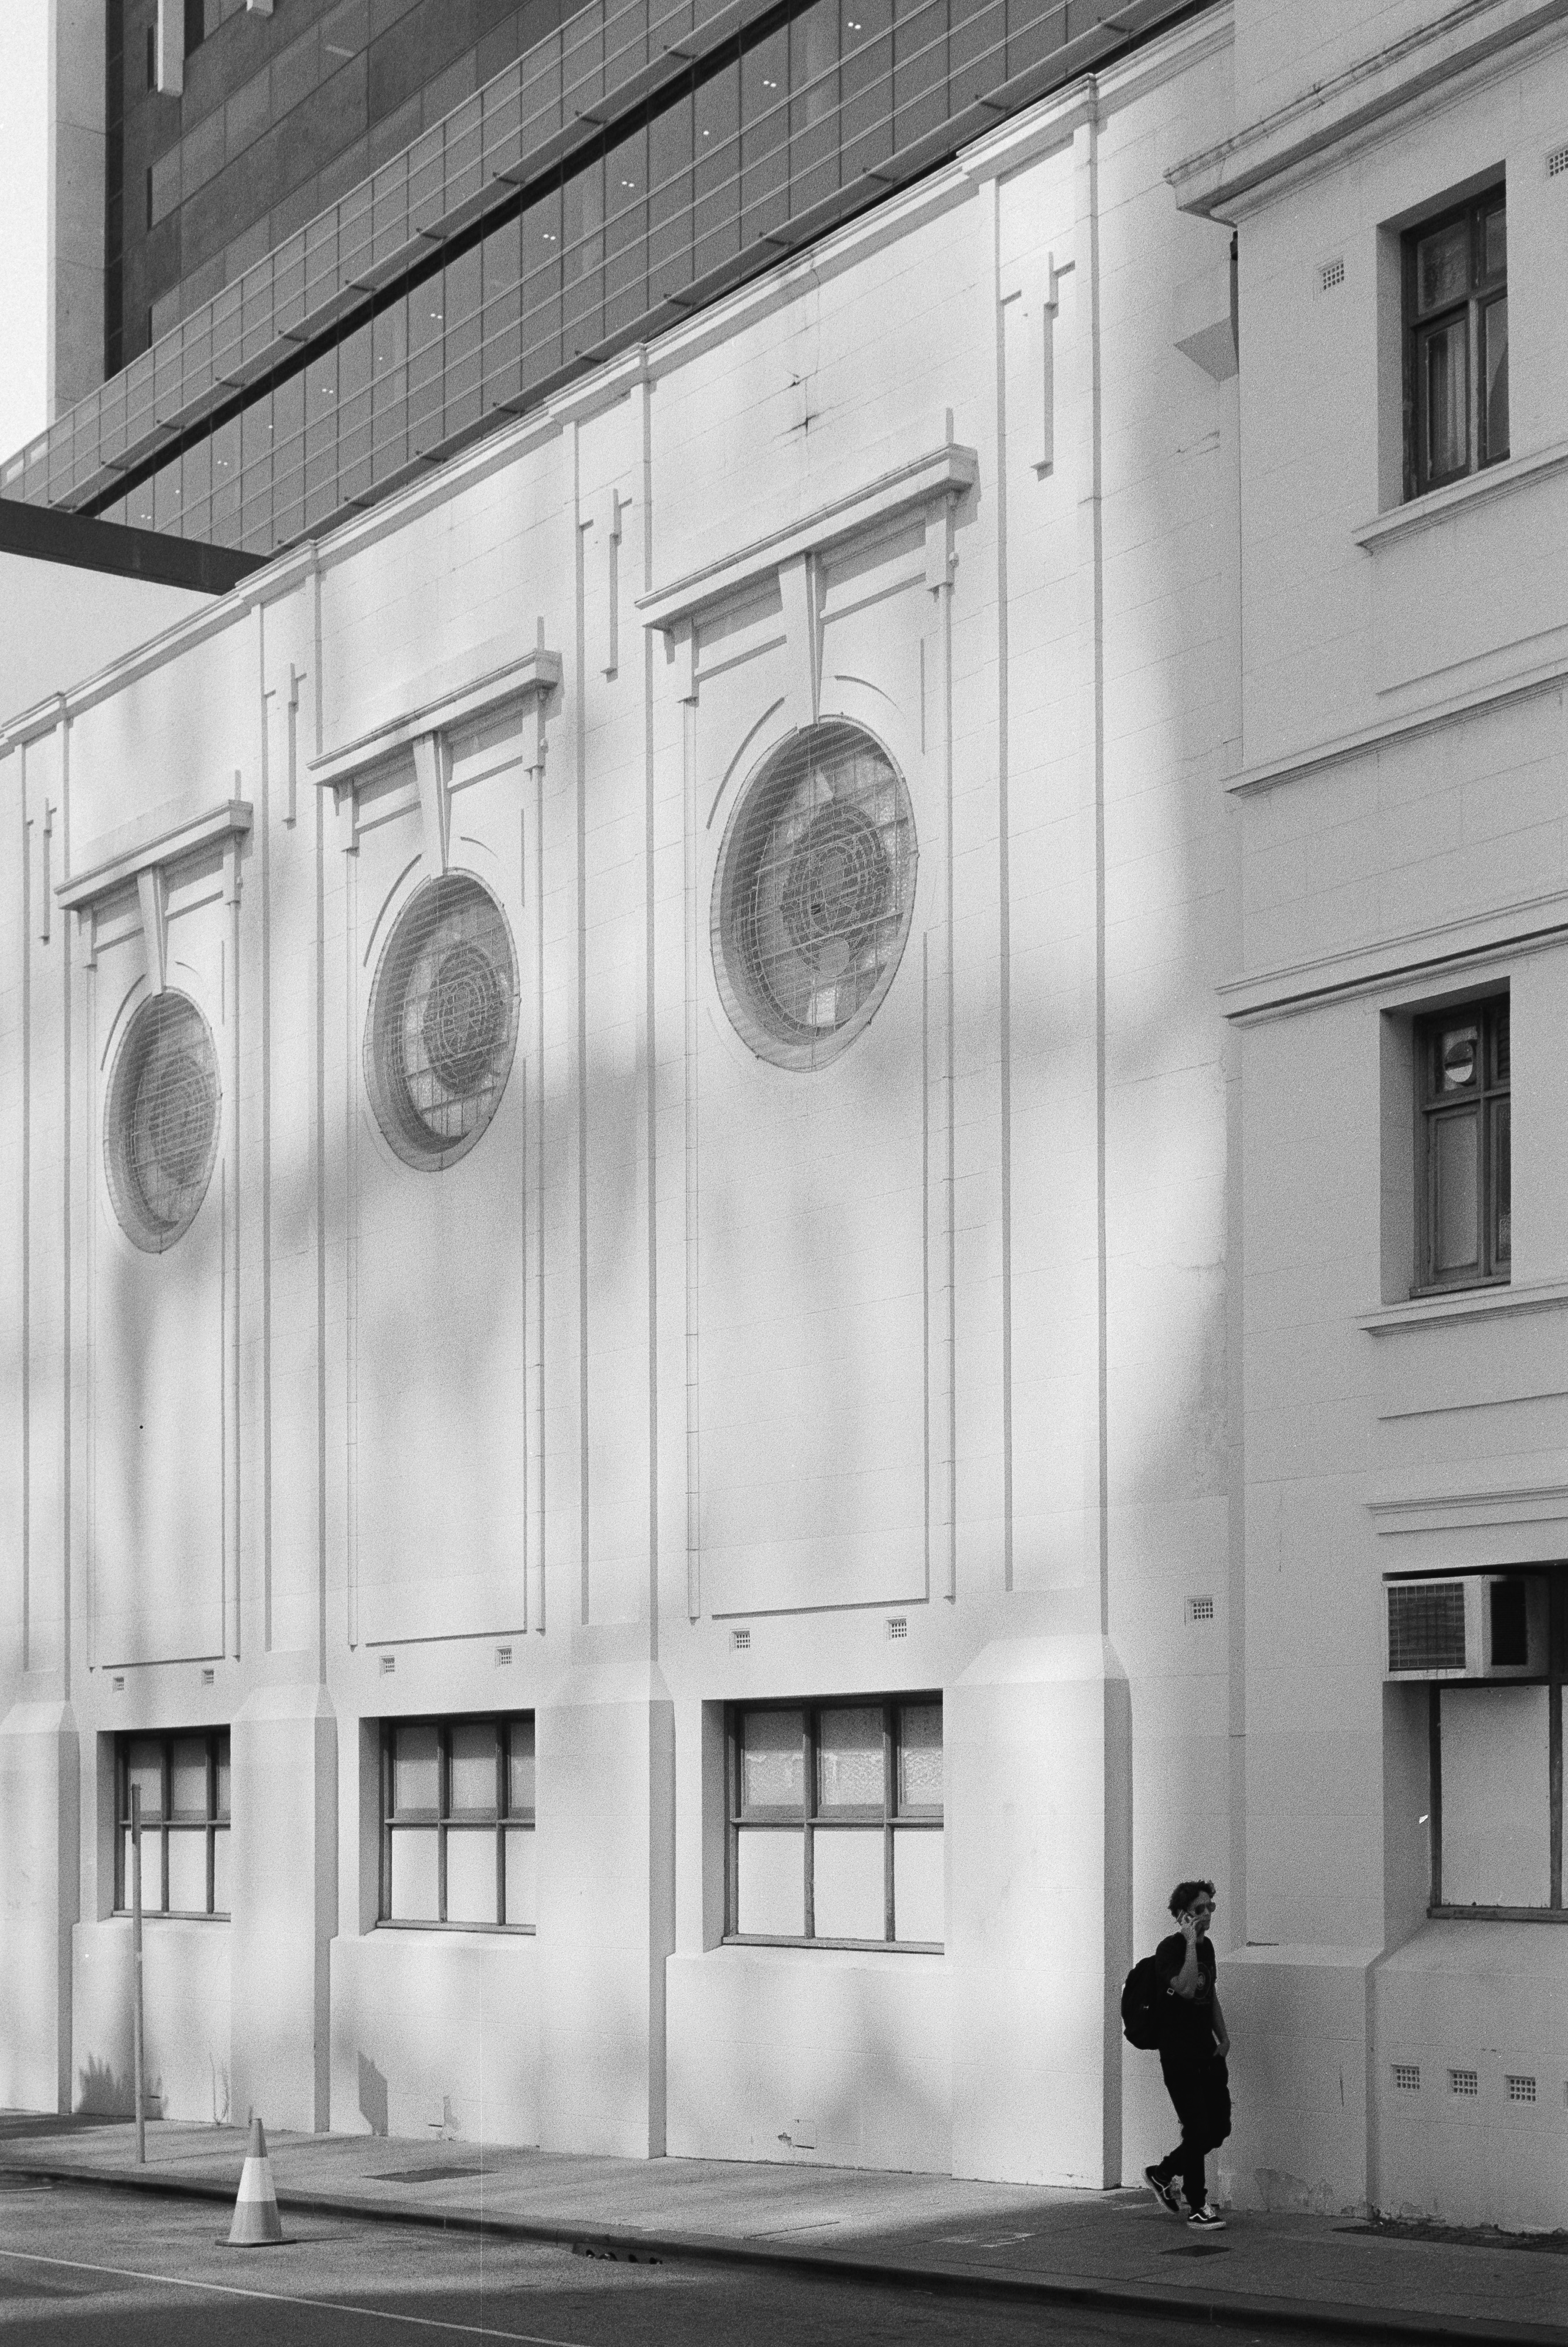
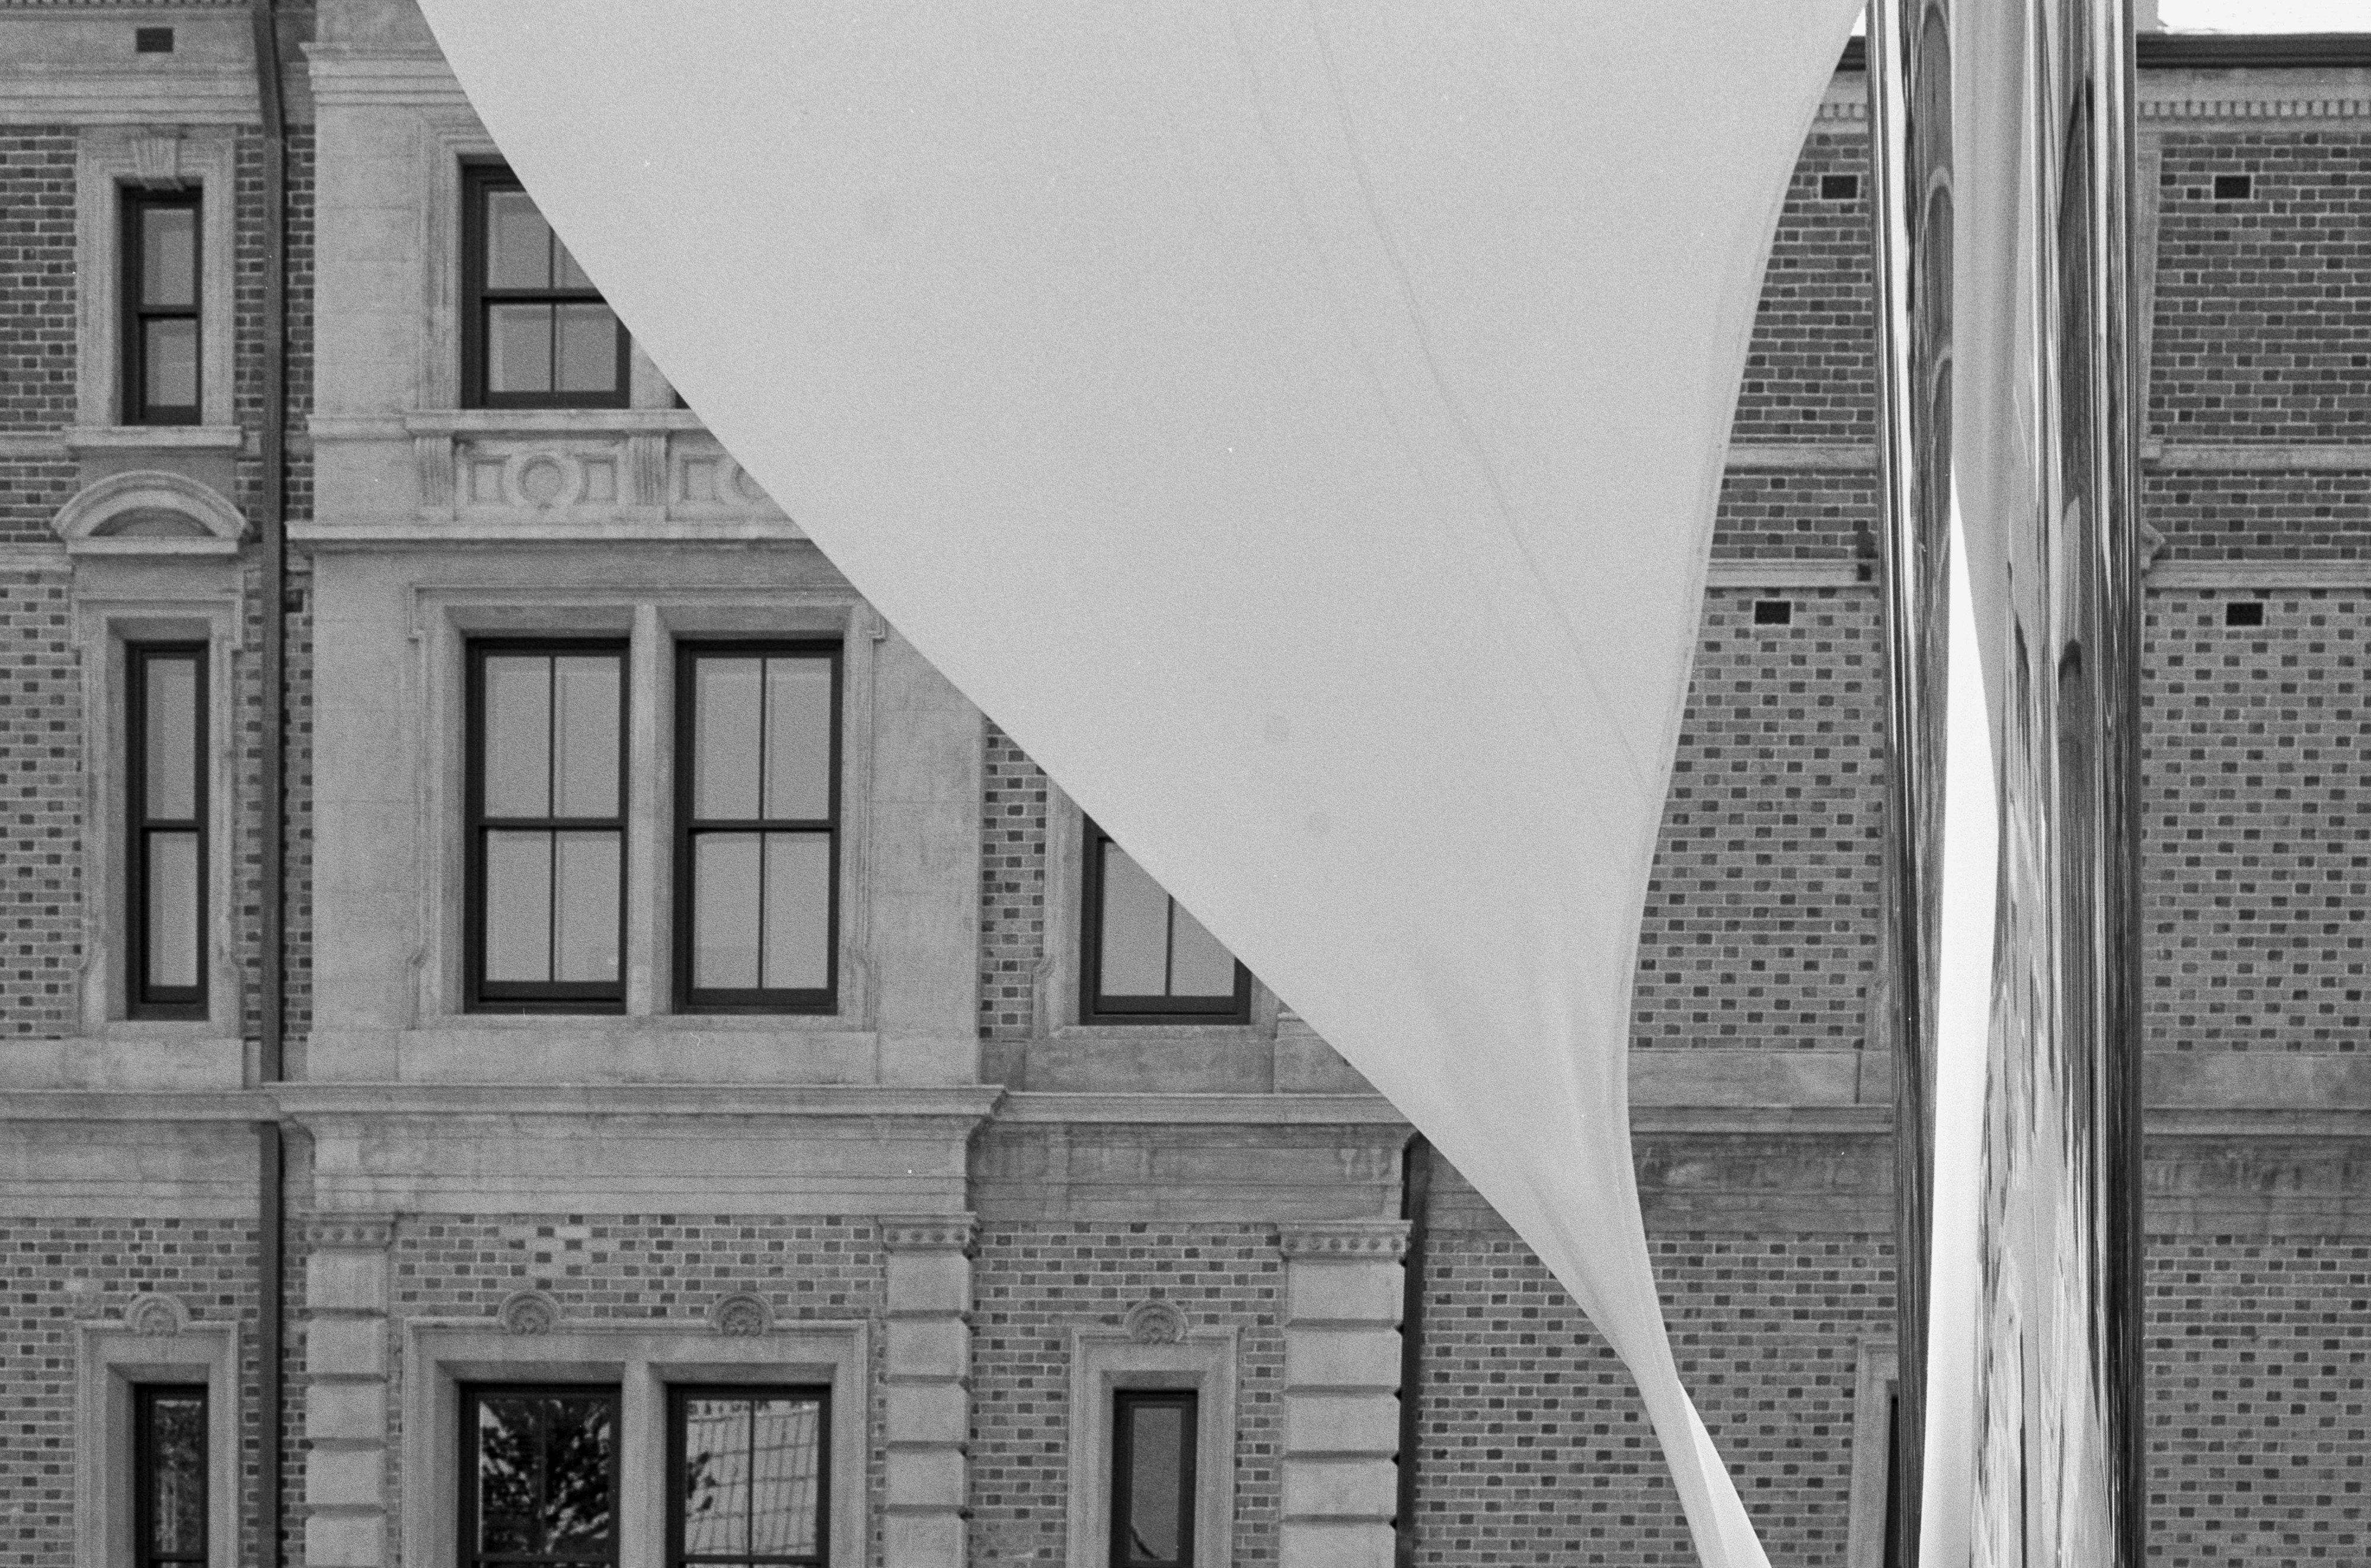
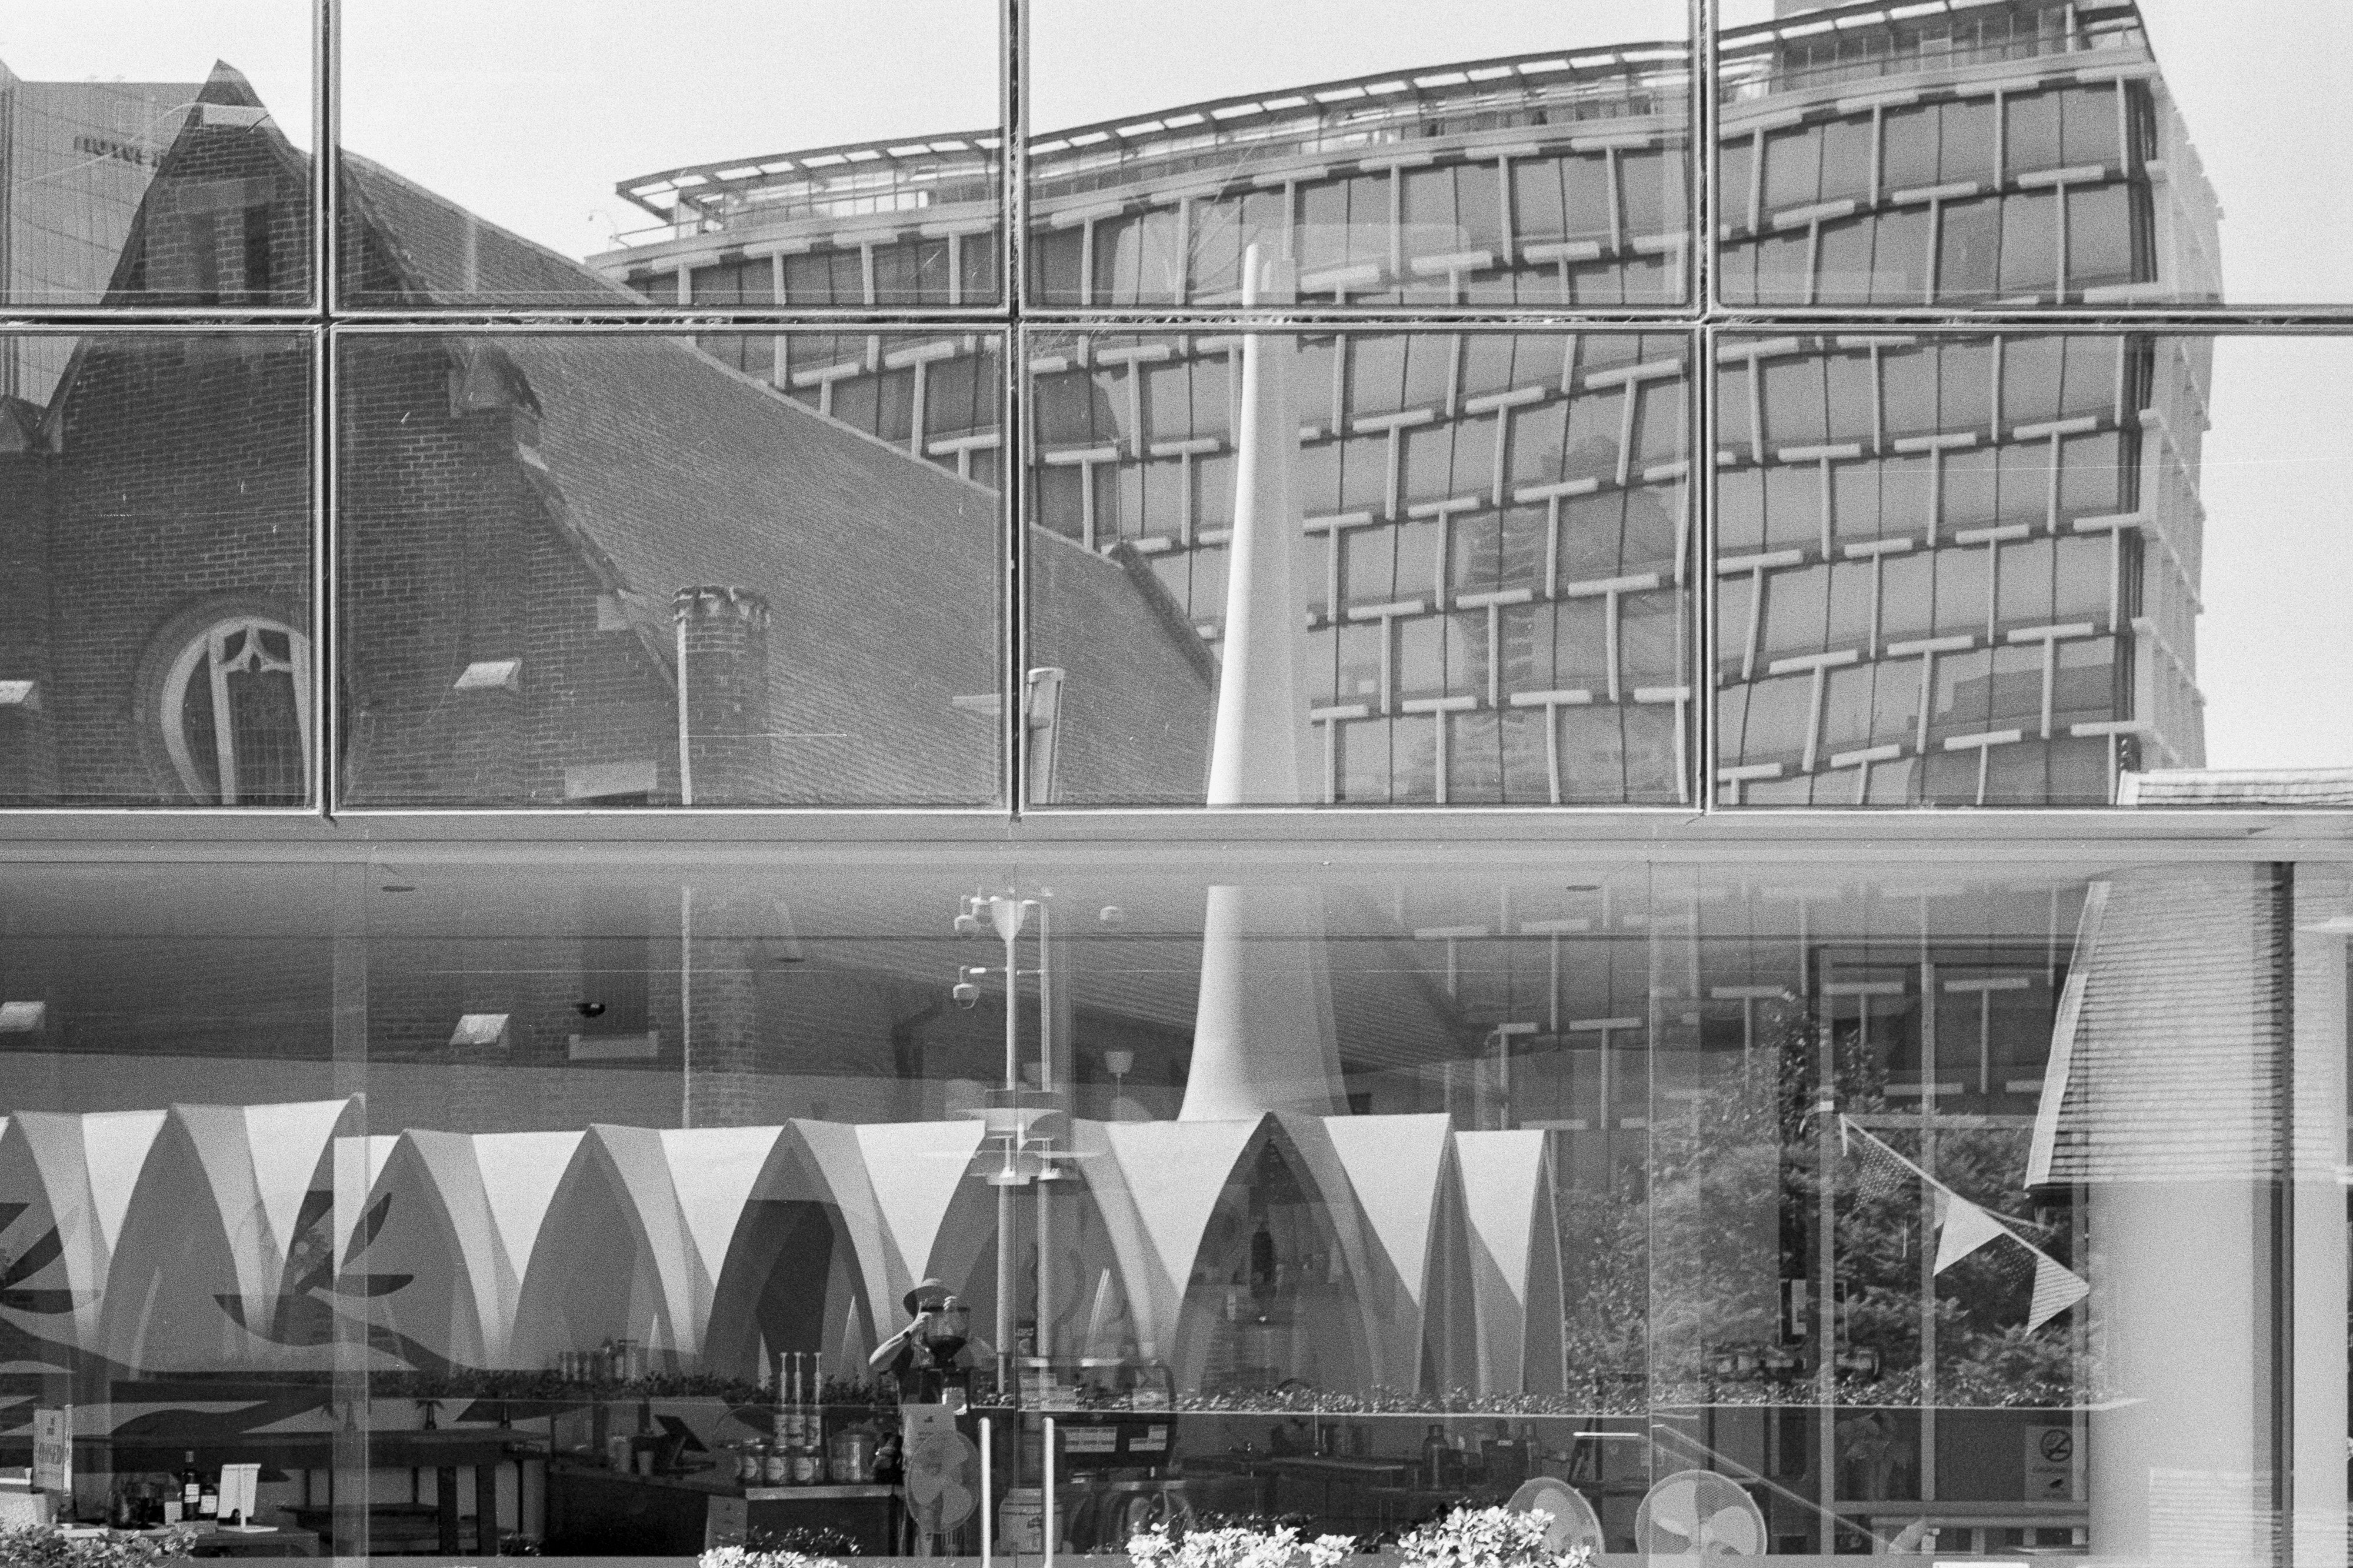
Reviewing my favourite images, I realised I’d accidentally assembled a mixture of street photography, architecture, minimalism and abstract compositions. More importantly, I genuinely liked several of them. Considering how low my expectations had been, that felt like a genuine success.

Expired film may never replace fresh stock in my camera bag, and I’m still not convinced it’s worth today’s inflated prices. However, this roll reminded me that photography doesn’t always reward certainty. Sometimes lowering your expectations leaves plenty of room to be pleasantly surprised.

Unlike my dearly departed Fuji GA645Zi, this ancient roll of Agfa actually delivered. That’s enough to spare it from photographic damnation, at least for now. As for me, I may be approaching my own use-by date, but there are still plenty more questionable photographic adventures waiting just around the corner. If nothing else, they should provide fresh material for the next chapter of my ongoing catalogue of photographic misadventures.

Nikon AF Nikkor 50mm f/1.8D: The Best Budget Lens Nikon Ever Made?

The Nikon AF Nikkor 50mm f/1.8D is about as unassuming as a camera lens can be. It’s small, lightweight, mostly plastic, and possesses all the visual excitement of a household appliance. Pick it up and you might wonder how something that feels so ordinary has earned such a loyal following among photographers. Yet despite its humble appearance, this little lens has developed a reputation as one of Nikon’s greatest bargains—and after years of using it, I’m inclined to agree.

In a previous review, I described the Nikon 135mm f/2.8 AI-S as perhaps Nikon’s best-value budget lens. The only reason I hesitated was because of this lens. The 50mm f/1.8D has been sitting quietly in the back of my mind, constantly reminding me that true photographic value isn’t always found in rare vintage glass or expensive modern optics.

Like most camera manufacturers, Nikon has produced numerous 50mm lenses over the decades. The AF-D version, introduced in 2002, is essentially an evolution of Nikon’s earlier autofocus designs. Even today, long after the heyday of film photography, it remains available and continues to serve photographers who appreciate its simplicity.

Simplicity is Best

There’s no built-in autofocus motor. Instead, autofocus is driven by the camera body via Nikon’s traditional screw-drive system. This means compatibility is limited on some Nikon cameras, but the lens does include a manual aperture ring and remains easy to use manually. It feels almost refreshingly straightforward in an era of increasingly complex lens designs.

Despite its budget construction, there are some pleasant surprises. The lens uses a metal mount rather than plastic, and its uncomplicated design contributes to its durability. I’ve owned two copies over the years. One was purchased new, while the other arrived attached to a second-hand camera body. Neither has ever given me trouble, and one even survived an accidental drop onto concrete with nothing more than a cosmetic scar.

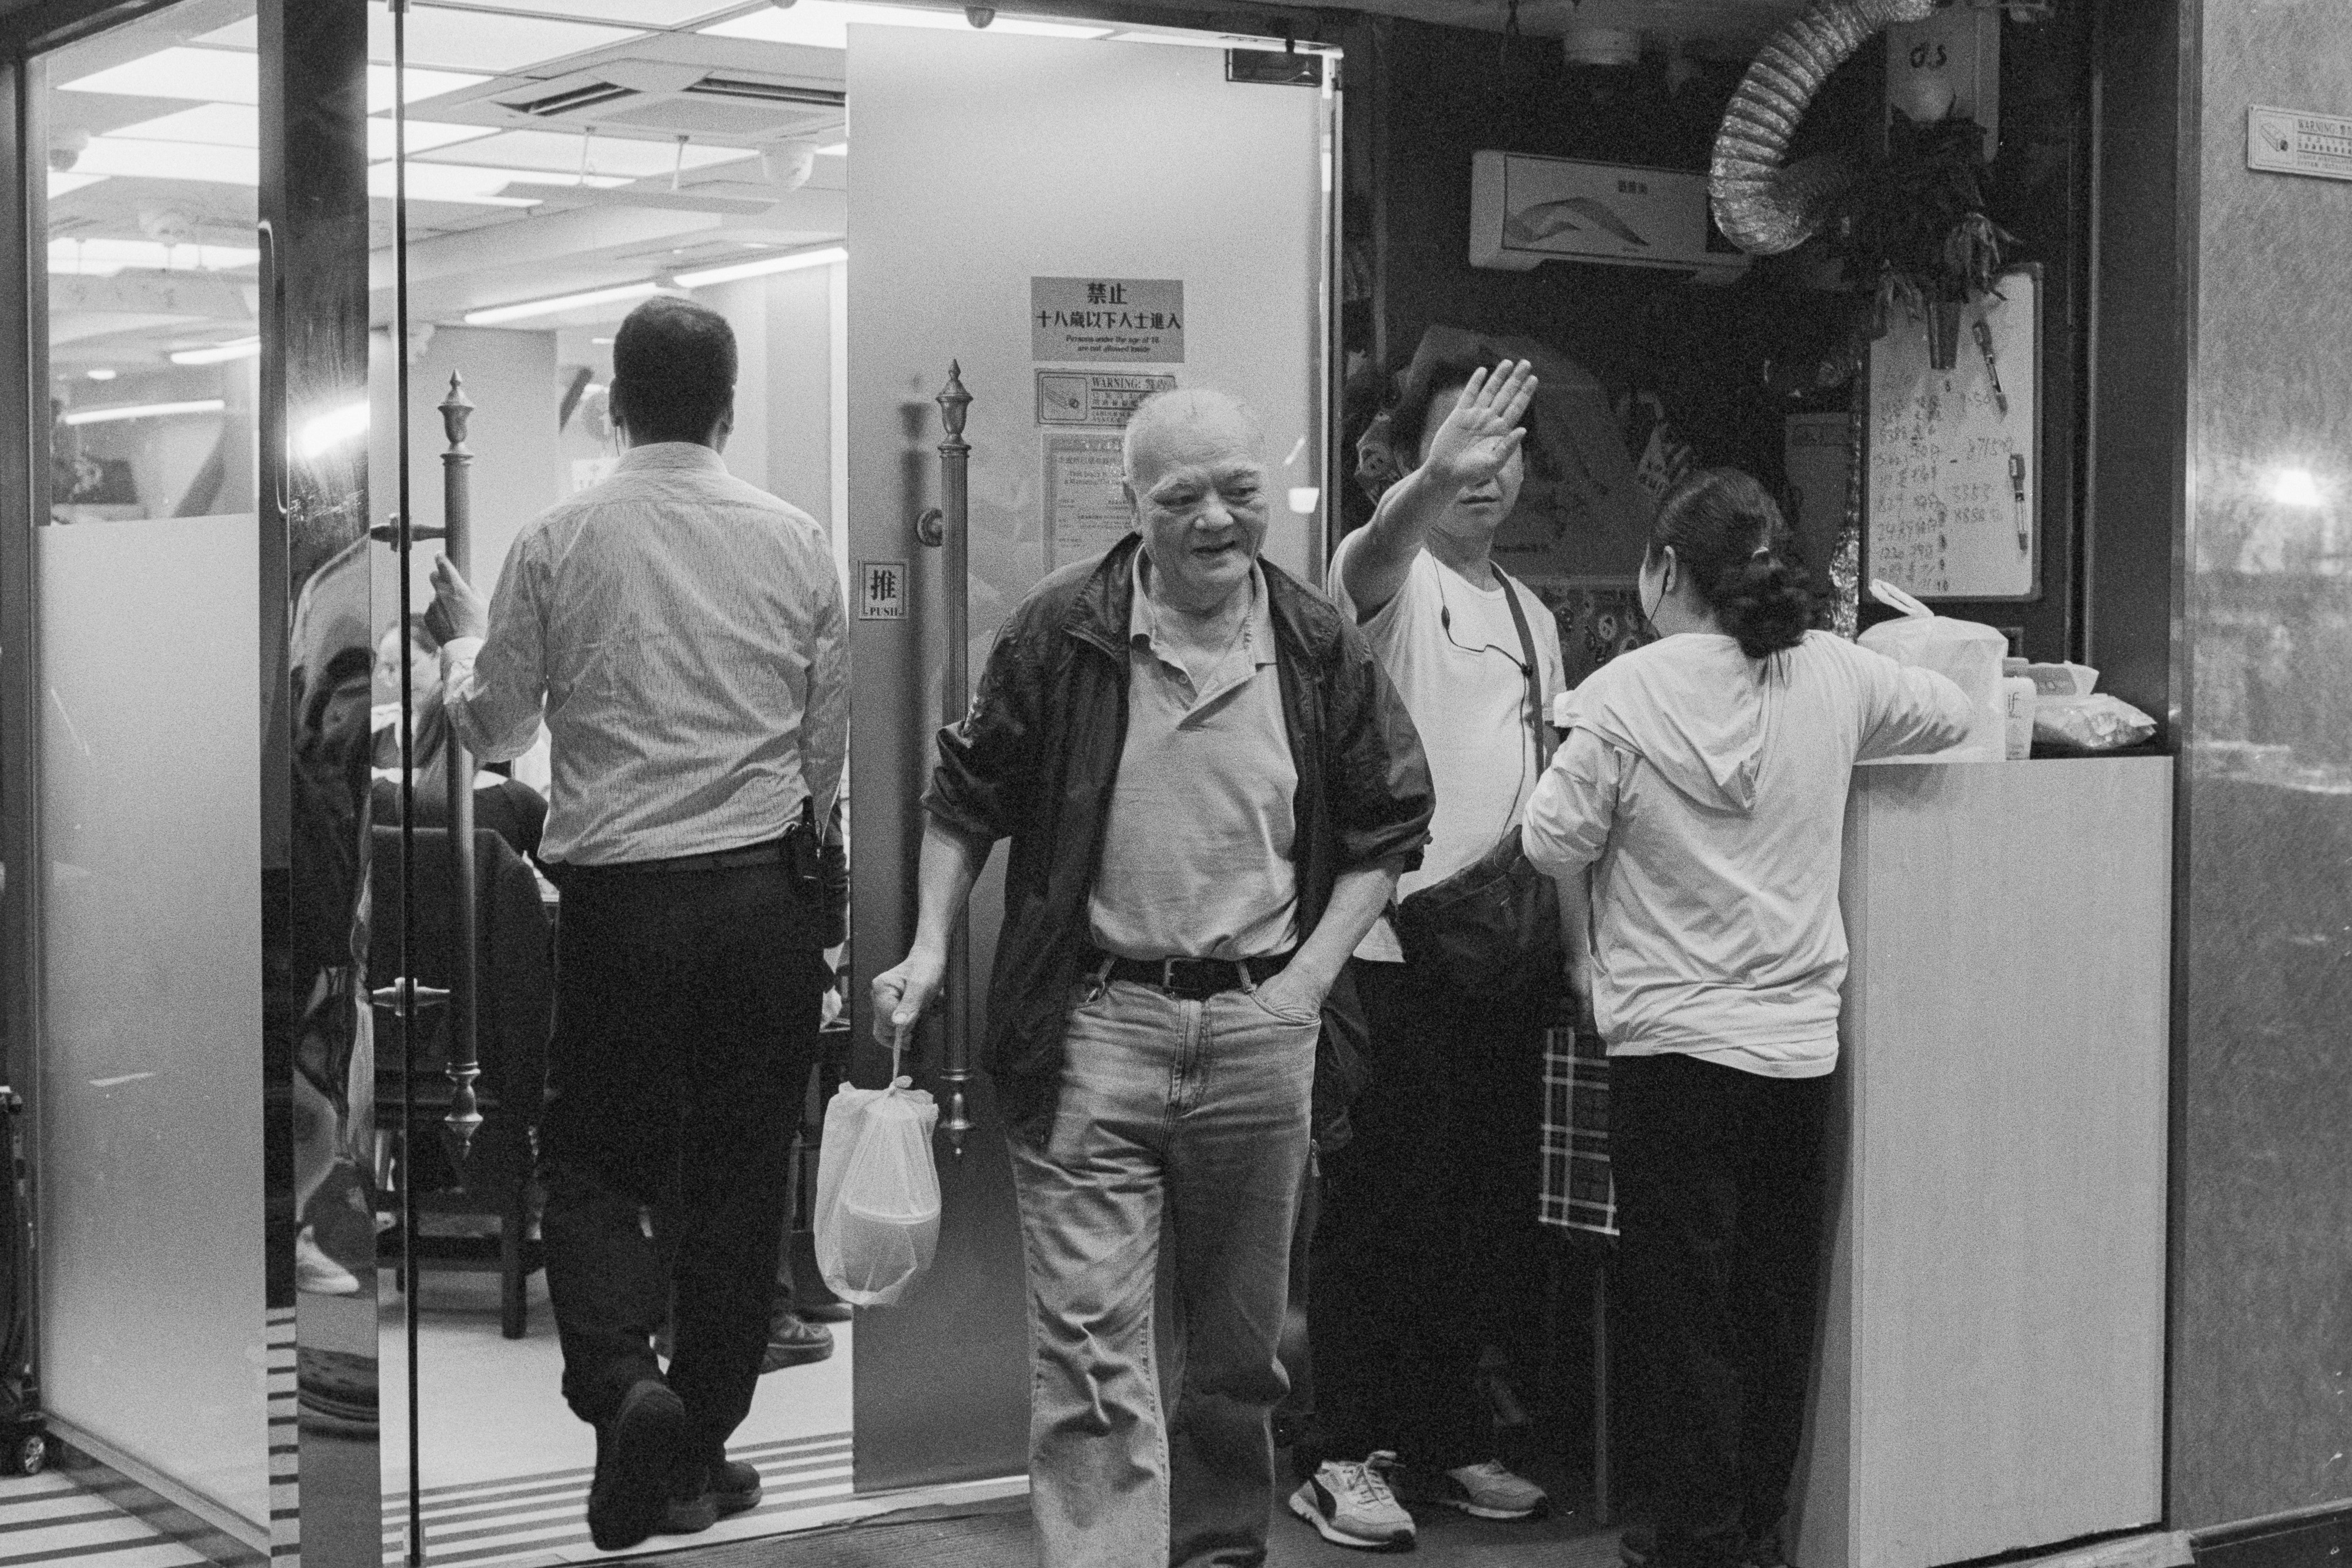
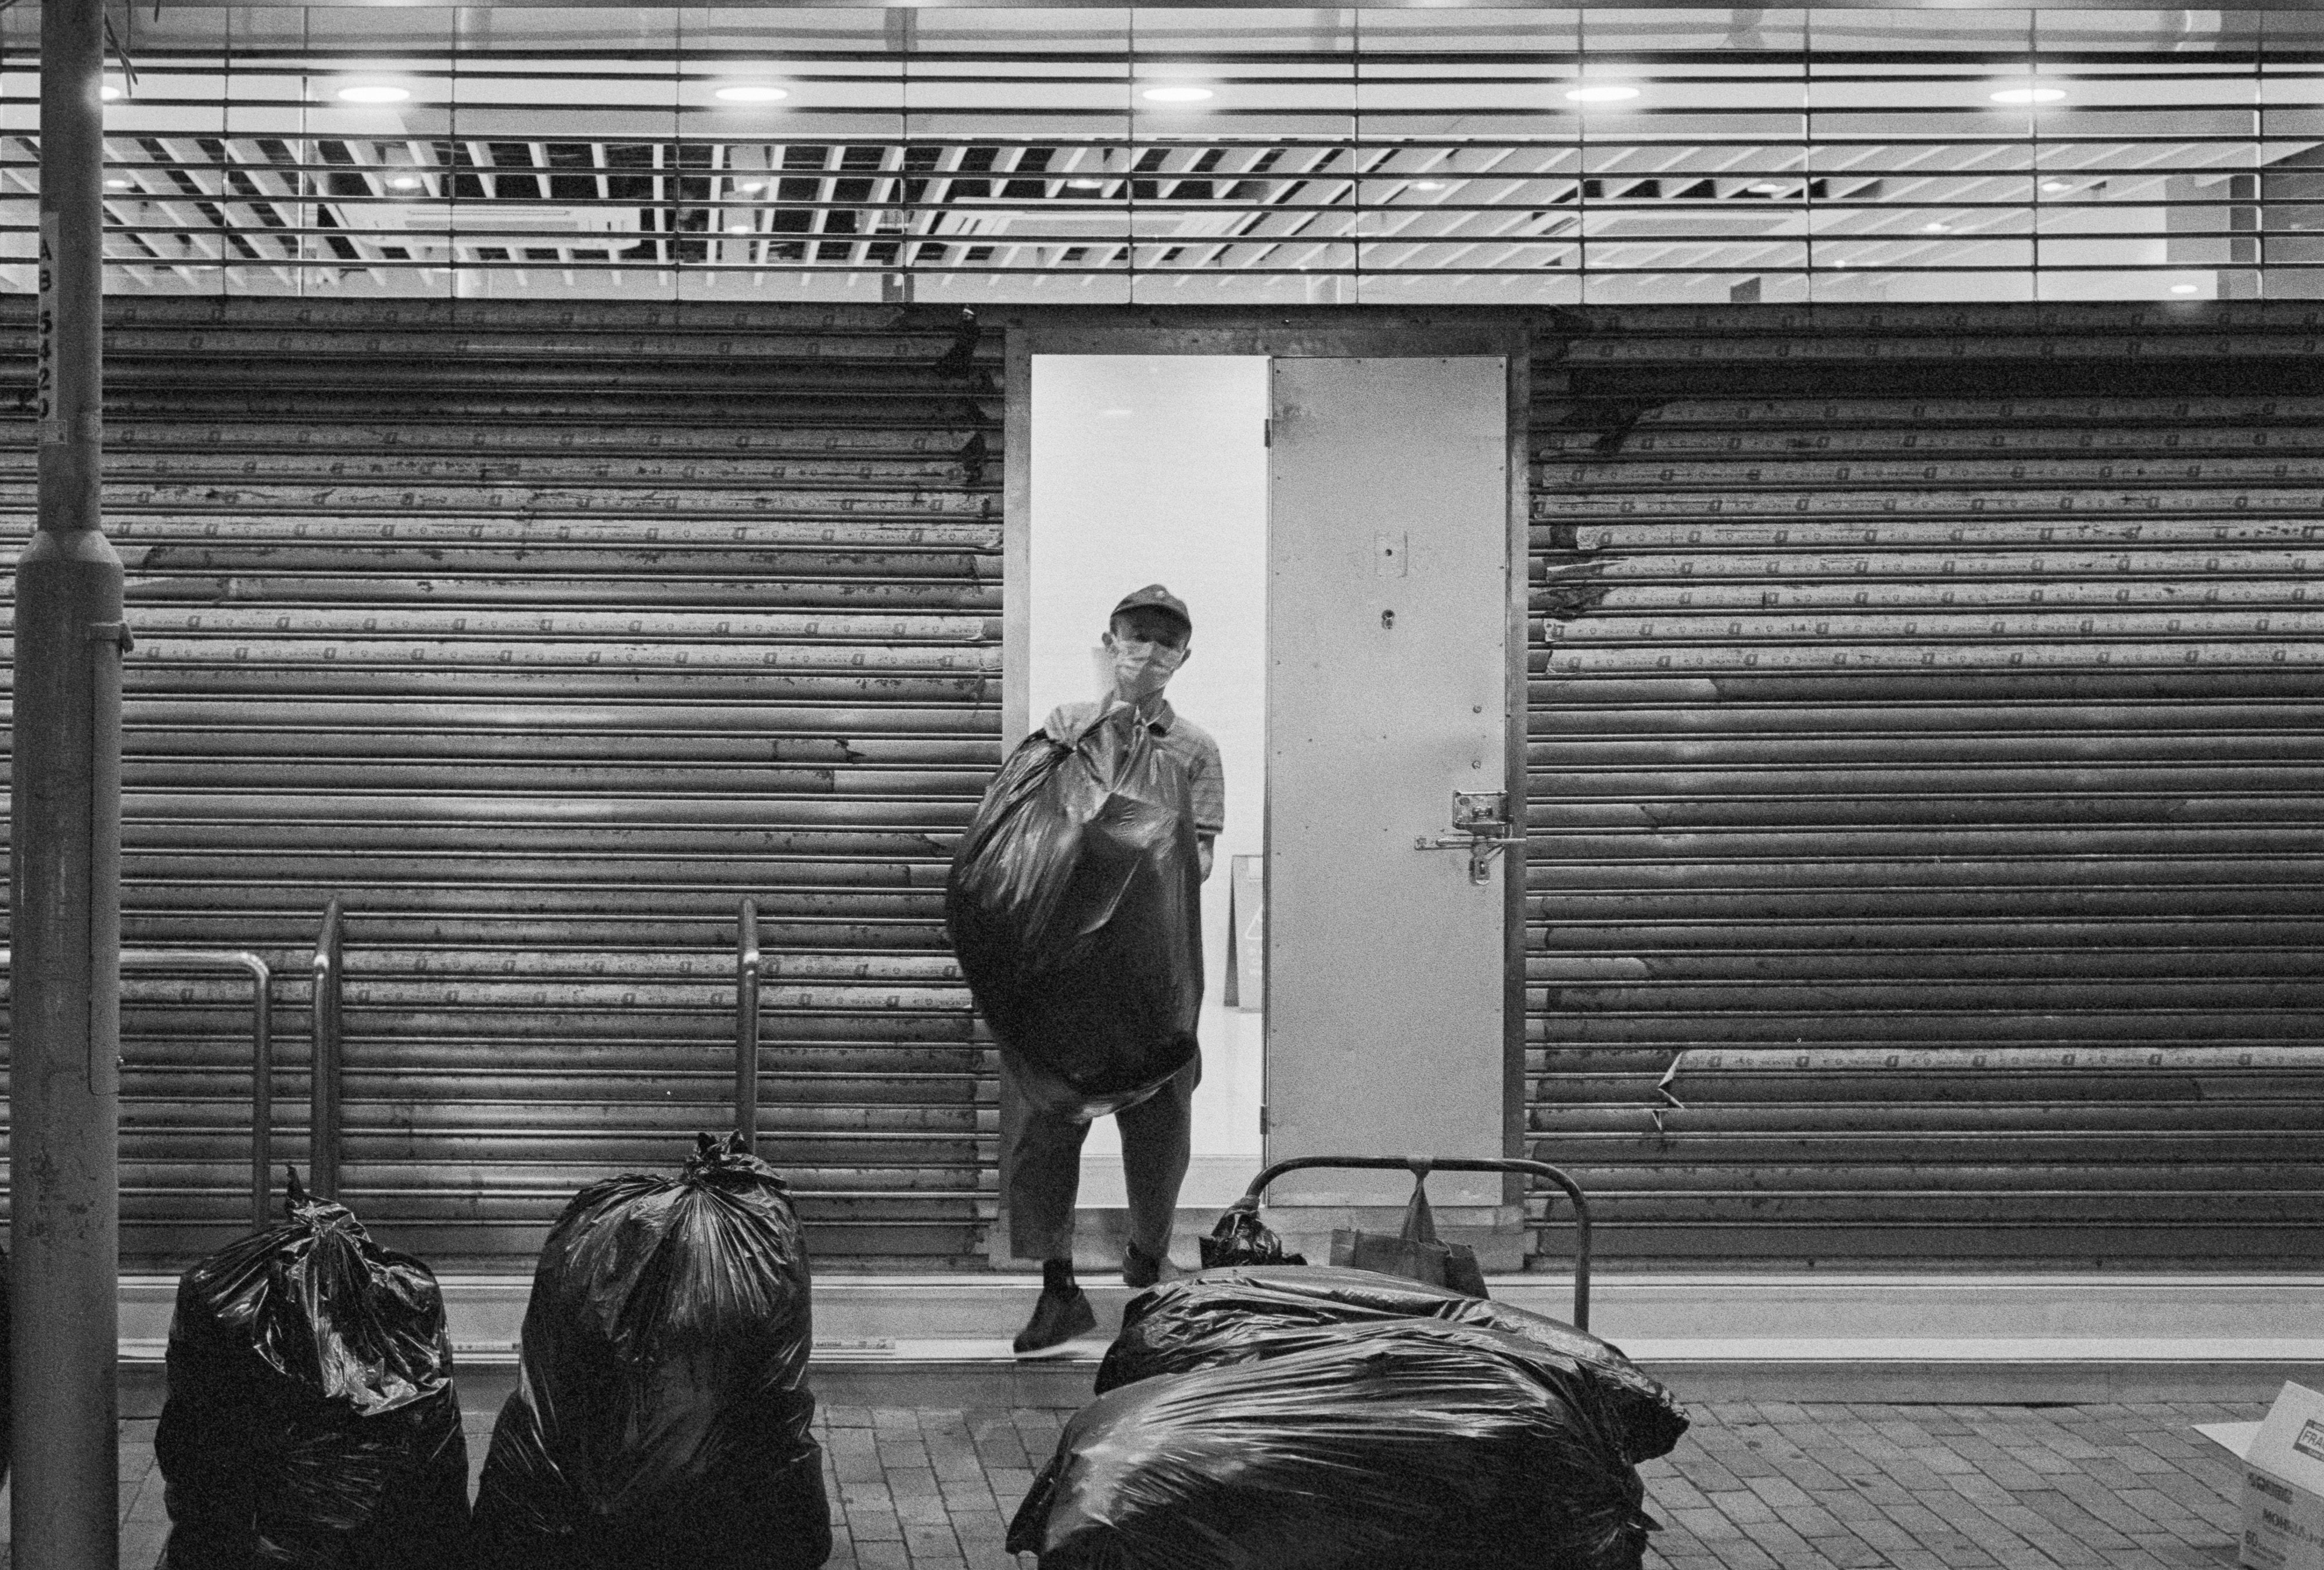
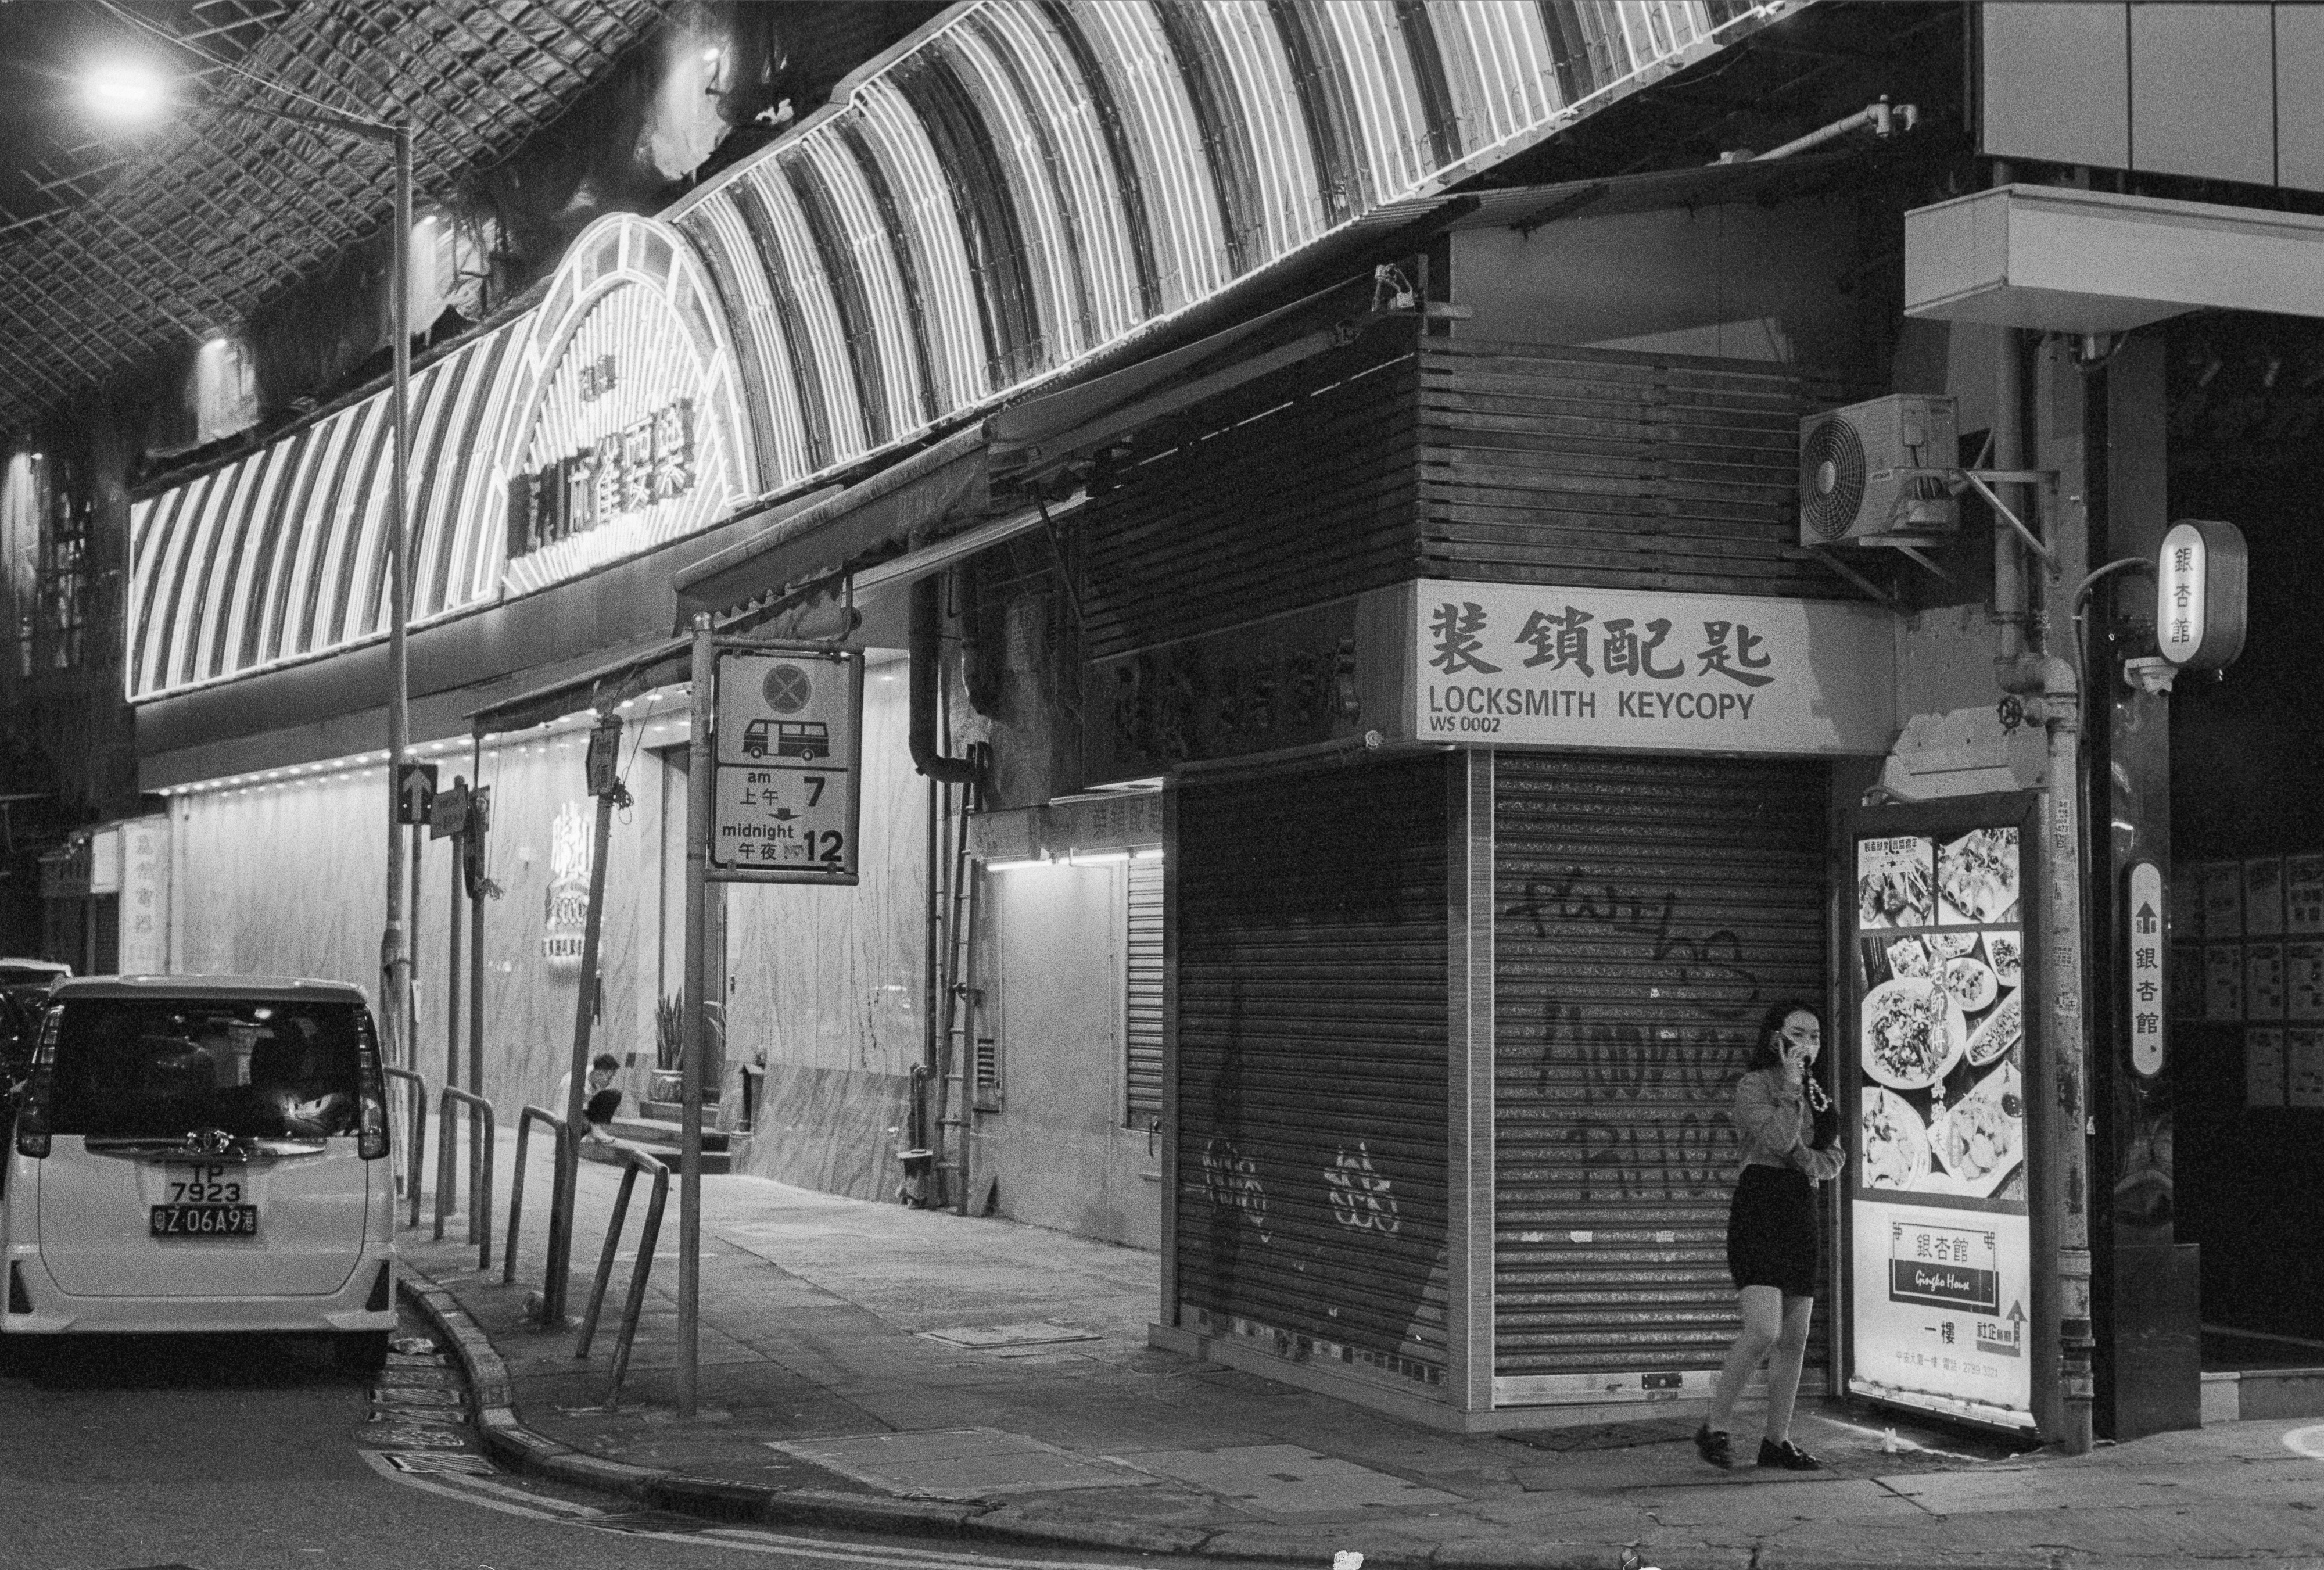
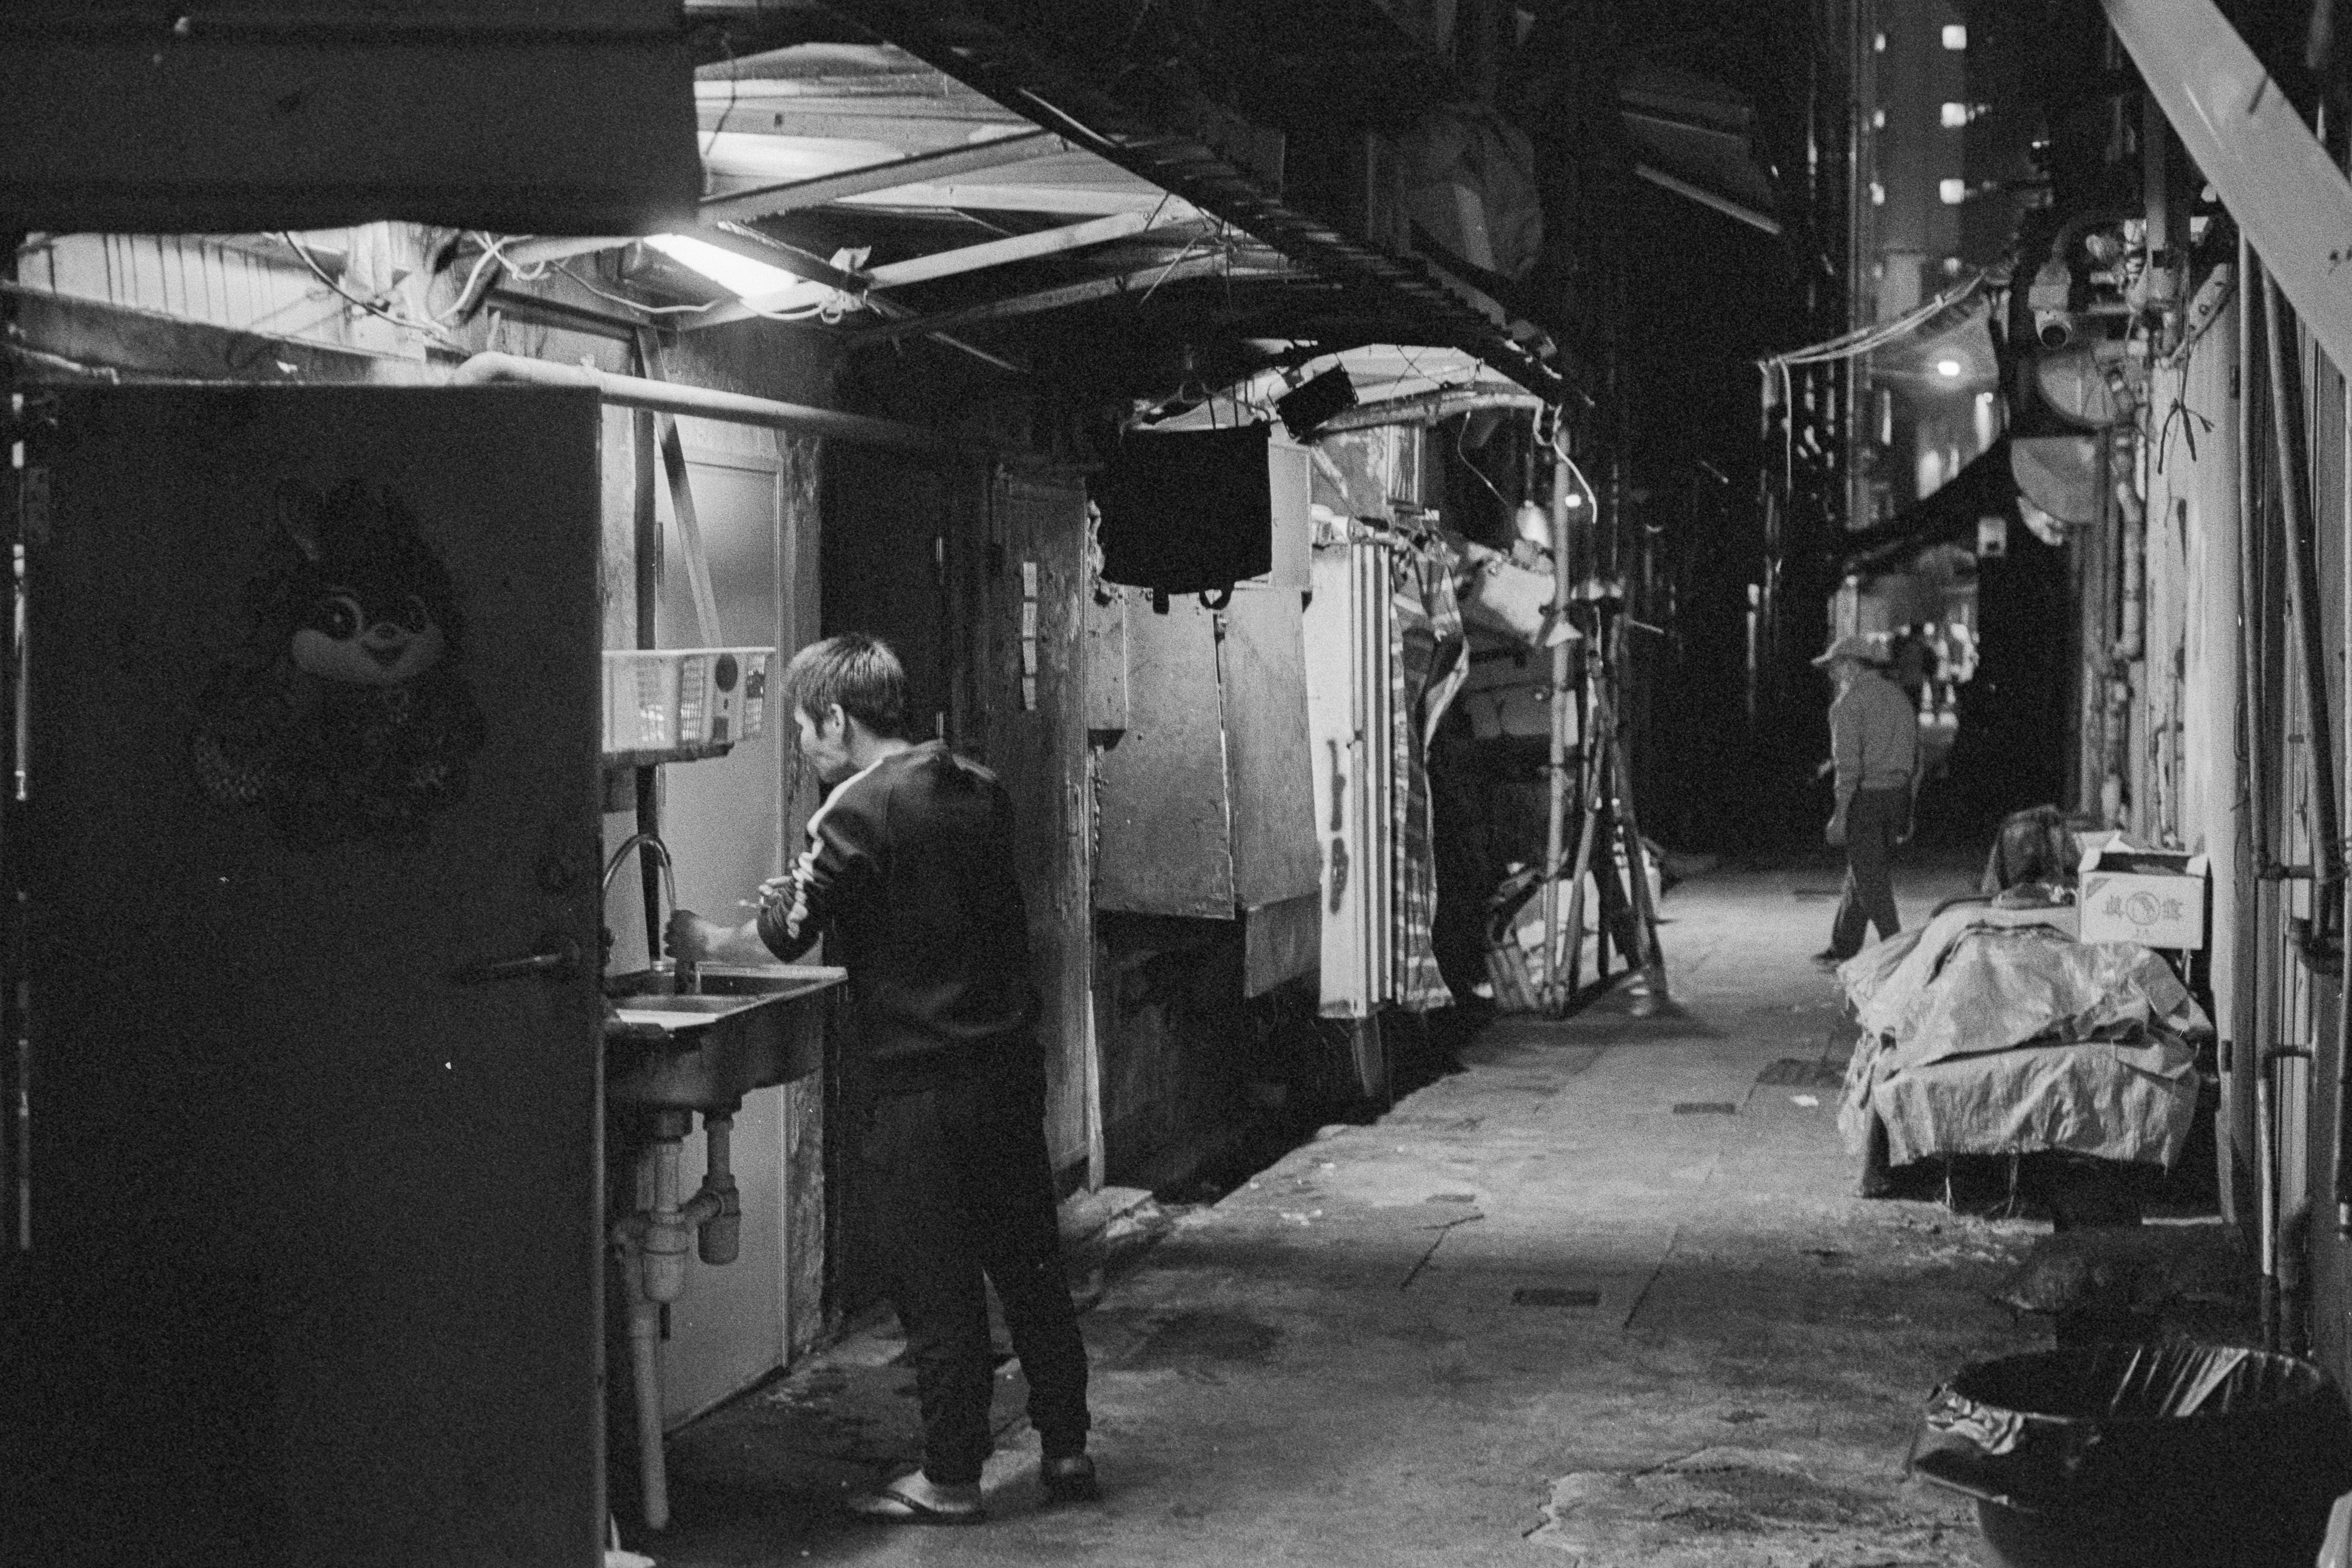
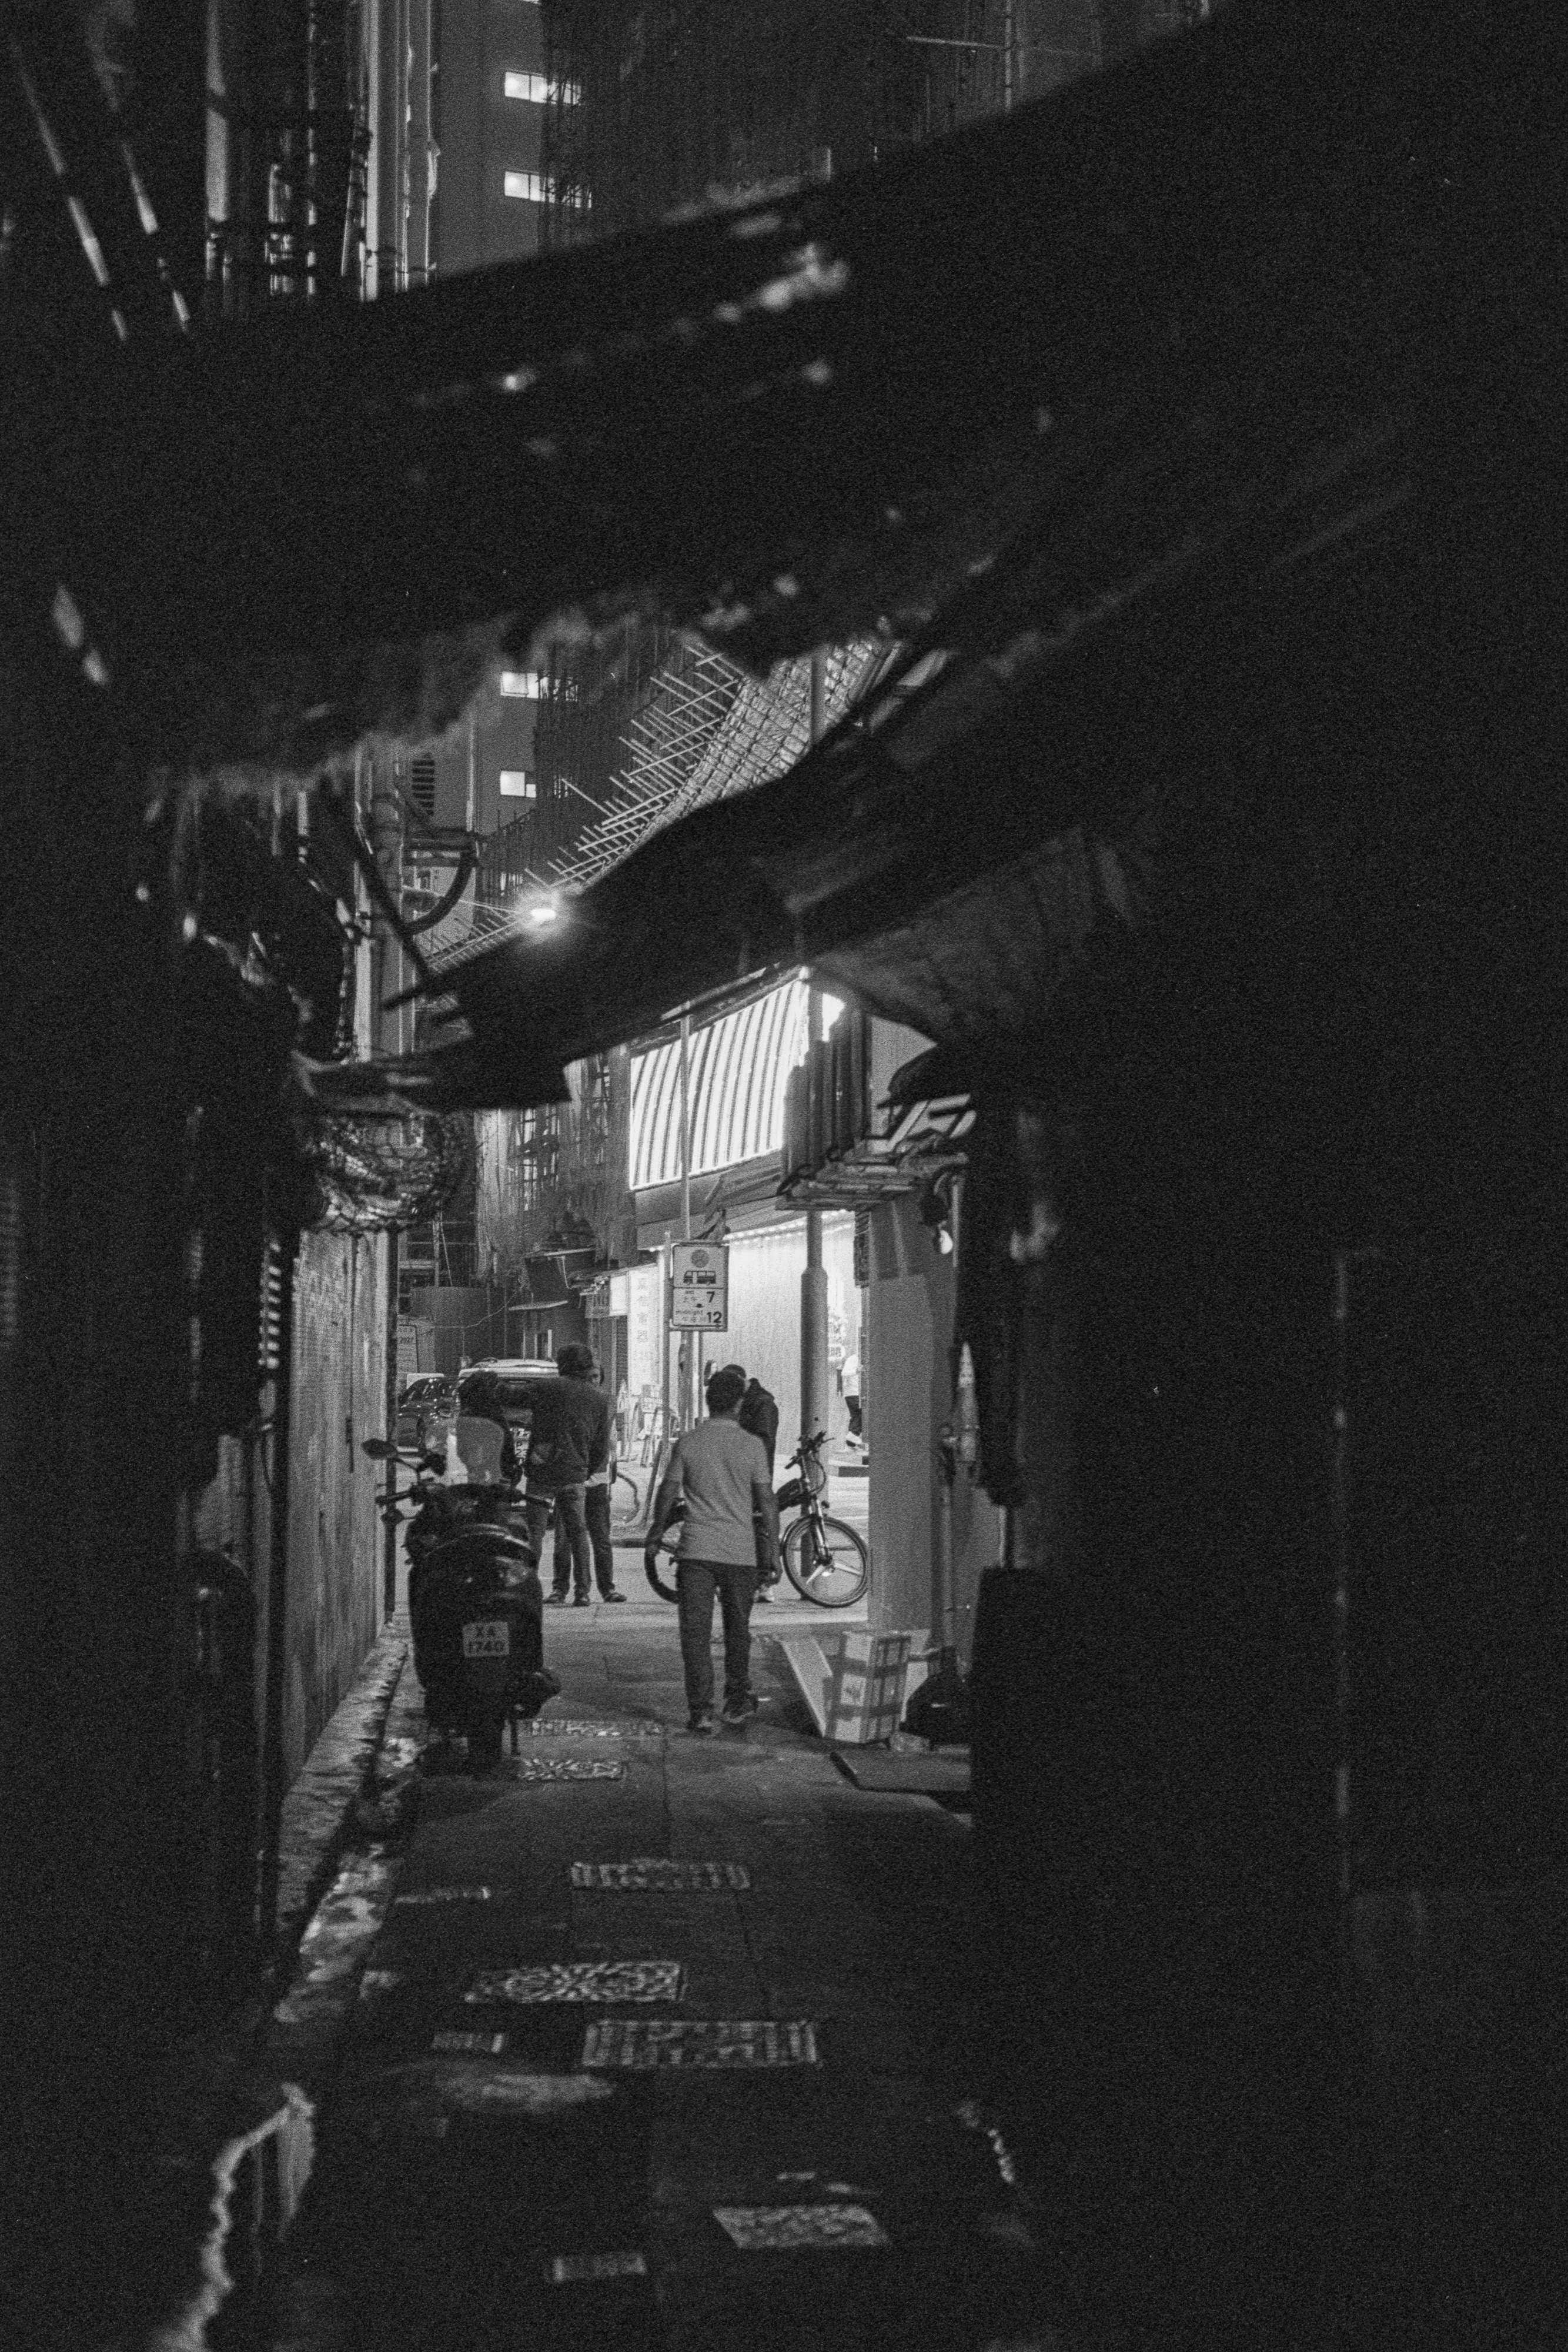
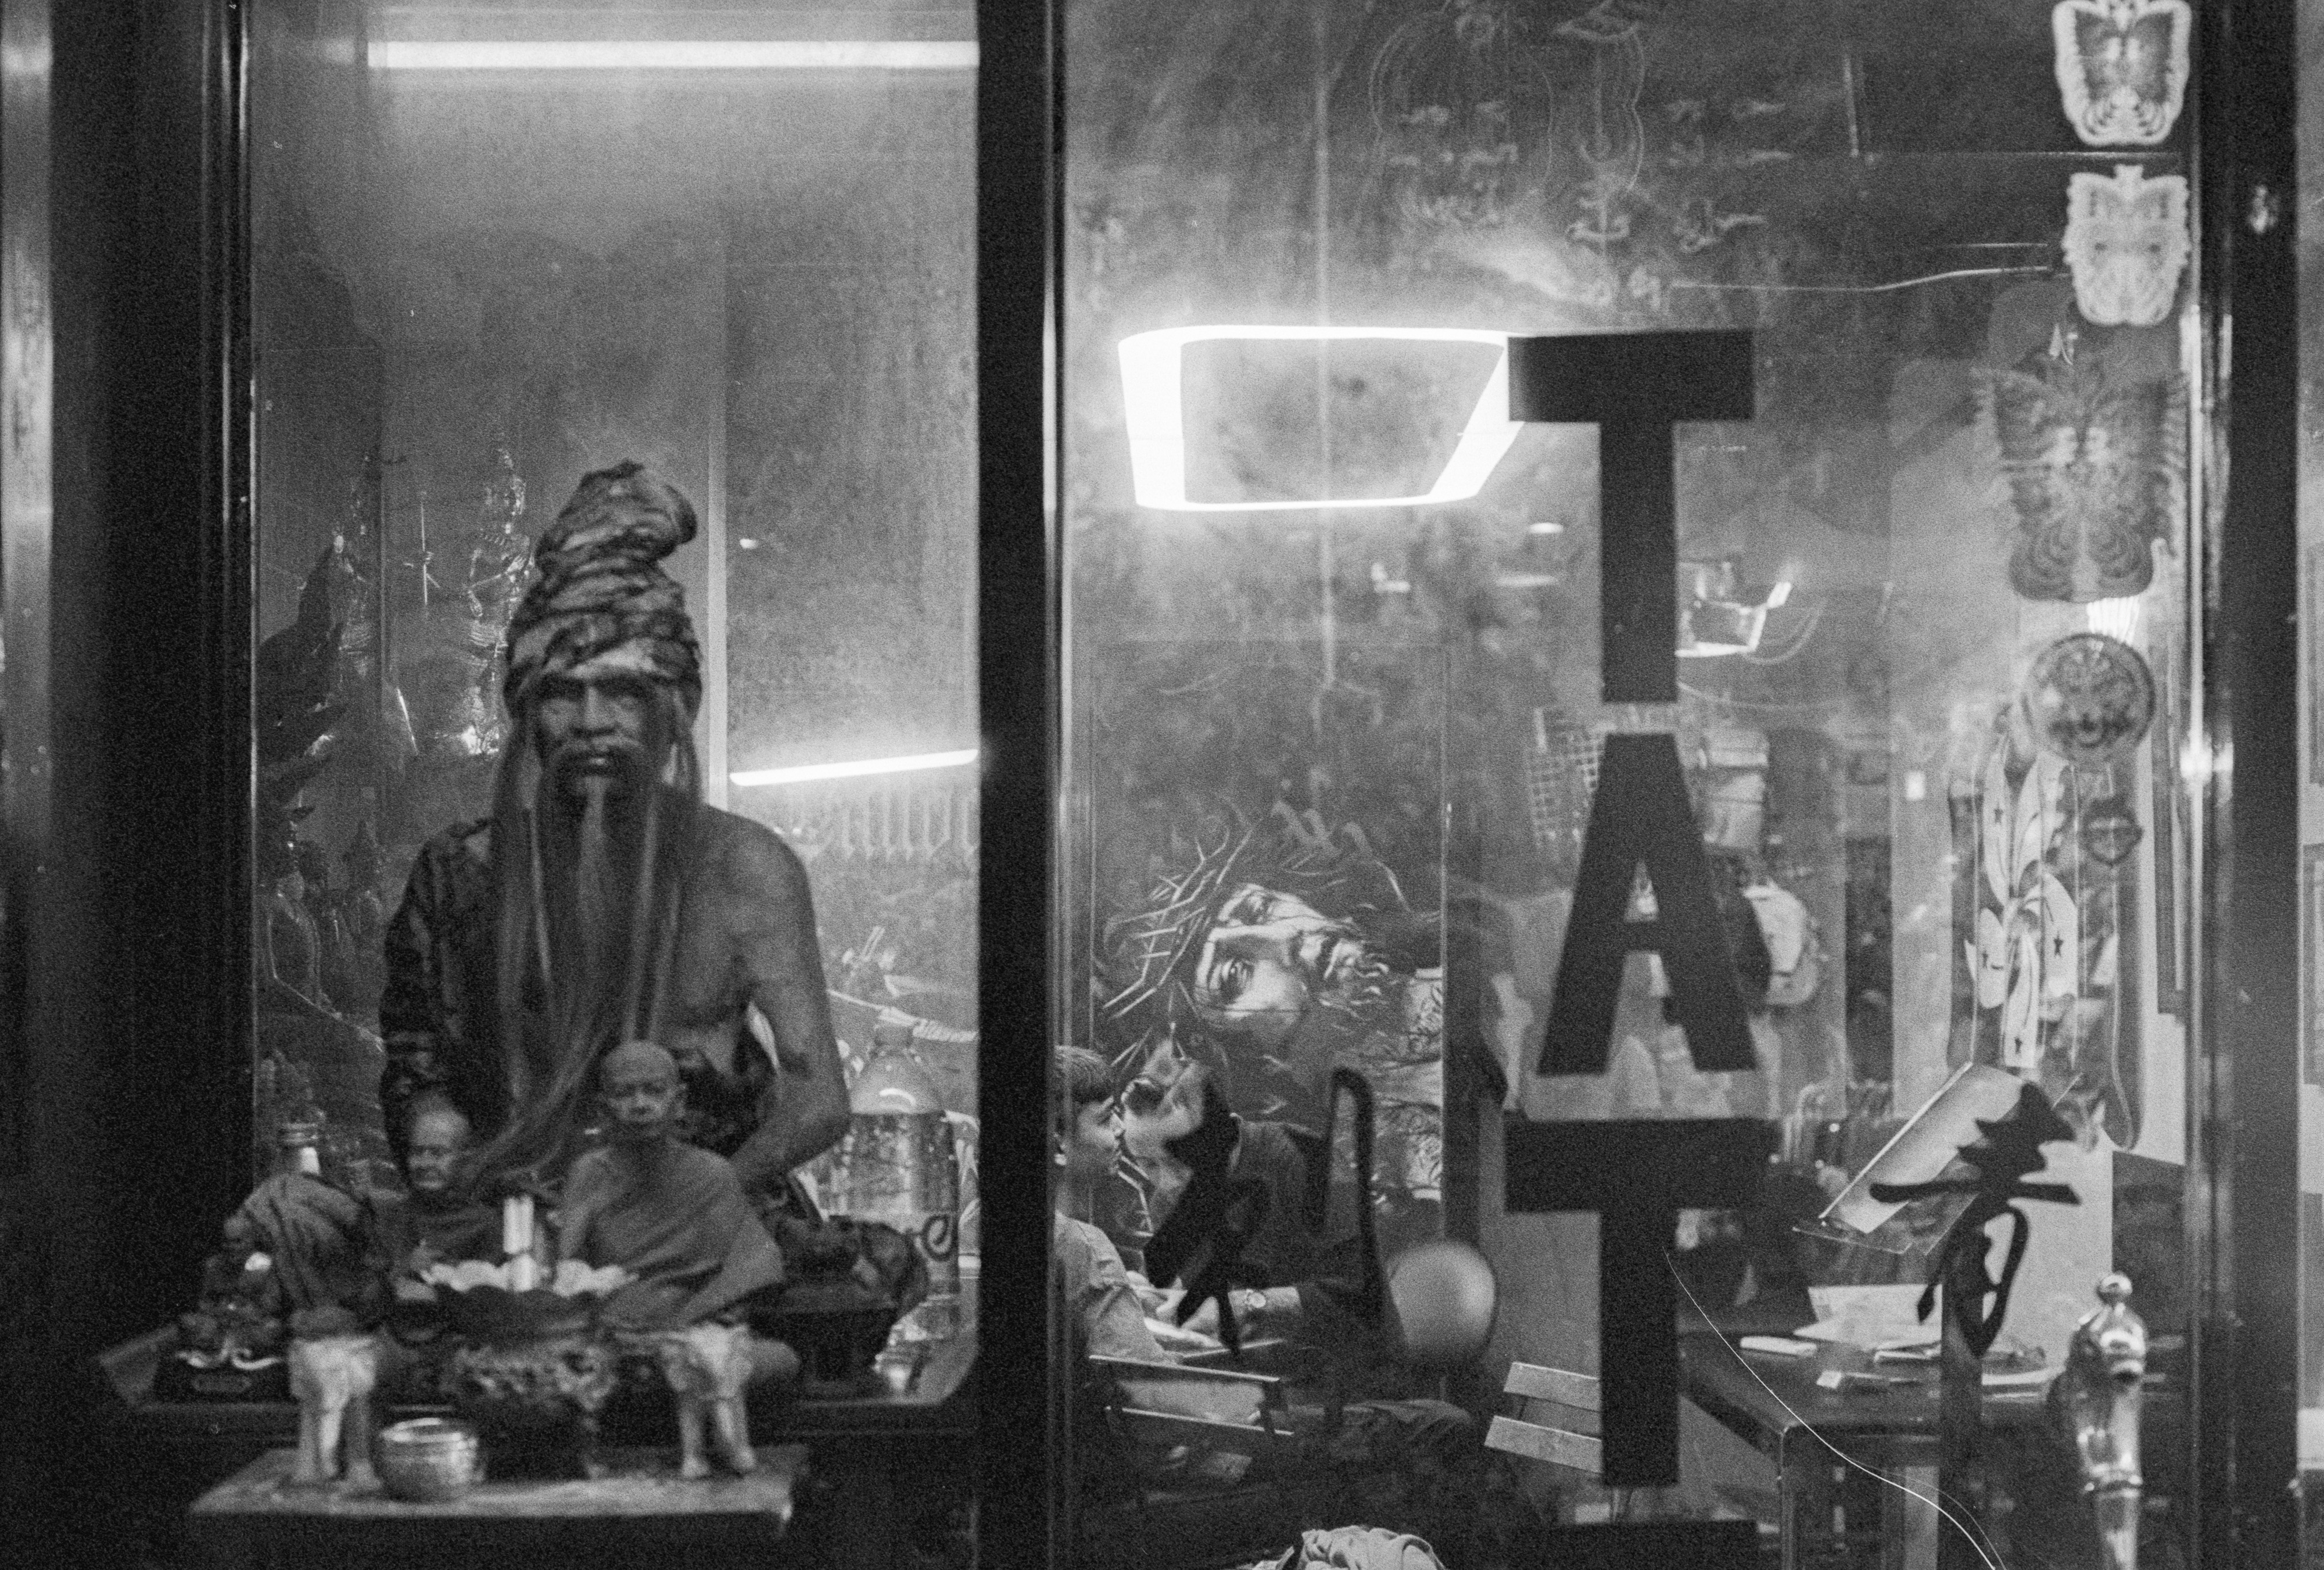
But durability alone doesn’t make a lens special. The real question is how it performs. To find out, I took the lens on a night-time walk through Hong Kong’s Temple Street Markets, mounted on a Nikon N80 loaded with Ilford HP5 Plus pushed to ISO 1600. It proved to be an excellent travel companion. Small and light enough to disappear into a camera bag, it complements a zoom lens perfectly when light levels drop and a wider aperture becomes useful.

The 50mm focal length itself remains one of photography’s classics. Offering a natural perspective that closely resembles human vision, it allows photographers to isolate subjects without introducing the compressed, voyeuristic feel often associated with longer telephoto lenses. It’s easy to see why masters such as Henri Cartier-Bresson favoured this focal length for so much of their work.

It’s Sharp

Even without conducting laboratory tests, images consistently appear crisp and detailed. Scanned film photographs reveal excellent central sharpness, with textures and fine details rendered more clearly than the lens’s modest price would suggest. There’s a certain incisiveness to the images that repeatedly catches me by surprise.

That sharpness continued to impress back home in Perth, this time using slower, finer-grained film under bright Australian sunshine. Stopped down, the lens produces remarkably detailed images. Even wide open at f/1.8, performance remains highly respectable. While it may not compete with the latest premium optics in objective testing, real-world results are consistently satisfying.

A Few Imperfections

Of course, the lens isn’t perfect. Corner performance lags behind the centre, particularly when shot wide open. Some mild vignetting is present, and modern photographers accustomed to flawless edge-to-edge sharpness may notice these shortcomings. Yet these imperfections rarely detract from photographs and can sometimes enhance them by naturally drawing attention toward the subject.

The bokeh is perhaps the lens’s most divisive characteristic. If you’re searching for creamy, dreamlike backgrounds that melt effortlessly into abstraction, this isn’t the lens for you. Out-of-focus highlights can appear somewhat harsh and nervous, particularly in high-contrast situations. Background blur remains perfectly usable, but it lacks the smooth rendering that has become fashionable in modern lens design.

Interestingly, these flaws contribute to the lens’s character. Many contemporary lenses are engineered to eliminate optical imperfections entirely. The result is often technically stunning but emotionally sterile. Corner-to-corner sharpness, perfect correction, and flawless rendering can sometimes come at the expense of personality.

The 50mm f/1.8D feels different. Its images retain a sense of individuality. They’re sharp but not clinical. Imperfect but engaging. The lens seems more interested in helping you create photographs than impressing you with engineering specifications. Its coatings also deserve praise. Contrast remains strong, and flare resistance is surprisingly good. Thanks in part to the deeply recessed front element, I struggled to provoke any serious flare issues during testing.

Ultimately, the Nikon AF Nikkor 50mm f/1.8D isn’t a miracle lens. It won’t leave photographers gasping in amazement, and it certainly won’t challenge the legendary status of Leica’s most celebrated optics. What it does offer is something arguably more valuable: honesty.

It’s a modest lens that quietly gets on with the job. It has flaws, limitations, and quirks, but it also possesses charm, reliability, and surprisingly strong optical performance. In an industry increasingly obsessed with perfection, there’s something refreshing about a lens that embraces being merely very good.

Perhaps that’s why it remains one of Nikon’s finest bargains. Not because it’s perfect, but because it delivers so much photographic enjoyment for so little money.

Whether it’s Nikon’s best-value budget lens or merely the second-best is still open for debate. But one thing is certain: the Nikon AF Nikkor 50mm f/1.8D has earned its place among the great affordable lenses of the film era; and it’s still capable of creating beautiful photographs today.

Trying out the Nikon 135mm f/2.8 Ai-S Manual Focus Lens on Digital and Film

Let’s talk about 135mm lenses.

Not the legendary, collector-grade optics that command eye-watering prices on the second-hand market. I’m talking about the humble, often-overlooked 135mm lenses gathering dust in the lower reaches of eBay listings, sitting somewhere between “well used” and “please check photos carefully.”

For reasons I don’t entirely understand, old 135mm lenses seem to have fallen out of fashion. Perhaps they’re caught in an awkward middle ground. They’re a little too long for everyday portrait work, a little too short for serious wildlife photography, and in an era dominated by versatile zooms, they can seem somewhat impractical.

After all, modern zoom lenses offer tremendous convenience. When you can’t physically move closer or further away—or simply don’t want to—being able to adjust your framing with a twist of the zoom ring is undeniably useful. For sports or action photography, a zoom lens is usually the obvious choice.

But there’s still something appealing about a dedicated telephoto prime.

The Nikon 135mm f/2.8 AI-S, introduced in 1981, represents the culmination of Nikon’s long-running line of manual-focus 135mm lenses. While it shares its optical formula with the earlier AI version, Nikon improved the lens coatings, giving it excellent contrast and resistance to flare. The fact that it remained in production for over two decades speaks volumes about its popularity and capability.

Back in the 1980s, serious photographers often preferred primes over zooms because zoom technology simply hadn’t reached the quality levels we take for granted today. Prime lenses were typically faster, lighter, and optically superior.

Even now, those advantages remain relevant. At 425 grams, the 135mm f/2.8 AI-S is compact enough to carry comfortably while still feeling reassuringly solid. It embodies the best of Nikon’s manual-focus era: metal construction, smooth mechanical operation, and a tactile quality that’s increasingly rare in modern lenses.

One particularly thoughtful feature is the built-in retractable lens hood. As someone who regularly forgets to pack lens hoods, having one permanently attached is a welcome convenience.

Taking a 135mm to Tokyo

When I picked up my copy in Japan, I wasn’t entirely sure what role it would play in my photography. I had purchased it from a used camera store in Tokyo for around 17,000 yen—a reasonable price for a lens that, despite its “B” grade condition, turned out to be mechanically excellent and optically clean.

Naturally, I decided to test it in one of the busiest places imaginable: Shibuya.

Using a 135mm lens on crowded city streets presents challenges. There were certainly moments when I wished I had a 35mm lens attached instead. Yet the longer focal length offered a completely different way of seeing the city.

Rather than photographing the whole scene, I found myself isolating details, extracting individual moments from the chaos, and capturing candid portraits from a comfortable distance. The lens allowed me to pick out visual fragments that might otherwise have been lost amid the noise and activity.

Its relatively fast f/2.8 aperture also proved valuable after dark. Tokyo’s neon-lit streets became a playground for selective focus, with subjects emerging from backgrounds rendered into soft, creamy blur.

Of course, that shallow depth of field can be both a blessing and a curse. At 135mm, maintaining critical focus becomes more demanding, especially when photographing moving subjects. There were plenty of occasions where I had to accept that only part of a scene would be perfectly sharp. But when everything came together, the results had a distinctive look that justified the effort.

Digital and Film Performance

While most of my initial testing took place on a Nikon Z6 via an adapter, I wanted to see how the lens performed in its natural habitat: on film. Back in Perth, I loaded a roll of Kentmere 100 into my Nikon FE and spent a sunny summer day photographing Hillarys Boat Harbour.

The results confirmed my impressions from Tokyo. The lens is sharp—more than sharp enough for real-world photography. I’m not interested in pixel-peeping competitions or laboratory measurements, but the images displayed excellent detail and clarity. The bright Australian sunlight allowed me to work at comfortable shutter speeds, while the improved coatings and built-in hood kept flare well under control.

Optically, the lens performs admirably across the board. Vignetting is visible at wider apertures but largely disappears by around f/5.6. Distortion is virtually nonexistent, chromatic aberration is minimal, and highlight blooming is remarkably well controlled for a lens of this vintage.

Most importantly, the out-of-focus rendering is beautiful. The combination of focal length and aperture produces smooth, pleasing background blur that helps subjects stand apart from their surroundings.

The Value Proposition

When discussions turn to Nikon’s classic medium telephoto lenses, the 105mm f/2.5 usually receives the lion’s share of attention. It has earned a near-mythical reputation among photographers, and deservedly so. But the 135mm f/2.8 offers something compelling: exceptional value.

It’s often available for significantly less money than the famous 105mm while delivering excellent image quality, slightly greater subject compression, and equally attractive bokeh. The longer focal length creates a distinct look that many photographers may actually prefer. In fact, here’s the secret that doesn’t get mentioned often enough: most manual-focus 135mm lenses from major manufacturers are excellent.

Whether you’re looking at Nikon, Canon, Pentax, Minolta, or Olympus, these moderate telephoto lenses benefited from relatively straightforward optical designs that manufacturers had refined for decades. As a result, even affordable examples tend to perform surprisingly well.

Final Thoughts

The Nikon 135mm f/2.8 AI-S has quickly become one of my favourite lenses. Part of that comes down to image quality. Part of it comes down to the beautifully engineered manual-focus experience. But perhaps the biggest factor is simply the value it offers.

It’s a lens that reminds me why vintage photography gear remains so appealing. For a relatively modest investment, you get a beautifully made optic capable of producing images with character, sharpness, and personality.

In a world obsessed with the latest and greatest equipment, the humble 135mm remains one of photography’s best-kept secrets. And for that reason alone, it’s worth another look.

First experiences with the Pentax 17: Half Frame, Half Baked and Half Good?

If you have even a passing interest in film, you’ve probably heard of the Pentax 17 by now. Released last year in response to the growing nostalgia for analogue photography, it’s one of the few new film cameras to come out in the last decade—and probably the only one from a major manufacturer that isn’t Leica. Pentax took a risk, targeting Gen Z’s fascination with a world they never actually lived in by creating a half-frame camera that sits somewhere between fully manual and fully automatic.

But who is it for?

Rather than catering to professionals, serious enthusiasts, or wealthy collectors looking for flashy trinkets, this camera is clearly aimed at hipsters. You can tell just by the fact that its designer, Takeo Suzuki—who goes by TKO—sports a waistcoat and flat cap. But is this camera a technical knockout? Well, I had my doubts, but I bought one as a Christmas present to myself. Why? Because I deserve it. Okay, also because my wife saw it, immediately wanted one, and who am I to argue?

Credit where it’s due—Pentax took a bold step releasing this niche product, especially at around 800 Australian dollars. I wasn’t planning on buying it until my wife convinced me that it would make me happier, healthier, and an all-around better human being. Has it changed my life? Not really. Let’s be honest—I don’t need another camera. But I do love half-frame cameras, and my old Canon Demi is getting unreliable. The Pentax 17, on the other hand, is brand new, fully functional, and—unlike my usual vintage finds—doesn’t smell like leather, tobacco, and urine. Don’t worry, I’ll add that patina over time.

This camera is supposed to be fun. Half-frame means I don’t have to worry as much about film costs, and the resolution is decent for most uses. Unlike Pentax’s 90s-era fully automatic point-and-shoots, this one puts some control back in my hands. Some, but not all. You have to focus manually using an icon-based system (flowers, people, mountains, and—of course—your dinner, because Instagram). You also have to wind the film on manually, which was about the hardest work I did all summer.

An odd choice to include manual focus

Early frames

Of course, it’s not all fun and games. I took my Pentax 17 and some Ilford HP5 and set out to capture some of the urban decay of tired shopping malls. The results? Nothing spectacular, but it did at least provide a monochromatic record of decline. But I know that’s not what you’re here for—you want your decrepitude in full color. So, I loaded up some Fuji 400 and headed to my home away from home, Leeman, for post-Christmas dog walks on the beach.

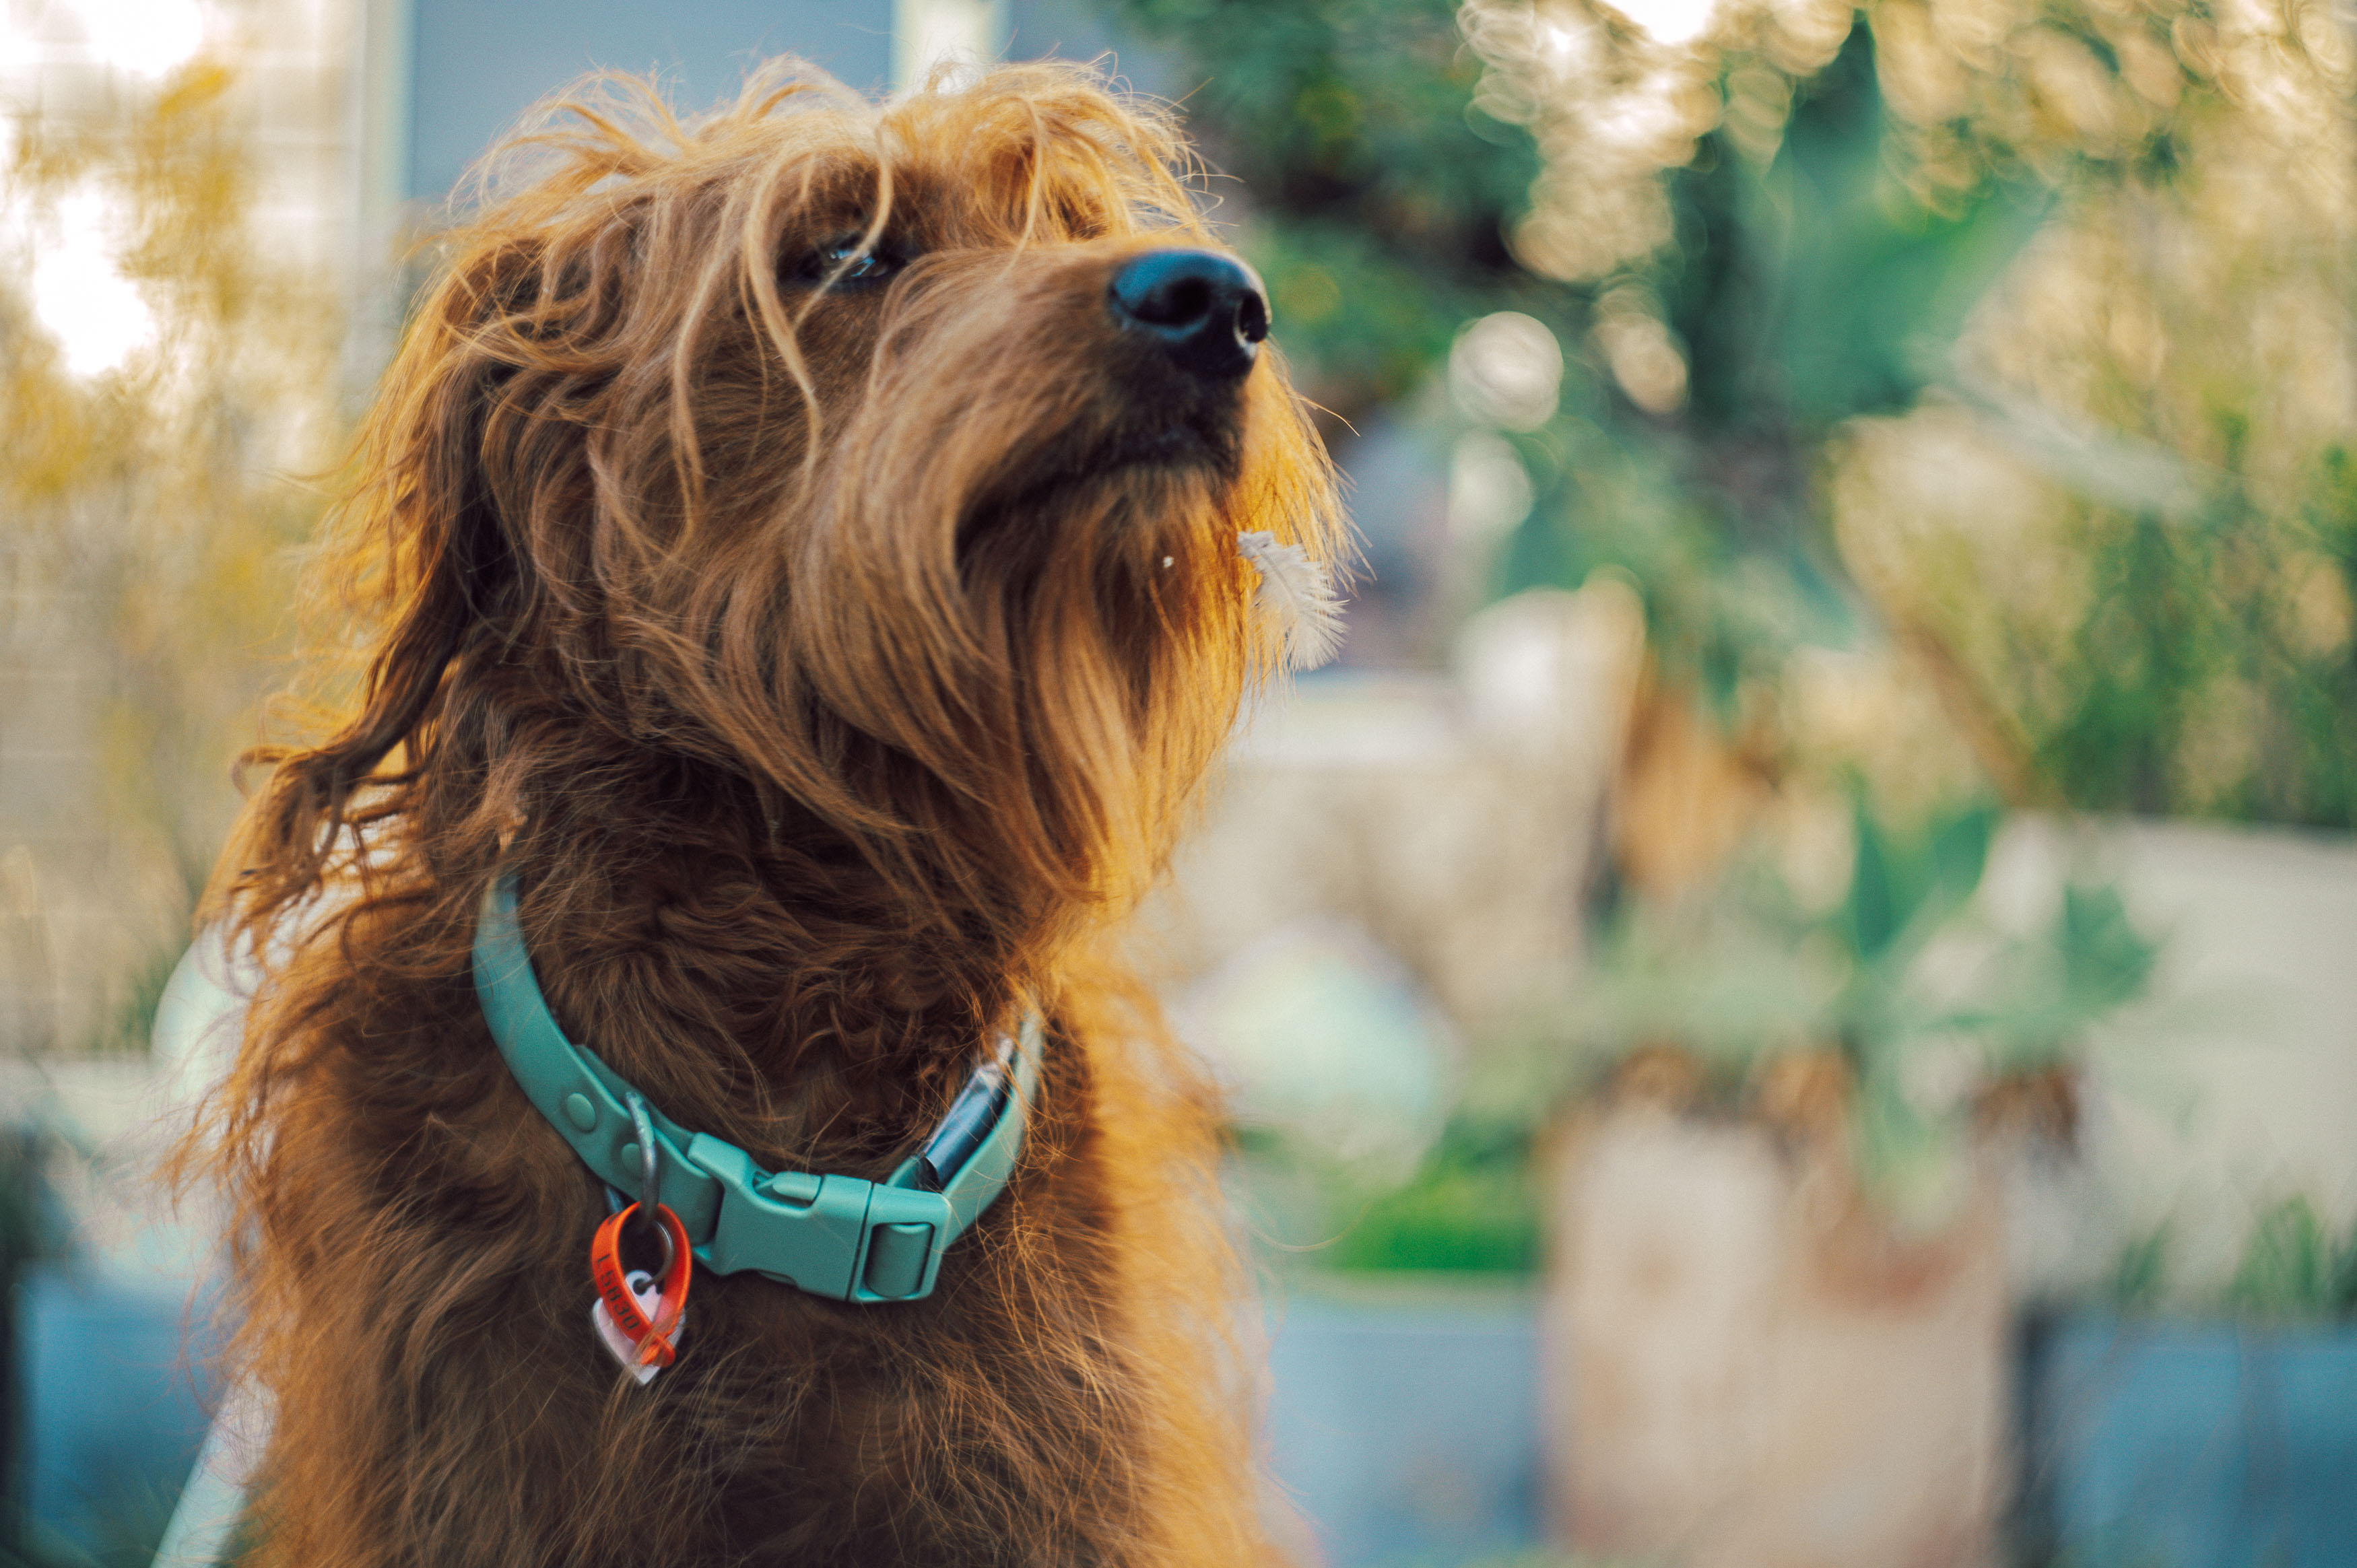
Speaking of which, my groodle puppy, Juni, has had plenty of exposure on film this summer. If you’ve been following along, yes, it’s the same dog—just three times bigger. We’re considering renaming her Ginger Monster. Capturing a fast-moving ball of auburn fur with a half-frame camera? Tricky, but fun.

Camera quirks

Now, about those exposure modes. They’re confusing. The dial is color-coded: white for non-flash modes, yellow for flash-based ones, and—just to mess with you—a blue auto mode that isn’t actually fully automatic. It basically turns your expensive camera into a $20 disposable. What focus distance? What aperture? What shutter speed? Who knows? I don’t use it. Instead, I stick to P mode, though I still don’t really know what it does. The biggest issue? The dial is way too easy to knock out of place, which led to some overexposed outdoor shots and underexposed indoor ones before I realized I’d accidentally switched to Bulb mode while winding on.

After some trial and error, I learned a few things. One: get your finger out of the way when shooting macro. Two: framing in a viewfinder camera is always a challenge, but the Pentax 17’s clear viewfinder and close-up frame lines help. Three: for general shooting, the 3m focus setting is usually good enough, though I did cheat and use an iPhone app to double-check distances.

I still haven’t touched auto mode—it gives me anxiety. With half-frame, I like to have two exposed rolls ready before developing to save time and chemicals. So, to make things more difficult for myself, I loaded up a roll of OneShot film next. Why? Because it was cheap. The results? Let’s just say OneShot probably isn’t ideal for a bright Perth summer—or for this camera. The muted colors and heavy grain didn’t do me any favors. The Fuji 400 shots fared better, and while nothing groundbreaking, I did get a few fun summer snapshots.

So, what’s the verdict? This isn’t a spectacular camera. It has its quirks—no self-timer, confusing exposure modes, and some incredibly bright blinking LEDs that don’t provide focus confirmation (because it’s manual focus). Plus, the electronic focus system introduces a slight shutter lag, which is odd for a manual-focus camera. The design is an eclectic mash-up of different Pentax and Ricoh cameras, with an Olympus Pen-style viewfinder and a winding lever that feels straight out of a Pentax 110. It’s a Frankenstein creation, and the real question is: does that make it charming or just dumb?

For me, it’s both. Plenty of YouTubers have reviewed this camera and been left scratching their heads, but that’s because it wasn’t made for high-end photographers. Honestly, it wasn’t even made for me—and I have no standards. But I love it. It’s quirky, fun, and surprisingly decent for what it is. Most of all, it’s brave and weird—just like Juni. Maybe I’m just brave and weird enough to appreciate it.

Photography Roadtrip Part 1 – Melbourne to Aireys Inlet

It was finally time for me to escape the urban chaos and embrace the tranquility of rural life. Leaving behind the chilly winter of Perth, I embarked on a quest to capture the beauty of the Victorian countryside near Melbourne, Australia. The adventure began with a flight on Jetstar, the budget brand of Qantas, which was an experience in itself. Despite the discomforts, including watching Harrison Ford in the latest Indiana Jones movie, I landed safely in Melbourne.

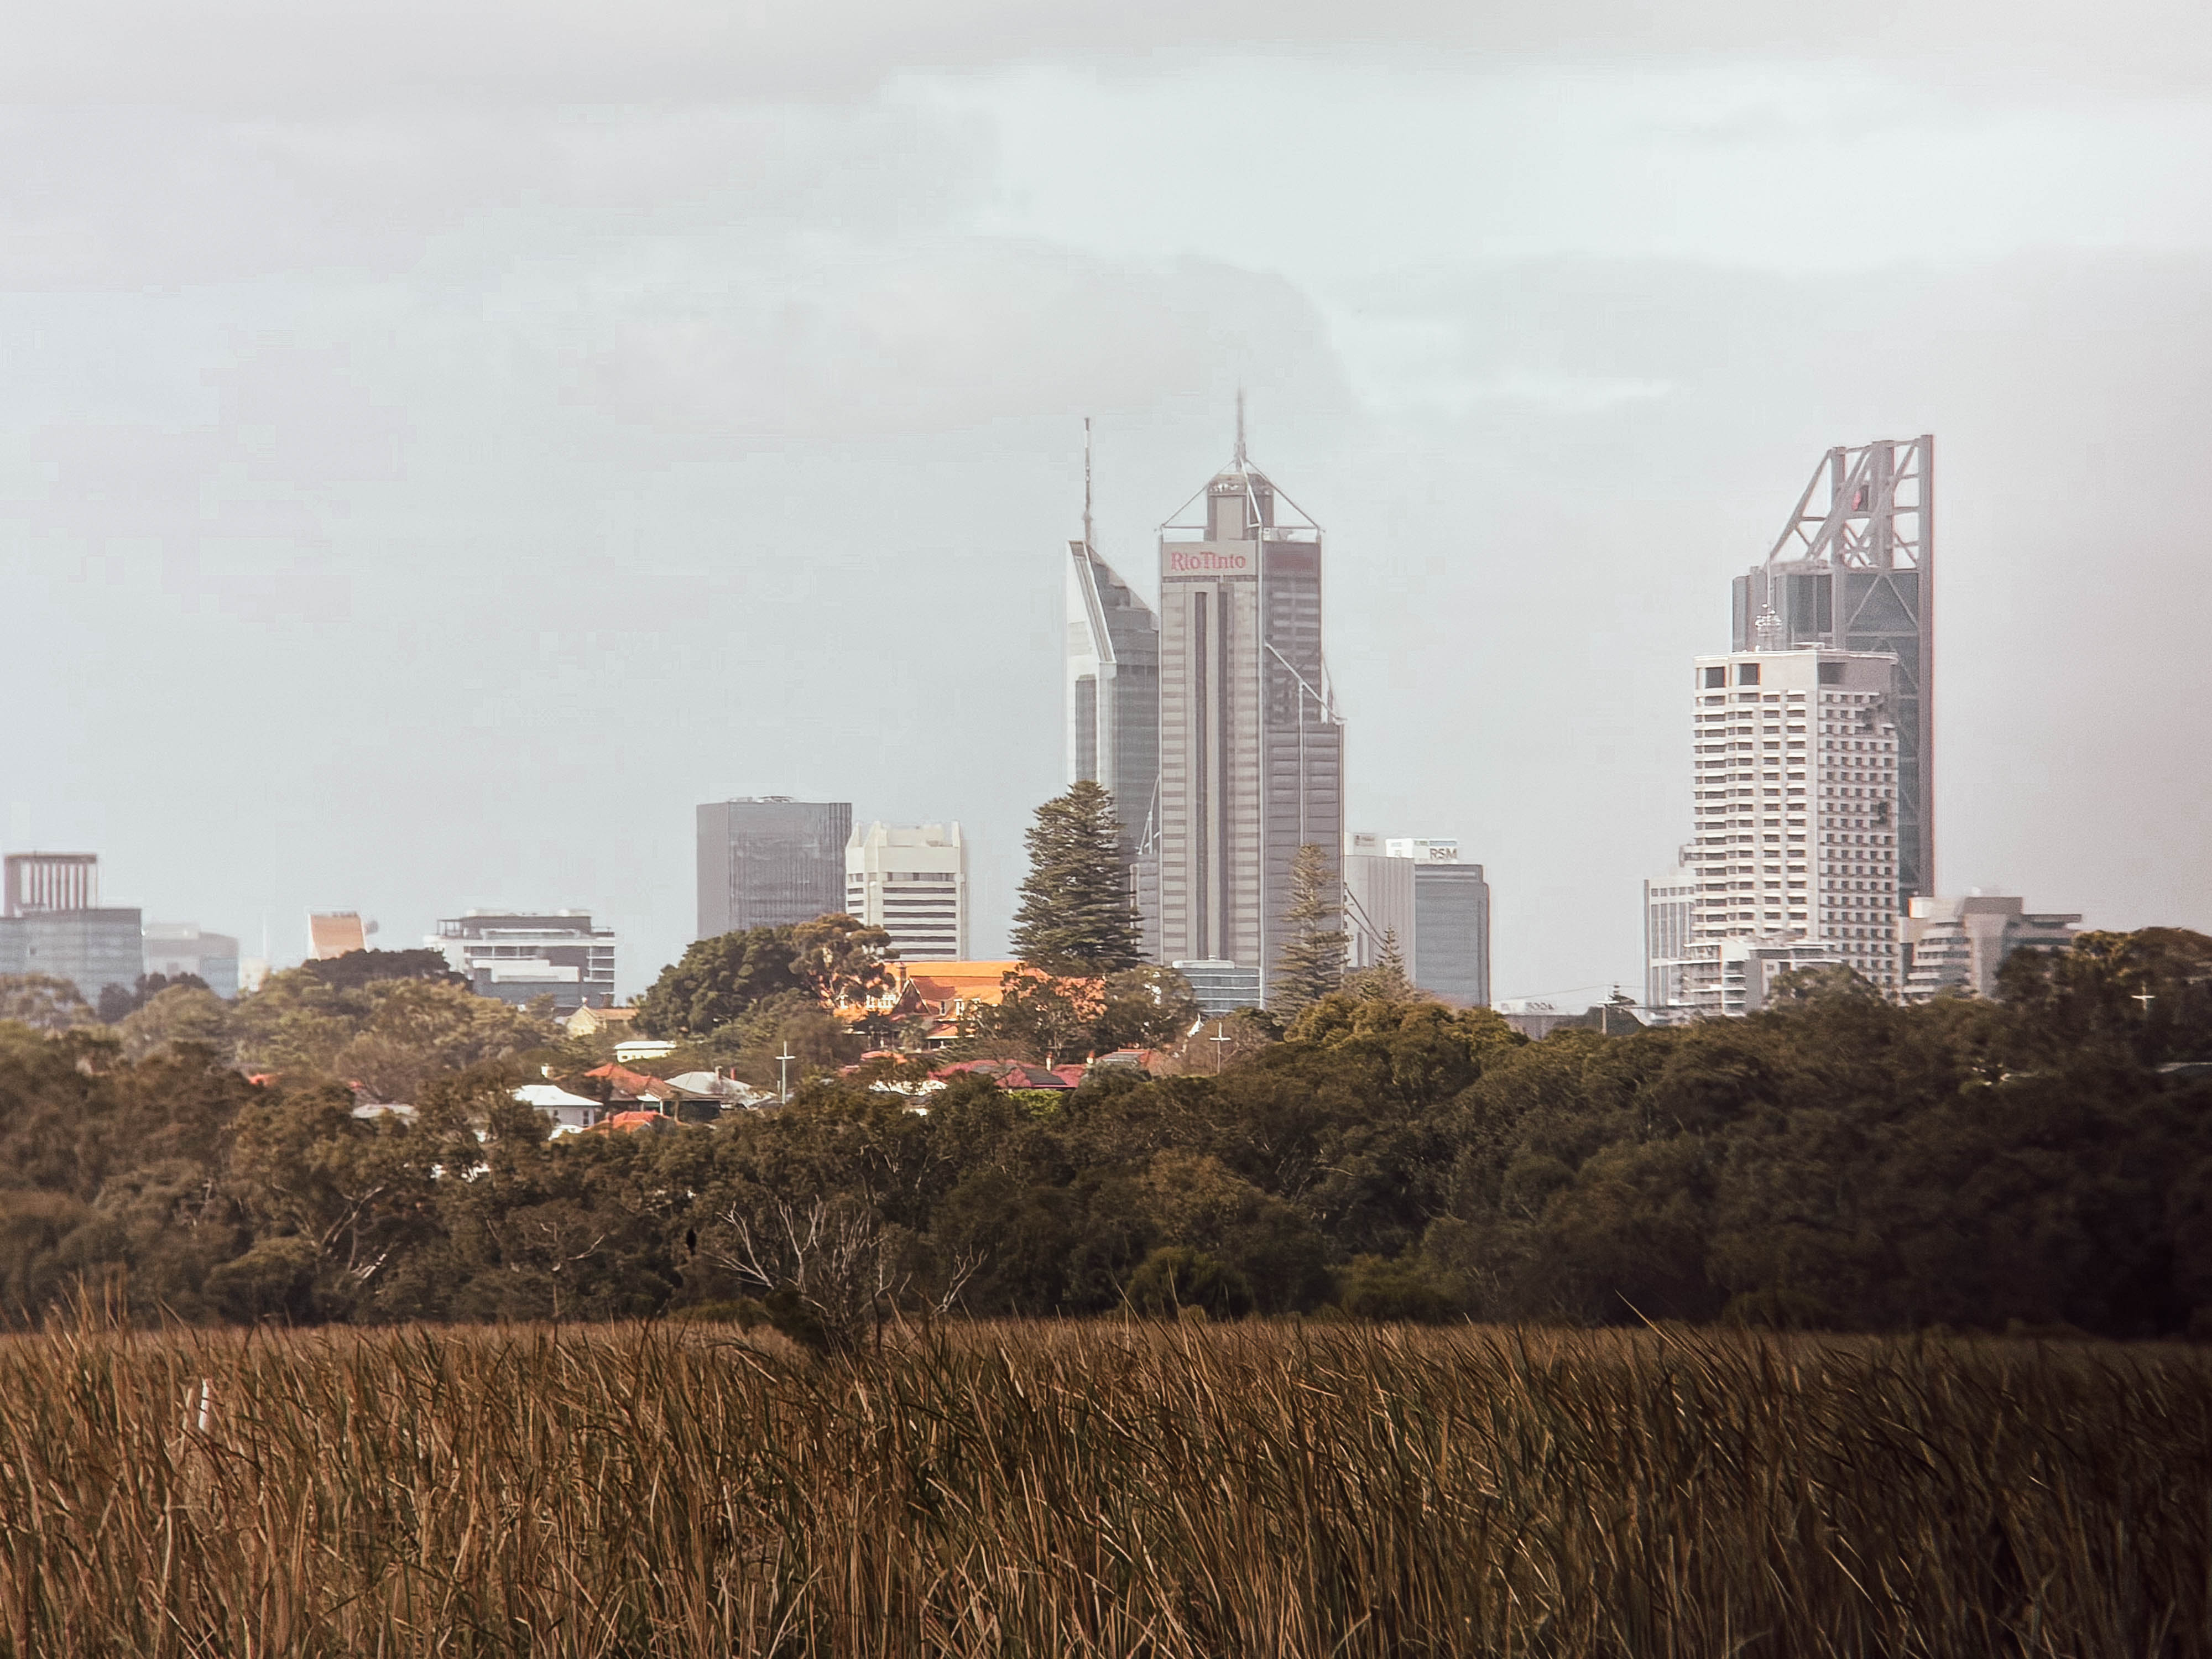
From there, I journeyed through Regional Victoria, exploring places like the Great Ocean Road and the Grampians. Along the way, I encountered both mundane and extraordinary sights, from suburban landscapes to ancient-looking steel structures. Despite the initial drizzle and monotony, the scenery eventually opened up to rolling plains and breathtaking sunsets.

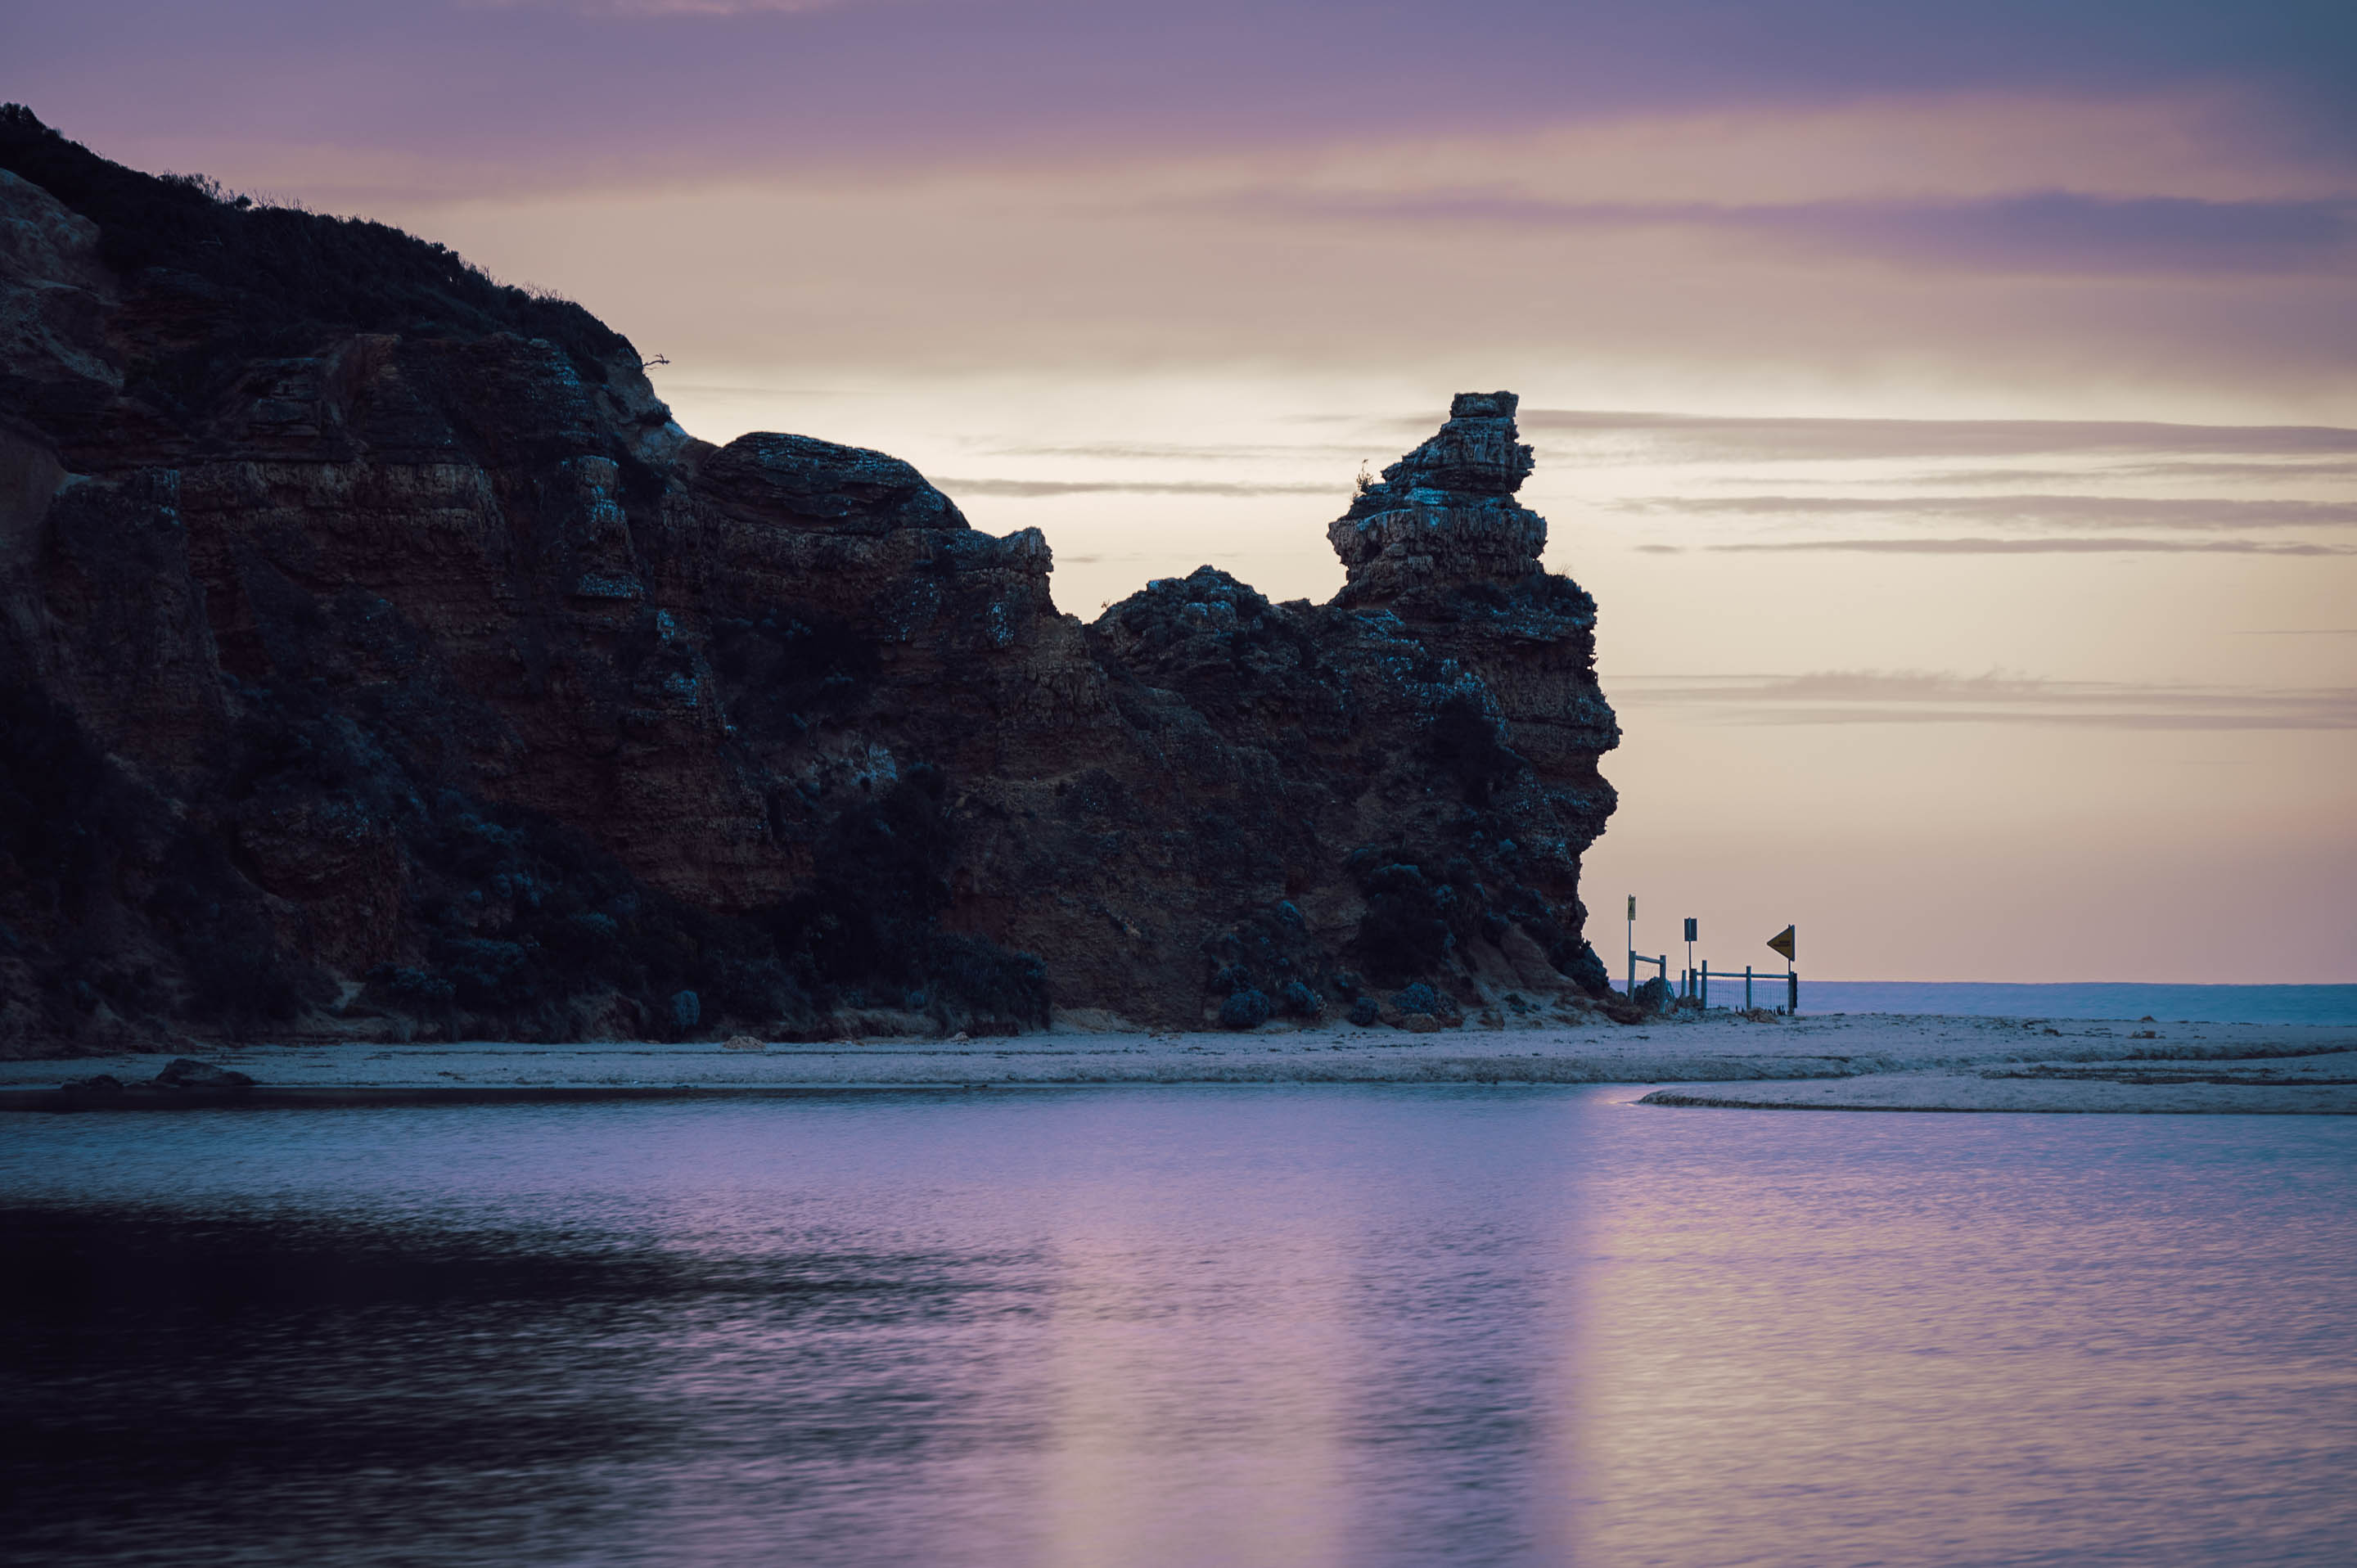
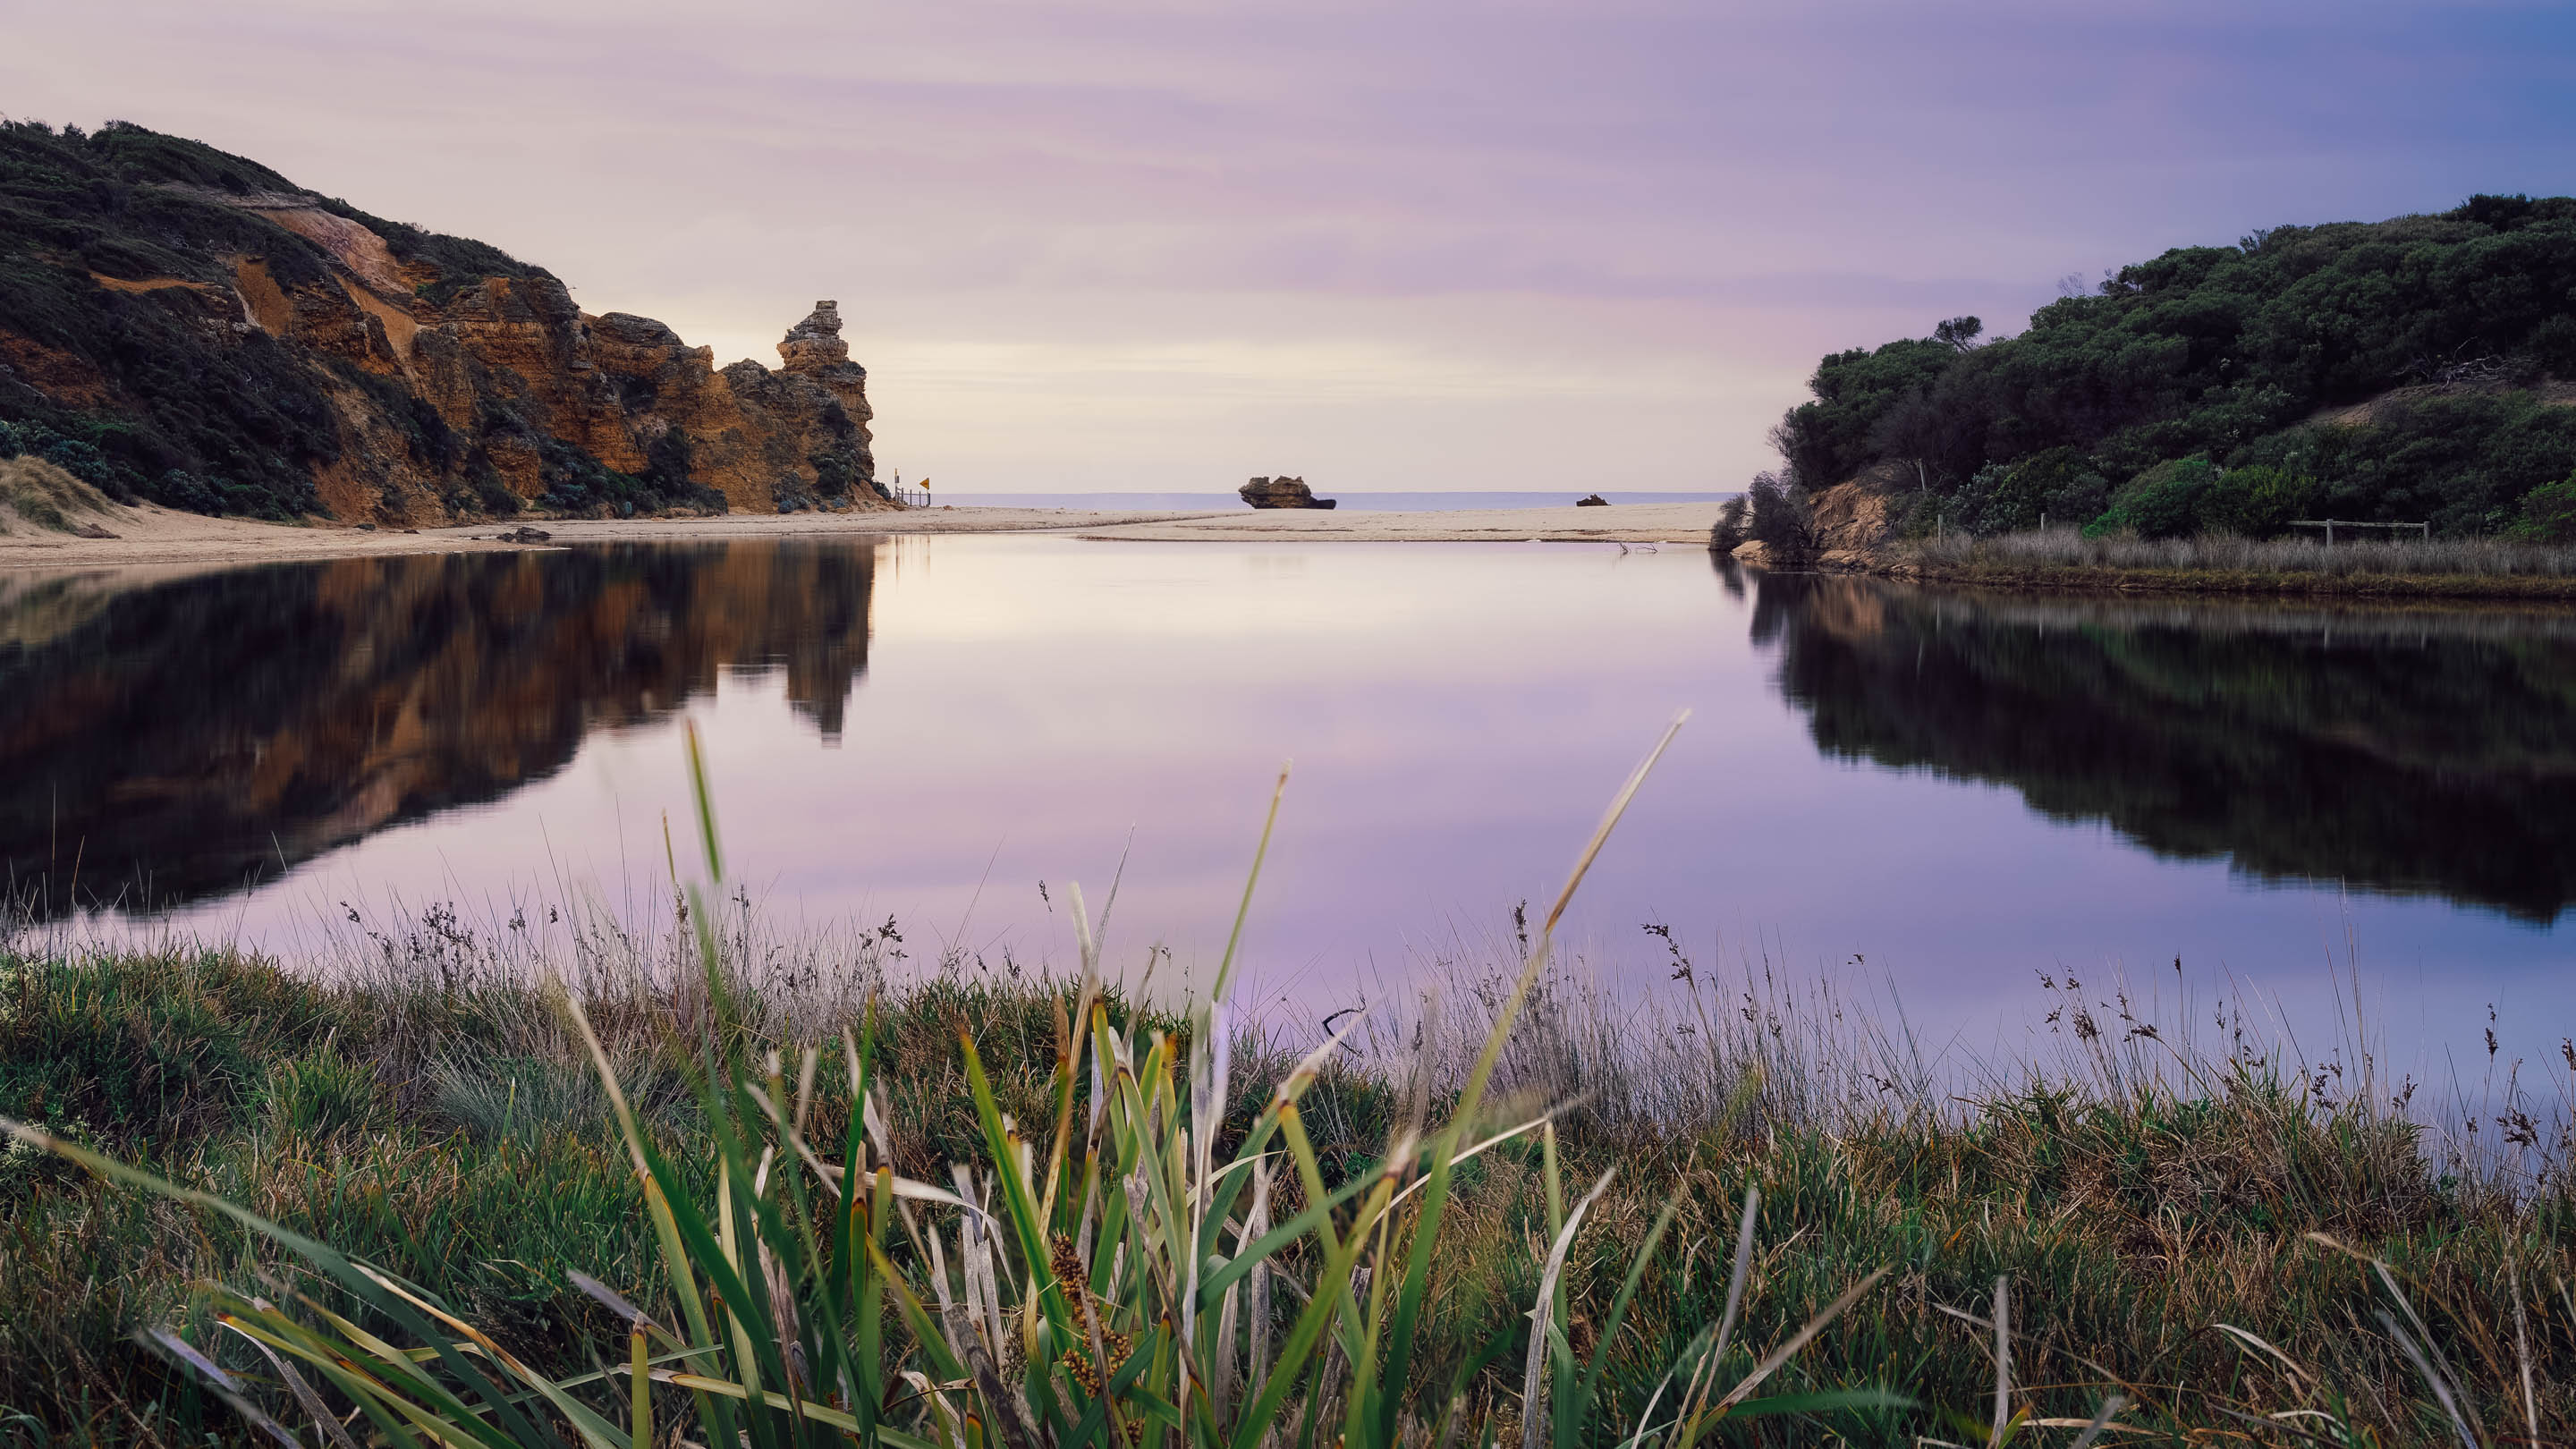
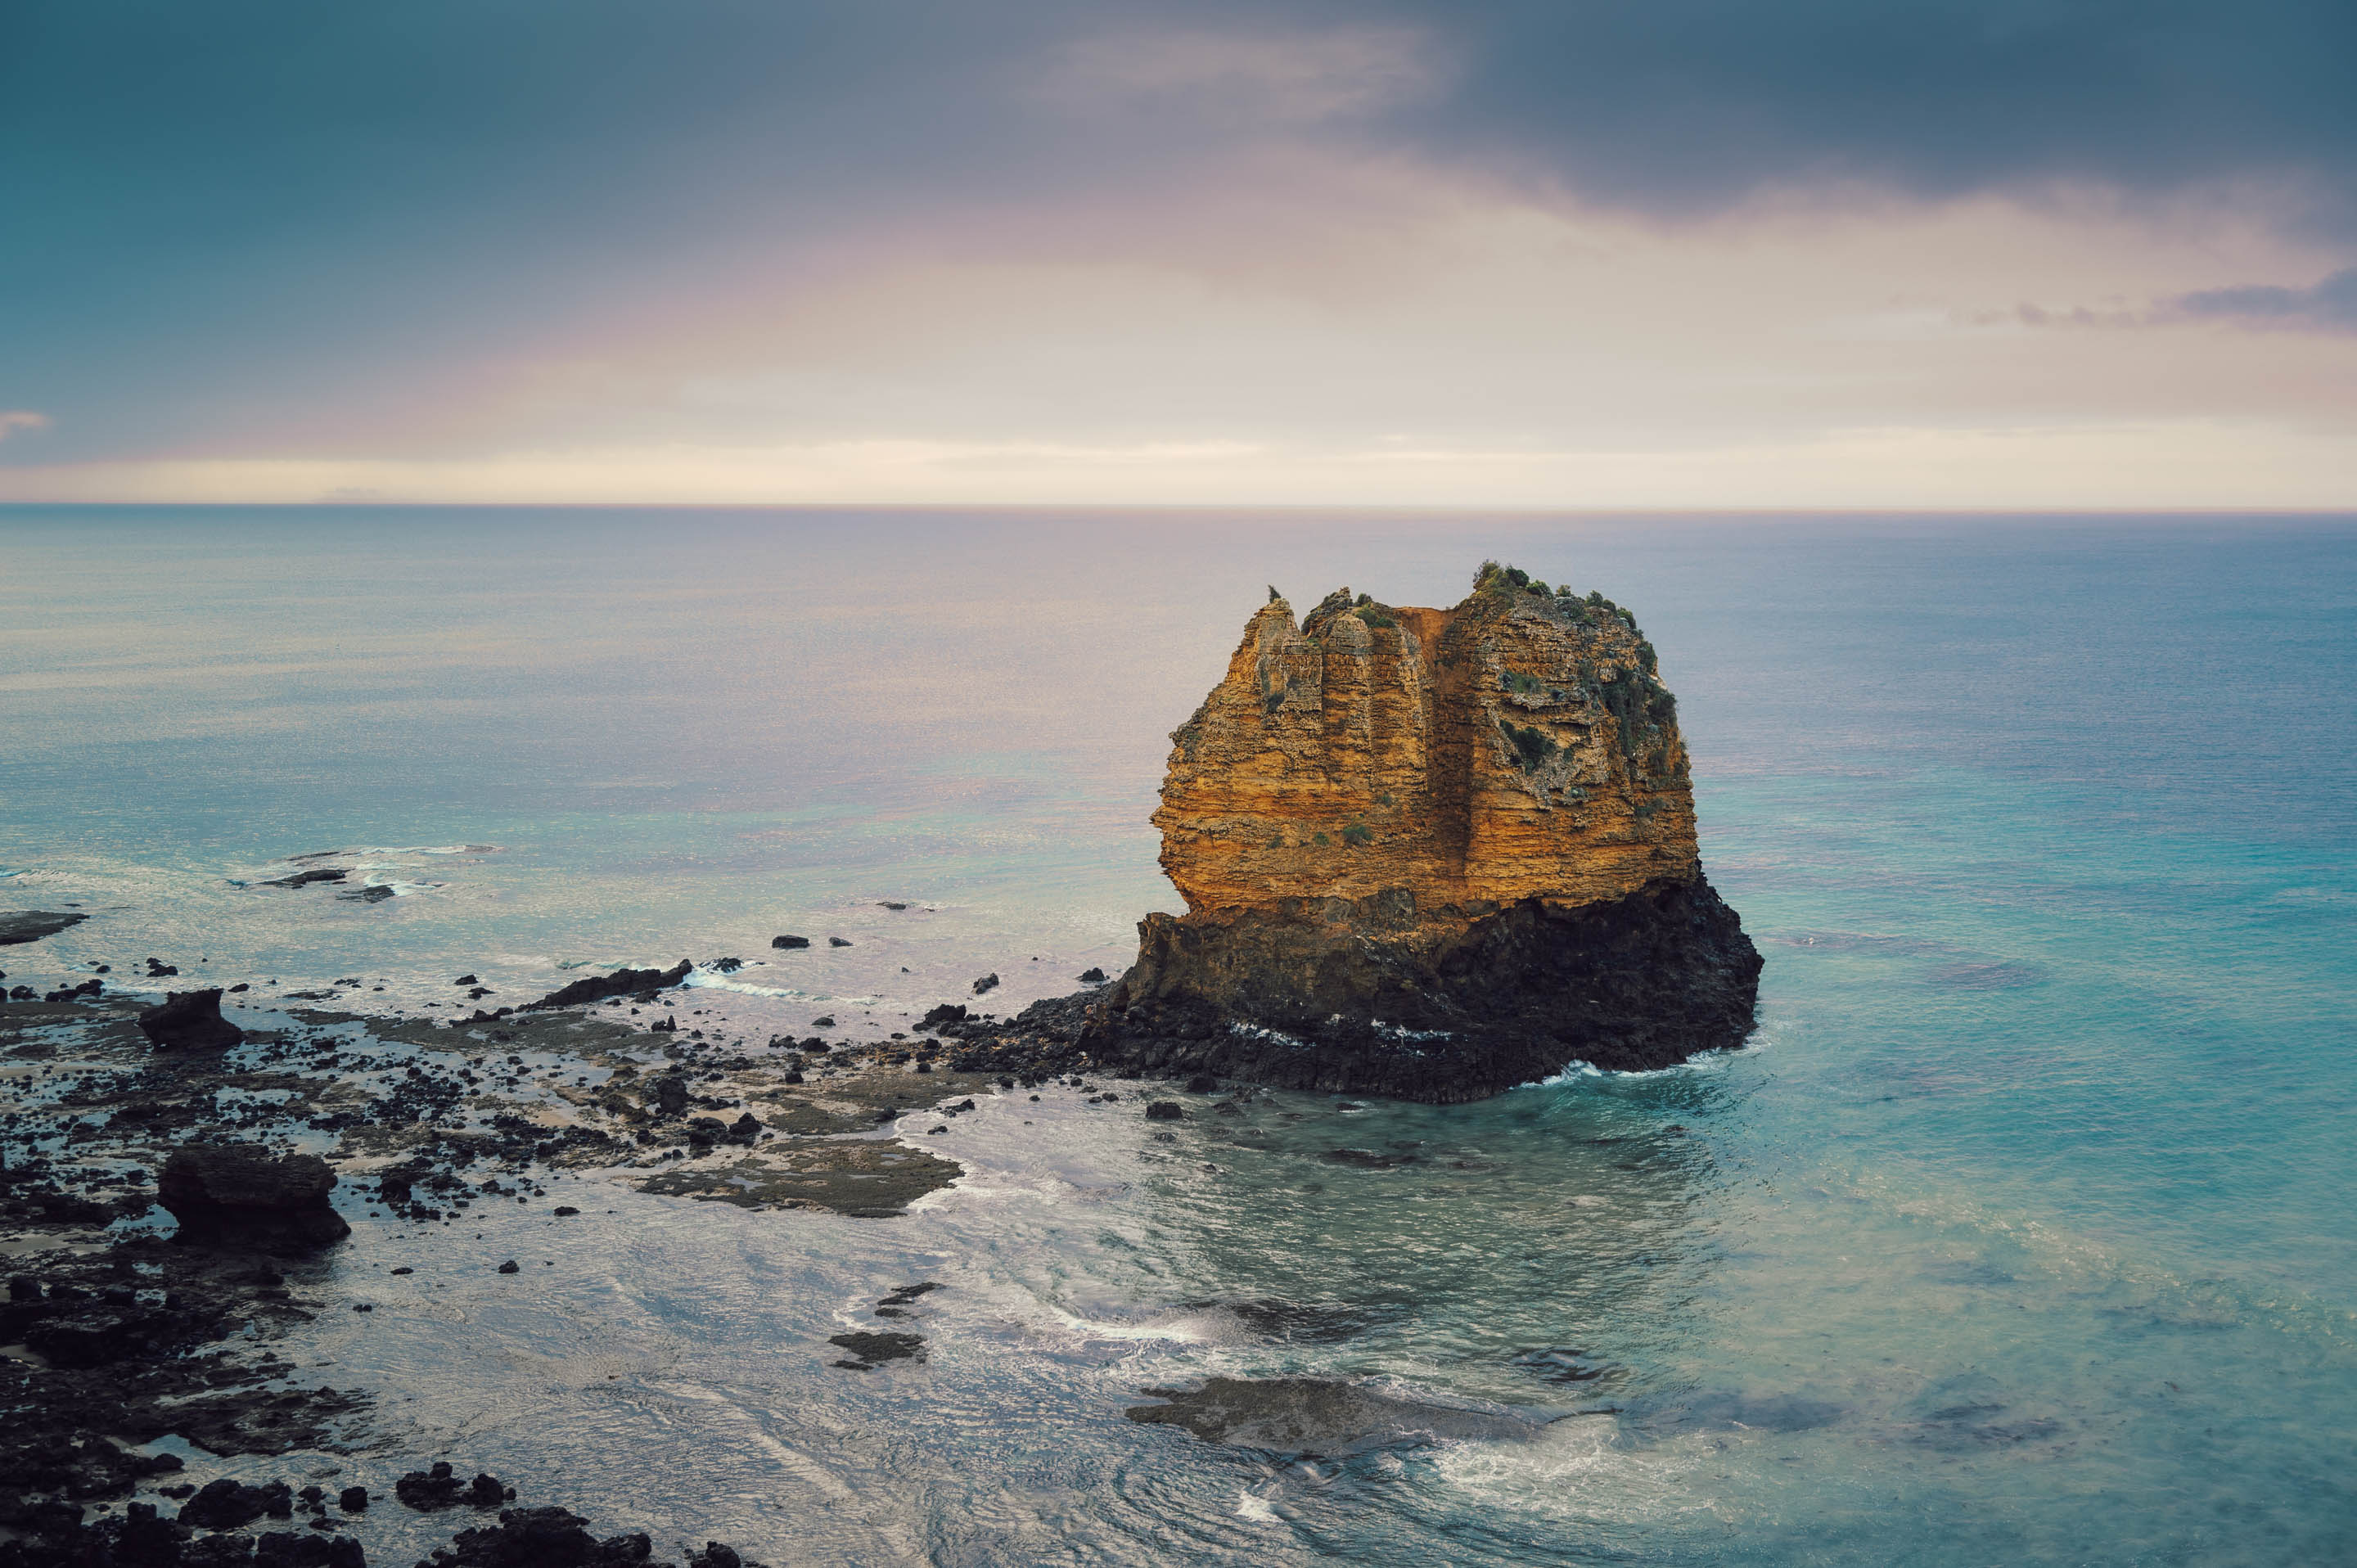
One memorable stop was at Aireys Inlet, where I managed to capture a fleeting moment of beauty during sunrise. Despite my doubts about the composition of my photos, I was content knowing that I had something to show for my efforts. The journey continued, with challenges in balancing elements within the frame and battling the unpredictable weather.

As I wrapped up the first stage of my exploration, I reflected on the difficulties of landscape photography but looked forward to the next leg of my journey along the Great Ocean Road to Port Fairy. Although I can’t promise perfection in my photos, you’re welcome to come along for the ride.

First Impressions of the Nikon Z 180-600mm f/5.6-6.3 VR

So, I finally got my hands on Nikon’s latest zoom telephoto lens, the 180-600mm f/5.6-6.3 Z. The big question is: is it a wildlife warrior, slicing through the wilderness to capture distant action, or just a hefty fella trying to compensate for its lack of sporting prowess?

Let’s start with the unboxing, which was honestly a bit underwhelming. All you get is the lens, some cardboard, and the usual paperwork. The lens case is a joke, more like a napkin than anything protective. It’s not exactly travel-friendly, to say the least.

But enough about the packaging, let’s talk about the lens itself. It’s big, no doubt about it, but compared to its competitors, it’s not that intimidating. Plus, it doesn’t extend when you zoom, which is a plus. As for ergonomics, it feels solid in my hands, though it’s definitely on the heavier side. Still, it’s manageable without a tripod, thanks to its balance and design.

The zoom range is impressive, and the short throw of the zoom ring makes it easy to adjust quickly. Overall, it’s a well-designed lens that’s comfortable to use, even handheld.

But the real test is in the field, or in my case, at the zoo. Hey, I’m not about to go traipsing through the wilderness. So, off I went to capture some wildlife action, and let me tell you, this lens didn’t disappoint.

How Good is the Lens?

After surviving various landscapes from the African savannah to the frozen Antarctic tundra, I’m here to share my wildlife photography adventures with you. I did find myself surrounded by children more than animals, though. Mixed feelings about zoos aside, Perth Zoo isn’t too bad, offering enrichment for its inhabitants, even if it’s with plastic containers instead of TV sets showing David Attenborough documentaries.

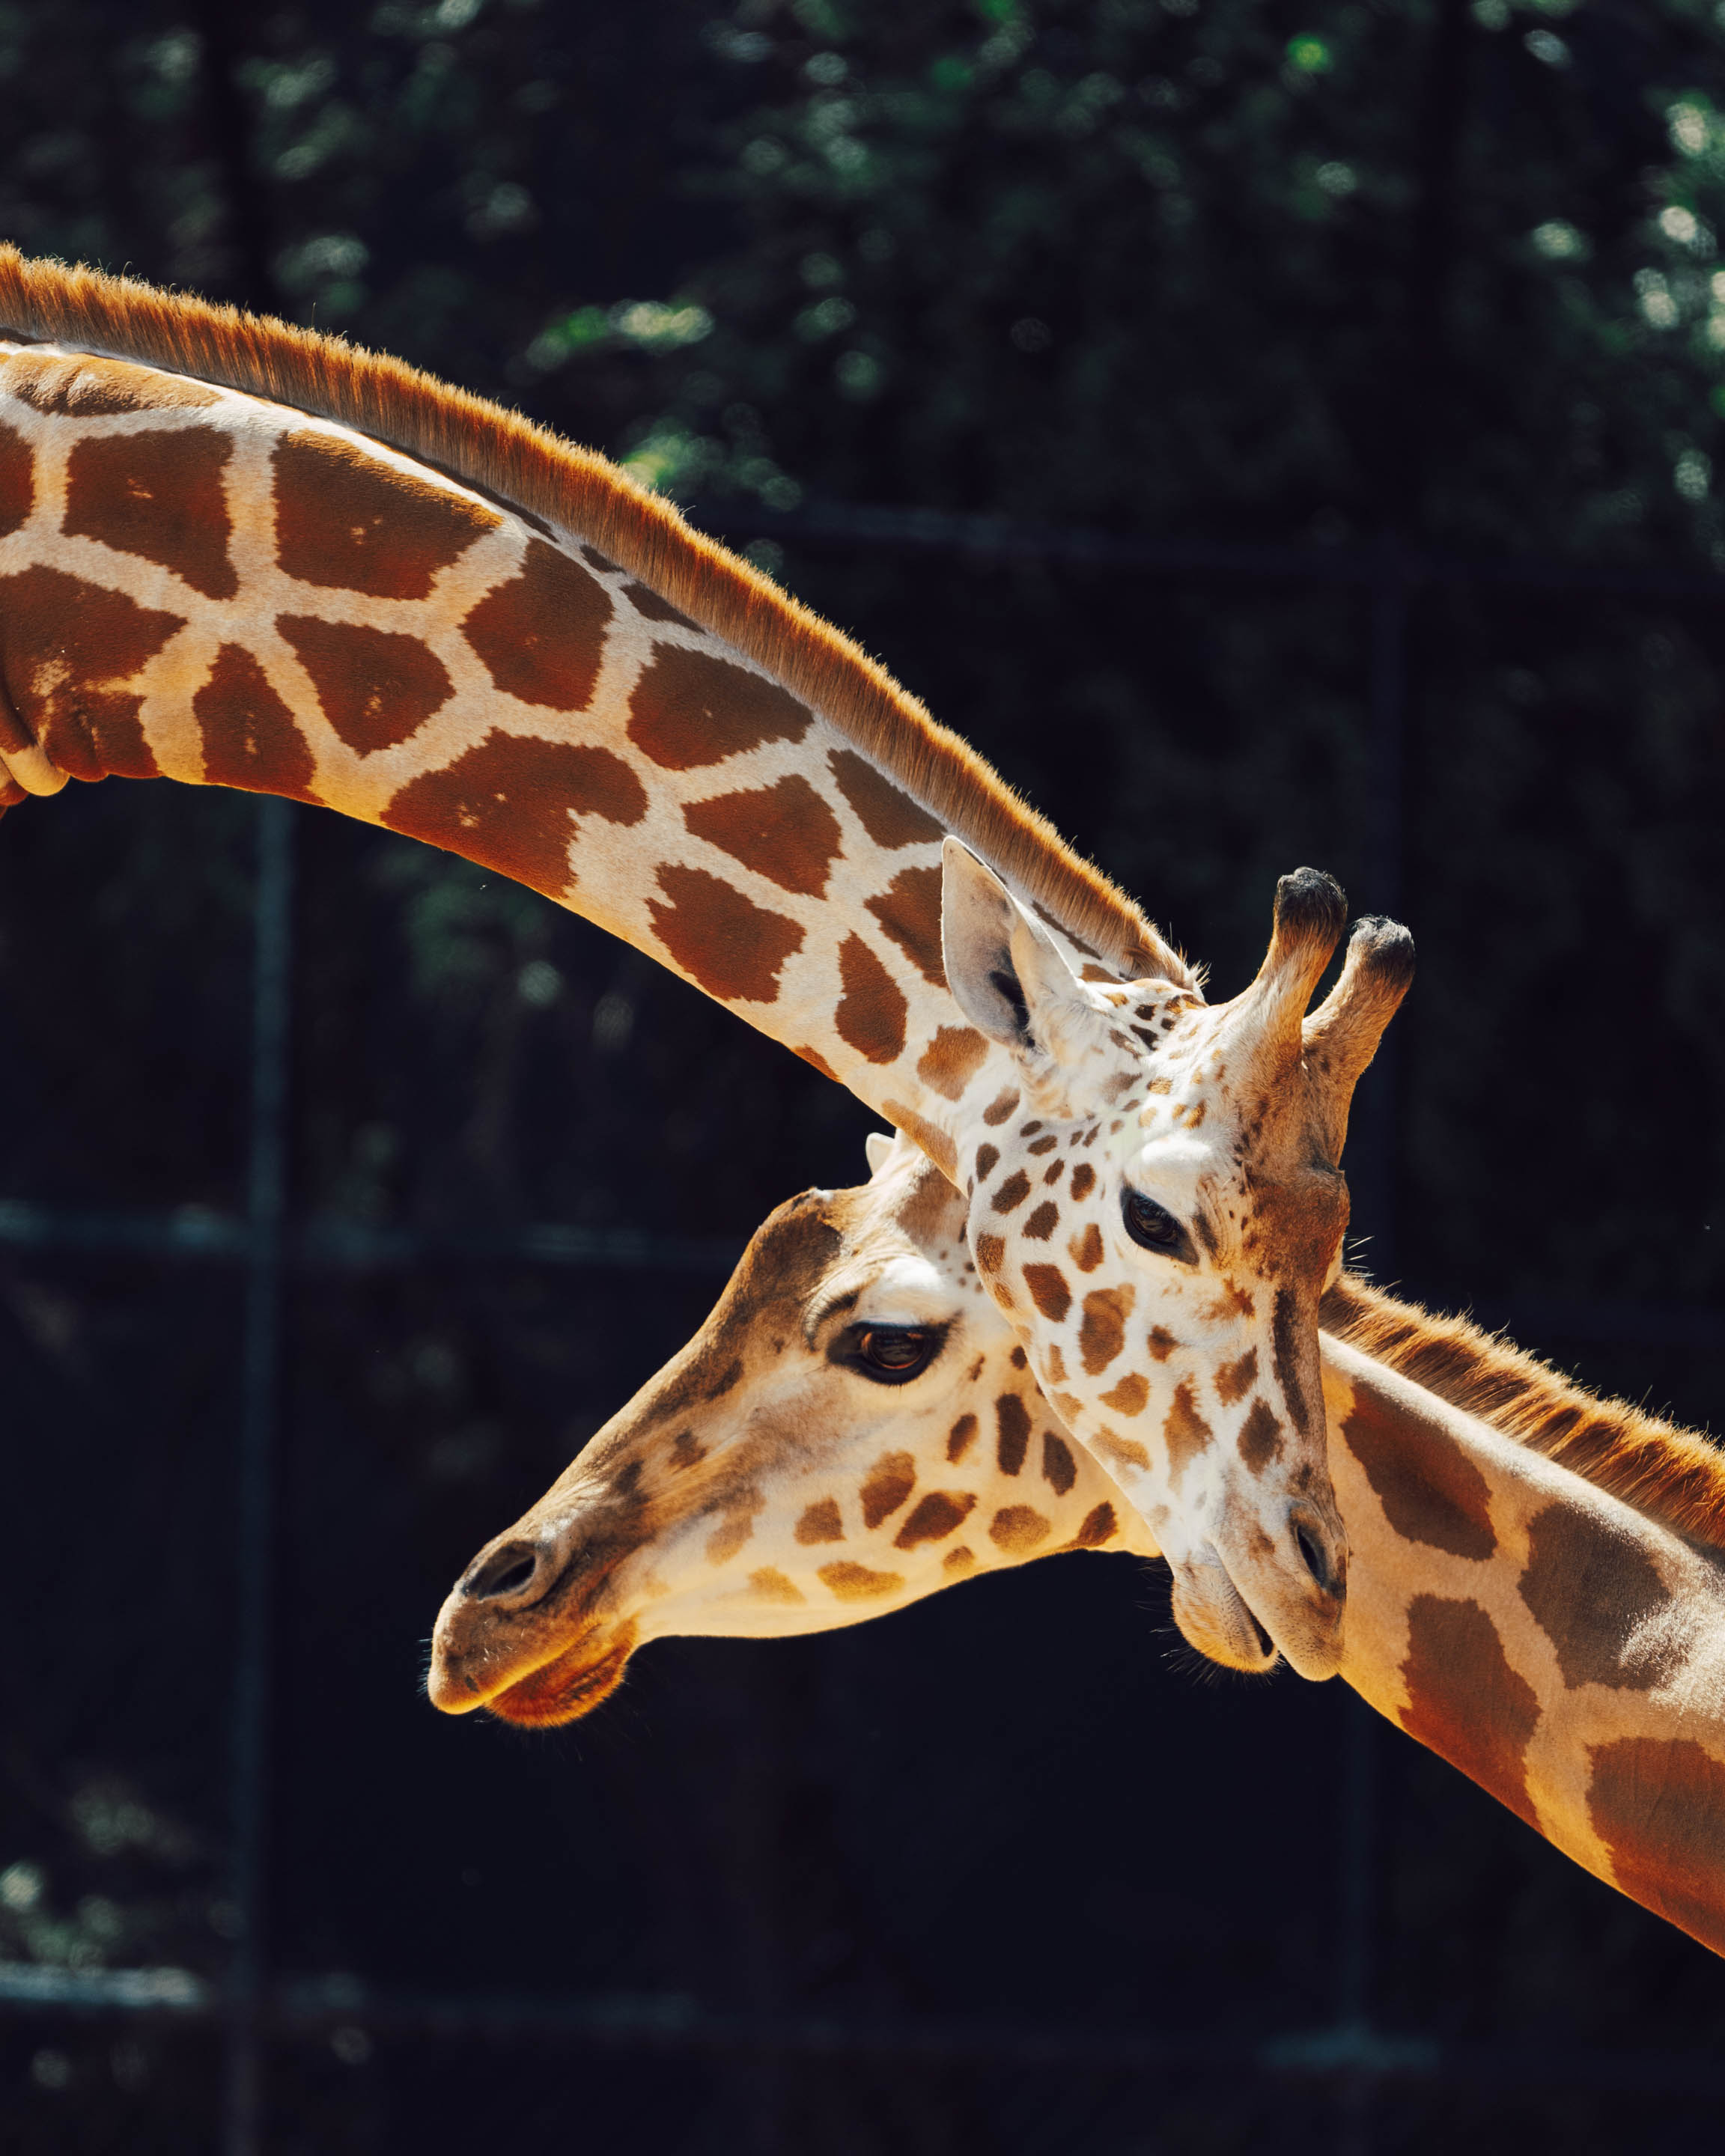
But enough about zoos, let’s talk lenses. The Nikon Z 180-600mm proved to be a reliable companion during my zoo excursion. Comfortably hanging it around my shoulder for hours, I was able to shoot handheld or on a railing with ease. The images turned out sharp and vibrant, as seen in the giraffe example. While I did some editing, minimal adjustments were needed thanks to the lens’s performance.

Telephoto lenses often lack flexibility in tight situations, but the ability to zoom with this lens was invaluable. Despite its smaller aperture, ranging from f/5.6 to f/6.3, I was pleasantly surprised by the results, even at high ISOs. My favorite shot, taken at ISO 11,400, showcased the lens’s sharpness and the Z 6 sensor’s ability to handle detail even at high ISOs. While extracting detail from white fur was challenging, overall, I’m impressed with the lens’s performance.

Still a Challenge

So, let me dive into the nitty-gritty of my experience with the Nikon Z 180-600mm lens. Focusing was the biggest hurdle I faced, and it’s not entirely the lens’s fault. The Z 6 camera, despite firmware updates, showed its first-generation mirrorless roots with its unreliable autofocus. I found myself constantly switching between autofocus modes, particularly struggling with pinpointing focus on small subjects at 600mm.

Once I got focus right, though, the results were stunning. The sharpness of the lens was apparent, perhaps even too sharp for my taste. I often find modern photography produces images that feel clinically perfect but lack soul. Shooting through glass or fences impacted image quality at times, but the lens still delivered impressive detail.

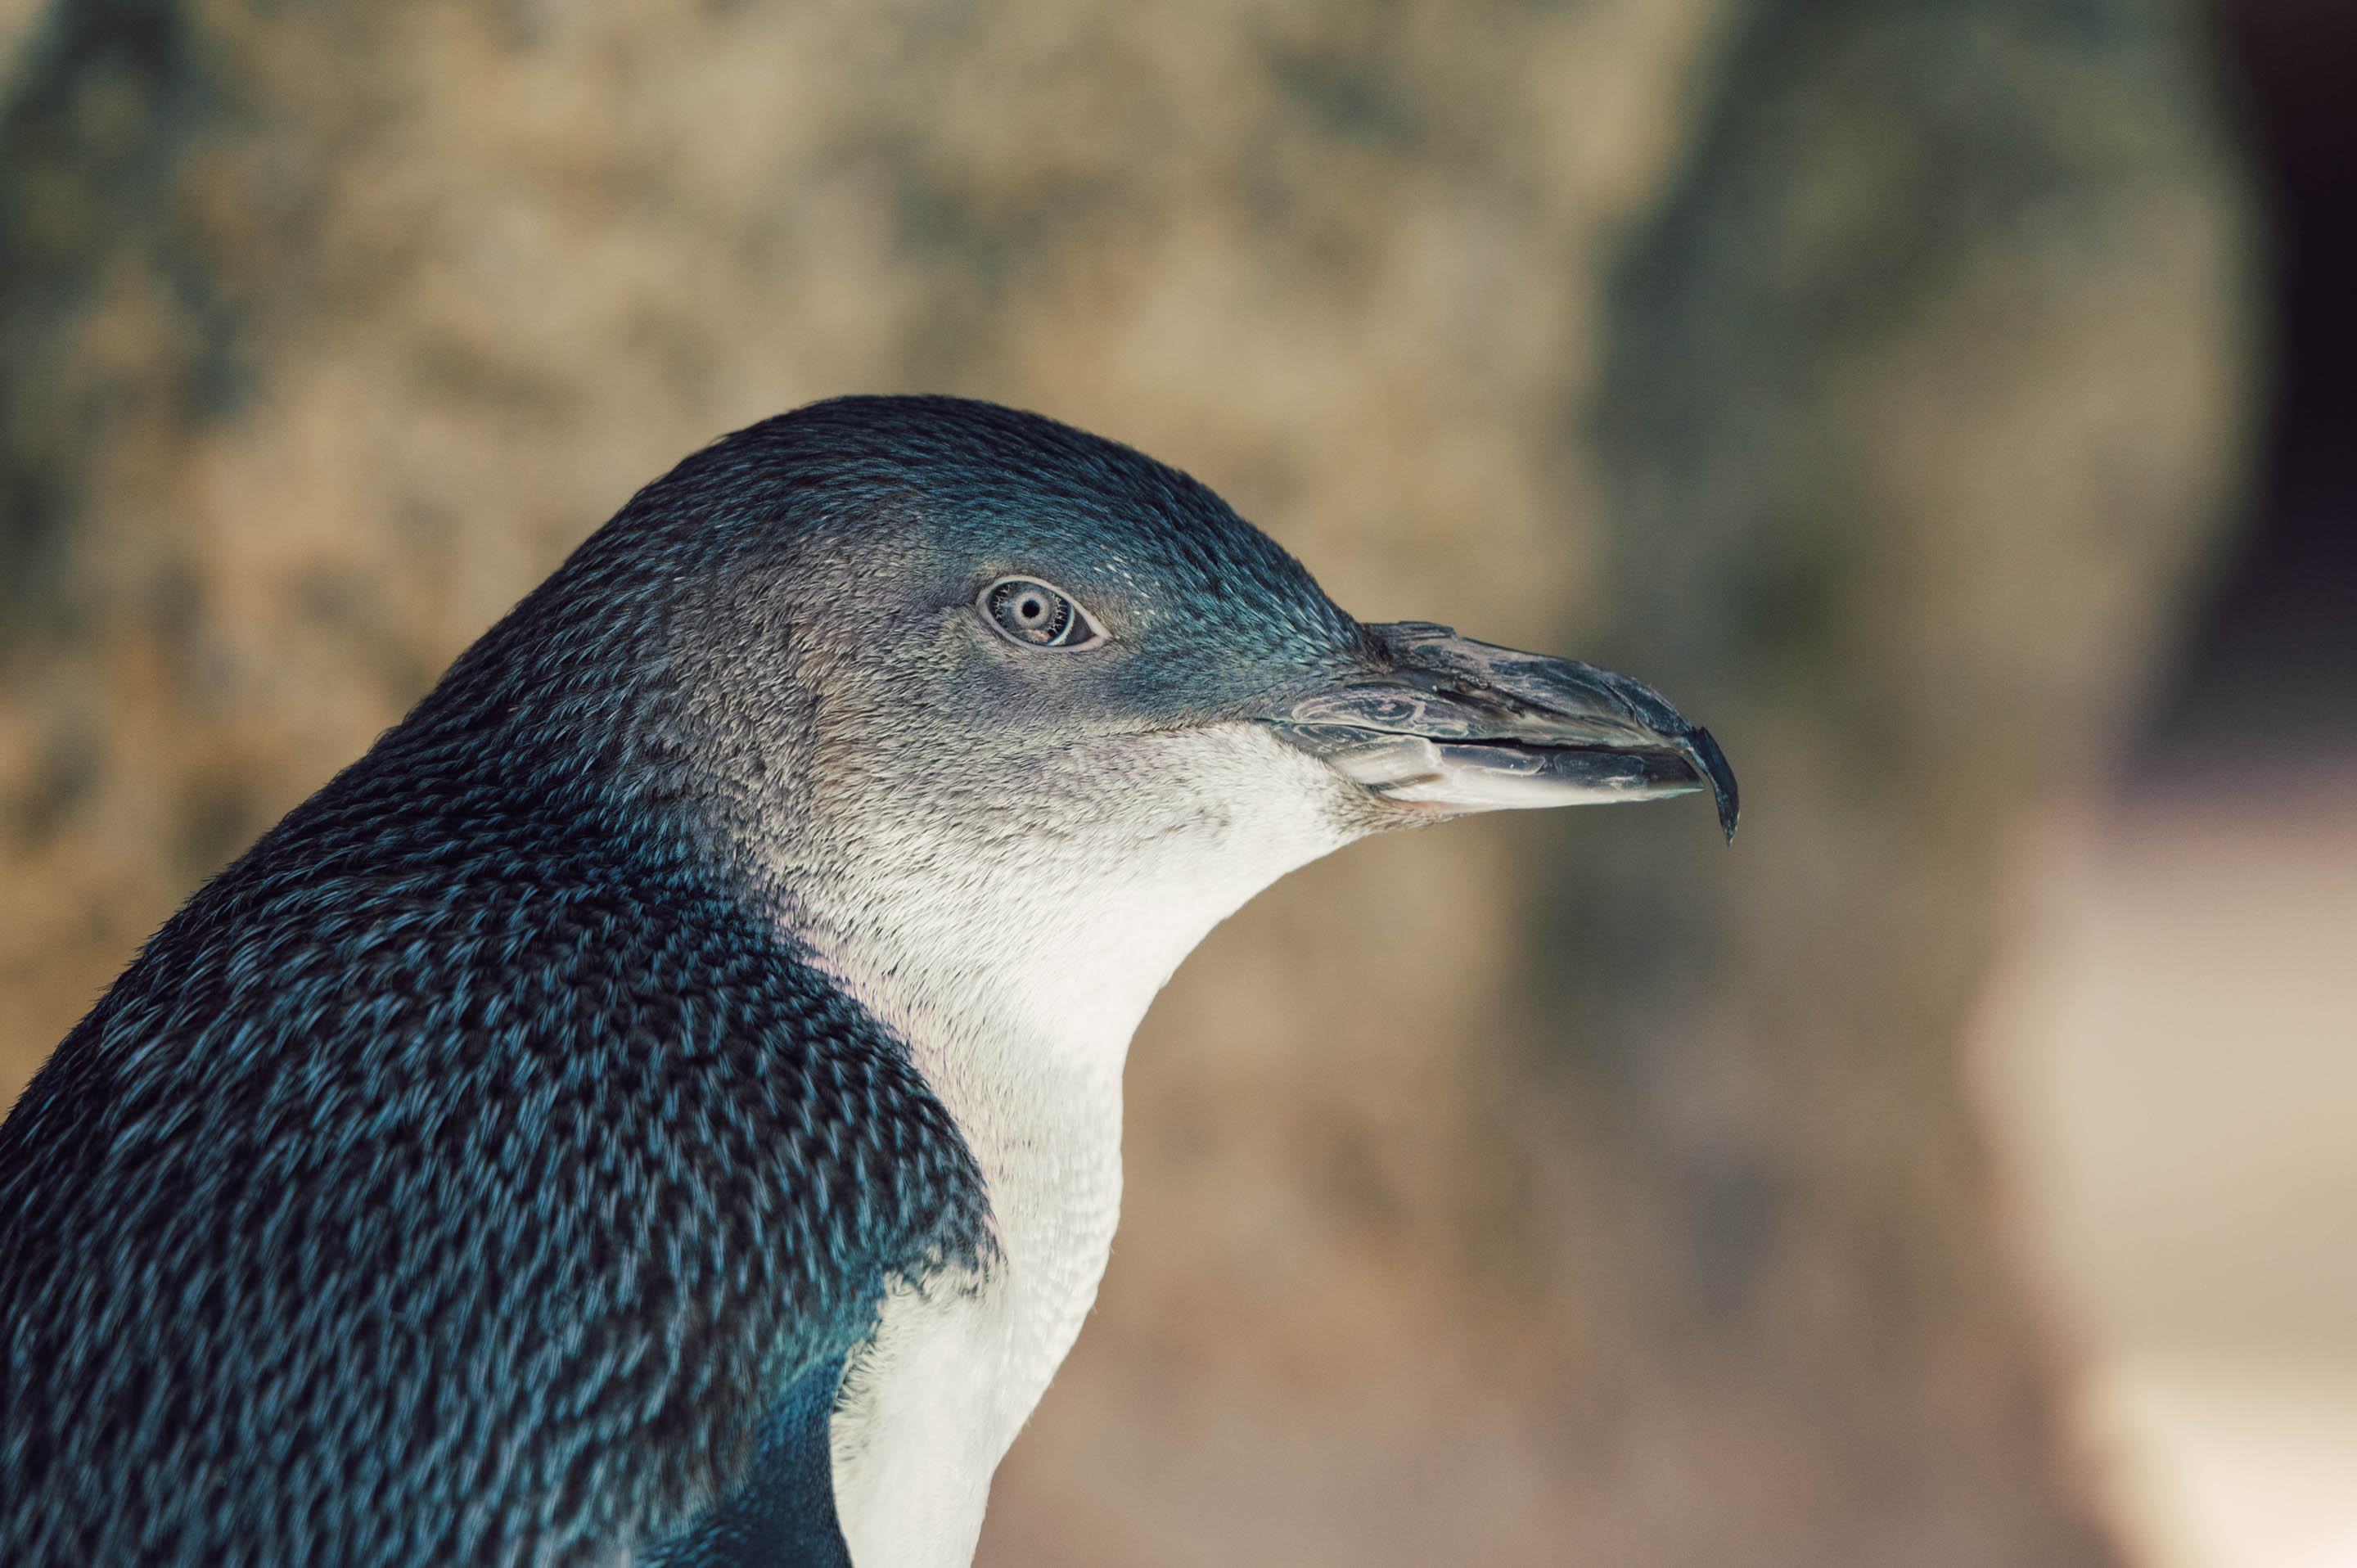
However, I did encounter situations where the contrast and crispness felt a bit overpowering. I had to employ post-processing techniques like the Orton effect to soften the harshness. Despite this, the lens still managed to maintain character, producing smooth bokeh and delivering sharpness where needed, like capturing the intricate details of a penguin’s iris.

While I’m not a wildlife photographer per se, I purchased this lens for my ongoing telephoto project focusing on ships along the Perth coast. It offers a significant reach and excellent stabilization, allowing me to capture stunning seascapes handheld. At $3k Australian dollars, it’s not cheap, but considering its performance and versatility, it’s a worthy investment.

In conclusion, this lens isn’t perfect, but it’s pretty darn close. I can see it becoming my go-to companion for capturing distant ships on the horizon—a testament to its sharpness, size, and overall performance.